4 Epsilon Lyra Double Double star – 31mm I can see the double but not split the 2 stars; 13mm Ethos allowed me to split the doubles and the 10mm whilst slightly dimmer afforded me a slightly wider split
Cat’s Eye Planetary Nebula – 31mm very small not quite pinpoint of light visible nicely without a filter, OIII filter makes it slightly more apparent and Nebustar filter it looks marginally better; 13mm Ethos provided brighter nebula, again the filters provided a better view with the Nebustar being brightest; 10mm is the best view of them all with a definite oval shape East or West, right to left but now OIII produced the brightest and clearest view although it is pushing the seeing tonight
Turtle Planetary Nebula – Not seen
Rasalgethi Alpha Hercules Double Star – 10mm too much for tonight, could not get good focus but could easily split; 13mm Ethos the best view with brighter primary in yellow, very striking and smaller secondary blue; 31mm Nagler just splittable but both components look yellow.
Albireo Double Star – Bright large yellow primary and smaller but still bright blue star in the 13mm Ethos
M13 Hercules Globular Cluster – lovely in the 31mm Nagler; 13mm Ethos much brighter view and obviously larger with resolving more core stars; 10mm darker background so contrast better and even brighter core and stars more obvious with direct vision, including nice pair at 10pm on the cluster
M57 Ring Nebula – planned but not attempted
61 Cygni Double Star – planned but not attempted
NGC 6891 Open Cluster in Lyra – not seen in 31mm Nagler
NGC 6702 & NGC 6703 Galaxy pair – planned but not attempted
A really good night overall, the eyepieces lent to me from Bob are excellent and make the viewing more pleasurable being able to switch with my wider field of view ones.
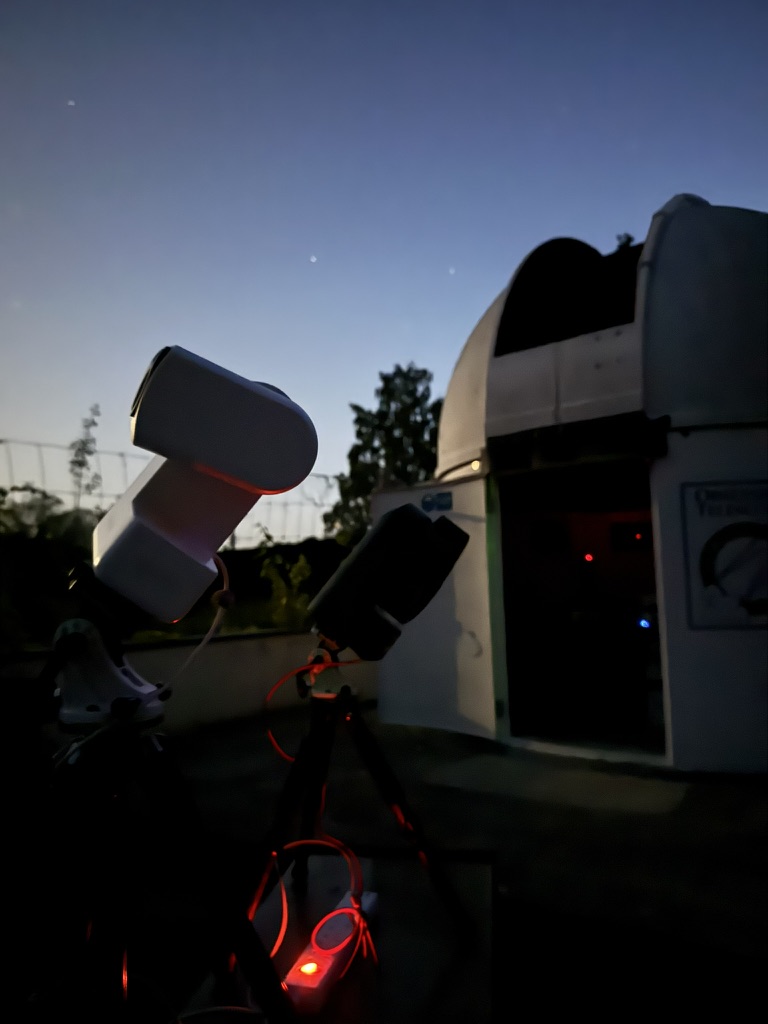
Tonight John Barrie-Smith and Bob came round to observe with me from Mirador Ellisfield. The temperature has been warm +24c and the humidity average. I assembled the 22″ dob and brought out the 100mm binos.
Bob had a pair of tiny binoculars which whilst we were waiting for darkness to arrive we thought we would try them out. To our surprise when looking at the Moon we could see a star to the East which transpired to DSschubba, a mag +2.2 star in the constellation of Scorpius. This is top star above Antares in the scorpion. This was unseen with the naked eye.
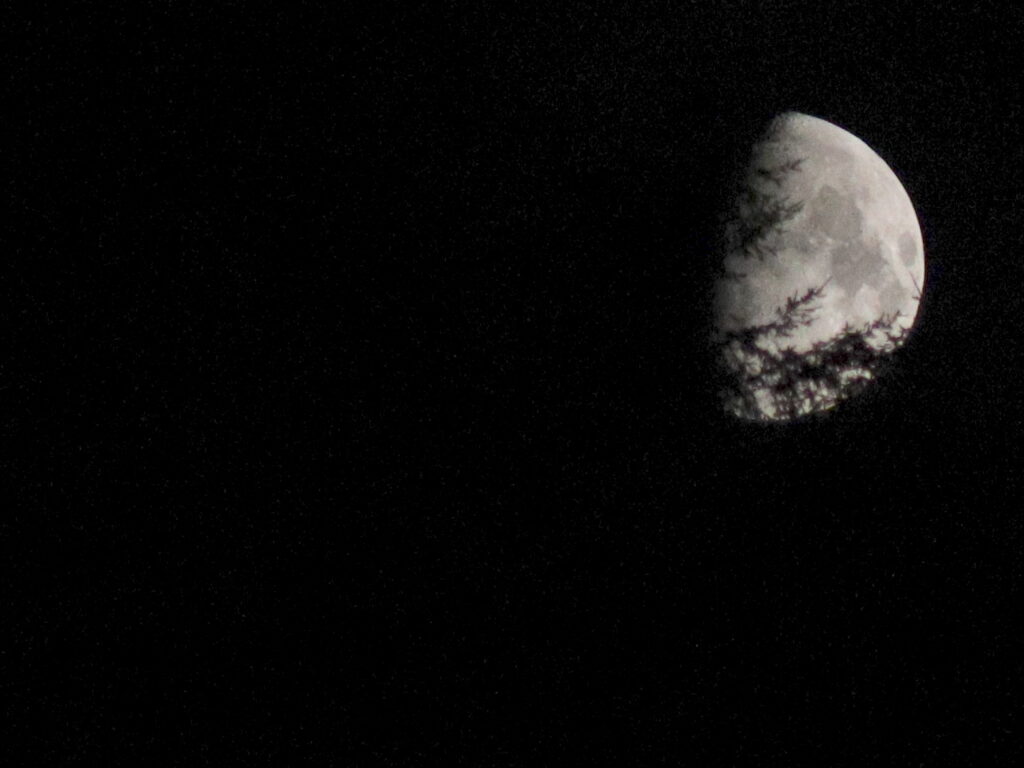
We then realised that the Moon was going to occult this star and that we could watch it happen. So with Bob on the Binos, JBS on the 22″ and I with my Canon 6D with the 300mm lens, we set about watching the event.
We caught the star being occulted by the Moon, but then we struggled as the Moon was setting behind the trees in the distant forest. However around 22:13:20 the star reappeared just as the Moon was setting around +4 degrees altitude. A good result!
Moon setting with the star hidden behind
So after a thrilling and unexpected chase, we set about using the 22″ for some visual. I had started SkyTools 4 for the first time earlier in the day and created my first observing chart. I printed a list of objects to go after and we used this to work through some very appealing and easy targets.
SkyTools V4
M21 was seen by JBS and I before it quickly set behind a tree, however this open cluster looked great.
M102 was easy to see with direct vision. This galaxy looked splendid through the 13mm Ethos eyepiece. This was a long thin galaxy with a slight bulge to the centre. Whilst SkyTools did state the 24mm Panoptic was the best eyepiece to see this with, we felt that the 13mm Ethos was a good option and provided the best view.
John then wanted to go to M101 the Pinwheel galaxy. This is a face on spiral that has a low surface brightness and was rather hard to see. We tried all 3 eyepieces, so the 24mm Panoptic, 13mm Ethos and 31mm Nagler. To prove that this was because it was a harder object to see with relatively low surface brightness and thus did not appear on my SkyTools list of Easy and Obvious objects to see, we set about looking for M51 with it’s associated NGC NGC 5195 interacting galaxy. This was as we noted fairly faint to see also but rather distinct with the 2 objects being visible.
We also looked at an open cluster called the Cooling Tower, M29 or NGC 6913, Bob could see the cooling tower in this little cluster of stars which was bedded into the Milkyway’s rich star field.
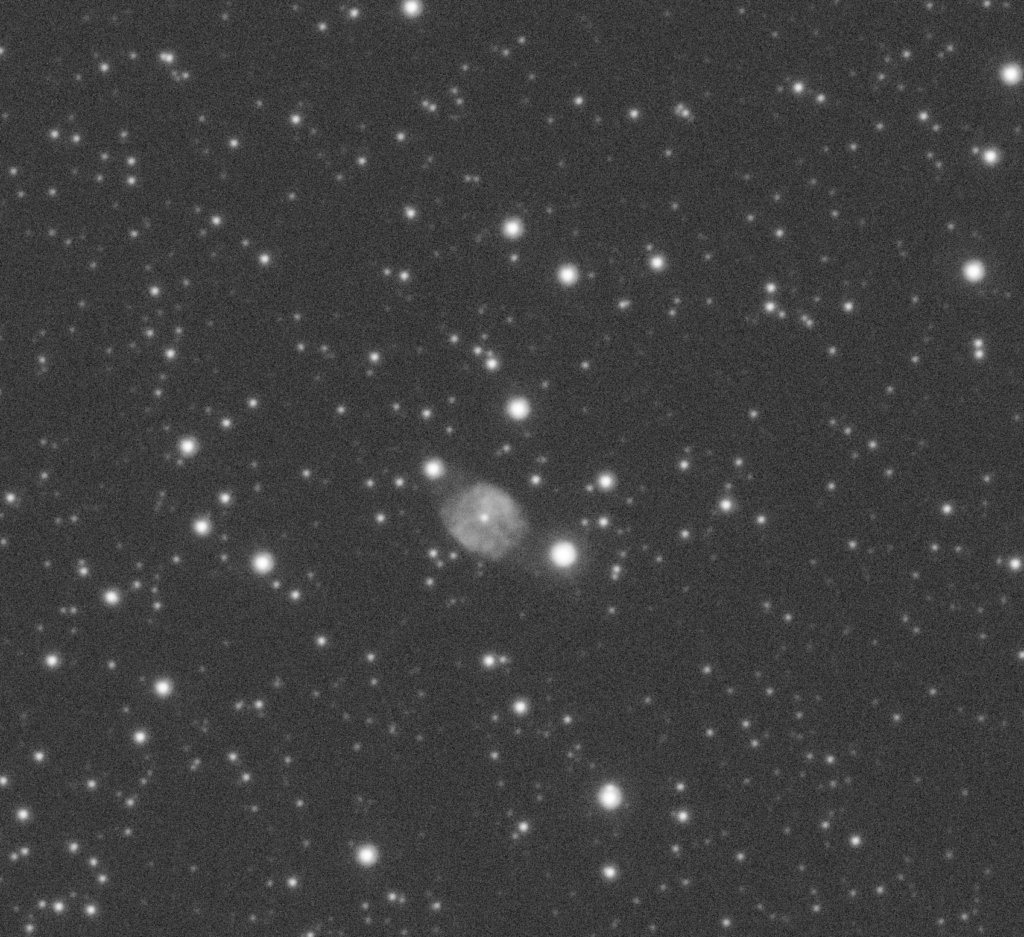
We then looked at the Blue Flash nebula, NGC 6905 which did indeed resemble a flash in the pan of oil.
We then went to M5 a glob that was very low down and did appear on the list. The scope was all but horizontal but provided a good view despite the seeing.
Finally we stole a look at M13 which was to compare with M5 and wow it was really bright and steady and the details of the stars within especially with the 13mm Ethos were amazing. It is worth noting that it was fairly high in the sky unlike M5.
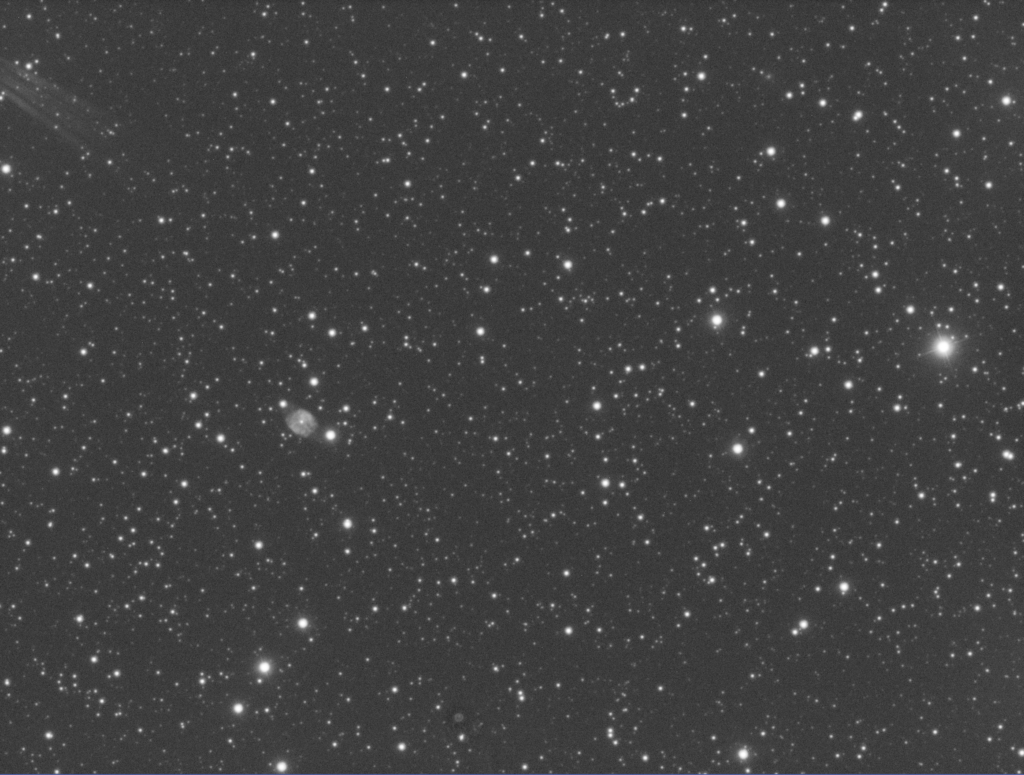
Once Bob and JBS packed up and went home around 12:30am I slewed the 12″ in the dome to NGC 6905 the Blue Flash and too a single 2 min Luminance exposure to see what we had seen.
Blue Flash Planetary Nebula NGC 6905Blue Flash cropped 2 min
I then loaded my sequence for NGC 6765 and took a set of LRGB and OIII 300s exposures, x 5 each until 3:45am. I left the scope running until morning and went to bed at 2am. A really good night with friends.
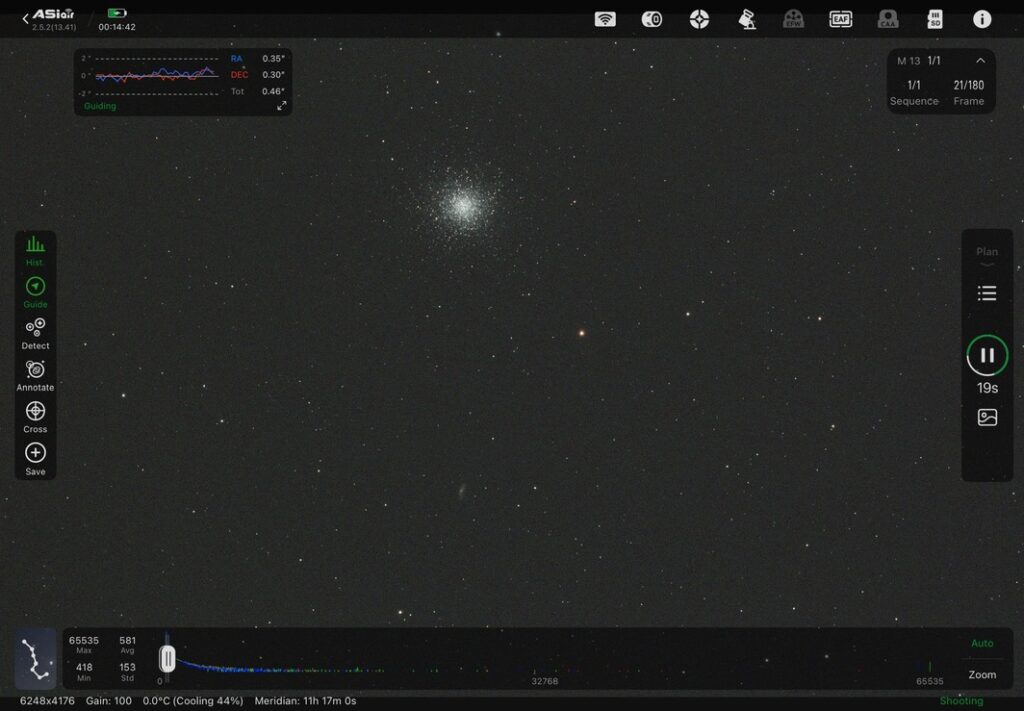
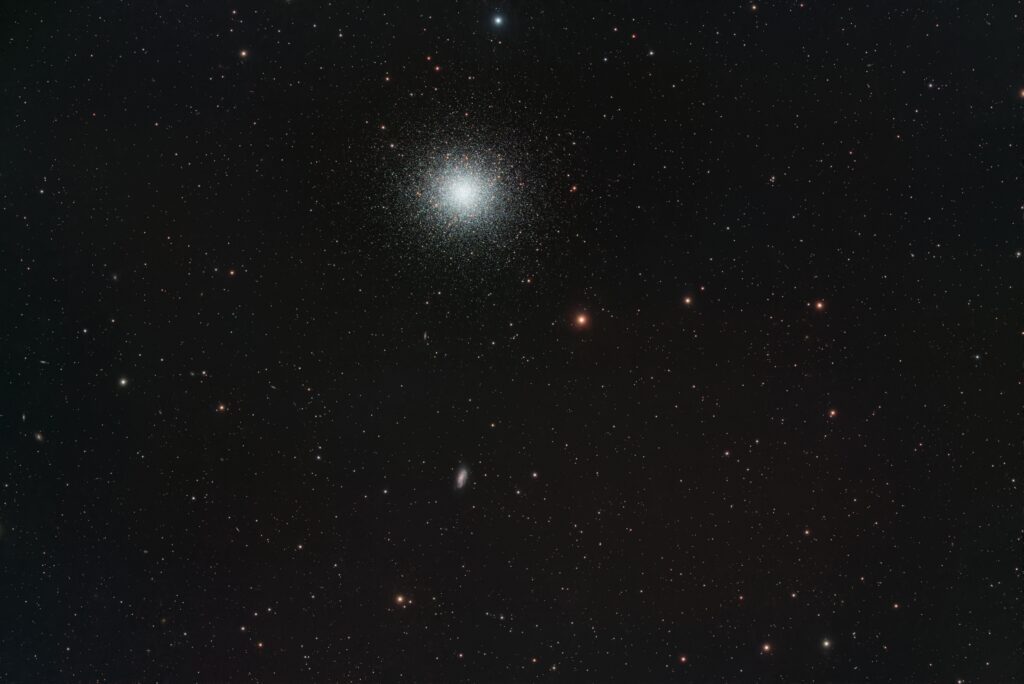
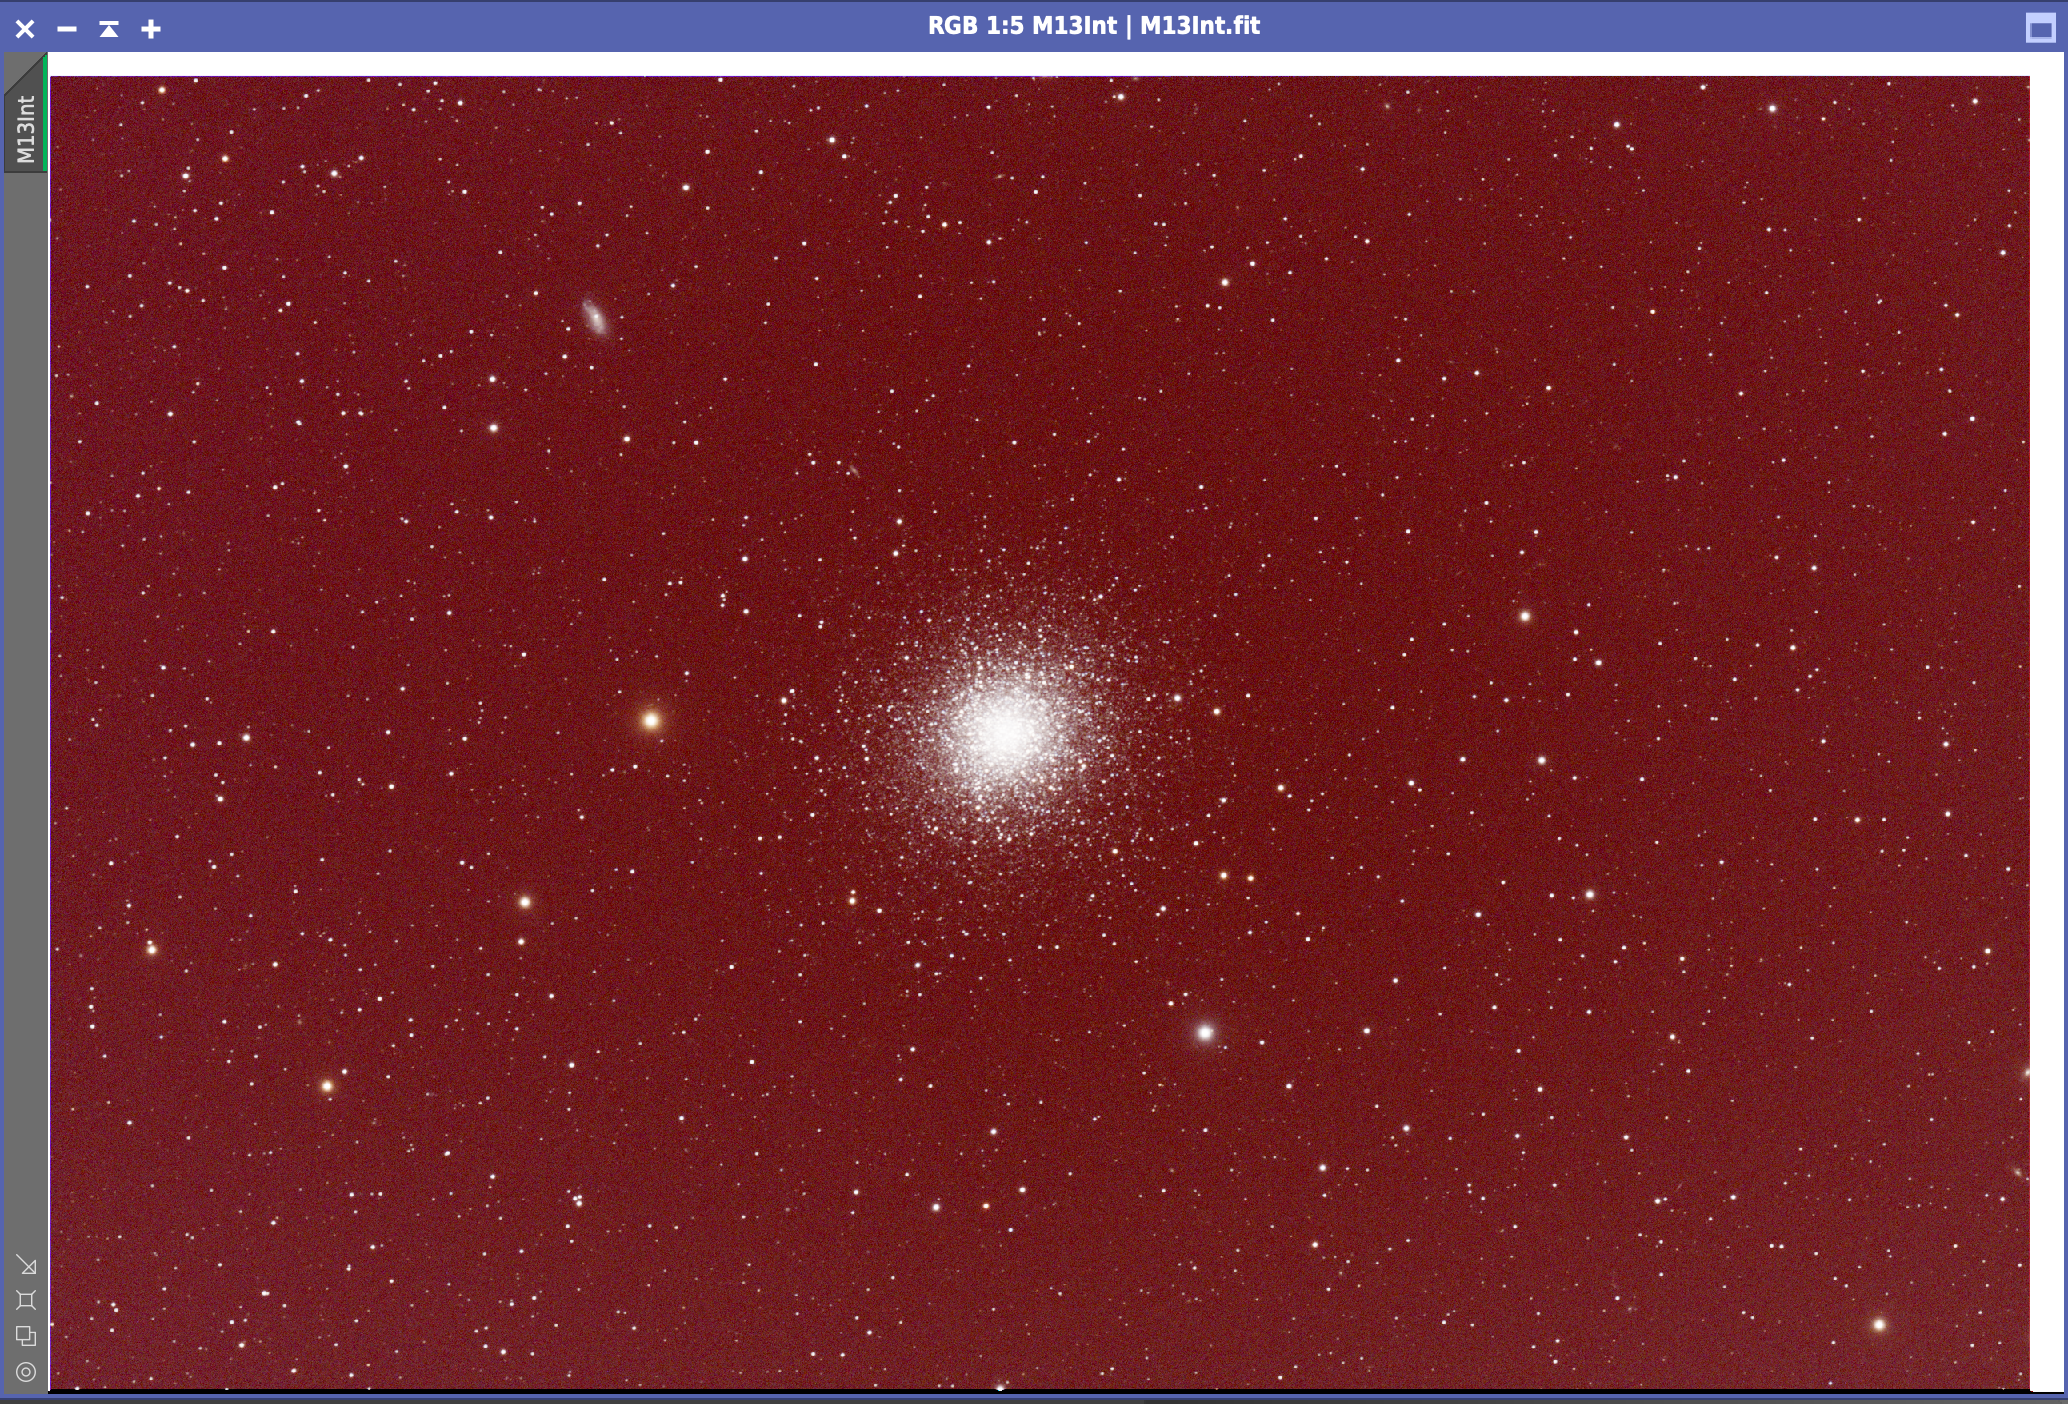
So I managed to go out and quickly bag a few images of M13 to test the travel scope on the night of the 1st to the 2nd September. It was relatively cool and clear. The main aim was could I take images that were not overexposed on stars whilst capturing the fainter stars at the same time. Also I wanted to make sure I could process an image too.
So all in I took 10 x 5 minute exposures but unfortunately I had not read the Skywatcher manual and had not locked up the focus tube. This meant that the first 3 frames were out of focus so I tightened the locking latch and then took the other 7.
On processing the image I noted the black (white) band to the top and right of the image where I had not switched off the setting for Overscan. I could not PixInsight to recognise it properly so I simply pre-processed the image and then cropped it out before processing.
Overscan area present
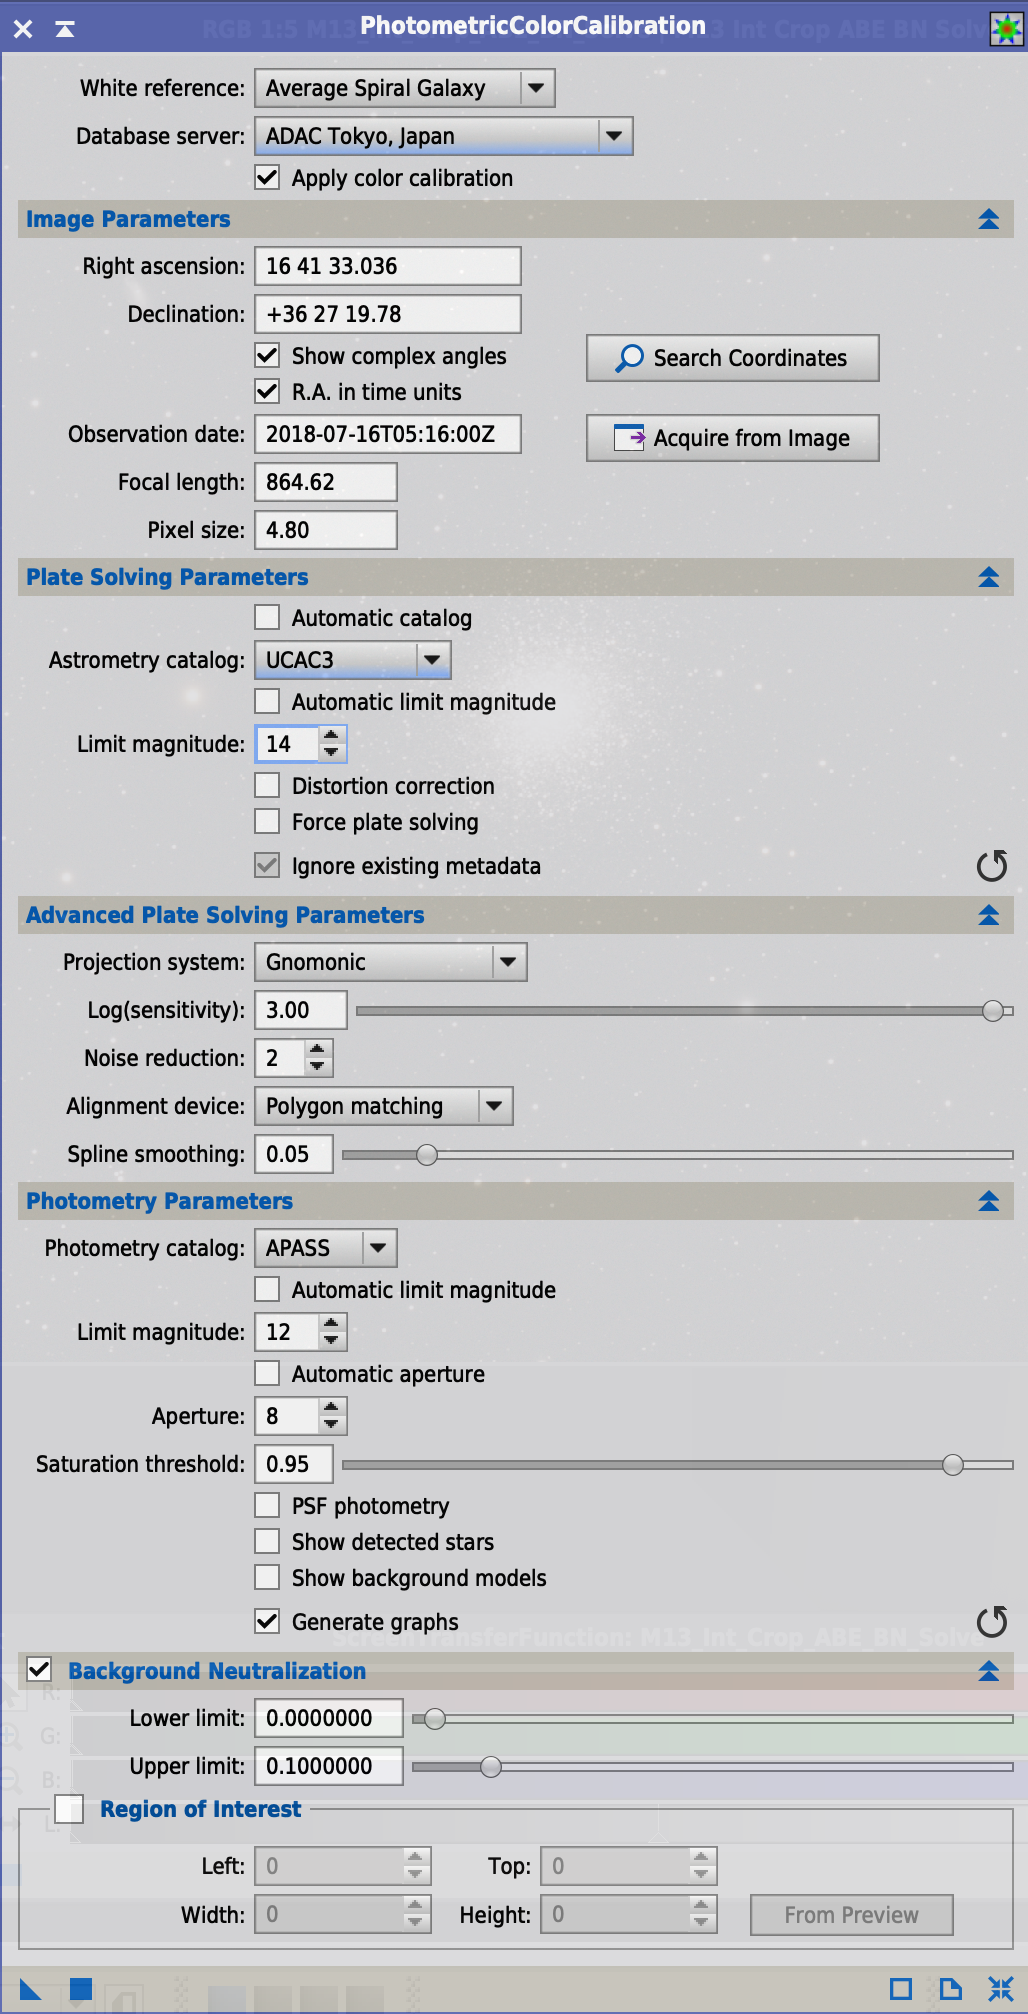
I managed to get Photometric Colour Calibration working which helped get the colour just right. I then processed in my usual way using the following workflow.