Russell Croman of RC-Astro has released a major update of his excellent toolset – BlurXTerminator, NoiseXTerminator and StarXTerminator. These are now available as a standalone version which means that they are no longer tied exclusively to being used with the PixInsight ecosystem but means they can now also be used by SetiAstroPro and Siril – both of which are free.
Although I use PixInsight and I have not yet put aside the time to learn either Siril or SetiAstroPro …. sorry Frank ! I think AstroWizard by LukoMatico also now supports the standalone tools.
The main release I was pleased for this set of releases was that Russell included GPU support not only for NVidia but now also for AMD and Intel. Oh what joy – I now have no reason to be forced to purchase an over-priced GPU by greedy and monopolistic NVidia.
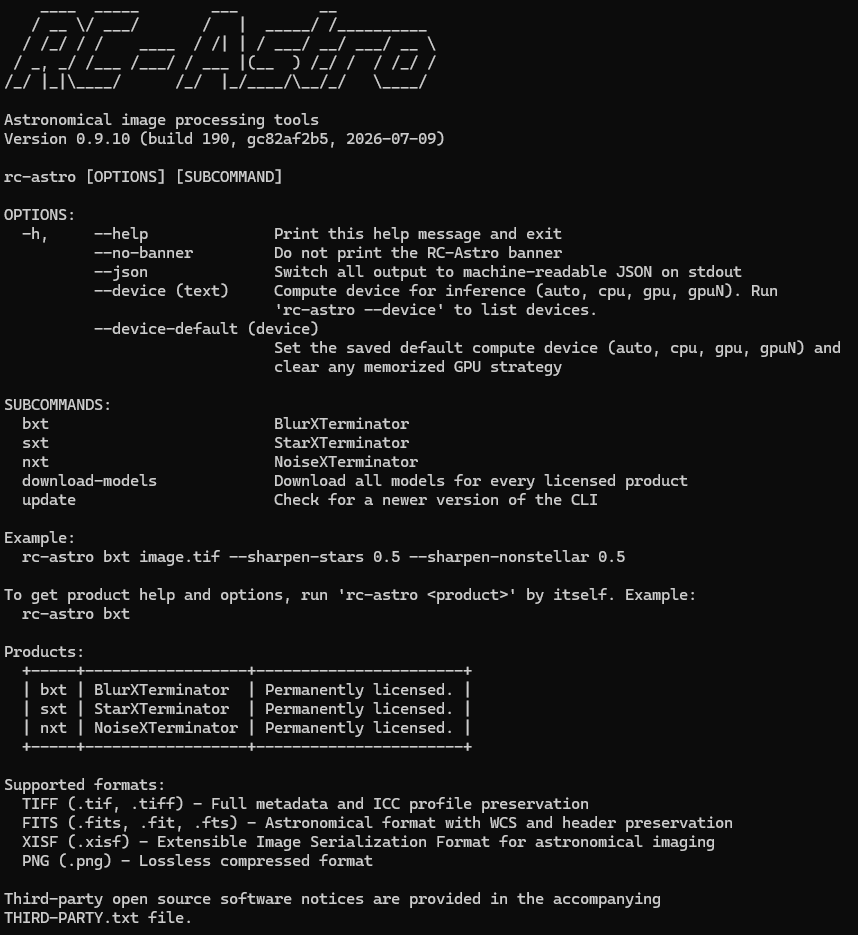
In Windows the standalone binary displayed via a cmd shell –
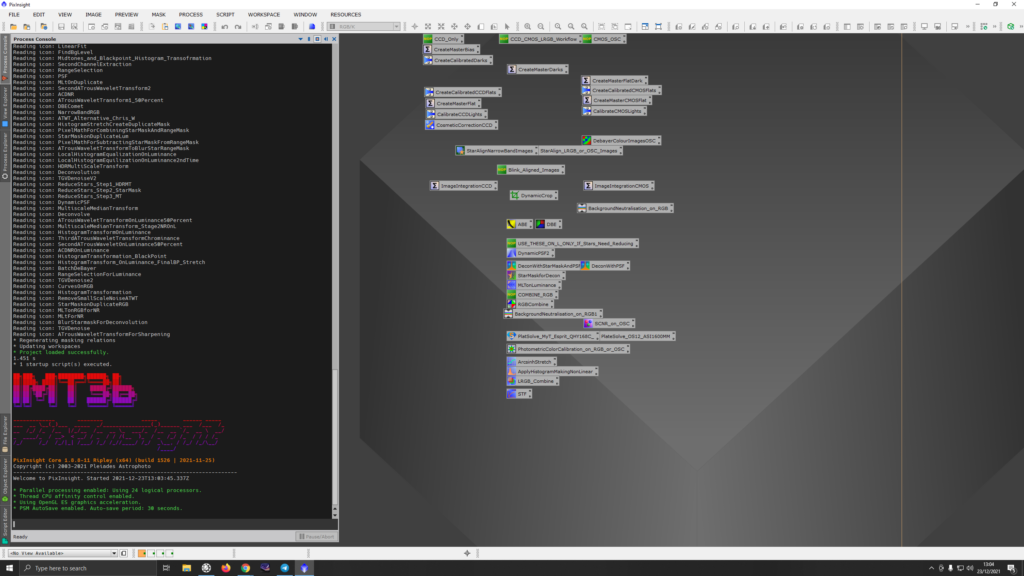
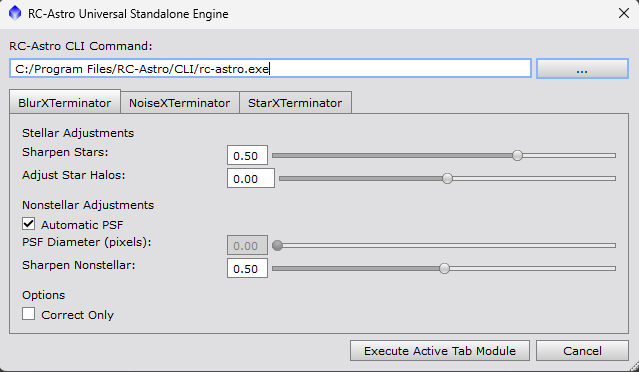
There appears to be no way to call the standalone tools within PixInsight currently but Cuiv discussed his custom script (RC-Astro Universal Standalone Engine) for calling the toolset on his Youtube channel here.
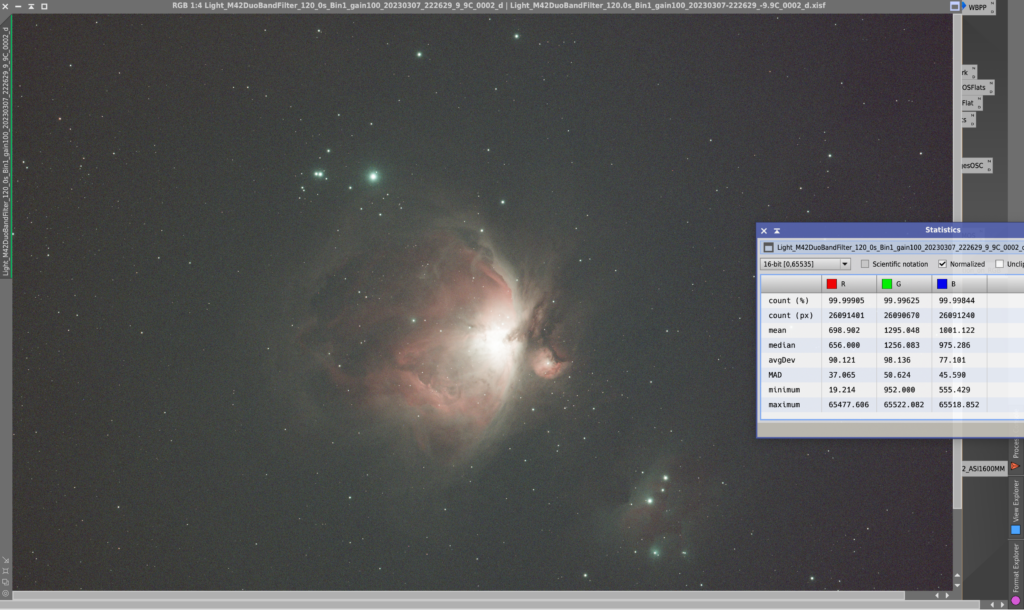
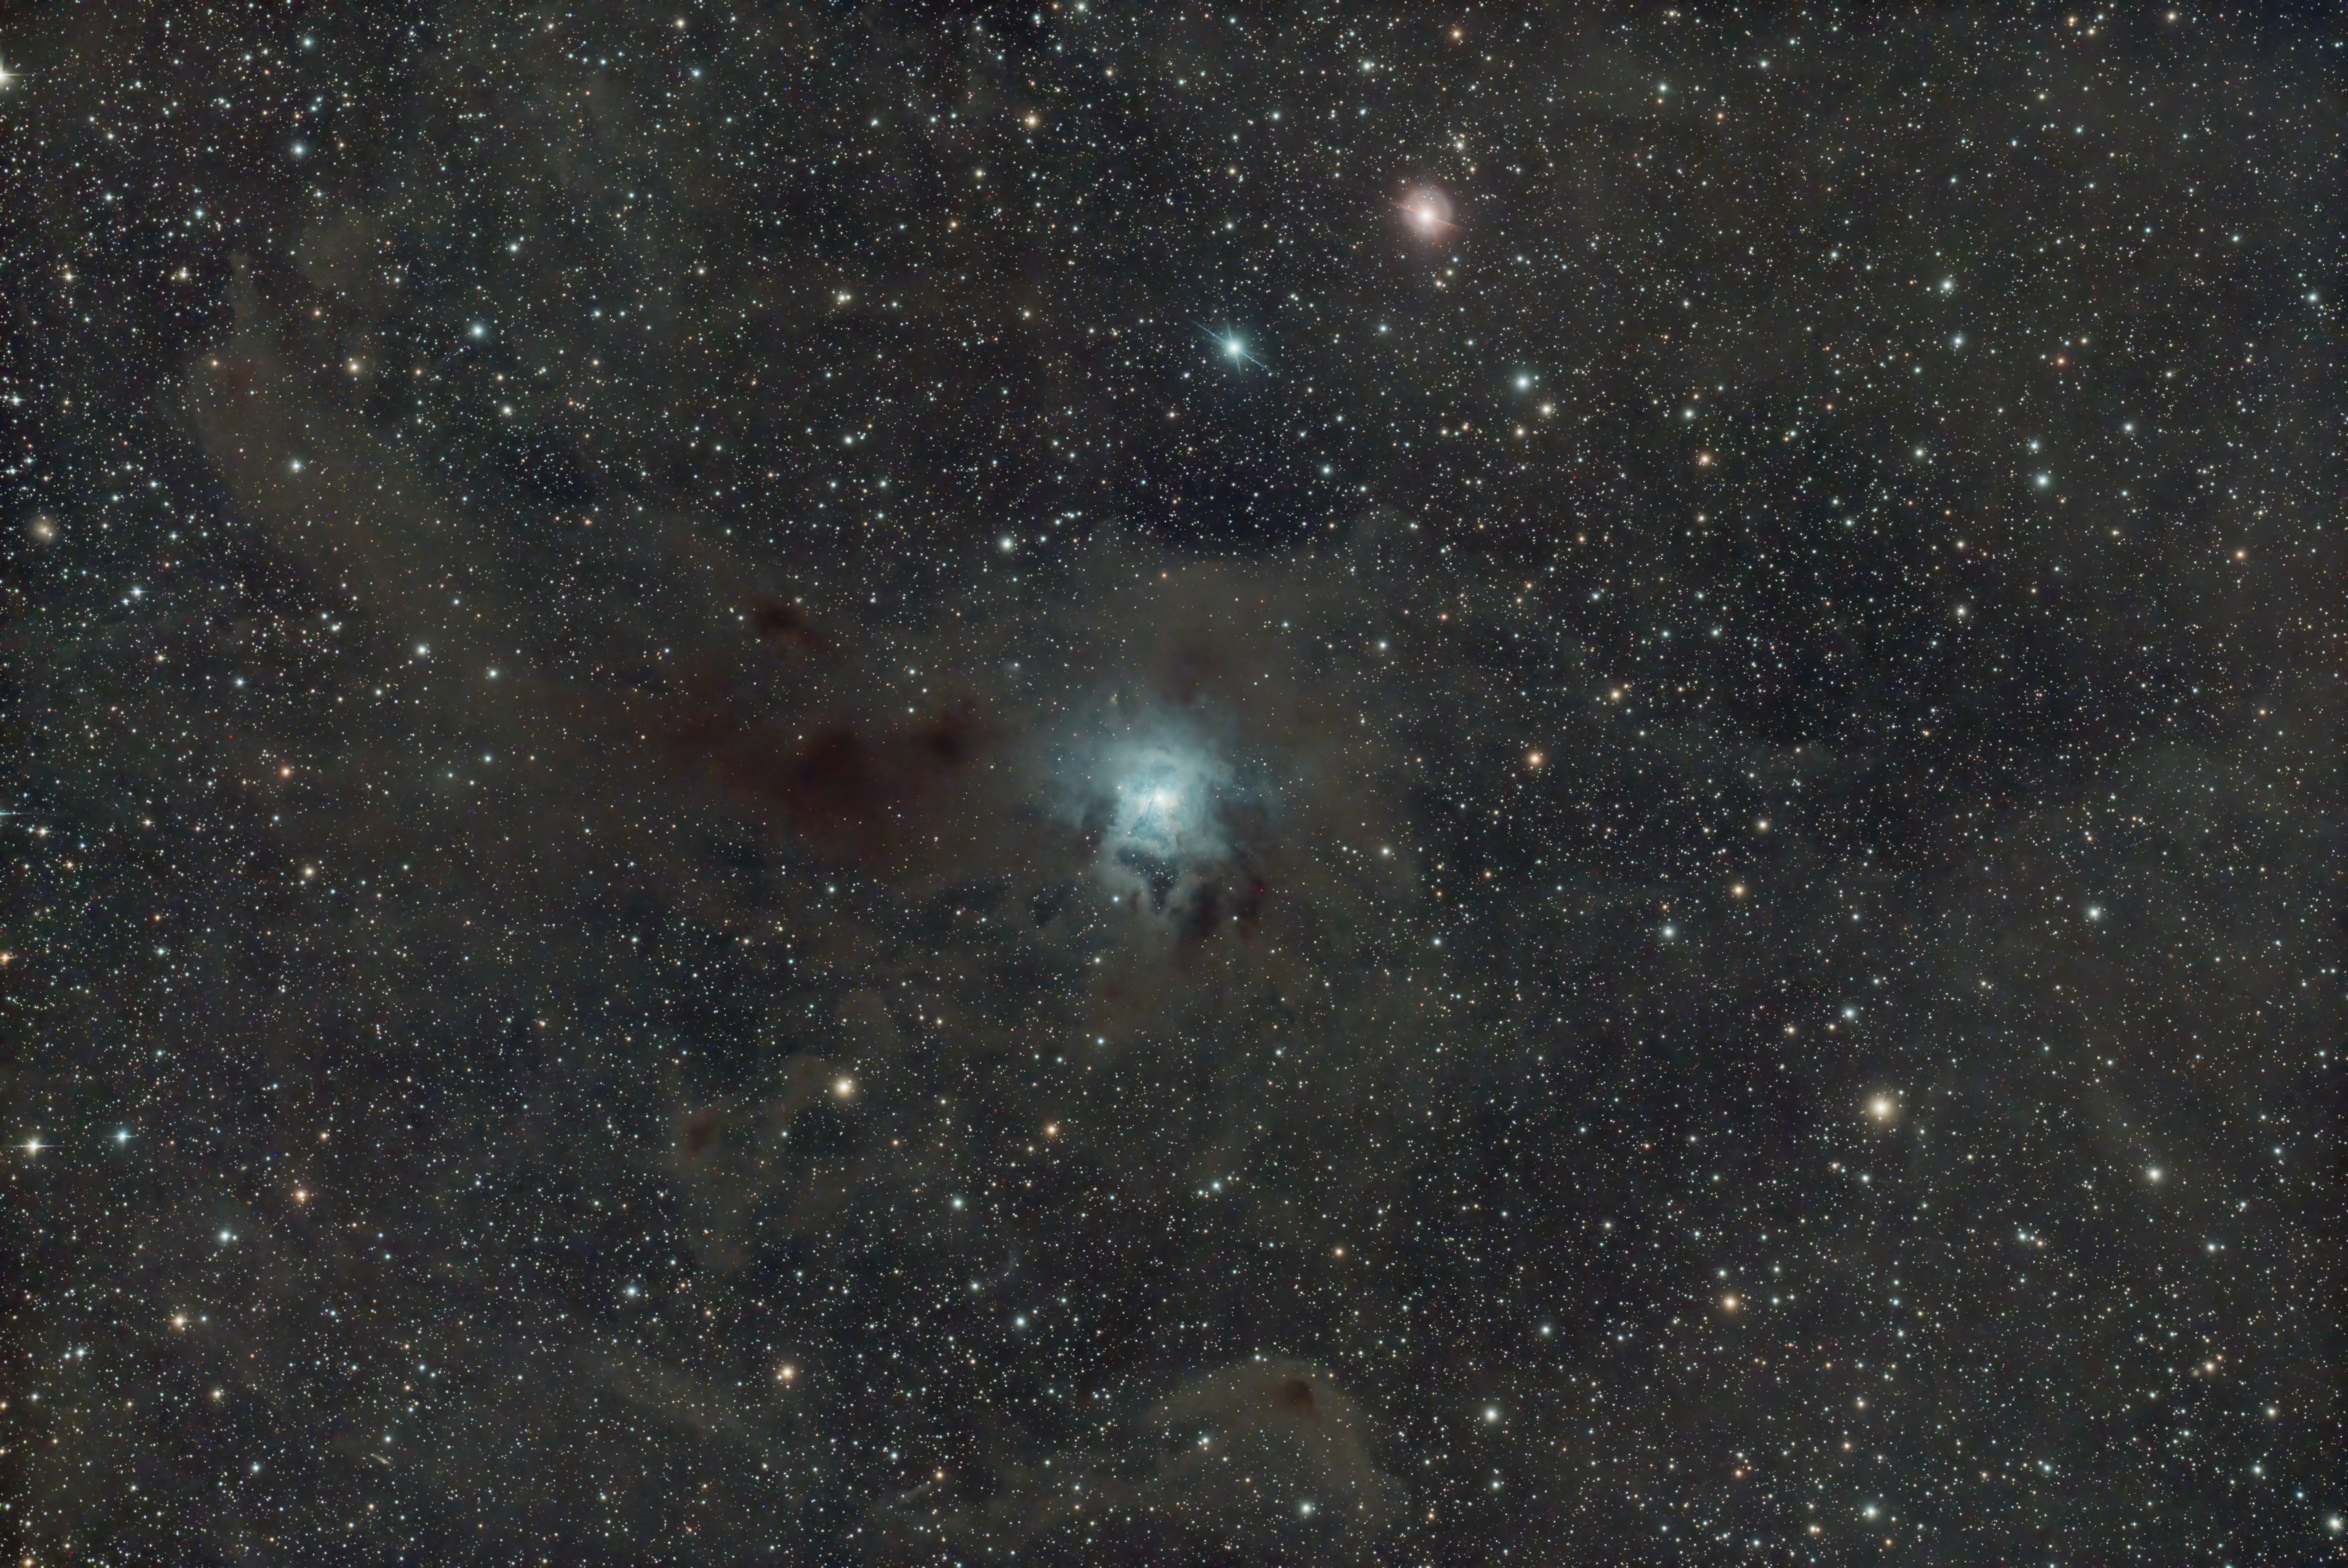
Using a APS-C OSC drizzled, debayered and registered master (~817MB) of the Cocoon Nebula (IC5146). This area is a star and dust dense field so we can show the realised speed improvements made to the workflow when using an aging (2020) AMD RX6800 (16GB) GPU coupled with a AMD Ryzen9 5900X (12c/24t) AM4 processor and 32GB of DDR4 memory.
| Mode | BlurX 2.0.4 AI version 4 | NoiseX 2.3.3 AI version 3 | StarX 2.3.11 AI version 11 |
| CPU | 202.85s | 186.88s | 812.92s |
| GPU | 21.67s | 36.35s | 27.84s |
| SpeedUp | 9.36x | 5.14x | 29.20x |
My gratitude to Mr Croman for this work but the real icing on the cake was that the standalone toolset is also free to download for existing licensees – thanks Russell !