Viewing Report 26th May 2020 – IMT3

21:00 – 00:46

All Sky Camera

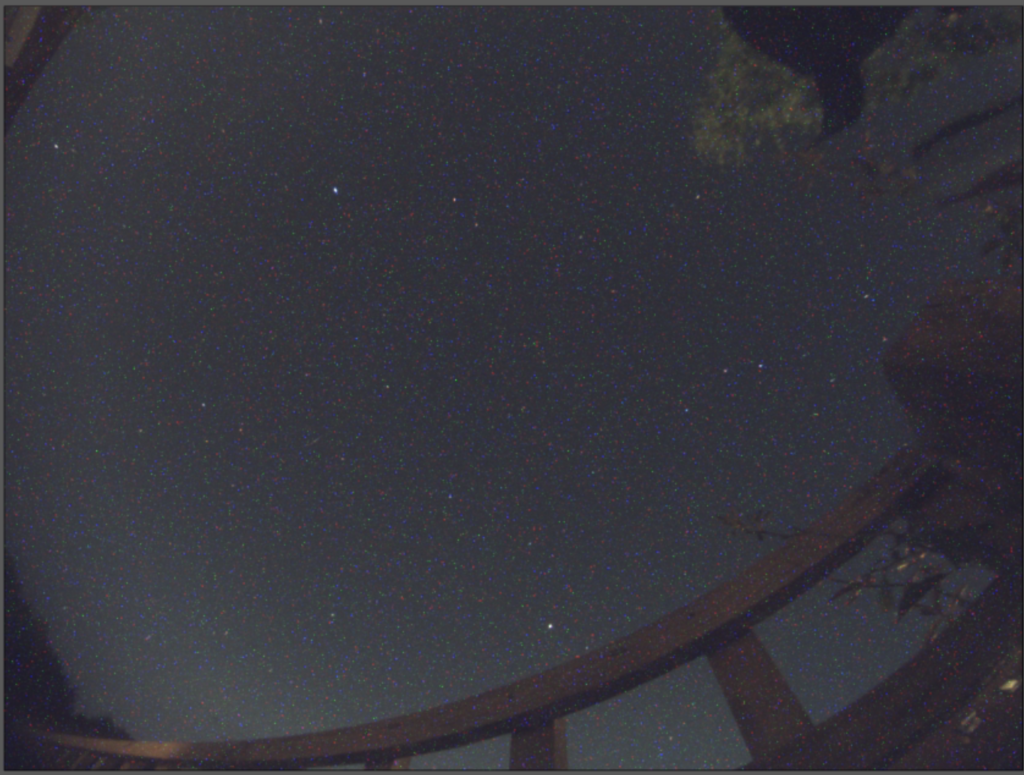
Opened dome at 4pm to start cooling the 12″, but actually started to play by looking at guider on the 12″ at 9pm. The guider had never really produced round stars and I suspected this was due to it not being pushed all the way in, far enough to be in the sweet spot for focus.

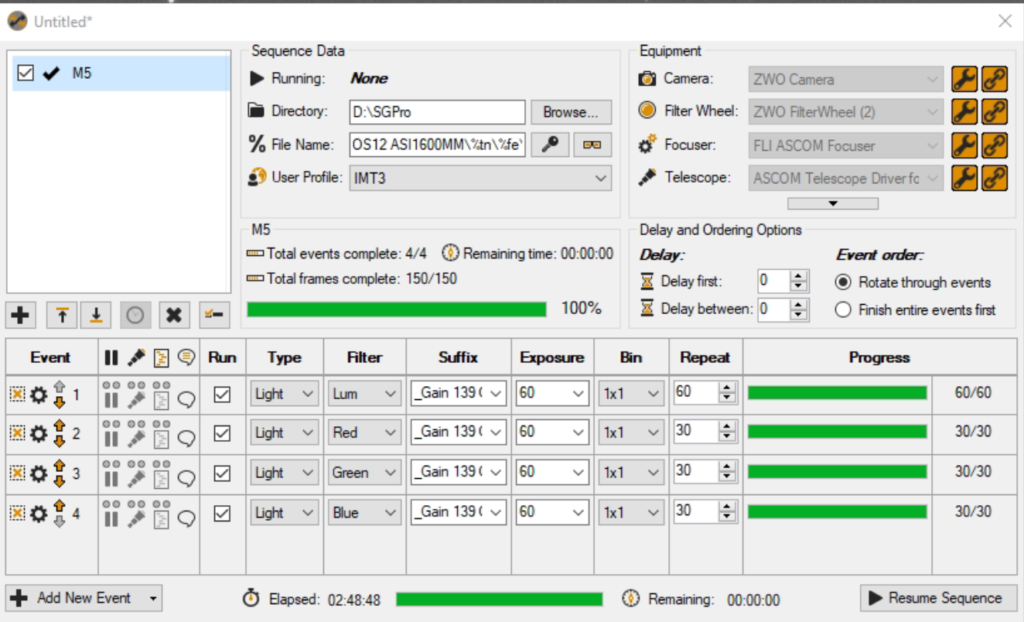
So I took off and adjusted with a spacer of which I had many in different thicknesses. I found the ideal one to fit that would allow the filter wheel Now round stars. Given high cloud I have set running on M5 LRGB, 60 x 60 seconds L / 30 x 60s RGB. Not guiding. Gain 139 Offset 21. Cooler -15. to rotate far enough that it did not fowl the guide camera, which until now it had. Now this was done, it was time to test.

Round guider stars

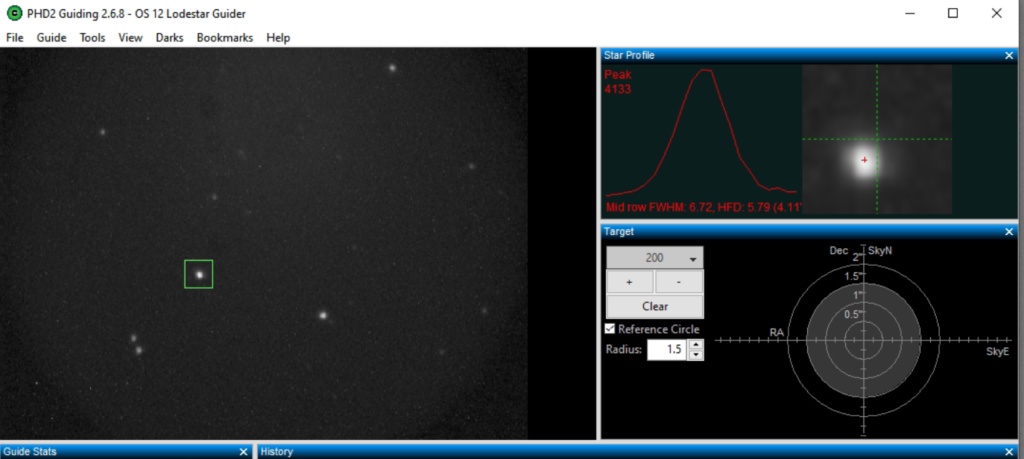
The images were much better, the stars tight and round. I also changed the rotation of the guider so that its chip was square to the rectangular whole in the light pickoff shaft.

Stretched M5

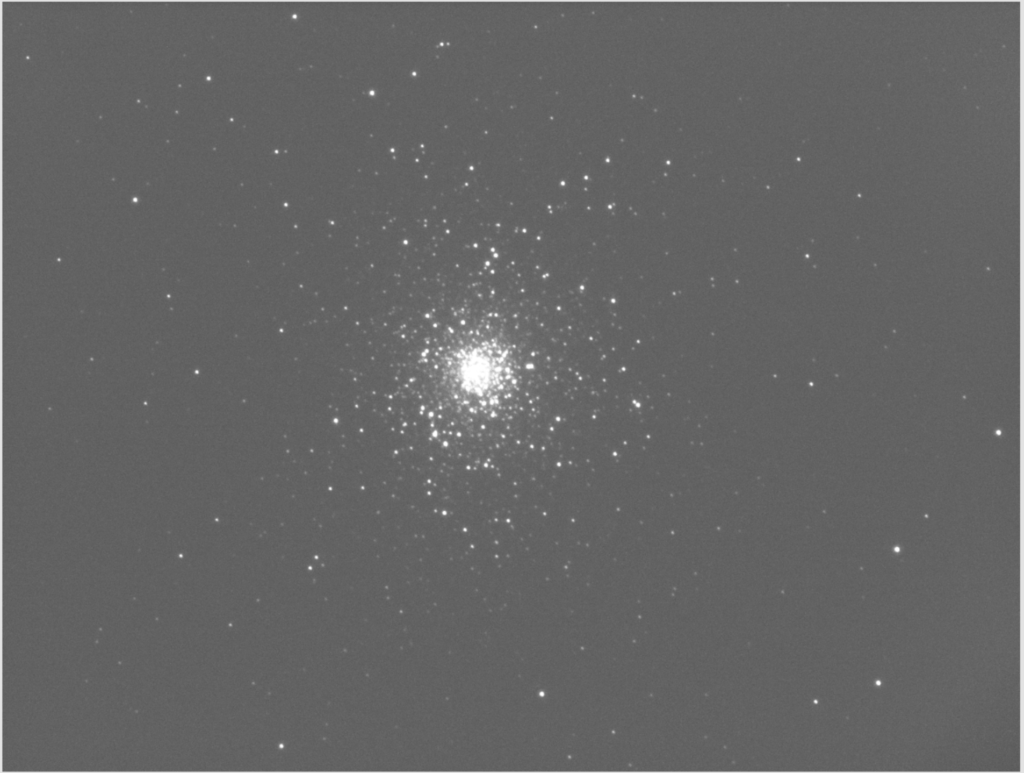
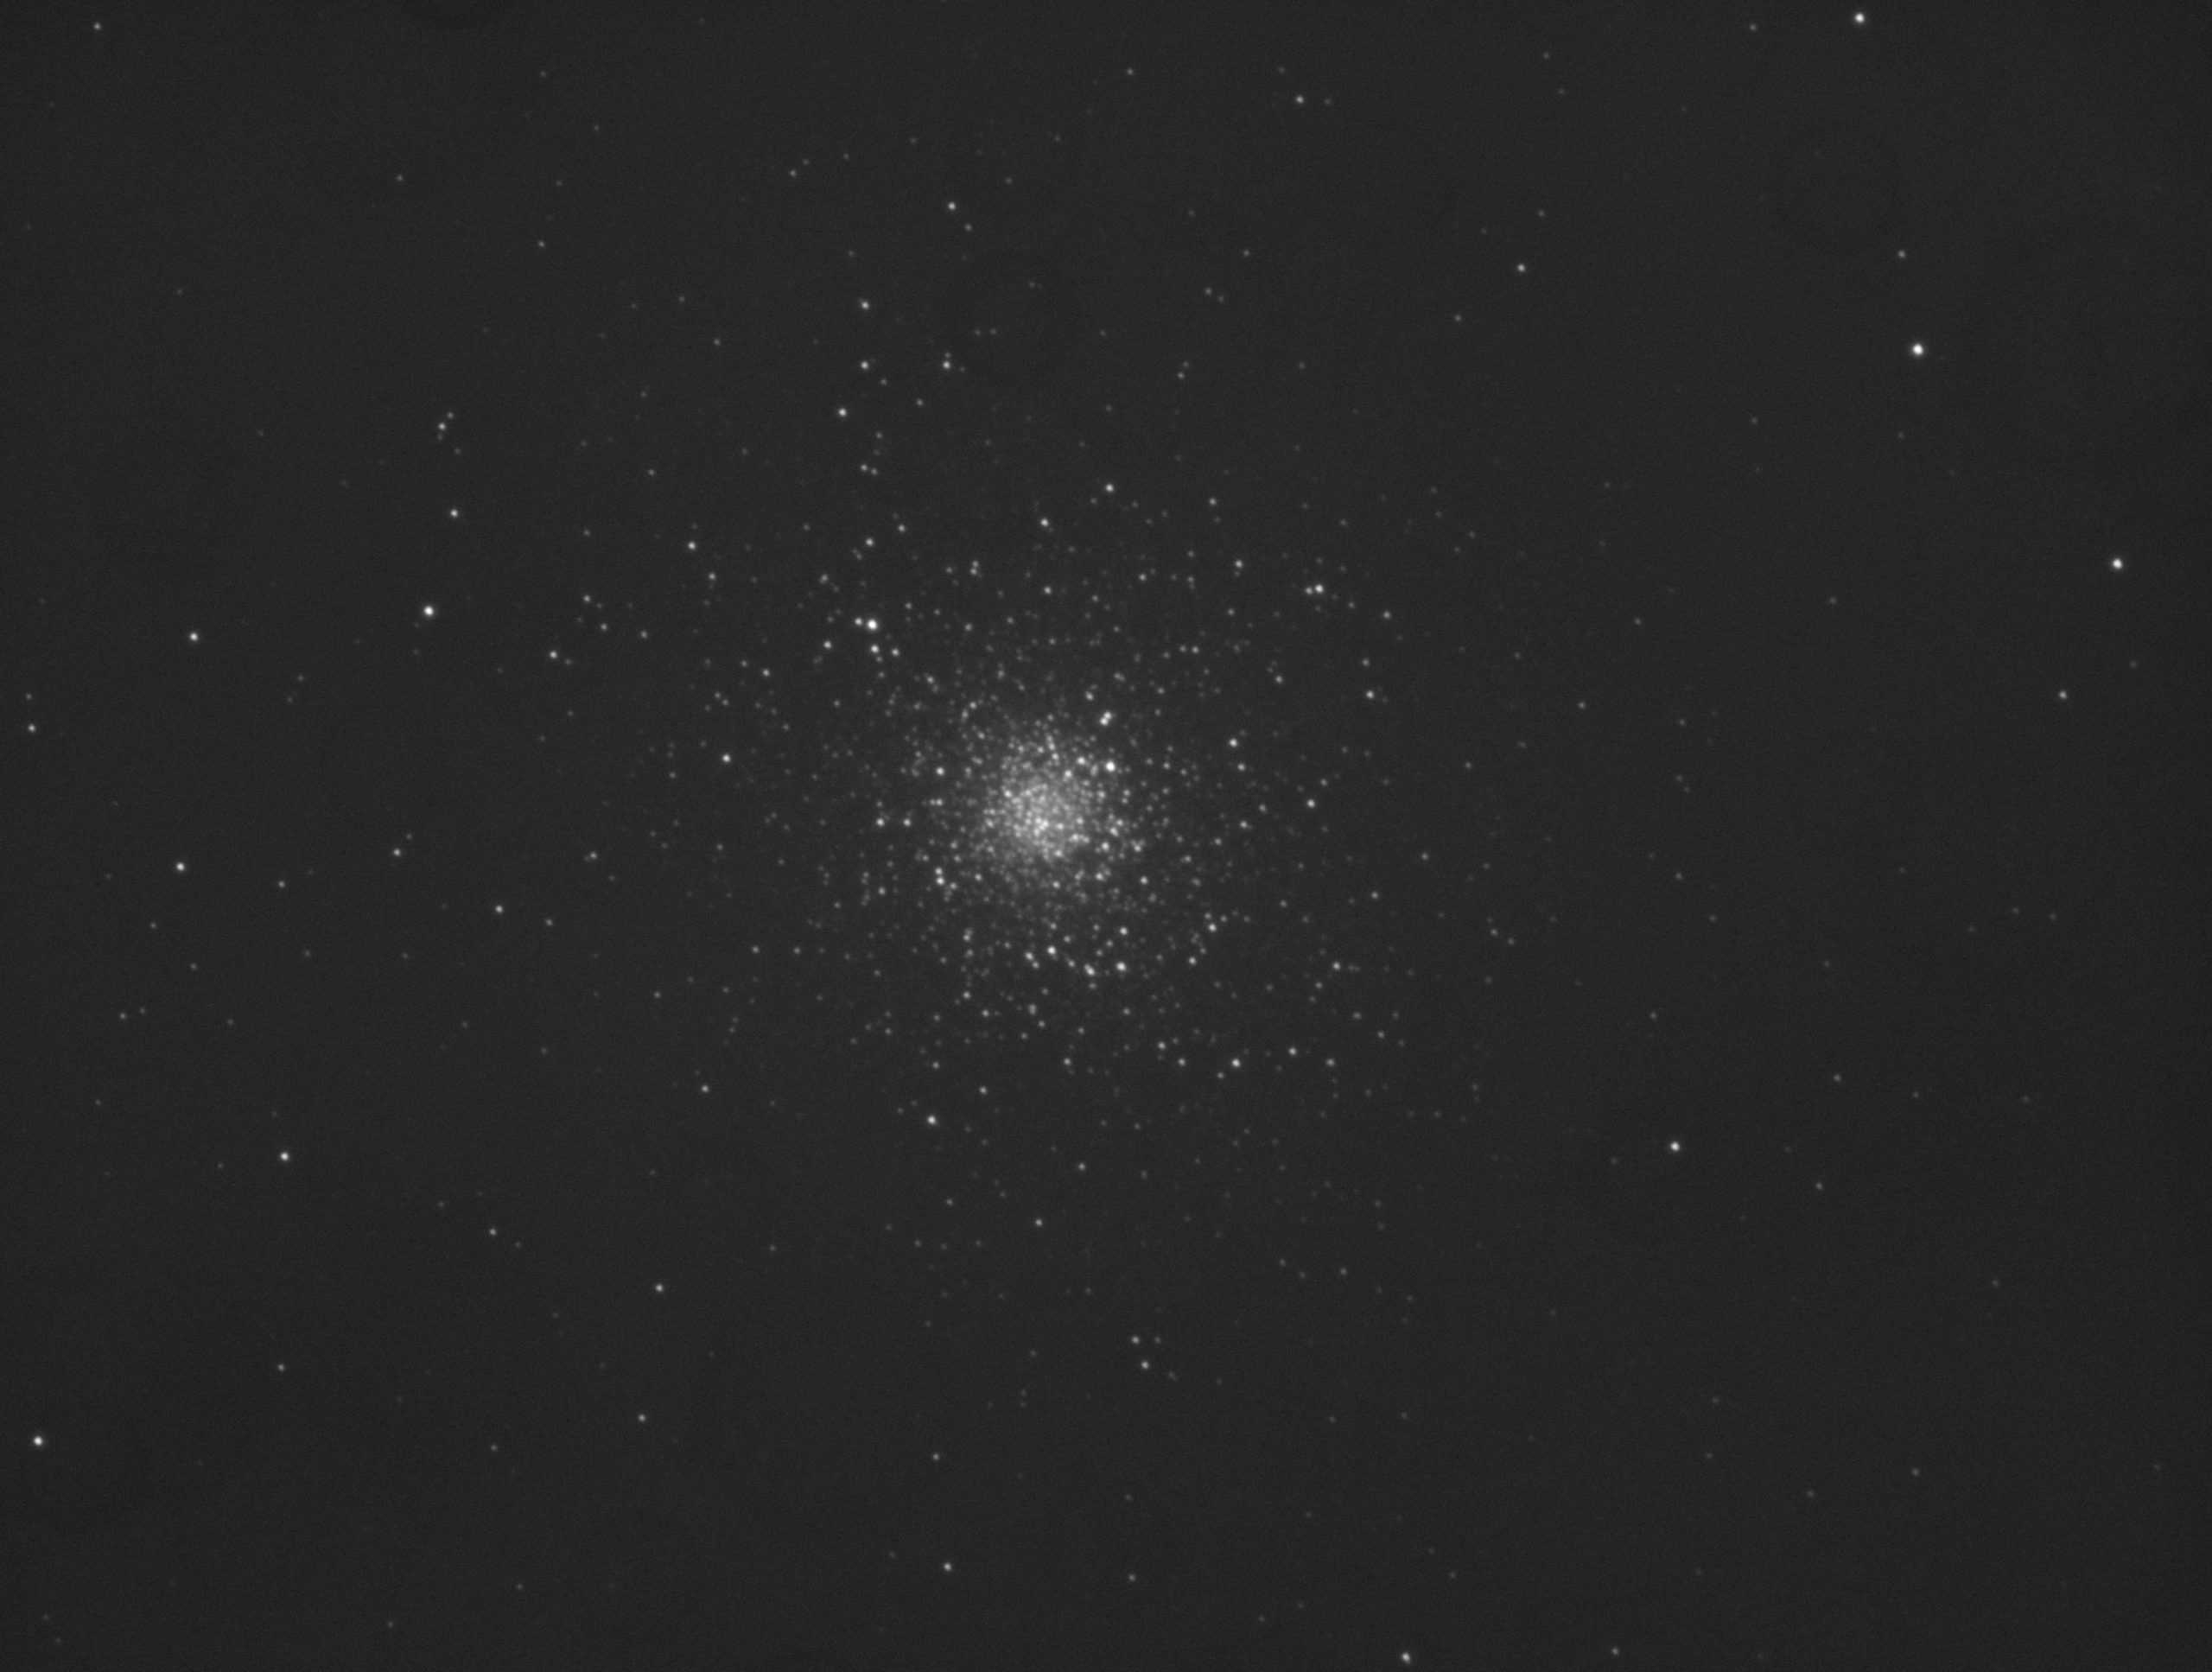
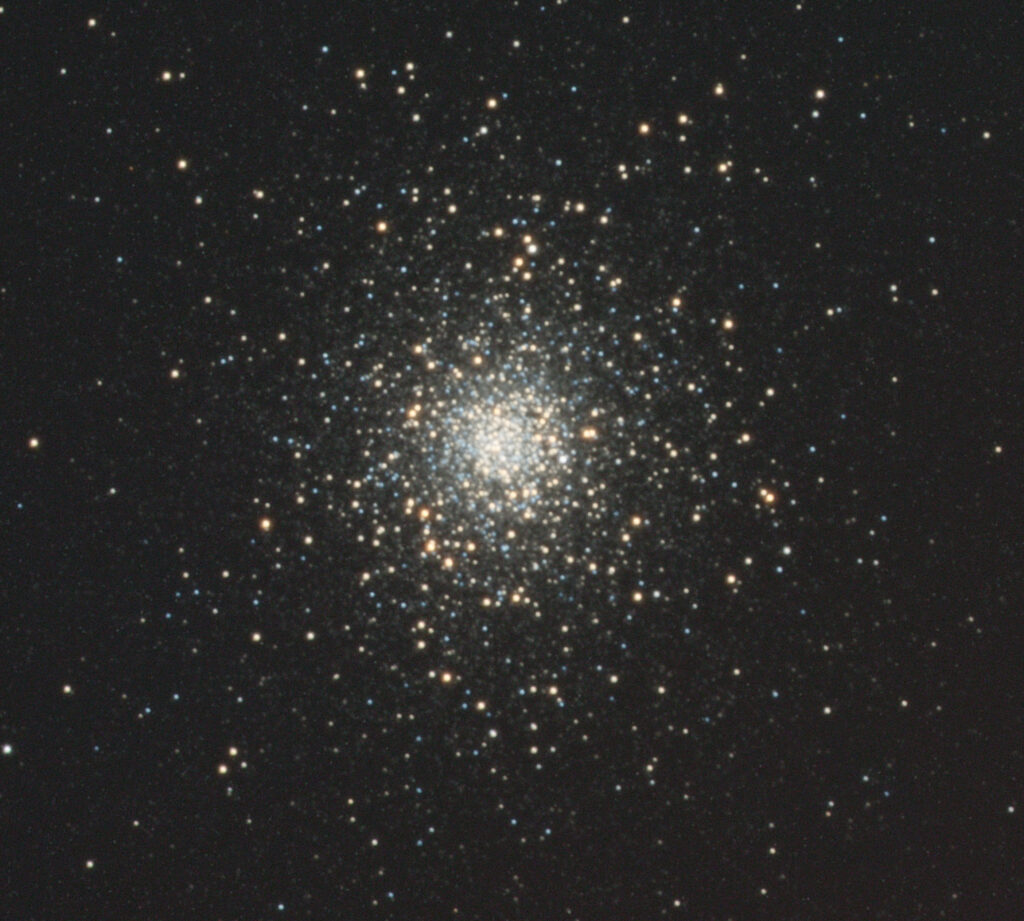
So now that was achieved I went off to image M5, but without the guider as I could not find a guide star……..typical. I chose M5 as we have some frames from a previous night in May but focus was not as good as tonight and the ADU was too high. I left the scope running 60 x Luminance and 30 x RGB and went to bed.

Images captured for M5

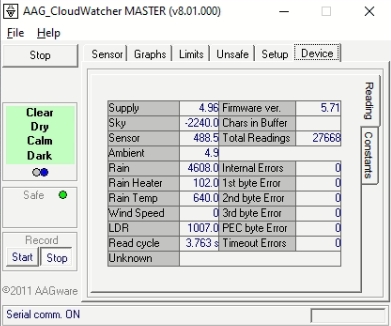
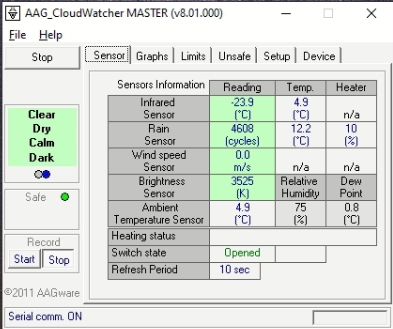
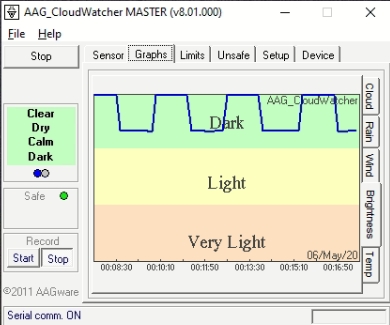
Addendum. The dome shut when the Sun started to rise which is fantastic and working as designed. What is not is the AAG must have hung and although I could see in Windows Task Manager it was nowhere to be seen, not in the icon tray or open as a window. Also I forgot to keep the dome log open in TSX so could not see the time stamp of closure. I will have a check list for the next night out. Also I now realise the pick off mirror obscuring the corner of the camera chip for the main camera so I need to either move where the light is picked off from or move the mirror out slightly without effecting the focus.

OAG Pick off mirror obscuring main camera in corner

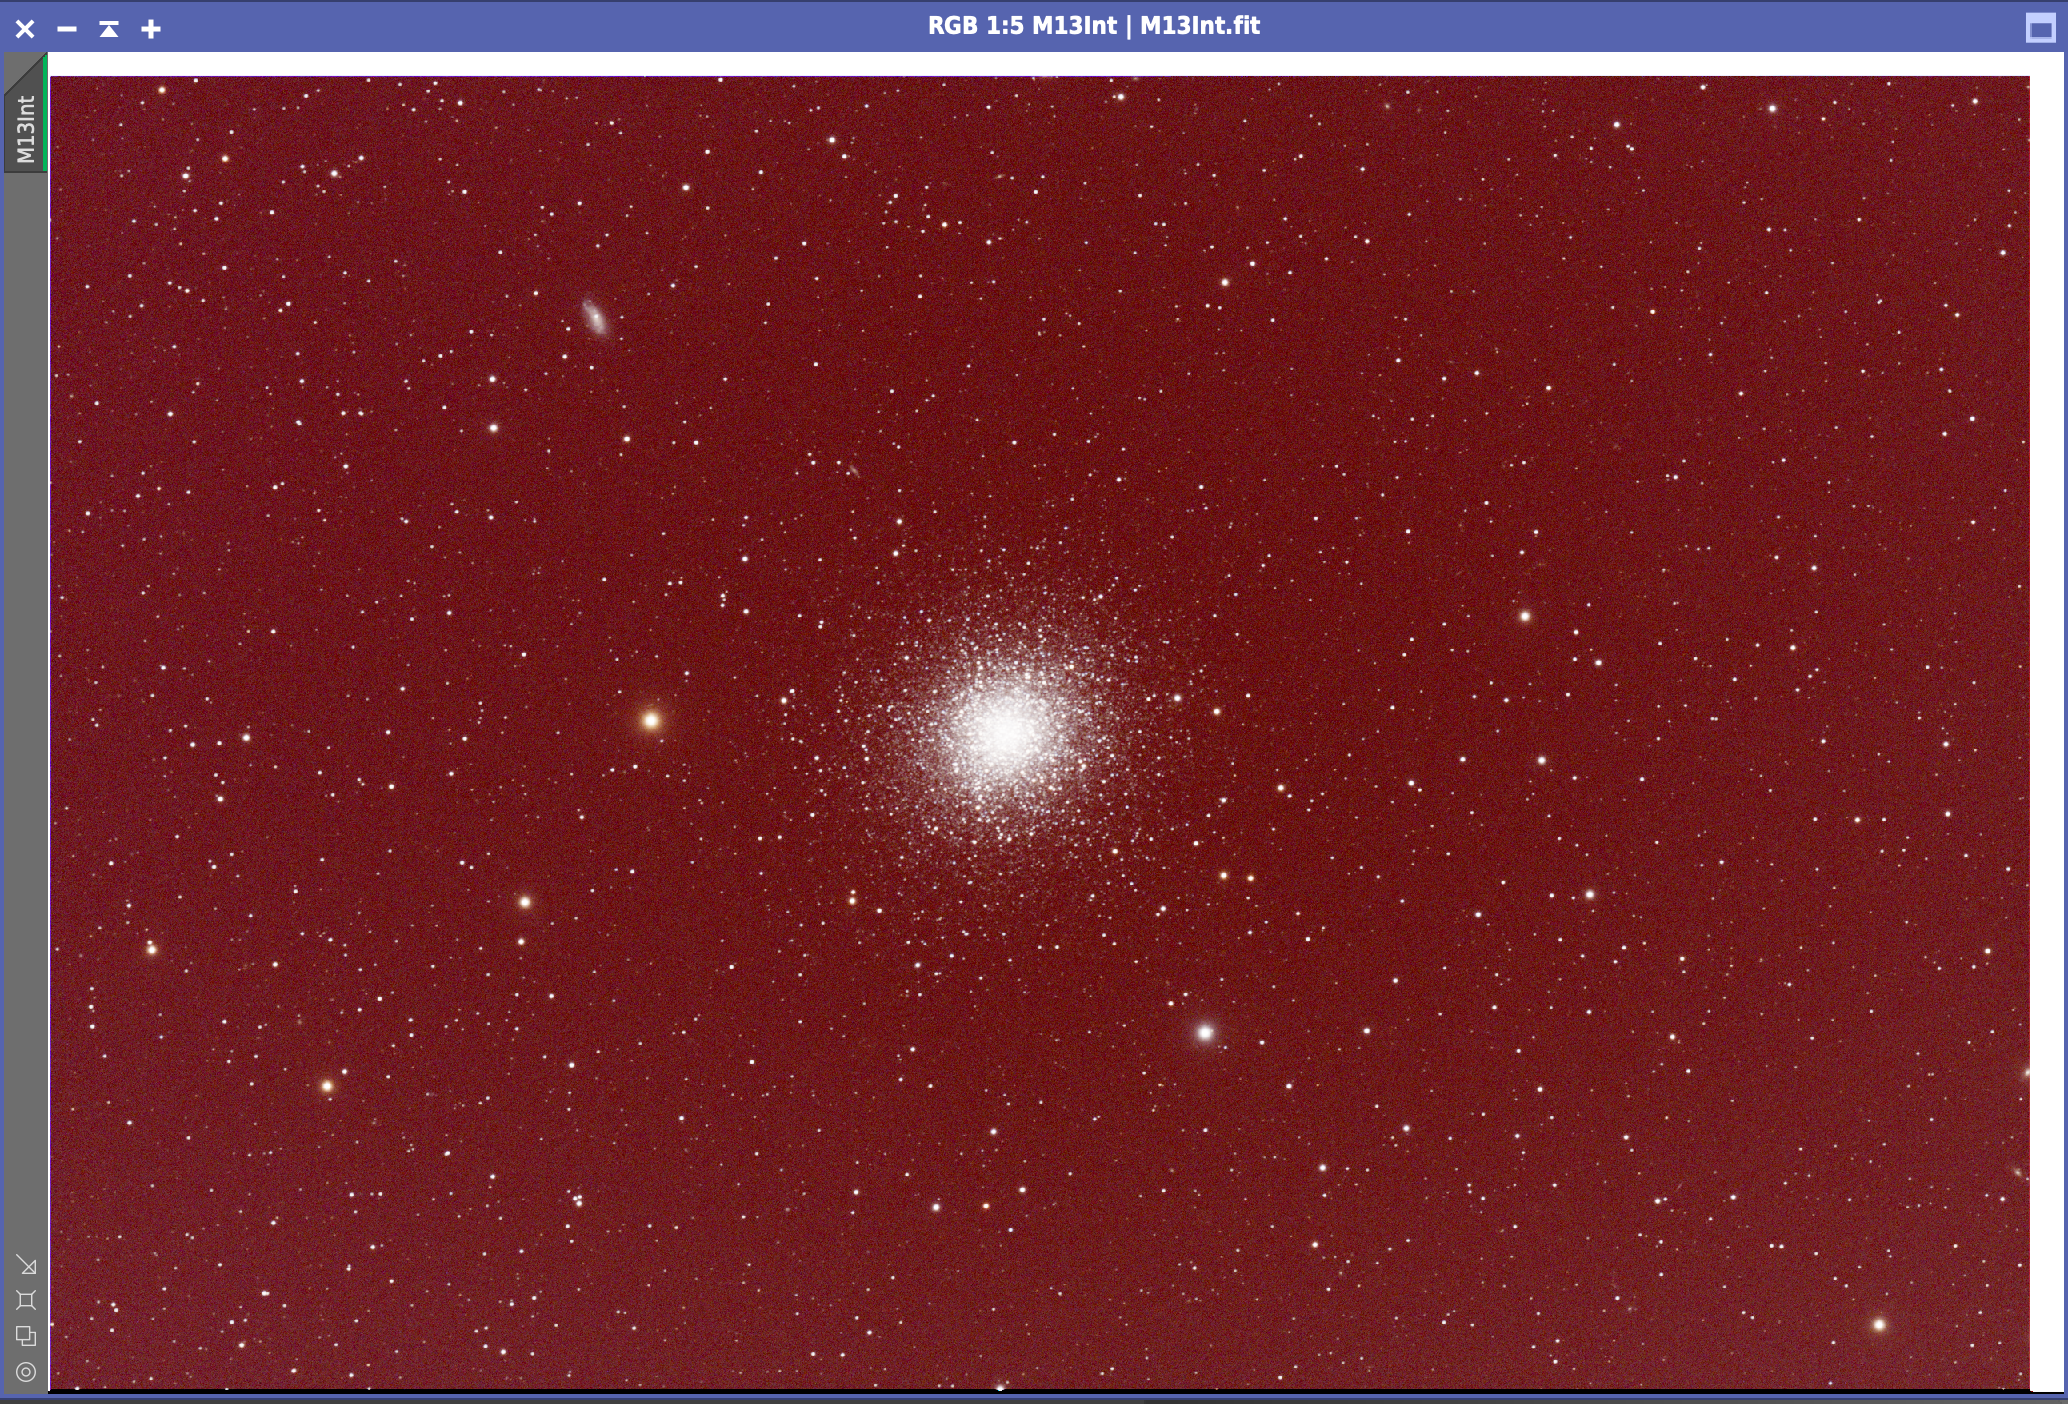
I have also now started to process the image and on close inspection to the frames I can see the cloud moving across in the Red channel. Here is the results for the processed image.

M5 Cropped

Viewing Report – Cinco de Mayo 2020

Moon 96% Waning.

Our TOSA Manual needs updating now that we have replaced the HiTechAstro Deluxe Cloud Sensor with the Lunático AAG CloudWatcher cloud detector.

New Screens to get familiar with:

.

.

.

.

.

.

Initially I was unable to open the shutter of the dome. Thinking I’d forgotten to reset the HiTechAstro relay I soon realised I had to figure out why the AAG_Cloudwatcher software was reporting Unsafe. GingerGeek spotted that the Brightness level looked like a sawtooth and should settle after a few minutes, which it appeared to do and the dome shutter opened successfully.

Following on from my previous observing session on 1st May when clouds interrupted play just as I was completing a Guiding Assistant run in PHD2, I started tonight’s session with a quick look at Venus before it set below our horizon and then had another go at running the Guiding Assistant in PHD2 for the OS 12″ / Tak FS-102 combination, with the Tak as the guider for the Officina Stellare.

Venus in Ha (because it’s so bright).

Crop

As the Tak has an Alnitak Flip Flat attached to it I added it to the profile I’ve created for the OS12 and Tak combination so that the panel can be opened to allow light through to the camera 🙂

Guiding Assistant completed successfully and values applied for RA MnMo, Dec MnMo and Dec Backlash compensation.

.

Y scale = 2, Target Radius = 1.5

Sequence running for 2, 5, 7, 10, 12 and 15minutes.

2, 5,& 7 minutes exposures ok but trailing beginning to show at 10 minutes, quite evident at 12 minutes and very evident at 15 minutes.

Added 8 and 9 minutes to sequence, but both of these show signs of stars trailing.

Started a sequence of 24 x 5 minute exposures.

Aborted at frame 20 as the NGC3628 was now below the horizon.

The image has drifted and NGC 3628 has not remained fixed in the frame, so we still have issues with guiding as that is almost certainly the source of the drift.

02:22 Slew to M5, just off centre.

Slew to HIP 74975 to centre and focus.

De-selected guider.

02:57 Slewed to M5 and started a sequence of 24 x Lum and 8 x R,G,B 120s frames.

Sample Luminance frame:

04:08 SQM graph has started to droop. Was 18.2 before 4am, now down to 18

04:10 ASC image brightening quickly

04:15 SQM 17.54

04:24 Camera Warming Up

Disconnected Guider

Telescope Parked and disconnected.

Dome Parked (shutter closed) and disconnected

De-humidifier on.

Camera Power Off

04:30 I’m off to bed

Image processing notes for travel setup

So I managed to go out and quickly bag a few images of M13 to test the travel scope on the night of the 1st to the 2nd September. It was relatively cool and clear. The main aim was could I take images that were not overexposed on stars whilst capturing the fainter stars at the same time. Also I wanted to make sure I could process an image too.

So all in I took 10 x 5 minute exposures but unfortunately I had not read the Skywatcher manual and had not locked up the focus tube. This meant that the first 3 frames were out of focus so I tightened the locking latch and then took the other 7.

On processing the image I noted the black (white) band to the top and right of the image where I had not switched off the setting for Overscan. I could not PixInsight to recognise it properly so I simply pre-processed the image and then cropped it out before processing.

Overscan area present

I managed to get Photometric Colour Calibration working which helped get the colour just right. I then processed in my usual way using the following workflow.

Photometric Colour Calibration Results
Photometric Colour Calibration Settings
  1. Calibrate with Flats and Darks only no Bias as it is a CMOS camera
  2. Integrate the frames
  3. Align
  4. Perform Cosmetic Correction
  5. Debayer
  6. Crop
  7. ABE
  8. Background Neutralisation
  9. Platesolve
  10. Photometric Colour Calibration
  11. Histogram Stretch
  12. TGVDenoise
  13. ACDNR
  14. Curves
  15. Dark Structure Enhance
  16. Exponential Transformation
  17. 2nd set of Curves
  18. SCNR for green

The final image was ok for the short amount of data I obtained and proved my capture setting and workflow worked

M13