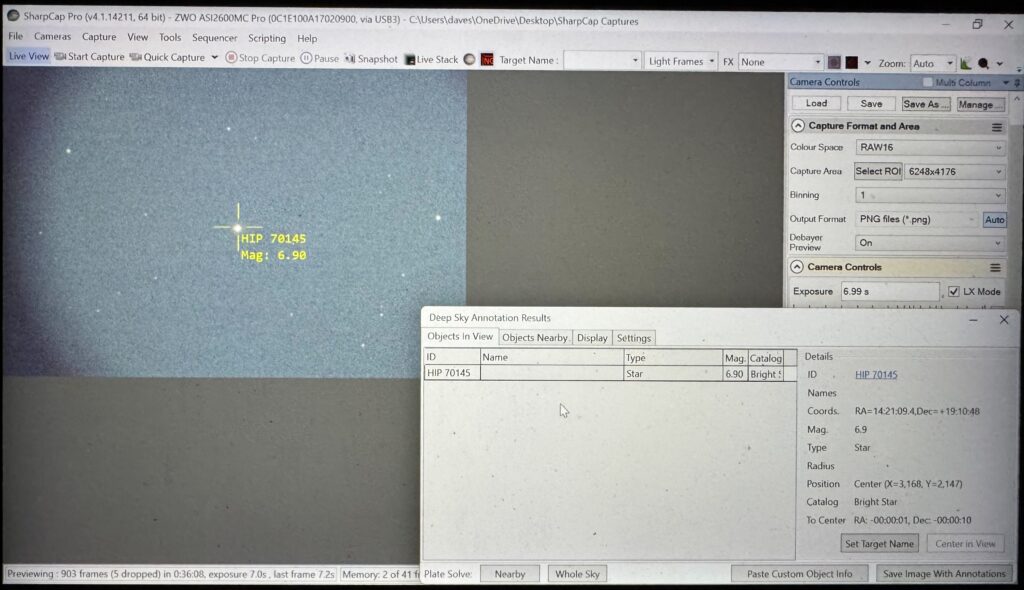
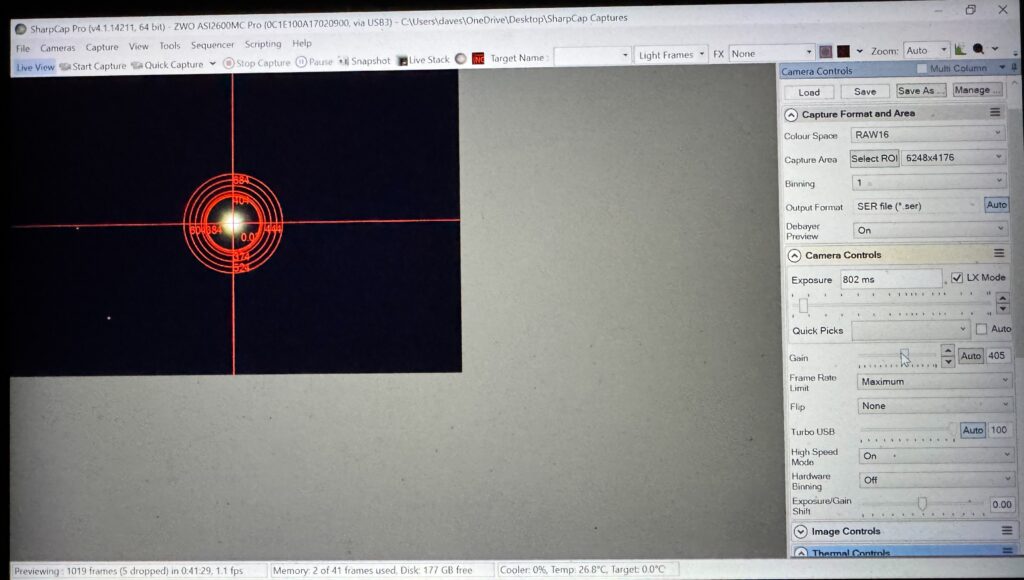
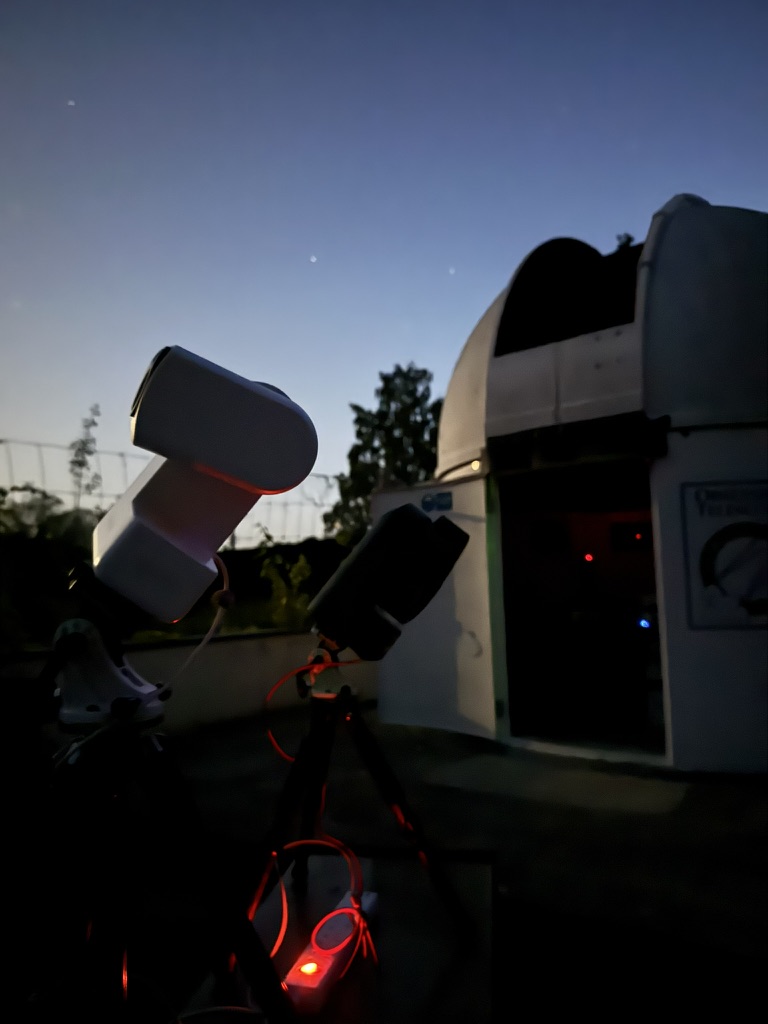
The forecast stated cloud, but we have clear skies! Had I not checked WhatsApp and the BAS group I would never had known, unless perchance I stepped outside and looked up🙄
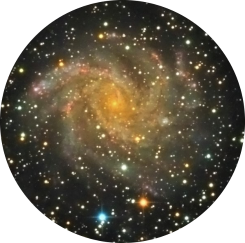
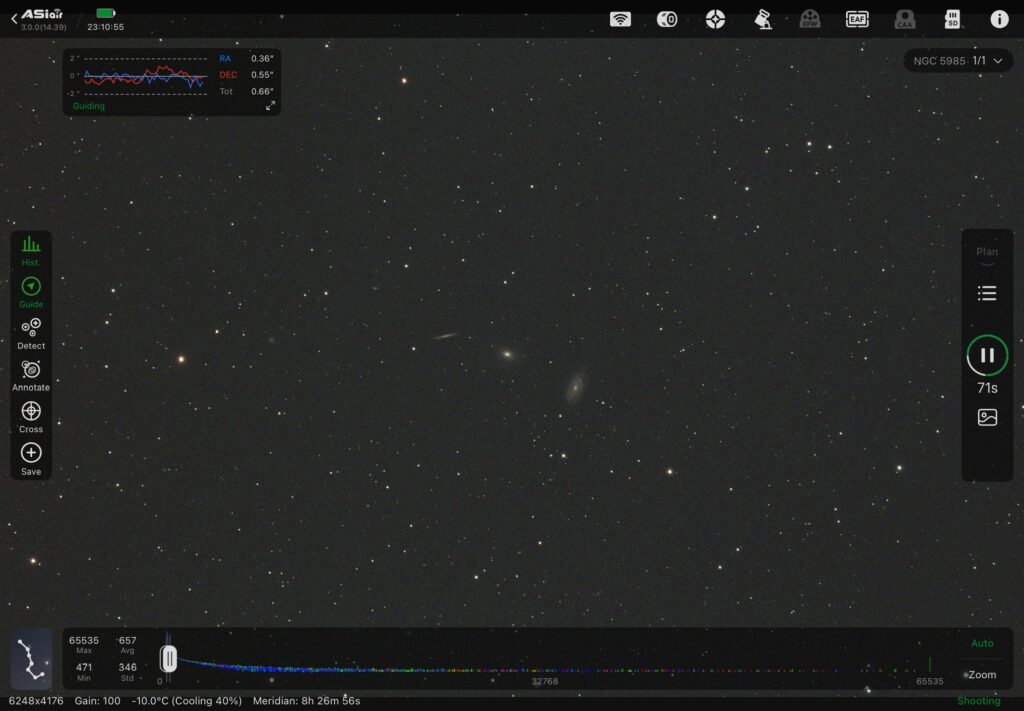
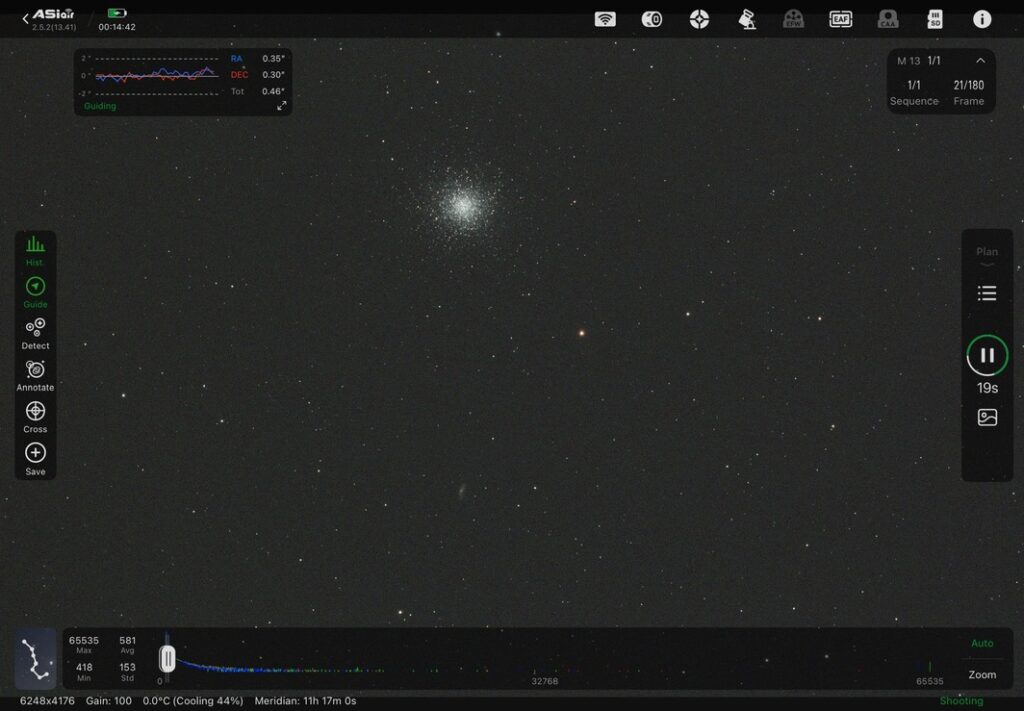
Imaged NGC 5985 until 2:07am
Imaged new object NGC 7479 from 2:14am then went to bed
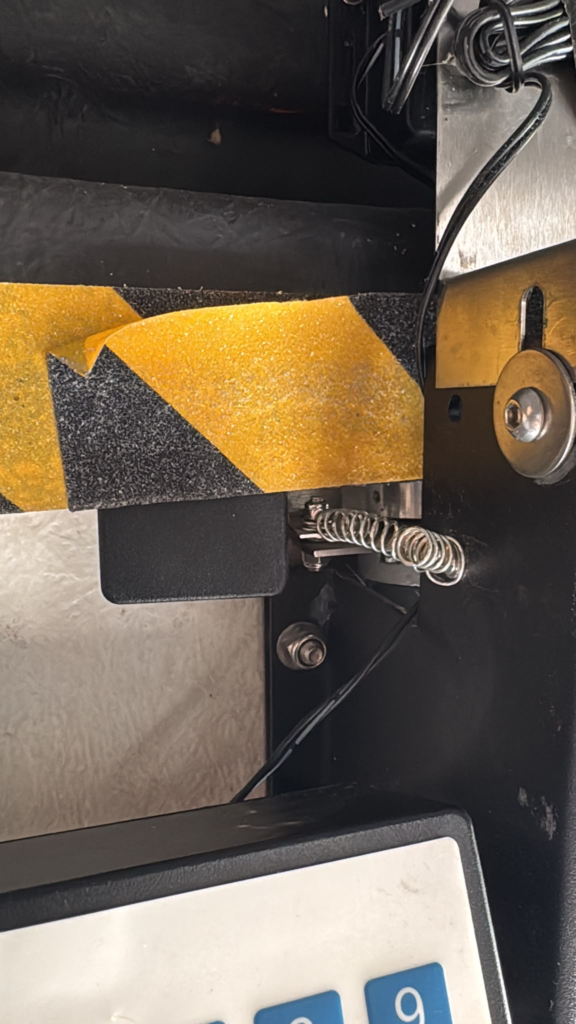
So today I decided to take a look at the Pulsar dome and its rotation problem. It transpired that the spring had stretched and was unusable that pulls the encoder wheel against the dome. I had to buy a 7mm spanner and I found a replacement spring in my workshop and fitted to fix the issue.
New spring on the encoder wheel
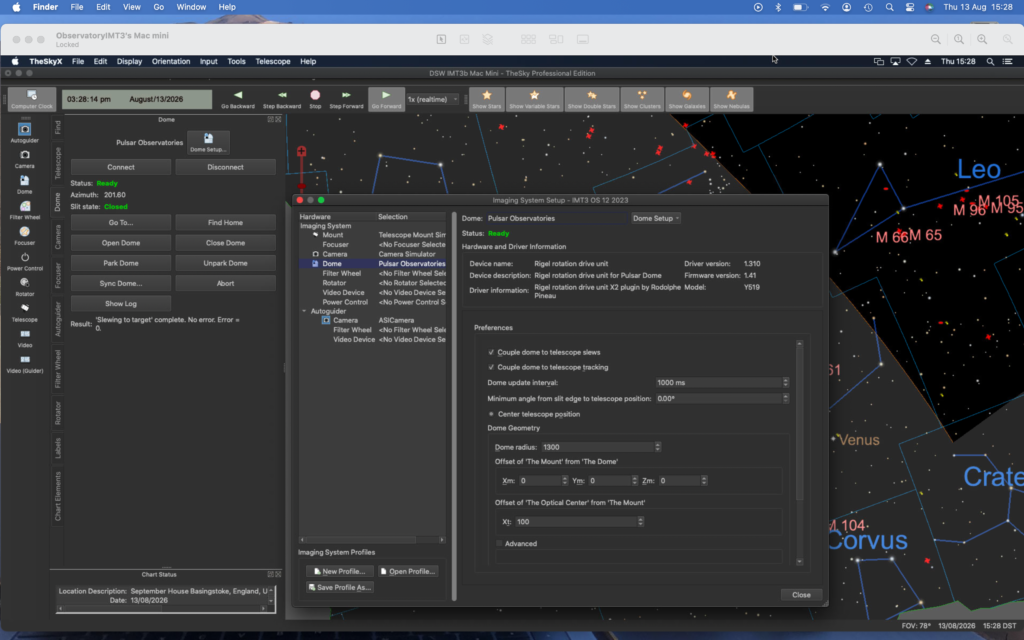
I then set about setting up the dome within TheSkyX (TSX)that I am now going to use only to run the dome. The way I have arranged this, as TSX does not have any connection to the ASIAIR, is that TSX connect to a simulator telescope and then to the dome. I then point the simulated telescope to the same object I am imaging with the ASIAIR and then the dome slews to the correct Azimuth. My home parked position is an Azimuth of 124º.
Dome geometry set in TSX
I set the dome geometry removing the settings I use to have for the 12″ scope Paramount MEII that use to be in the dome, replacing with the single figure that was needed for the AM7 with the Esprit 150, which was much simpler. A figure of 100, mm in my case. for the Xt value showing the offset from the centre of the AM7 axis to the optical centre. This seems to give me a good rotation so far. Over the coming nights I will test the accuracy and tweak if needed.
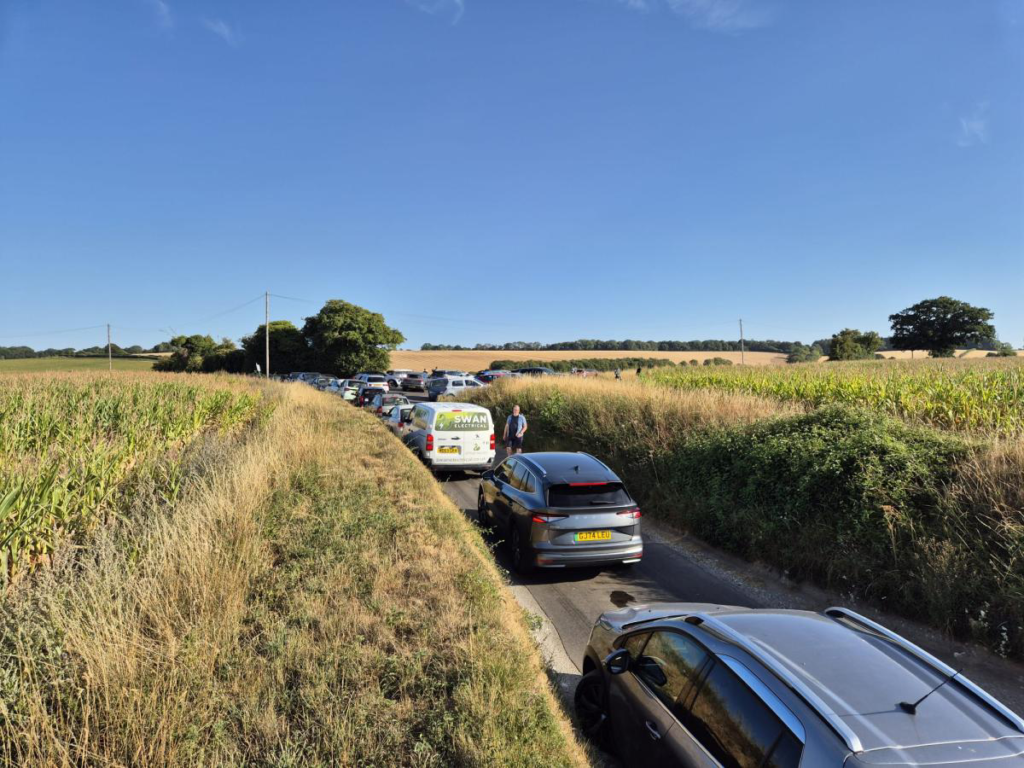
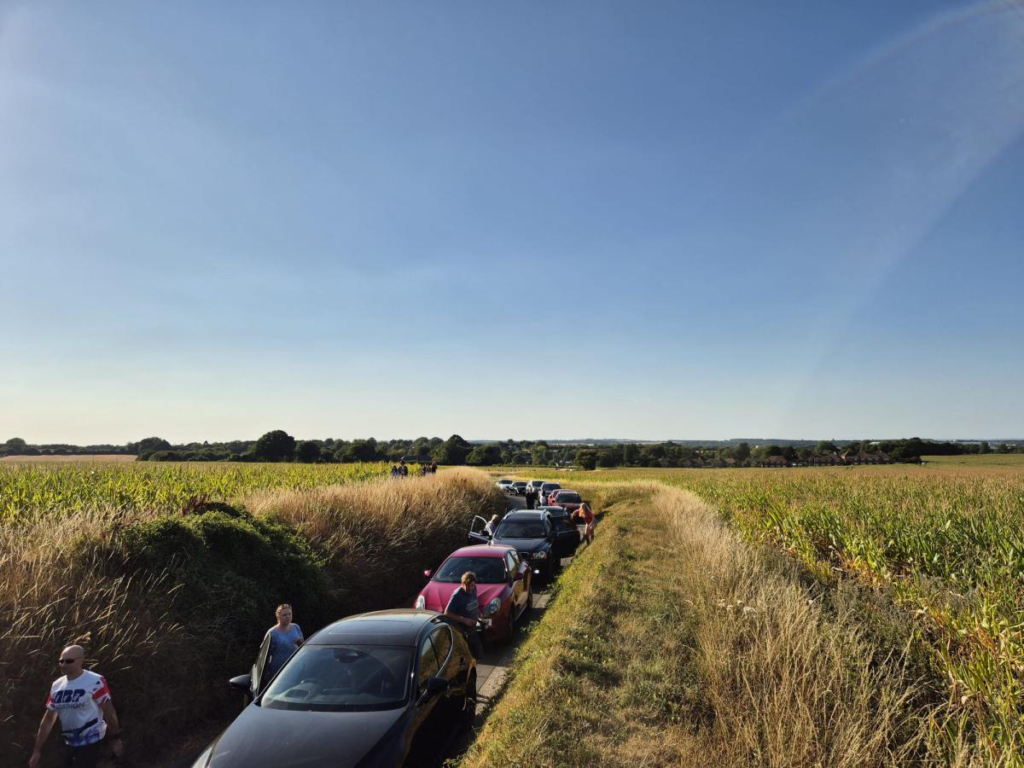
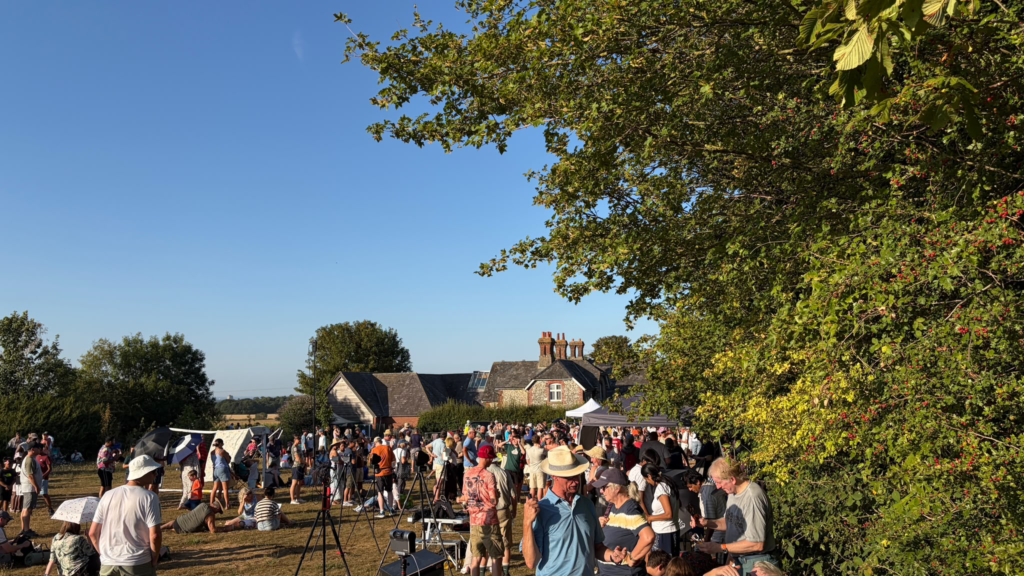
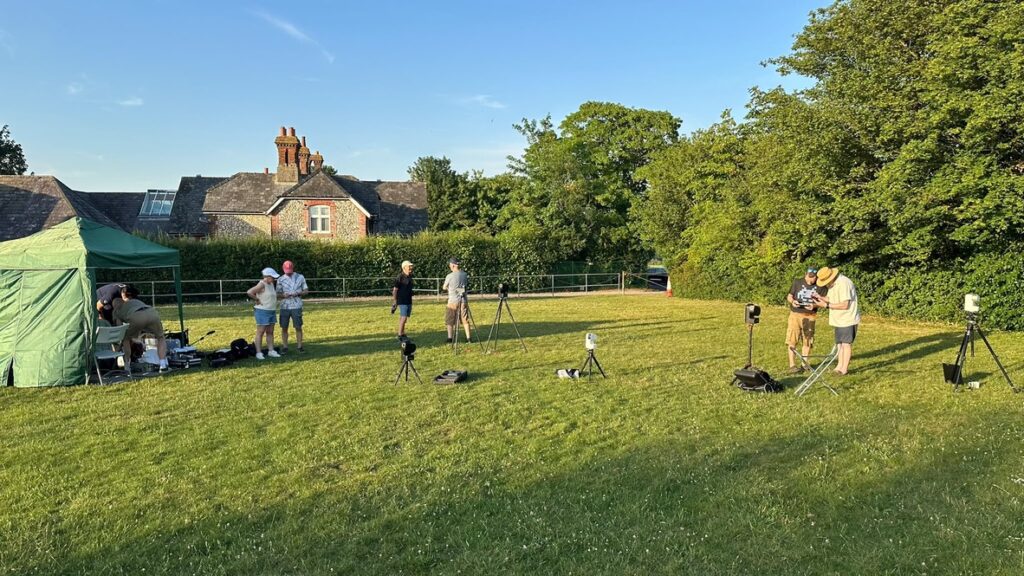
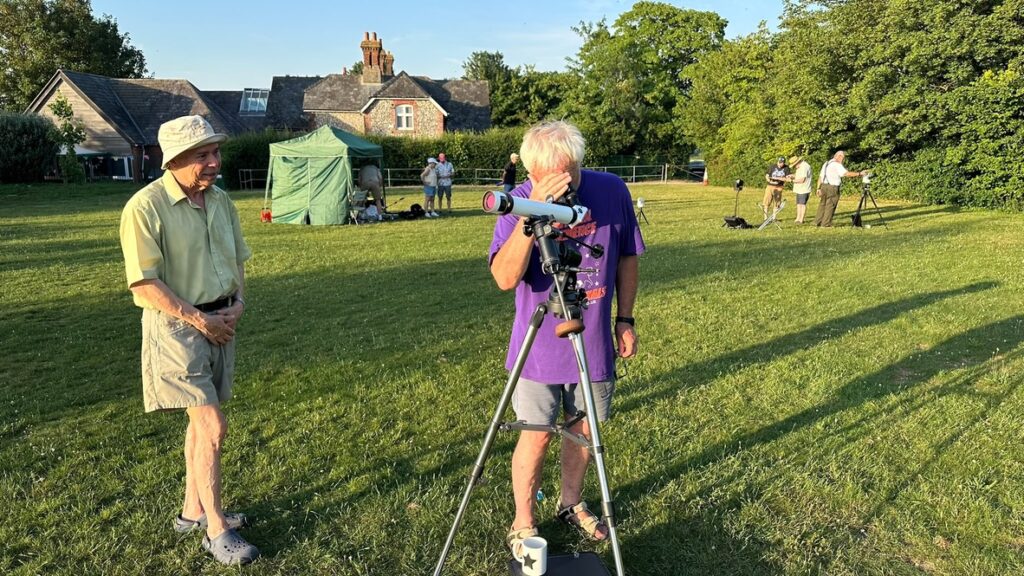
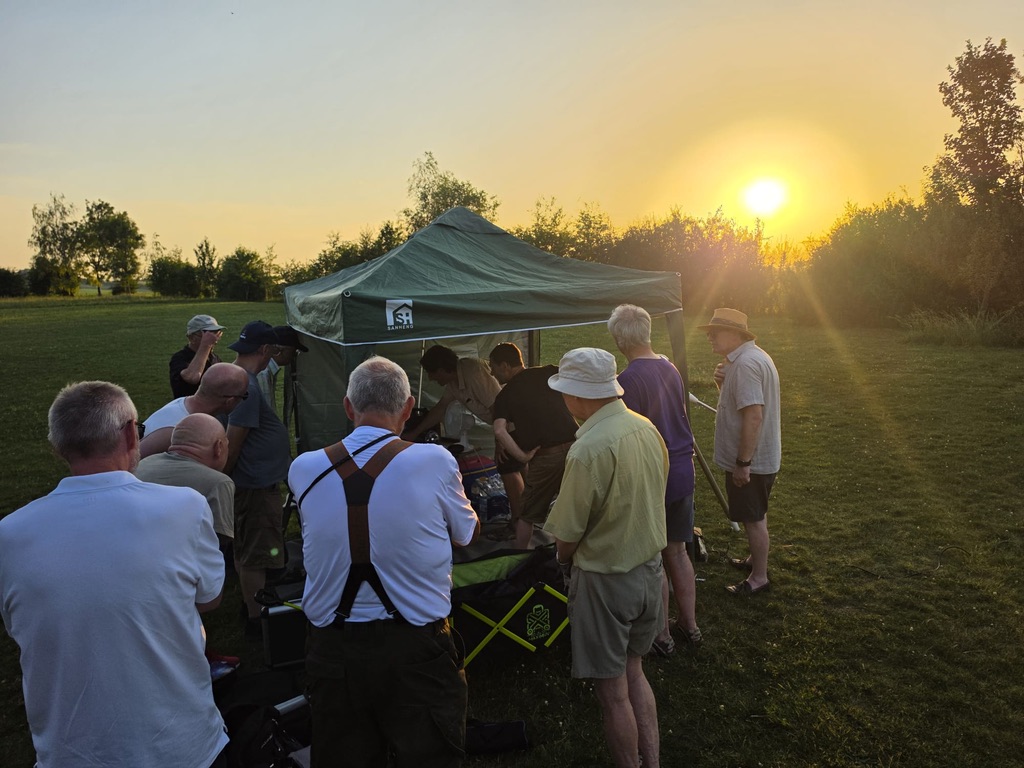
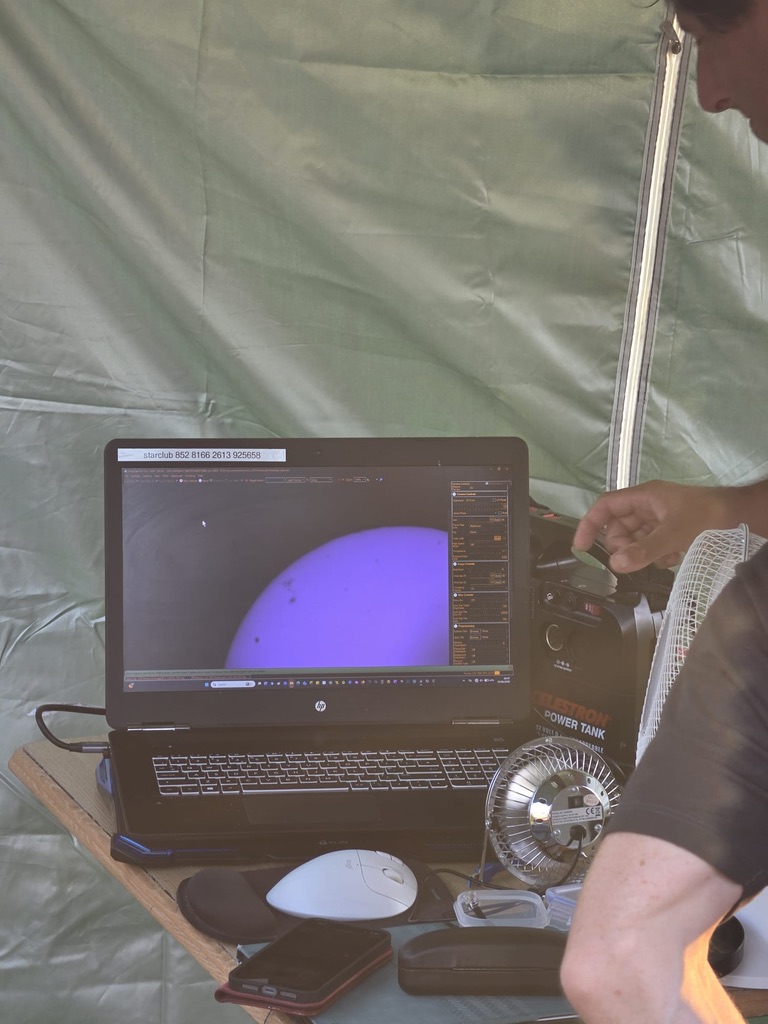
I supported the local Basingstoke Astronomical Society today in showcasing the partial eclipse with the public from across Basingstoke. We were running a last minute event from Cliddesden Primary School in the playing field which is surrounded by beautiful countryside. We expected as with similar viewing events for a few 10s of people to turn up, however due to social media and the the story running on the local paper website we were about to swamped by many hundreds of visitors all eager to see the eclipse safely.
Car mayhem in Cliddesden ahead of the eventCar mayhem in Cliddesden ahead of the event
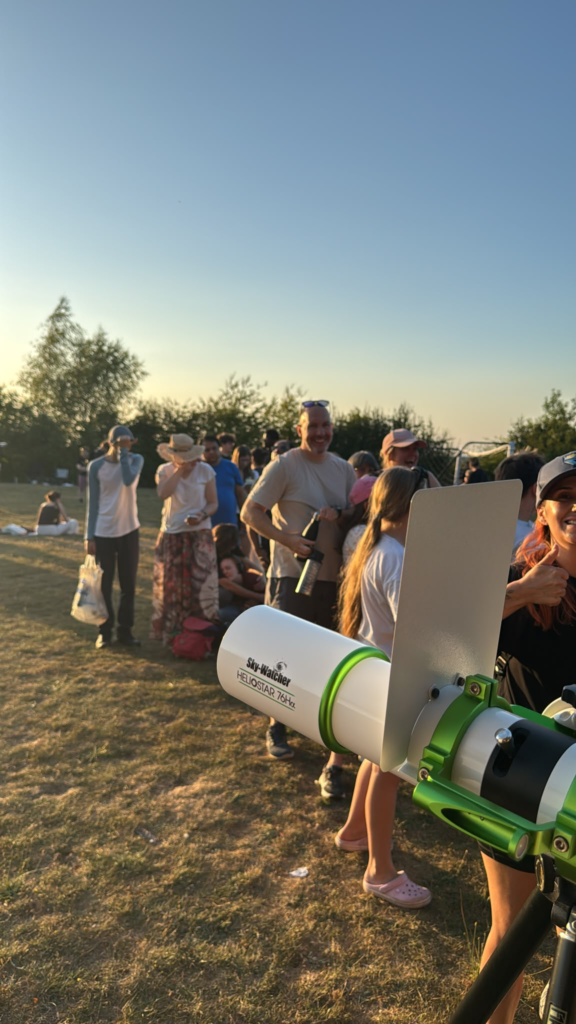
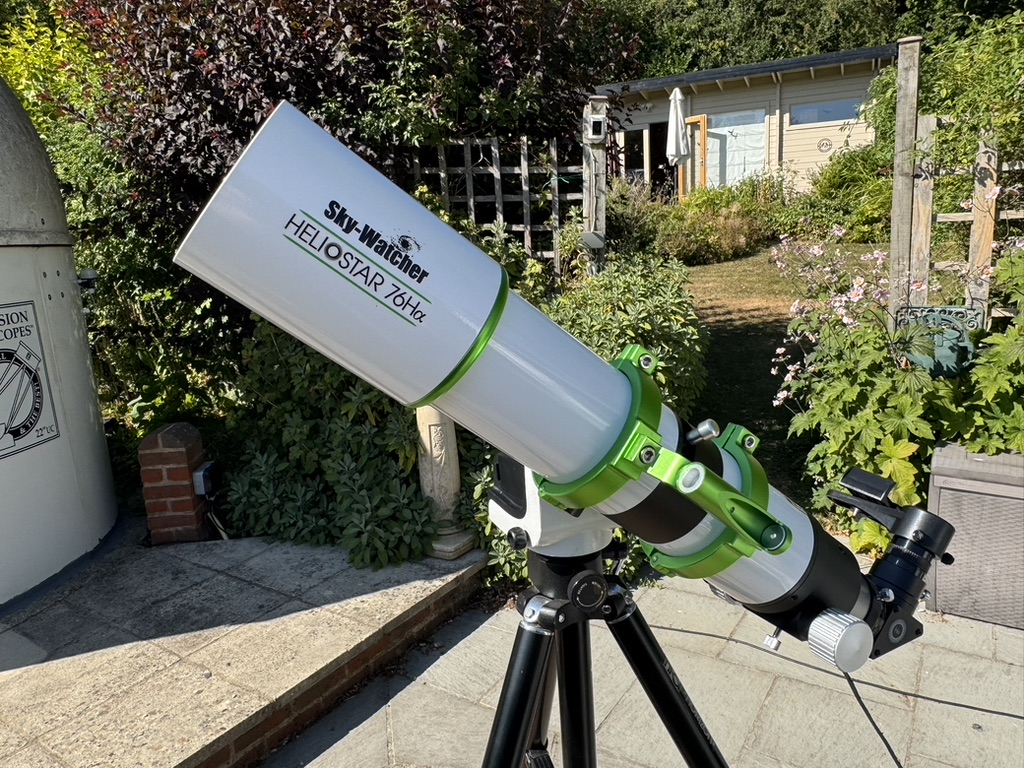
I arrived and started setting up at 4:30pm. There was already a queue waiting to be told to come on the field. As soon as my Sky-Watcher HelioStar 76Ha was setup I called the public onto the field and they started to queue and view through my scope whilst the others from our society setup. My queue never let up for 4 hours!
My queue!!!
Absolutely amazing and the plaudits given from the very young to the very old were so rich and welcoming. It is an absolute pleasure to inspire the public and share the wonders of the universe around us, I hope that many will look us up online and become interested in our little society.
The crowds start to build up
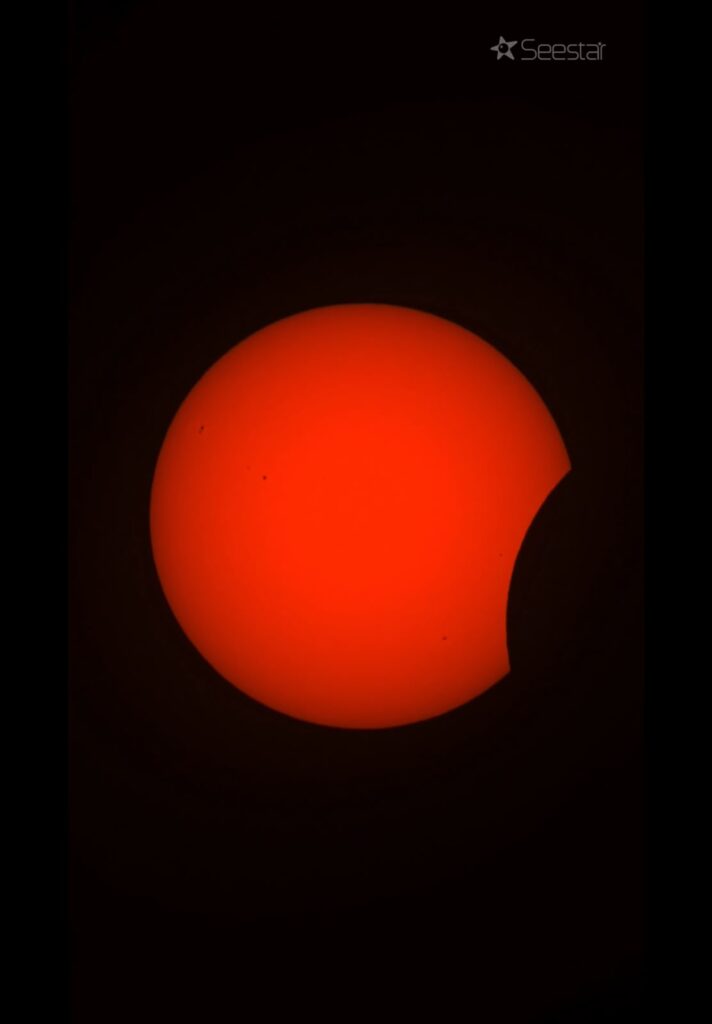
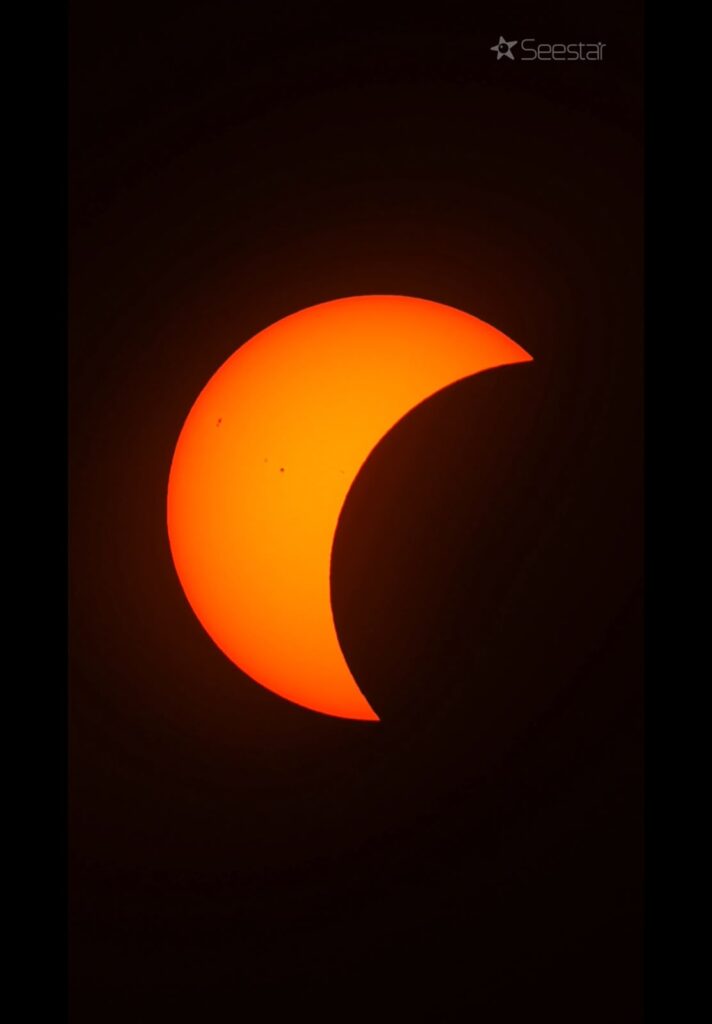
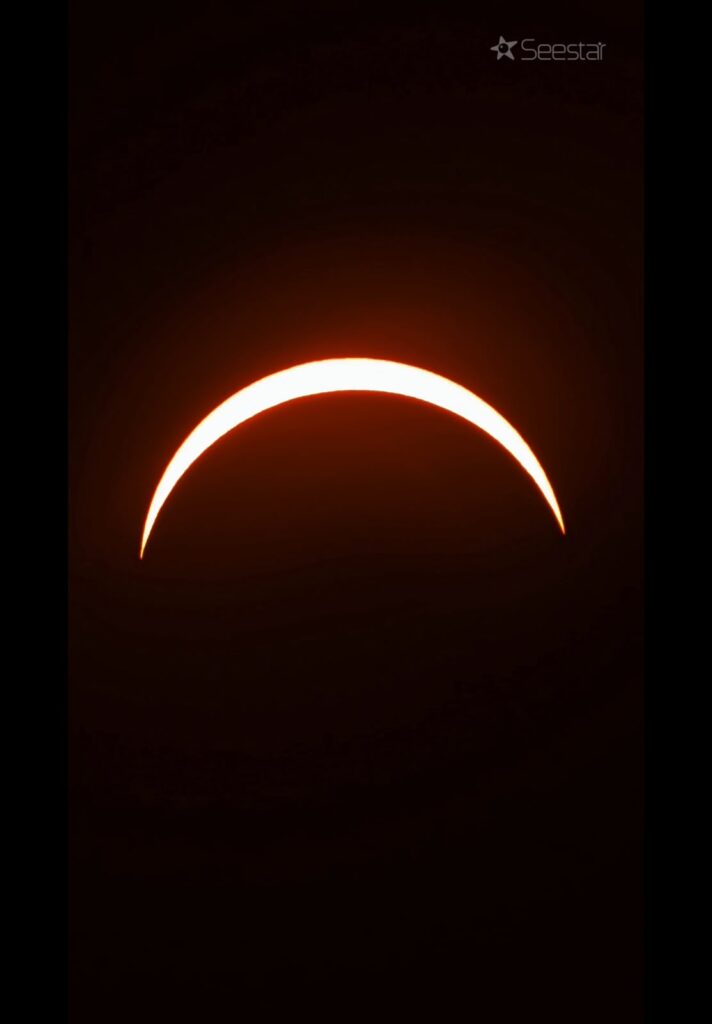
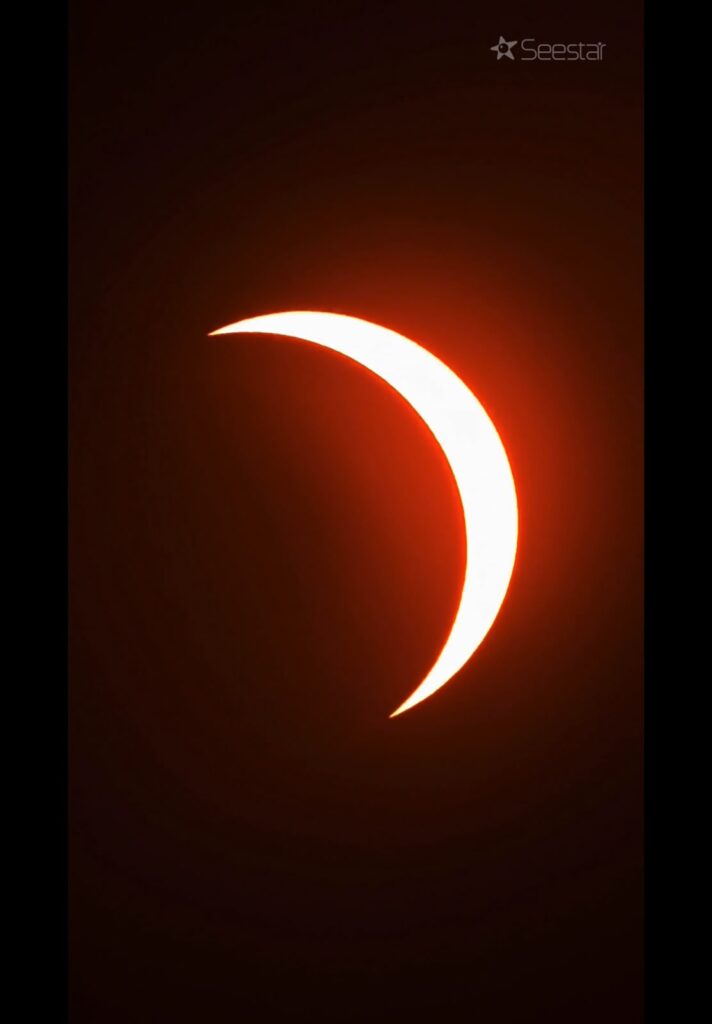
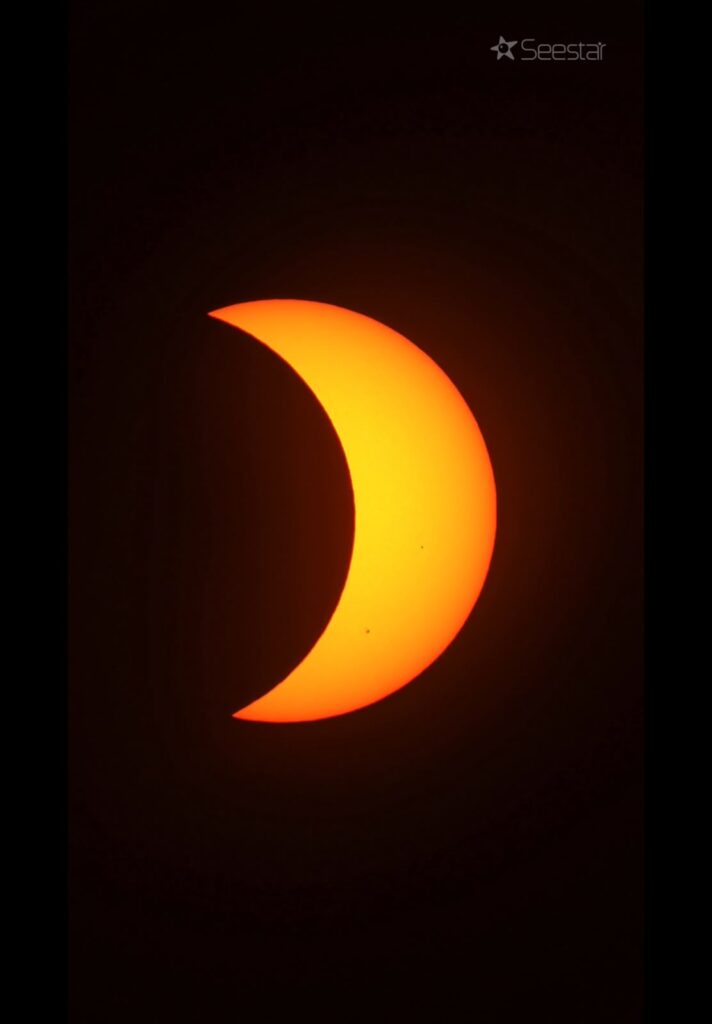
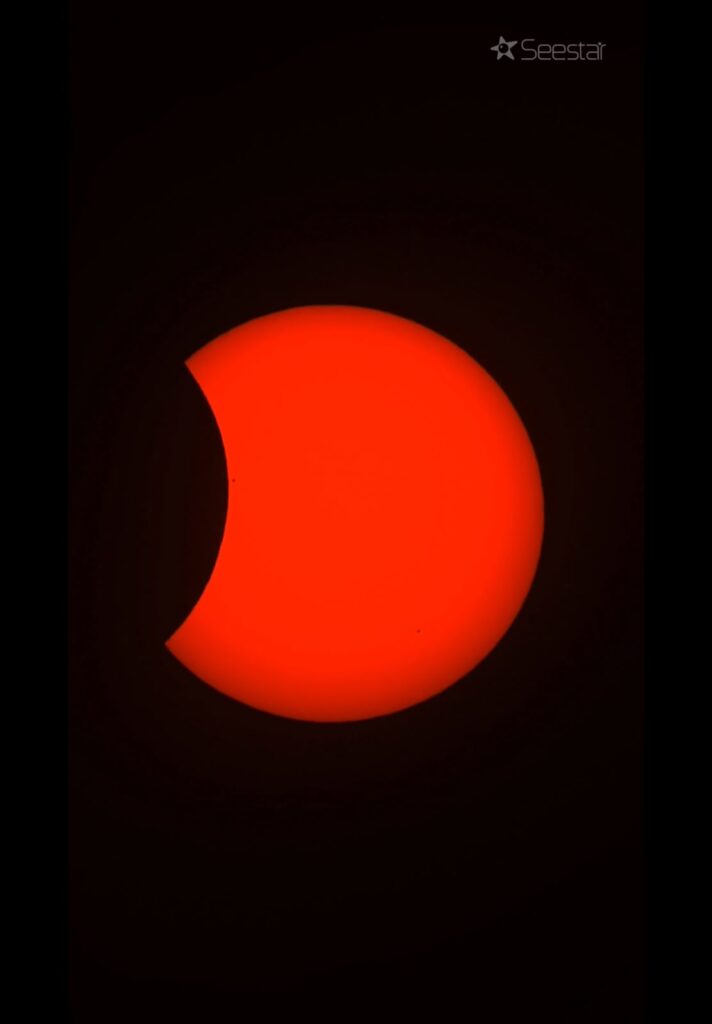
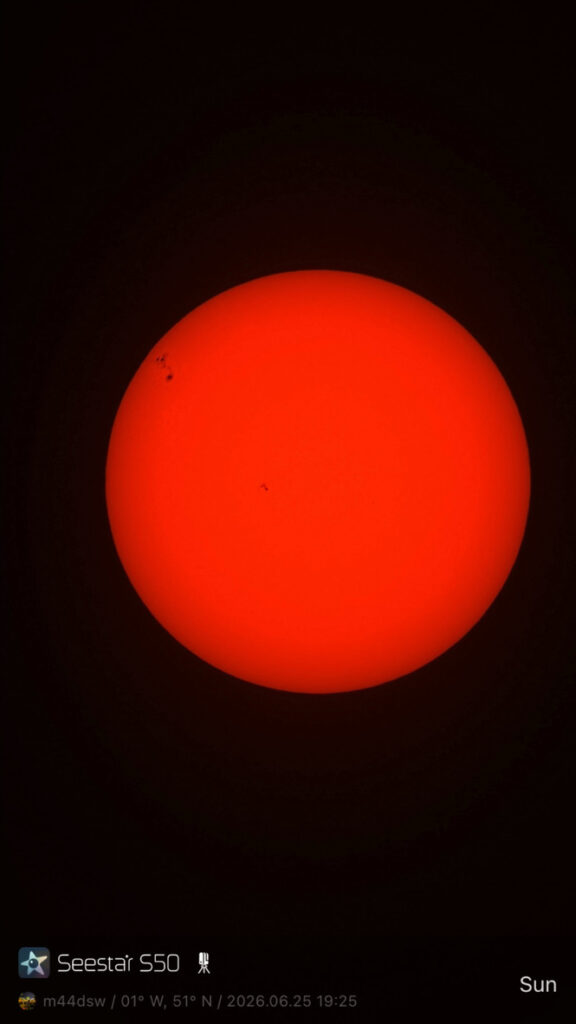
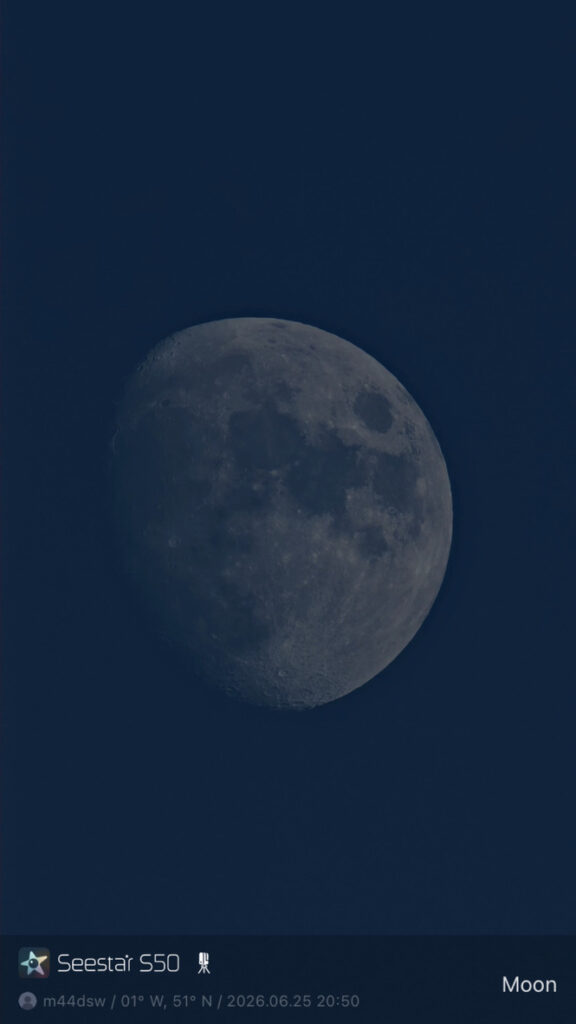
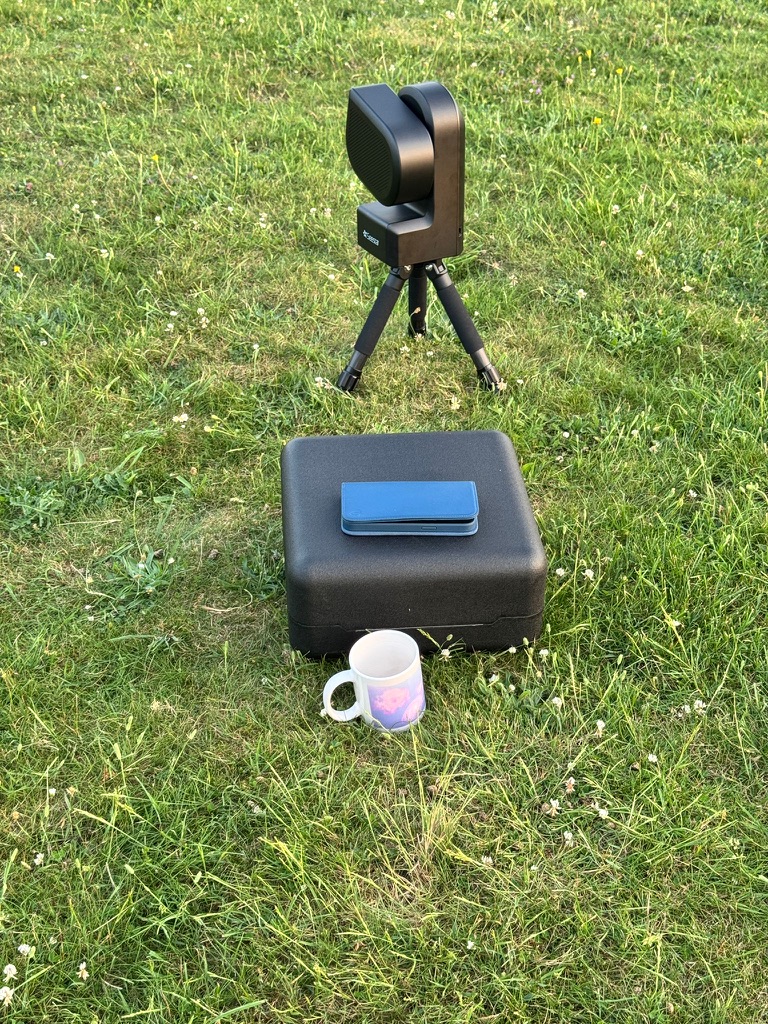
I recorded the event with the Seestar S50 with my family member Luke running not only my Seestar but also his S30 at the same time. The end of the eclipse was missed due to the Sun setting behind the trees in the distance.
Seestar S50 Partial Eclipse
A selection of frames from this image can be seen below.
I let the dome running tonight on another run for NGC 5985, the galaxy line in Draco. Whilst I captured 60 images at 300s, quite a few of them were obscured by the dome which was caused by the dome being misaligned. I need to relook at why this is. Is the dome slipping? Is the dome at 1x sidereal rate, operated from the controller within the dome without a computer input somehow not tracking at the correct rate? I will investigate.
I received my new solar scope today, the Sky-Watcher 76Ha. It is superb! I setup and tested out with the 20mm eyepiece that ships with it. This is ok but the eye relief is very shallow and not great. I replaced this with my TeleVue 24mm Panoptic. The scope only takes 1.25″ and not 2″ which is a shame.
Afocal image using iPhone
With the 24mm Panoptic the view is lovely and the eye relief is much better. I did try putting in the TeleVue barlow, however the eye relief once again becomes poor, despite the view and detail seen being much improved.
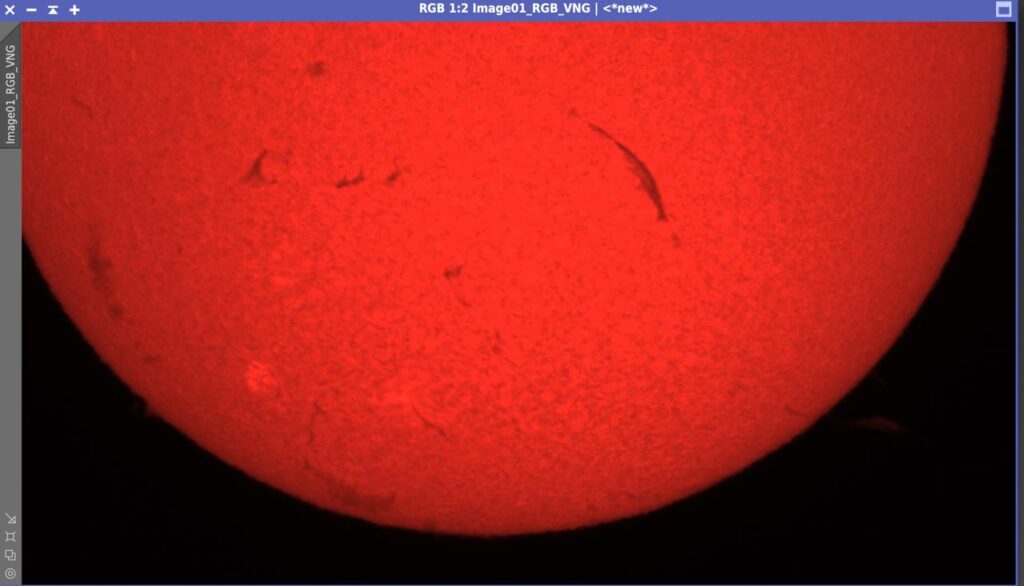
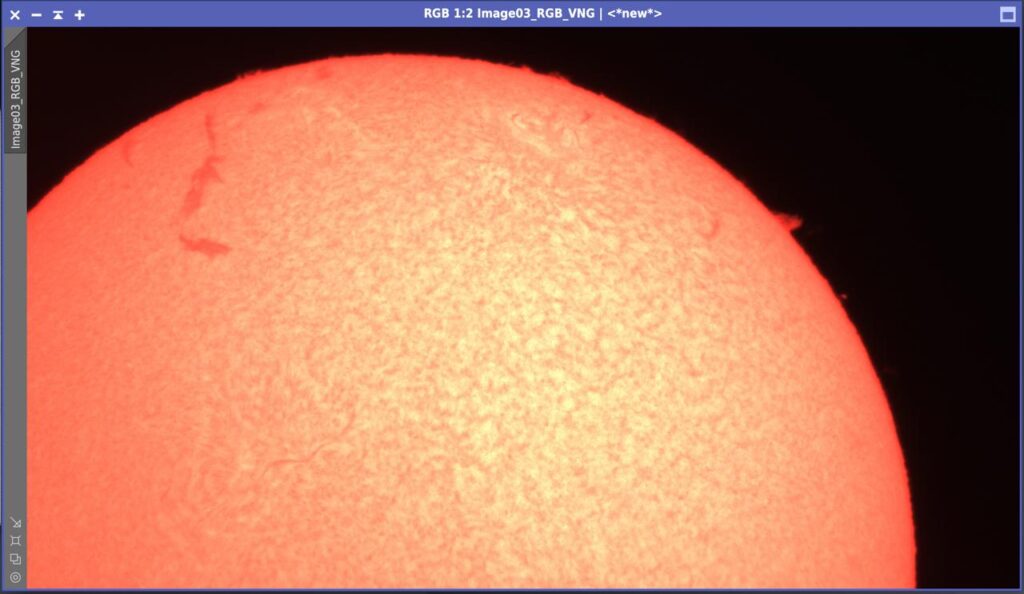
I can see filaments on the surface of the Sun. I can see granulation. I can also see many prominences today.
I then put my ZWO ASI290MC planetary cam in replacement for the eyepiece and refocused. This sensor is small and I could not get a fan disc, however what I saw with no processing was great, I now need to improve on it.
I have the scope mounted on the Sky-Watcher AZ GTi little mount that I bought off my friend Nigel. This is great for solar. I need to remember to setup the scope pointing towards Polaris roughly in the daytime sky before I turn on the mount, else it goes the wrong way, mainly pointing down.
Once I got the mount working with the the SyncScan Pro app, adjusting it was easy. However as I was slightly off Polaris, the scope does tend to drift. No matter, a few taps on the hand controller and it reenters well. All of this in preparation for the 12th August the partial eclipse of circa 93%.
Test image. Screenshot.Test image. Screenshot.
Now the Sun has gone down I have opened the dome and have slewed to NGC 5985, a galaxy with other associated galaxies in Draco. This has been on my list here https://sites.google.com/site/shavewall/objects-to-image under Galaxies for a long while.
NGC 5982 and friends
I started imaging at 22:57 and captured 46 images at 300s throughout the night. finishing at 3am.
Tonight is prep for planetary imaging and in particular Mars. From the Star patio I can see East 100° so at least to Halle in Ares from the far South of the patio. Unfortunately this means Mars will not be visible from this location until at least 5:45am when the sky will be bright from Sunrise 12mins earlier at 5:33.
The Moon this month is very high compared to previous months at around 39° along with Saturn just below.
From the poppy by the logging area I can see further East to around 68° which is currently Mirfak in Perseus but only down to M45 in Taurus at 26° altitude just below Perseus.
If I move to the base of the slide in Kylo’s area then I can see a small triangular window of the sky down to Aldebaran in Taurus at 13°. This is useful to potentially see Mars at around 4:20am or just before which will be slightly higher at 22°. From this location I can also still see the Moon and Saturn which currently sit at 135° East, 40° altitude and 138° East and 35° altitude at 3am, the time of writing.
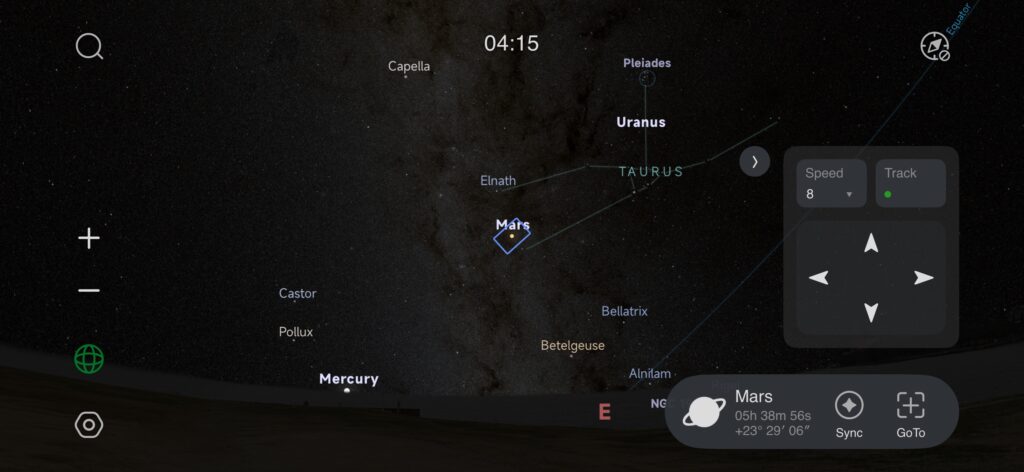
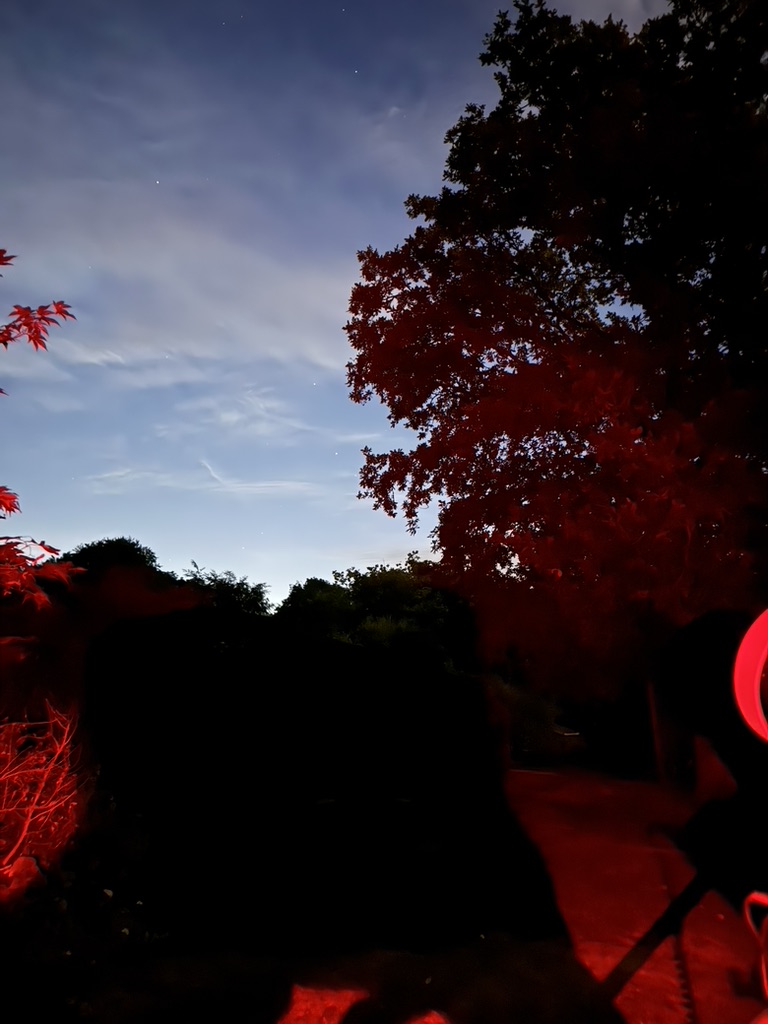
From the back of the observatory I can see Mars at 3:14am at an altitude of 12° and 68° East! But only for a short window. Whereas directly outside the Warmroom on the grass I can see Mars and for about 2 hours I hope. I can also see the Moon and Saturn. So let’s see what I can grab from here.
Position of MarsMars just about to disappear behind the Oak tree
Ok, so I got the Moon, Saturn and Mars.
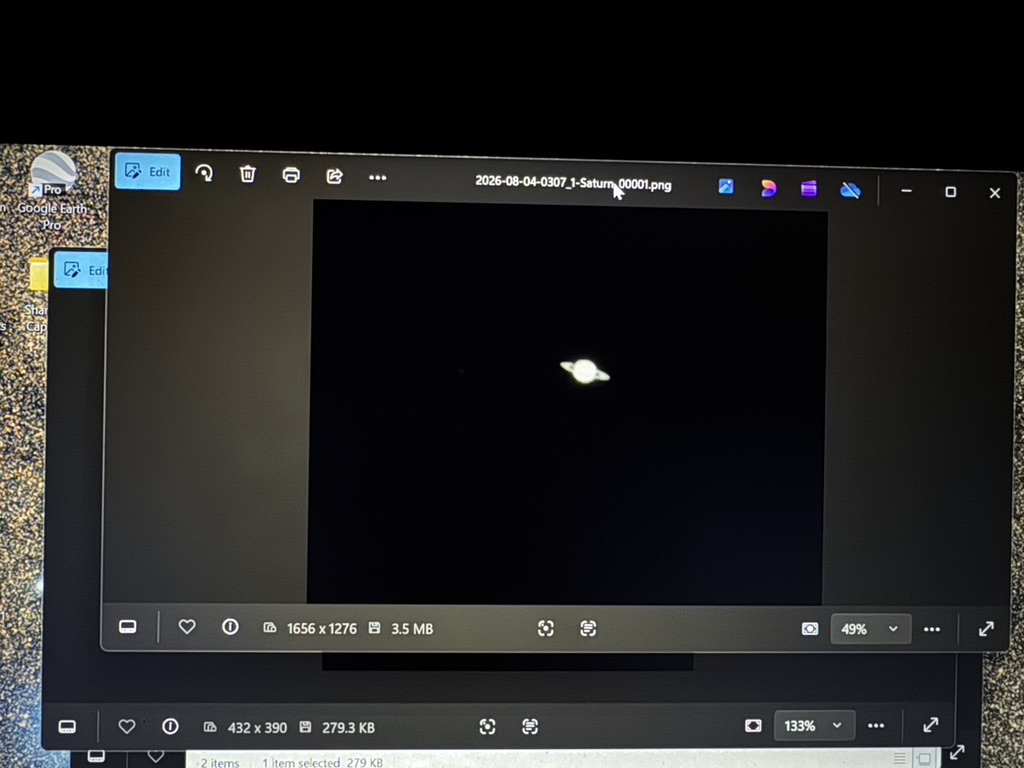
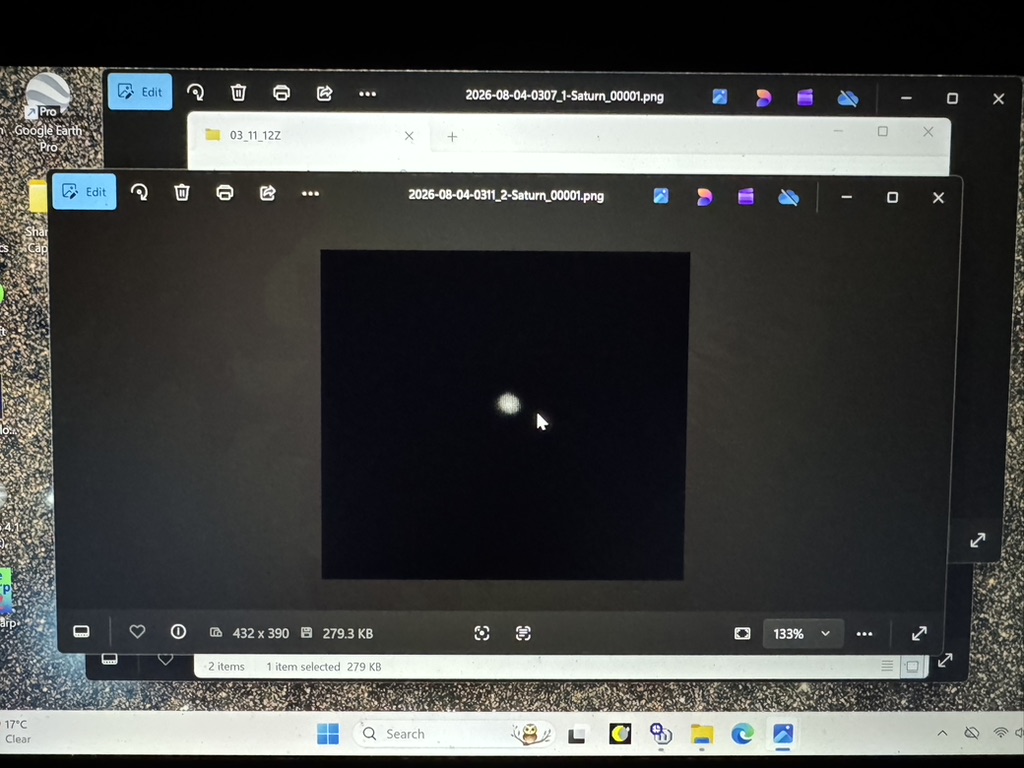
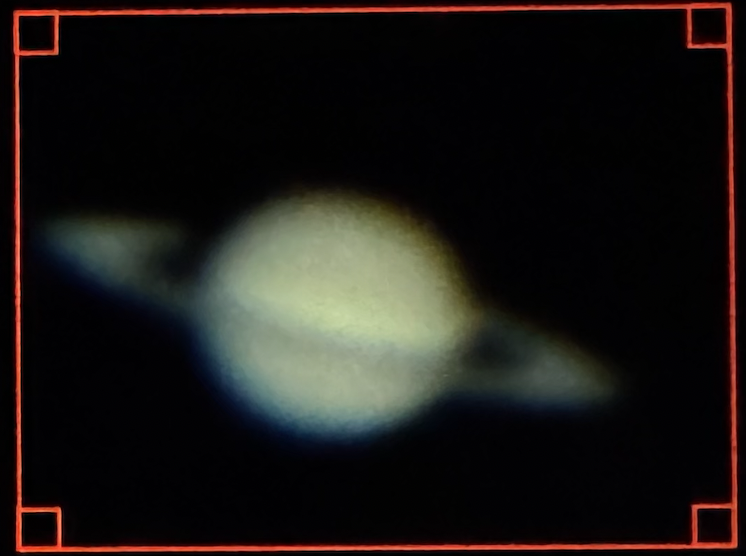
Saturn quick screen grab
Mars was disappearing behind the oak tree. The Moon and Mars behind the shrubs North of the observatory so they need cutting.
MoonMore shrubs to cut…..again.
Lost Mars at 4:15am at 79° East and 21° altitude. In my haste I managed to take a RAW png of Mars which was a shame. I’ll try again tomorrow now I am setup.
Mars in RAW and bayered format
I also need a power extender for this PSU used on the camera.
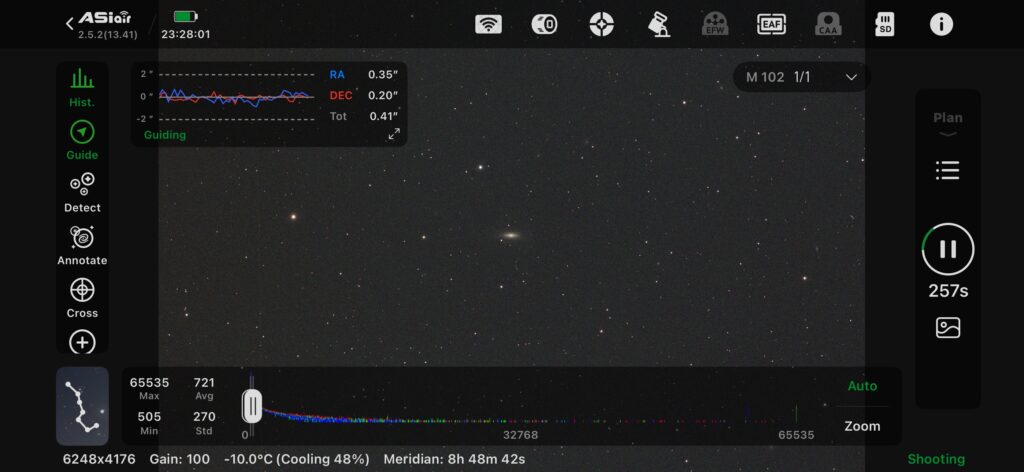
So opened the dome to cool down however there was cloud early evening and it took int 11pm to clear. I was due to image M107 however I found out that the new setup has a much shorter mount than my previous ME II and therefore the scope cannot see the object due to being obscured by the bottom of the dome. So I will have to image the objects below 30 degrees South with the mobile 100 Esprit setup. So for now I have decided to go after M102 which is a galaxy in Draco to the North West and much higher, Albeit a small galaxy for my 6” scope.
I have a problem with the dome rotation which means I either get dome runaway or the dome slips and does not move. I need to revisit the tension on the dome motor and subsequent rollers to see if I can fix this. Meanwhile I managed to grab 45 x 300s on M102.
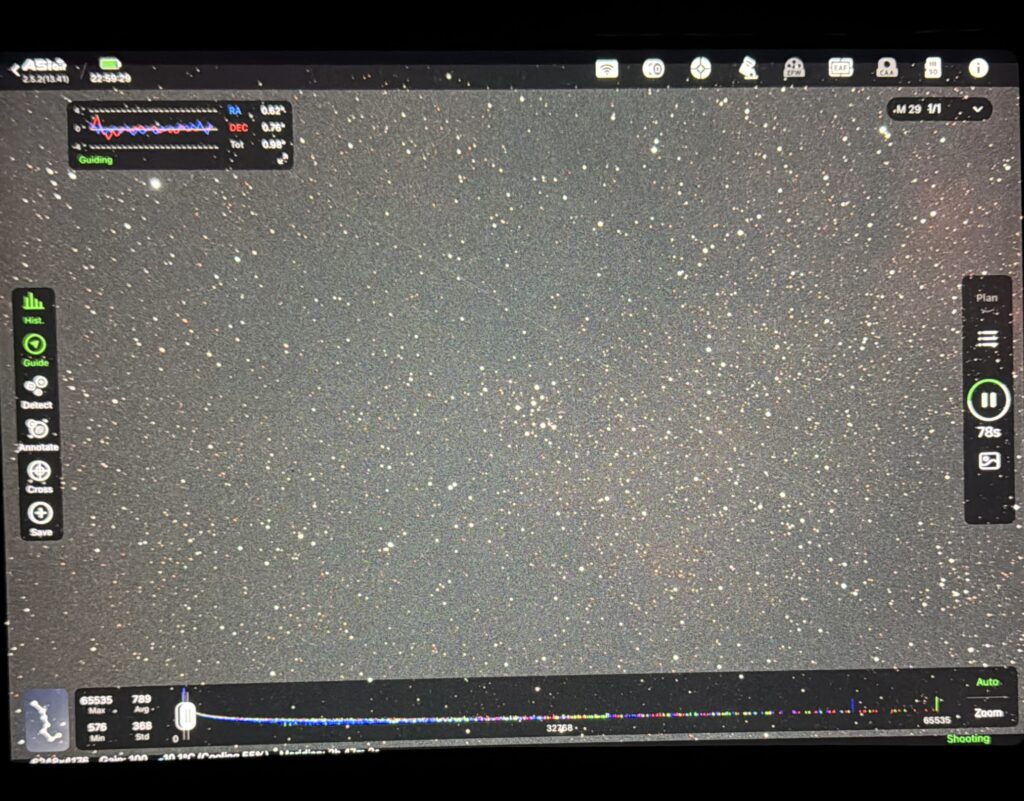
Once again I will be using the Esprit 150 this evening. The sky is very milky so there may be some cloud around. M29 is the next Messier on my list to go after, I took a single shot some 4 or so years ago with the 12″ but only a single 2min tester. I will use 120s tonight and attempt to capture 4 hours of data.
After a day out it is unexpectedly clear. So after being notified as such from some friends at Basingstoke Astronomical Society, I opened the dome and uncovered the 22″.
I set the 150 Esprit in the dome running on M57 again to grab some more data as the night before. I do like to have at least 4 hours on each object now.
M57 6 hours of 72 x 300s
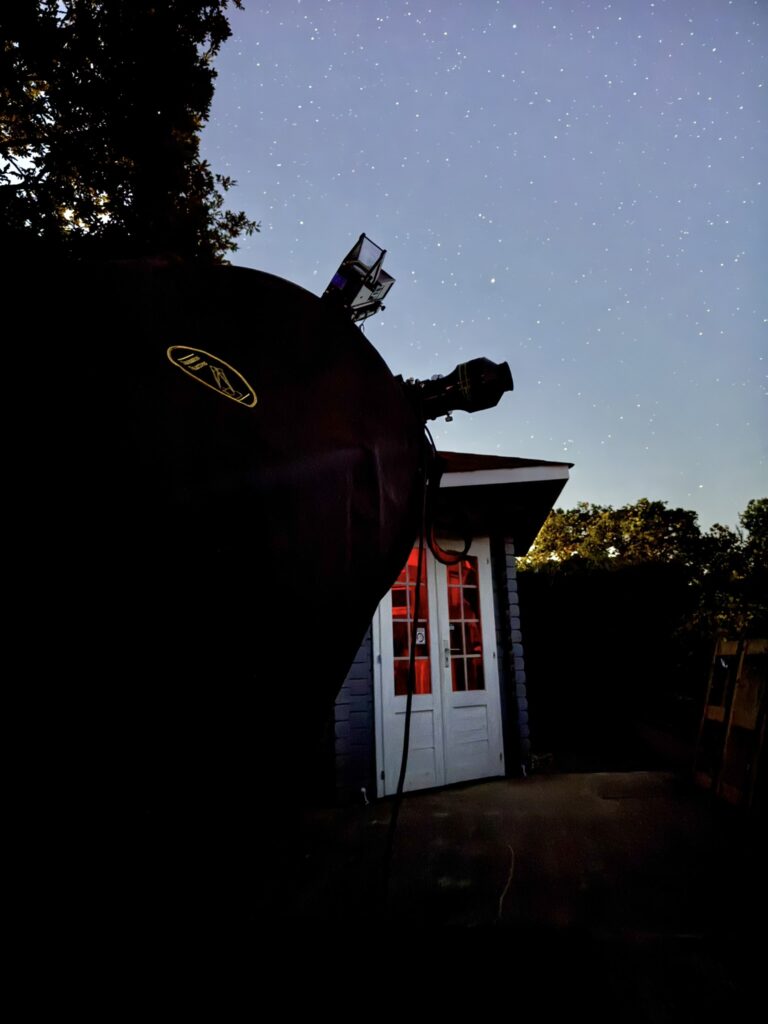
I then started cooling down the 22″ for the specific purpose of viewing Saturn at around 2:30am.
At 2:30am I started viewing Saturn.
I needed to move the scope back away from its usual place away from the Workshop as Saturn was behind the roof. I used the 31mm Nagler to start with, Saturn was fairly small but crisp in the FoV. I then swapped to the 13mm Ethos, refocused and Saturn appeared much larger, however the detail came and went with the seeing. Saturn was pretty low at this point, only 23º above the horizon. The rings were clear and obvious, the Cassini division easily seen between the A and B rings. I could not make out any surface detail. I spent about 20mins observing with my observing chair which was very pleasant on this summers night at 14º.
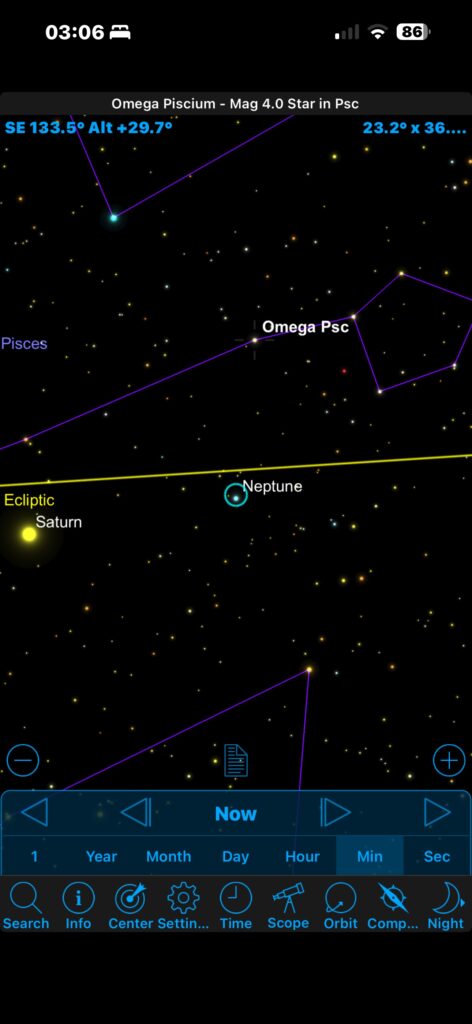
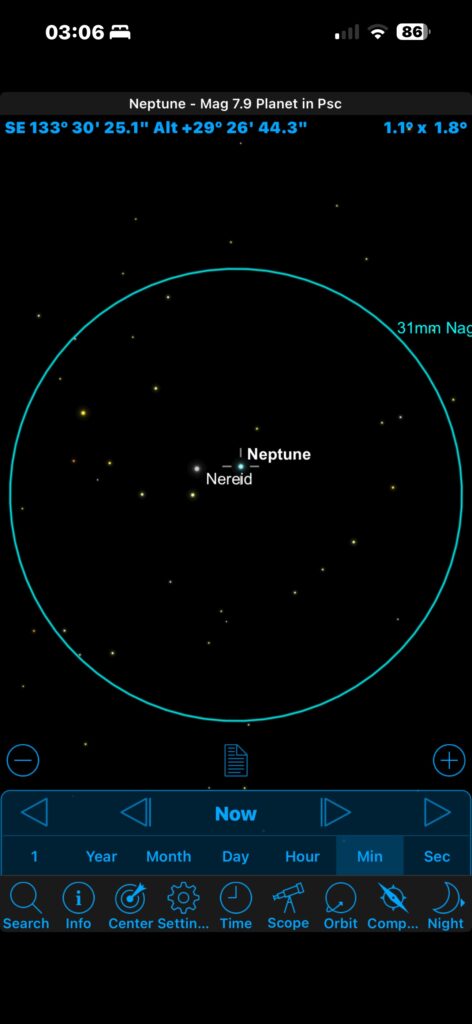
I finally looked at Neptune at 3:20am. I star hoped from Omega Pisces down towards Neptune.
Screenshot
I could just make out Omega Pisces in the night sky due to the approaching dawn. Neptune was extremely small but an obvious planet rather than a star.
Screenshot
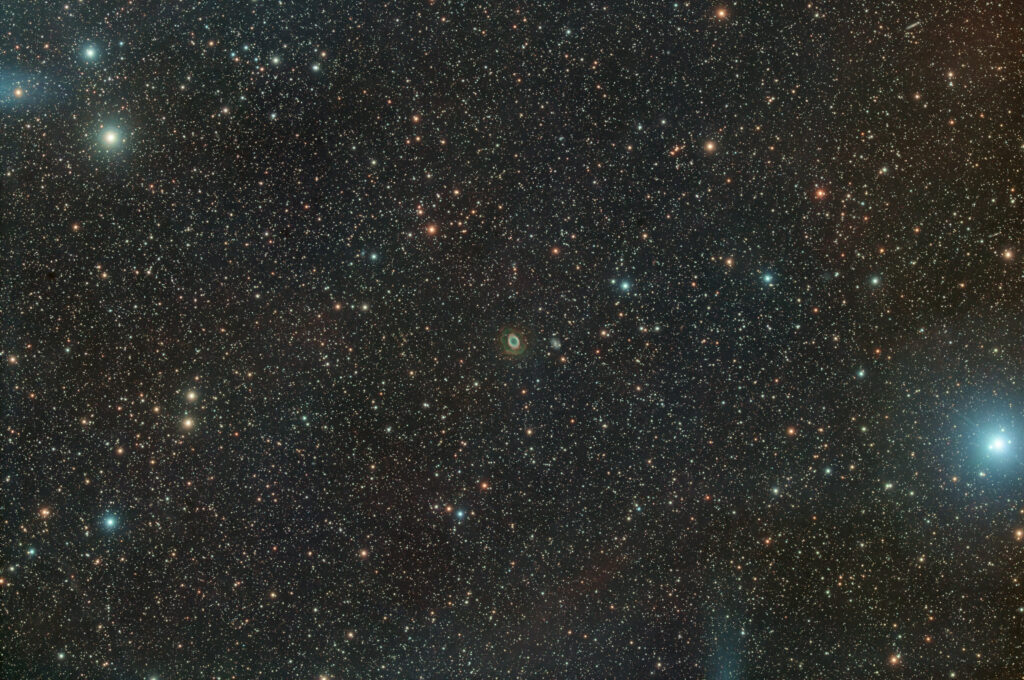
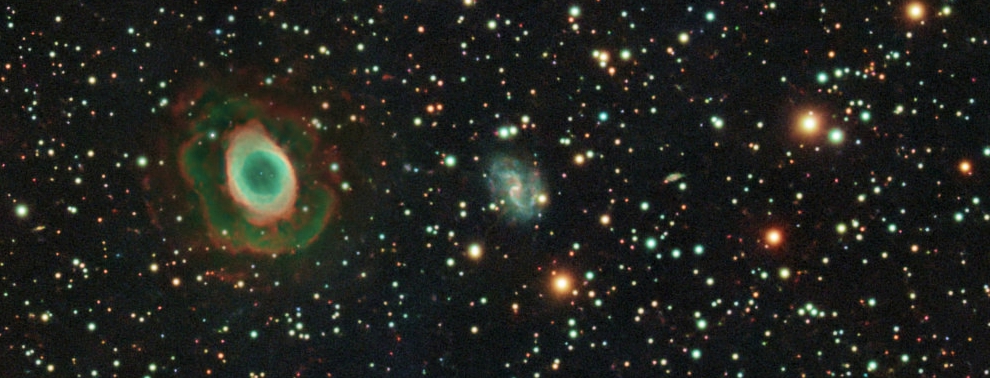
Finally here is a crop of M57 and the galaxy IC 1296
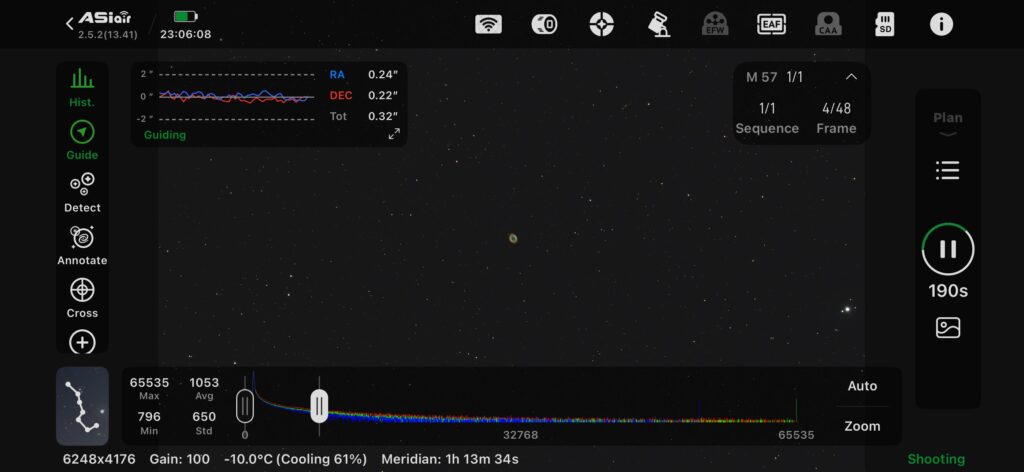
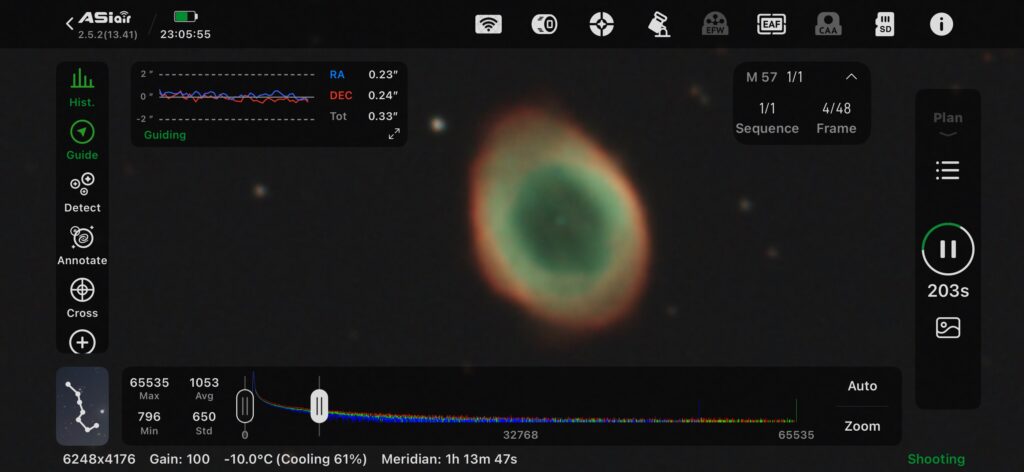
This evening I have chosen another Messier object as I try to completed my list. M57. The Ring nebula is very small and as such appears small in the Espirt. I did want to get this with the 12” before I sold it but never got around to taking a great photo. Instead I will image with the 6” and zoom in.
Full screenZoomed In
The Seestar is also out, this time I have removed the tripod and thus it allowed me to perform a mosaic of the Milky Way. It is not immediately or at all obvious how to decide which bit of the Milky Way to mosaic, however I will go off and find a YouTube view. Meanwhile I have started the mosaic based on a random placement of it. I found the outcome to underwhelming to say the least. The total exposure for each frame in the mosaic was 10s of seconds and I could not seem to find a way to increase the total exposure or frame count.
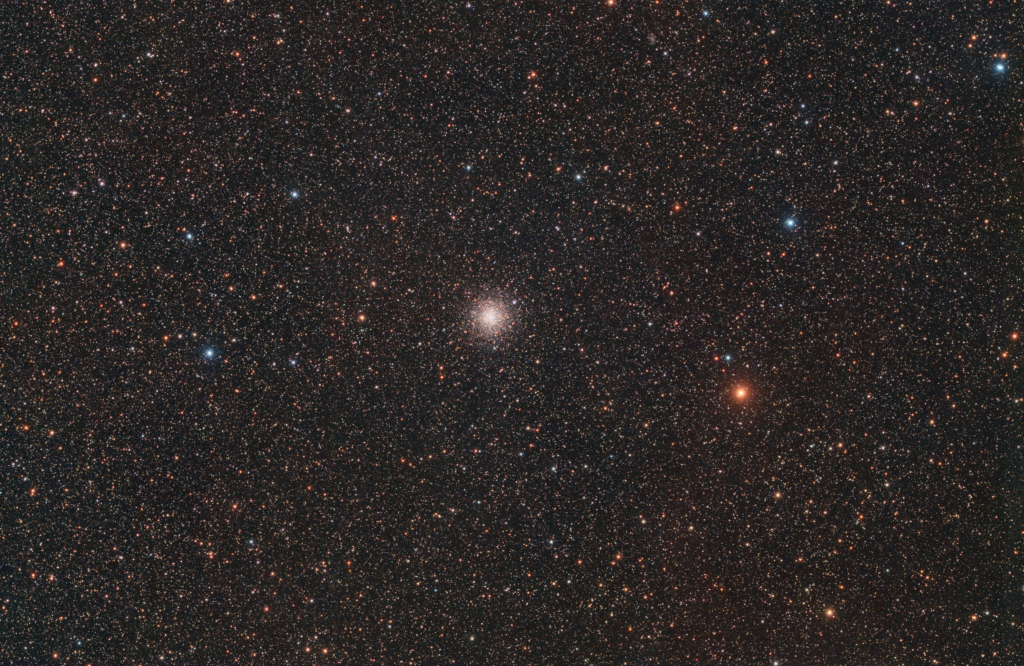
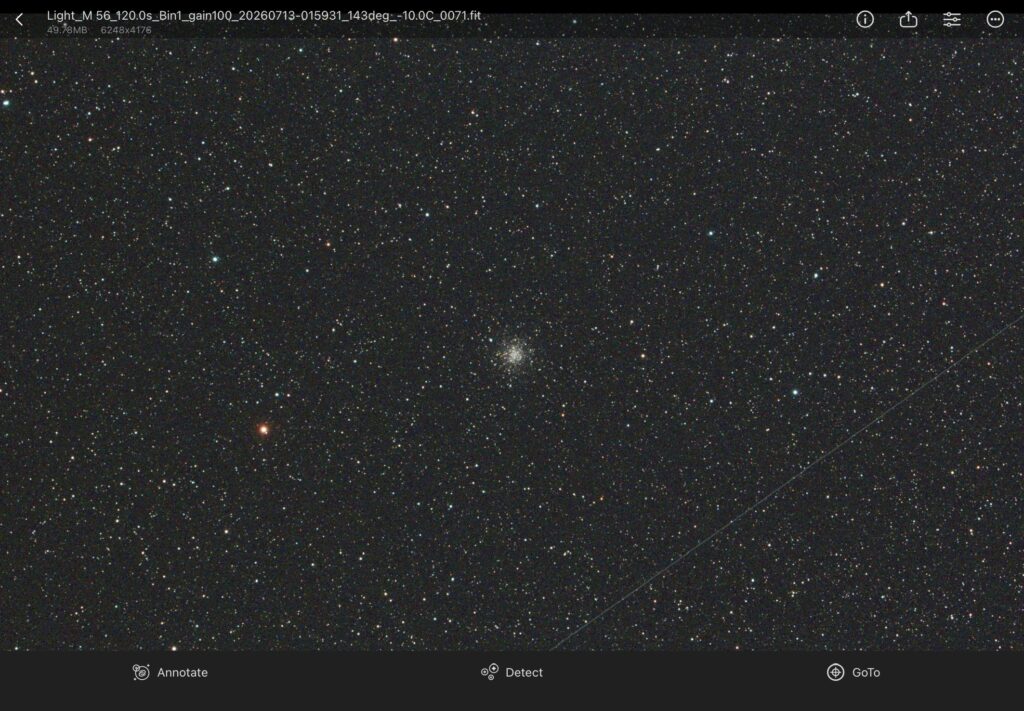
Tonight I have the 150 Esprit in operation and the Seestar S30 Pro. I am imaging M56 again with the Esprit to gather an additional 1.5 hours of data.
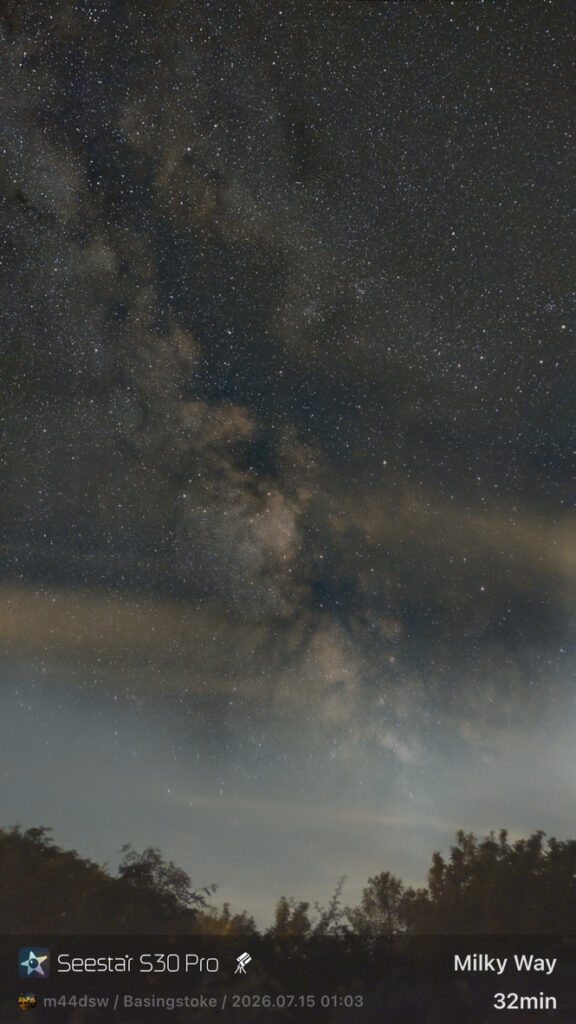
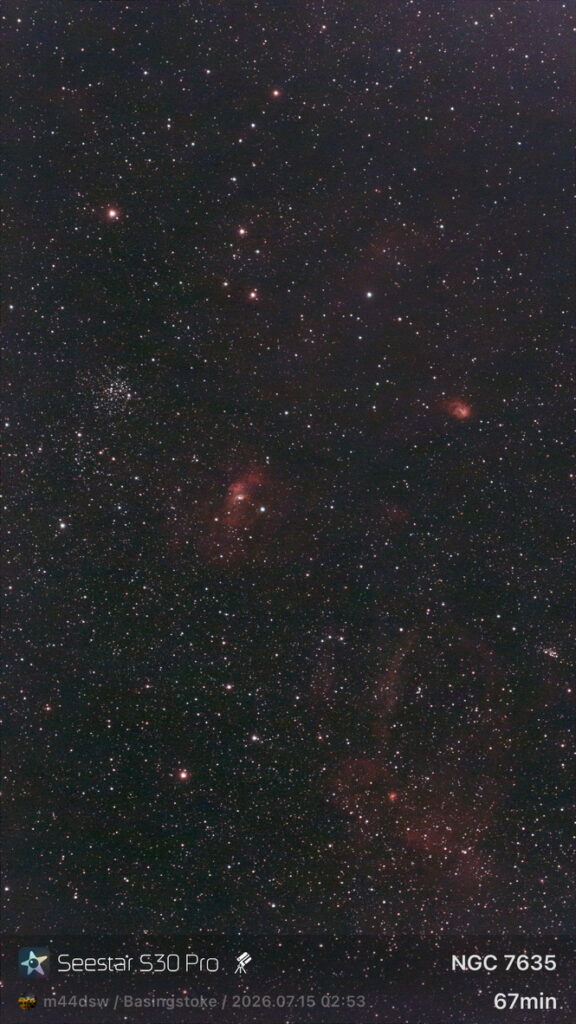
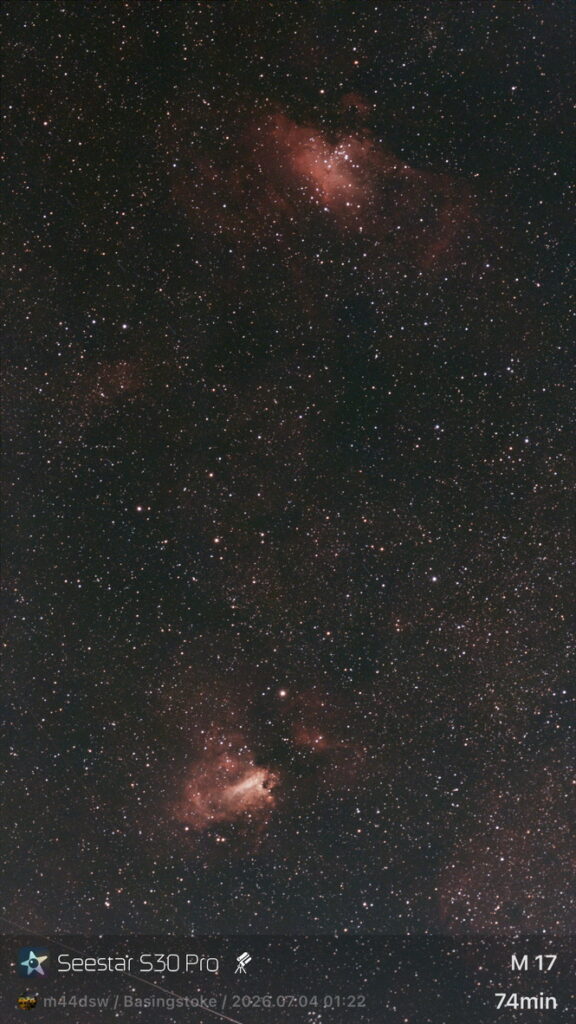
On the S30 Pro I started with a Milky Way shot, It was meant to be the mosaic, however the scope was on the wedge and the mosaic only works when not using the wedge. So instead I went for a single image. Clearly seen is the cloud in the distance.
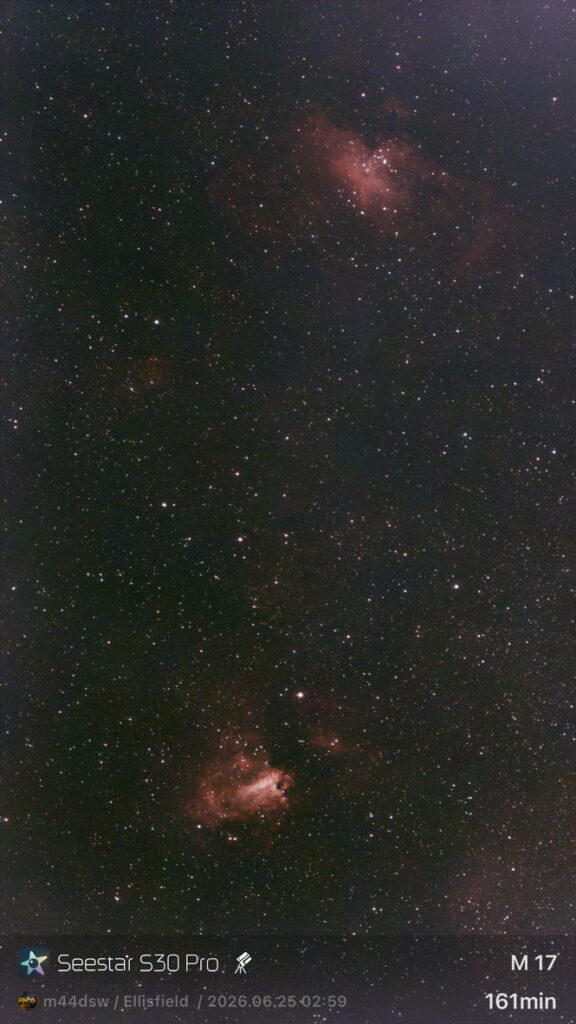
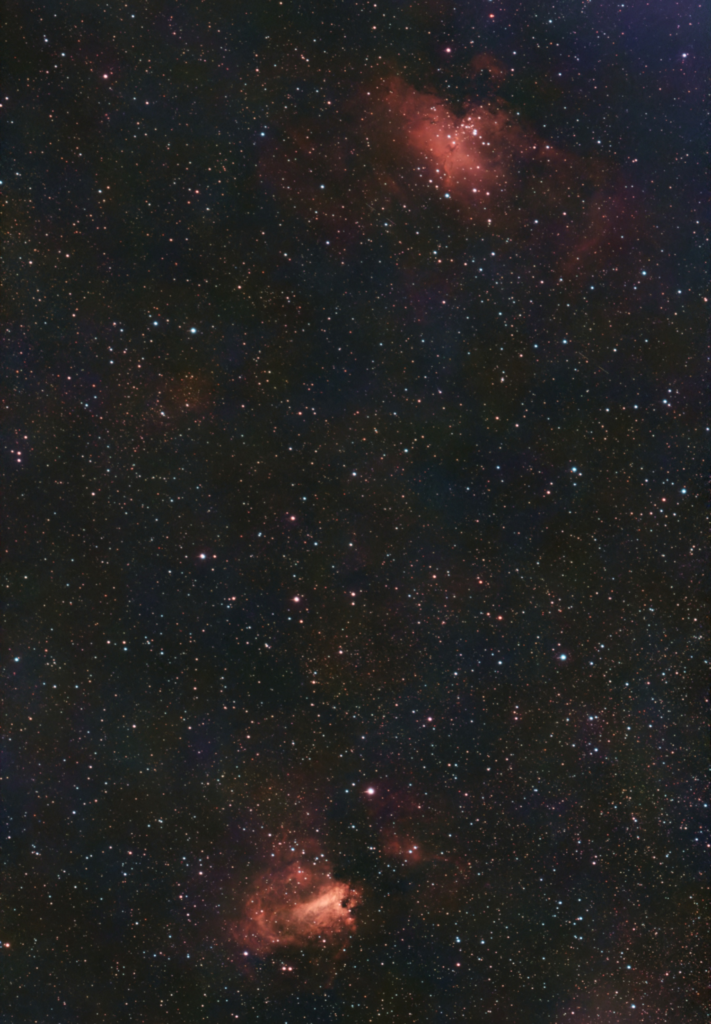
Once this was completed I went to image the Lobster but landed up on the Bubble instead. So I imaged that until 3am at the end of darkness as it is.
Tonight was about using both the 150 Esprit from the observatory and the Sky-Watcher 180 Mak outside. I setup before darkness fell and then proceeded to send the 150 Esprit to image M56, one of the Messier objects I had still not imaged. I decided on 120s exposures and in the end took 90 of them, with a handful or so having to deleted due to movement issues, probably when I stood next to the pier.
M56 120s Exposure
The dome would not rotate at sidereal tonight. Every time I set it to 1x sidereal it would after a while run away and just keep turning. This meant I had to manually move the dome every 15mins or so during imaging.
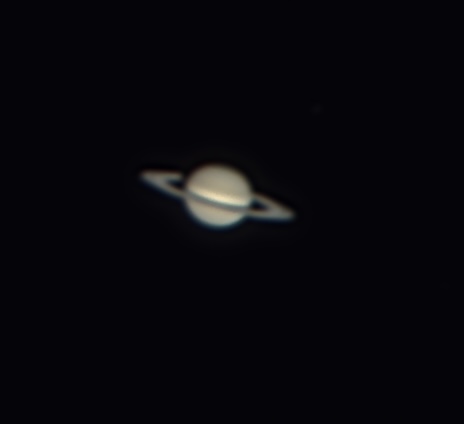
With the Sky-Watcher 180 Mak I imaged Saturn. This time I caught it before 3am, but I also managed to work out how to use the ADC and apply colour channel shift before saving the image.
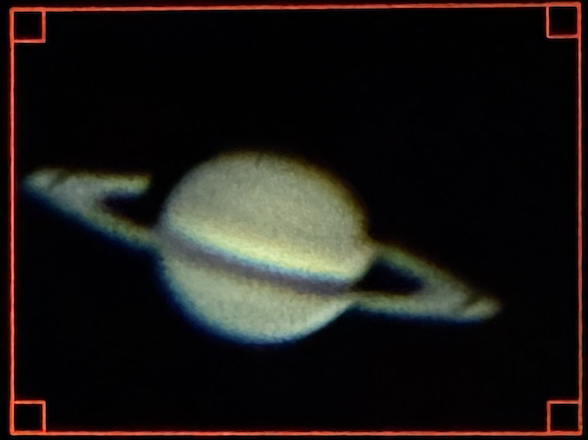
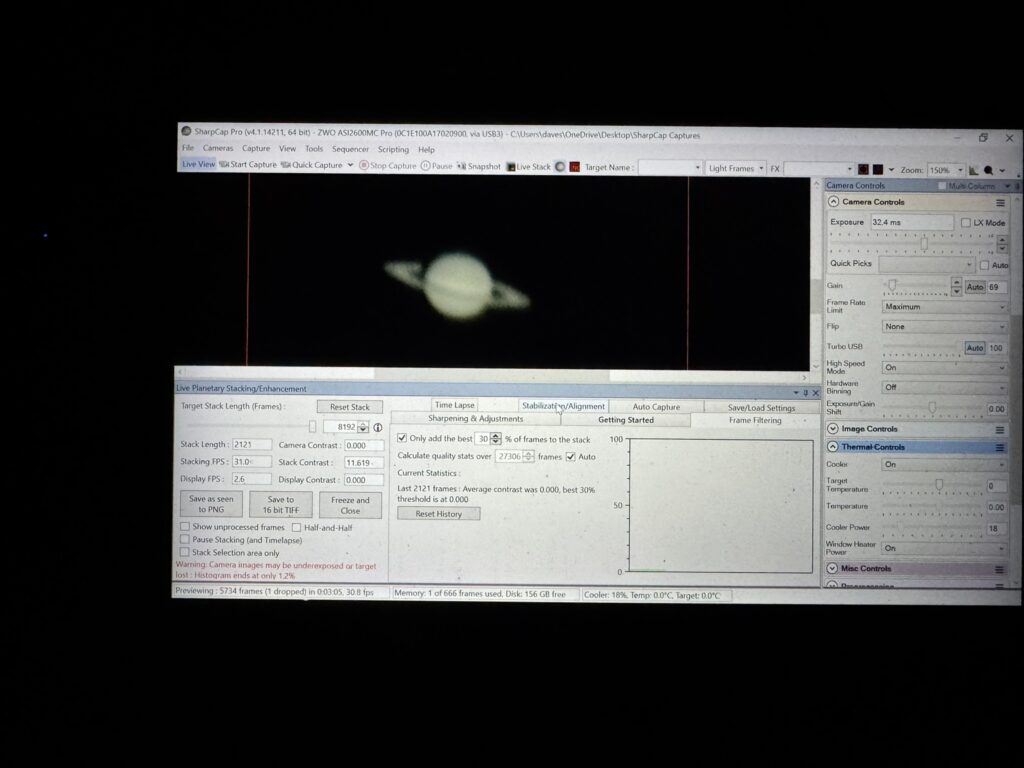
Saturn best 30% of 8,000 frames
Whilst I had a lot of frames and the colour shift is much better than the other night, the seeing was not as good tonight. The Jet stream is still out of the way, however the air was very turbulent, thus the gap in the ring cannot be seen as well tonight.
Russell Croman of RC-Astro has released a major update of his excellent toolset – BlurXTerminator, NoiseXTerminator and StarXTerminator. These are now available as a standalone version which means that they are no longer tied exclusively to being used with the PixInsight ecosystem but means they can now also be used by SetiAstroPro and Siril – both of which are free.
Although I use PixInsight and I have not yet put aside the time to learn either Siril or SetiAstroPro …. sorry Frank ! I think AstroWizard by LukoMatico also now supports the standalone tools.
The main release I was pleased for this set of releases was that Russell included GPU support not only for NVidia but now also for AMD and Intel. Oh what joy – I now have no reason to be forced to purchase an over-priced GPU by greedy and monopolistic NVidia.
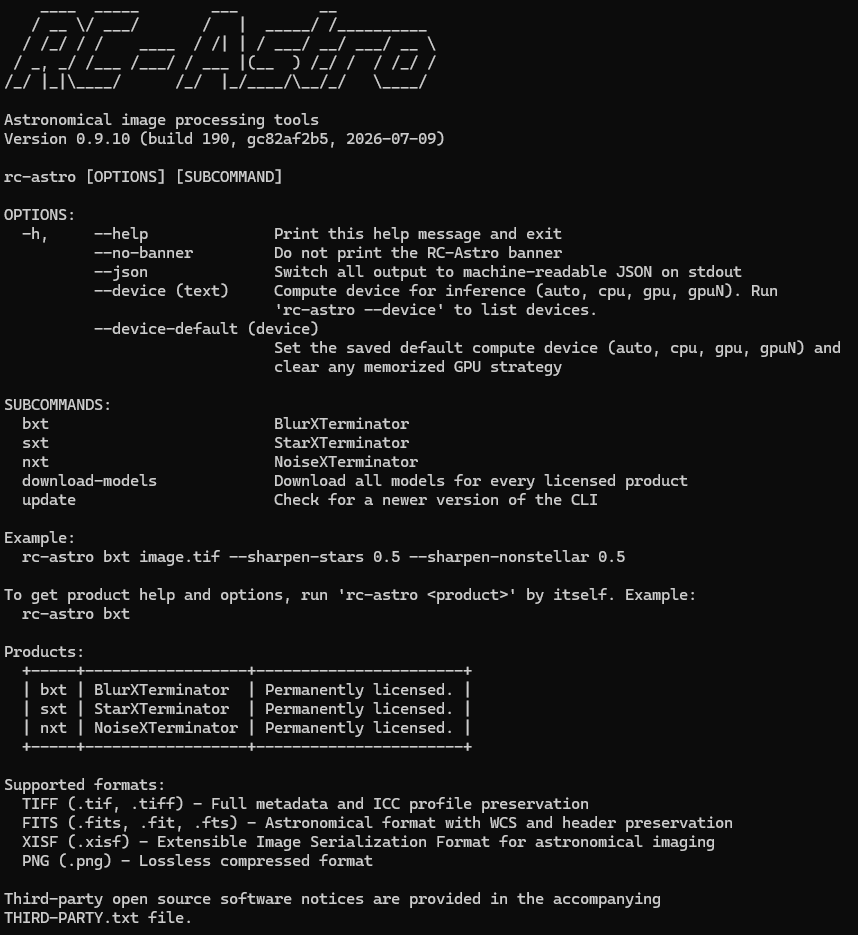
In Windows the standalone binary displayed via a cmd shell –
RC-Astro Standalone Binary
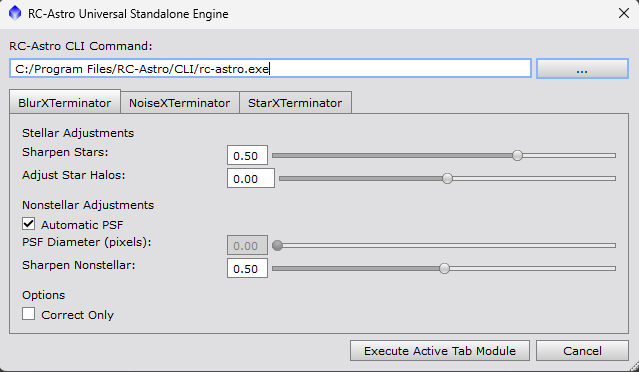
There appears to be no way to call the standalone tools within PixInsight currently but Cuiv discussed his custom script (RC-Astro Universal Standalone Engine) for calling the toolset on his Youtube channel here.
RC-Astro Universal Standalone Engine – Cuiv The Lazy Geek
Using a APS-C OSC drizzled, debayered and registered master (~817MB) of the Cocoon Nebula (IC5146). This area is a star and dust dense field so we can show the realised speed improvements made to the workflow when using an aging (2020) AMD RX6800 (16GB) GPU coupled with a AMD Ryzen9 5900X (12c/24t) AM4 processor and 32GB of DDR4 memory.
Mode
BlurX 2.0.4 AI version 4
NoiseX 2.3.3 AI version 3
StarX 2.3.11 AI version 11
CPU
202.85s
186.88s
812.92s
GPU
21.67s
36.35s
27.84s
SpeedUp
9.36x
5.14x
29.20x
My gratitude to Mr Croman for this work but the real icing on the cake was that the standalone toolset is also free to download for existing licensees – thanks Russell !
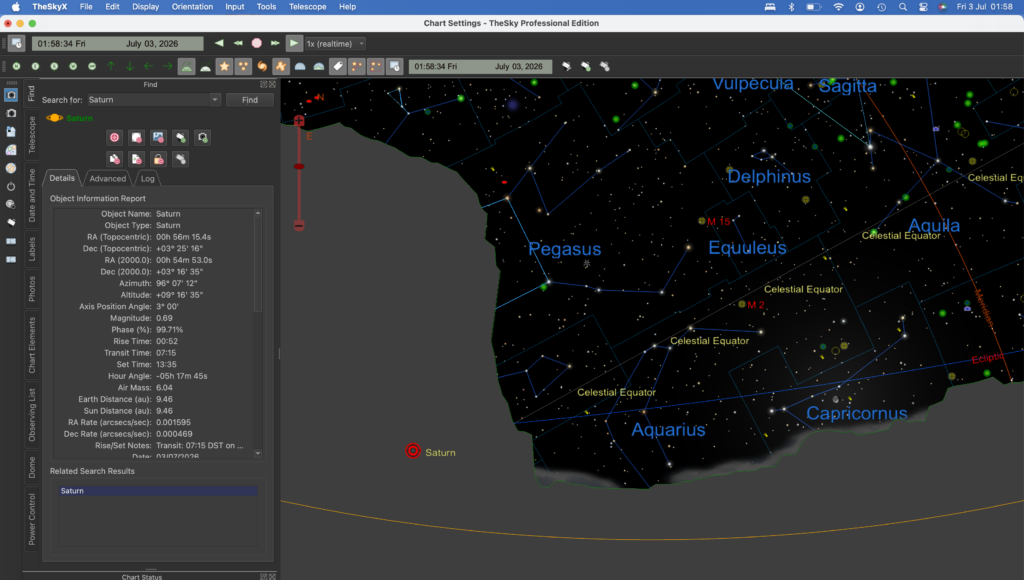
I uncovered the scope to cool it down and then went to bed until 1:30am. I then got up and went out to image Saturn which would appear around 2:30am from behind my Oak tree. The outside temperature was still 19ºc so pleasantly warm.
Temp from Air Source Heat Pump sensor
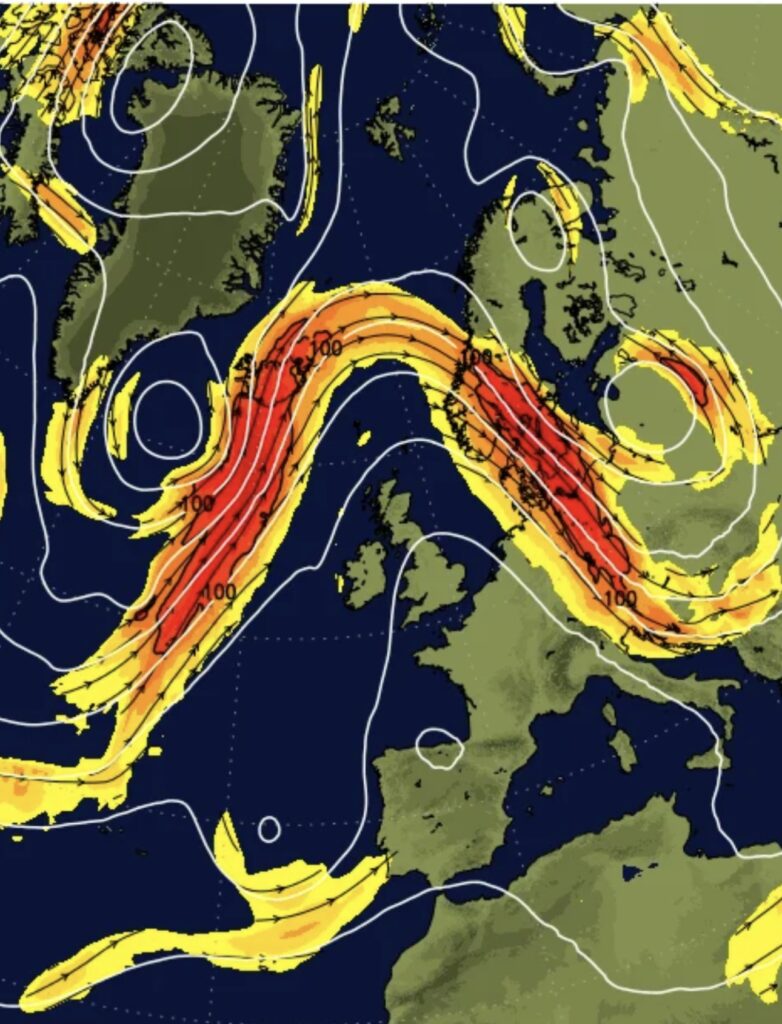
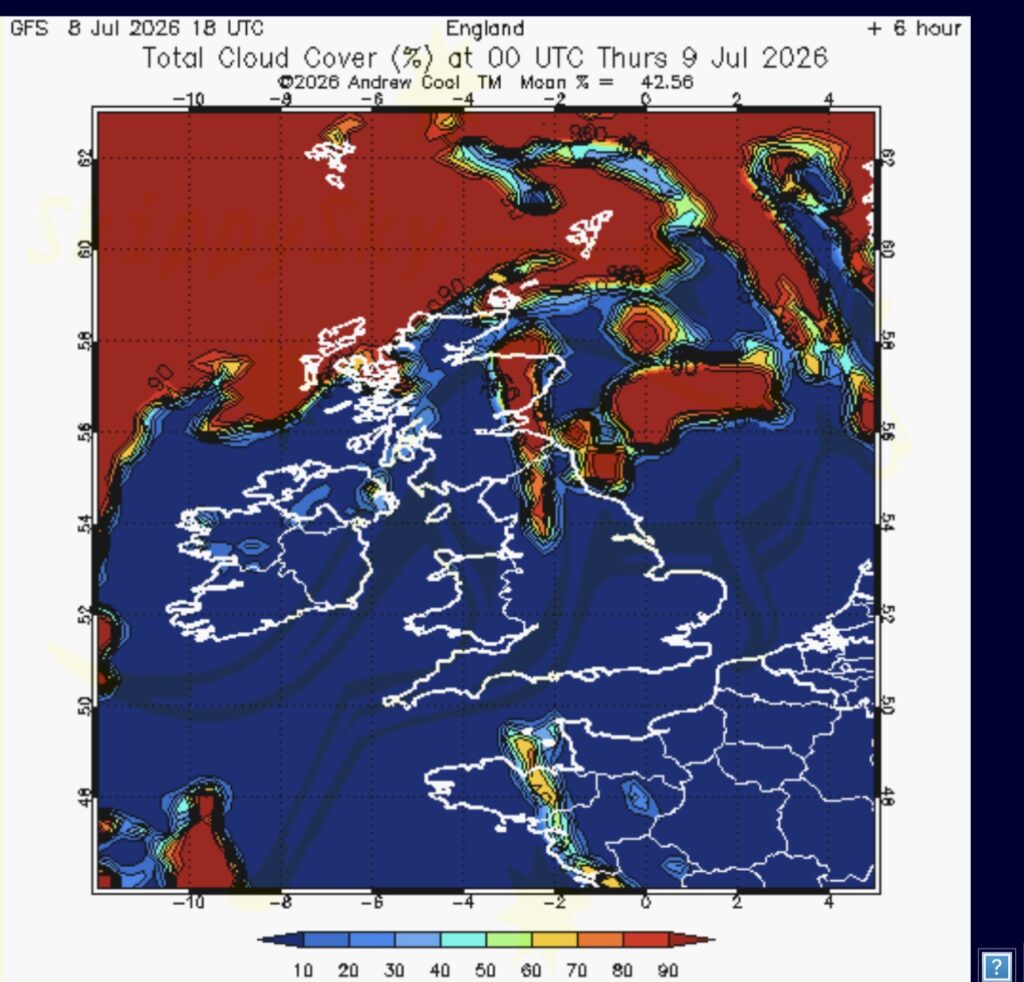
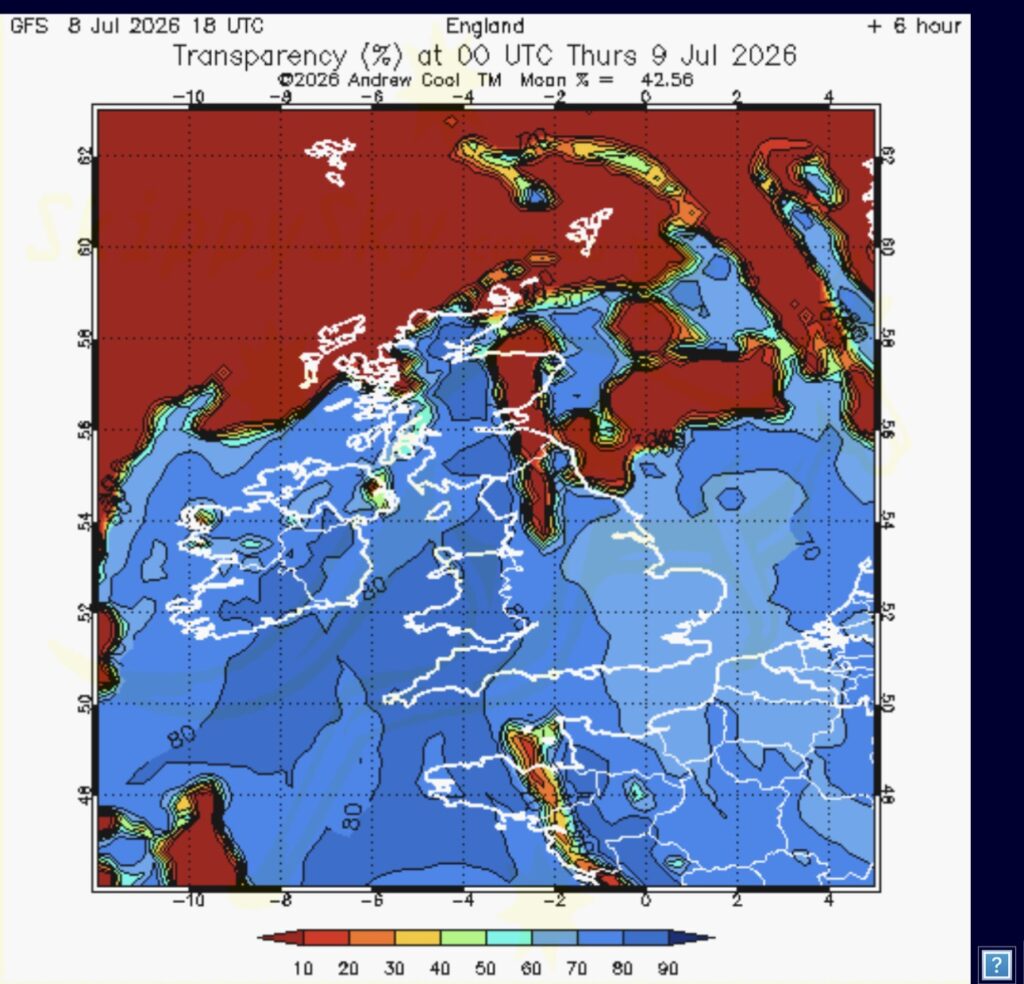
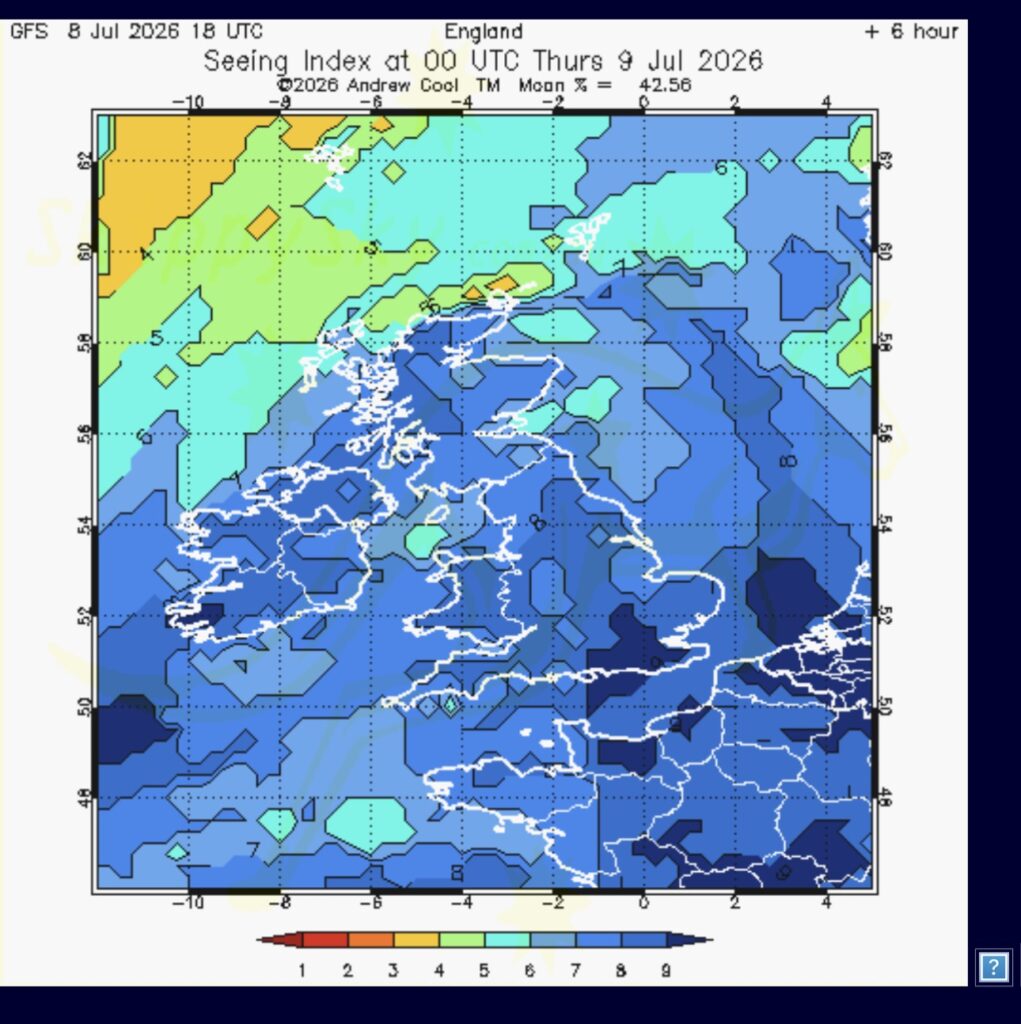
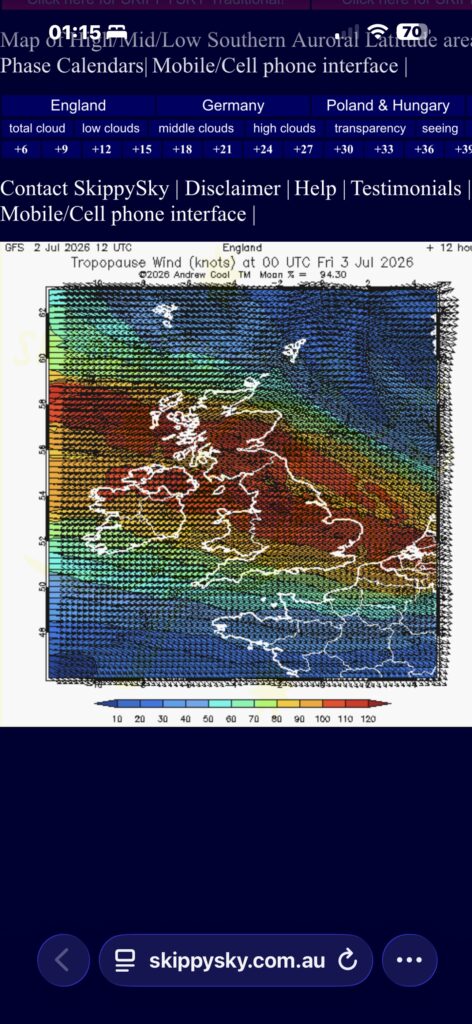
I will attempt to capture the charts for the Jet stream from net weather.tv, and the charts for cloud cover, transparency and seeing from skippysky.com.au both excellent sources of information for lunar and planetary imaging. As can be seen below it was a perfect night.
Jetstream – netweather.tv
Total Cloud Cover – skippysky.com.auTransparency – skippysky.com.auSeeing – skippysky.com.au
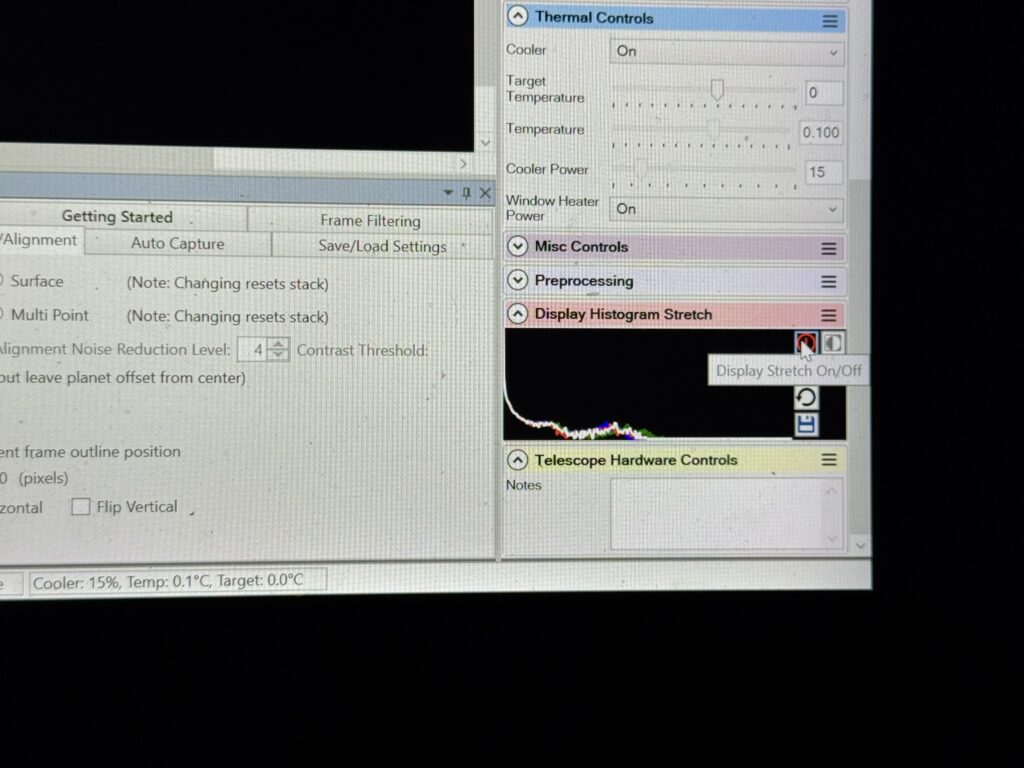
I had many challenges. Not least adjusting my polar alignment that had shifted slightly since the previous night out. I then struggled for an age to get SharpCap to plate solve, finally realising that it was due to being out of focus!
Once focused it was easier to polar align. I did need tonight to rack up the exposure to 37s to do so, so I must go back and look at my original settings from my other session and compare.
After that I could get Saturn on the chip after a manual spiral search and Saturn was only slightly misaligned on the OTA and I started imaging.
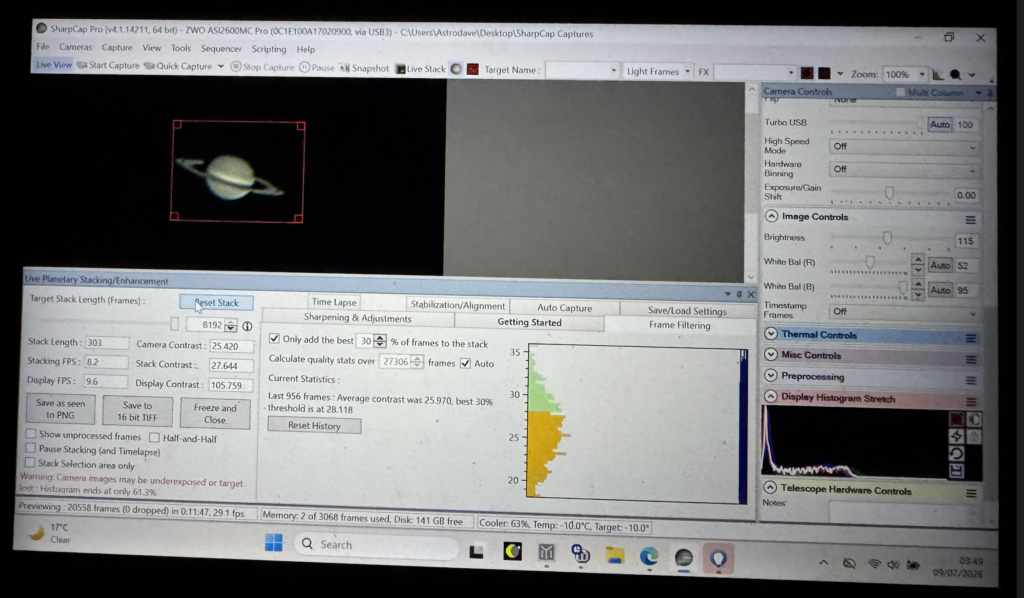
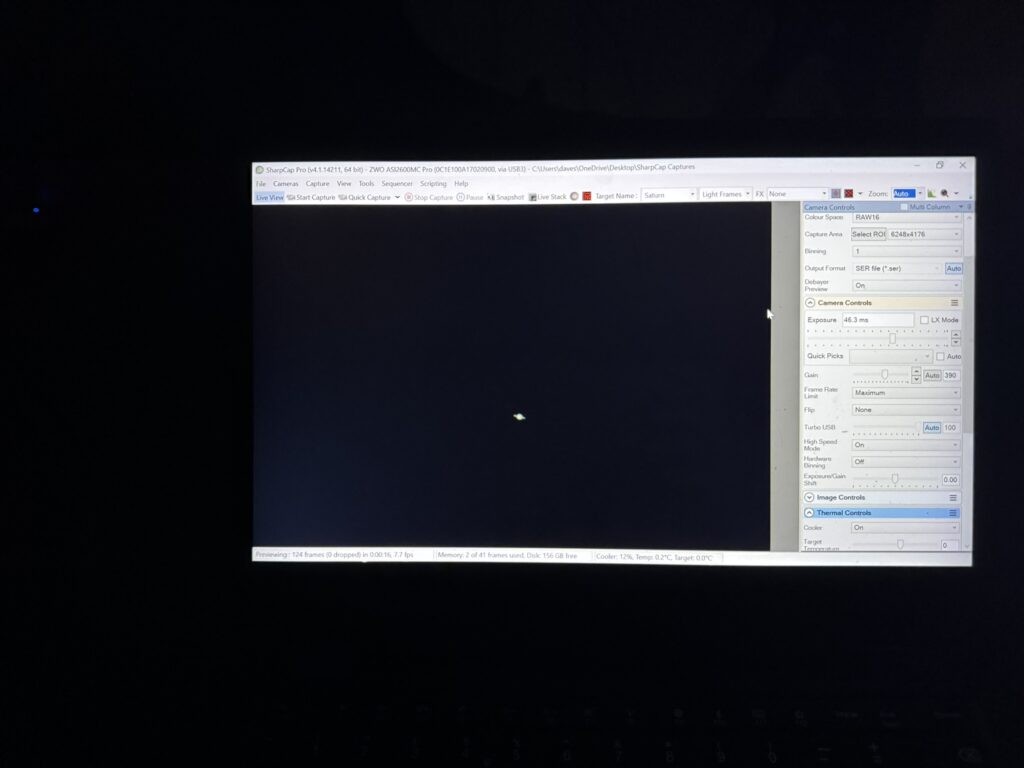
Saturn 3:50am using SharpCap
Here is a video of one of my capture sessions.
Raw video of Saturn
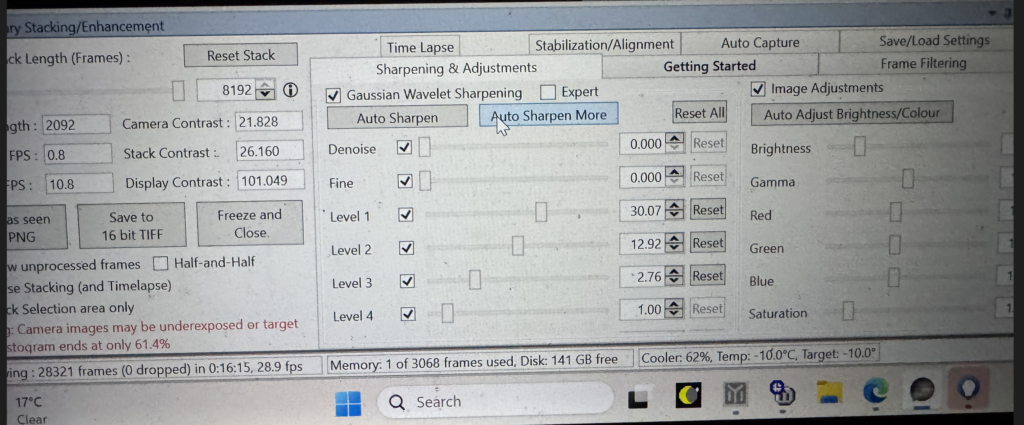
The settings I used were based on hitting Auto sharpen and then adjusting slightly. I did try Auto sharpen more but this was too much.
Sharpening & Adjustments
This means you go from this unsharpened image to this sharpened one. So much better but I could get better focus and improve my use of the ADC.
Unsharpened SaturnSharpened Saturn
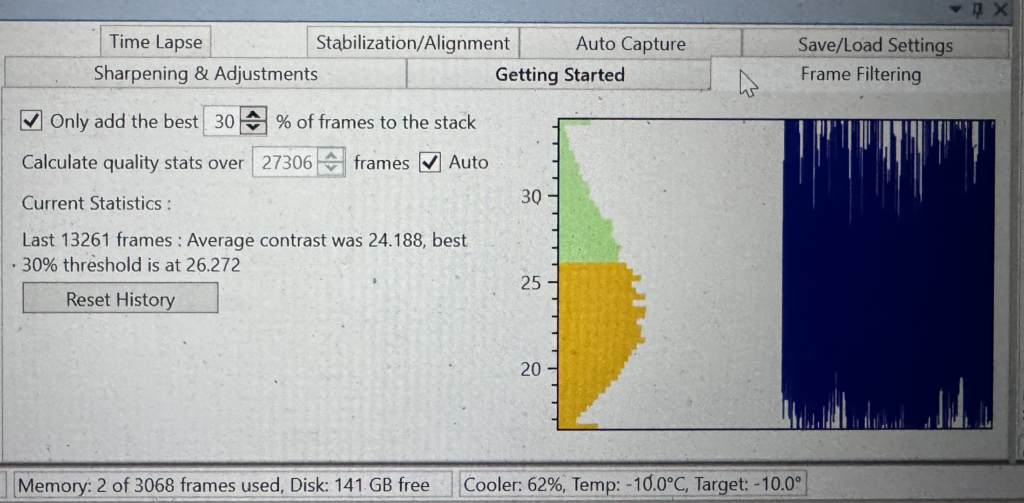
I then took the tip from Mark Radice and set the stack to only use the best 30% of frames and just drop the rest.
Best 30% of frames stacked
Once this was done it was time to head back to bed at just gone 4am.
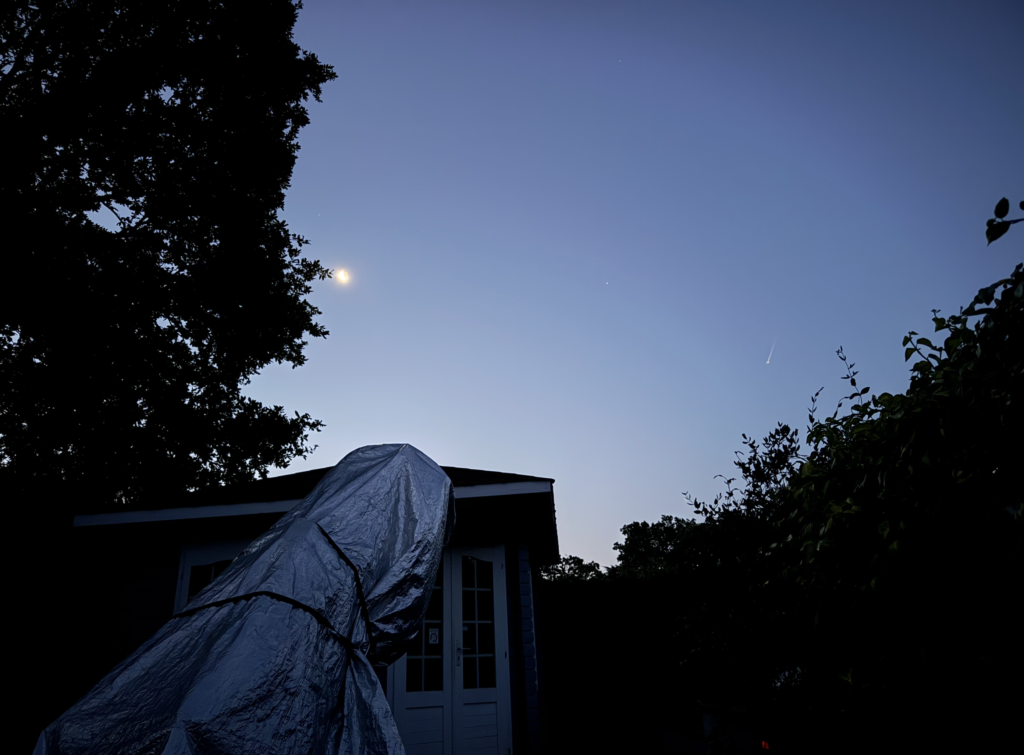
Saturn right of the Moon, the steak on the right is a plane
Luke and I setup the S30 Pro with the Antlia Triband RGB filter to see what difference it makes.
Meanwhile I have taken the Telegizmo cover off the 180 Mak ready to go after the Moon at midnight and Saturn again after 2:30am.
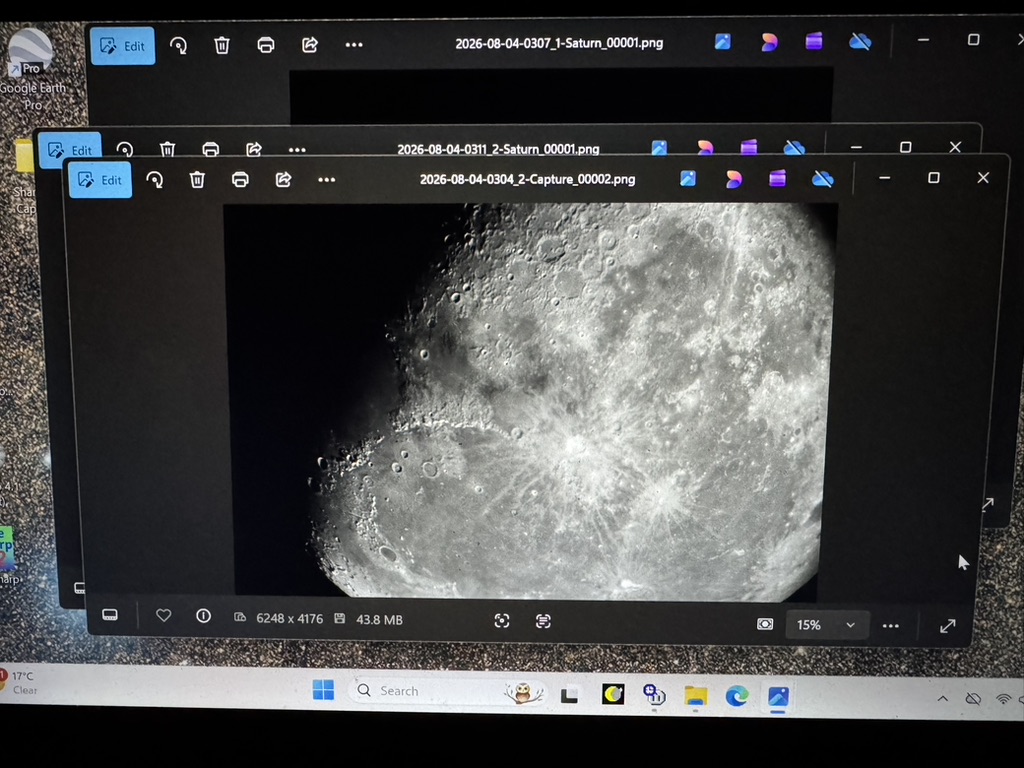
After waiting for the majority of the “night” as it is, at 10 past 1 I slewed to the Moon and started to image using SharpCap 4.1. The image was not great as the seeing due to the Jet stream being overhead was not ideal, but it gave me a start on re-imaging pieces of the Moon. I managed to at least grab a single stacked image of the 3 large craters at the edge of Mare Nectar’s, namely Theophilus, Cyrillus and Catharina.
Bottom left to top right of the crater chain – Theophilus, Cyrillus and Catharina
I must admit to having problems with remembering how to use the ADC so I will watch a video over the next few days.
Meanwhile the S30 Pro also struggled under the not dark skies but again produced an ok image given the lighting conditions.
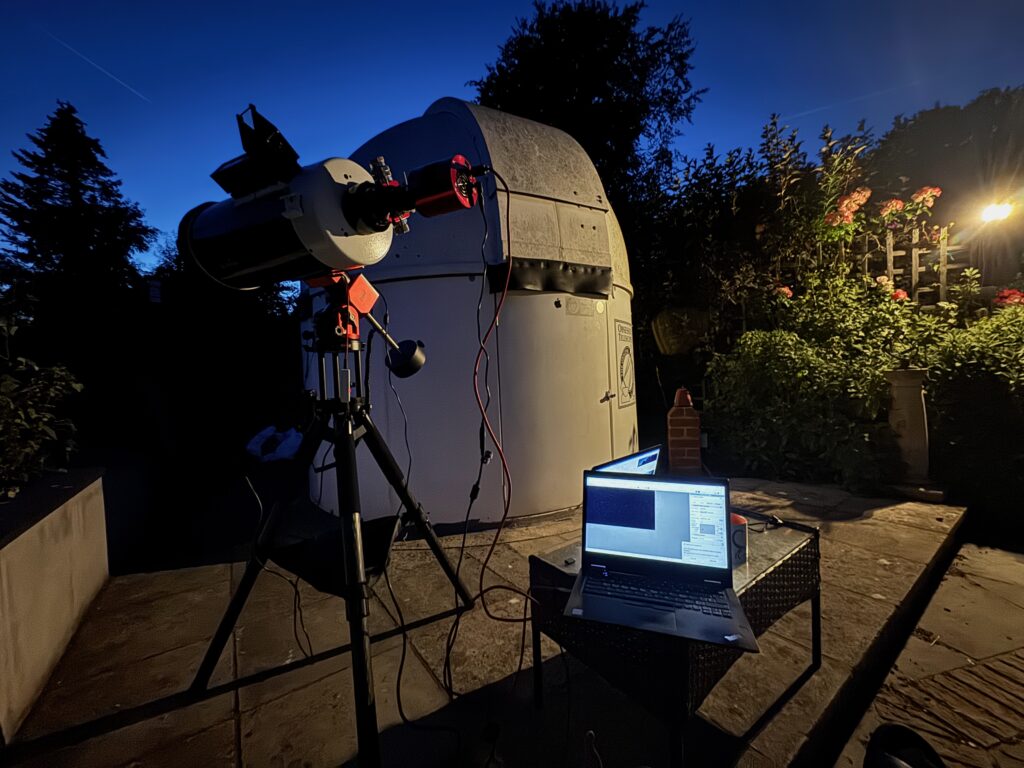
I setup the Sky-Watcher Mak 180 this evening to make sure I could get everything working on the new ZWO AM3 mount ahead of starting my imaging on Saturn and Jupiter along with the Moon.
First I had to install a new battery box inside Telrad as the previous one had split. Once completed I installed on the top of the OTA. I setup next to the observatory on the step to give some height. Later in the evening it was apparent from this position I could see objects including the Moon and planets appearing above the Oak tree across the road at around 00:15am at an altitude of 8º near the ecliptic.
Based on the above I estimate Saturn will be visible possibly around 3am. Until then I will continue to refine and test the system.
I opened the Windows laptop I have for astronomy and started SharpCap v4 from Robin Glover. This looks to be a fantastic piece of software, not only for capturing lunar and planetary images but also for automatically processing them using the Live View. It has come on a huge amount since I last used the software.
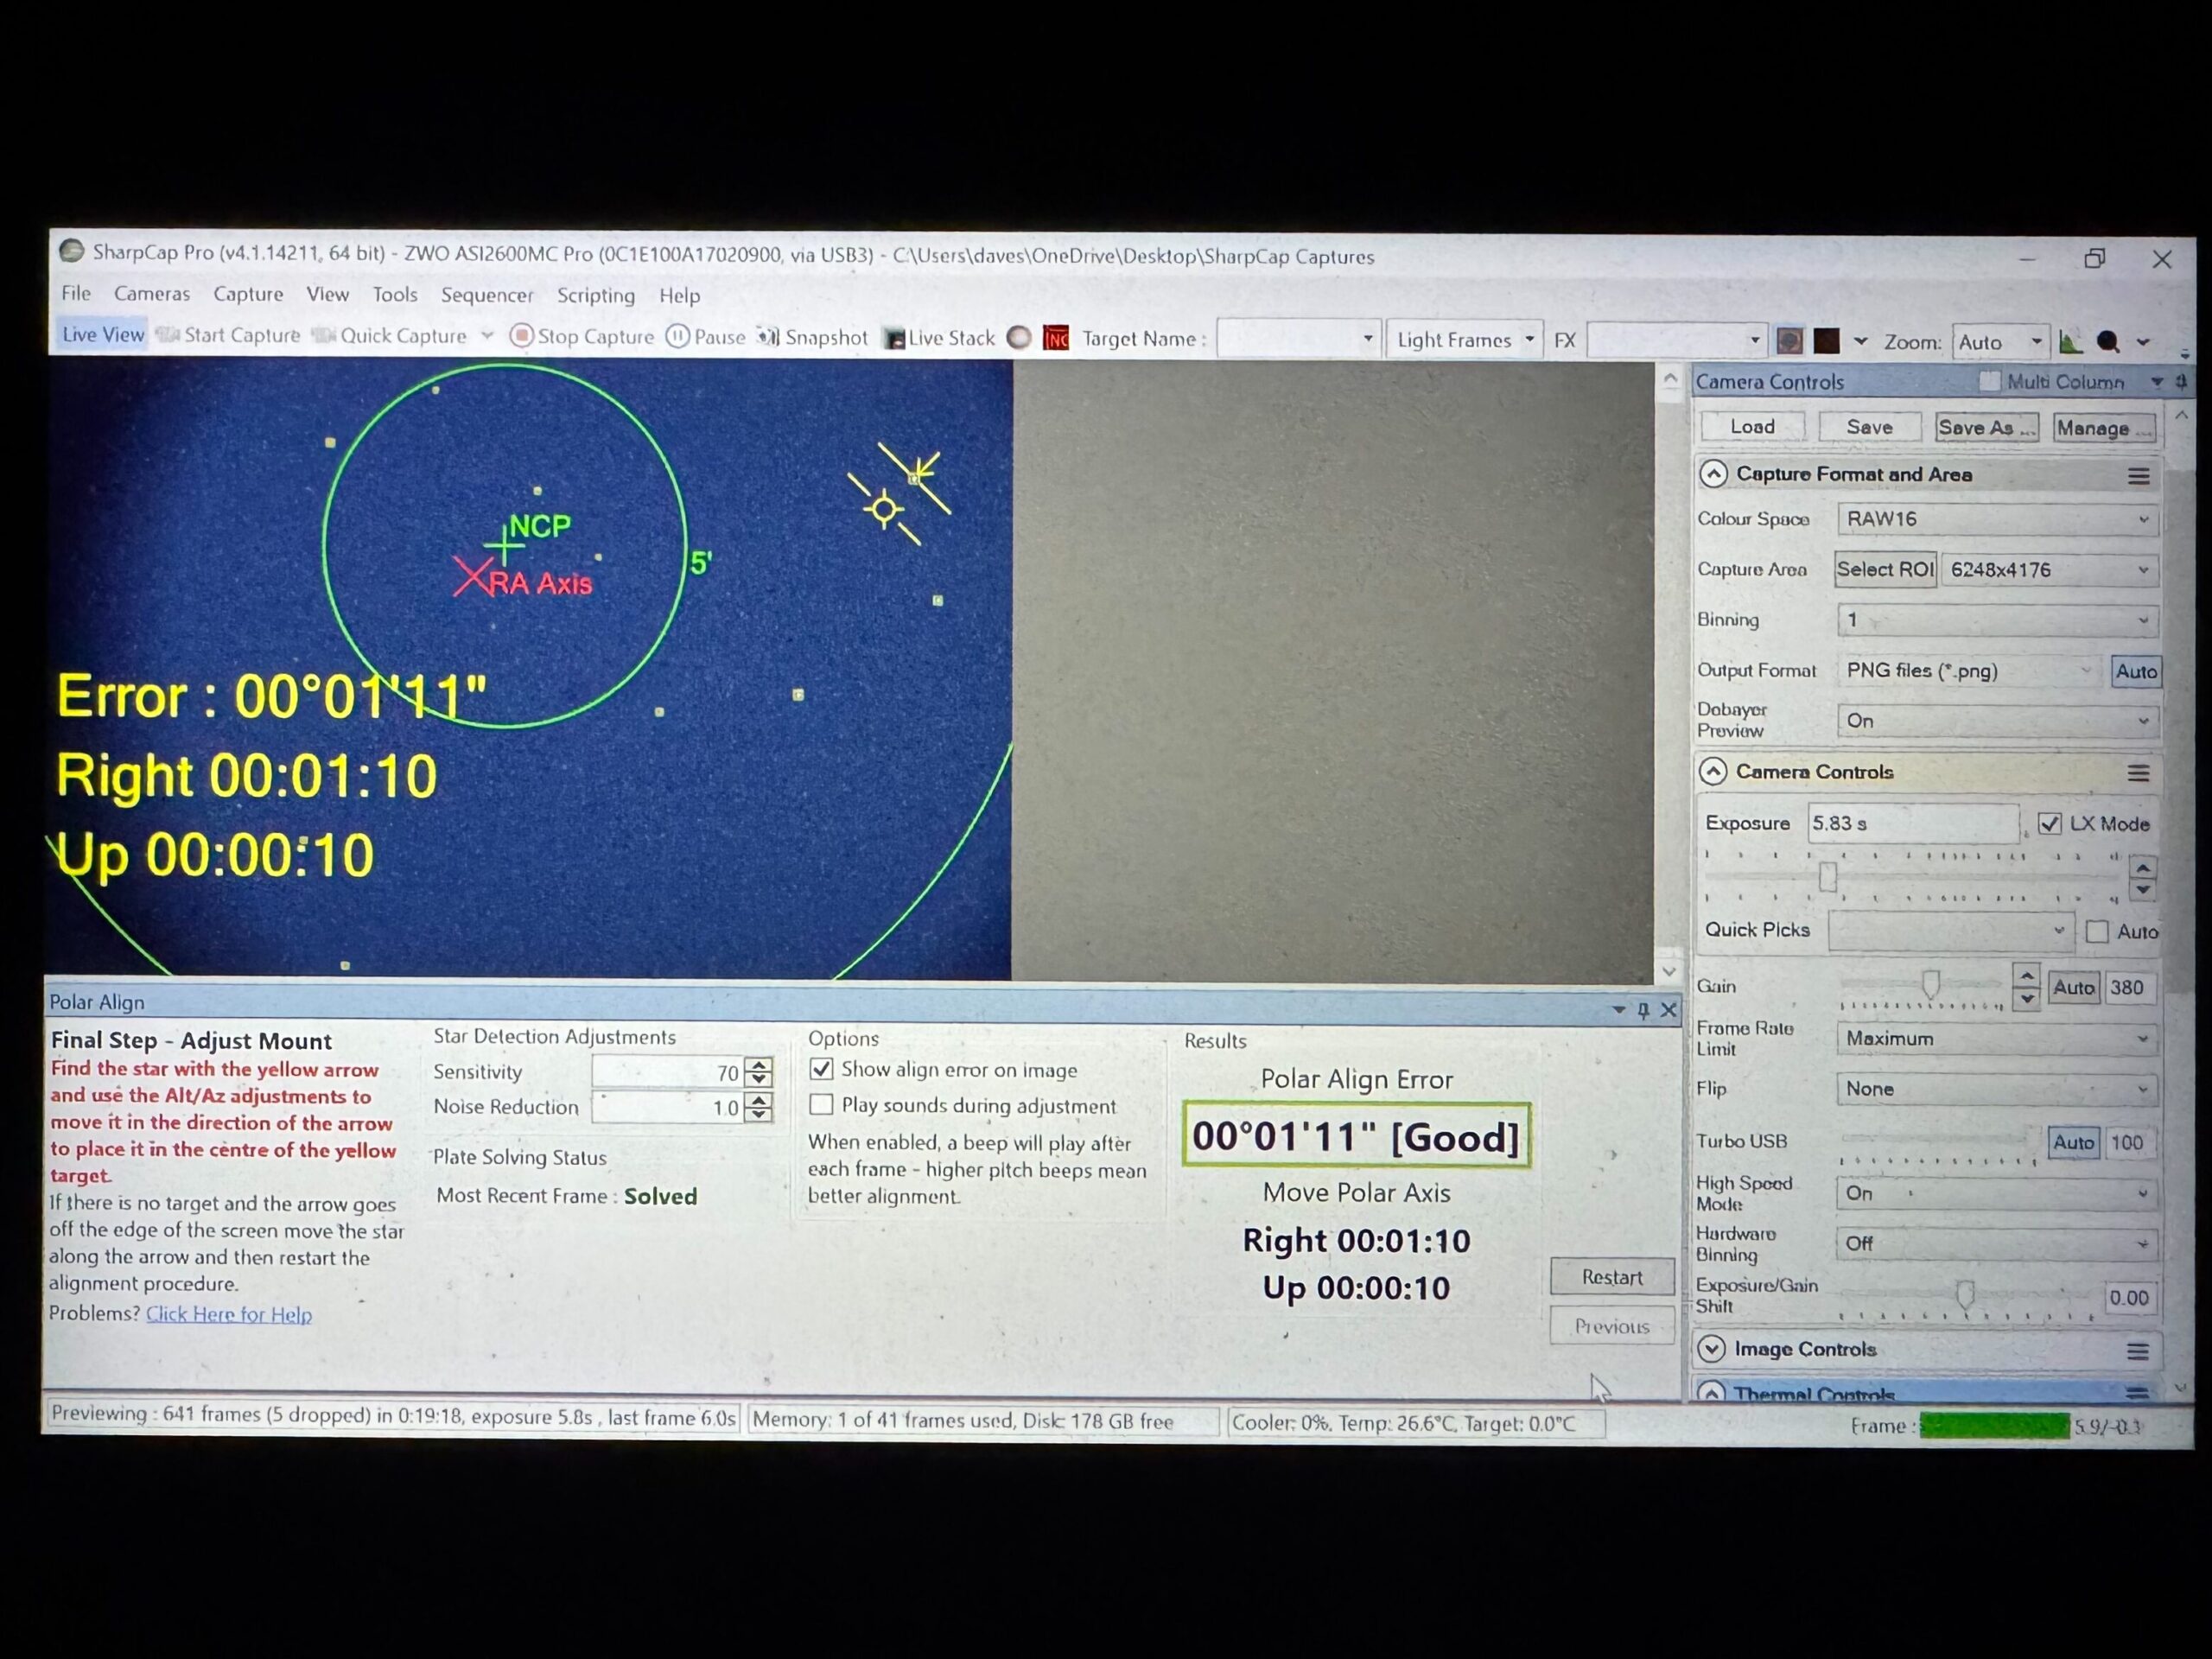
It now also has a polar alignment built in. This transpired to be fantastic. It is automatic and works on plate solving. So once I got focus, I switched to PA starting in the home position pointing to just near Polaris and clicked start. After a few screens and a little adjustment I was there.
I then slew to Arcturus but it was definitely not on the screen. I must have been close though as the scope looked to be pointing in that direction. I found Sharpcap had a plate solve feature which undoubtably is what is used during PA. I found the star it was pointing at.
I looked at Sky Safari on my phone and found Arcturus was next to this. I moved the mount using the Sky Atlas app on my phone that comes with the ZWO AM3 and Arcturus slewed into view. I synced and was good to go once the Moon rose.
Soon the Moon rose and at full chip resolution it still did not fit in, however given the suggestion (the best one I have heard in a while) from Robin Glover was to ditch the planetary camera I had from ZWO due to the small chip, and instead use one of my deep sky ZWO cameras, so an ASI 2600MC for me, this made finding stars, the Moon etc so much easier.
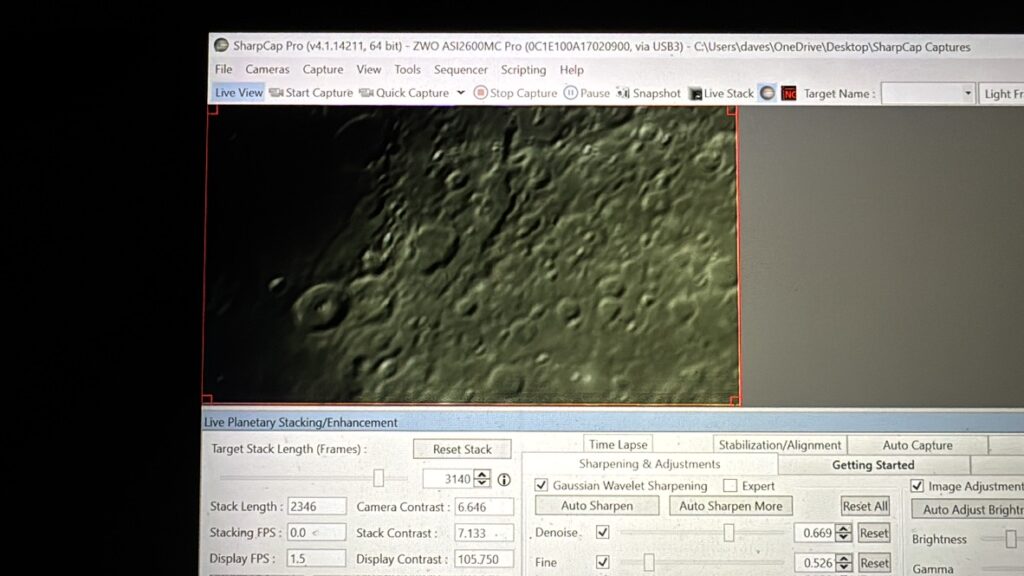
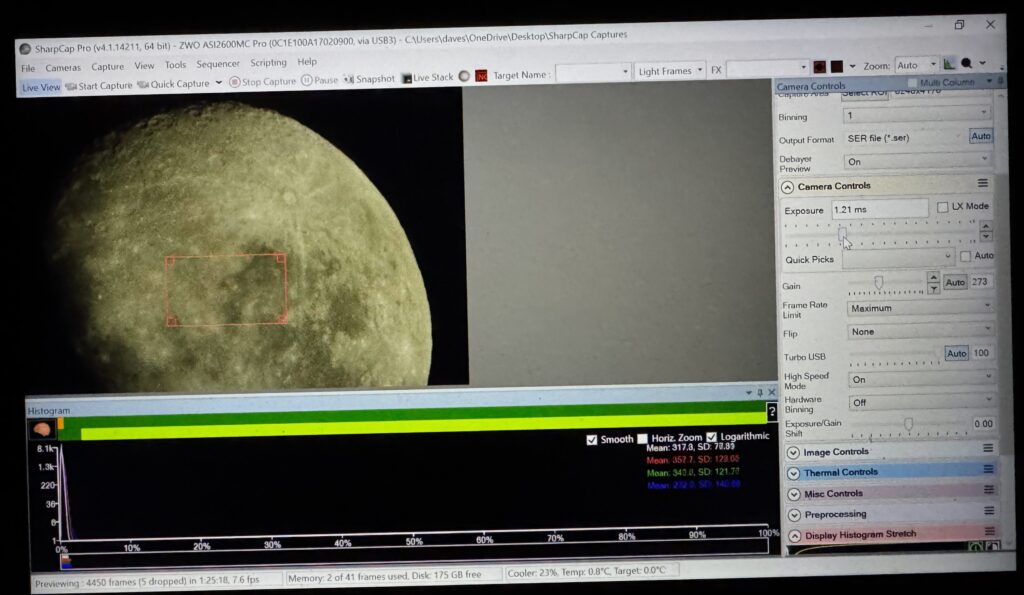
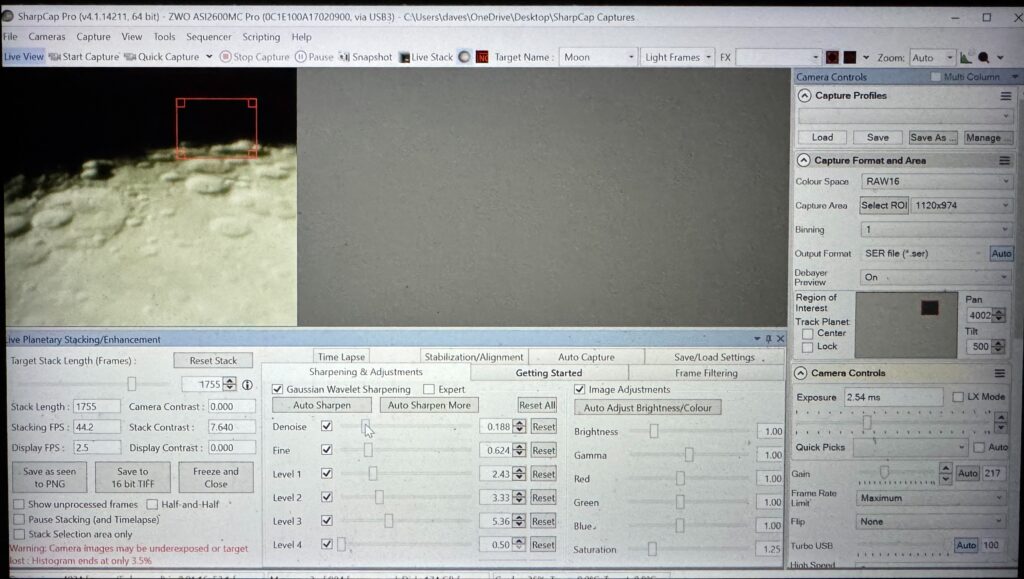
I then used the Region of Interest feature to zoom into the Moon. You can see how grainy the original unstacked image is.
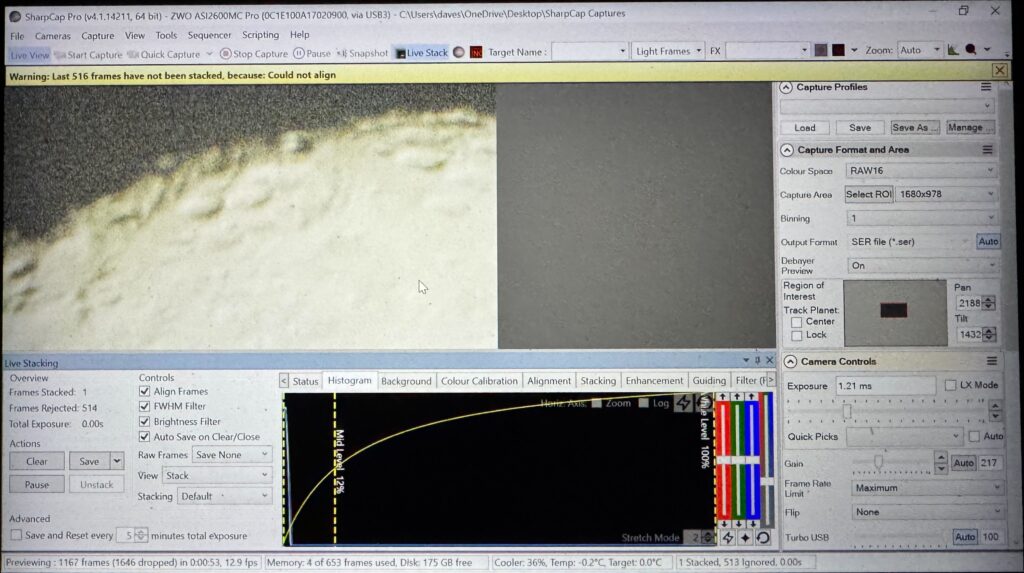
Then I confirmed the settings for the stack and for set to live view the Lunar surface. The menu option for this was under Tools rather than the Live View on the quick link bar. A small stack of the ROI gave the following.
This was not bad given the currently low altitude of the Moon but also the Jet stream being overhead as detailed on the brilliant weather website SkippySky.Com.Au
Screenshot
The cloud cover, transparency and seeing were excellent tonight, however with the jet stream being overhead the air was just bumping around too much.
At 2am Saturn was still behind my own oak tree.
Finally at 3am Saturn appeared out the side of the oak tree.
I need to understand how to adjust the ADC correctly as it was definitely not easy. Also I need an EAF as manually focusing makes the planet wobble too much.
One of the problems I did have was thinking I was adjusting the gain on the image when I was actually just adjusting it on the screen rendition. This meant I was underexposed on what I was capturing.
The planet looked tiny on the APS-C chip
By 3:35am the sky was visibly bright and my practice session came to an end.
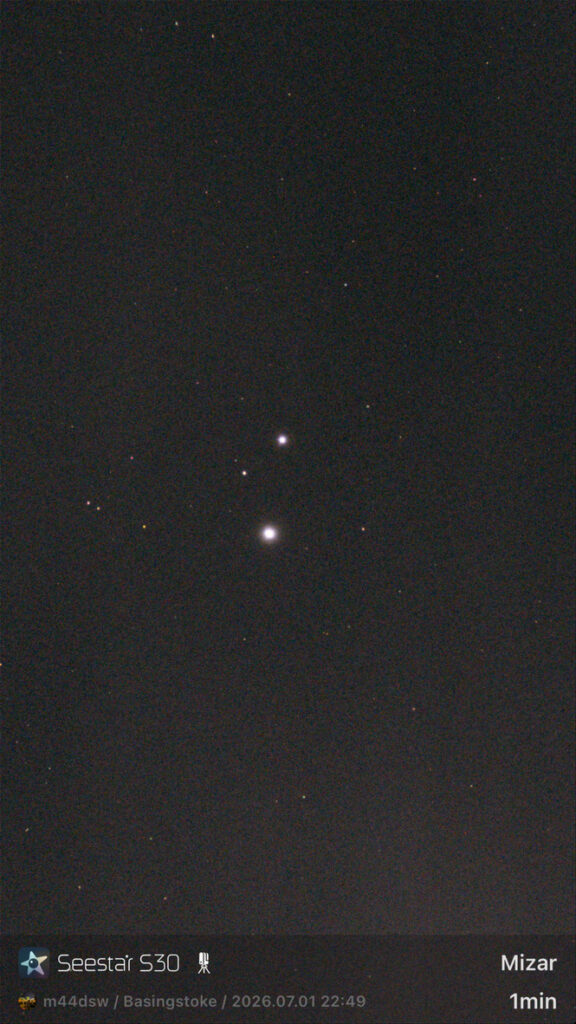
I had been seeing a small problem with the Seestar S30. I noticed on holiday that the top left corner looked out of focus. I contacted the brilliant ZWO support and they suggested it might be a focus issue in that it was not focused properly. Tonight I thought I would refocus and take some more images to see. This is what I saw.
As you can see the image is almost perfect. Much better than the affending stars from the trip up Tenerife’s mountain Teide recently. Problem solved. It had clearly not auto focused correctly. If I see the same problem again I will simply re auto focus. Here is another of Mizar and Alcor in the handle of Ursa Major.
Mizar
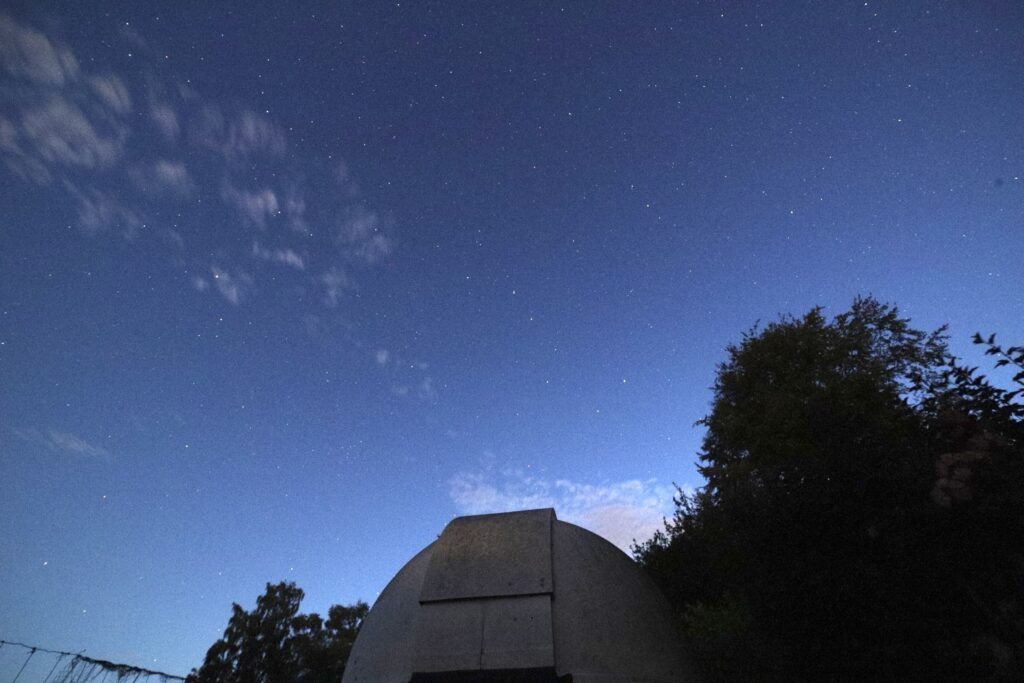
Onto the other test for the night was the Canon 6D that I have and testing it again with the Samyang 14mm f/2.8 lens for use in Namibia. I set about shooting so images on the twilight sky and the stars were pin sharp.
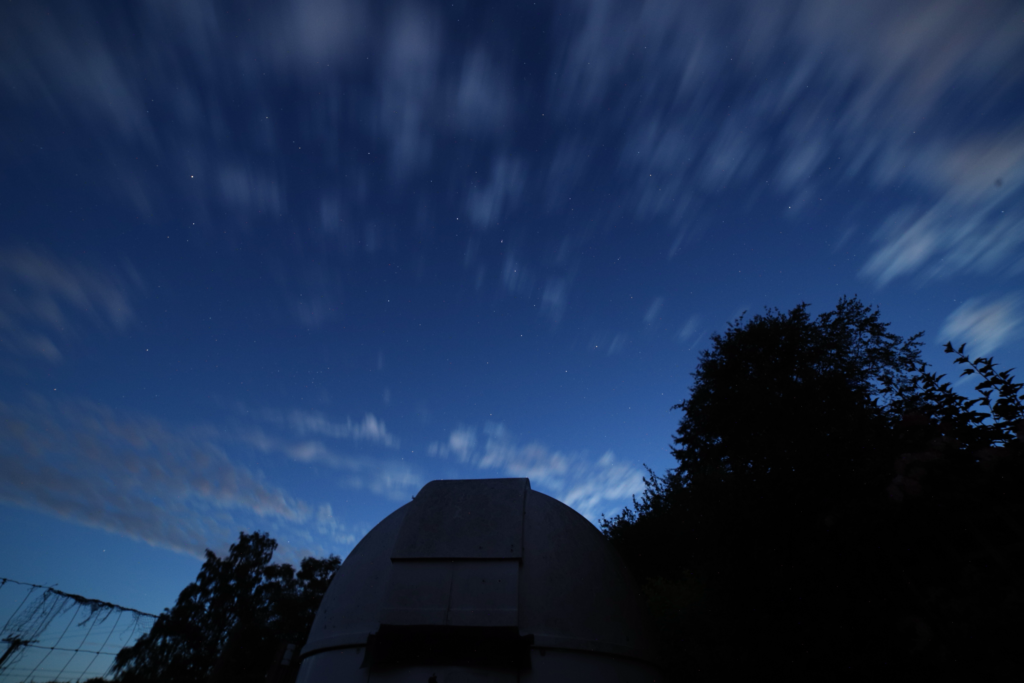
I also liked this one with a longer exposure and thus the clouds captured in motion.
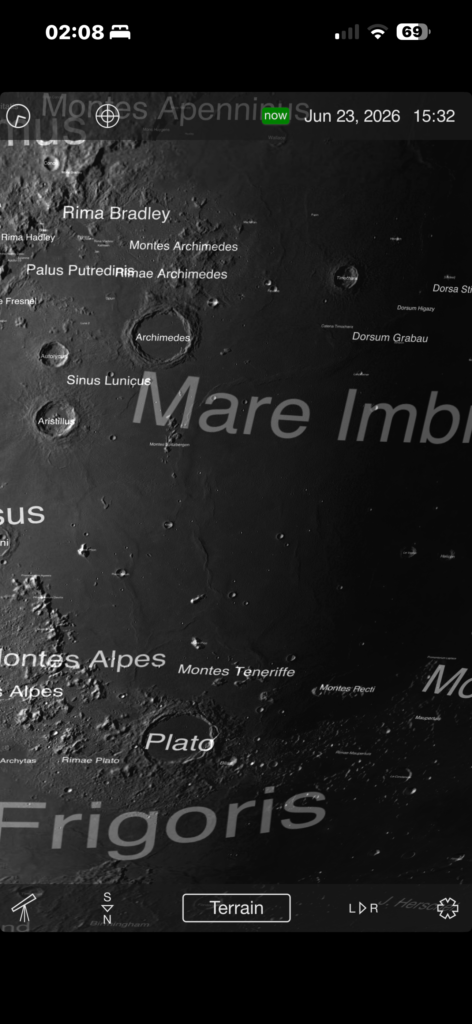
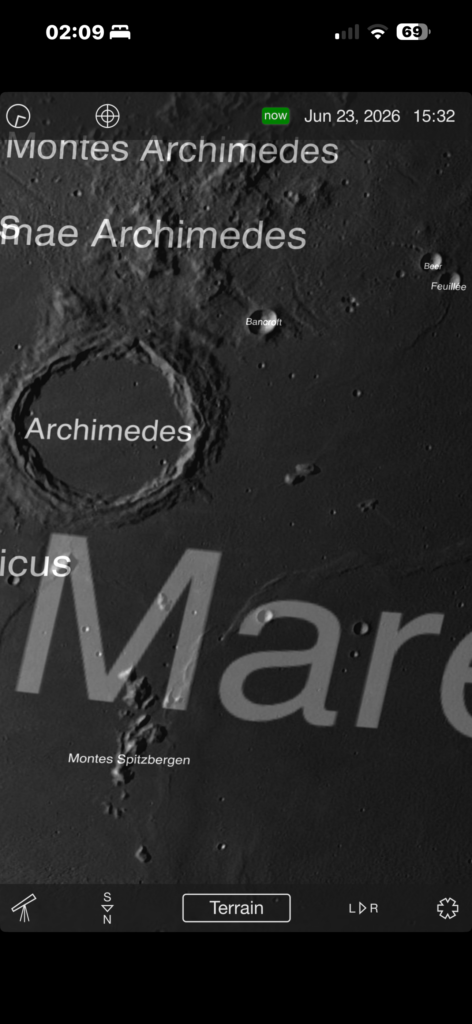
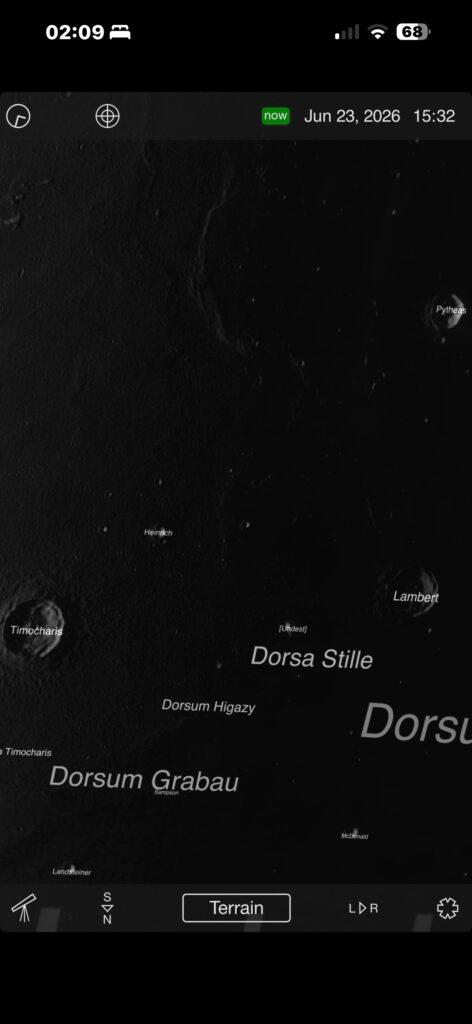
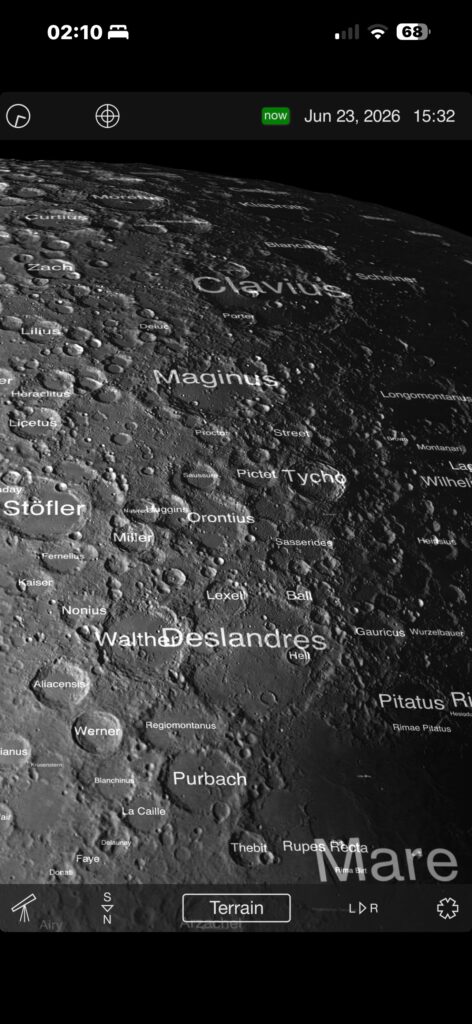
I’m out with the 22″ Obsession again doing visual. The images below are from the Moon Globe HD app on my iPhone, not focal this time. I have included as an aid to what I saw visually.
I could see huge Plato crater and Archemedeis to the top. I could make out 3 small craters, Bancroft, Beer and Feuillee before getting to Timocharis near the terminator.
I could just make out Heinrich and then Pytheis at the terminator
• ⁃ Beer & Feuillee stand out so much more. Also Montes Archimedes is very prominent and the 3 main ranges. We are in the middle of a heatwave with a very unusual heat dome sitting over my part of England. This is causing the air to be very still and thus the seeing is astonishing. The Moon is still not wobbling at all.