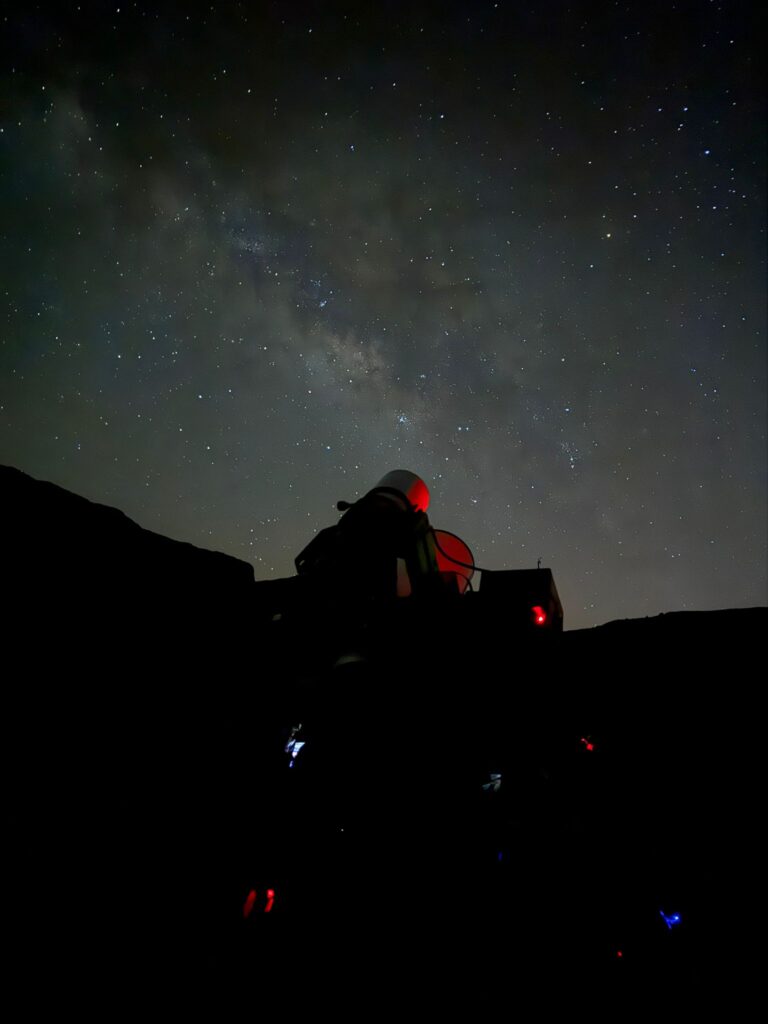
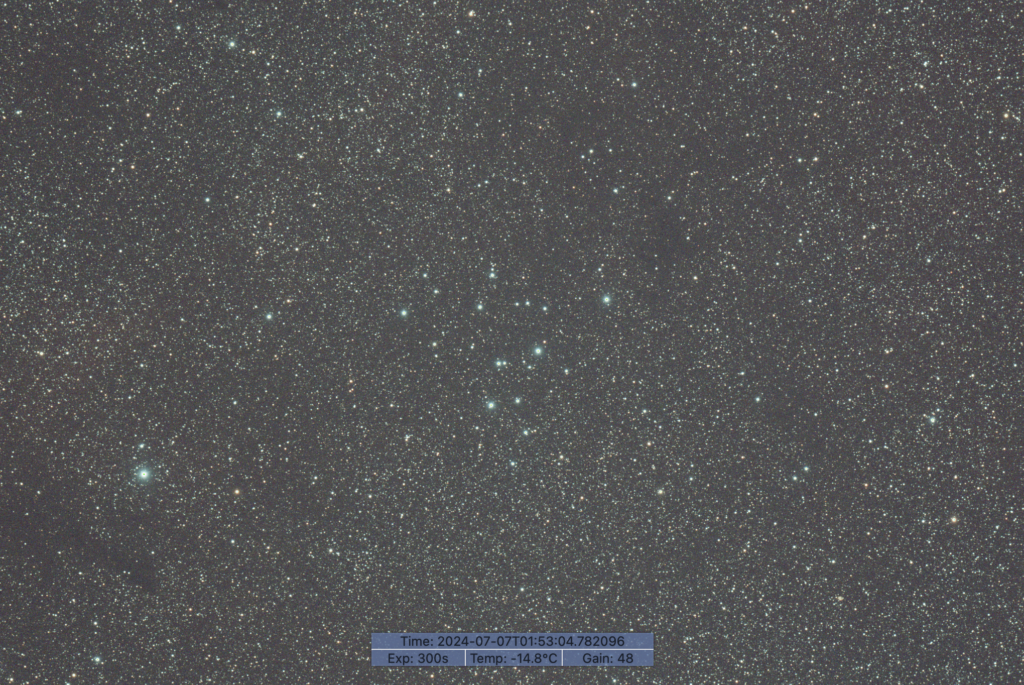
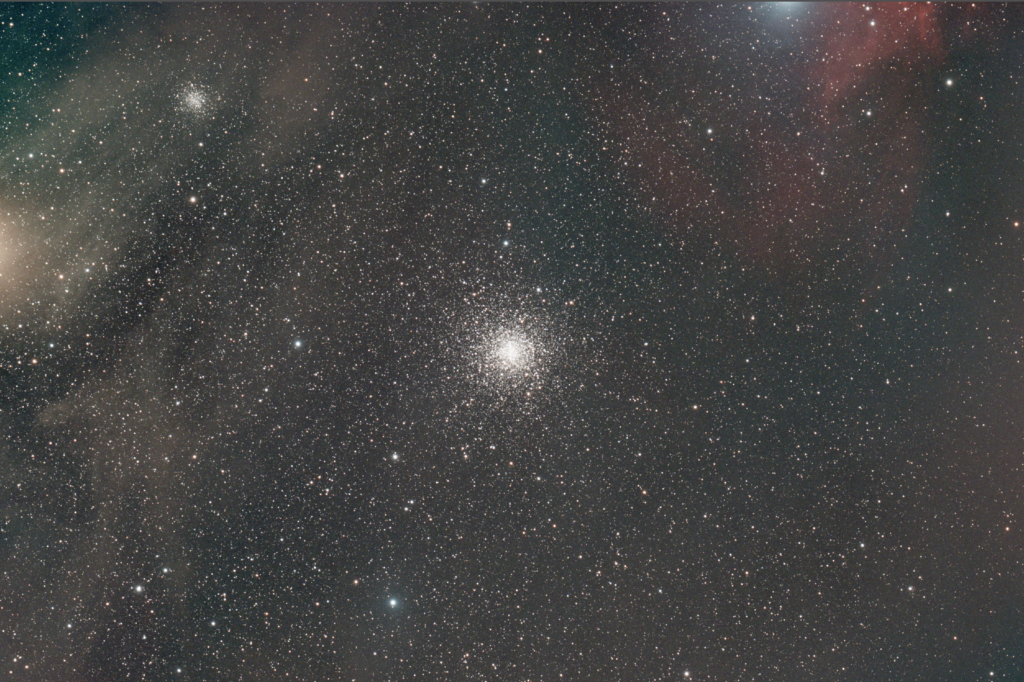
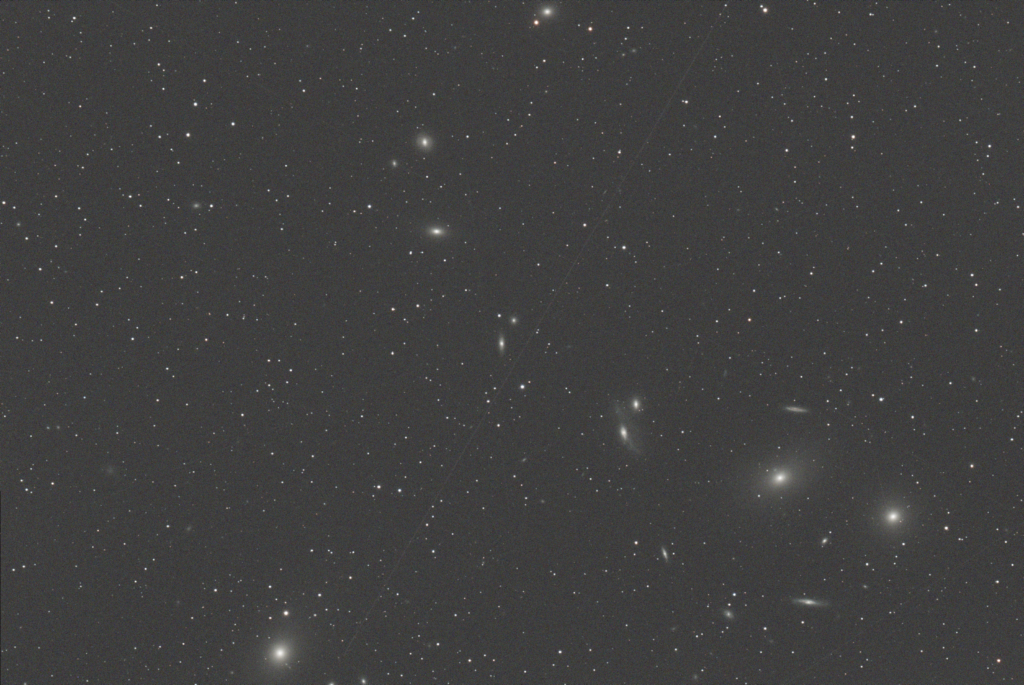
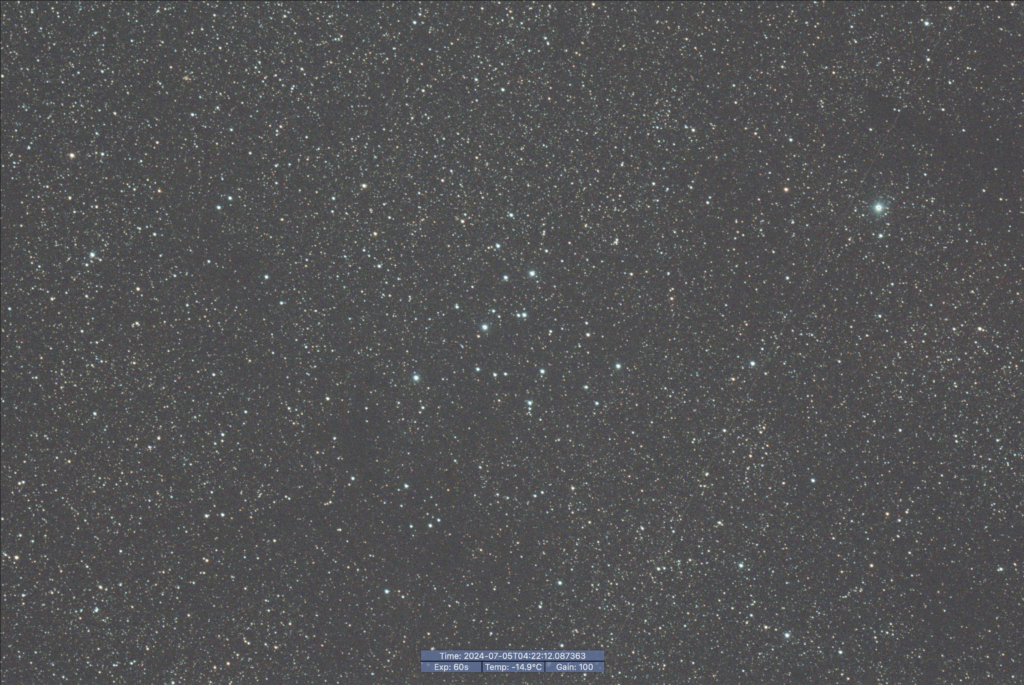
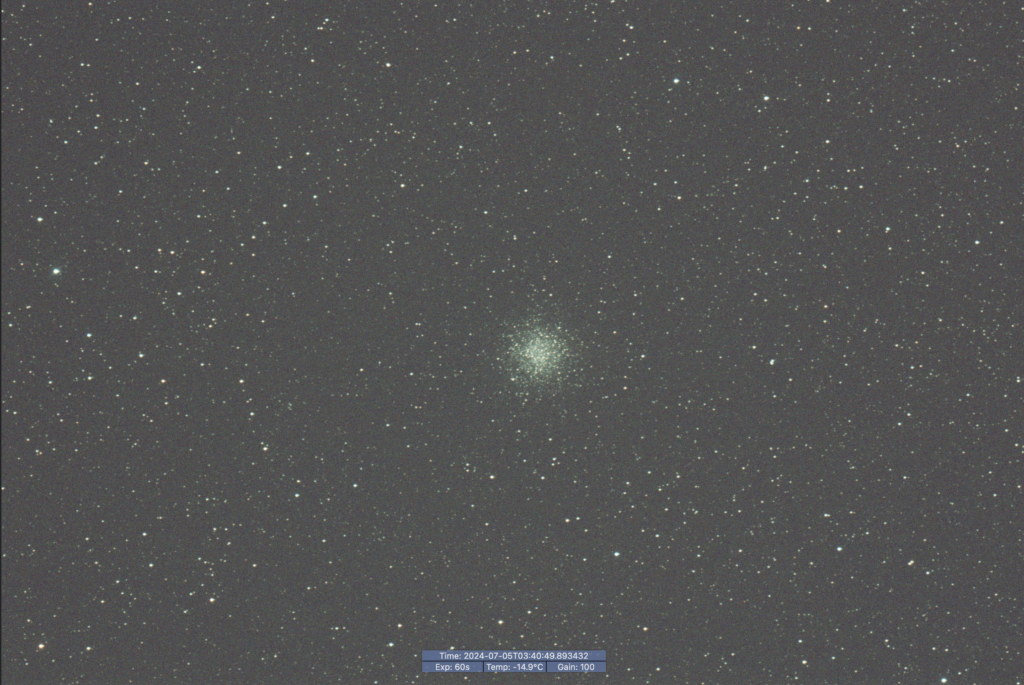
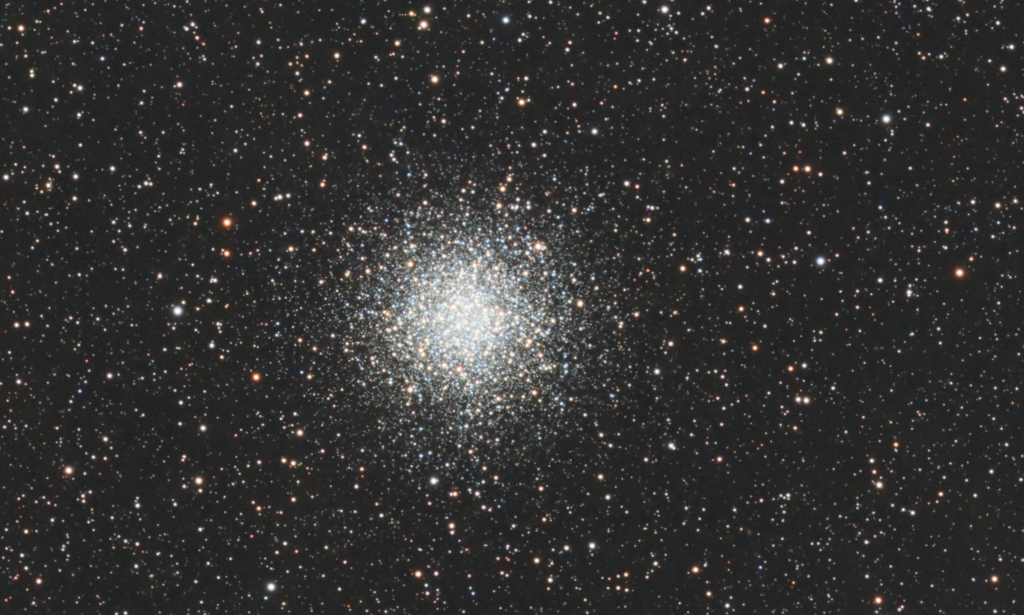
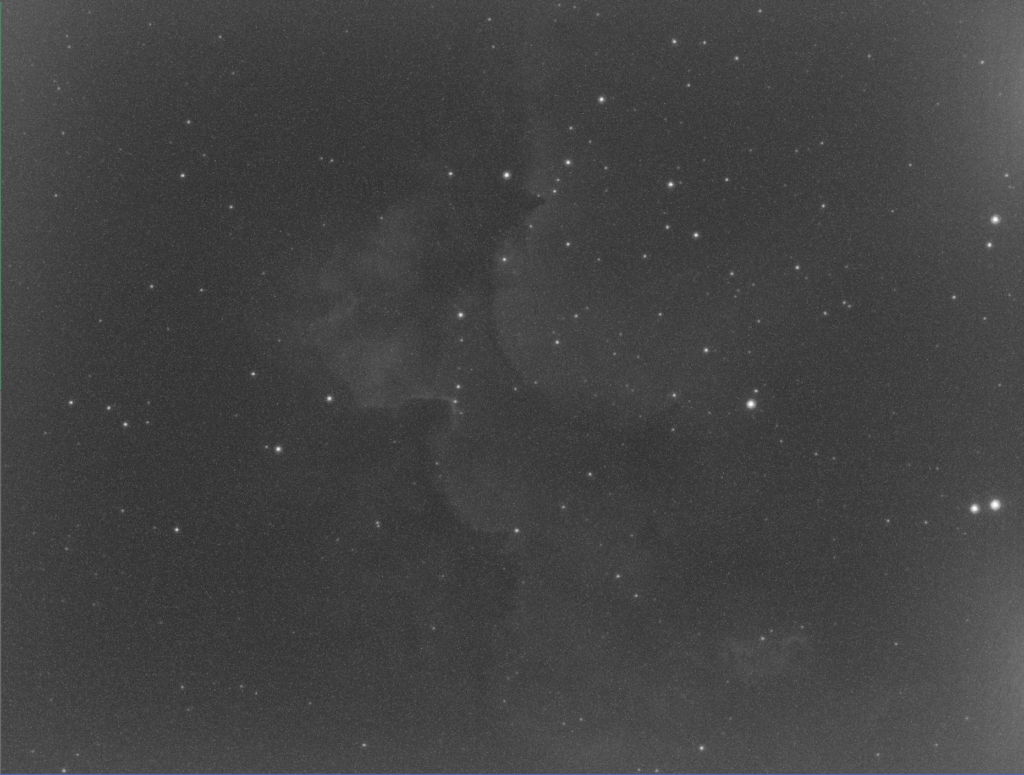
Focus position on 22,644 on OIII. I am taking some more Wizard nebula (NGC 7380 or SH 2-142) images tonight to go along with the Ha and SII images I already have.
I left the setup running all night. Unfortunately I lost the guide star 50 mins into the run and all the rest of the images were garbage. I will redo the next night out.
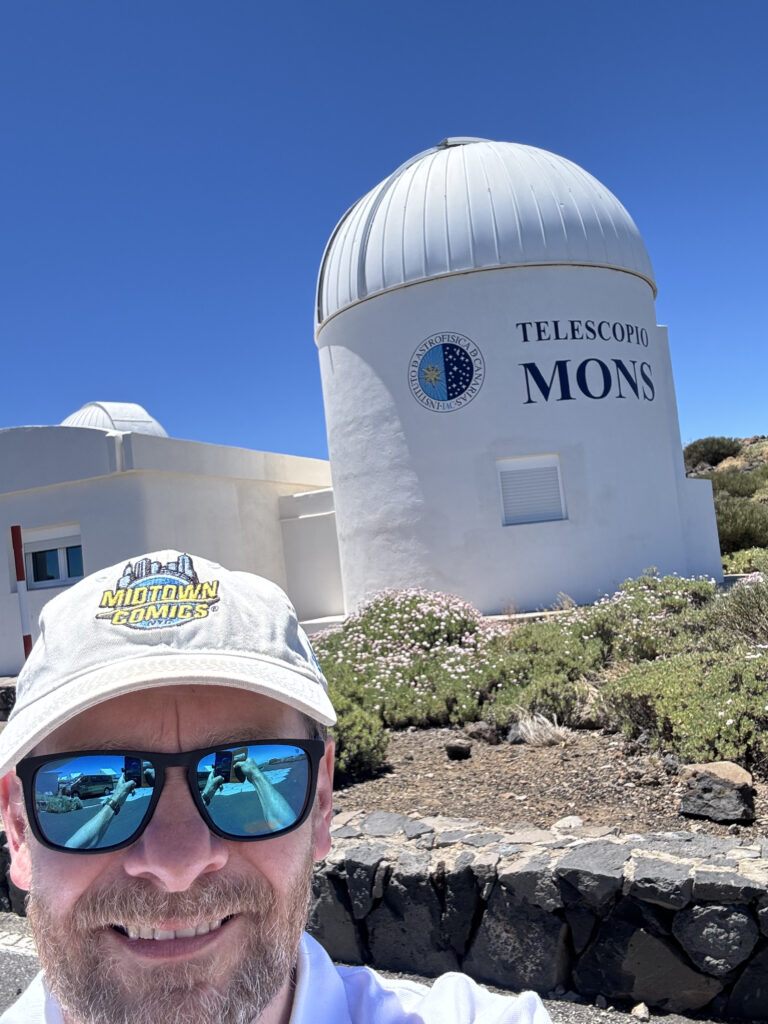
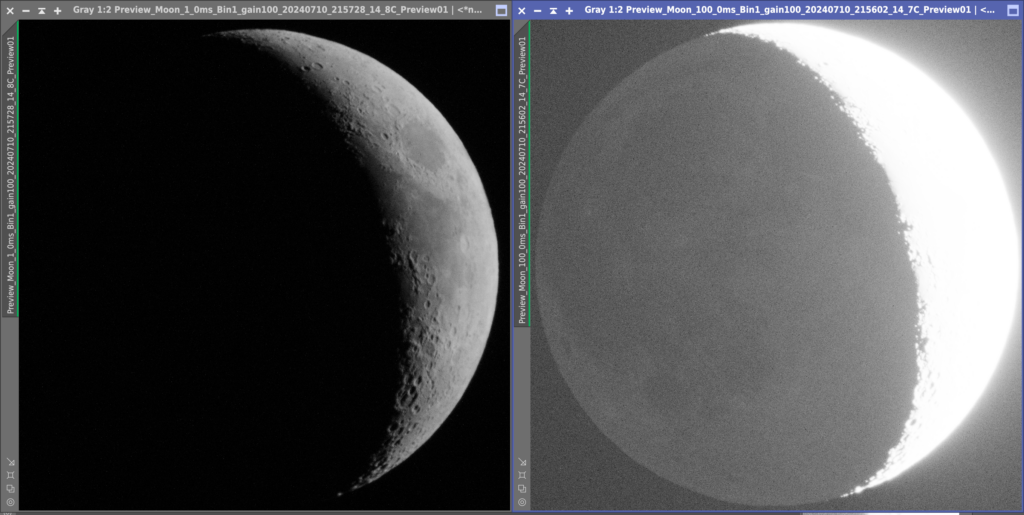
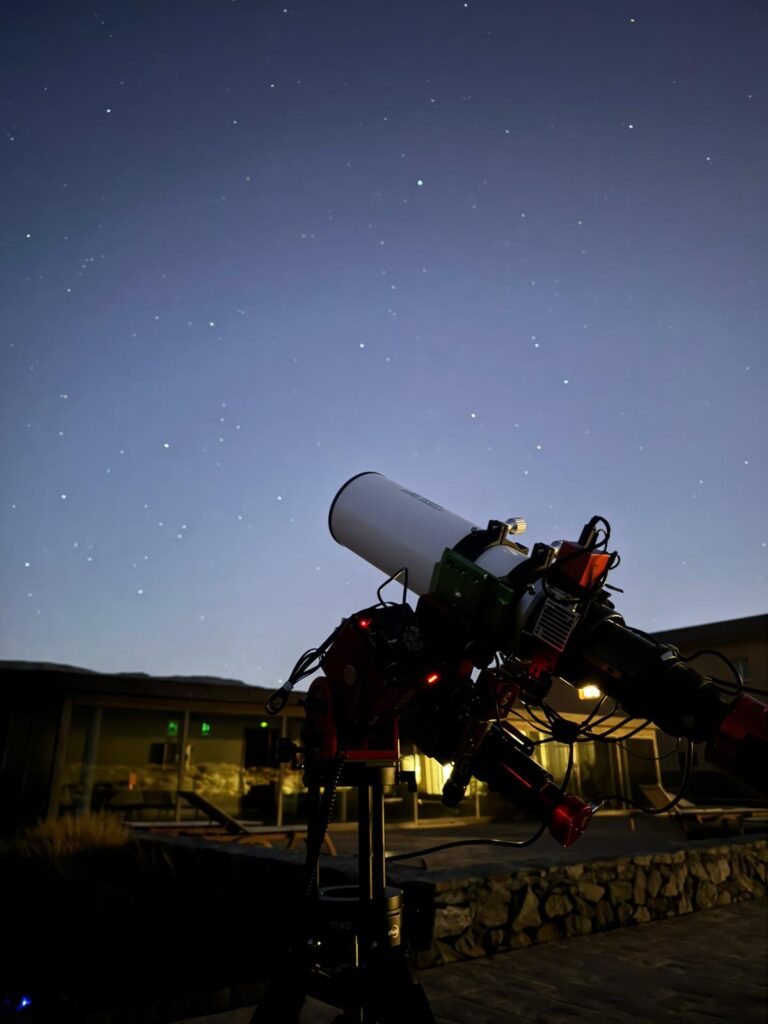
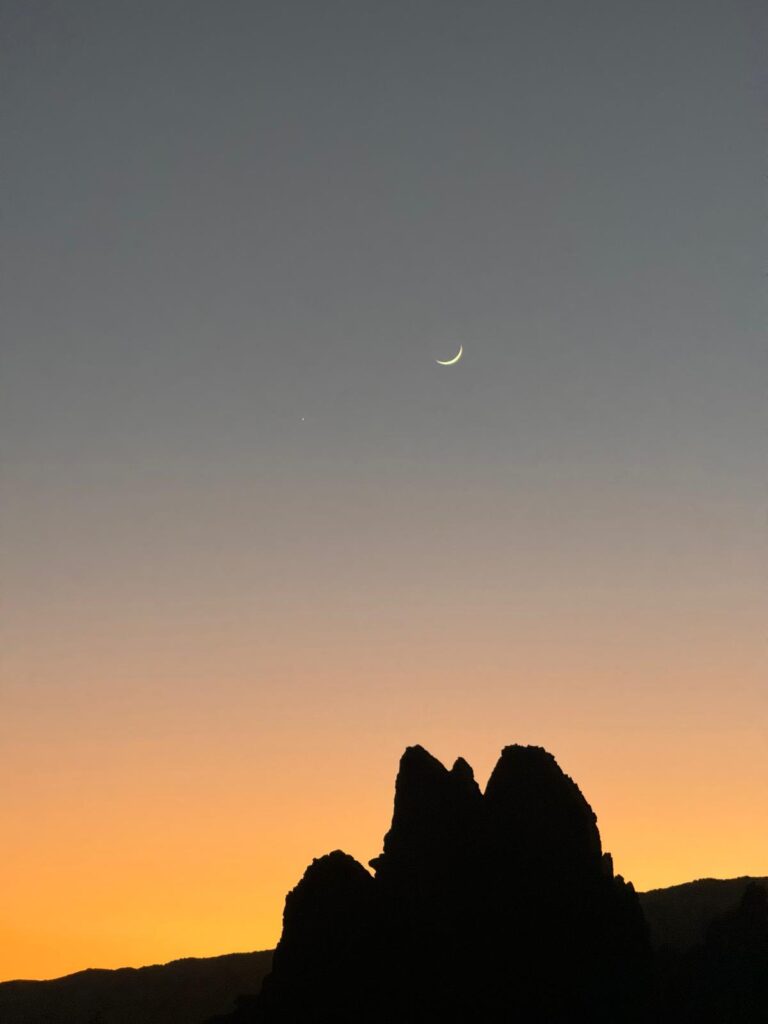
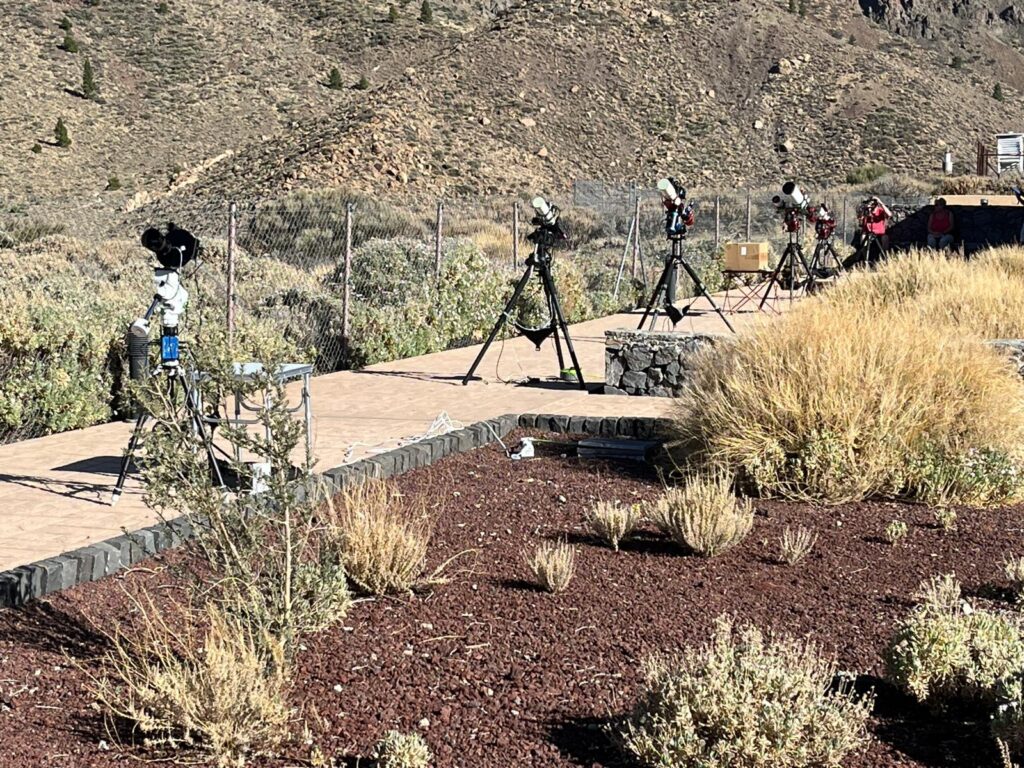
Well after a great day out visiting amongst other telescopes the MONS where we have observed before, I setup and waiting for the last night to become dark. The night was truly stunning at 0.7’ seeing, warm and calm. Low humidity was effecting us, else all the other elements were playing ball. I setup and captured the Moon
Moon
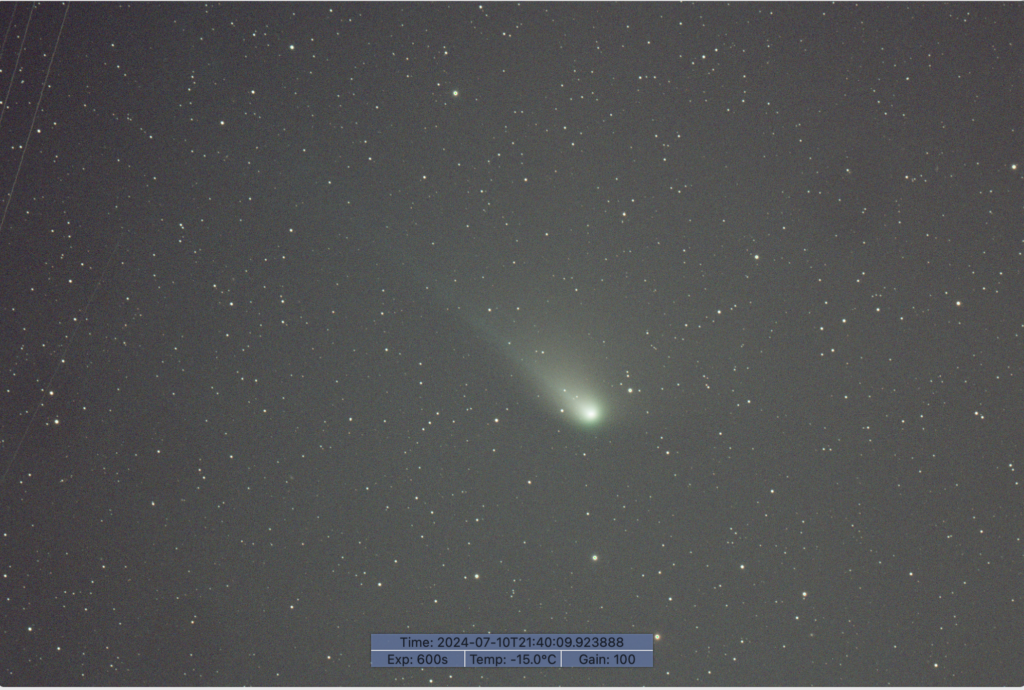
before heading over to Comet Olbers first.
Comet Olbers
After this I set a run on the Dragons again so to add to my data from the other night.
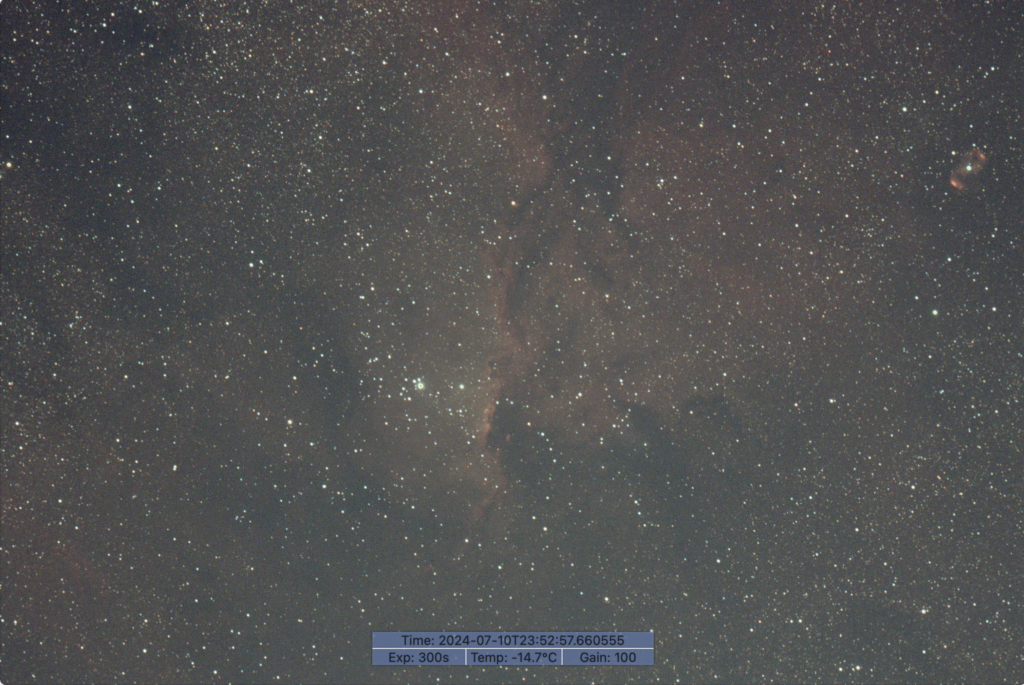
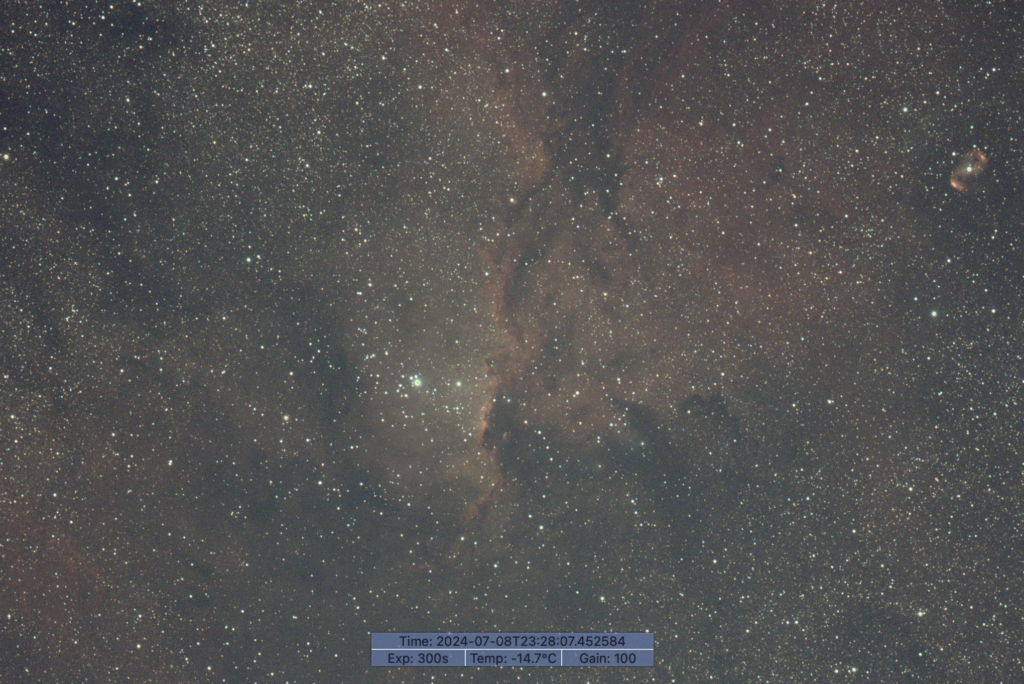
NGC 6188 Dragons
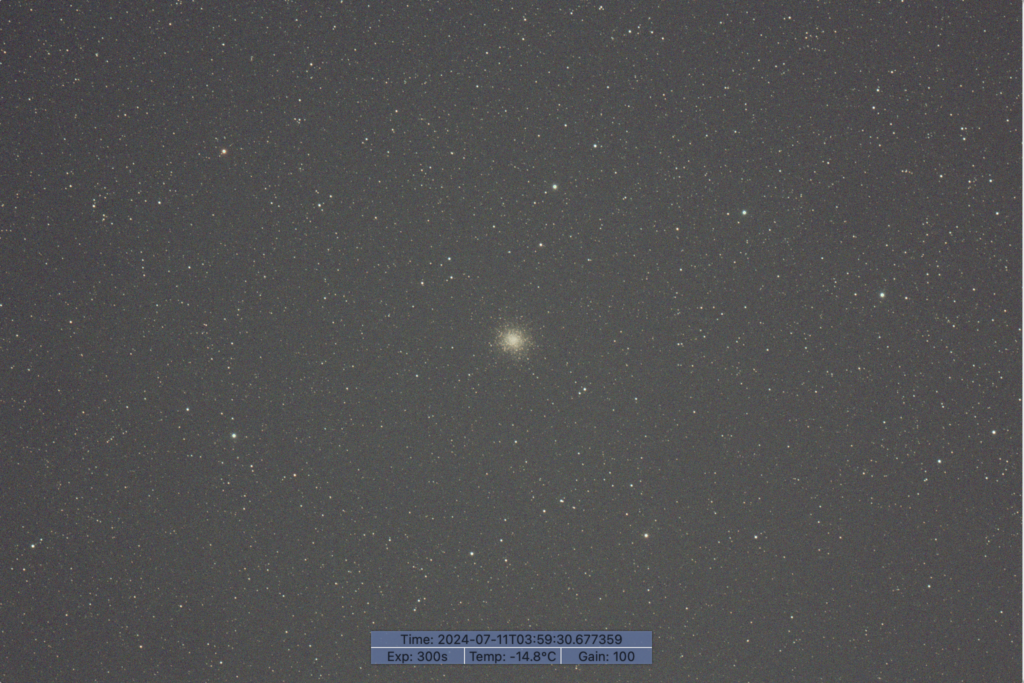
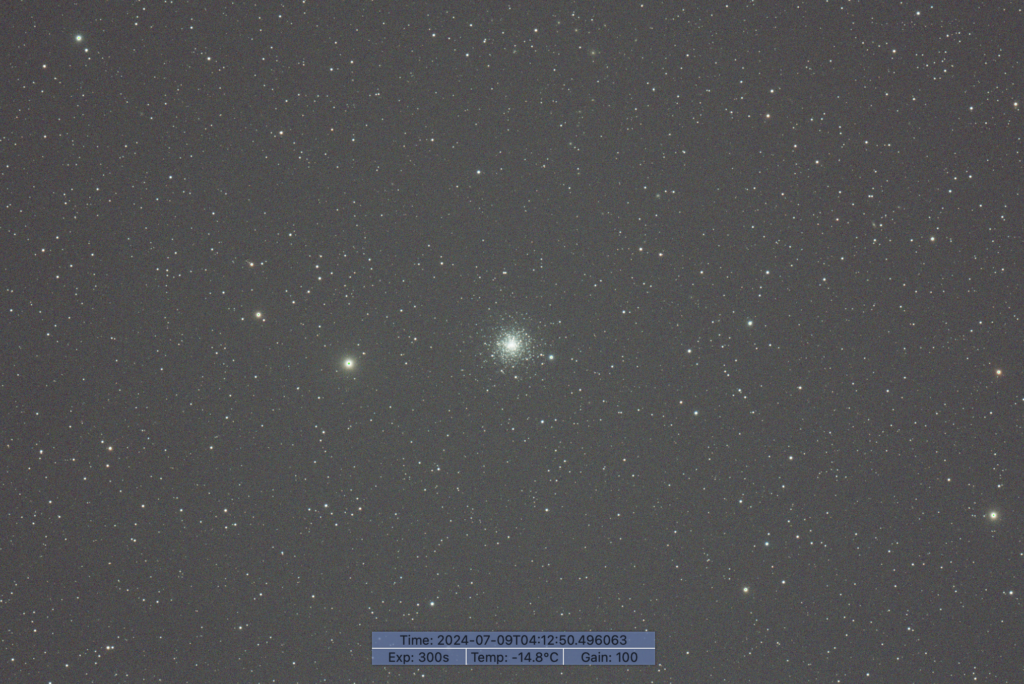
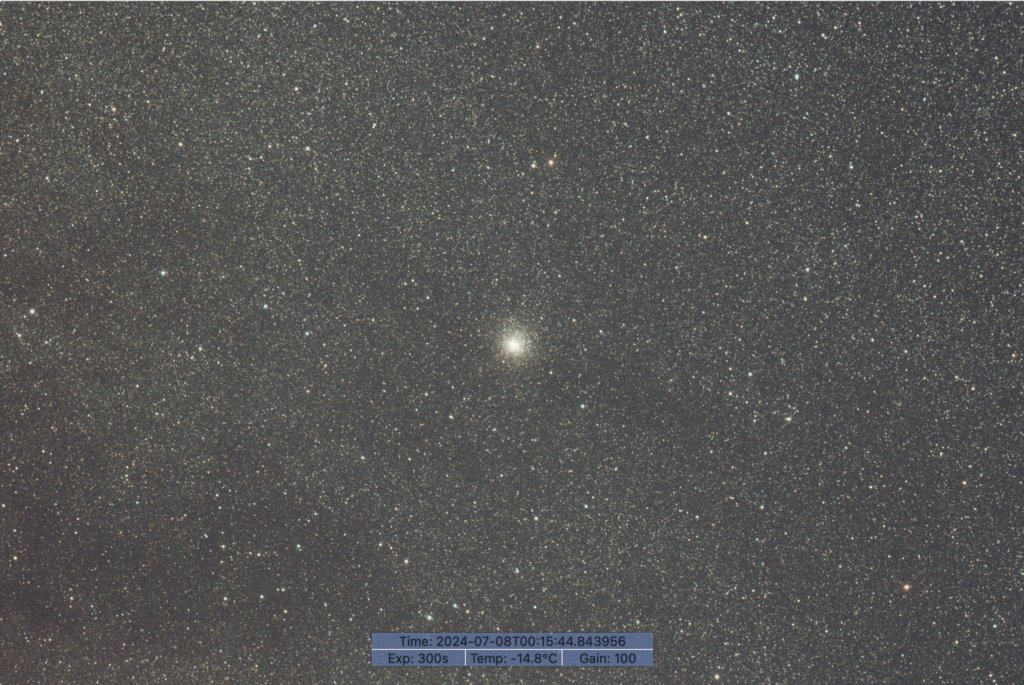
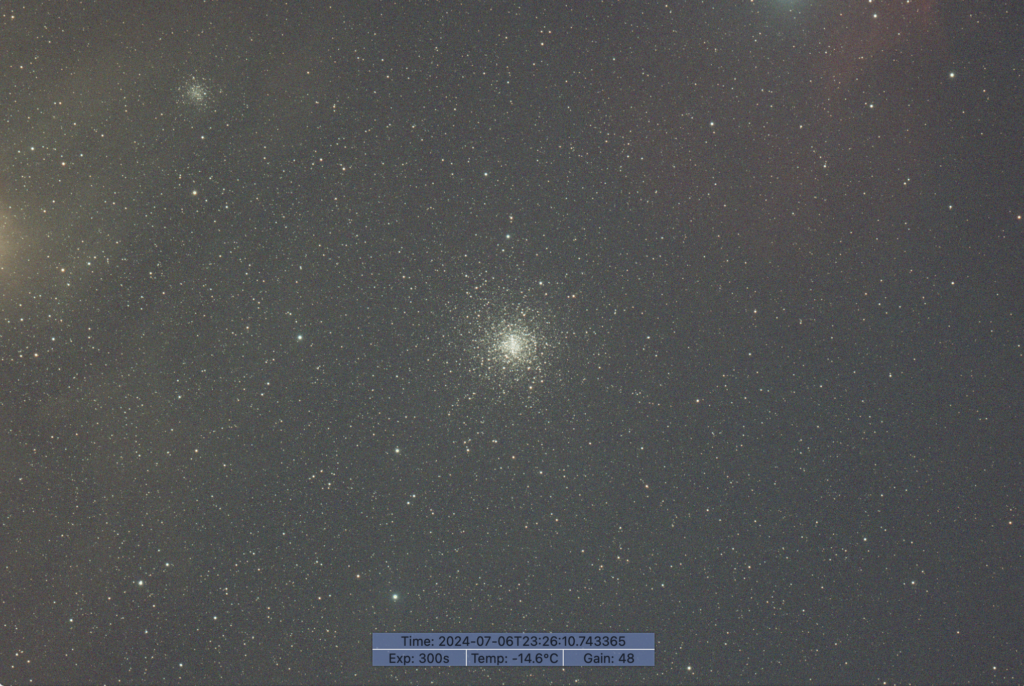
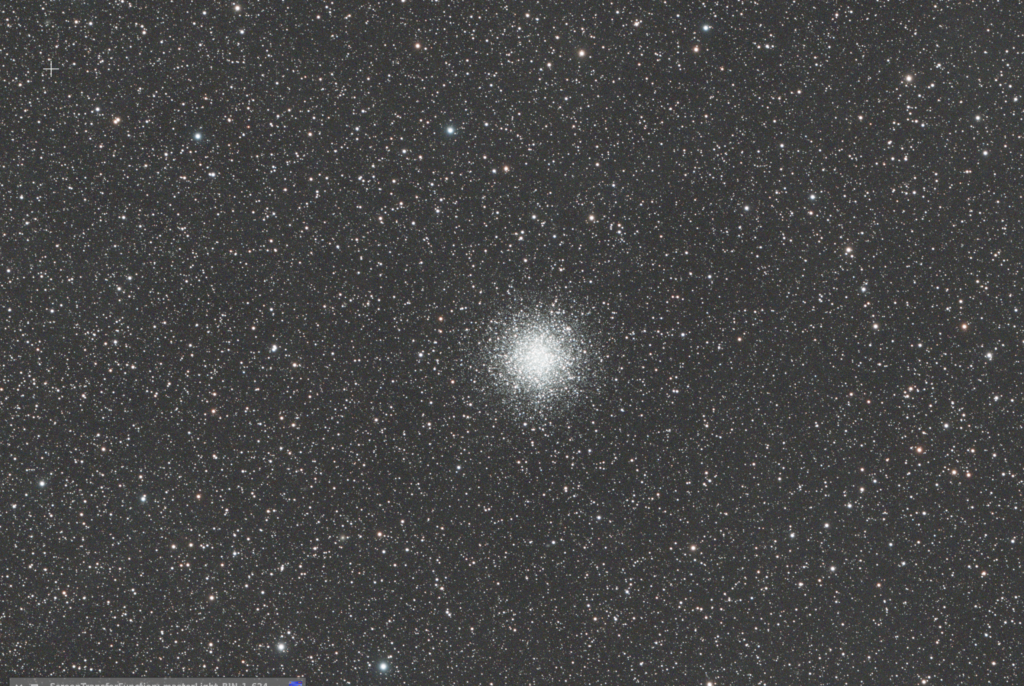
Once this was set and the rest of the plan was in place I headed off to bed at 1am and left the setup capturing some additional data on both M30
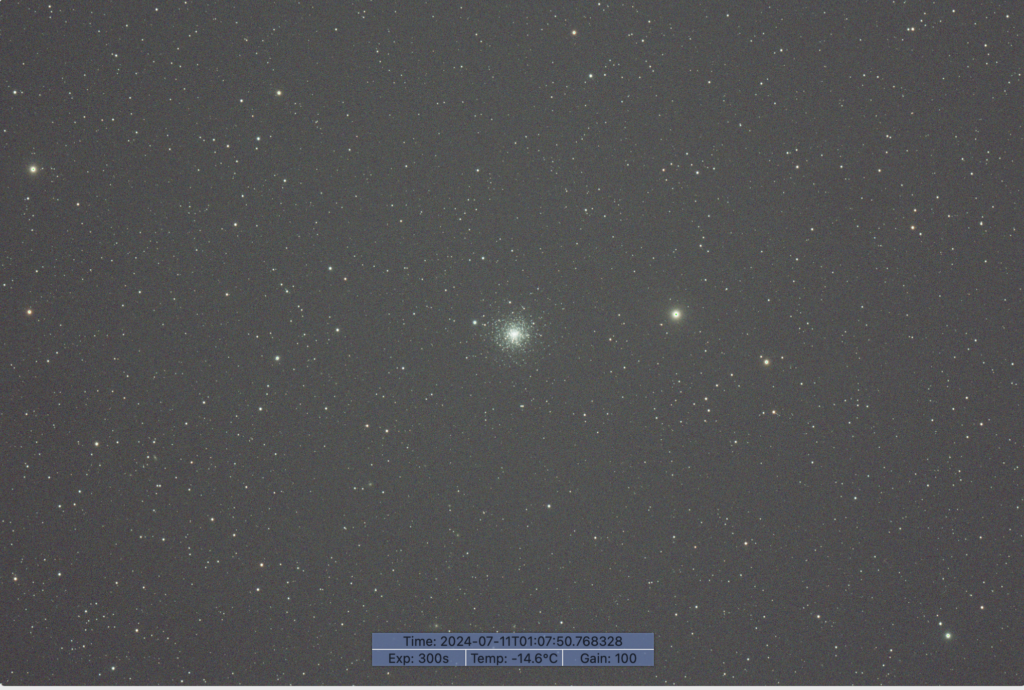
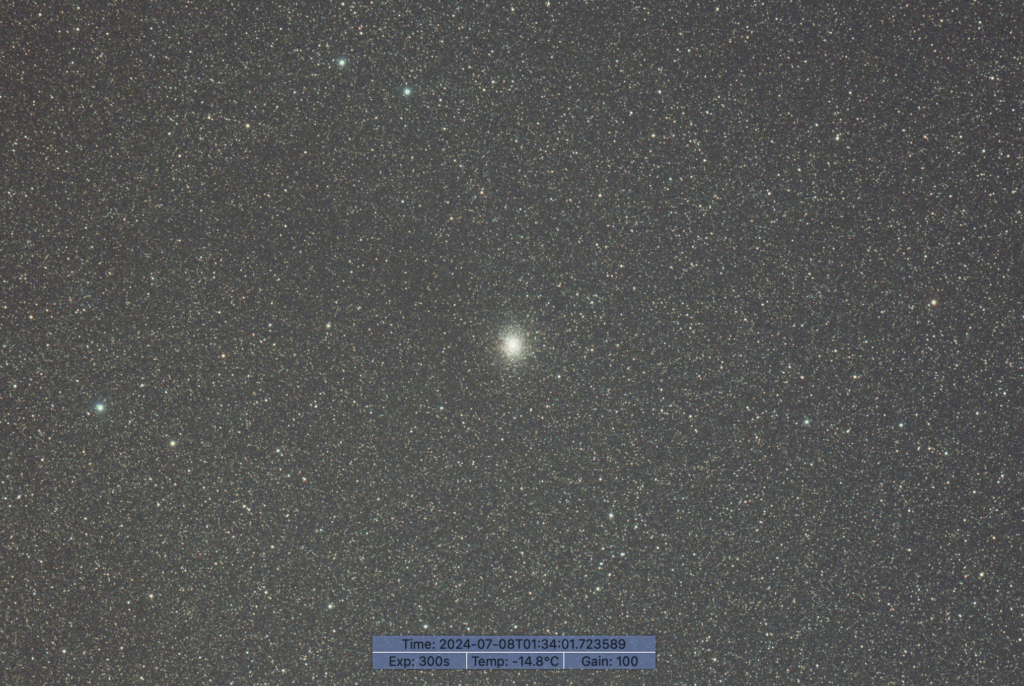
M30 Globular Cluster
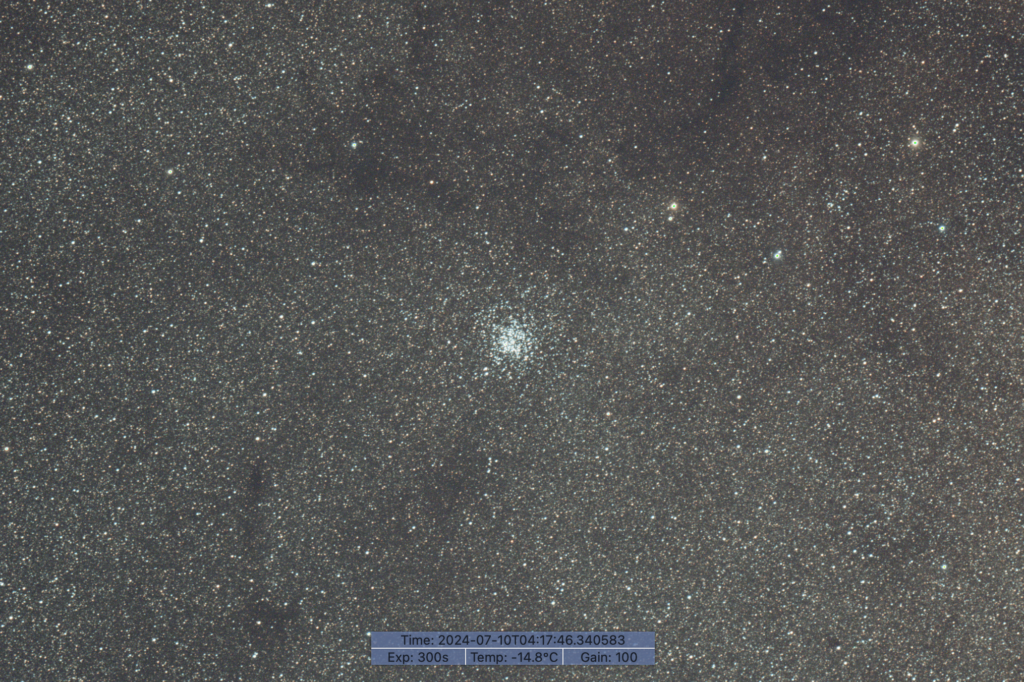
and M11.
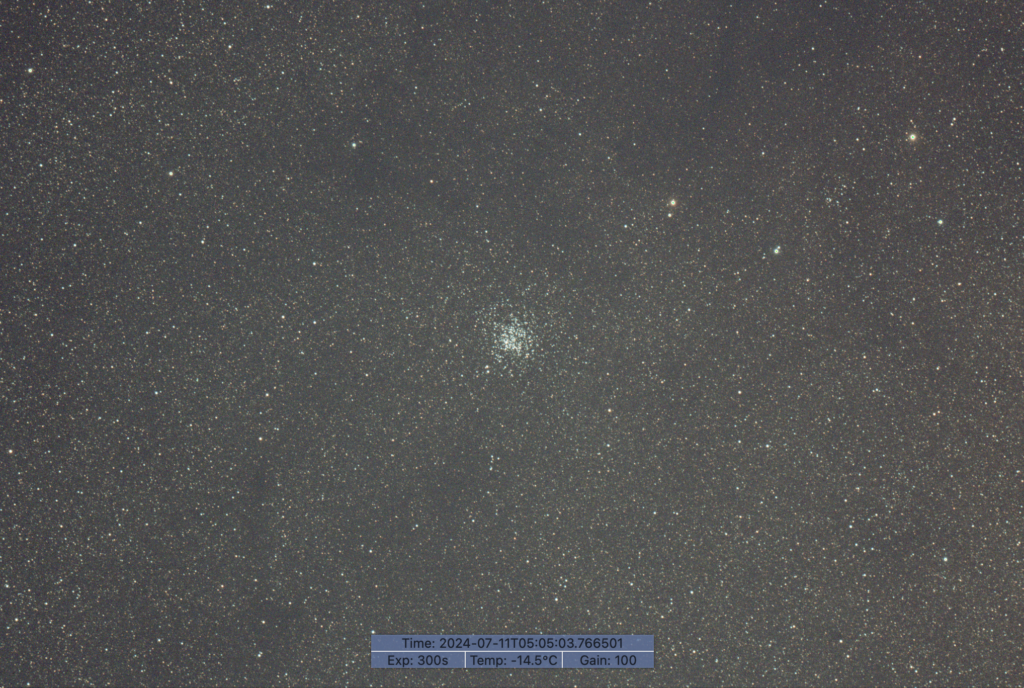
M11 Globular Cluster
I then went on to image M54 which is really small at 1.6 arc minutes.
M54 Globular Cluster
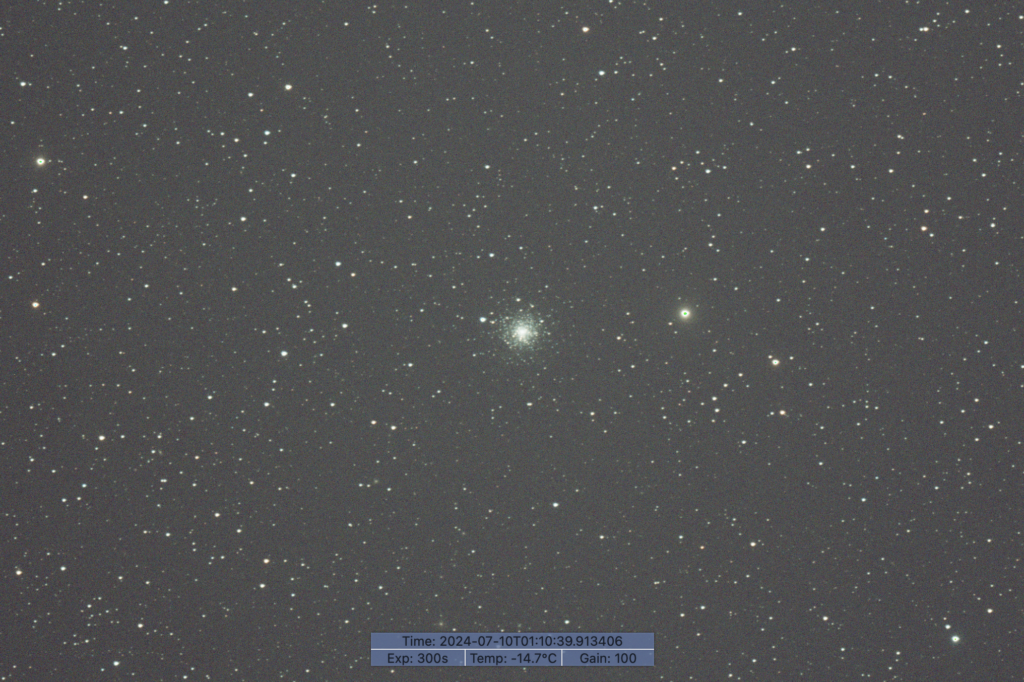
Lastly I grabbed some data on M14 which is a slightly larger globular cluster at 2.6 arc minutes.
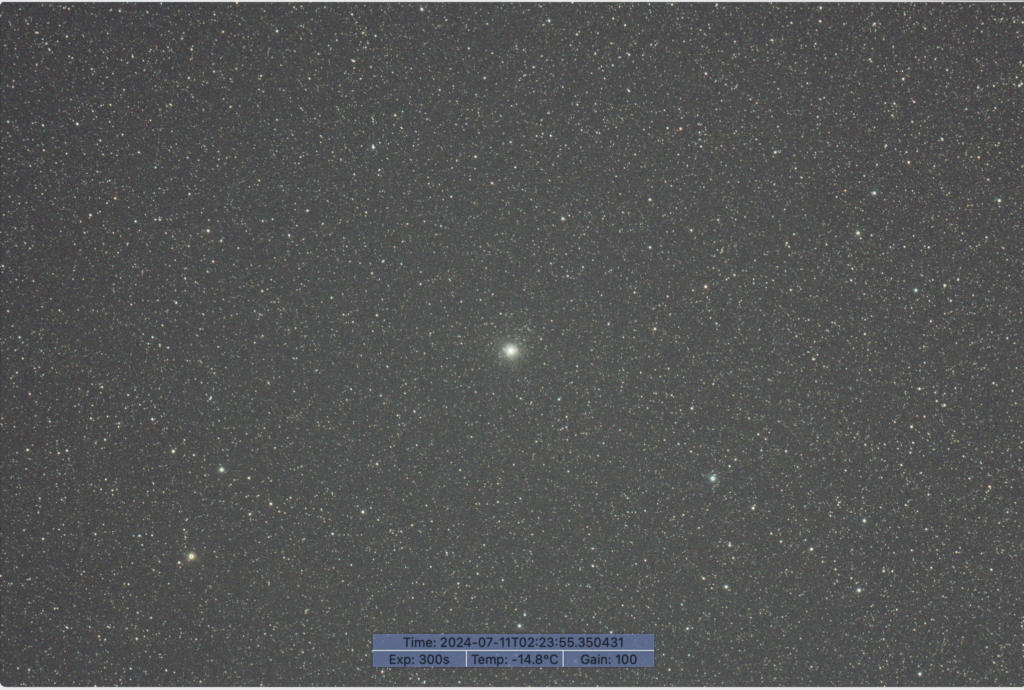
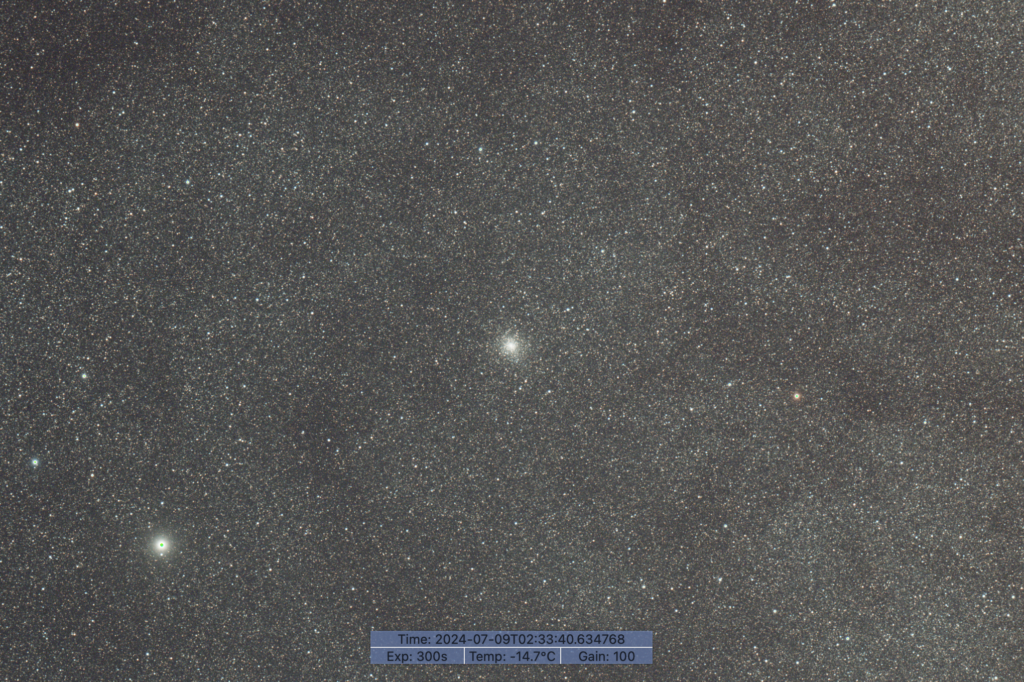
M14 Globular Cluster
In the morning I reviewed the data and unfortunately due to the altitude of some of the objects I did have to reject quite a few frames, however I did capture enough to create a decent image.
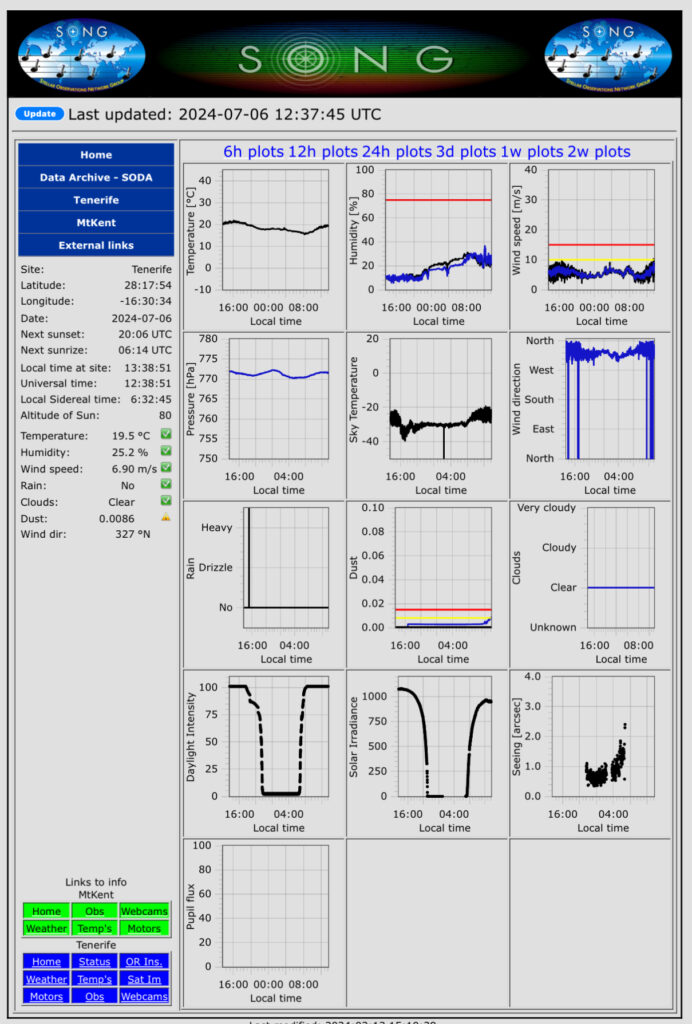
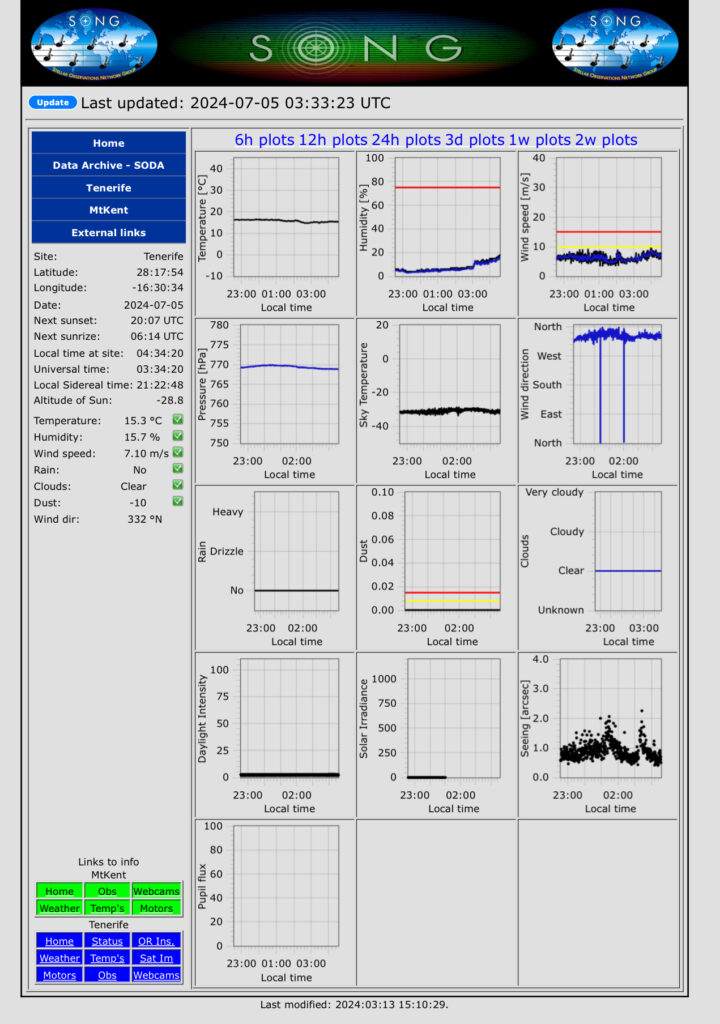
Very windy night with 1.6’ seeing! I started with NGC 5982 Draco triplet but the wind was too high at 48.25 km/s! Trailing stars everywhere and guiding was useless at 36”!! So paused imaging until the wind dropped slightly. I continued to monitor the situation from the Teide Observatory Grafana dashboard page here;
Back up in my room I can hear the wind whistling past my window. After another hour the conditions were no better so I set the mount to run all night across 3 objects and went to bed crossing my fingers the ASIAIR and AM5 mount behaved well.
I was then delighted by sunrise that I had captured some useful data, not as much as I had hoped but good news enough. I had captured ok data for M11 of 12 x 300s subs.
M11 single 5 min sub
I also grabbed 19 semi successful images of M22,
M22 single 5 min sub
and lastly only 8 not great frame of M30 at the beginning of the night which quite frankly need to be taken again.
Tonight started with 0.7’ seeing. I was going to start imaging on the Dragons of Ara, however when I slewed I realised it was behind the mountain to the South. So instead I moved slightly up to M19 to finish my run on that glob from yesterday for around an hour in the hope the Dragons would clear the mountain by then and still be West of the Meridian.
M19 single 5 min sub
So by 11:30pm the 🐉 nebula had cleared the mountain and so I started imaging it at some 10 degrees altitude. I was not going to bother capturing more data on other nights as it is very low and the stars are bloated to about 6 pixels rather than 3 pixels. That said, once stacked and Blur Exterminator process was run it was very pleasing. So I may try to capture some more data.
NGC 6188 Dragons of Art – 5 min sub
After 2 hours it was a mere 5 degrees above the horizon and the star size had increased from 3.32 pixels to 6.01 pixels so I decided to call it a day and move to the globular cluster M28 at the top of the lid of the teapot.🫖
M28 single 5 min sub
After that I went on to grab 10 frames of the glob M30 before twilight.
A beautiful night with 0.8’ seeing. Started with a set of globs, namely more data for M62,
M62 single 5 min sub
a new globular cluster M80
M80 single 5 min sub
and globular cluster M19,
M19 single 5 min sub
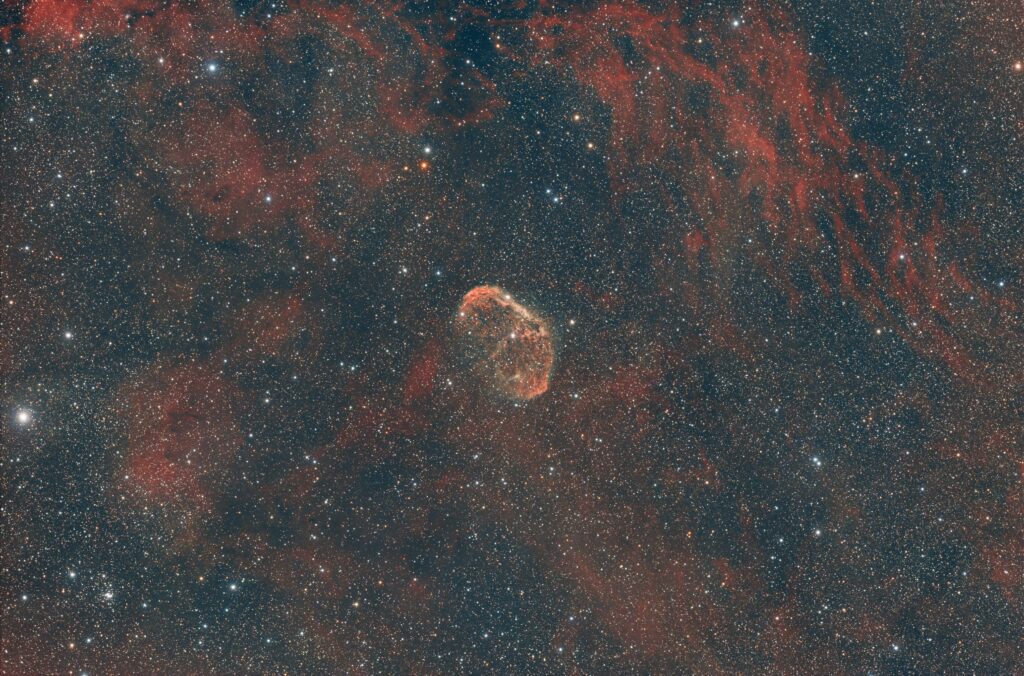
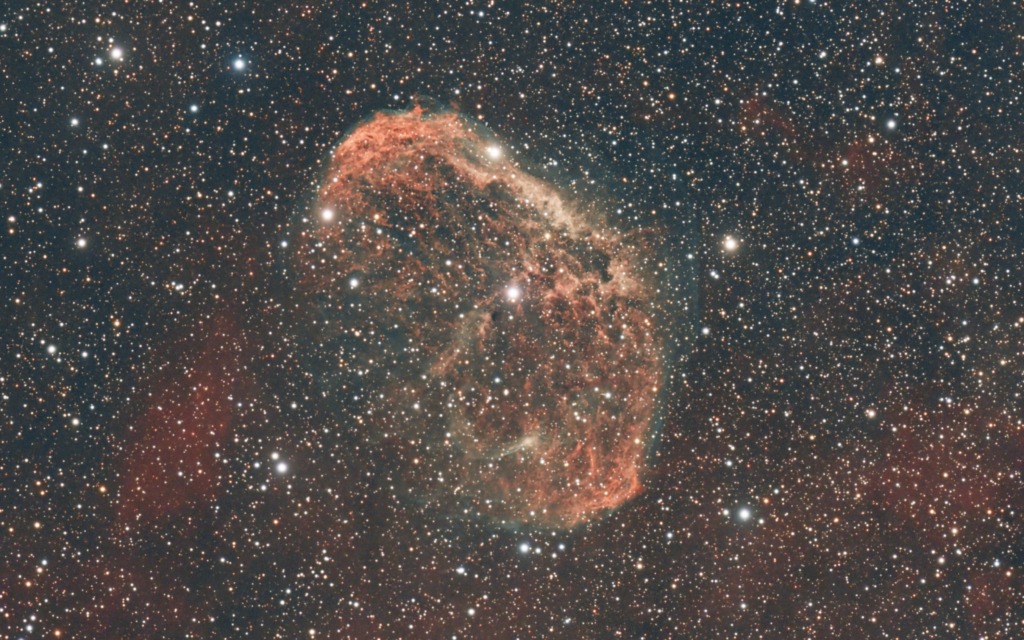
then finally the Crescent nebula which I managed to grab just shy of 3 hours on. I ran all the way to twilight at around 6am and then packed up for bed by 7am.
Very calm night 0.7’ seeing and at the start little to no wind. The temperature was around 16-17℃ all night.
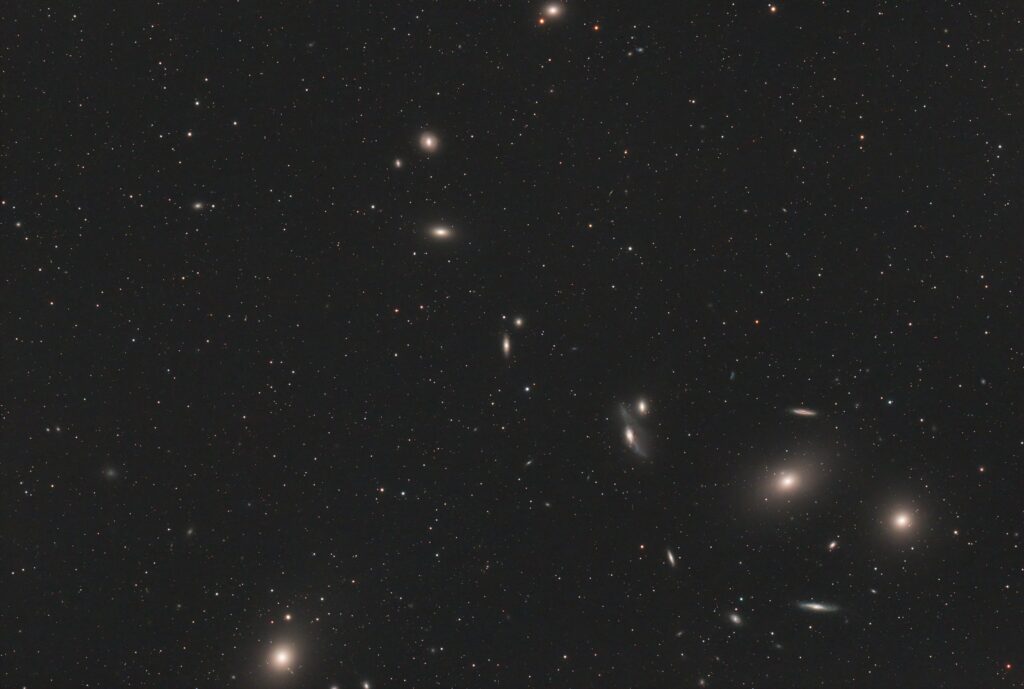
Started with Markarian’s chain again to gather better data than yesterday’s. Captured 15 x 300s tonight. I’ll do another final set tomorrow.
At 23:45 I moved on to M4 a globular cluster in Scorpius. I will continue with this again tomorrow night as I landed up with about 1.5 hours of usable data.
M4 Globular Cluster – stacked only
At around 2am I moved to M55 as M4 had got fairly low in the sky so I will come back to that tomorrow night. I did find there was too much time spent refocusing so I have now changed this to only as the temperature changes and at the start of a new image rather than every 30mins as well.
M55 Globular Cluster – Stacked only
I captured 3 hours on this lovely globular cluster.
Beautiful night slightly windy 0.9’ seeing at first but then changed dramatically later to around 2.2’
Markarian’s Chain suffered from many satellite trails, more so early on.
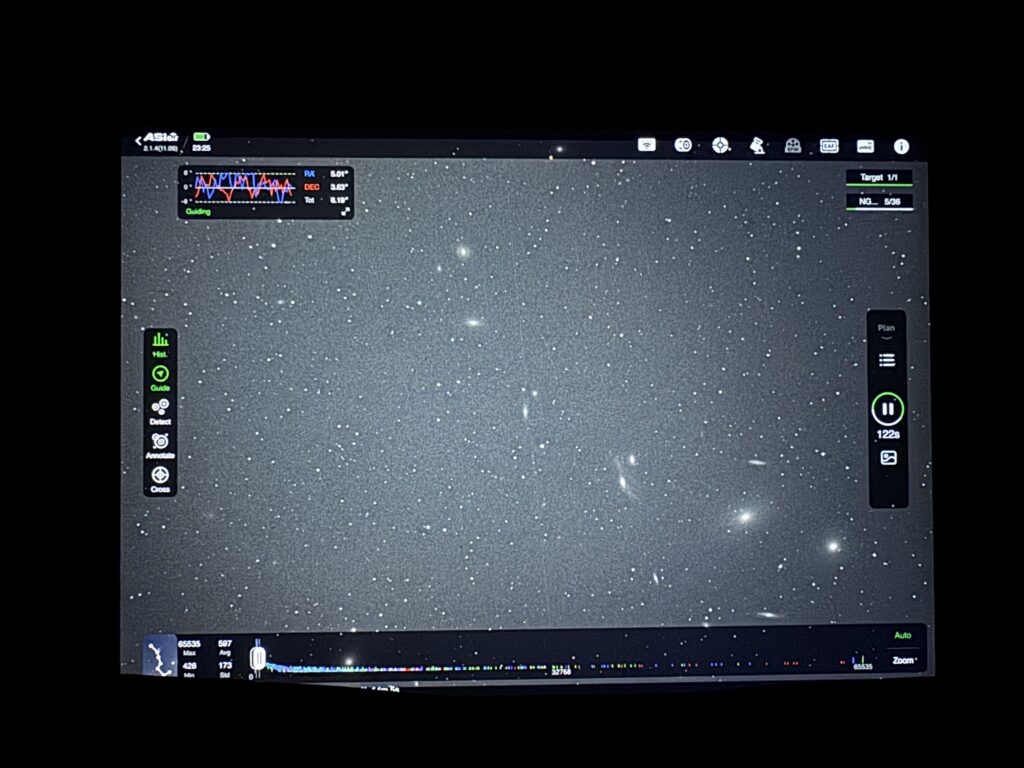
View from the iPad
12 x 300s so 1 hour of Markarian’s chain
By the time I started to image M39 the wind had started to pick up and I found even guiding at 60s was causing star trails.
M39 single 5 mins sub
So about 3am I started taking darks and then by 4:15am the seeing which was really the problem had settled down from 2.2 arc secs to 0.9! I went back and took 30 x 60s subs for M55 and then another 30 x 60s for M39 before heading off to bed.
So given it was a non-work night and predicted to be clear Dave invited me over to test the gear/setup prior to the BASEG Tenerife 2024 trip.
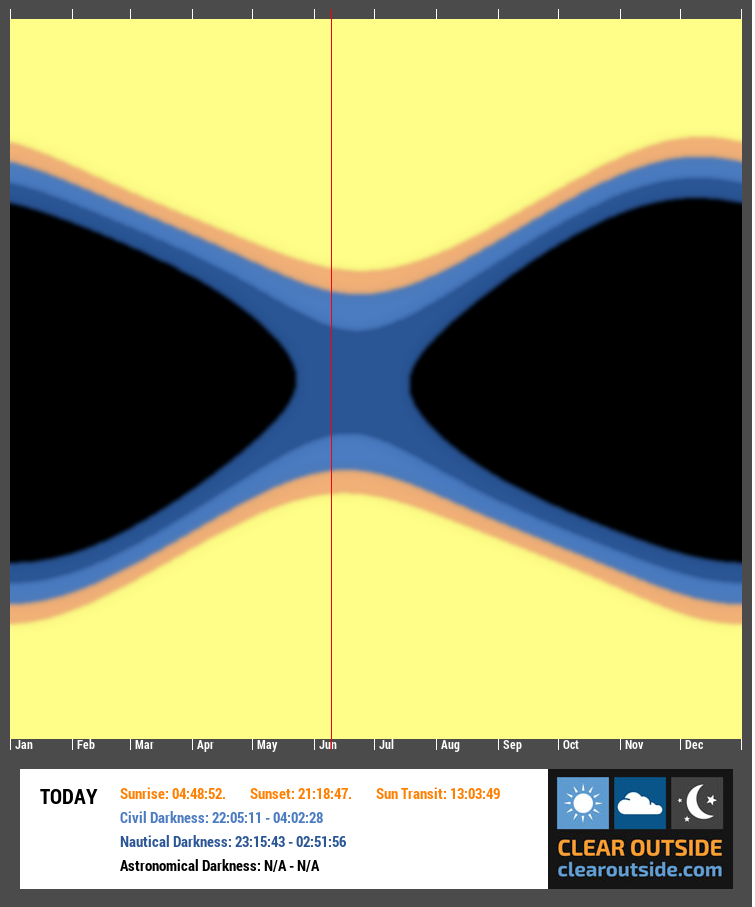
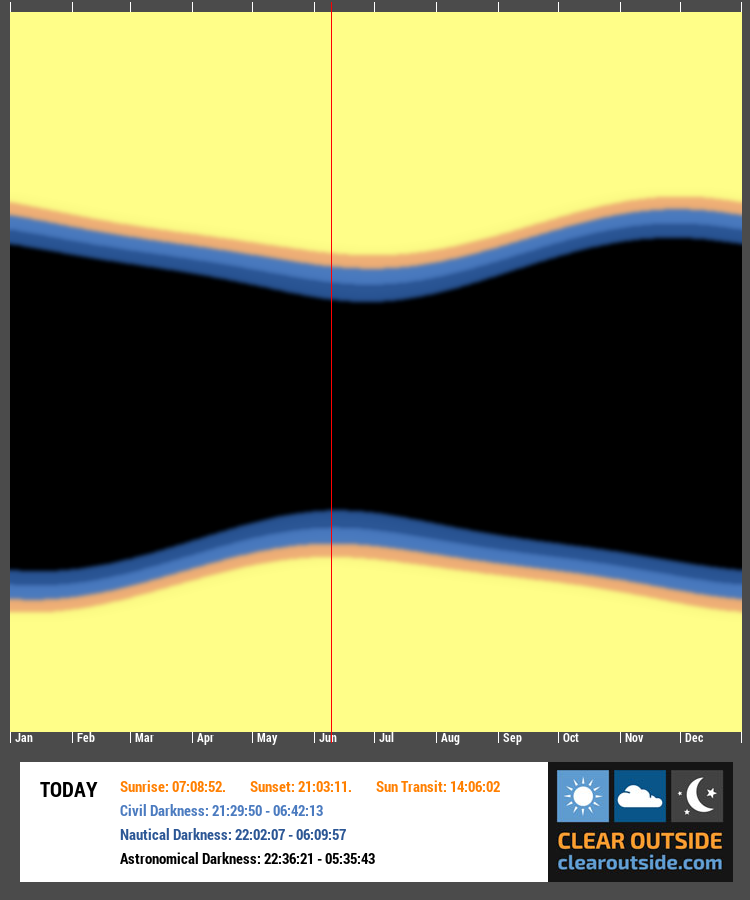
Given we are fast approaching the summer solstice, the nights are getting shorter and lighter. The Annual Darkness chart for IMT3 shows that we currently have no astronomical darkness and the nautical darkness lasts only for some 3.5hrs (left image) and now compare that the darkness graph for Mount Teide in Tenerife (right image) and although we lose some dark hours around the Summer Solstice it’s not as much as is lost being located at 52°N.
Setup – added BlueAstro stick station to measure pressure as Pegasus have not exposed the pressure measurement from the NYX101 mount to the ASCOM layer … why not ? Added weight bag to NYX-101 and GL.inet travel router to top of the scope as MS Windows keeps messing up the Wi-Fi hotspot on the Mele Quieter3C if it does not detect a internet connection ….. how stupid is that. Now I have a permanent hotspot thanks to the instructions given by Cuiv the Lazy Geek on his YouTube channel.
When attempting to polar align when using the QHY PoleMaster I noticed that the sky brightness below 15 mag2/sec (measured by a Unihedron SQM) produced a white screen due to over exposure – the minimal exposure in the now aged the QHY PoleMaster software (> 4yrs since last release) was 50ms which is too long even though I could eyeball Polaris in the early evening sky.
NINA 3.0 start up had not detected the QHY native driver and after I shutdown and restarted the app it then was able to detect the QHY 268C camera. However, it disconnected when it could not cool to -10℃ which I’ve never encountered before. I did eventually managed to get it cool and stay connected.
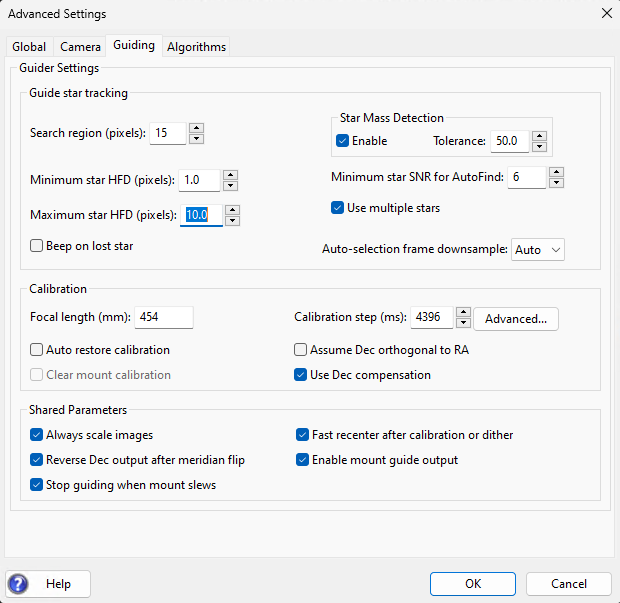
During guiding calibration OpenPHD2 would constantly complain about losing the star. Again the star was clearly visible on the PHD display and after downgrading from 2.6.13dev4 to dev3 and then I suddenly realised the value the error was referring to. I changed the minimal star HFD down to 1.0 from 1.5, also recreated the dark library to remove the possibility of the guider attempting to guide on a hot pixel.
Once guiding, the guide graphs were reporting 0.08 – 0.19 arcsec total polar alignment error. Hopefully I will learn to improve that and maybe repeat the polar alignment procedure or use PHD drift align to refine it.
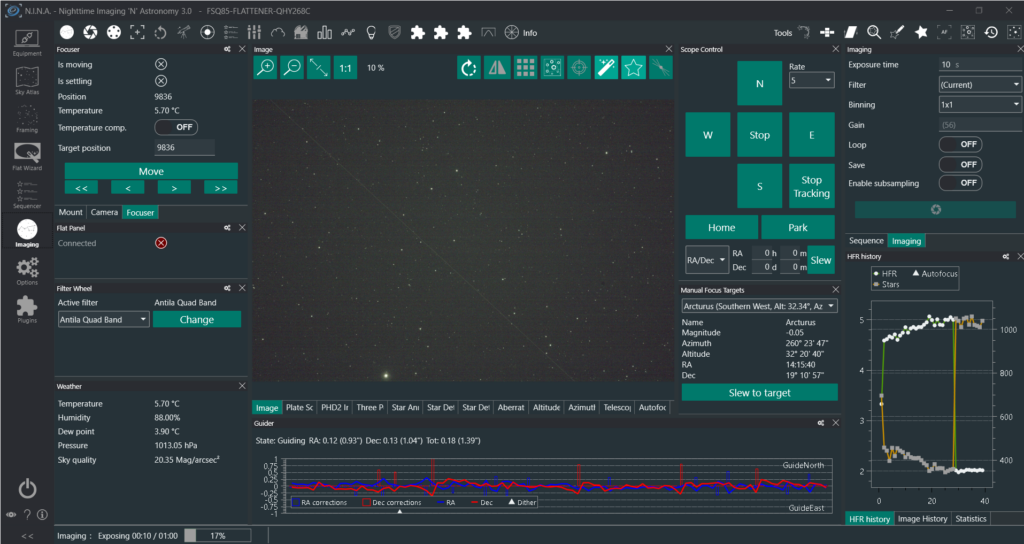
I also forgot to change filter at the start of the evening from the Antila Quad Band filter to the Baader UV/IR filter. I noticed a halo from the bright star Arcturus in the constellation Bootes which I was testing autofocus on but I decided to continue regardless as I was only testing.
The goal for the night was to grab a base image of T Coronae Borealis (“The Blaze Star”) before it goes nova – it’s a reoccurring nova with a 80 year cycle. The star is currently hovering around 10.2 magnitude and it is predicted based on previous eruptions to reach around magnitude 2. As I ultimately wanted to perform some photometry on the star using the UV/IR cut filter I did want to blow out the cores of any bright star so I opted to use the ExtendedFullWell2CMS mode at gain 0, offset 30 with 60 second exposures. During the sequence I forgot to watch HFR/Star count graph and it rose above 5 which meant I have to refocus to (HFR ~2.0) and so due to my oversight due to chatting I will have to dump a lot of the early subs.
At the end of nautical darkness I stopped the sequence and used the NINA flat wizard (dynamic exposure) with the old PegasusAstro 120 flat panel at 100% brightness to create 25 flats and flat darks for a target of 33% ADU. After packing up and the with the pre-dawn temperature hitting 4℃ just before 4am I was looking forward to getting to bed.
At the next clear non-working evening I will attempt to grab some subs again but this time using the correct filter. Thank you to Dave and family for hosting me once more.
NB – NINA 3.1 was formally released the following day (09/06/2024) !
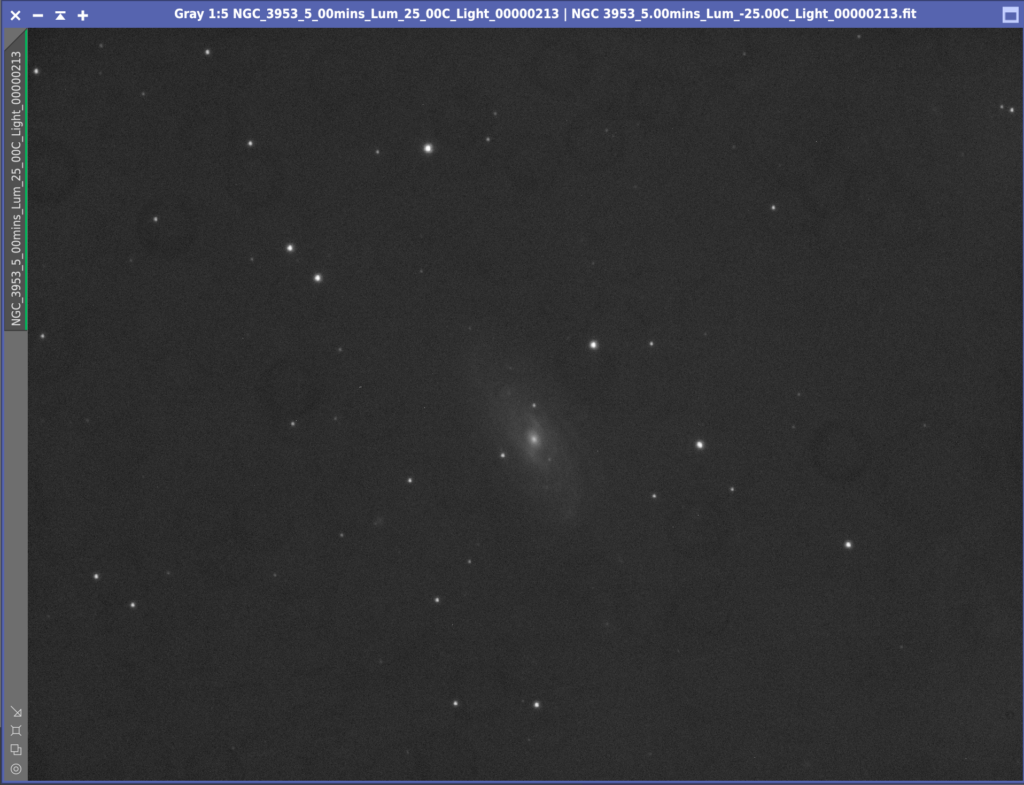
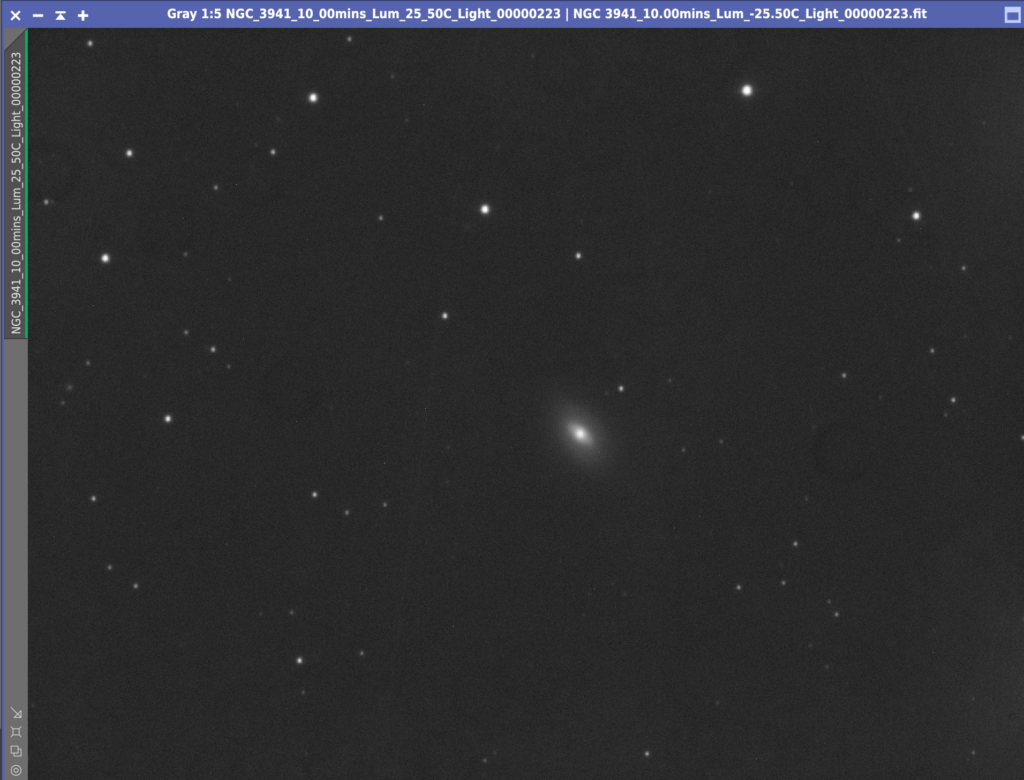
A clear night again. With 3 weeks to go to another Tenerife holiday and only 3 hours of nautical darkness in the UK, I decided to galaxy hop tonight. First up NGC 3953 in Ursa Major.
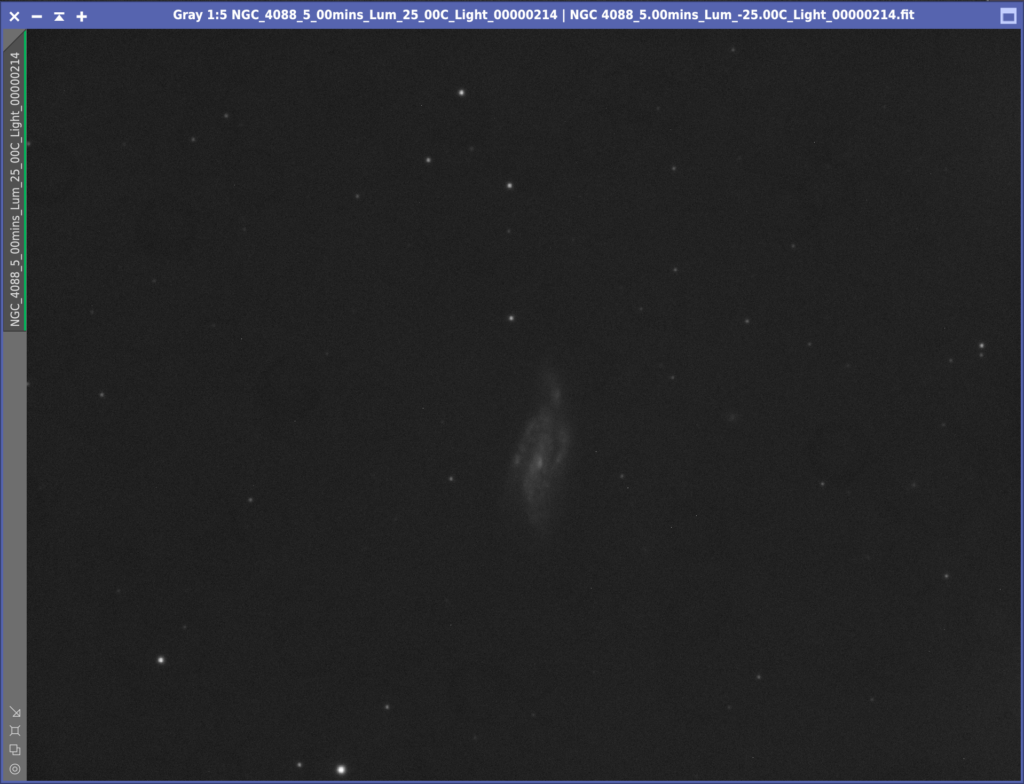
Next up NGC 4088 also in Ursa Major.
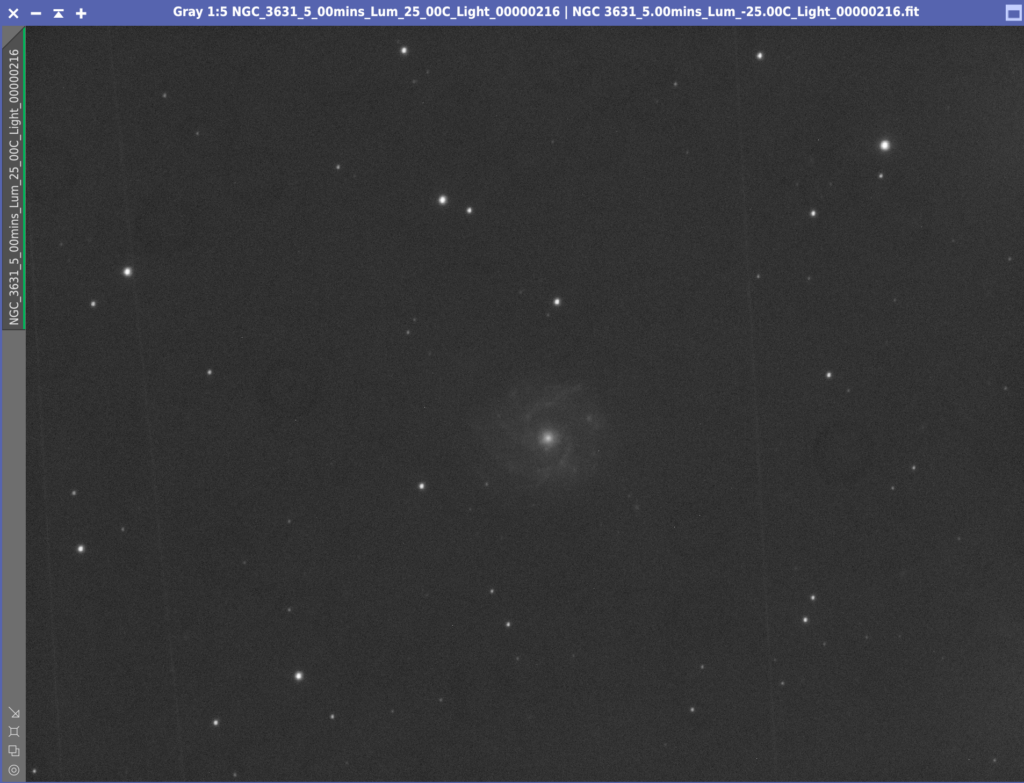
So it’s still lightish and therefore the background is still up around 2400 ADU. However still managing to image. Here is NGC 3631 in Ursa Major.
Now onto NGC 3631 again staying in Ursa Major.
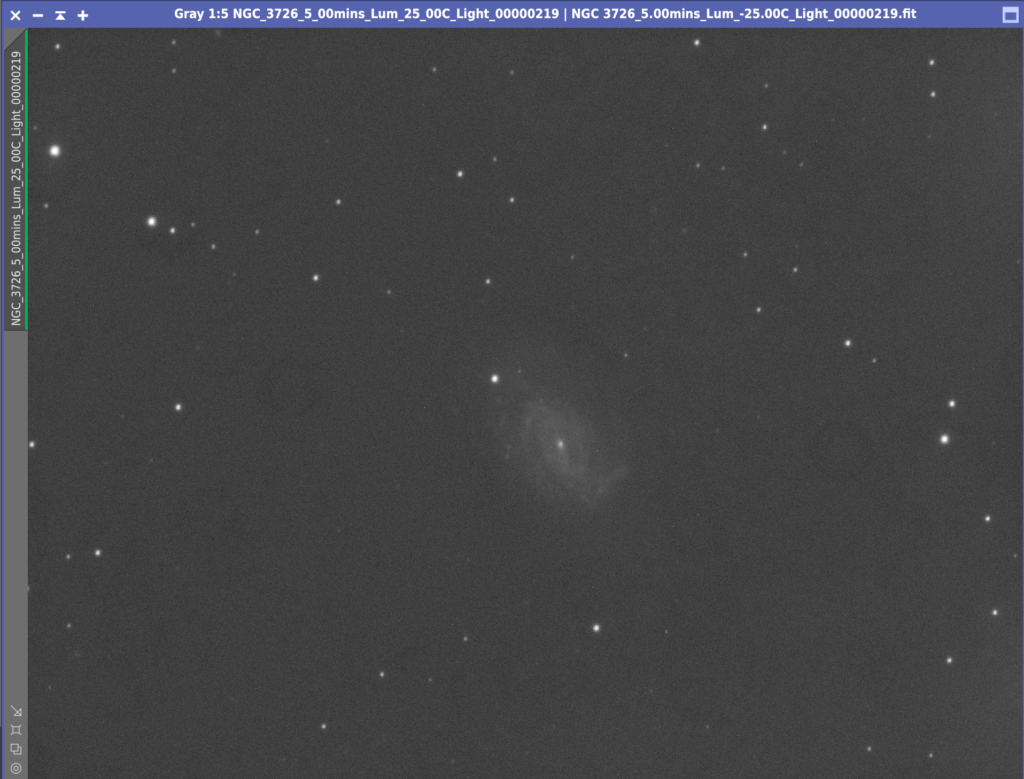
I did have more problems with noise on the guide camera this evening so I need to take a look at the power supply line for it. Meanwhile I loose the odd 5min sub as it jumps 5-7 pixels. NGC 3726 follows in Ura Major.
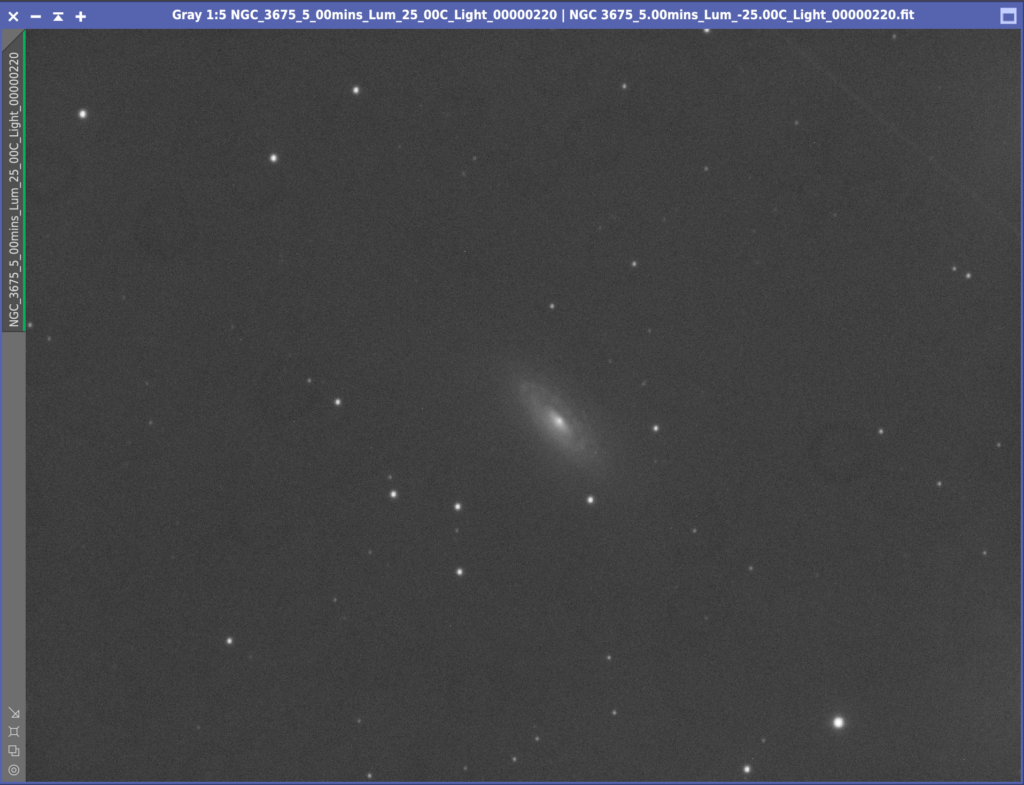
Now I’ve moved to NGC 3675.
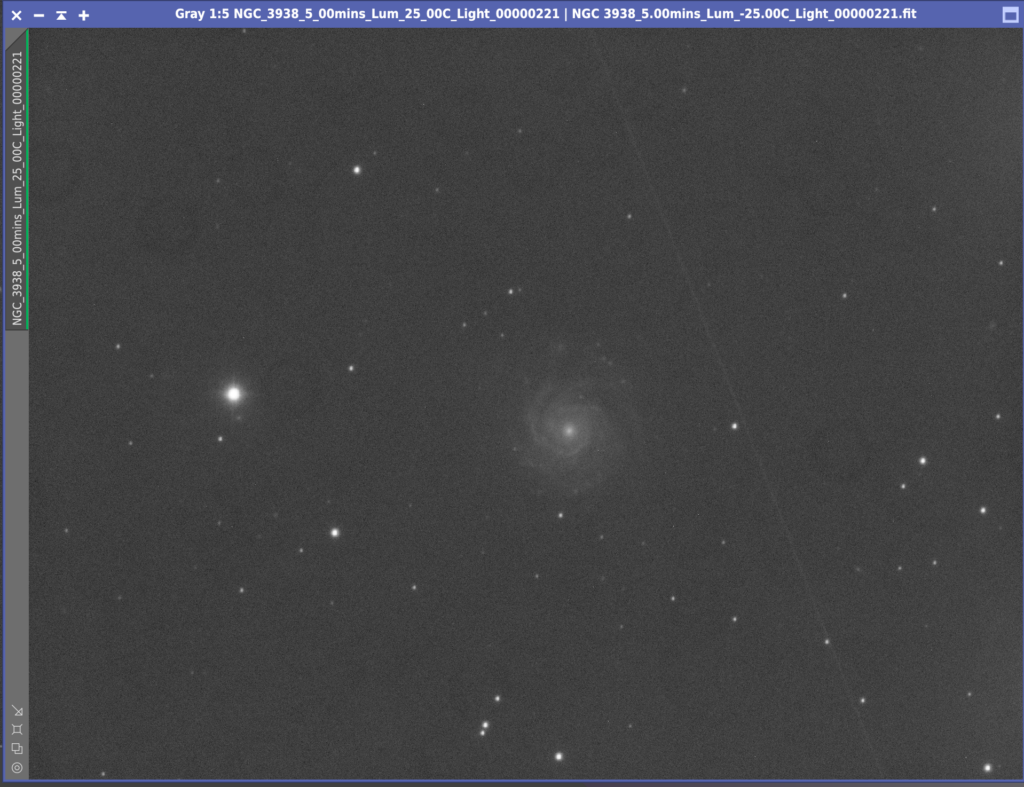
Going to stay in Ursa Major of the time being.
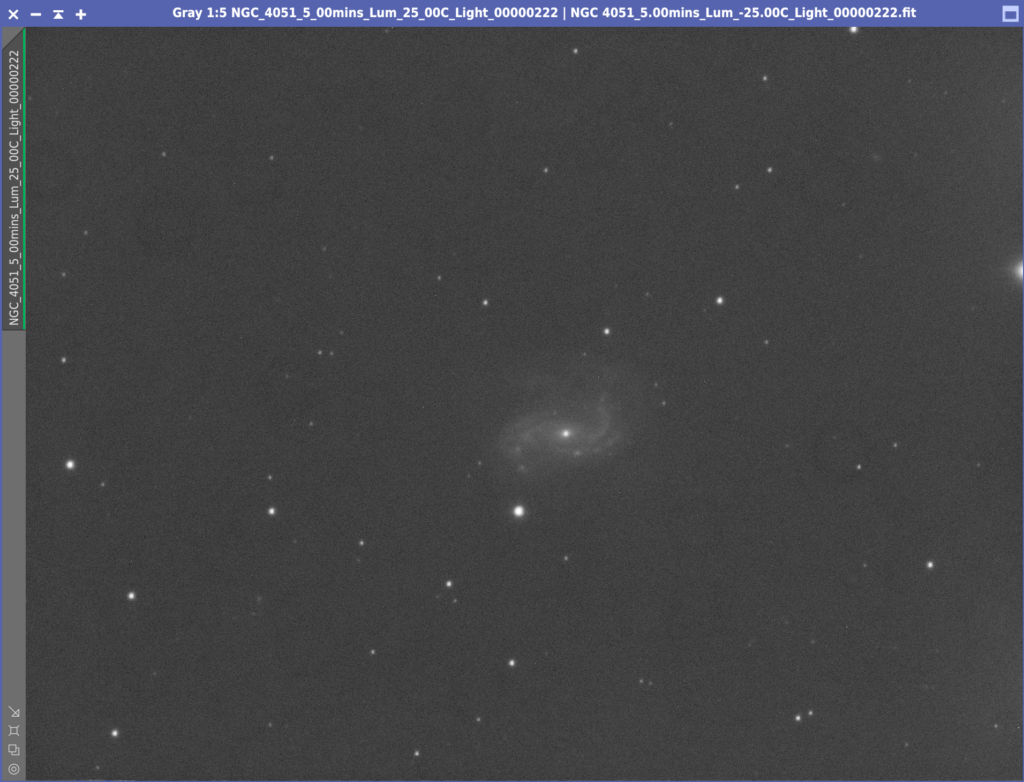
So here is NGC 4051
Last one for Ursa Major as it is now 1am and setting
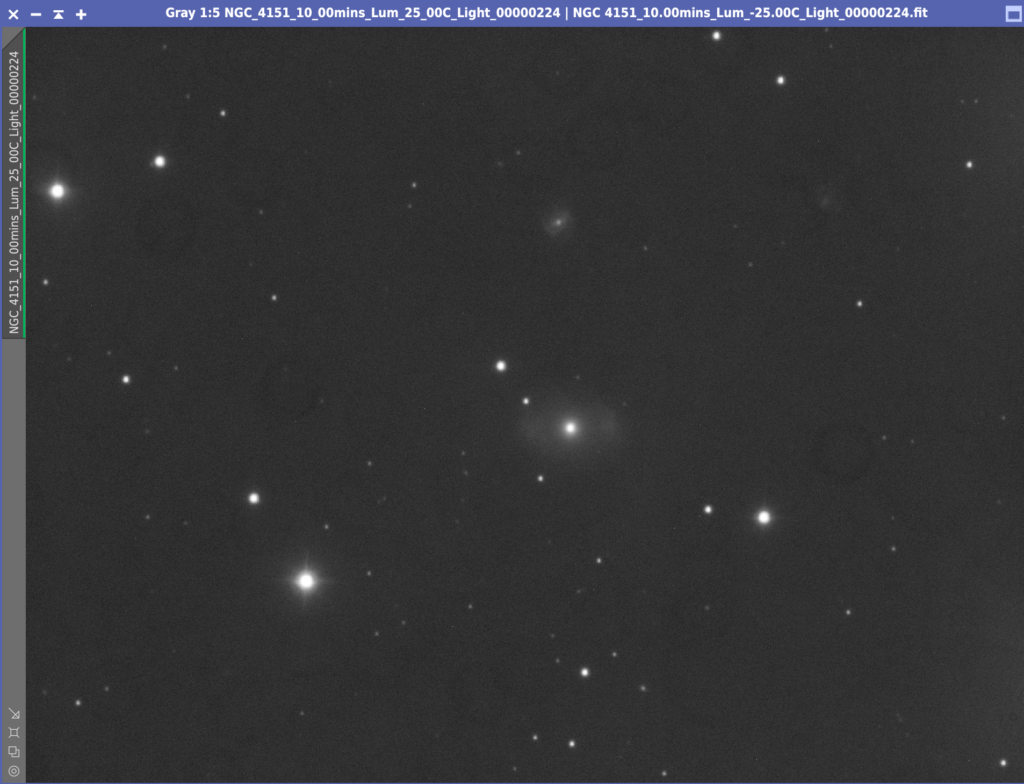
Now I’m in Canes Venatici. Here is NGC 4151
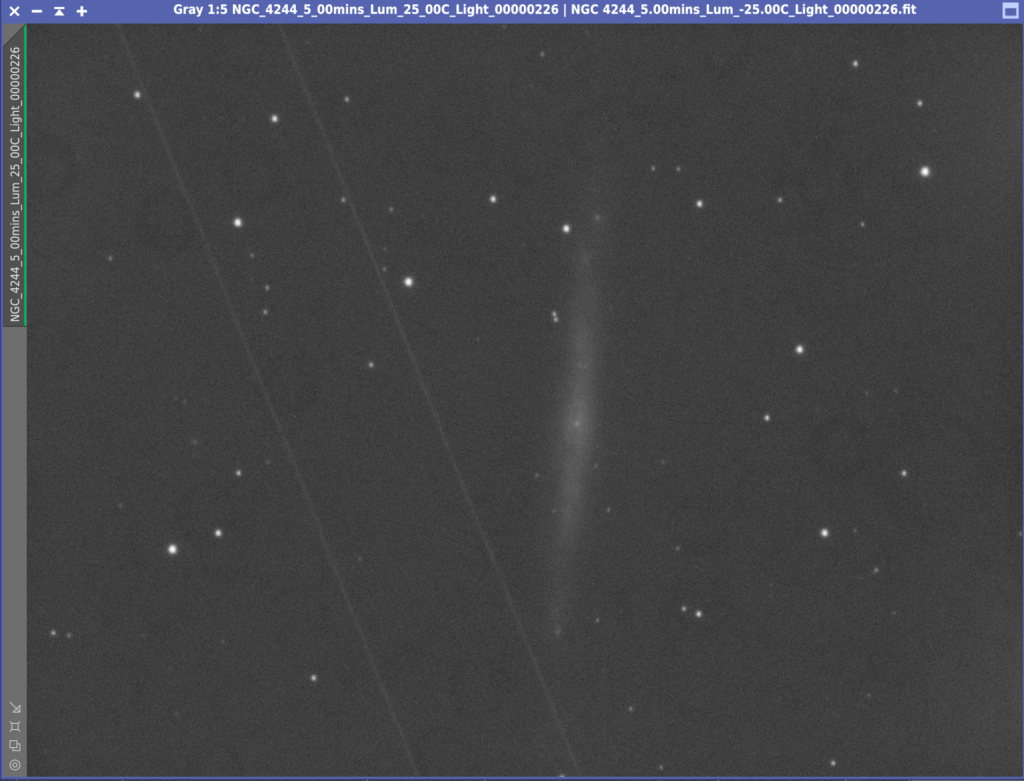
Wow and then there was NGC 4244 which looks like a great thin galaxy worthy of further imaging.
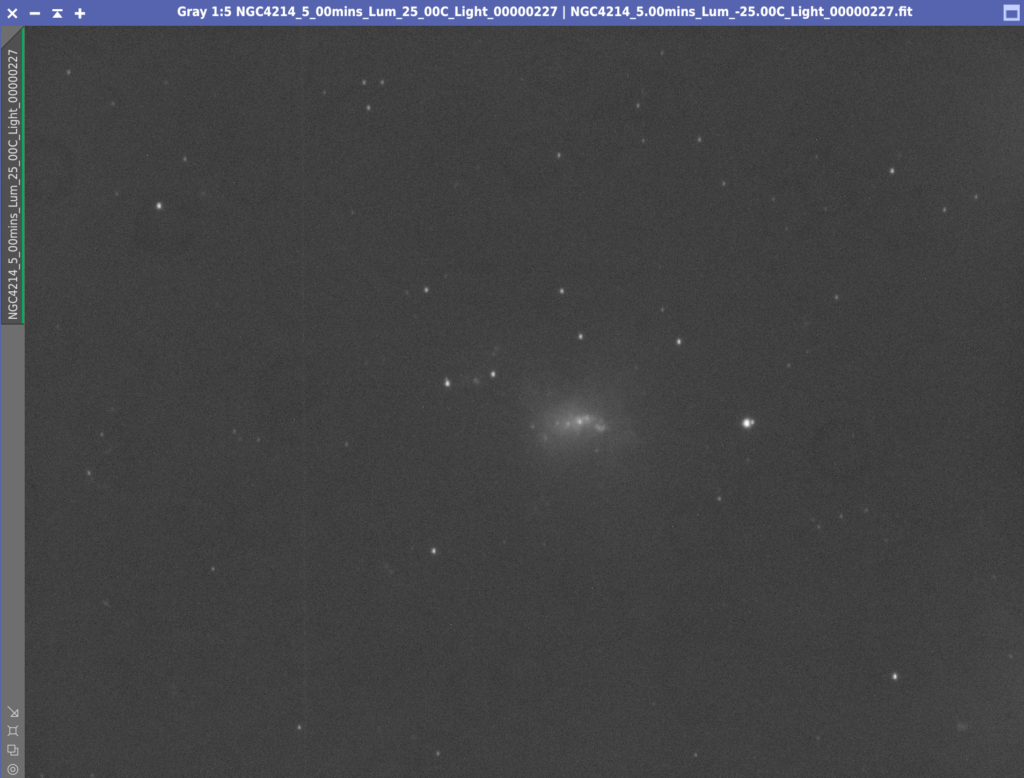
And then I found this lovely irregular galaxy NGC 4214 which is very similar looking to the irregular interacting galaxy NGC 4449 the other night.
Then I tried another spiral galaxy NGC 4395 which was really faint and the background is getting very bright now as I approach 2am.
So after an unsuccessful attempt at Aperture photometry on T Coronae Borealis aka “The Blaze Star” I have now closed the dome and am heading off to be as the light continues to increase on these short nights,
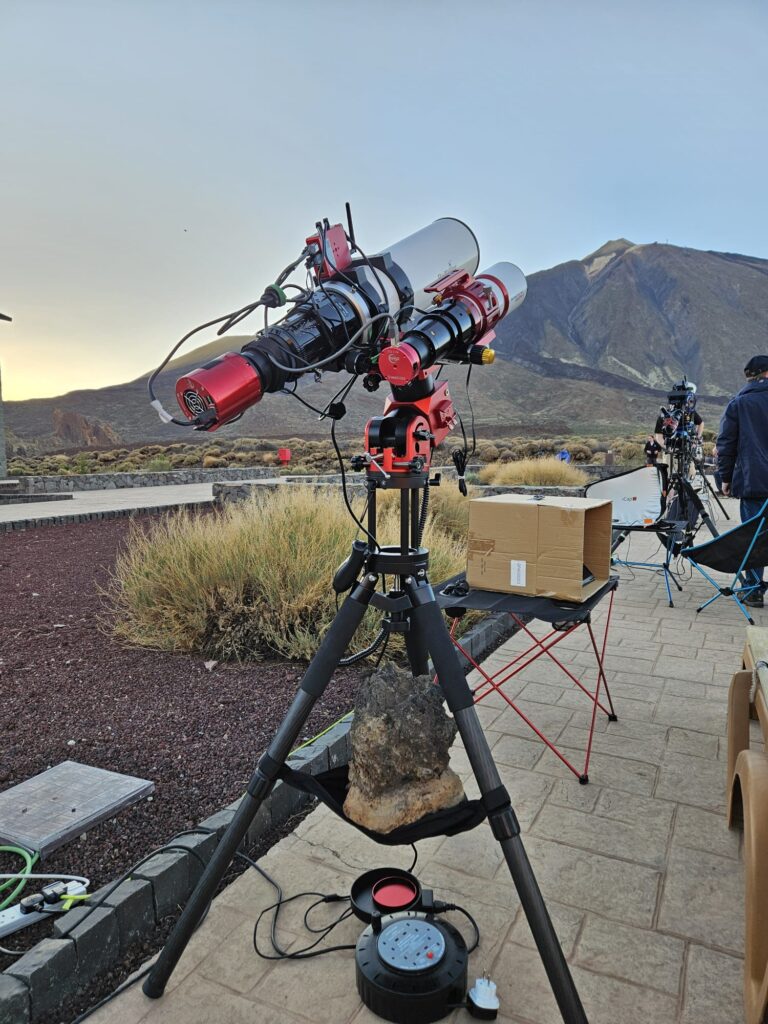
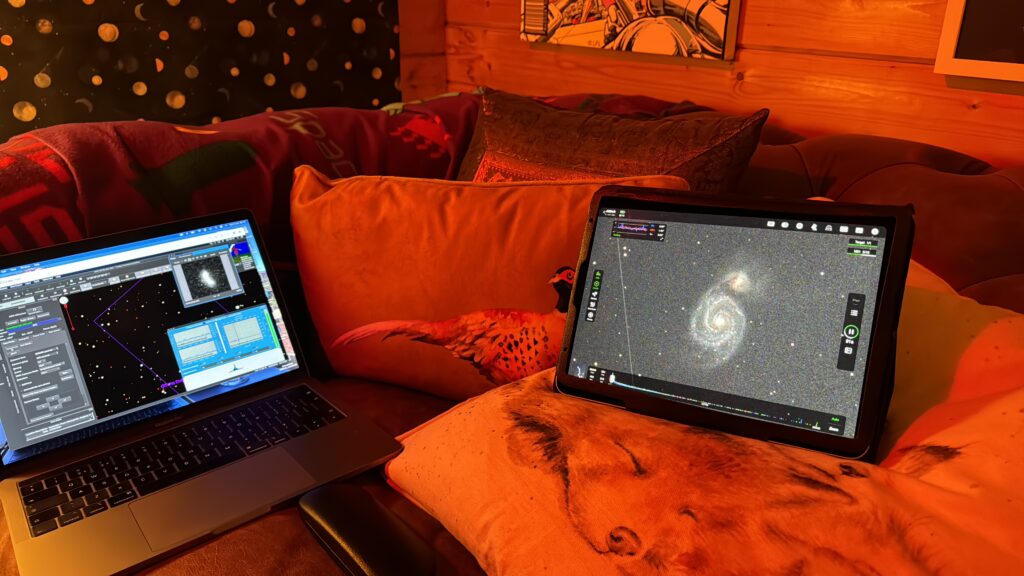
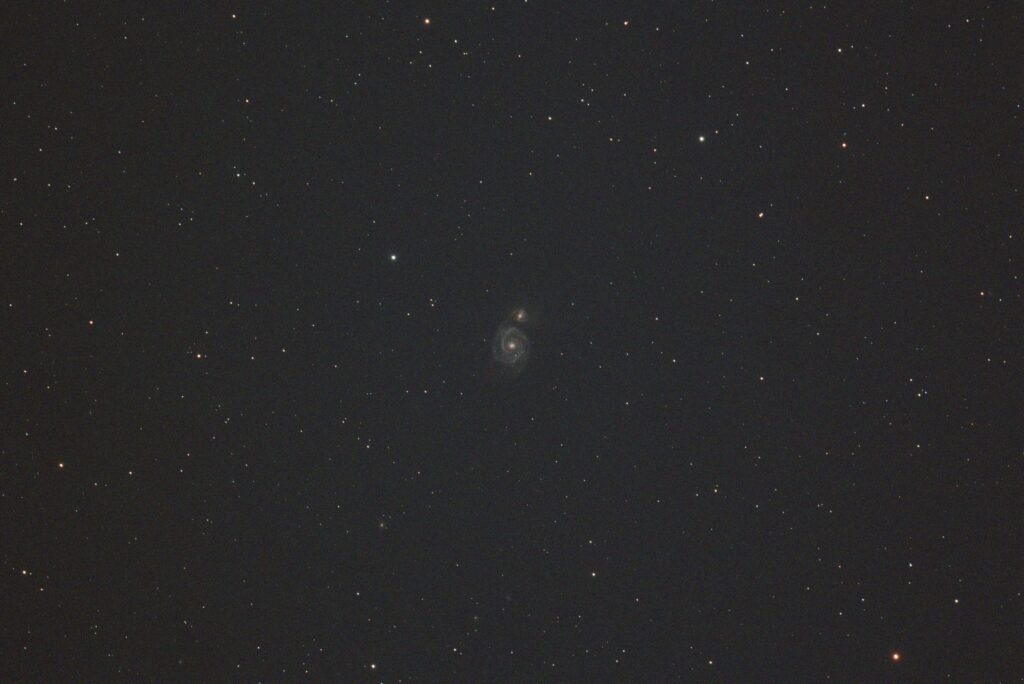
Testing the travel rig tonight for the upcoming holiday to Tenerife. Also have the dome open and running to test again the ONAG. I have GingerGeek over this evening to help out. We recalled the travel rig to make sure it had shorter cables to avoid snagging. Then setup next to the observatory. The ASIAIR was setup very quickly and before long we were imaging M51 as a test. All worked well first time.
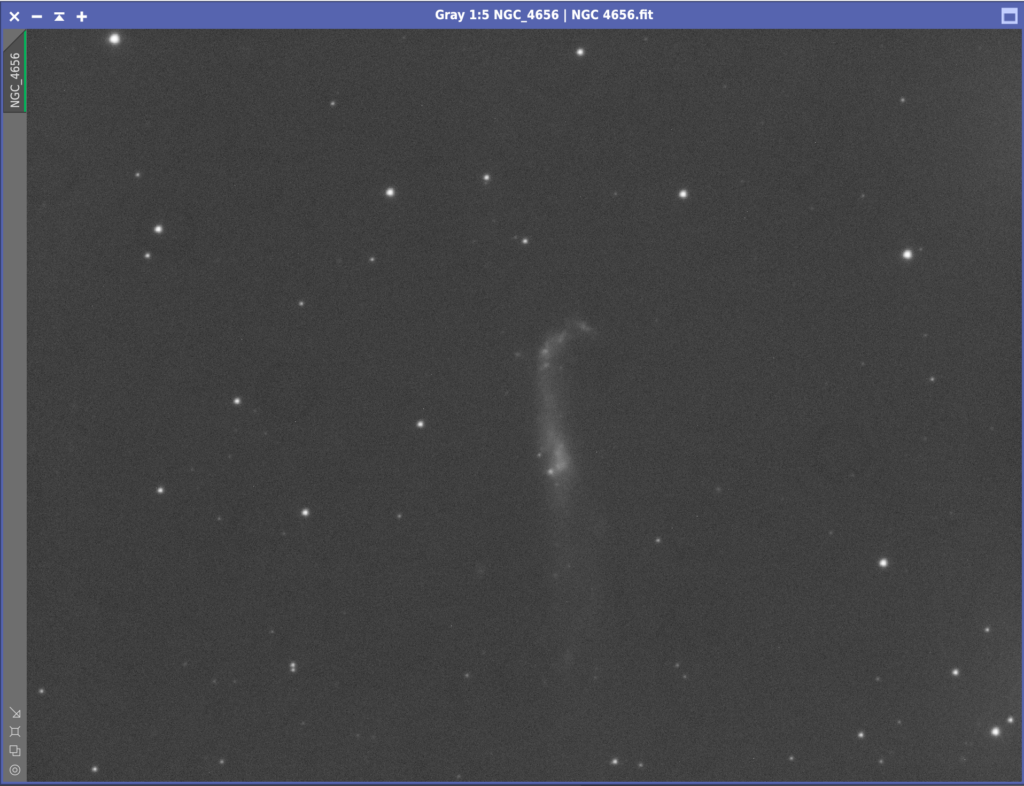
Meanwhile we had opened the dome and decided to slew to a few objects. First we tried NGC 4656 which is the hockey stick galaxies.
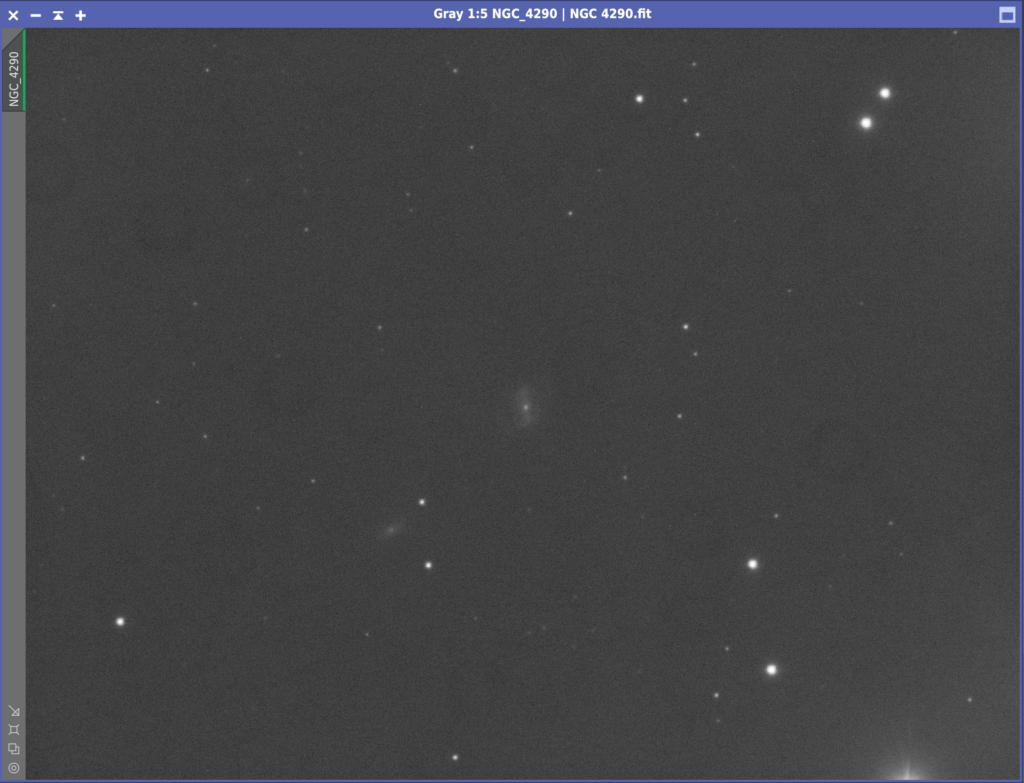
Next up was a very small galaxy NGC 4290 with another galaxy in the field of view.
Finally just before the clouds rolled in we captured NGC 4274.
I then went on to take a set of LRGB images for NGC 4449 that I took a quick peek at yesterday. I noted my focus position today was 17,129 for RGB and 15,515 for L so 1,614 difference
Out this evening to try the ONAG from InnovationsForesight on the 12″. Once I selected the right camera as I am using 2 x ASI 1600MM at the moment, one for the guider and one for the main camera, then all worked well, The Device ID seems to keep switching from zero to one and then back at random intervals. The best way to tell which is which is to select the Blank filter and tag an image and if you can still see stars then that is your guider.
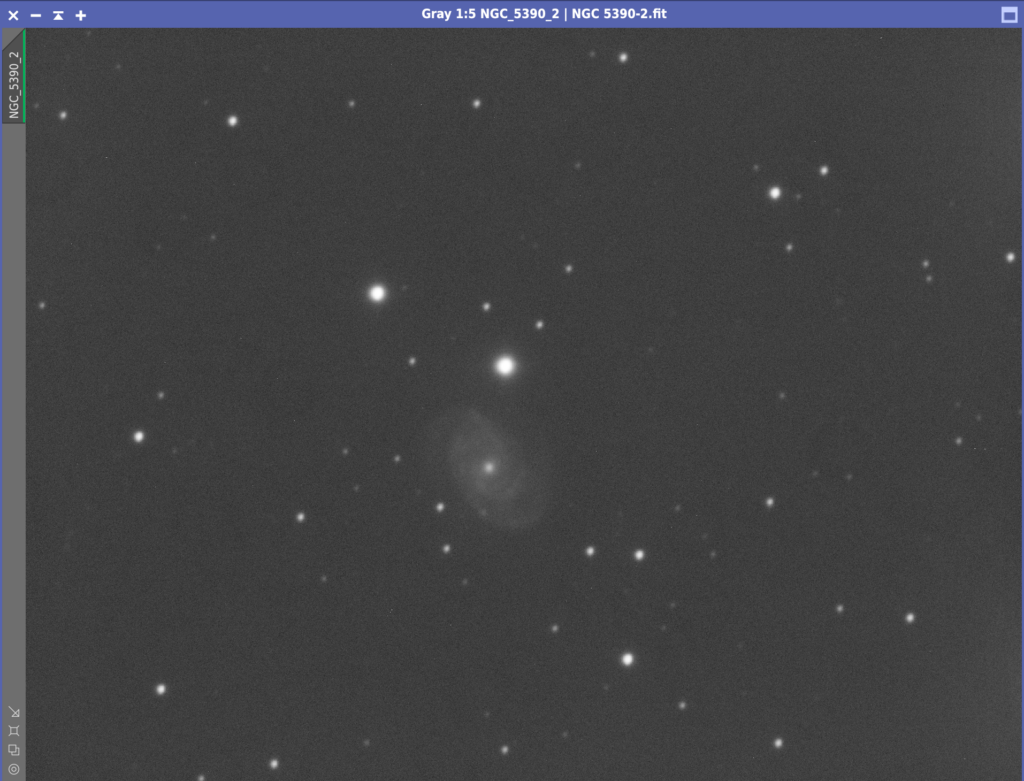
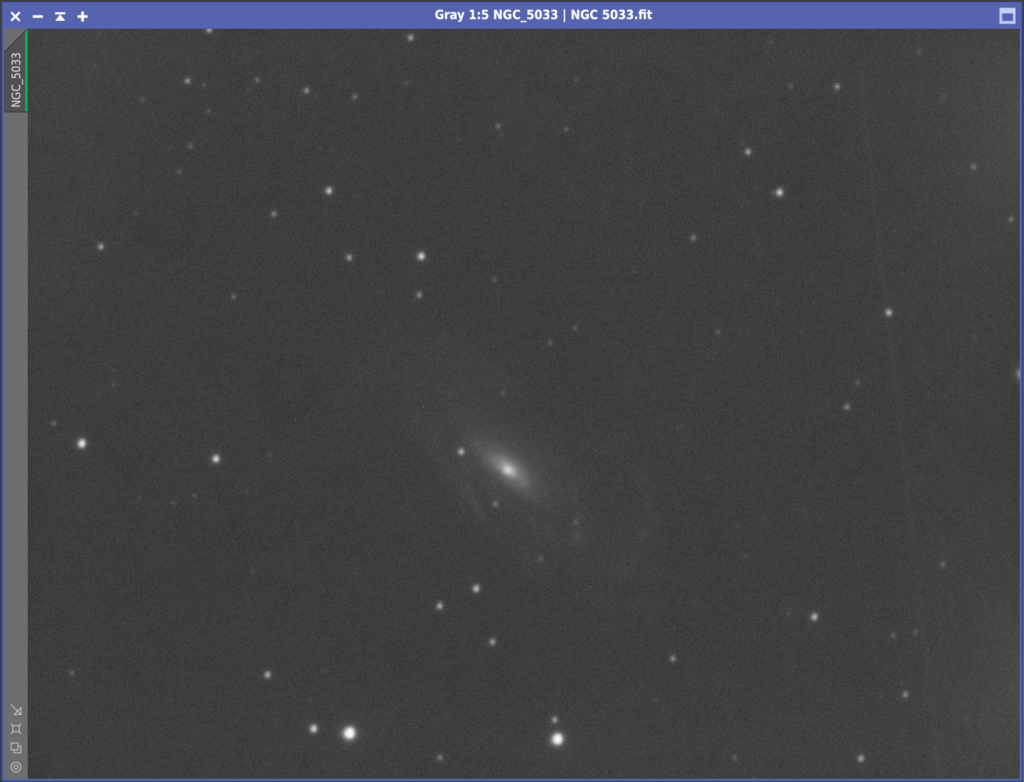
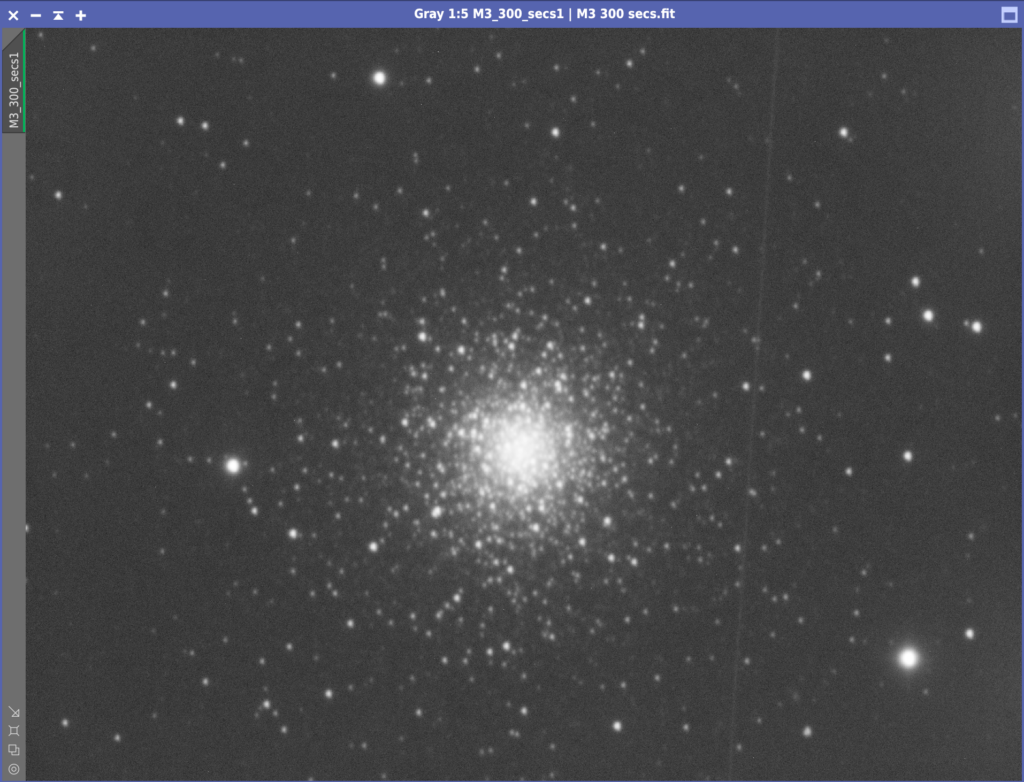
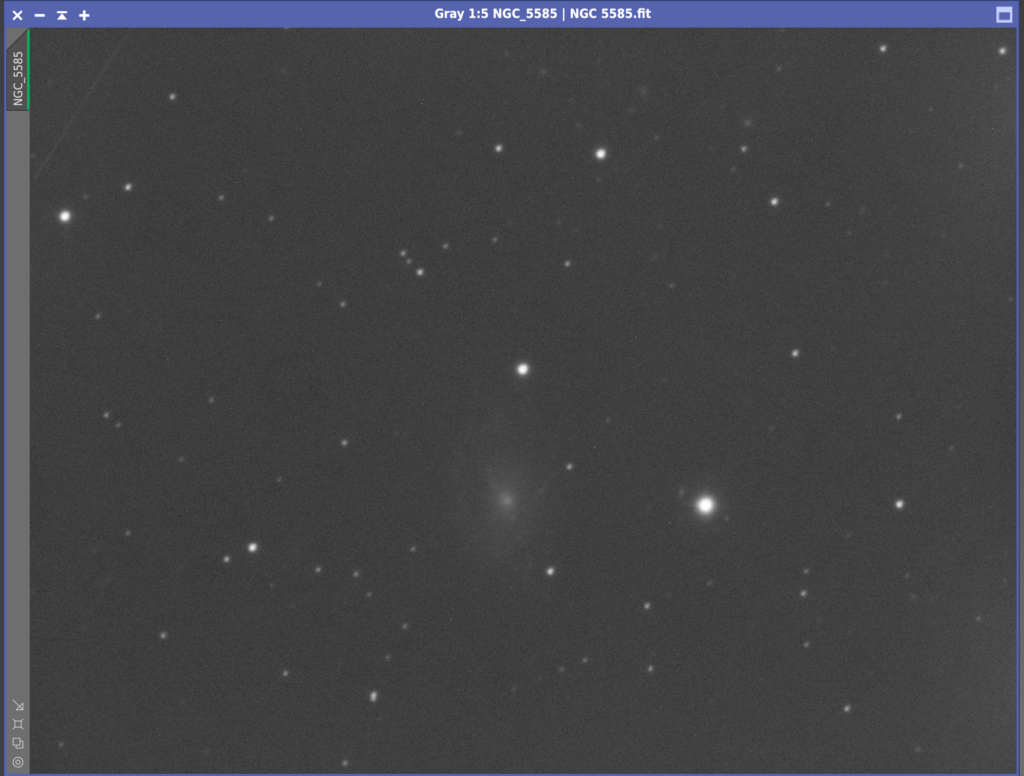
Well I took a handful of objects guiding on each one and it just works, the ONAG that is. I took 300s images of M3, NGC 5390, NGC 5033, NGC 4449 and NGC 4559. Each time I took a guide image, selected a star and said autoguide, each time it worked.
I think my focus was a bit off as I had not autofocused, but it proves it is simple to use and repeatable.
Imaging SH2-142 Wizard nebula in Ha. I still have the problem with the camera so I have gone back to ZWO and asked for the next steps after I have changed the USB cable to no avail.
Out with the 12″ tonight. Focus on Red was 19,562. I then slewed to M2 and took 30+ RGB frames. I do not need Luminance as it added very little to M15. Position angle for this and M15 was 239.580
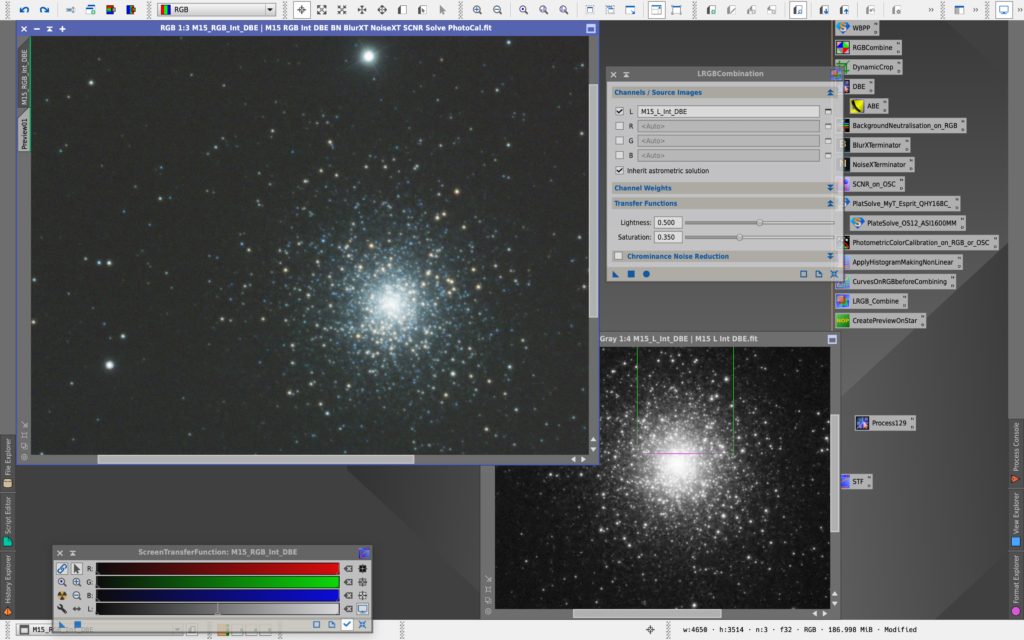
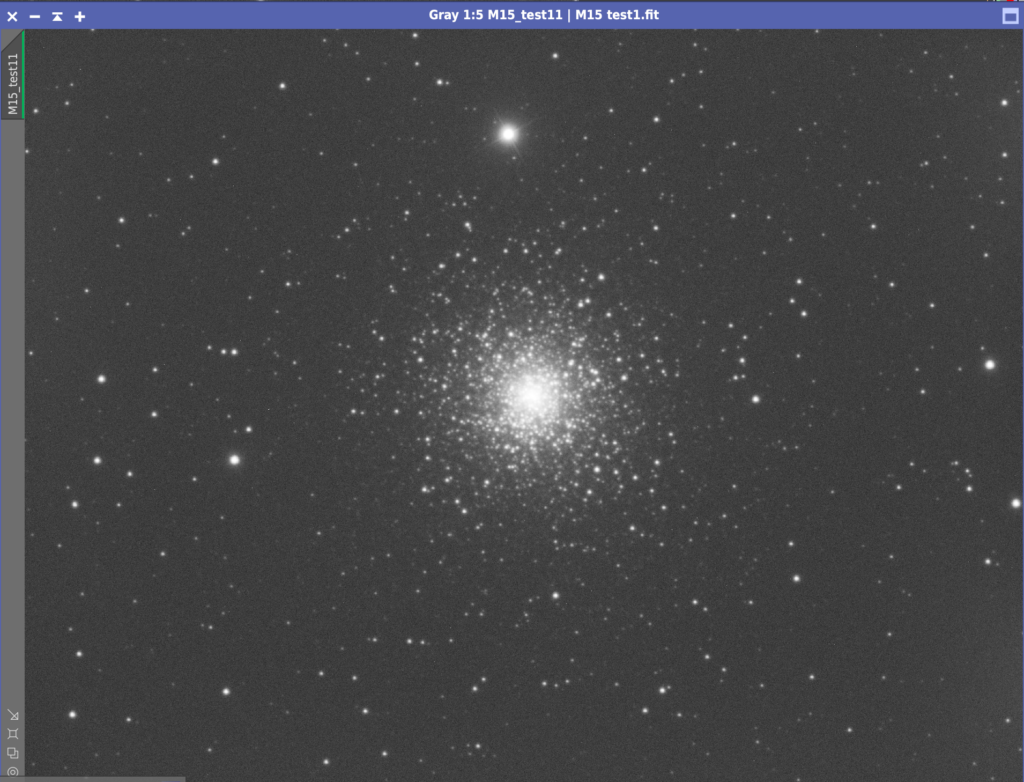
Using the 12″ in the dome this evening to see if I can quickly grab some frames for M15 the Globular cluster in Pegasus.
I’m capturing 60s exposures due to not wanting to oversaturate the stars. I will attempt to get 30 x 60s for LRGB.
Focus position for Luminance 17,131 and RGB 19,505
I captured all frames with the Moon around 88% waining. Some frames were marred by the noise problem on the camera. I have put a ticket into ZWO to see if we can resolve.
Gingergeek came over this evening with his travel rig to setup and test again before our trip. My travel setup is packed away so instead I will image with the 12″ this evening, the first time since May!
Guiding setup was an issue. I did not need to re-calibrate, however TSX kept guiding on a hot pixel. I realised after a long while this was because there were no bright guide stars in the FOV so used the rotator to find one then everything just worked.
Then had a bug with taking a set of images where the run kept using the blank filter. I added another row in TSX and deleted the original which solved the problem. Cloud came in just after 11pm to shut the dome up.
4 Epsilon Lyra Double Double star – 31mm I can see the double but not split the 2 stars; 13mm Ethos allowed me to split the doubles and the 10mm whilst slightly dimmer afforded me a slightly wider split
Cat’s Eye Planetary Nebula – 31mm very small not quite pinpoint of light visible nicely without a filter, OIII filter makes it slightly more apparent and Nebustar filter it looks marginally better; 13mm Ethos provided brighter nebula, again the filters provided a better view with the Nebustar being brightest; 10mm is the best view of them all with a definite oval shape East or West, right to left but now OIII produced the brightest and clearest view although it is pushing the seeing tonight
Turtle Planetary Nebula – Not seen
Rasalgethi Alpha Hercules Double Star – 10mm too much for tonight, could not get good focus but could easily split; 13mm Ethos the best view with brighter primary in yellow, very striking and smaller secondary blue; 31mm Nagler just splittable but both components look yellow.
Albireo Double Star – Bright large yellow primary and smaller but still bright blue star in the 13mm Ethos
M13 Hercules Globular Cluster – lovely in the 31mm Nagler; 13mm Ethos much brighter view and obviously larger with resolving more core stars; 10mm darker background so contrast better and even brighter core and stars more obvious with direct vision, including nice pair at 10pm on the cluster
M57 Ring Nebula – planned but not attempted
61 Cygni Double Star – planned but not attempted
NGC 6891 Open Cluster in Lyra – not seen in 31mm Nagler
NGC 6702 & NGC 6703 Galaxy pair – planned but not attempted
A really good night overall, the eyepieces lent to me from Bob are excellent and make the viewing more pleasurable being able to switch with my wider field of view ones.
So the 22″ Dob is still out of action with the encoder cable needing repairing from a recent issue with snagging. I’ve ordered some RJ9 connectors to replace the one on the RA axis that is broken. So instead I thought I would open the dome and given the perfectly clear weather with no chance of rain, I would image Arp xxx with the 12″ that Bob Trevan had recently imaged with his 17″ and leave the scope running.
Due to the brightness of the sky when I started it was impossible to find a guide star, thus I have decided to perform almost lucky imaging of 1min exposures. Again given the background brightness this time of year, if I were to try lucky imaging of this faint object of say 1/10th of a second, it would not appear.
So I have set the scope running with 240 images to take in luminance and will come back in the morning and check the results.
Tonight was a visual night. GingerGeek and I used the 22″ Obsession Dobsonian to view some of the wonders of the late Spring sky.
We started with Venus with the aid of a Moon filter. Whilst Venus is bright and not too overwhelming in the eyepiece, the contrast afforded by the addition of this particular filter aids the clarity of the image as Venus sits on the bright backlight of the night sky this time of year. Venus is in a gibbous phase and you could clearly see a concave arch to the edge of Venus that was missing. The seeing was very steady and we were able to push to 179x with the 13mm Nagler.
Next up was Mars. Whilst it took a while for it to appear in the astronomically twilight sky, I swept the area North East of Venus and landed the target after a few moments. Mars was so very small compared with Venus, obviously red as seen without a filter in this case and slightly shifting in colours due to the seeing. By the time we had finished looking, Mars had appeared in the night sky.
Now the sky was getting darker we wanted to start on the deep sky objects. It became apparent very quickly there was a problem with my alignment. This was a problem I faced the last time out and the trouble is with he RA encoder. The RJ11 cable has been pulled and needs recrimping. So for tonight it was about star hoping only 🙂
We then went on to look at globulars M3, M92, planetary nebulae M57 the Ring nebula and M97 the Owl nebula. We tried to get M101 but the sky brightness would not allow it. We also looked at Mizar and Alcor that I could see from 11:30pm as a double, and we looked at Polaris and it’s double star companion SAO 305 through the scope.
The planetary nebulae were seen through an OIII filter and Tele Vue Nebustar filter. I thought the view was slightly clearer through the Nebustar filter, maybe due to the slightly wider bandwidth which includes H-Beta. The Ring nebula was very crisp and I thought I could discern the central star which is 12th magnitude. Our friend Bob was kind enough to lend me a set of eyepieces he recently acquired. The Tele Vue 10mm Radian eyepiece gives 230x through which we could see the central white dwarf.
Whilst looking at the globular clusters we pushed the magnification to 288x with the 8mm Tele Vue Radian. Both this eyepiece and the 10mm gave fantastic views with the globulars sparking with pinpricks of lights from the 1,000s of Suns!