21:40 – 03:36
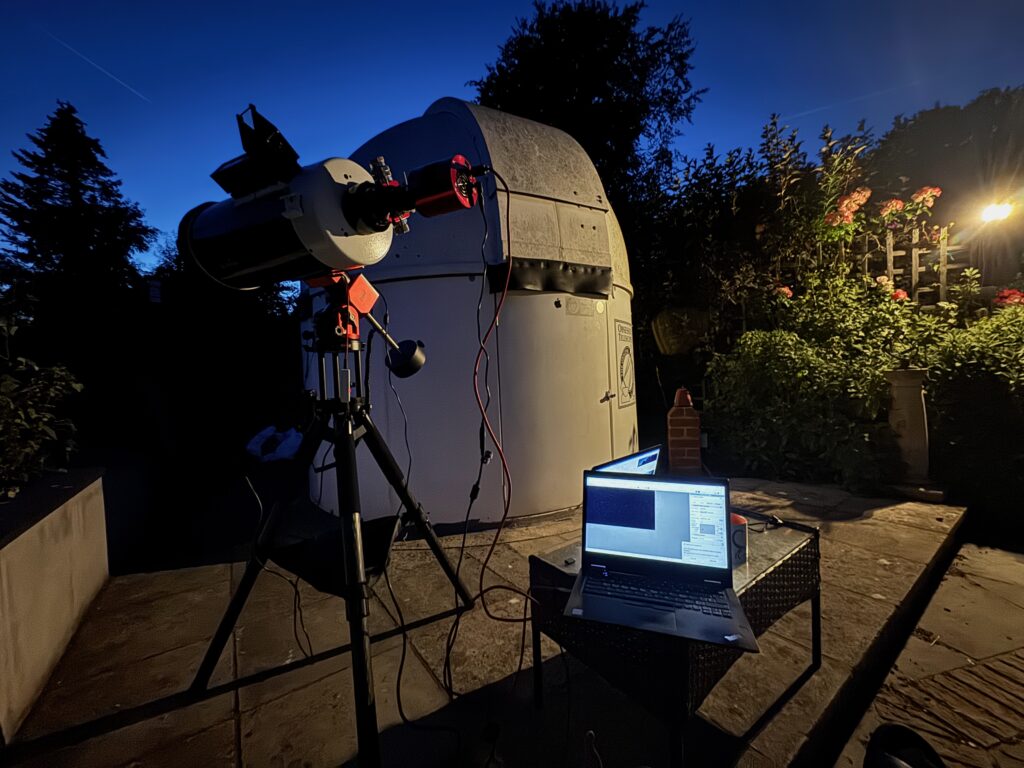
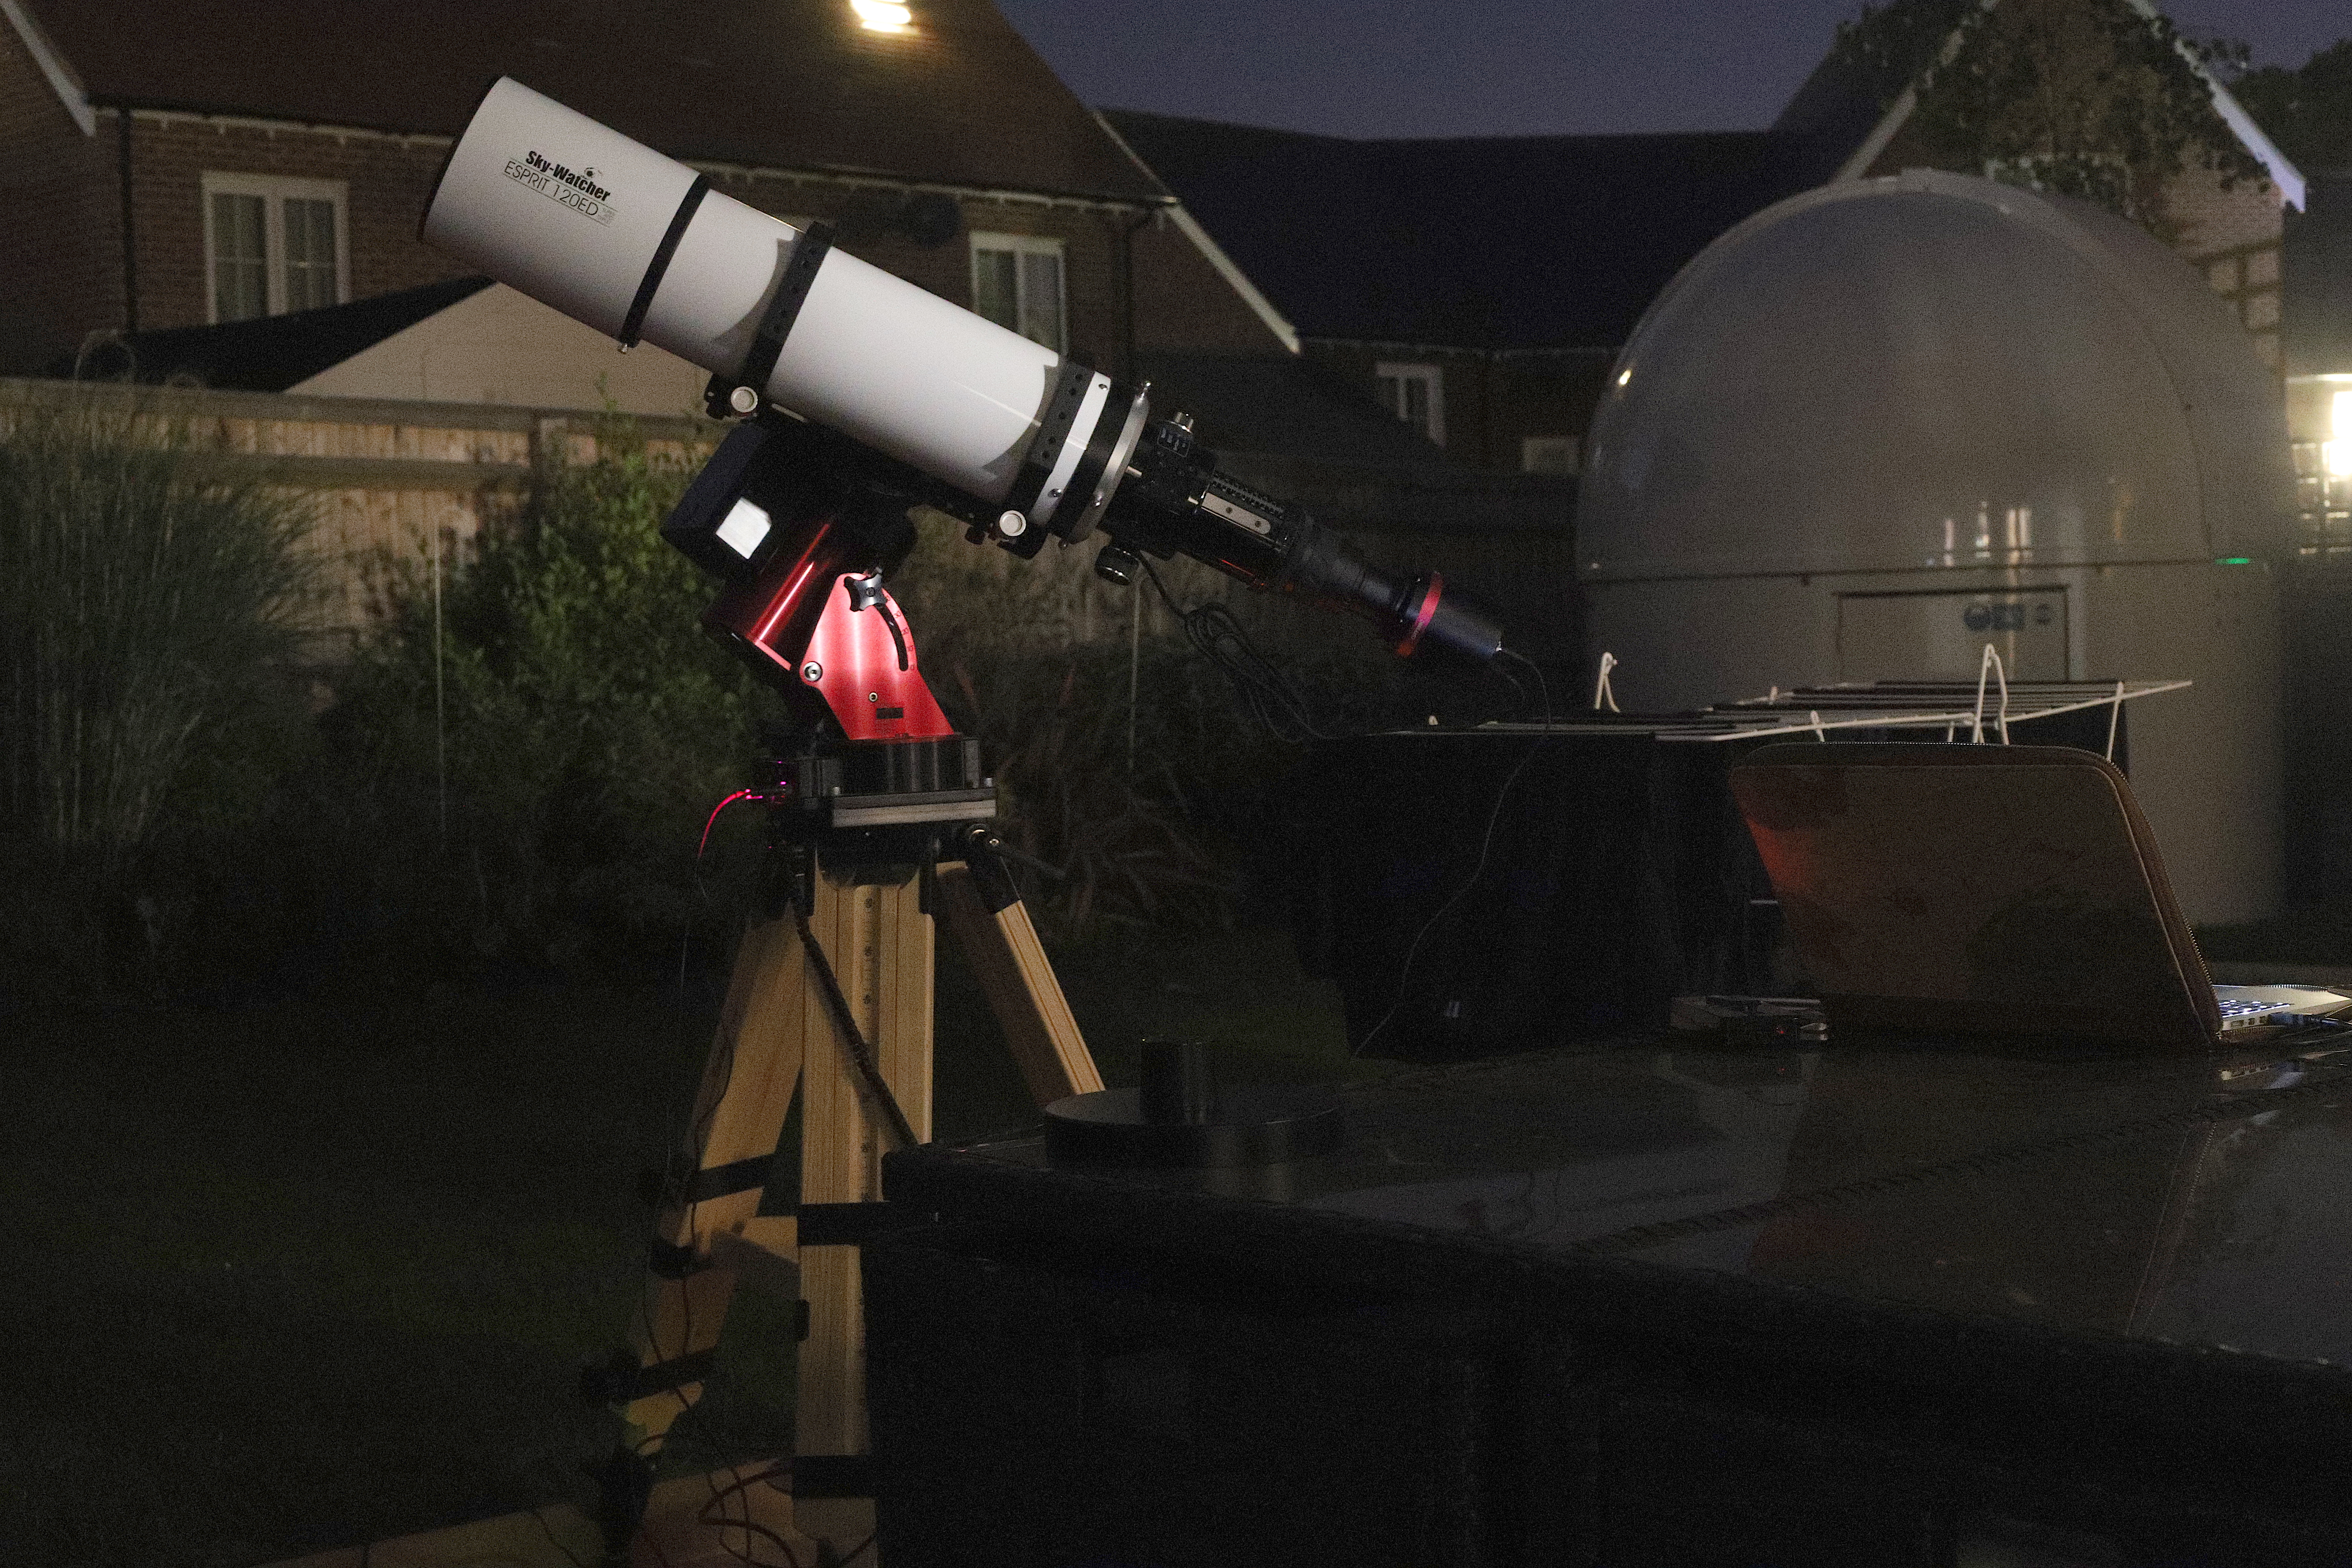
I setup the Sky-Watcher Mak 180 this evening to make sure I could get everything working on the new ZWO AM3 mount ahead of starting my imaging on Saturn and Jupiter along with the Moon.
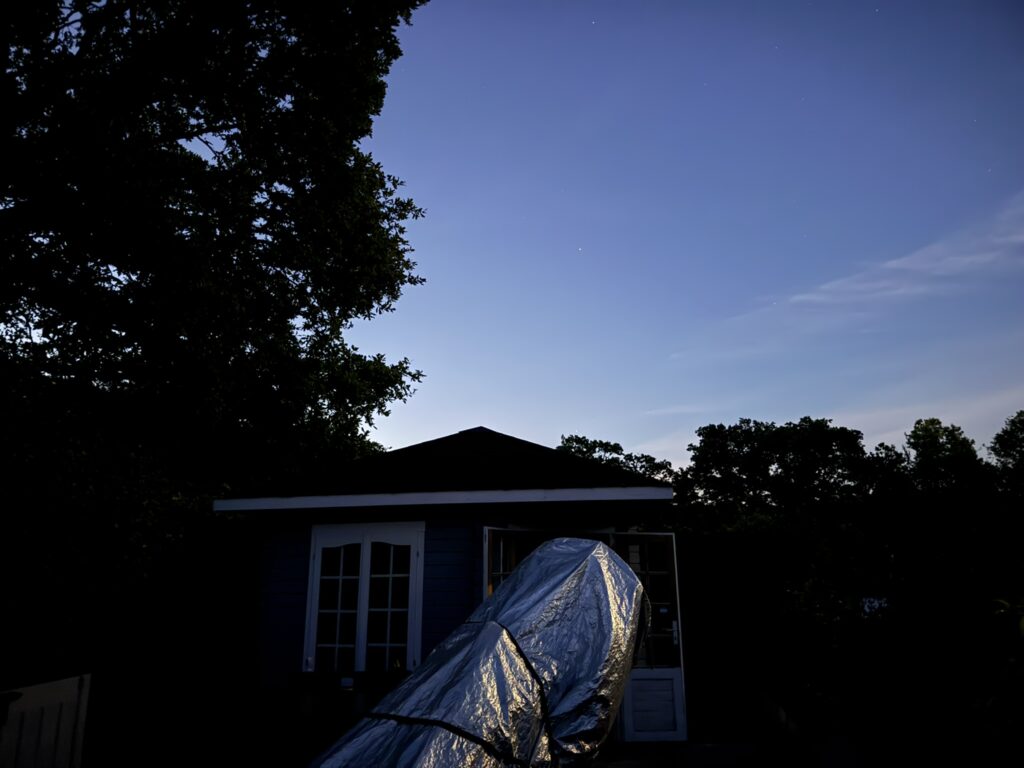
First I had to install a new battery box inside Telrad as the previous one had split. Once completed I installed on the top of the OTA. I setup next to the observatory on the step to give some height. Later in the evening it was apparent from this position I could see objects including the Moon and planets appearing above the Oak tree across the road at around 00:15am at an altitude of 8º near the ecliptic.
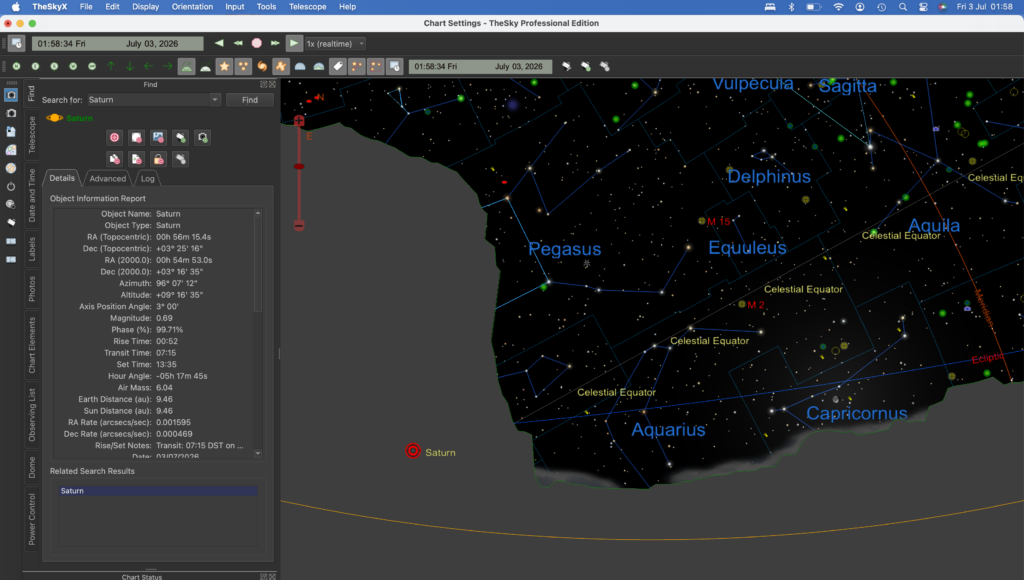
Based on the above I estimate Saturn will be visible possibly around 3am. Until then I will continue to refine and test the system.
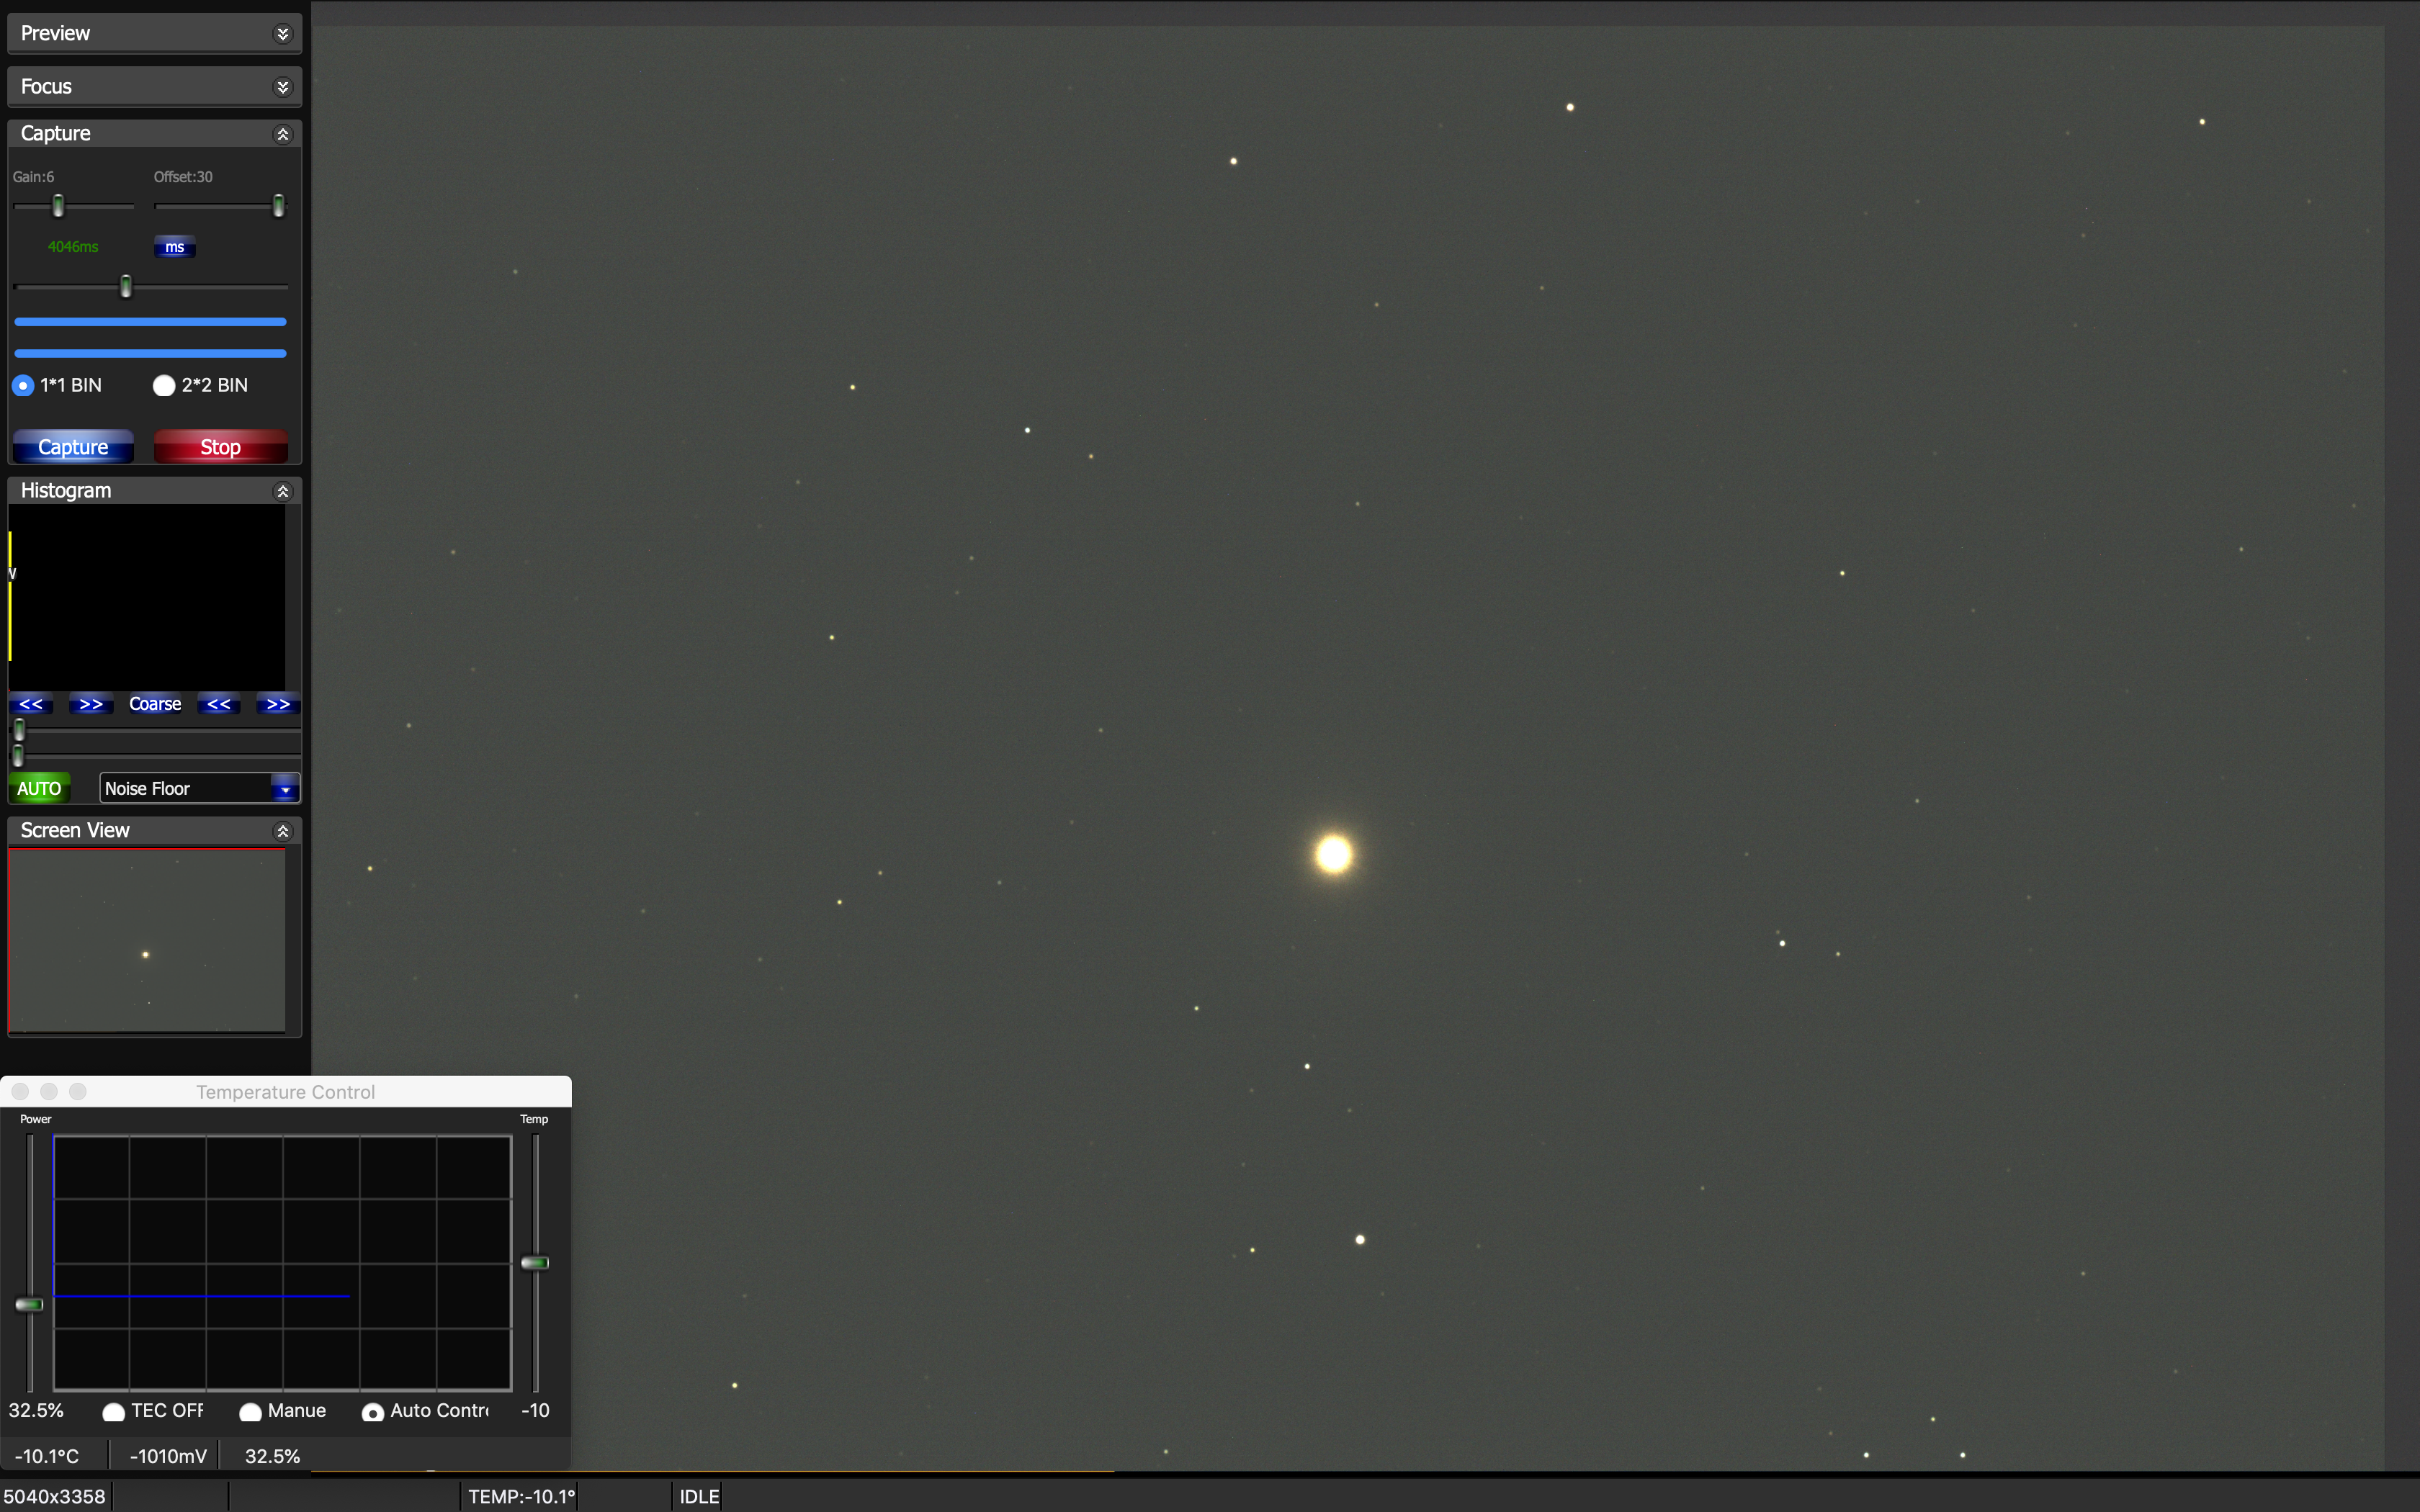
I opened the Windows laptop I have for astronomy and started SharpCap v4 from Robin Glover. This looks to be a fantastic piece of software, not only for capturing lunar and planetary images but also for automatically processing them using the Live View. It has come on a huge amount since I last used the software.
It now also has a polar alignment built in. This transpired to be fantastic. It is automatic and works on plate solving. So once I got focus, I switched to PA starting in the home position pointing to just near Polaris and clicked start. After a few screens and a little adjustment I was there.
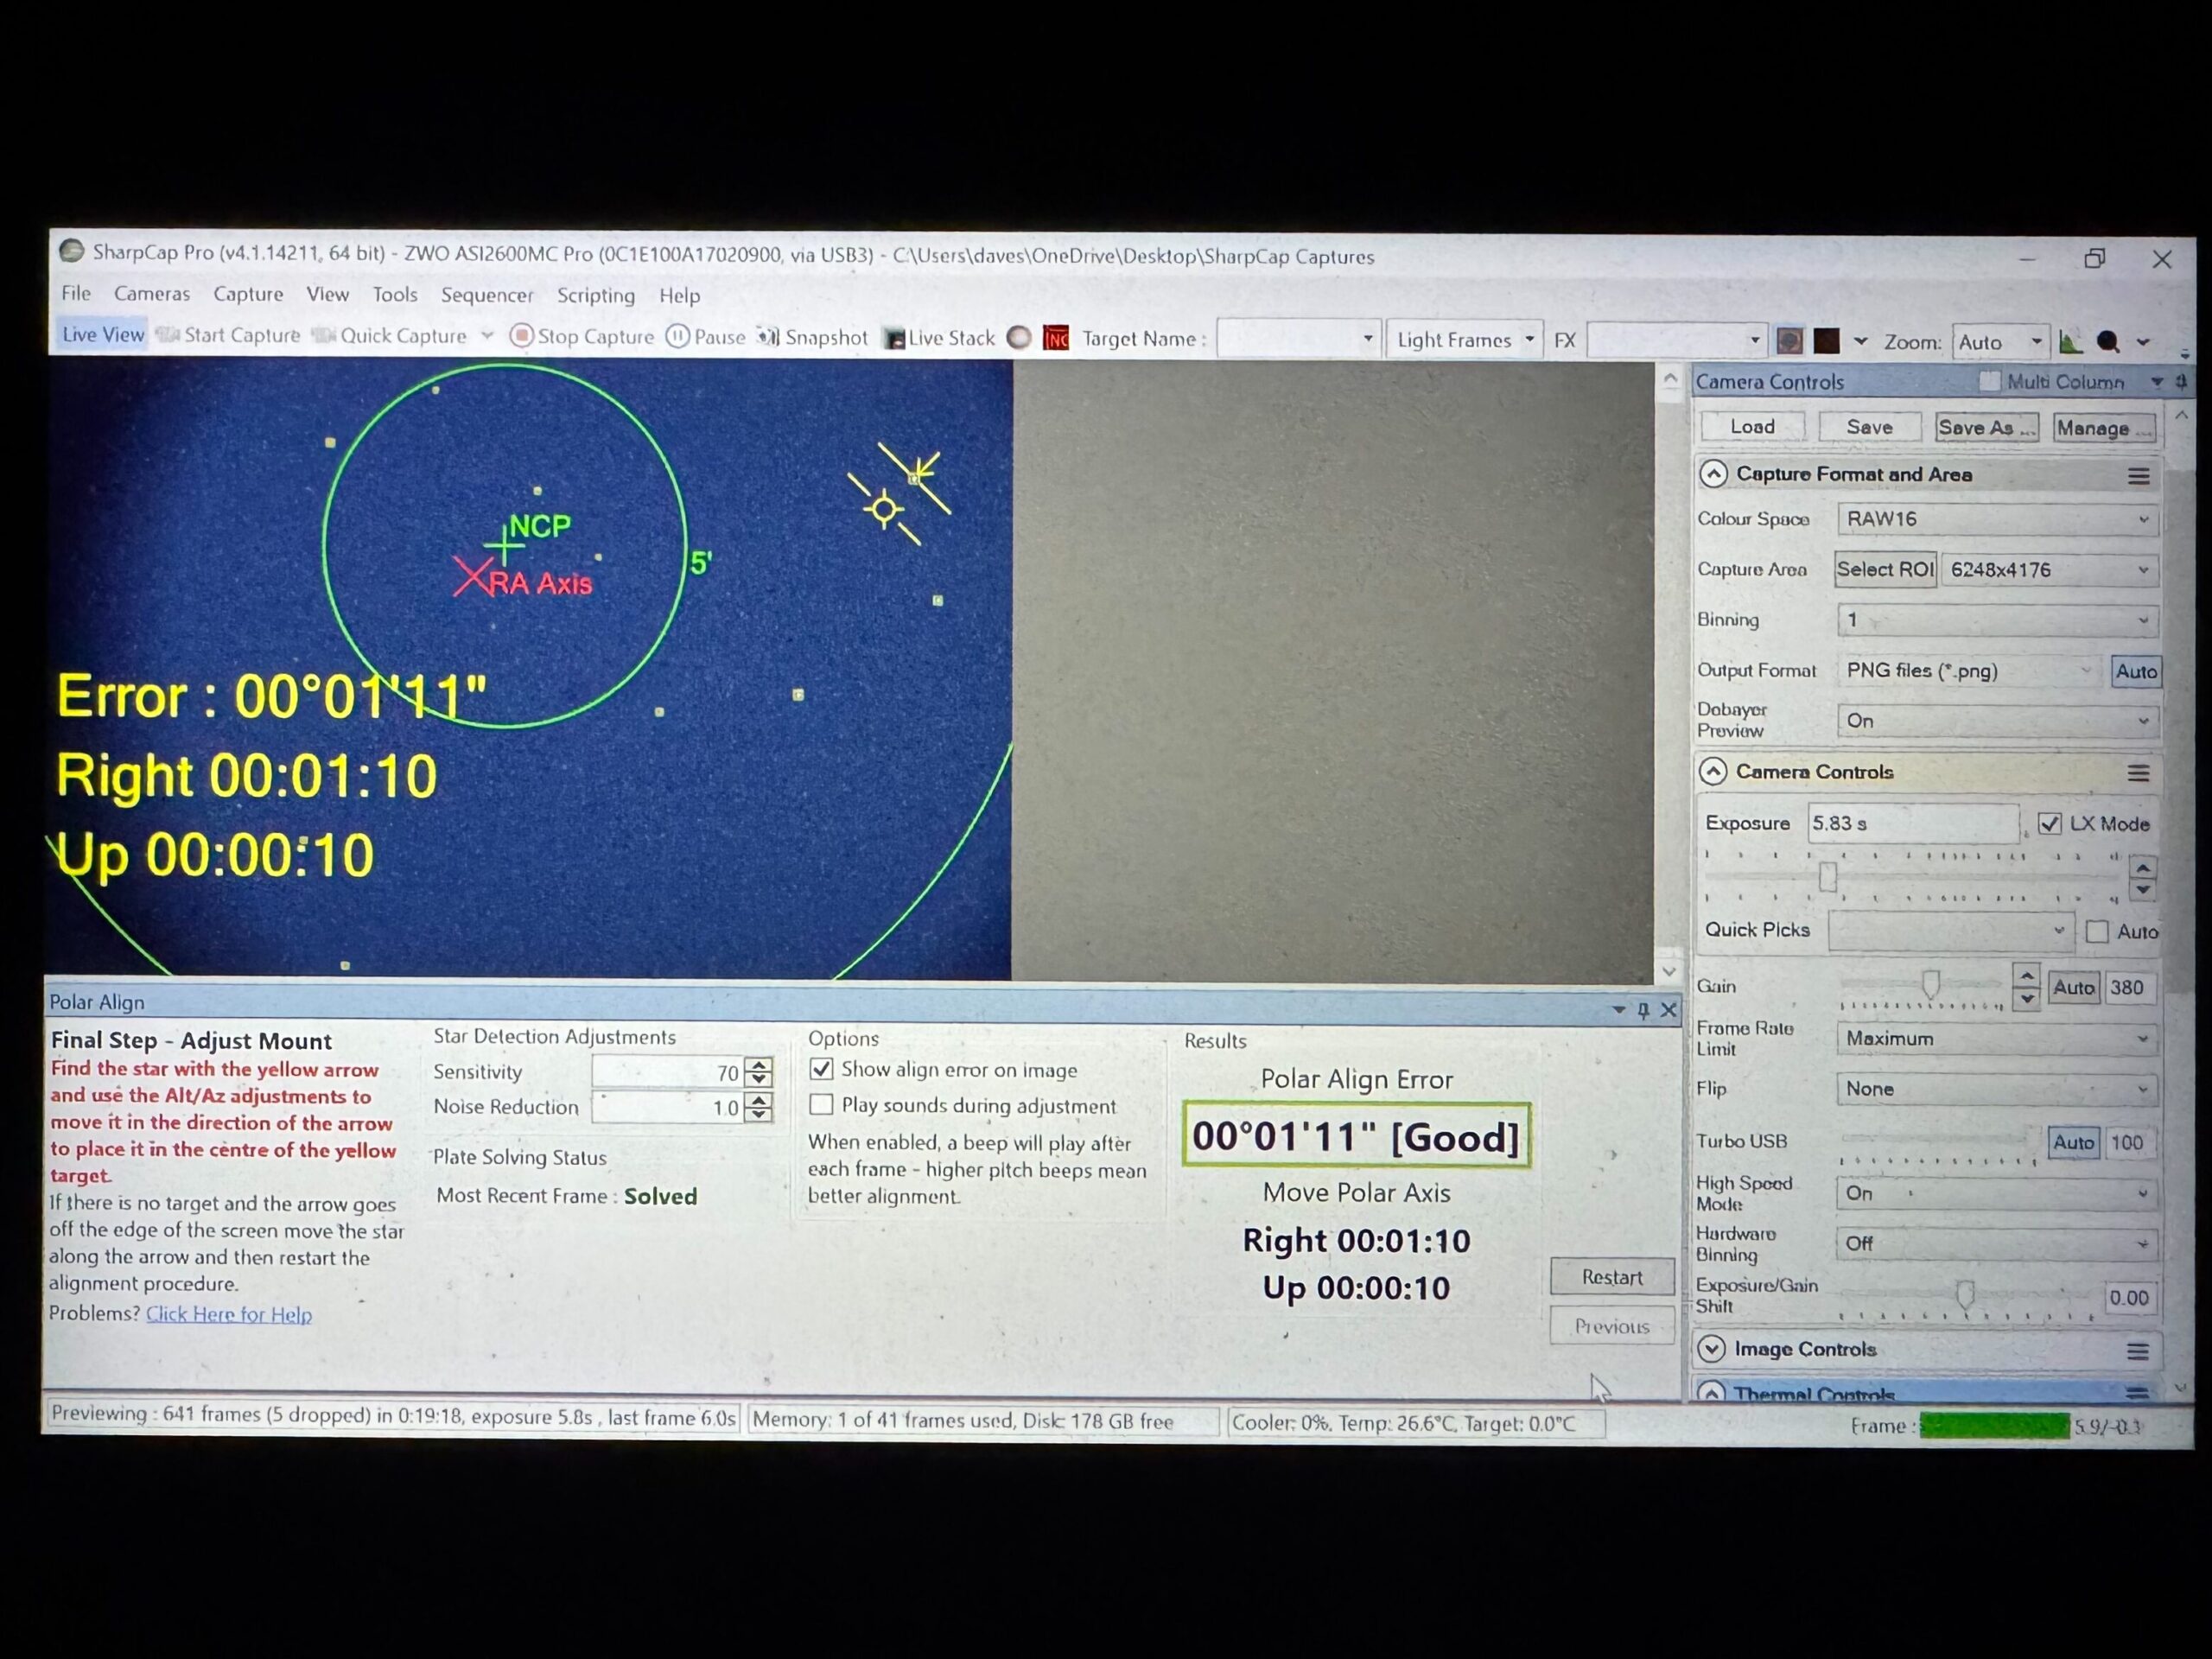
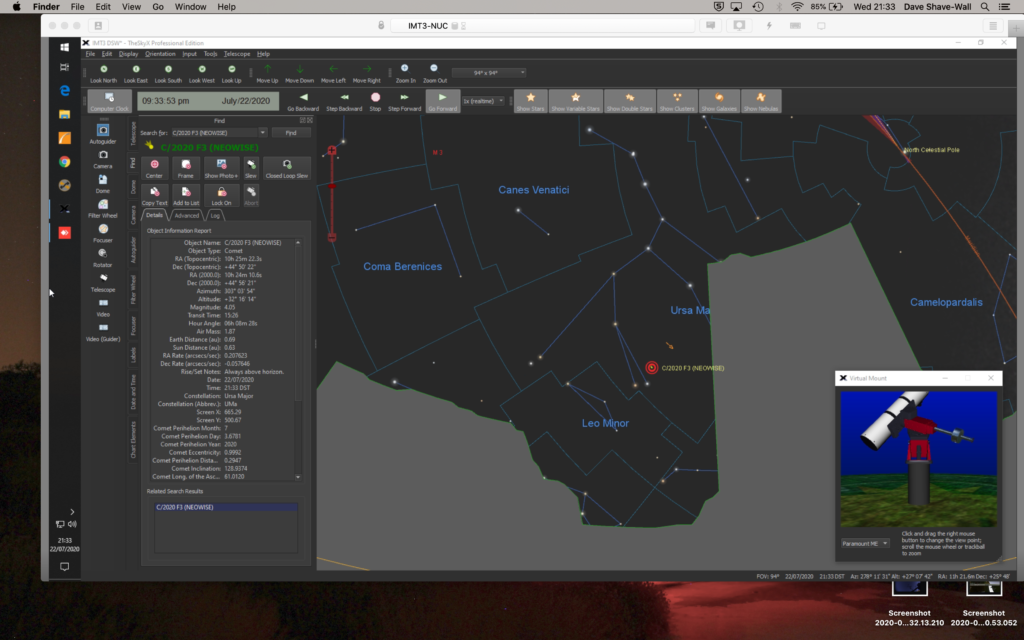
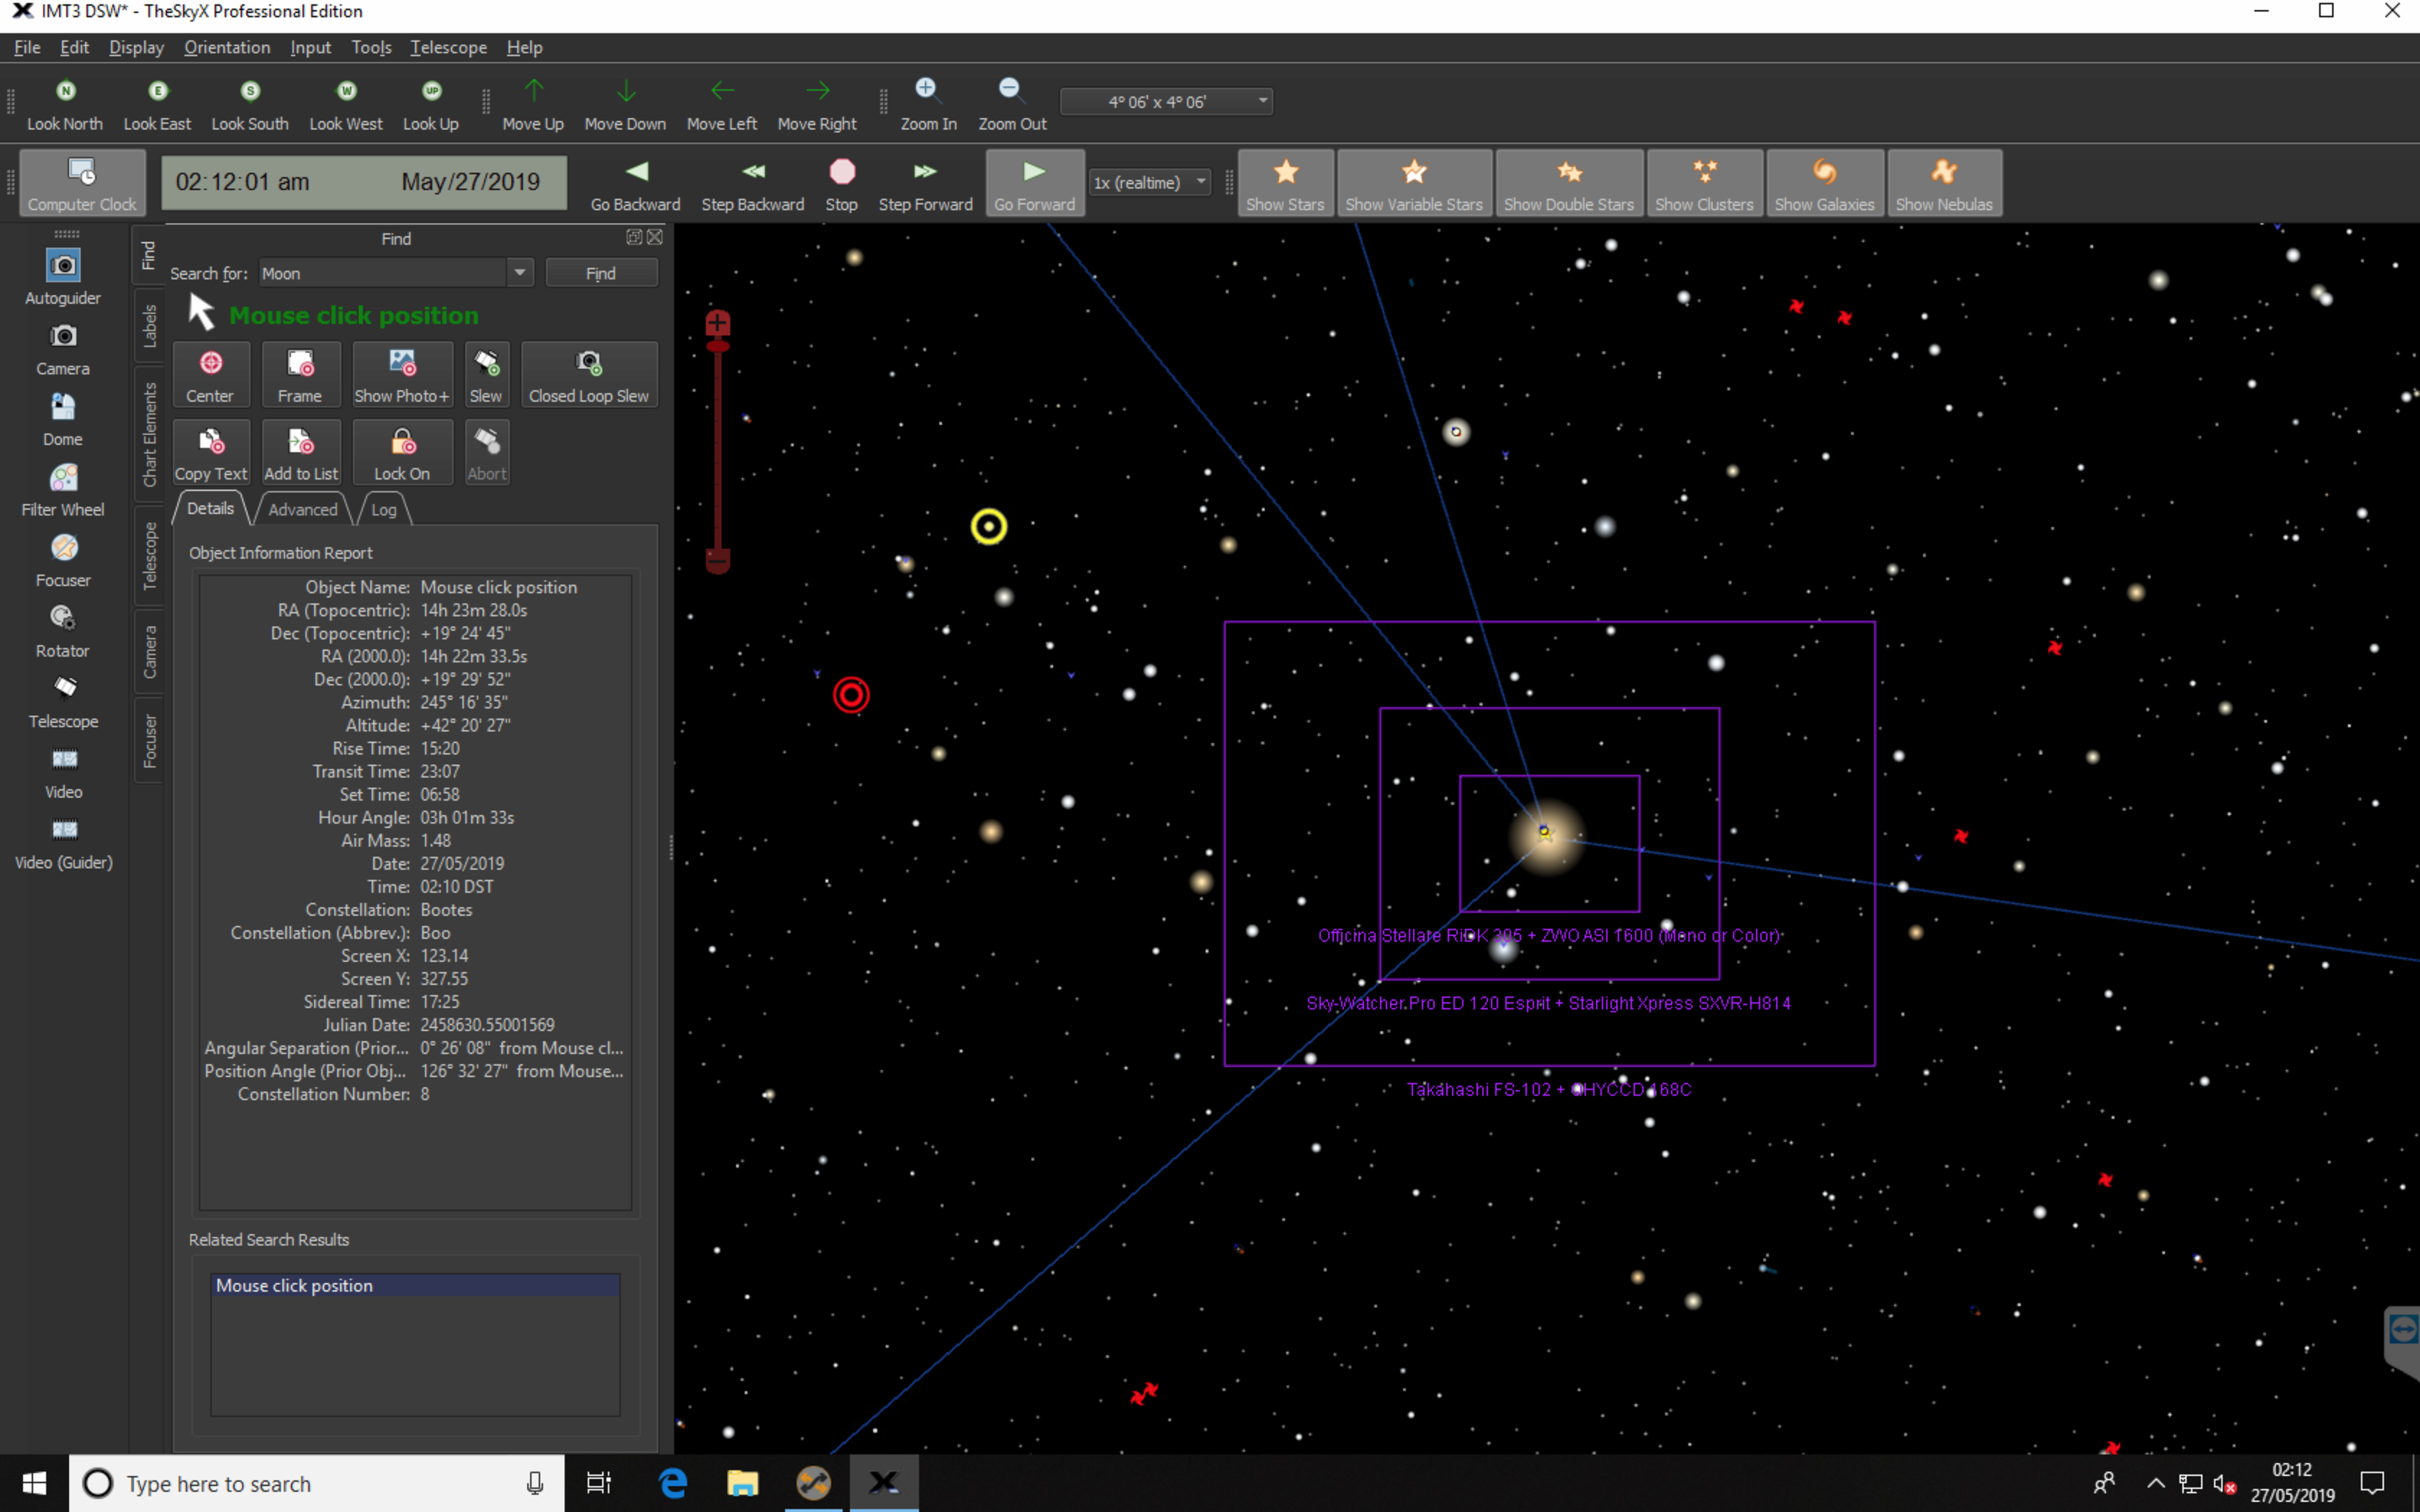
I then slew to Arcturus but it was definitely not on the screen. I must have been close though as the scope looked to be pointing in that direction. I found Sharpcap had a plate solve feature which undoubtably is what is used during PA. I found the star it was pointing at.
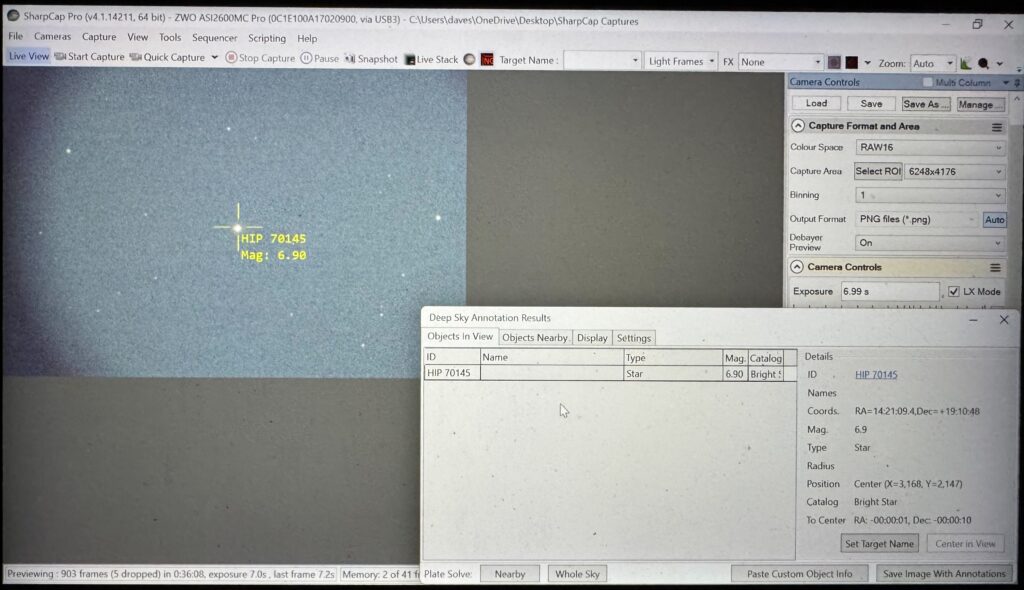
I looked at Sky Safari on my phone and found Arcturus was next to this. I moved the mount using the Sky Atlas app on my phone that comes with the ZWO AM3 and Arcturus slewed into view. I synced and was good to go once the Moon rose.
Soon the Moon rose and at full chip resolution it still did not fit in, however given the suggestion (the best one I have heard in a while) from Robin Glover was to ditch the planetary camera I had from ZWO due to the small chip, and instead use one of my deep sky ZWO cameras, so an ASI 2600MC for me, this made finding stars, the Moon etc so much easier.
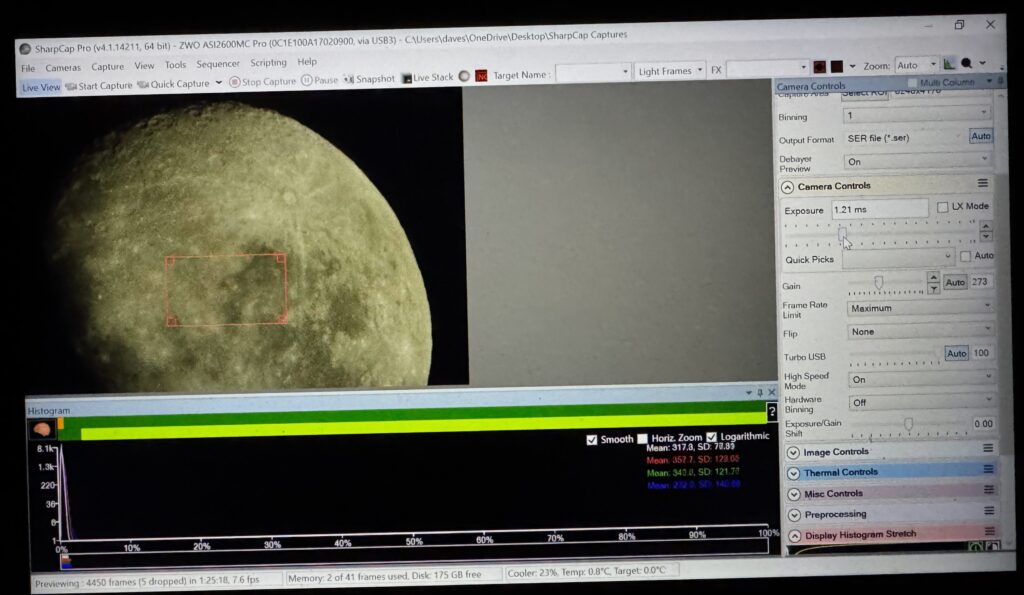
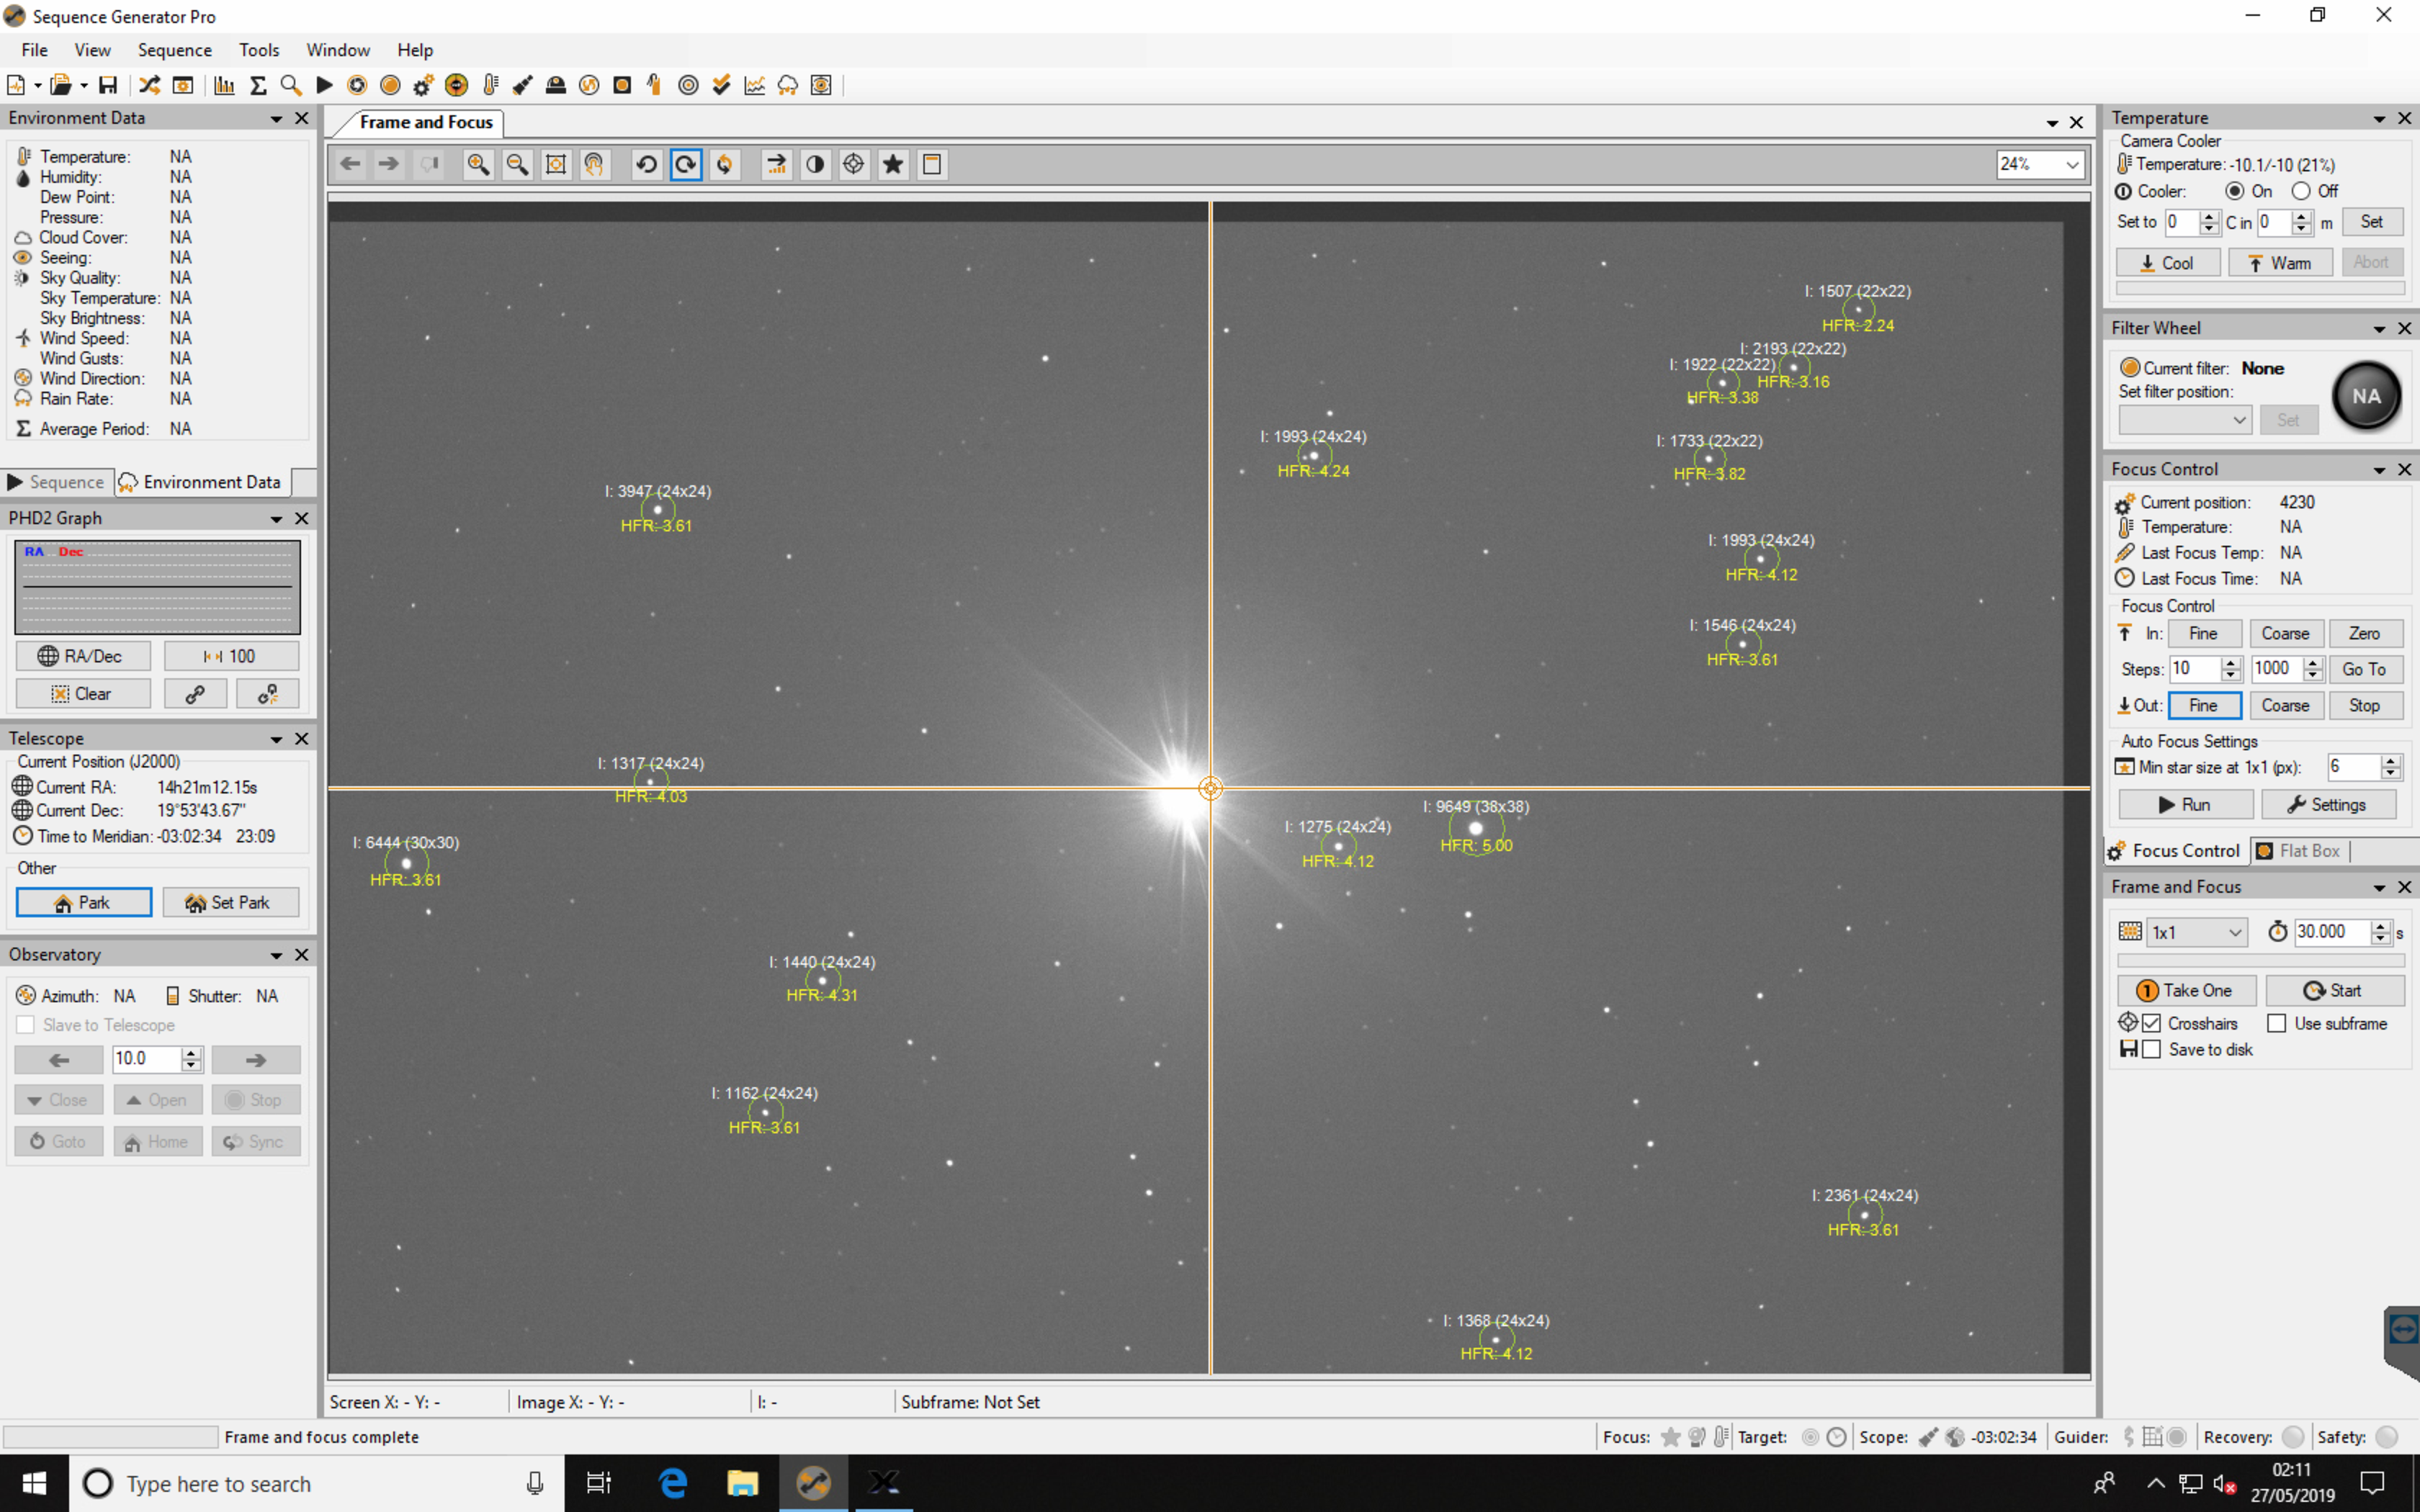
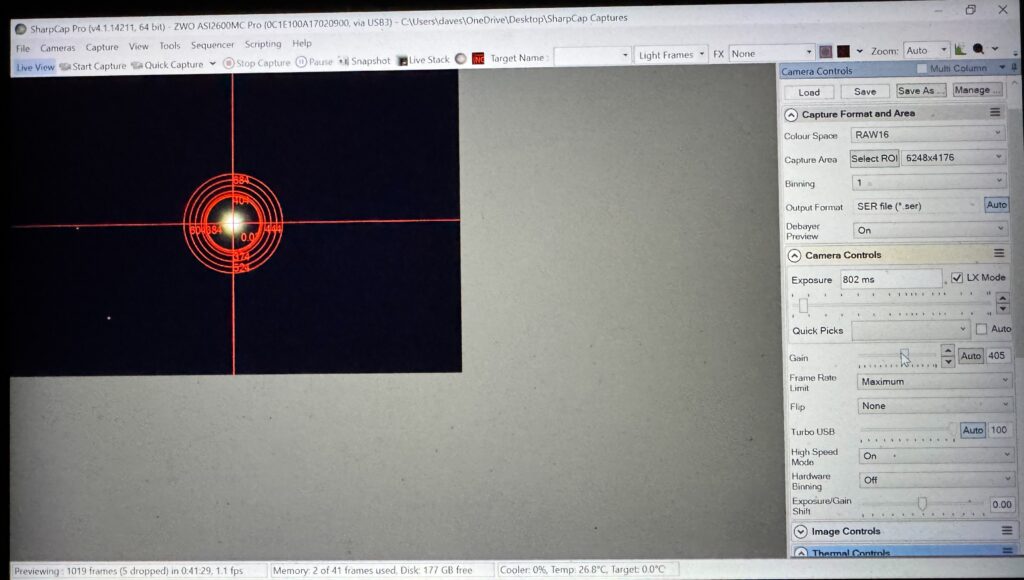
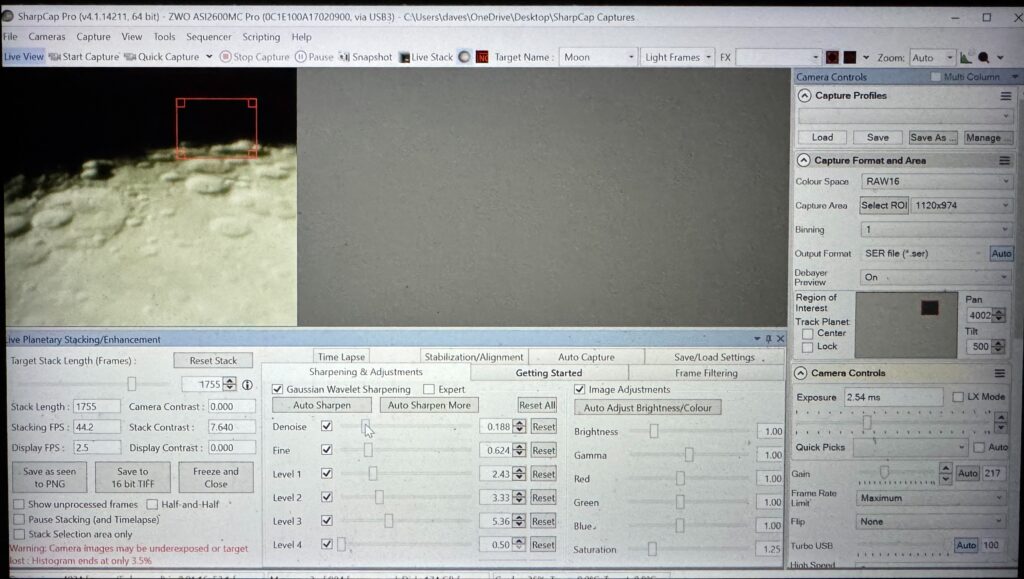
I then used the Region of Interest feature to zoom into the Moon. You can see how grainy the original unstacked image is.
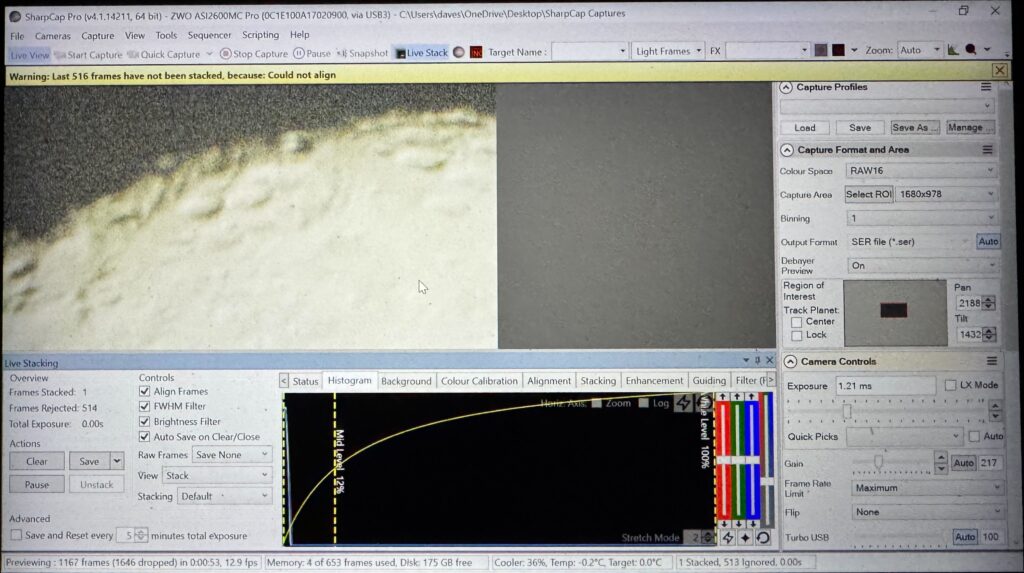
Then I confirmed the settings for the stack and for set to live view the Lunar surface. The menu option for this was under Tools rather than the Live View on the quick link bar. A small stack of the ROI gave the following.
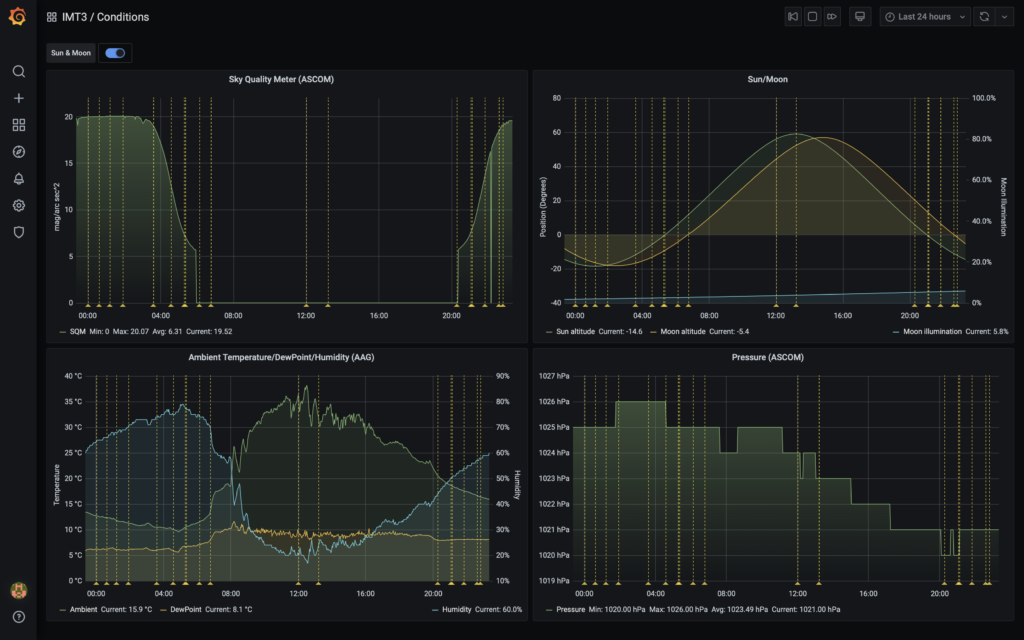
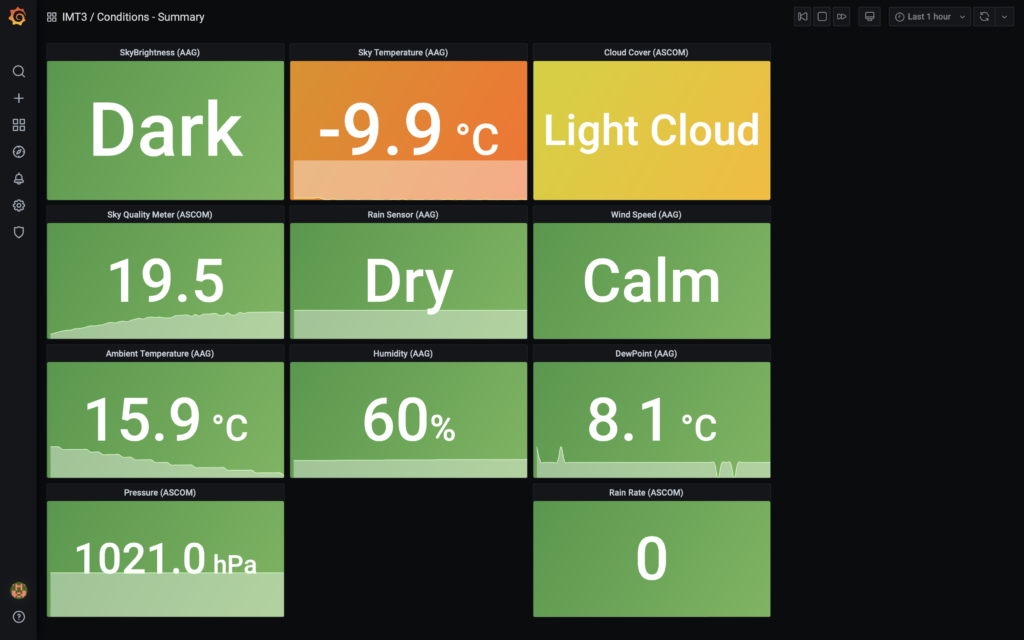
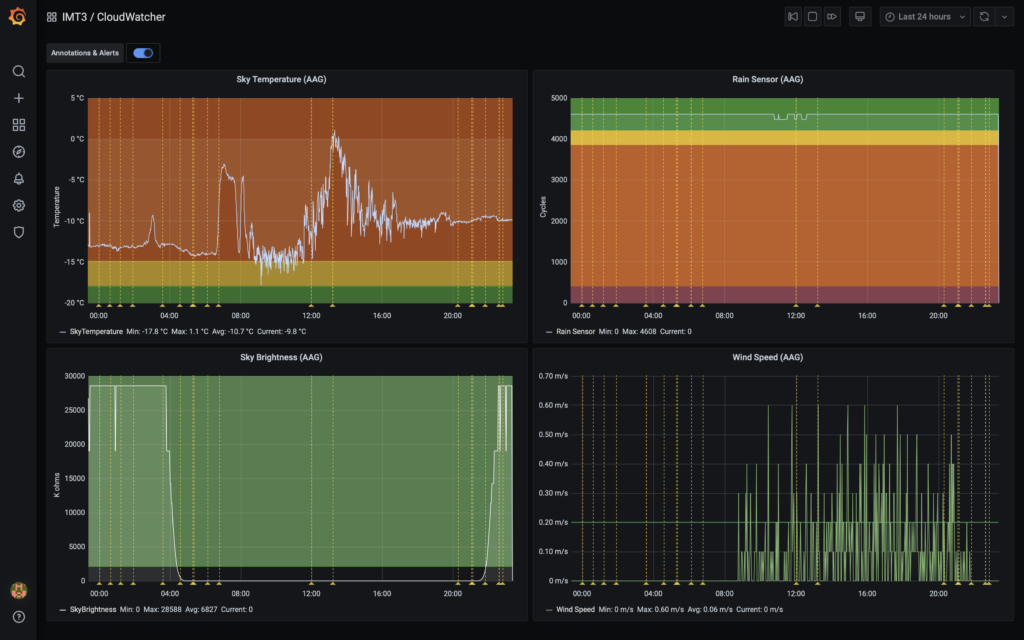
This was not bad given the currently low altitude of the Moon but also the Jet stream being overhead as detailed on the brilliant weather website SkippySky.Com.Au
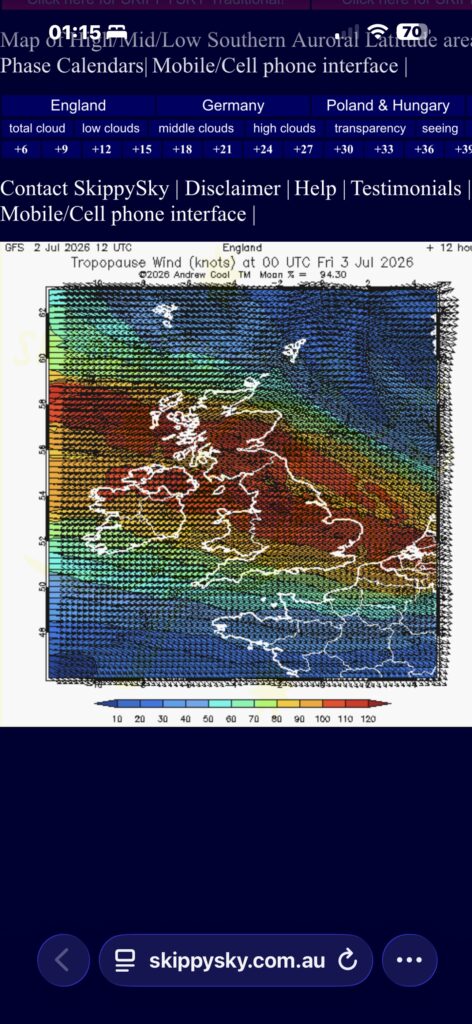
The cloud cover, transparency and seeing were excellent tonight, however with the jet stream being overhead the air was just bumping around too much.
At 2am Saturn was still behind my own oak tree.
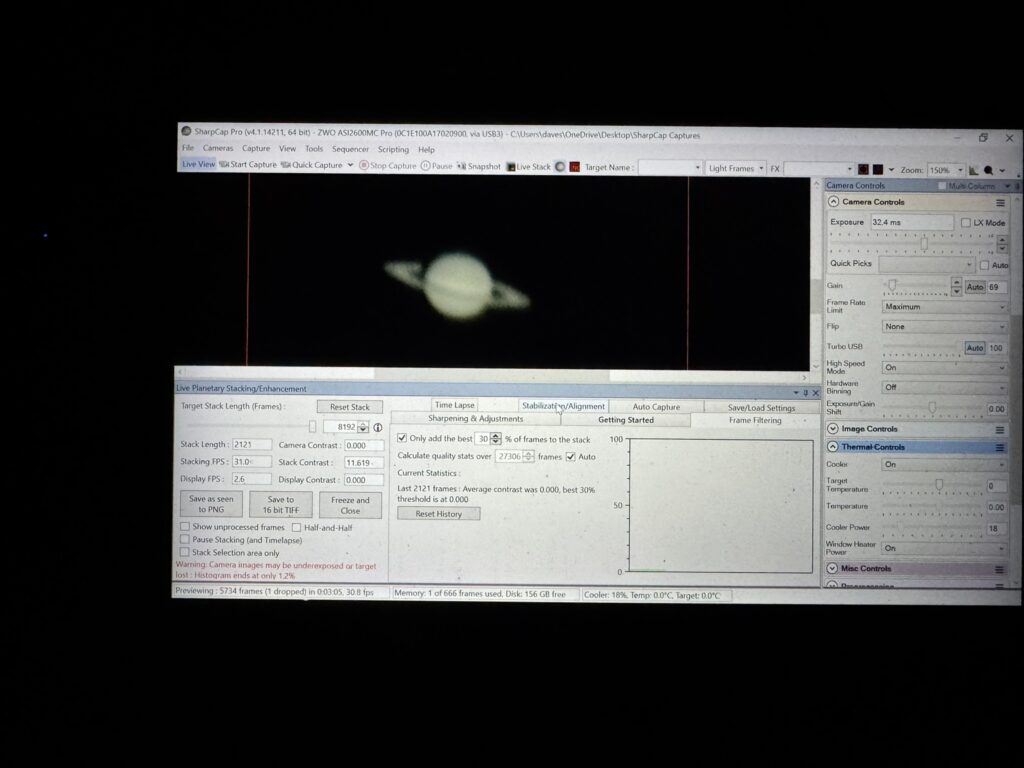
Finally at 3am Saturn appeared out the side of the oak tree.
I need to understand how to adjust the ADC correctly as it was definitely not easy. Also I need an EAF as manually focusing makes the planet wobble too much.
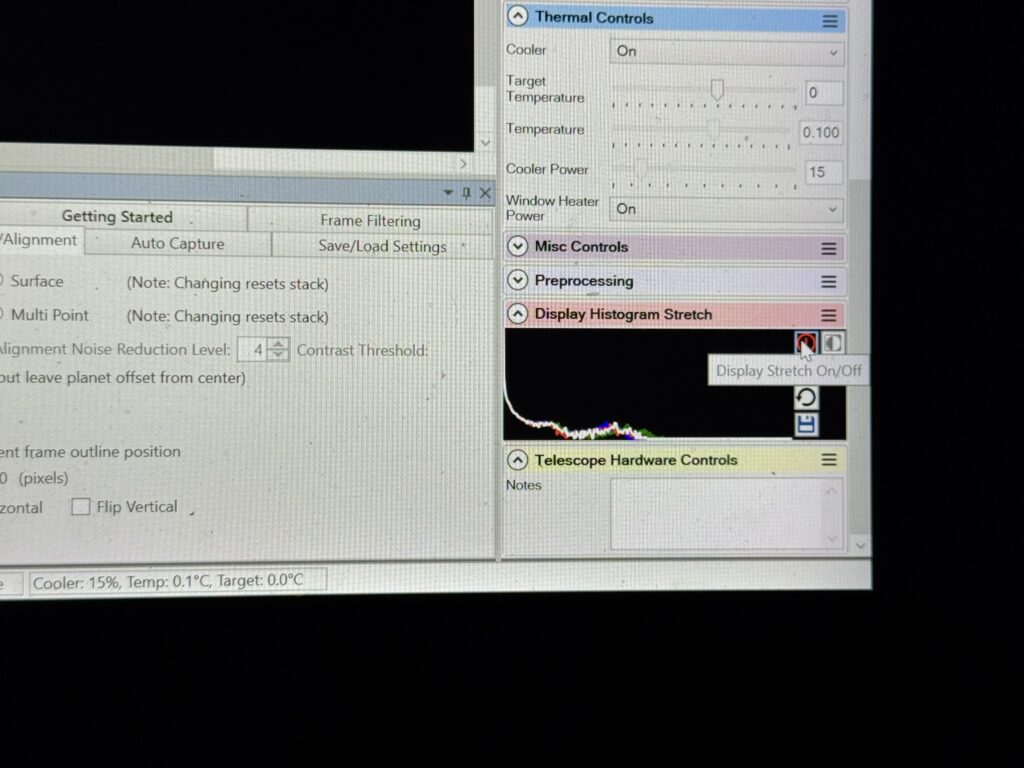
One of the problems I did have was thinking I was adjusting the gain on the image when I was actually just adjusting it on the screen rendition. This meant I was underexposed on what I was capturing.
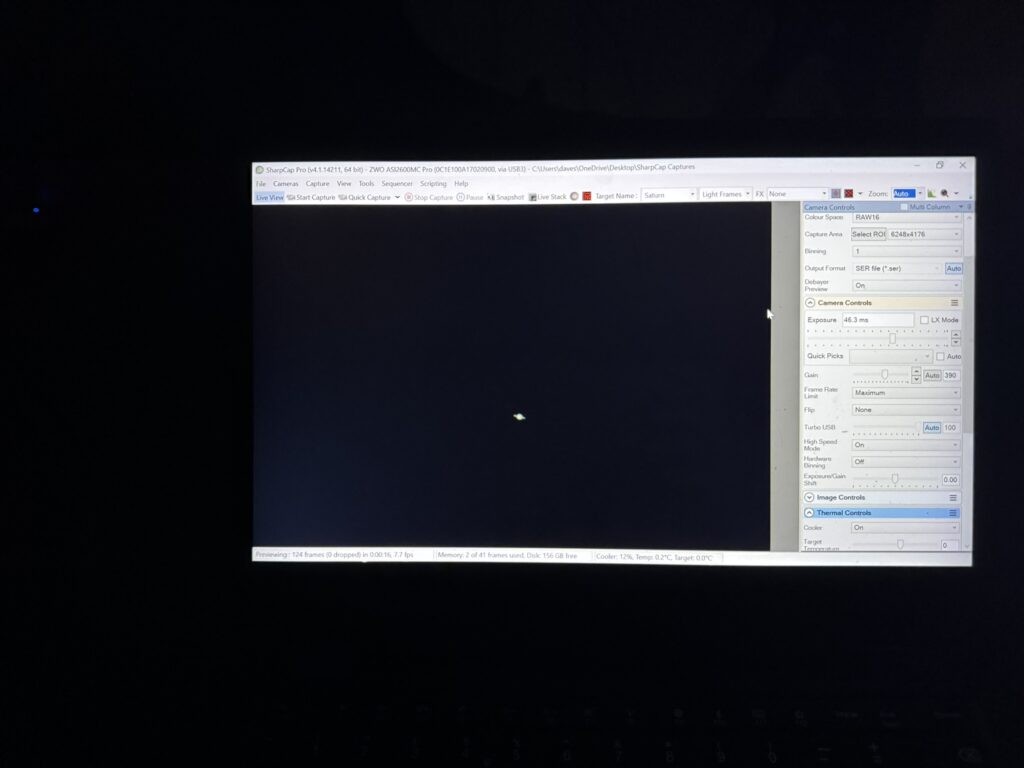
The planet looked tiny on the APS-C chip
By 3:35am the sky was visibly bright and my practice session came to an end.