03:15 – 07:09
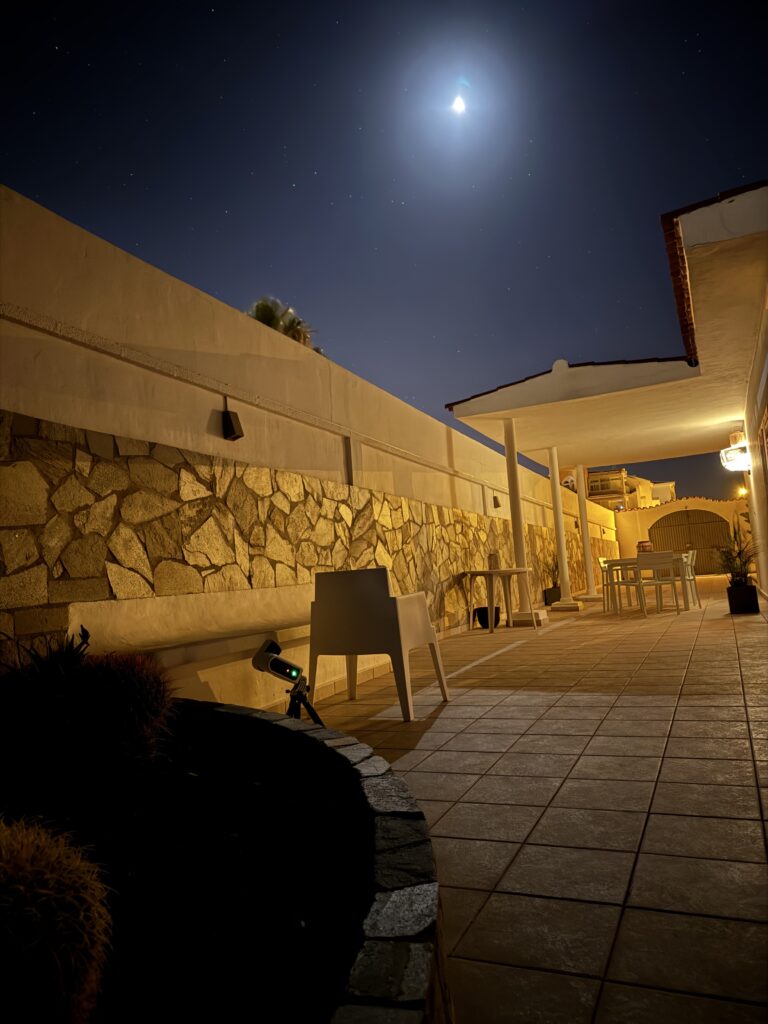
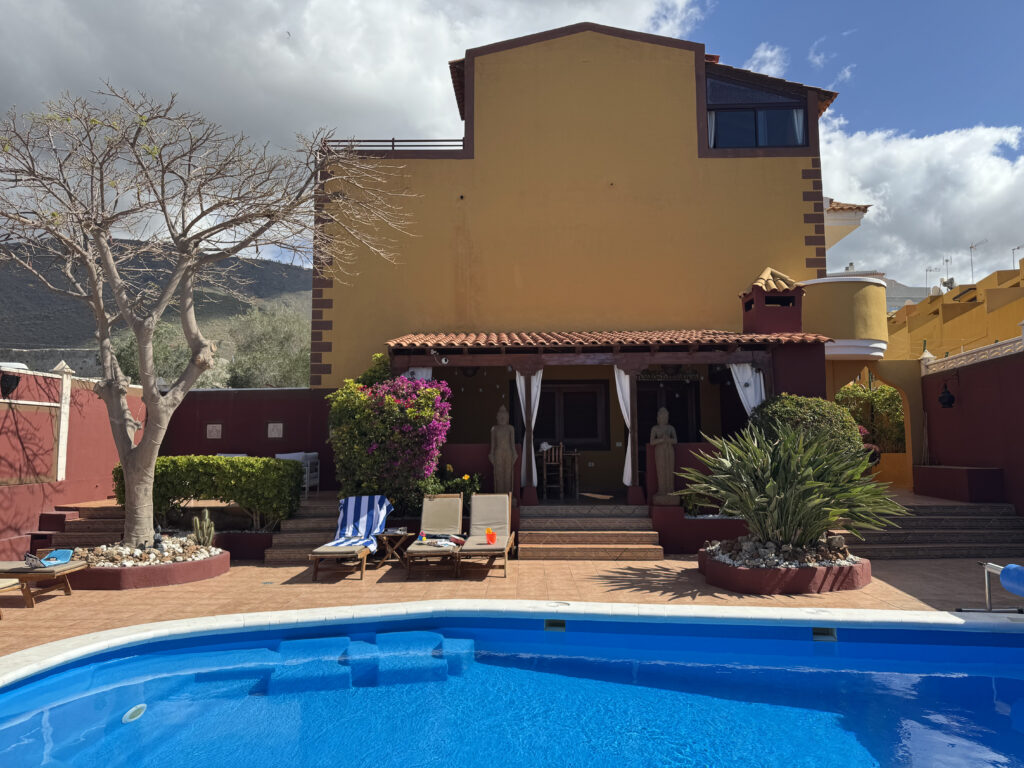
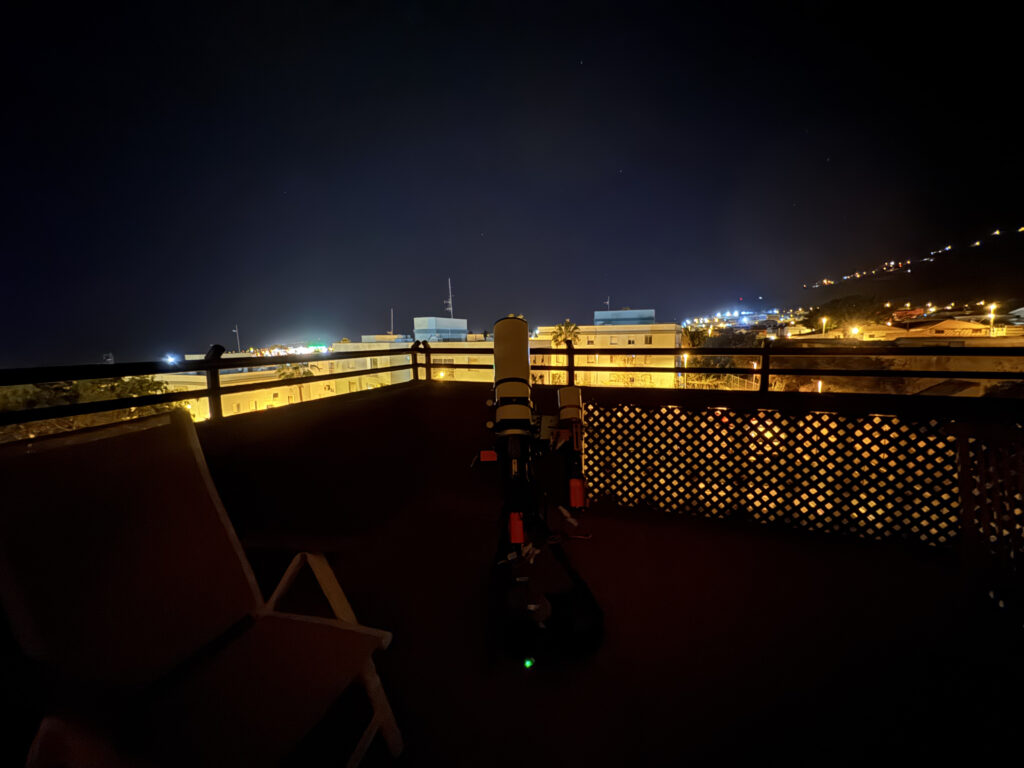
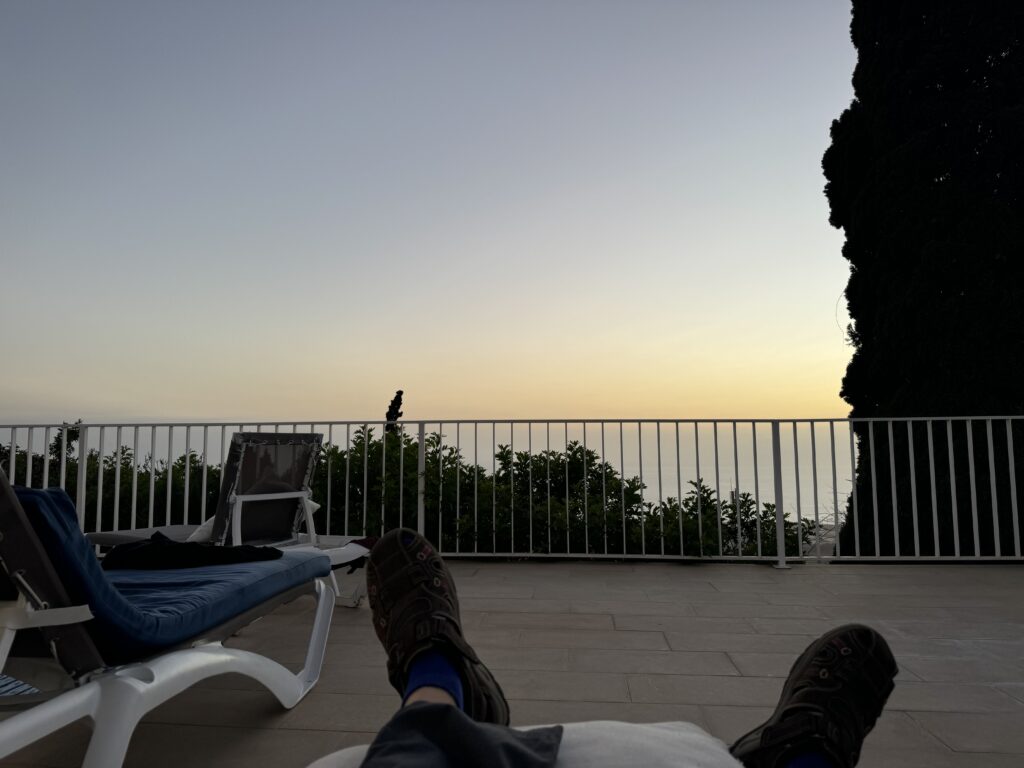
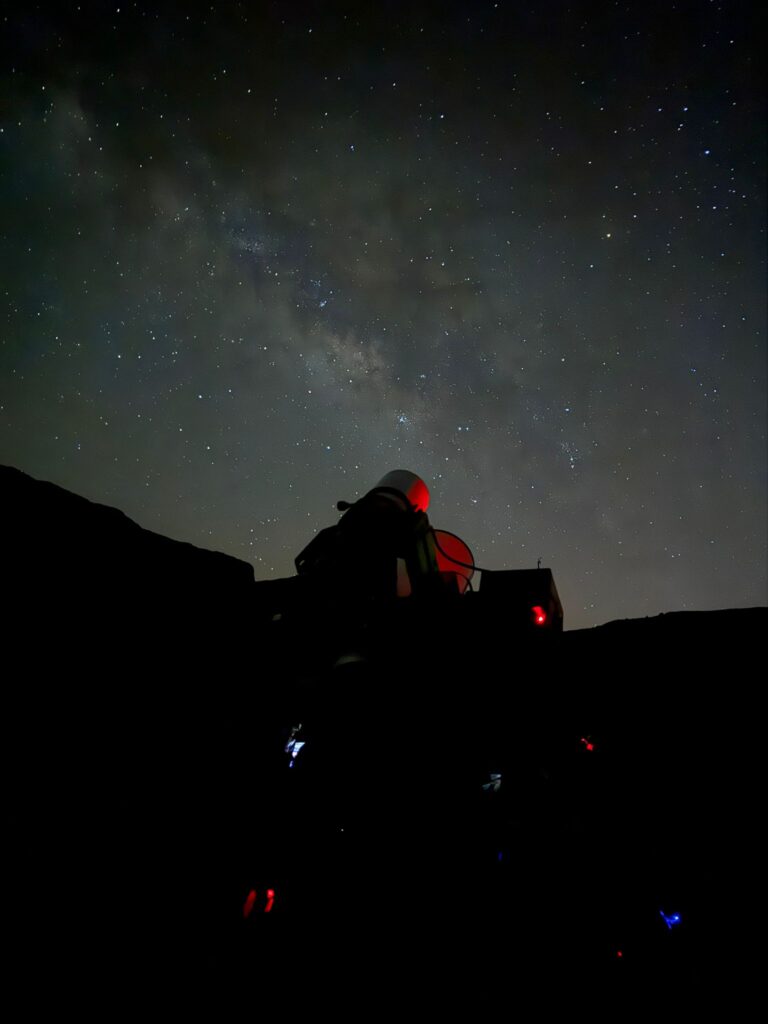
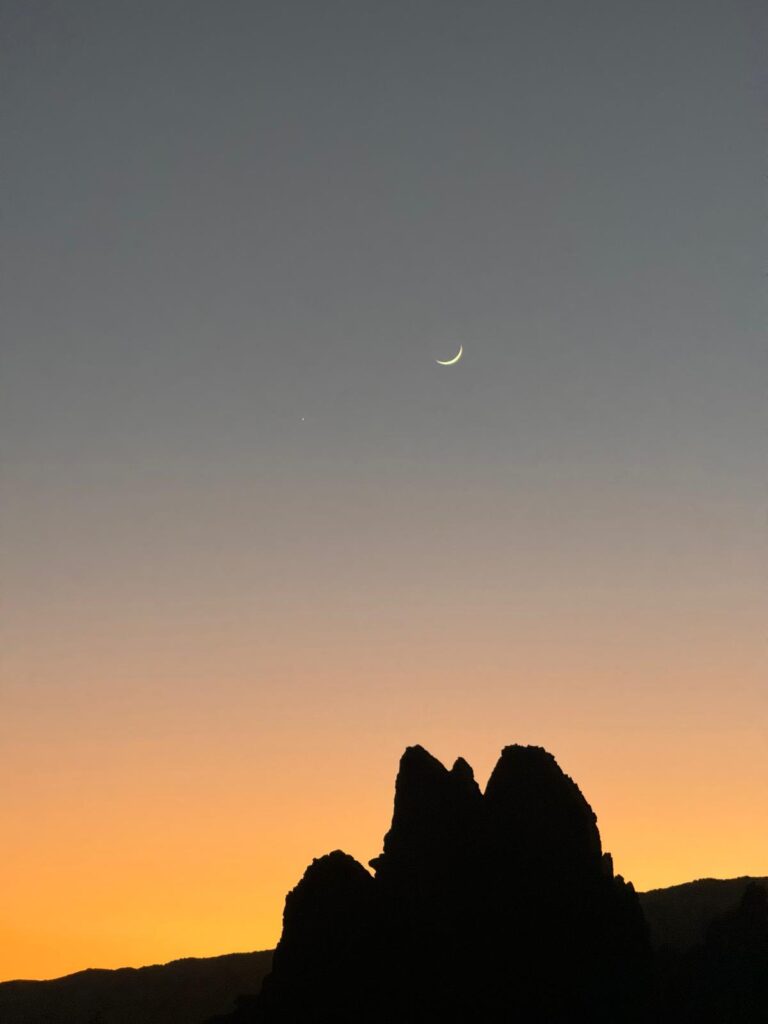
Whilst in Tenerife on a family holiday I was fortunate to have some clear spells in the cloud cover that seems to build up in the evenings on many occasions and hug the mountain side. Fortunately I have moved to a different villa, this time down at Playa de la Arena in Santiago del Teide. Whilst the villa is further away from the central mass of the mountain, the light pollution at the coast is much higher, not just moonlight, but also streetlights and wall lights!
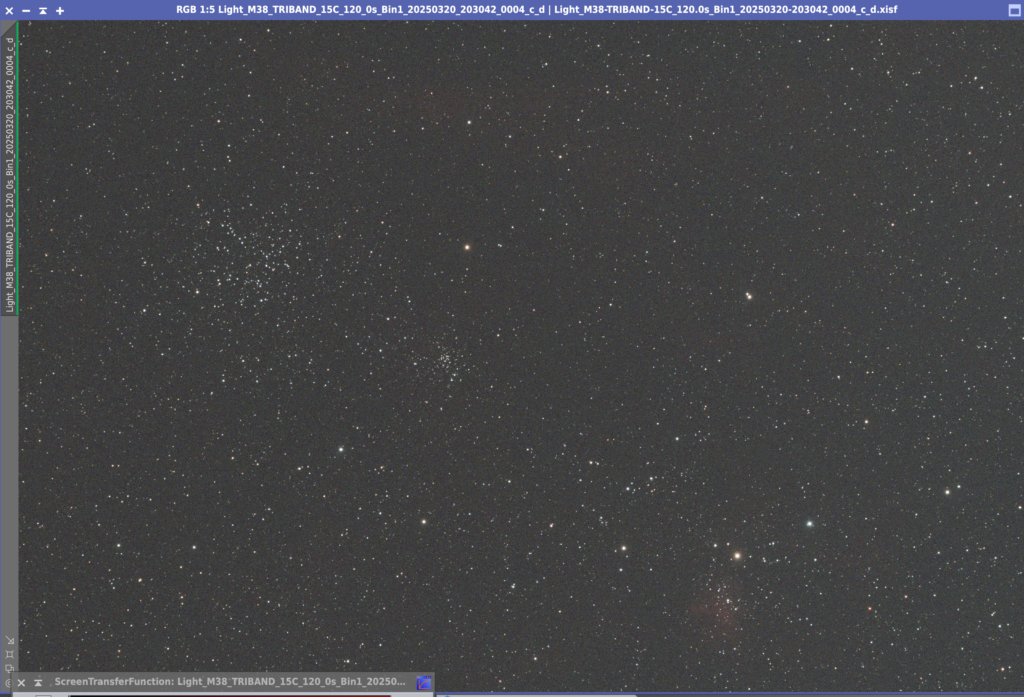
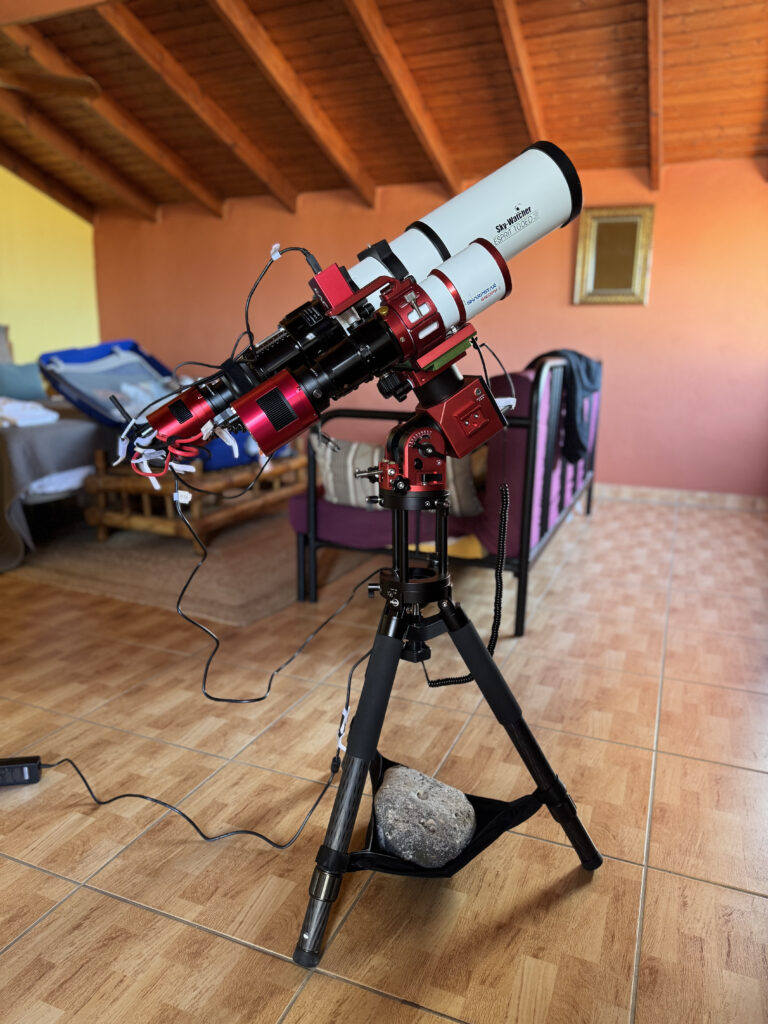
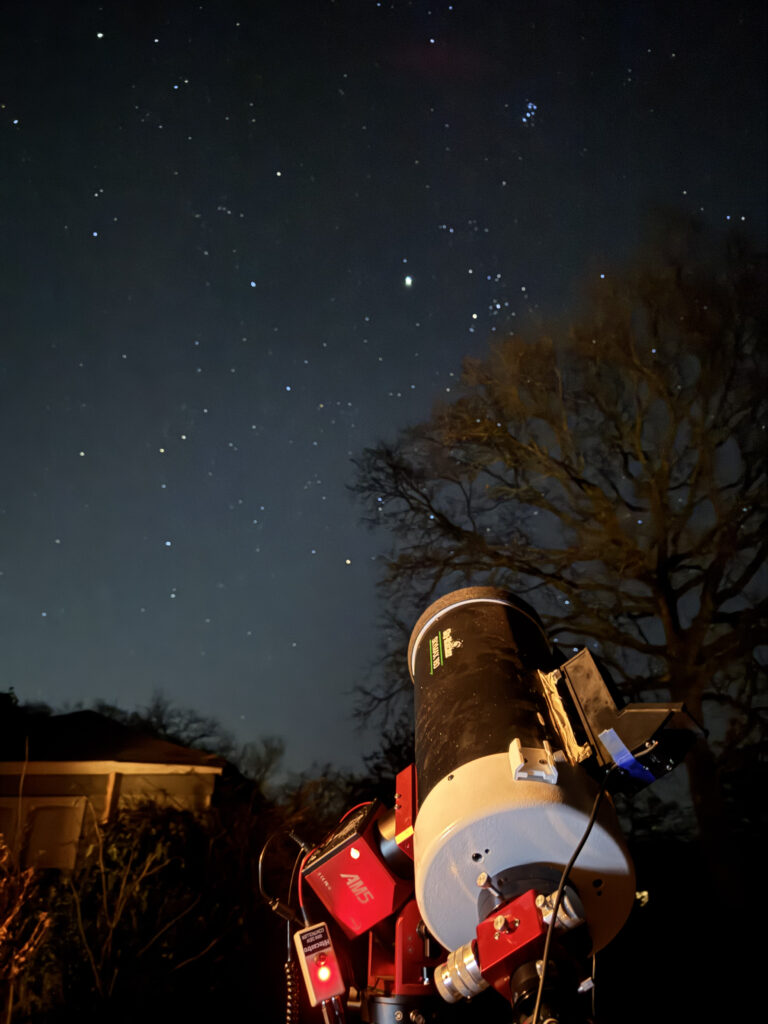
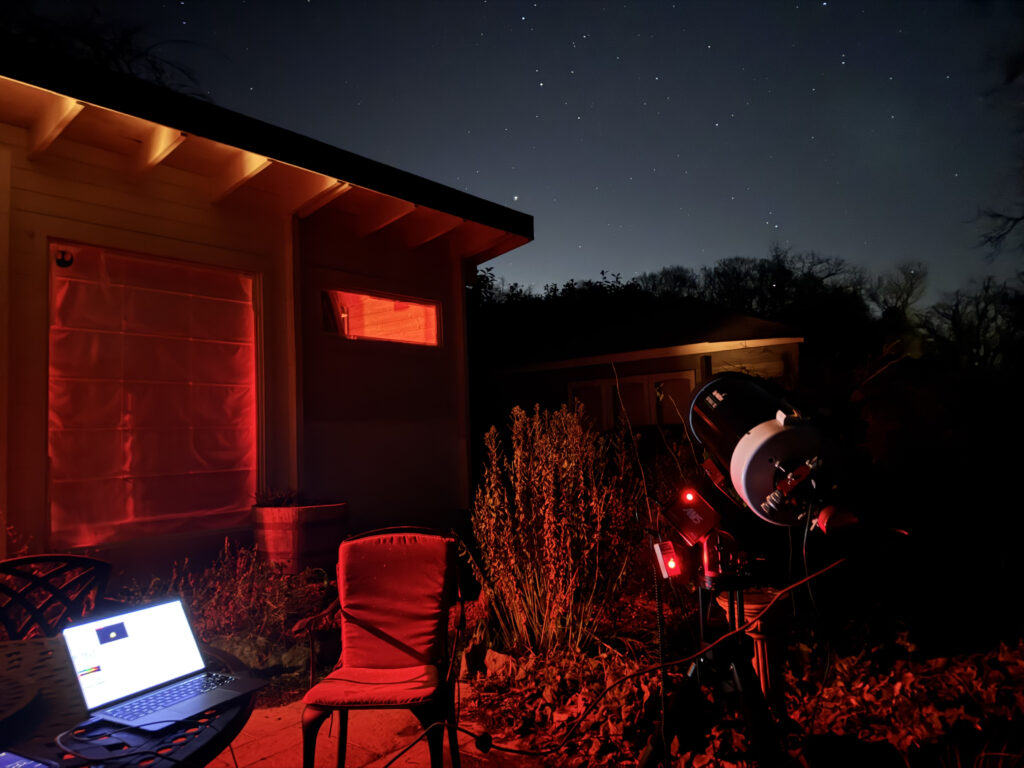
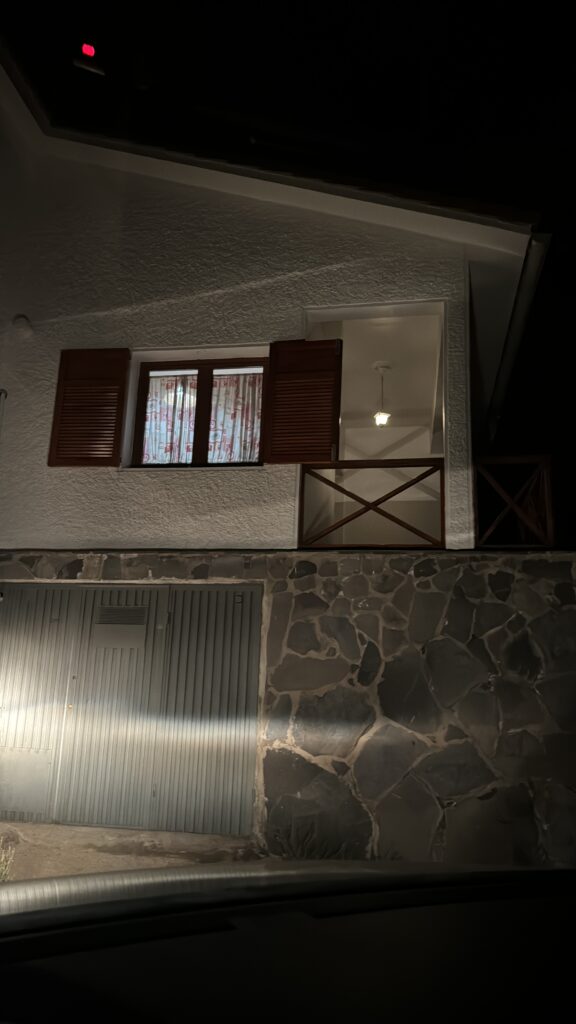
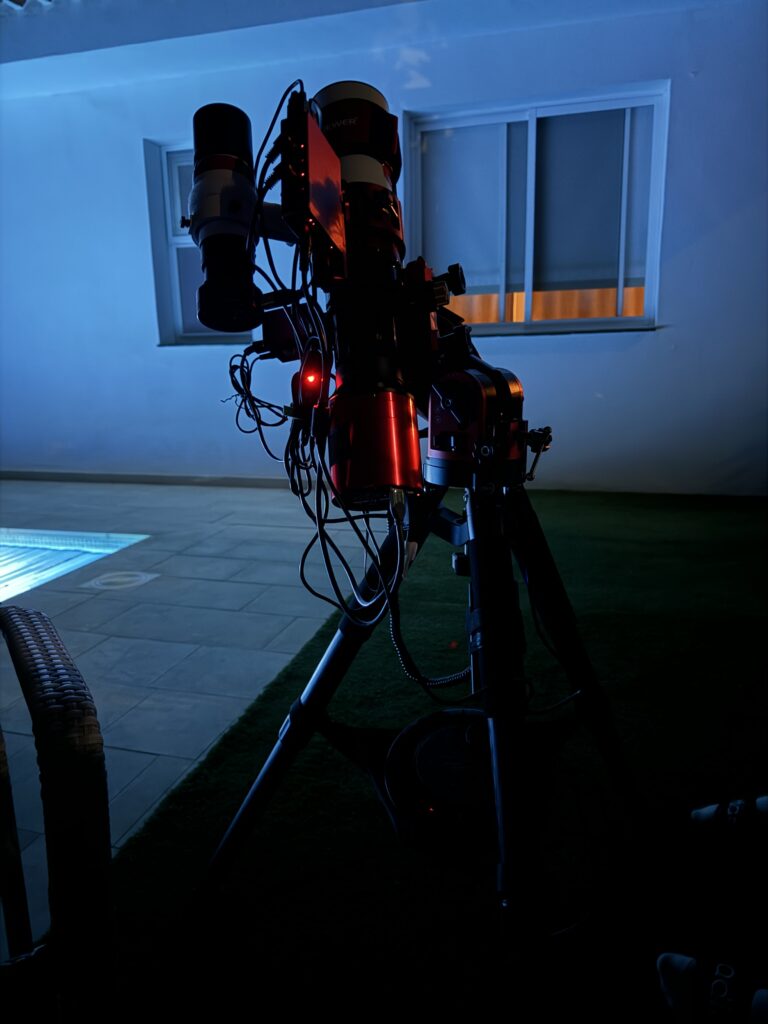
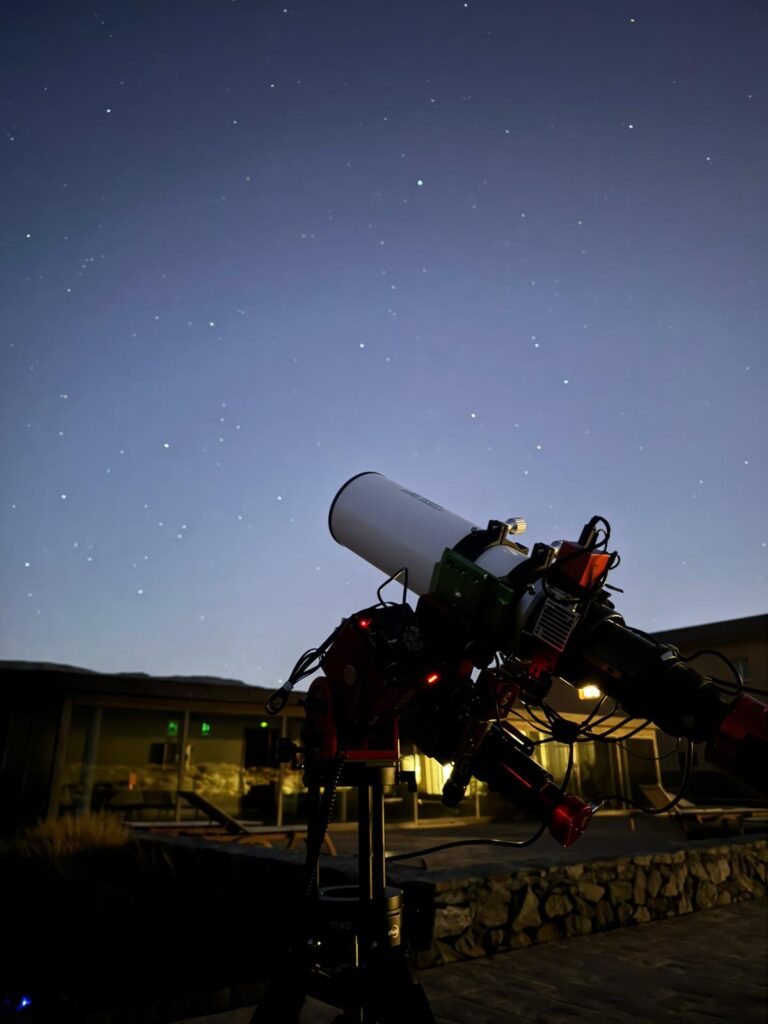
But this did not deter me. I setup the Seestar S30 behind a chair, believe it or not it helped. I then setup a path to image between the wall on the left and the larger house roof on the right as South was directly towards the main gate. I could not go the other side of the covered seating area due to further street lights.
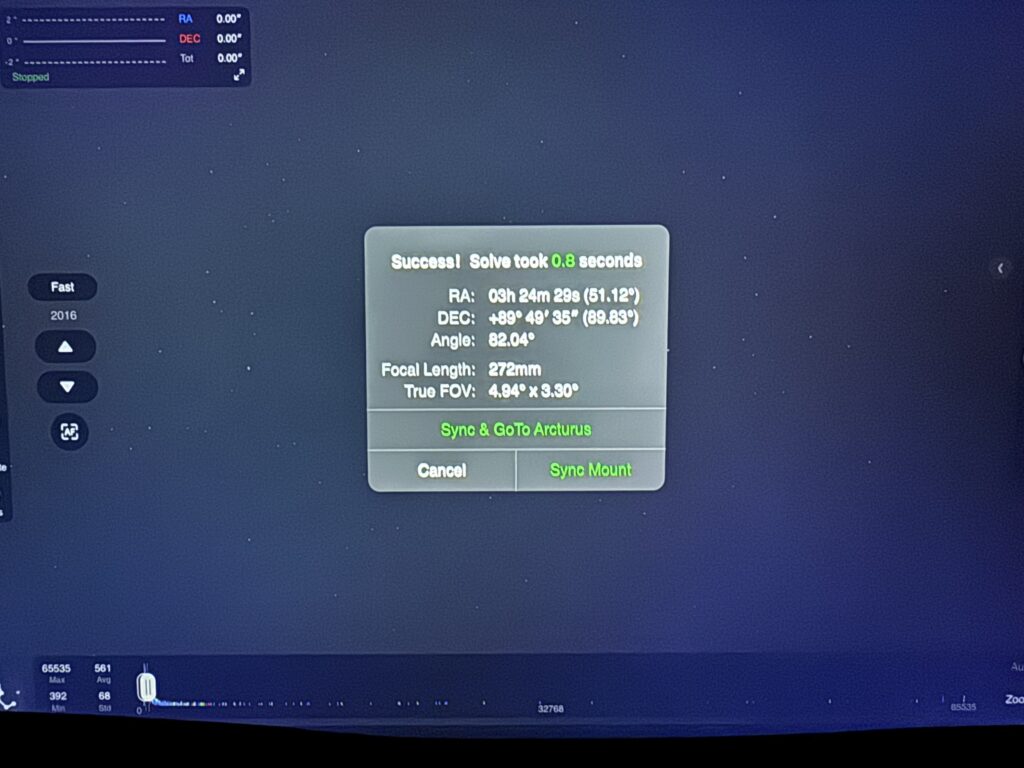
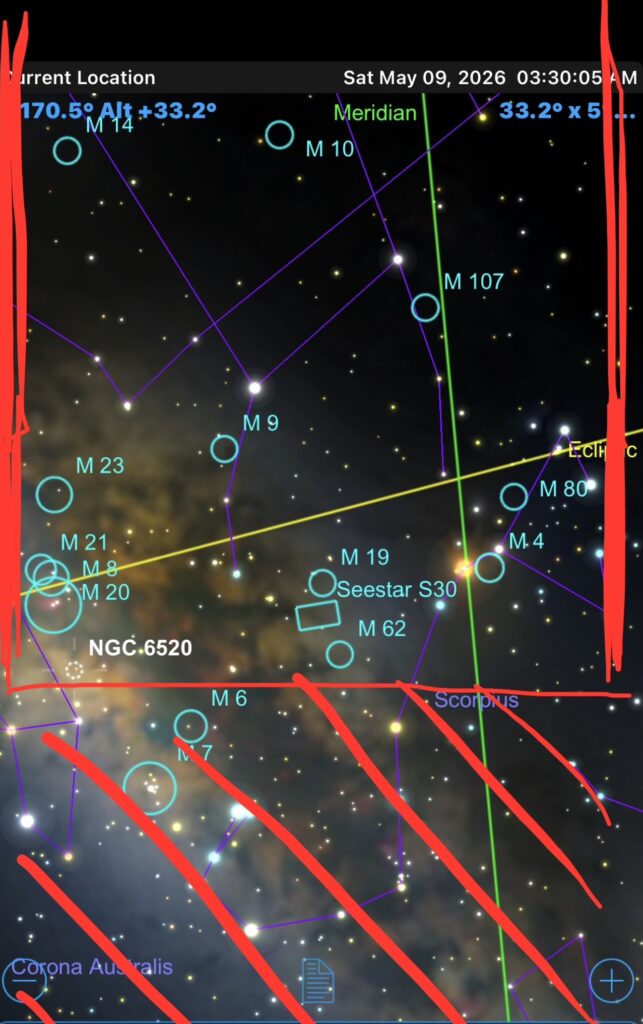
I slept for a few hours from 1pm before I started imaging as all the interesting objects in the Milky would not rise and appear in my small window until 3:30pm. The slot I had was from 153 degrees to 184 degrees at an altitude no less than 33 degrees so just past the Meridian.
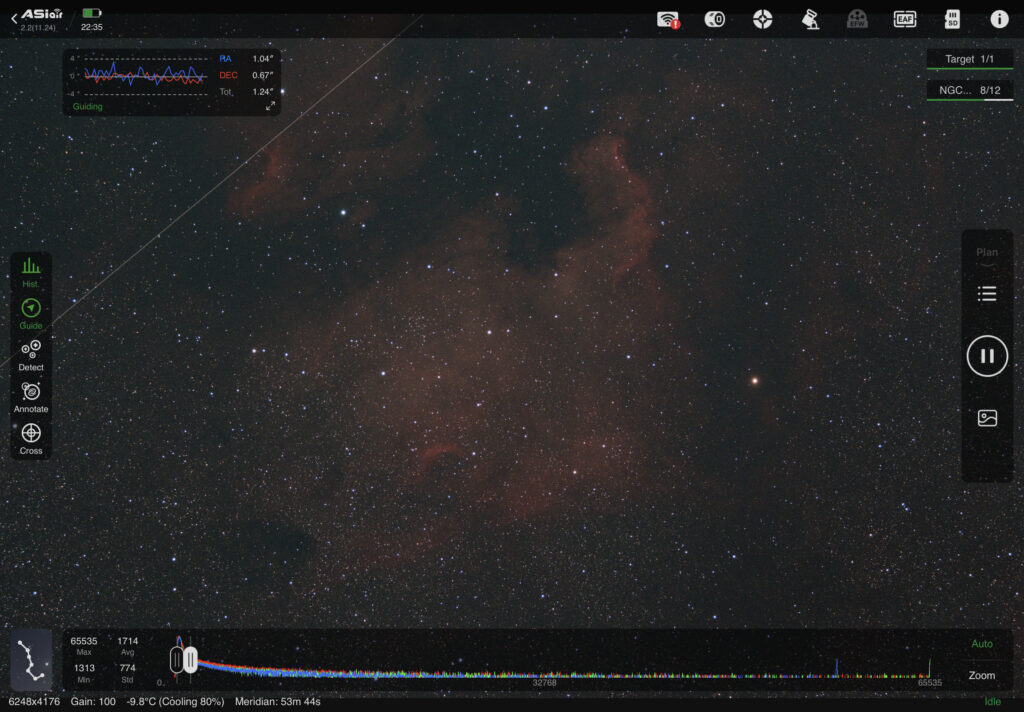
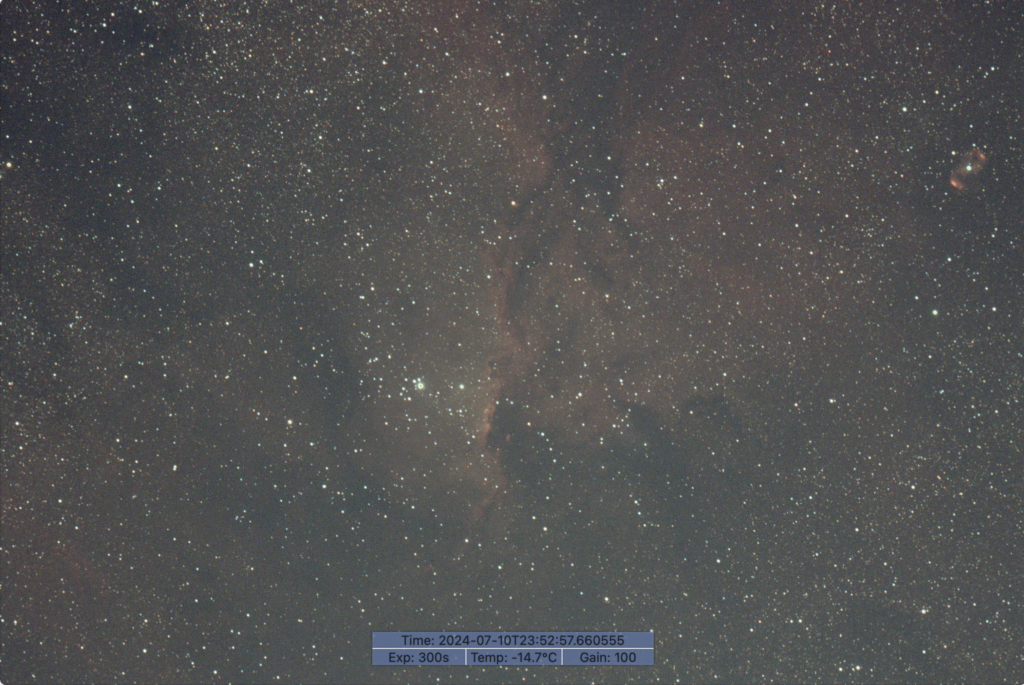
First up was M20 and I could fit M8 in at the same time. I took 30s subs with a total of 30mins for the final image. I dropped a few frames due to wind gusts that were knocking the little scope about every now and then. I then processed the image in PixInsight. Note that due to the excessive light pollution I had to go easy on the sharpening with NoiseXTerminator and also on the colour saturation, even though I was using the light pollution filter built into the scope.

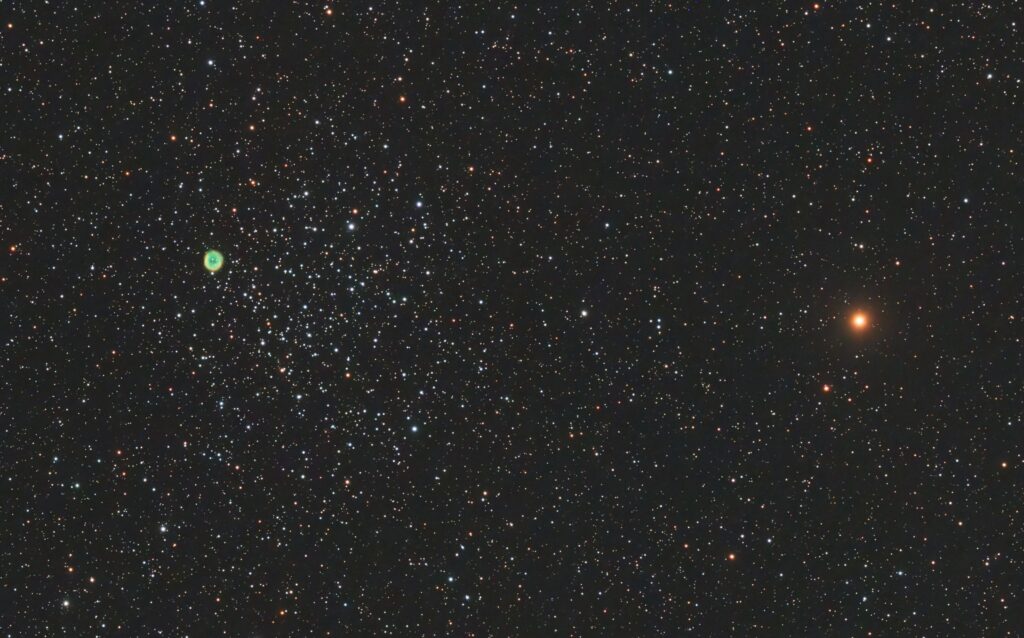
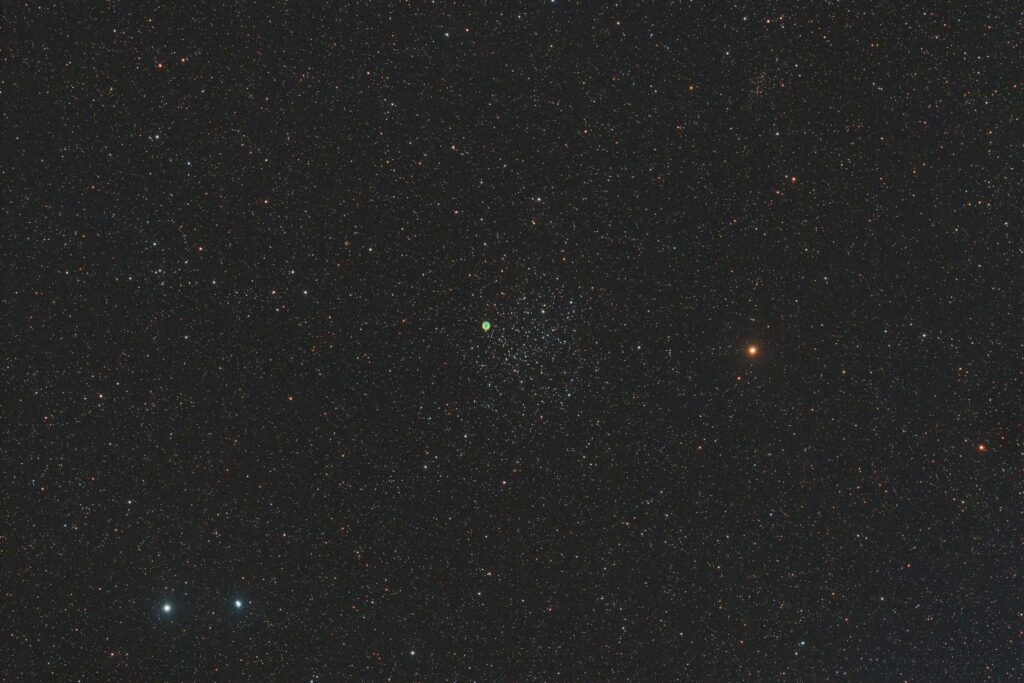
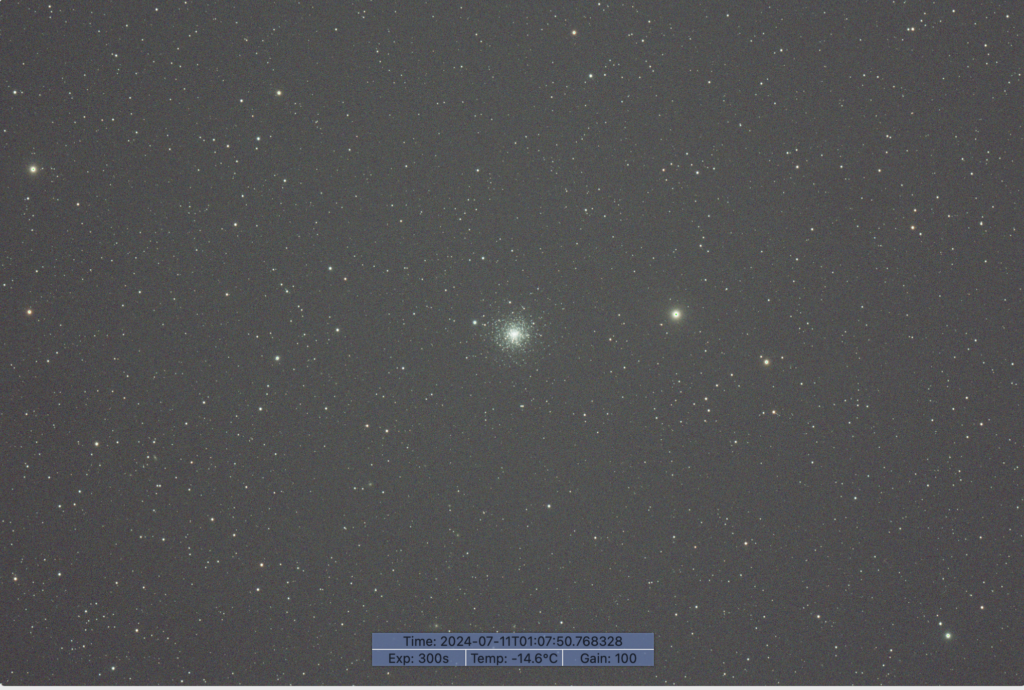
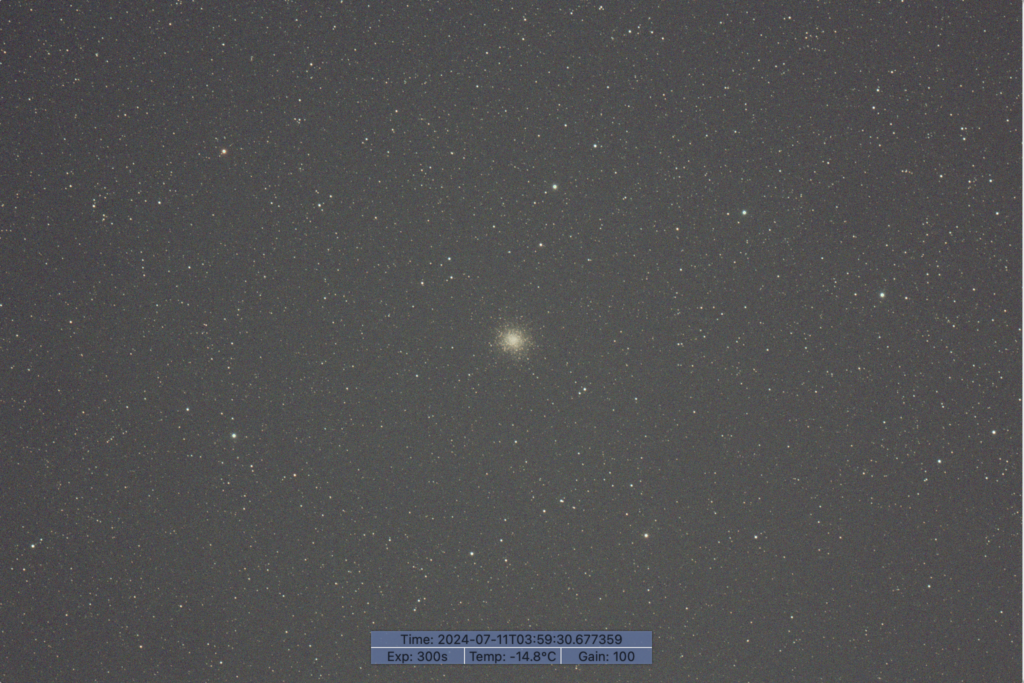
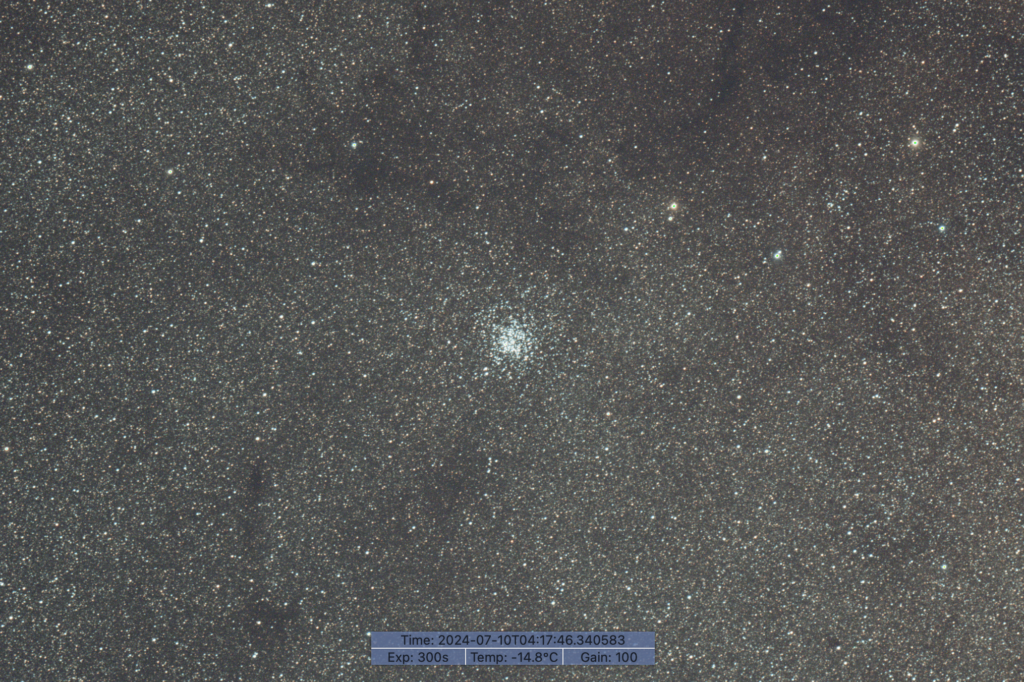
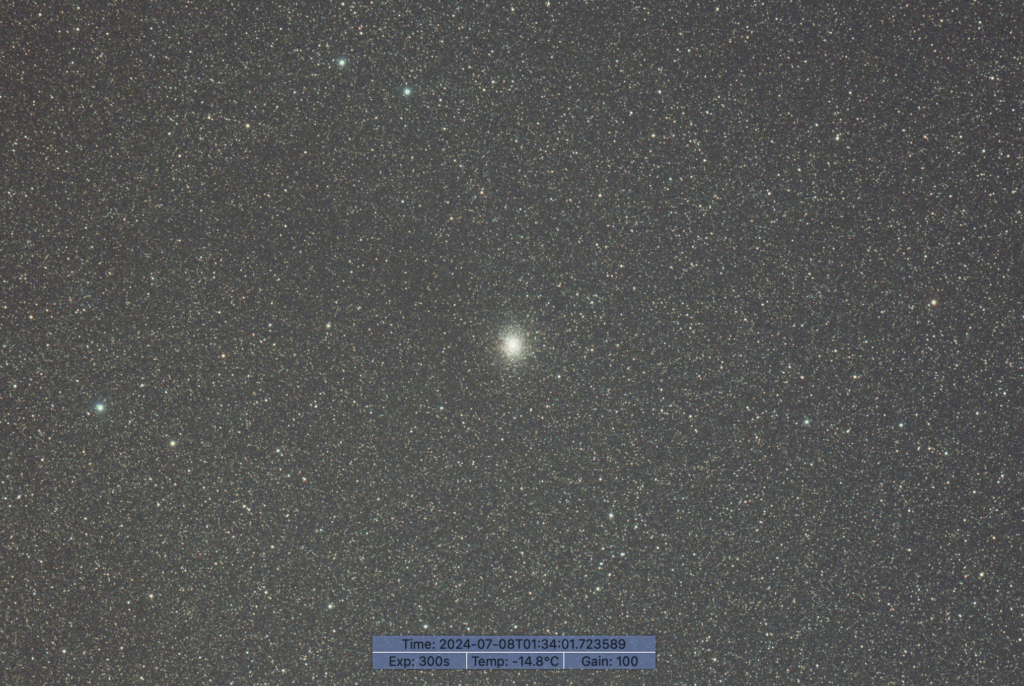
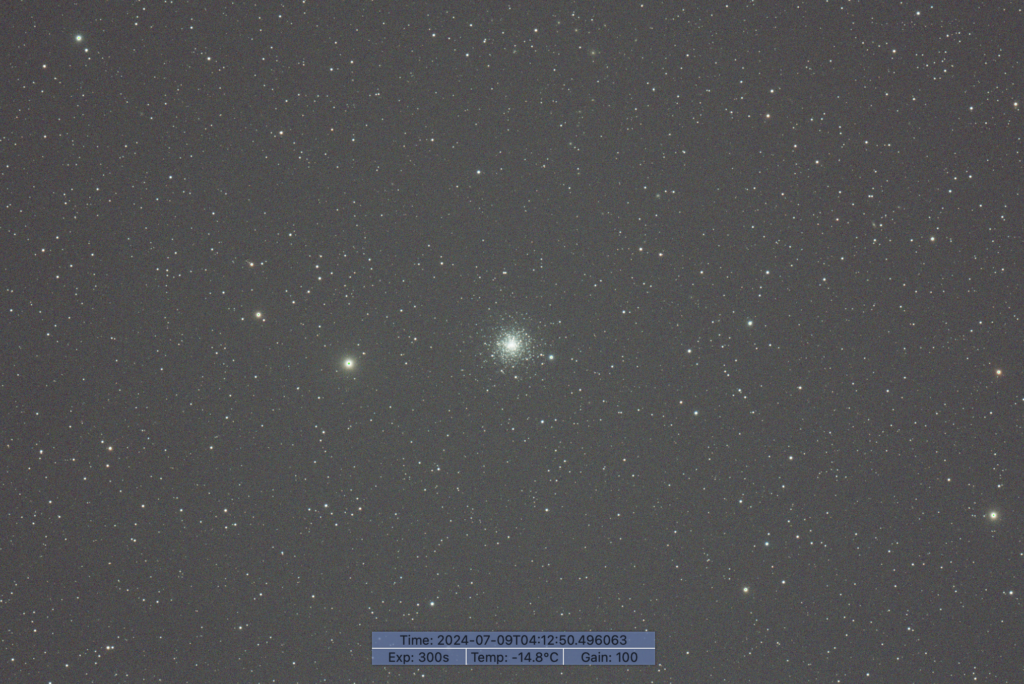
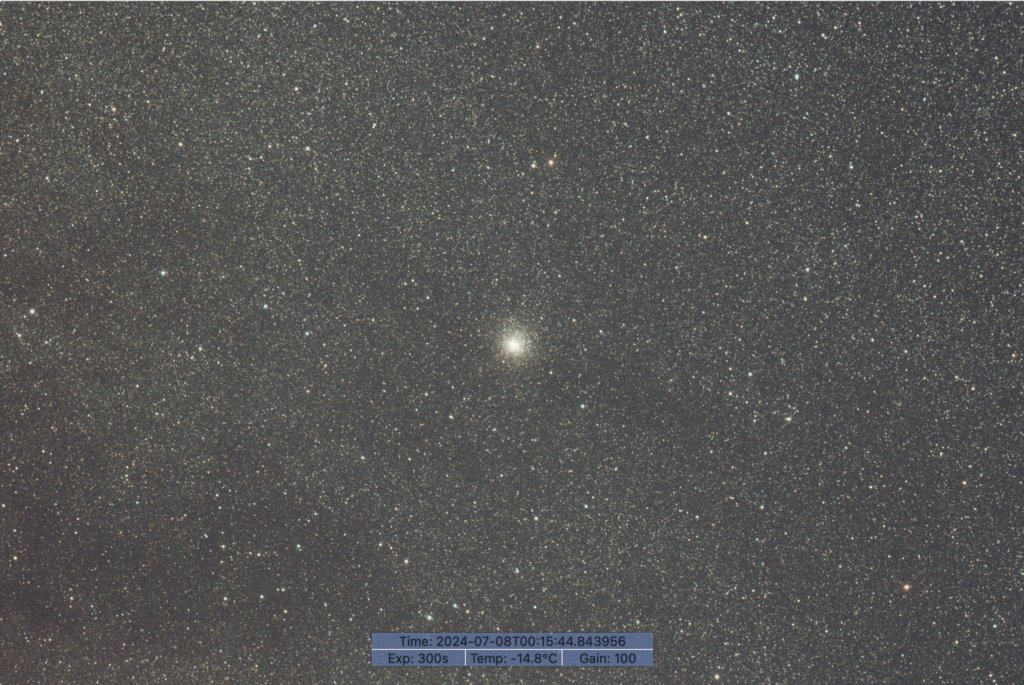
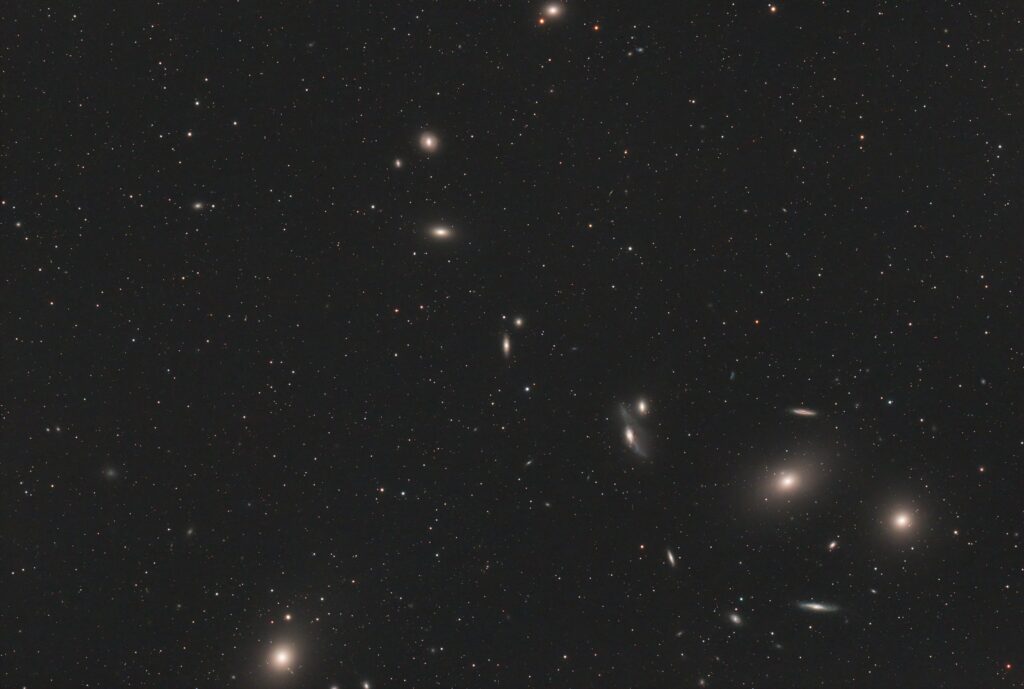
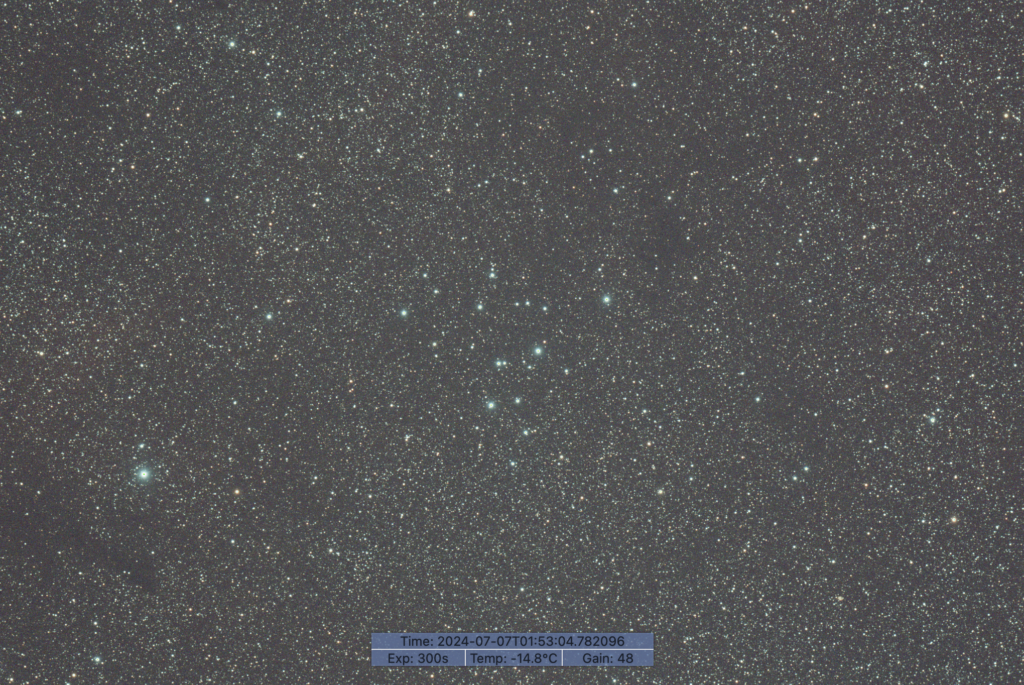
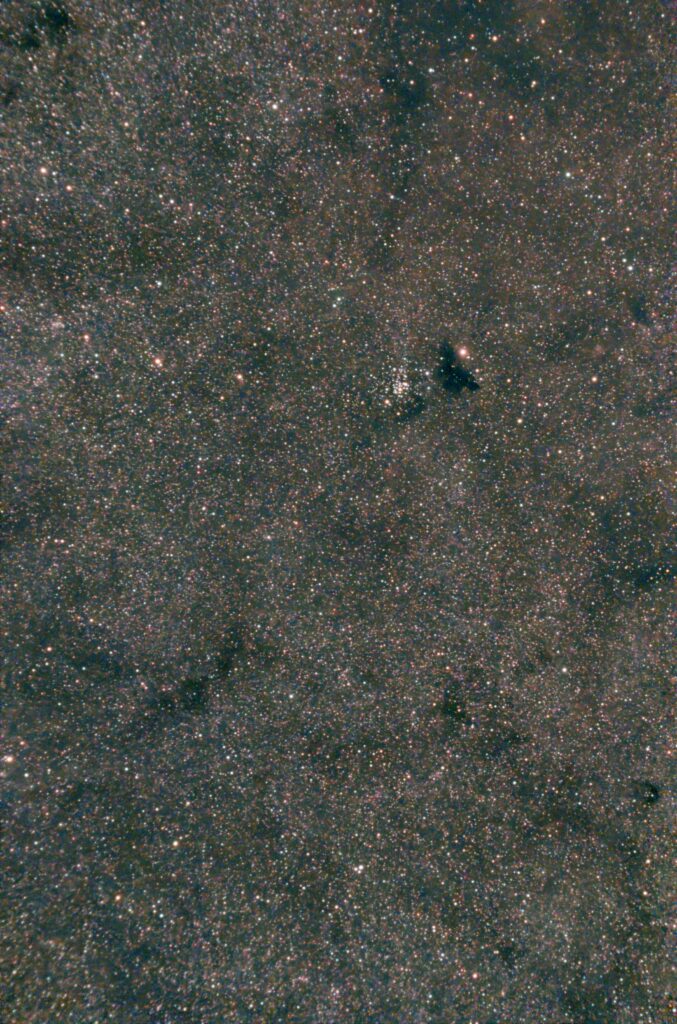
After this I slewed over to NGC 6520 an open cluster which includes a Barnard dark nebular B86. I did struggle with the colour on this as it really should be a golden hue to the whole region, but alas I put this down to the light pollution and possibly the abilities of this little scope.
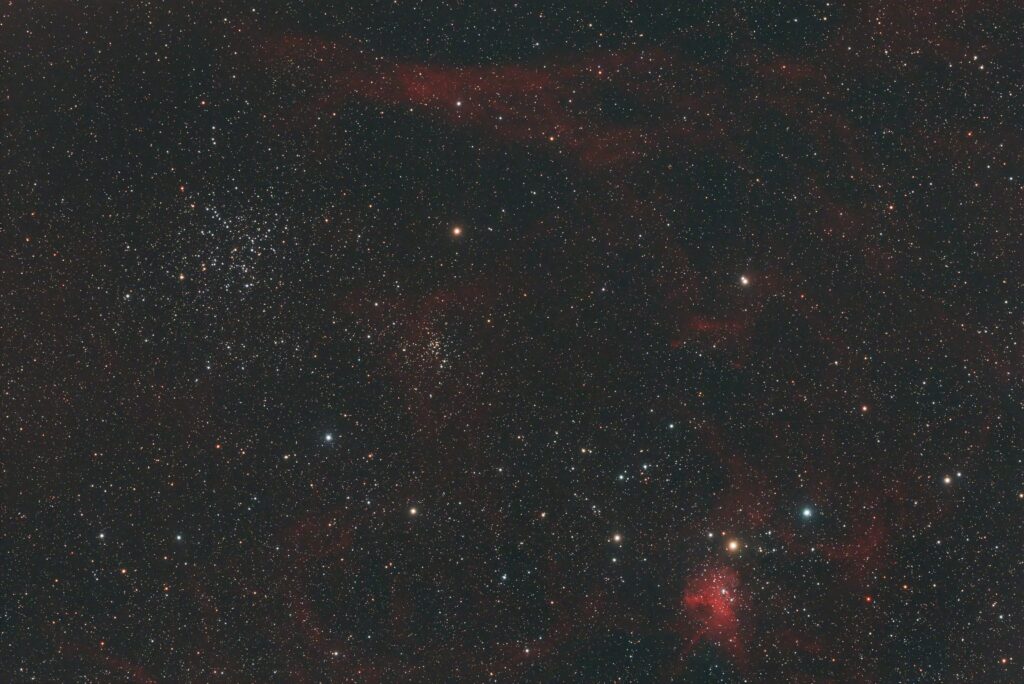
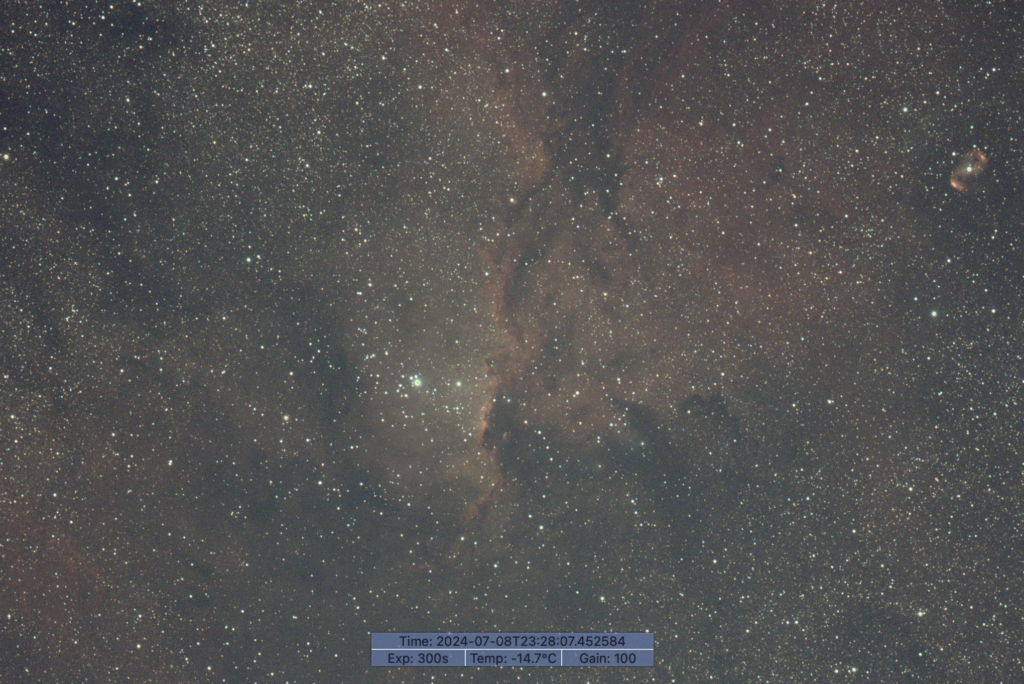
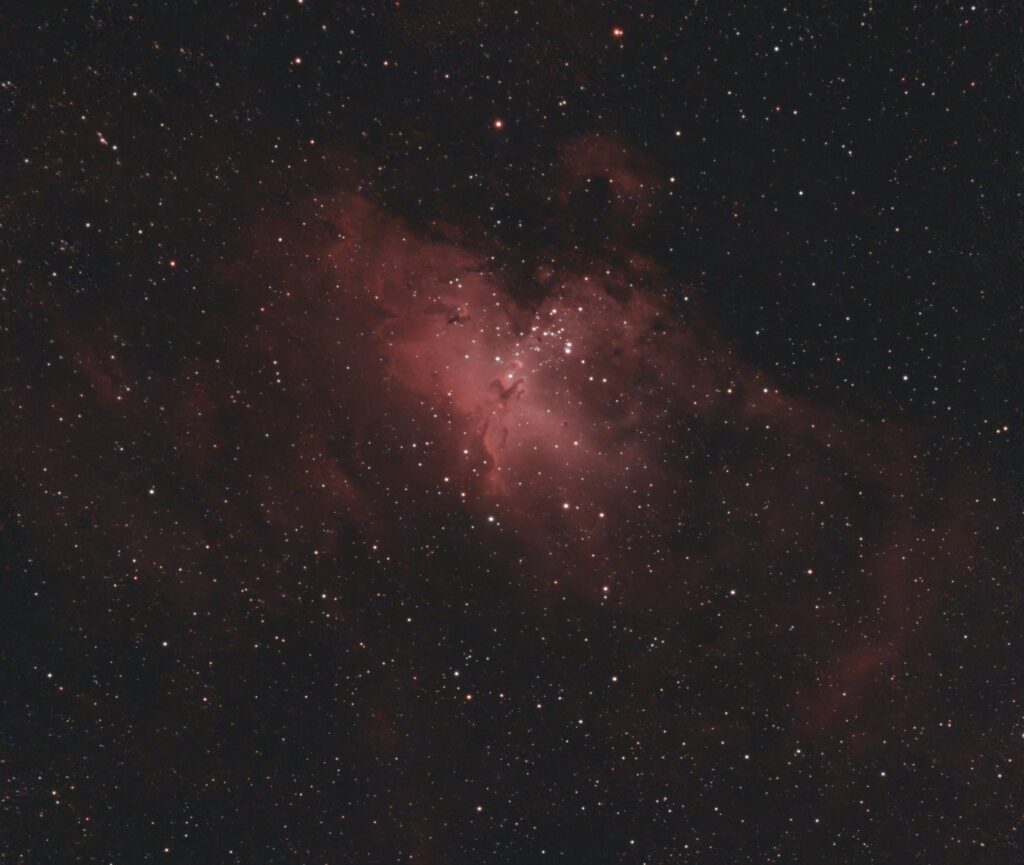
The last deep sky object for the night was M16 the Eagle nebula. Again I used 30s subs and a total of 30mins, then processed in PixInsight.
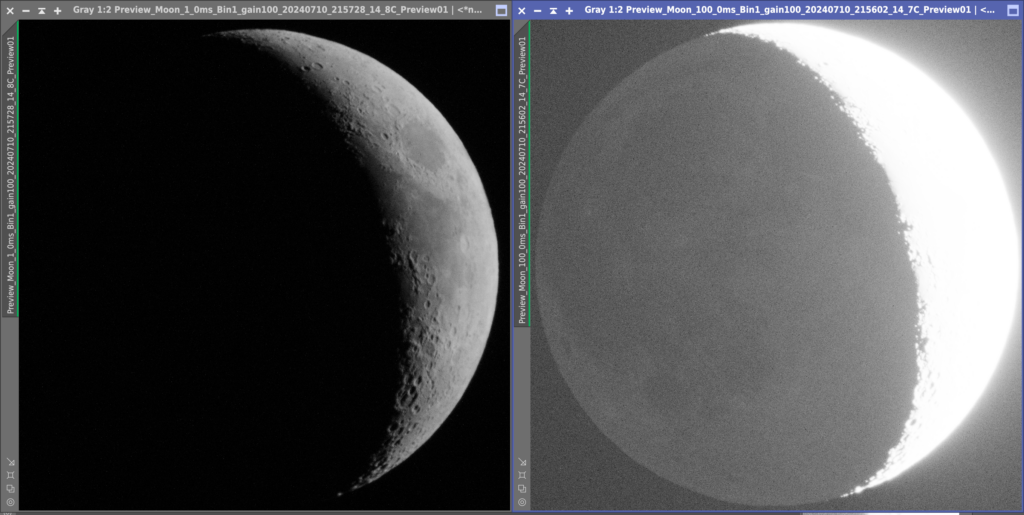
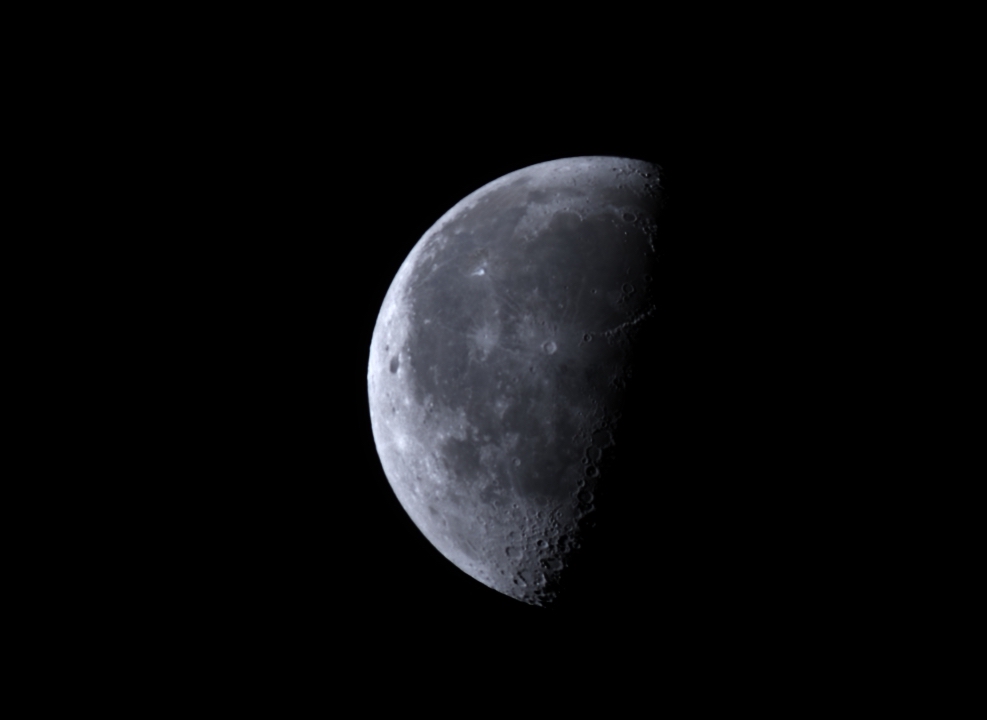
Last up for tonight is the Moon at 21.6 days old waning 56.4% Seestar S30 cropped.
Now I’m off to bed 🙂