All Sky Camera Initial Thoughts

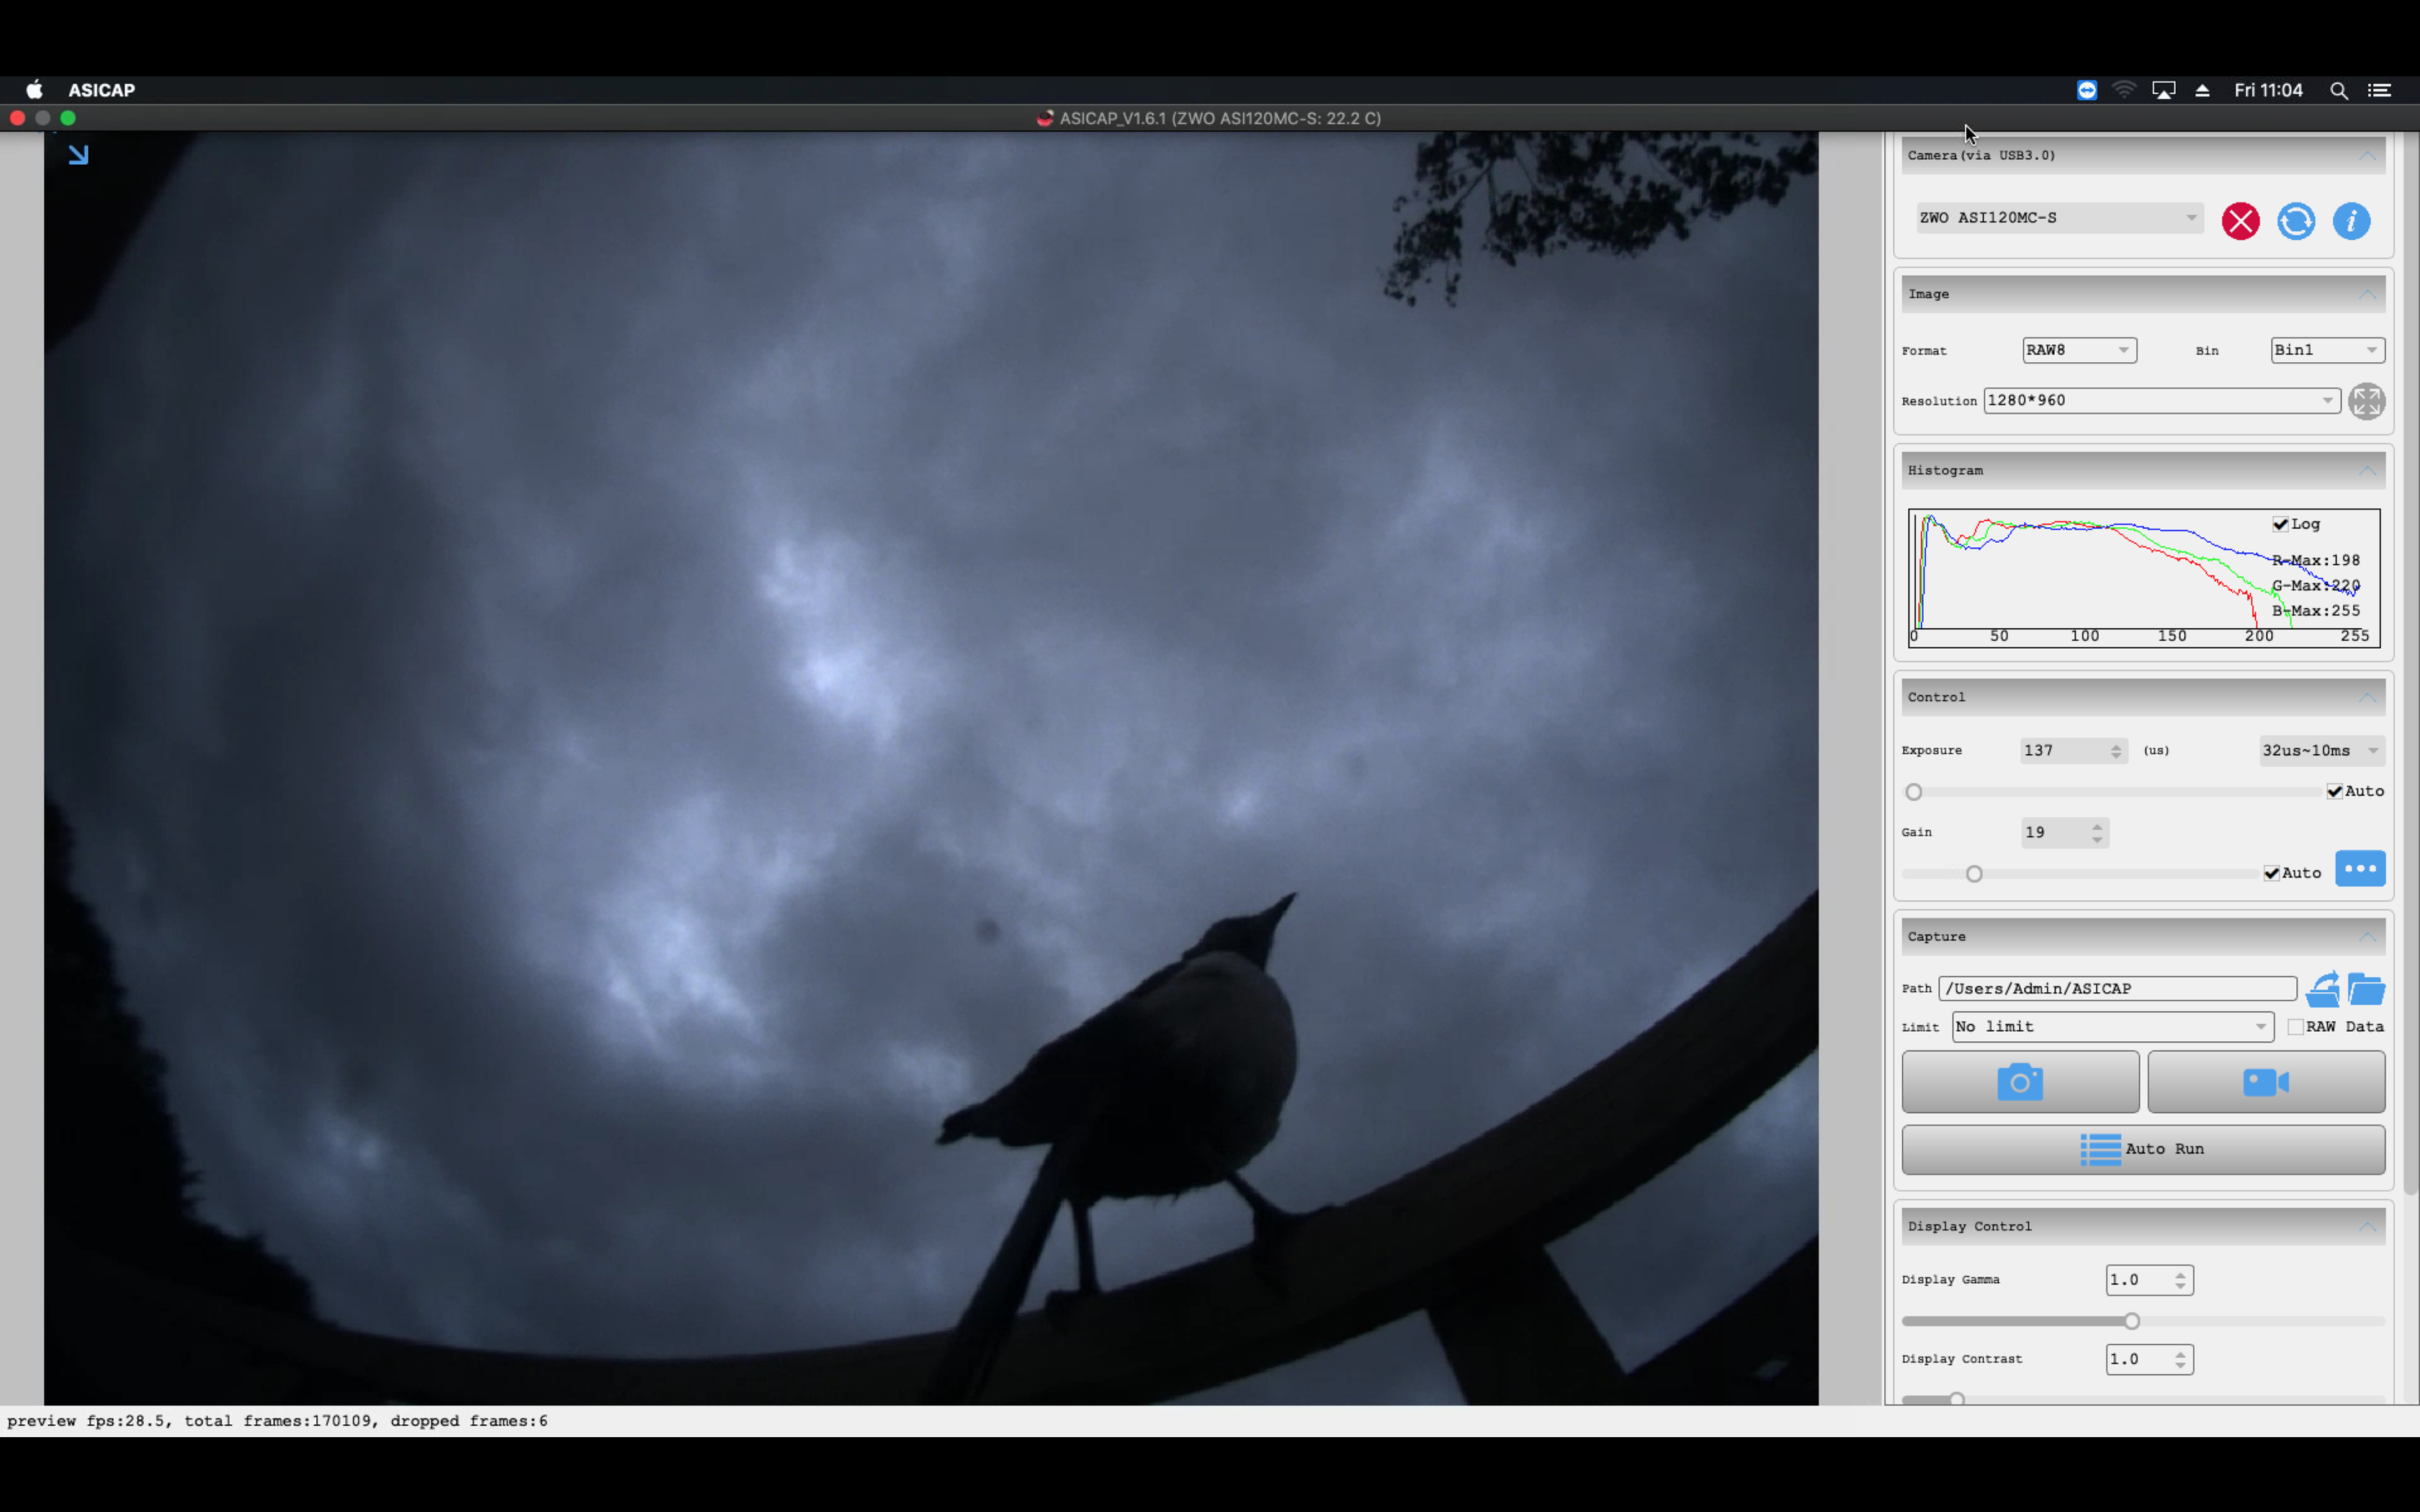
I find I notice some interesting things on the All Sky Camera, which is a USB 3 ZWO ASI120MC-S CMOS camera inside a purpose built casing and clear dome. Firstly I land up with beautiful clouds rolling past. I also noticed the light pollution as I mentioned in a previous post from the bathroom window upstairs. This image is when I had the camera on the ground by the observatory as I was testing the maximum length of powered USB I could get away with before data loss caused issues.

Bathroom light on

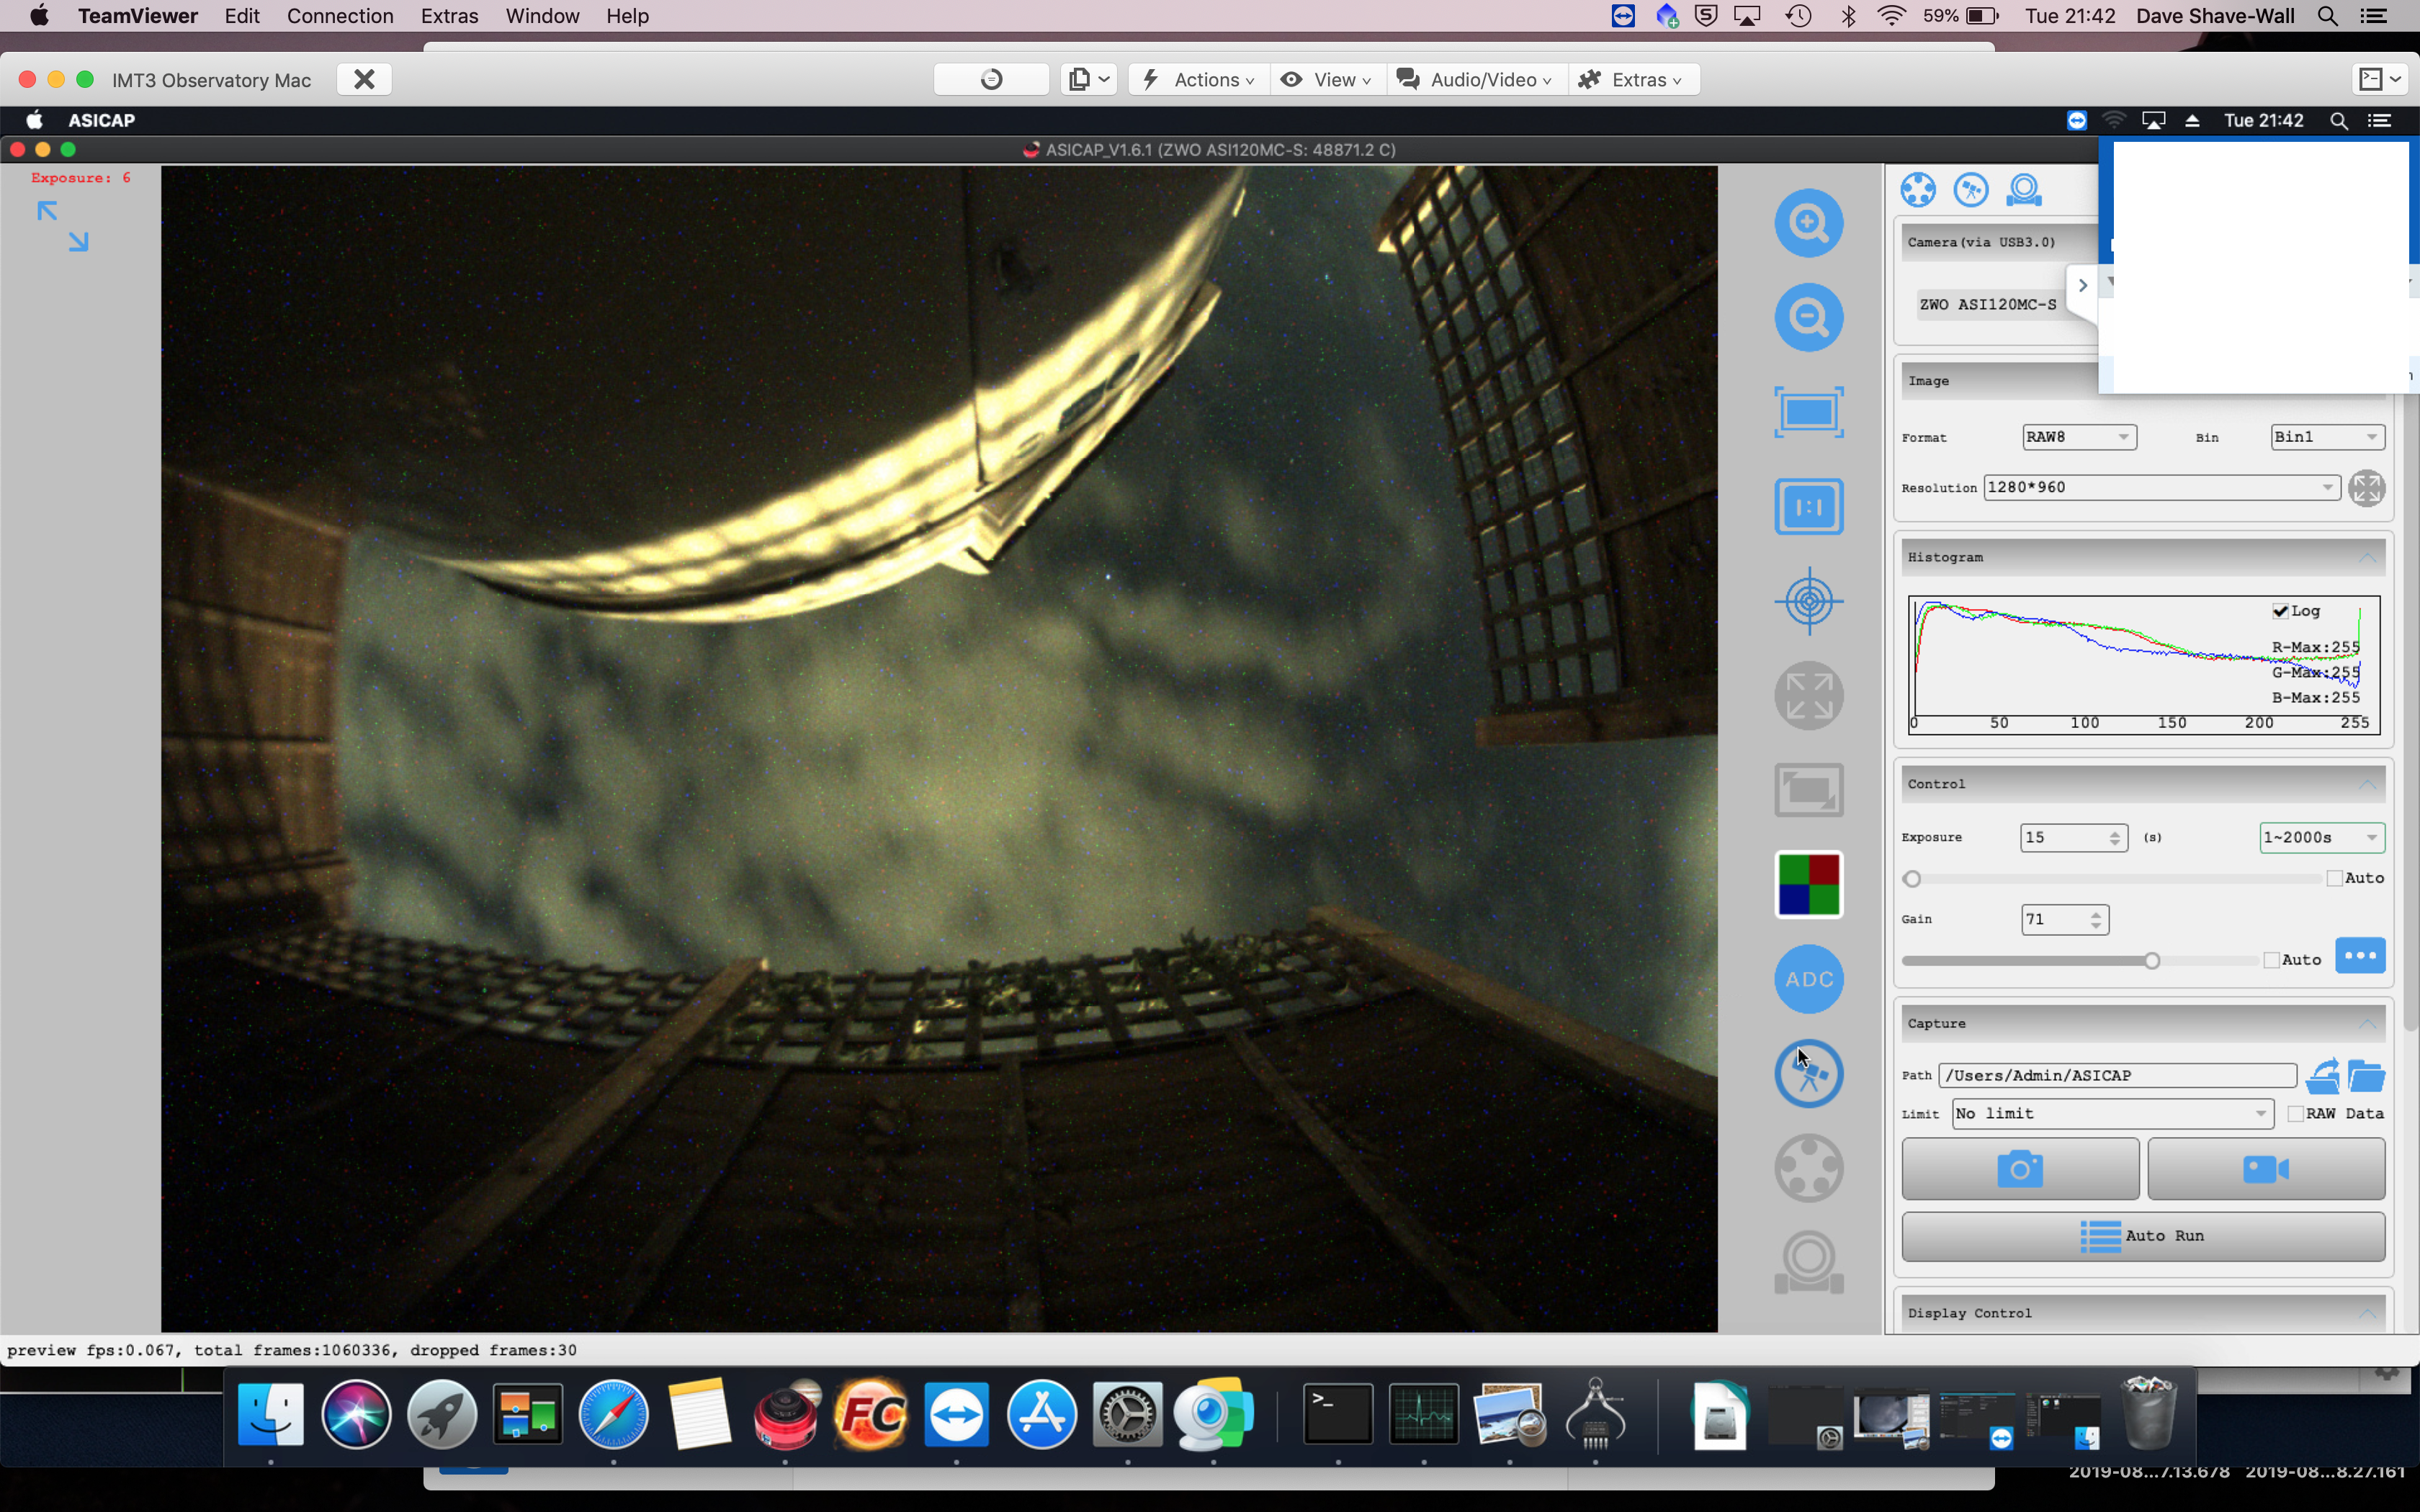
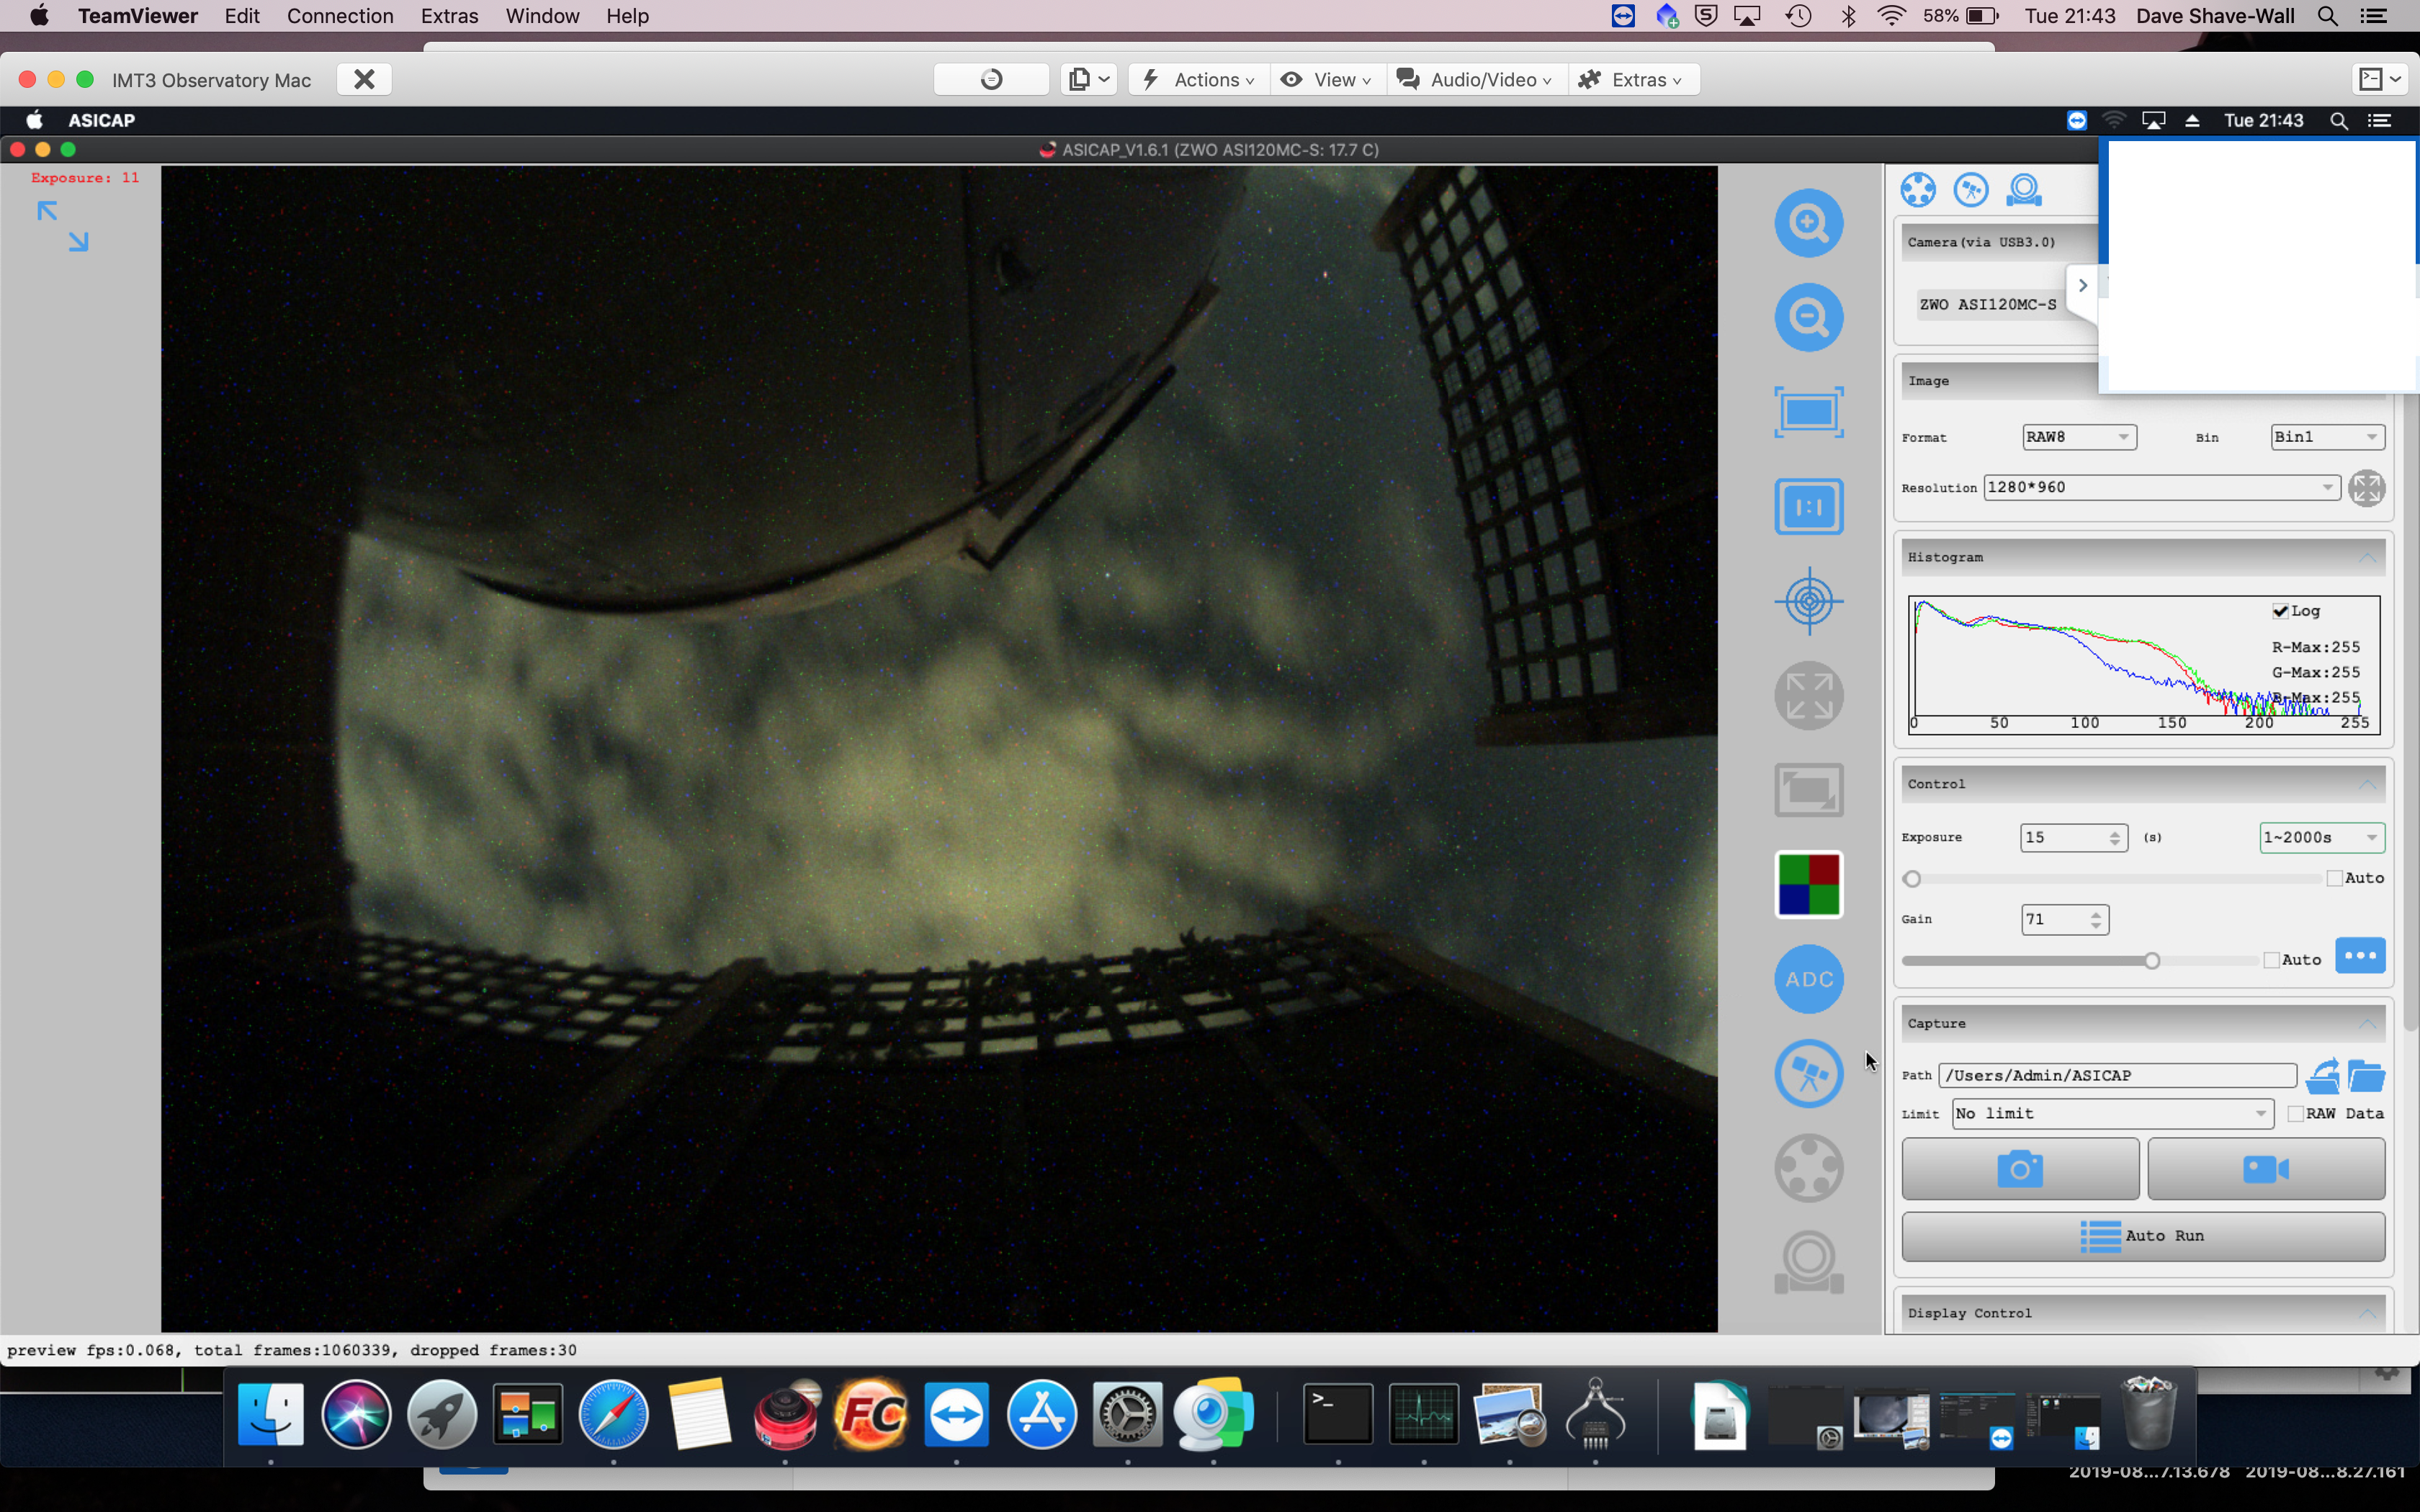
When the light is turned off it is noticeably darker.

Bathroom light off

Sometimes I get visitors to the camera.

Daytime visitor

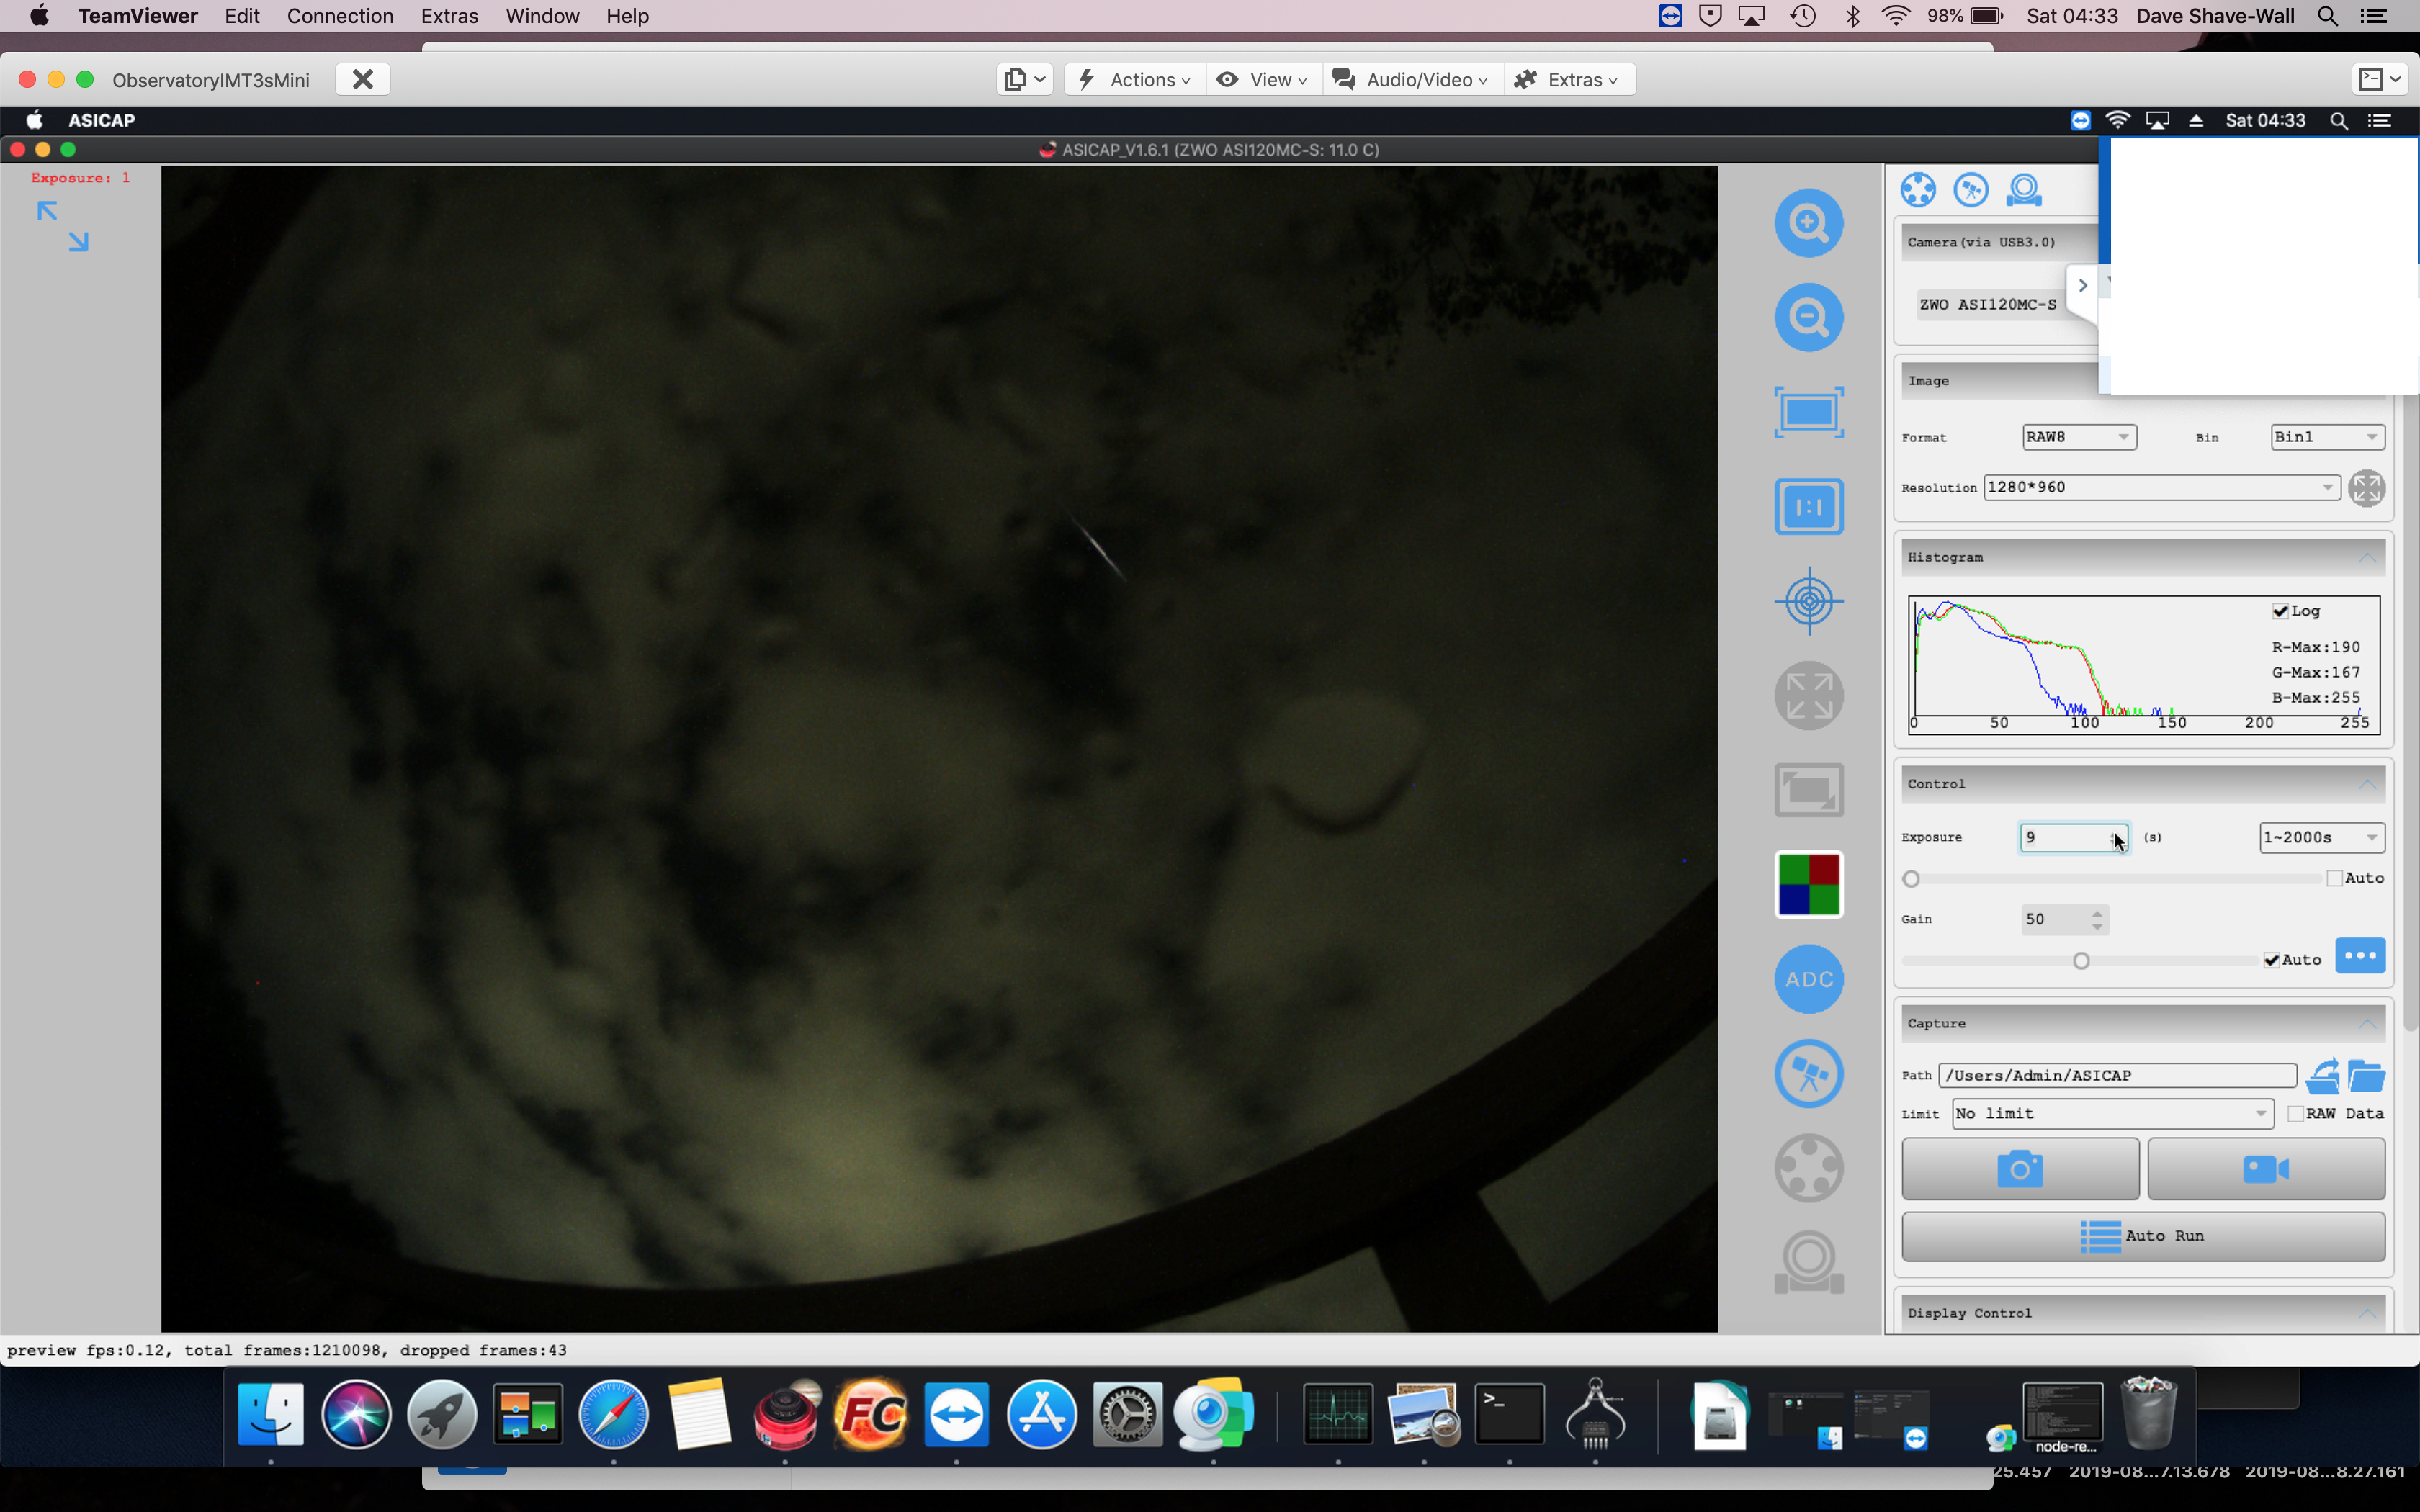
and sometimes I unexpectedly capture a meteor 🙂

Raindrop, Clouds and Meteor

So it transpires I can use a single 3m powered USB cable to the USB hub, I cannot use 2 x 3m powered USB as that causes data loss and hangs and I cannot use a single unpowered cable either.

Image processing notes for travel setup

So I managed to go out and quickly bag a few images of M13 to test the travel scope on the night of the 1st to the 2nd September. It was relatively cool and clear. The main aim was could I take images that were not overexposed on stars whilst capturing the fainter stars at the same time. Also I wanted to make sure I could process an image too.

So all in I took 10 x 5 minute exposures but unfortunately I had not read the Skywatcher manual and had not locked up the focus tube. This meant that the first 3 frames were out of focus so I tightened the locking latch and then took the other 7.

On processing the image I noted the black (white) band to the top and right of the image where I had not switched off the setting for Overscan. I could not PixInsight to recognise it properly so I simply pre-processed the image and then cropped it out before processing.

Overscan area present

I managed to get Photometric Colour Calibration working which helped get the colour just right. I then processed in my usual way using the following workflow.

Photometric Colour Calibration Results
Photometric Colour Calibration Settings
  1. Calibrate with Flats and Darks only no Bias as it is a CMOS camera
  2. Integrate the frames
  3. Align
  4. Perform Cosmetic Correction
  5. Debayer
  6. Crop
  7. ABE
  8. Background Neutralisation
  9. Platesolve
  10. Photometric Colour Calibration
  11. Histogram Stretch
  12. TGVDenoise
  13. ACDNR
  14. Curves
  15. Dark Structure Enhance
  16. Exponential Transformation
  17. 2nd set of Curves
  18. SCNR for green

The final image was ok for the short amount of data I obtained and proved my capture setting and workflow worked

M13