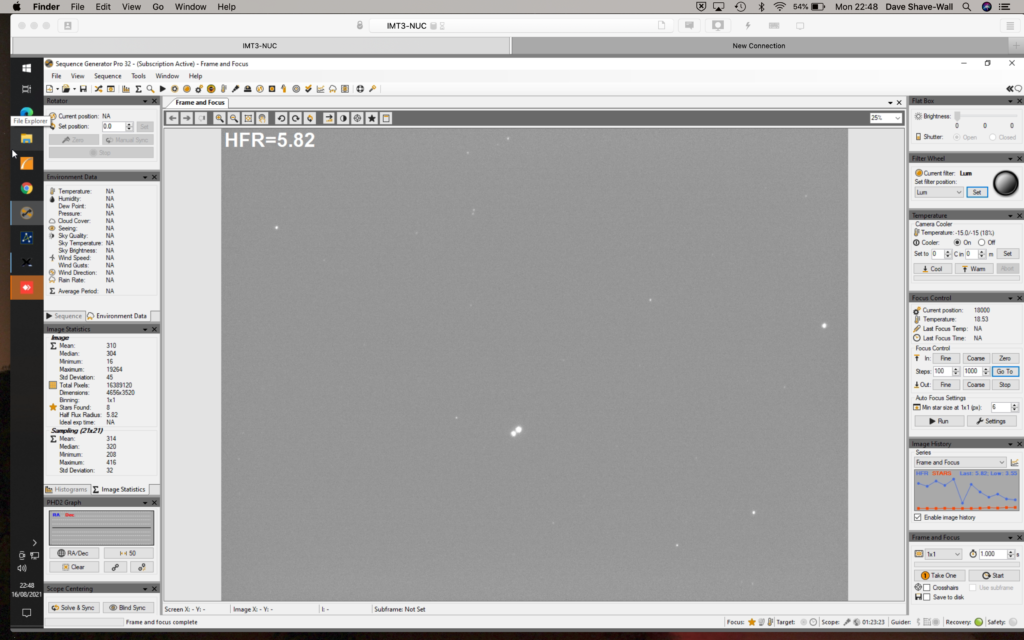
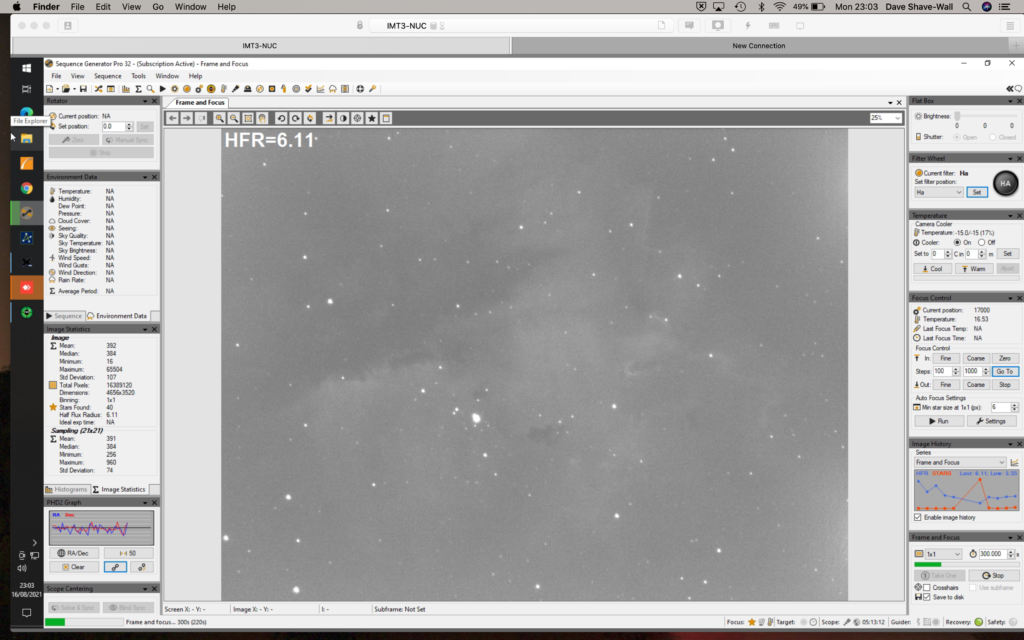
It’s been a while again due to work and the weather. A quick look around the sky this evening and make sure I still know how too use the telescope. So after getting focus
Focus achieved at 17,000 (18,000 here was incorrect)
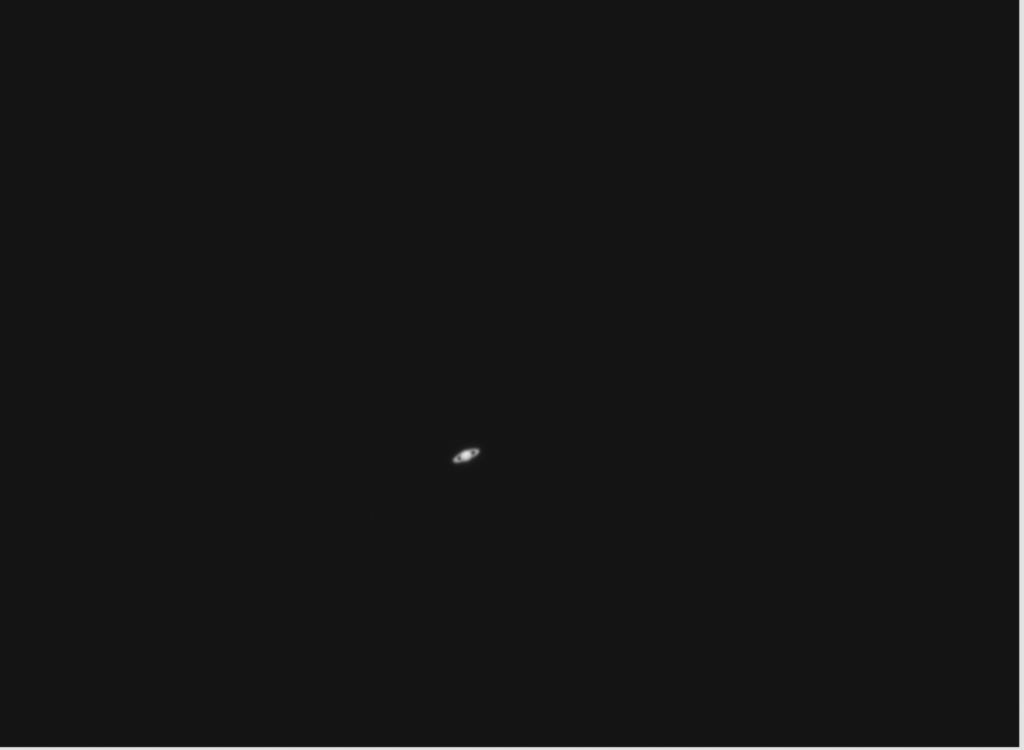
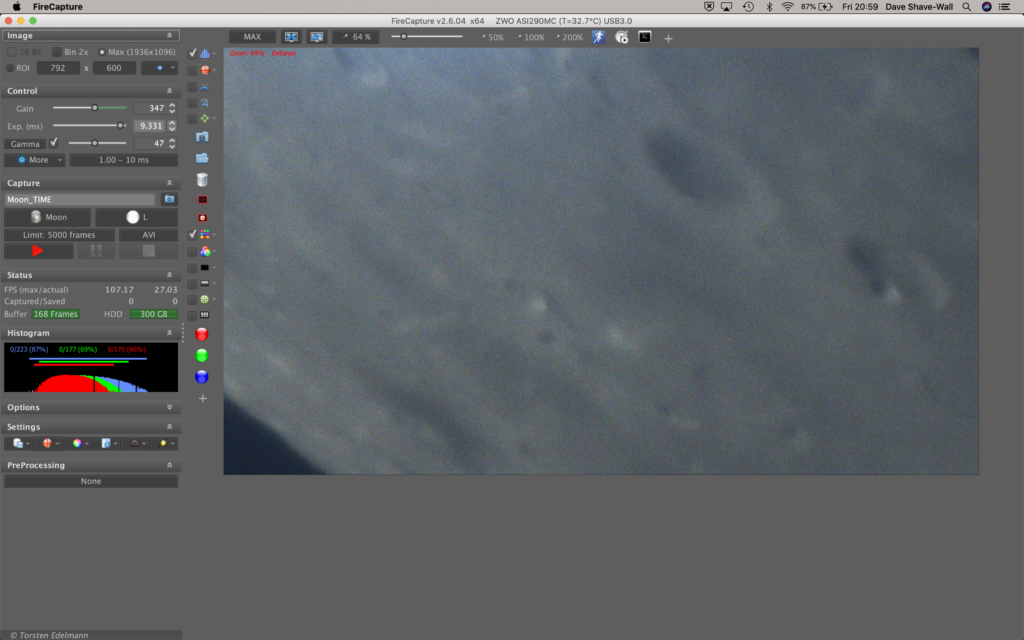
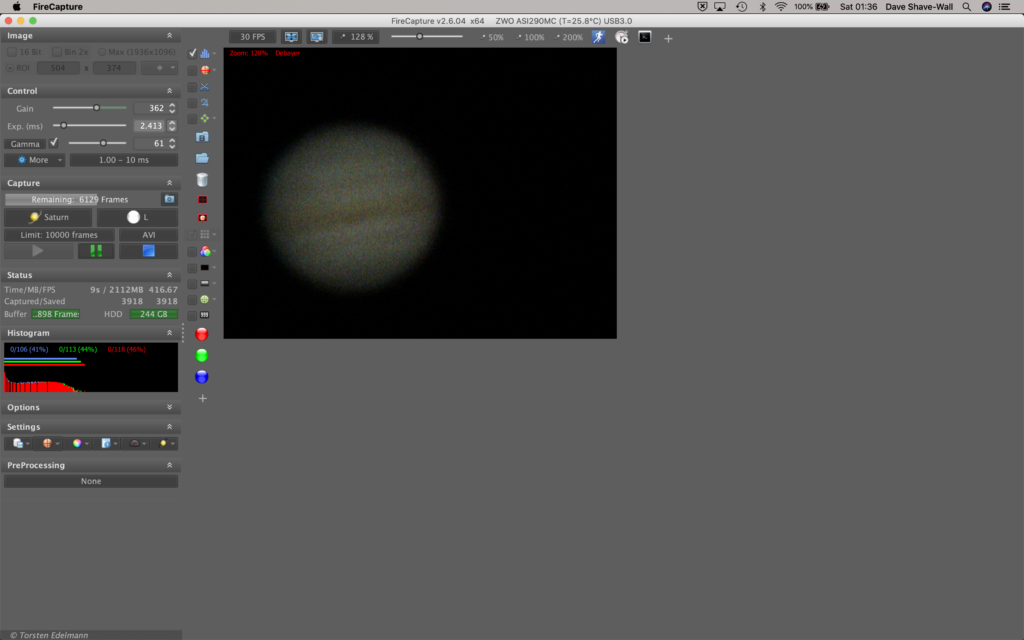
I slewed to Saturn as it was up and as expected it was very small.
Small Saturn
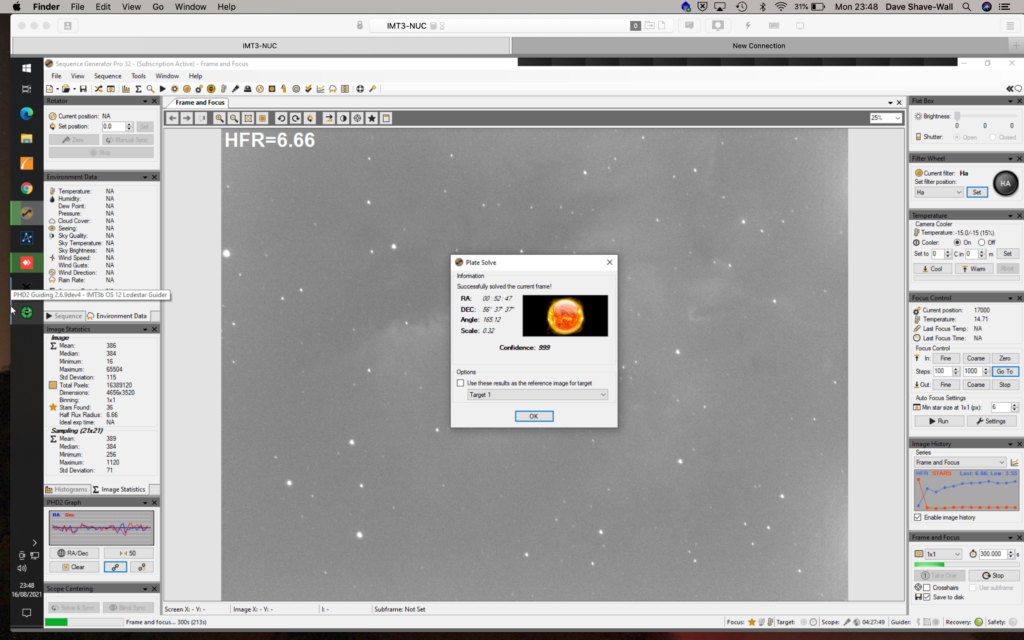
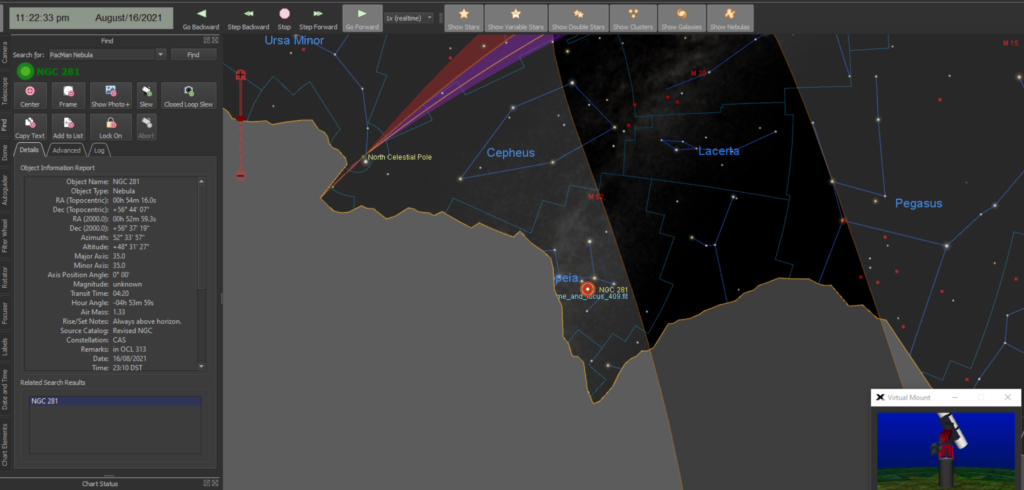
I then slewed to the Pacman nebula, NGC 284 also known as Sharpless SH2-128. I switched to narrow band and the Ha filter. I plate solved, centred
Solved
and then proceeded to take 300s shots.
NGC 284
The camera was called to -15℃, the outside temp was 16.2℃. The focus position was at 18,000. The camera itself was set to Gain 139 and Offset 10, the rotator at 345.560°.
TSX
I took 75 x 300s images until I closed the dome, by which time it was very light. I went to bed in-between the start and end of the imaging run, but then realised the dome safety does not work due to the cable from the ASC being severed due to a Stanley blade incident with weed matting.
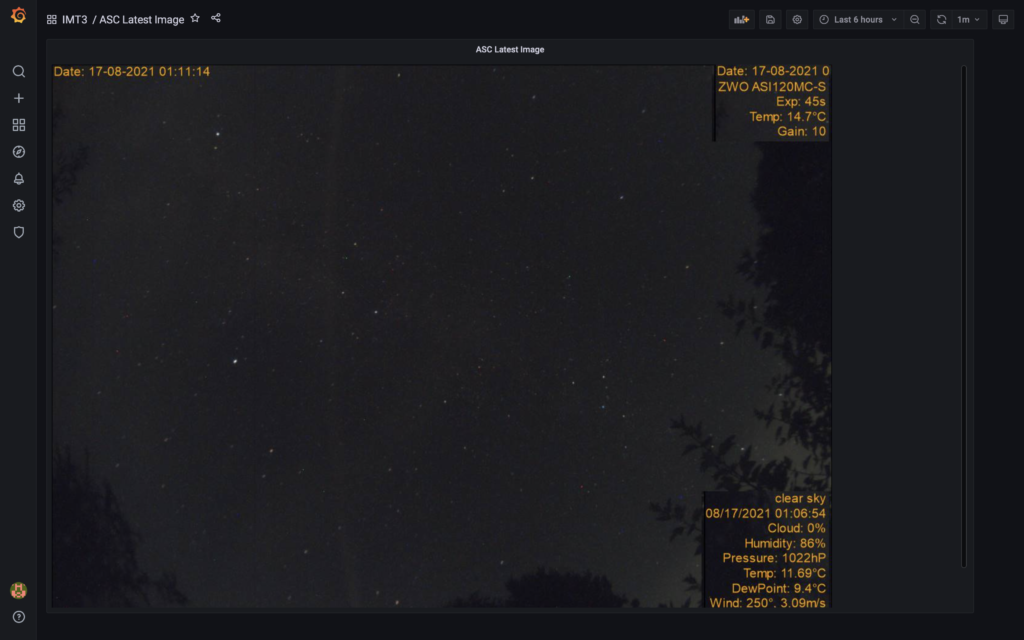
The good thing is GingerGeek and I managed to focus the ASC during the day on some trees in the forest across the valley and we managed to get it in focus.
Focused ASC
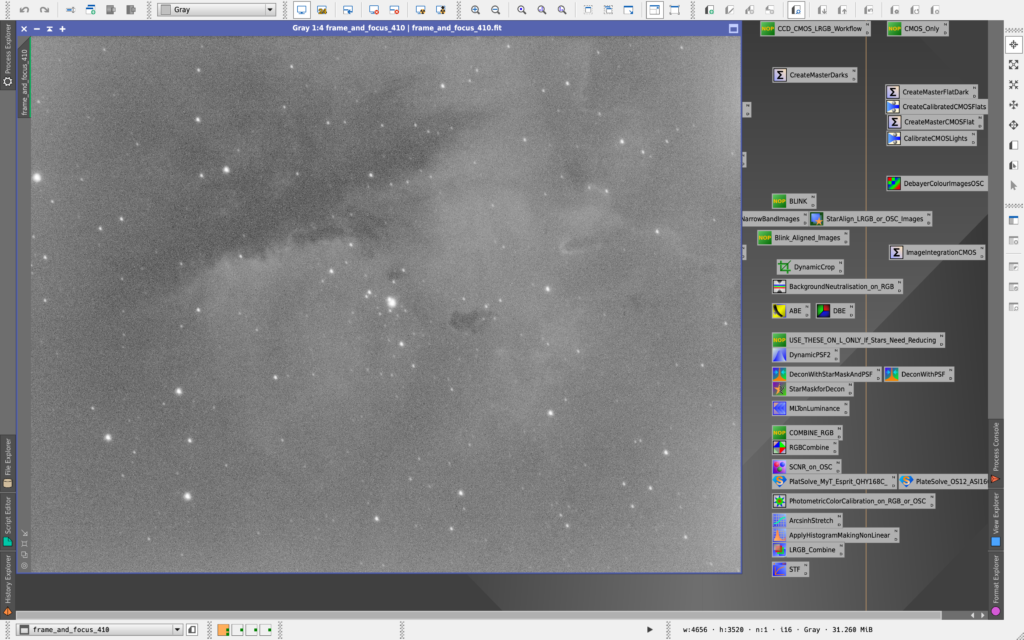
I will process the data last some point and see what it looks like.
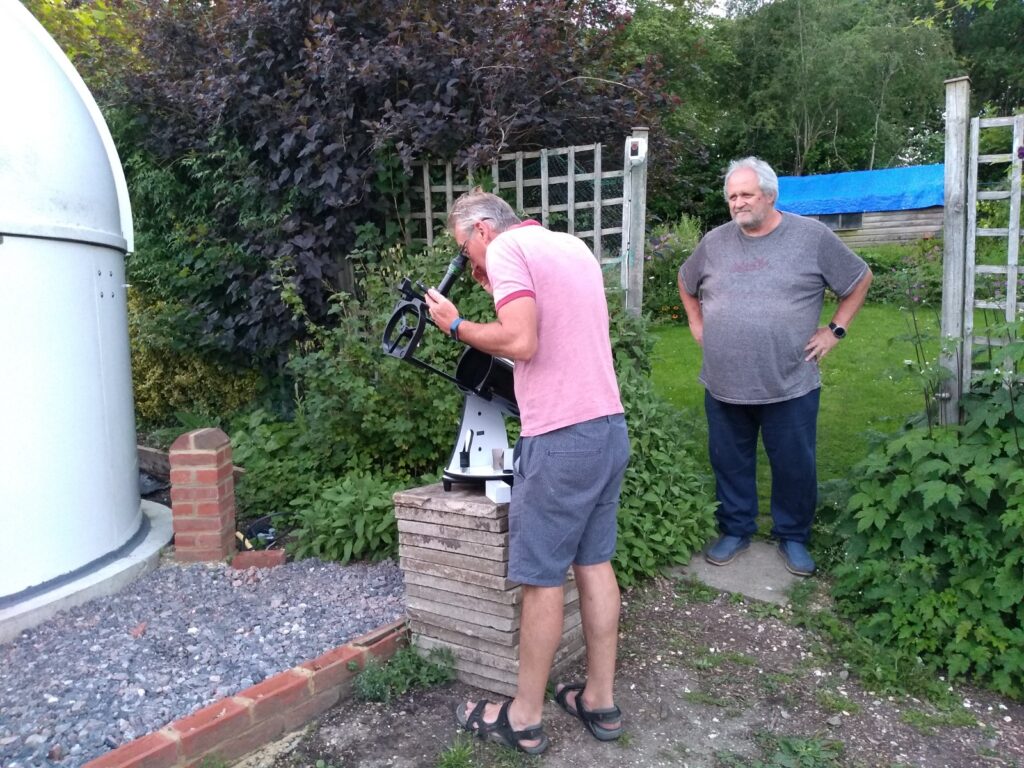
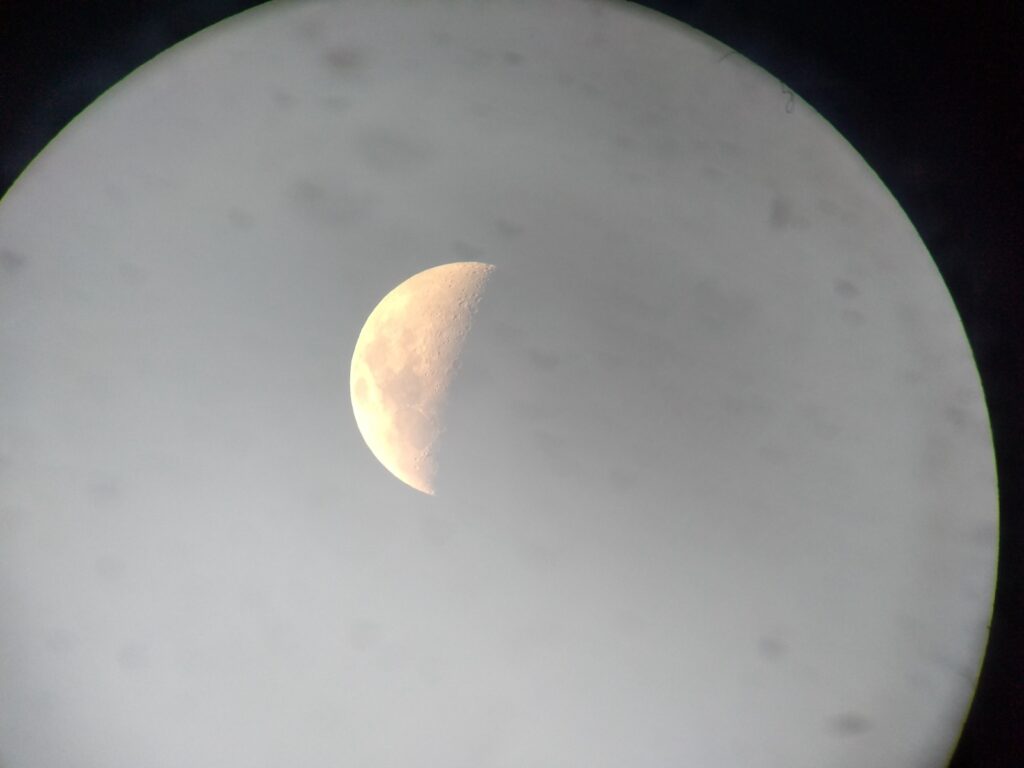
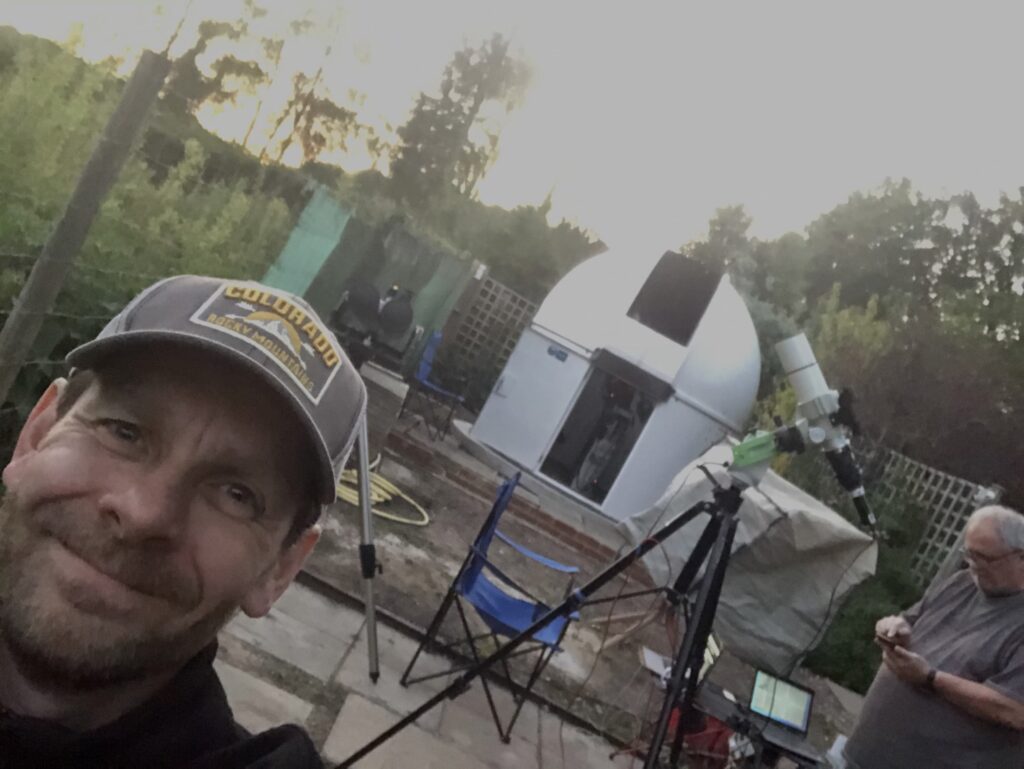
GingerGeek, Alan and Bob came over. GingerGeek brought over his 4″ dob and set it up on the patio slab tower. Alan Lorrain then went about aligning it on the Moon.
Alan finds the Moon with Bob watchingTarget acquiredMoon through Dob
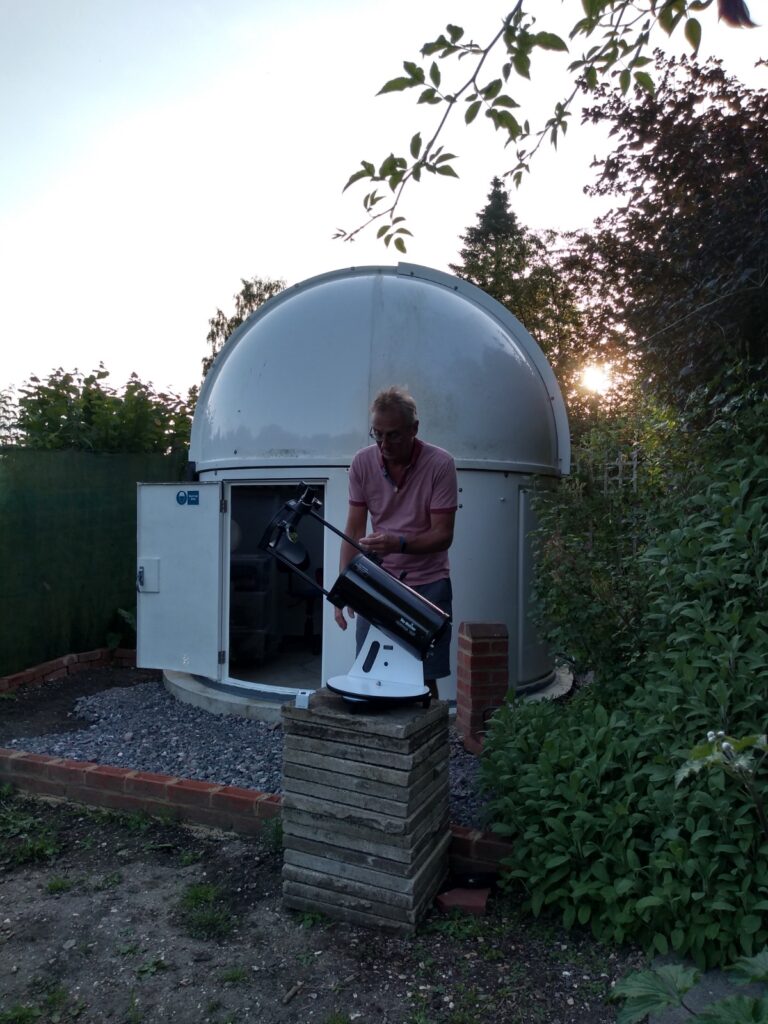
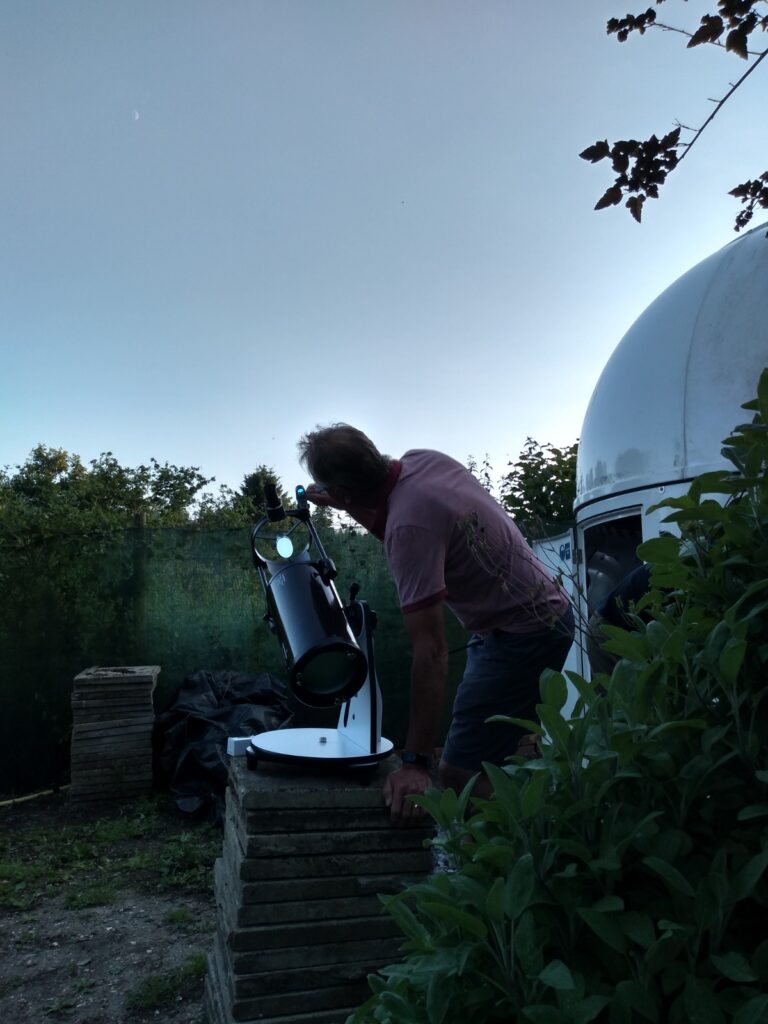
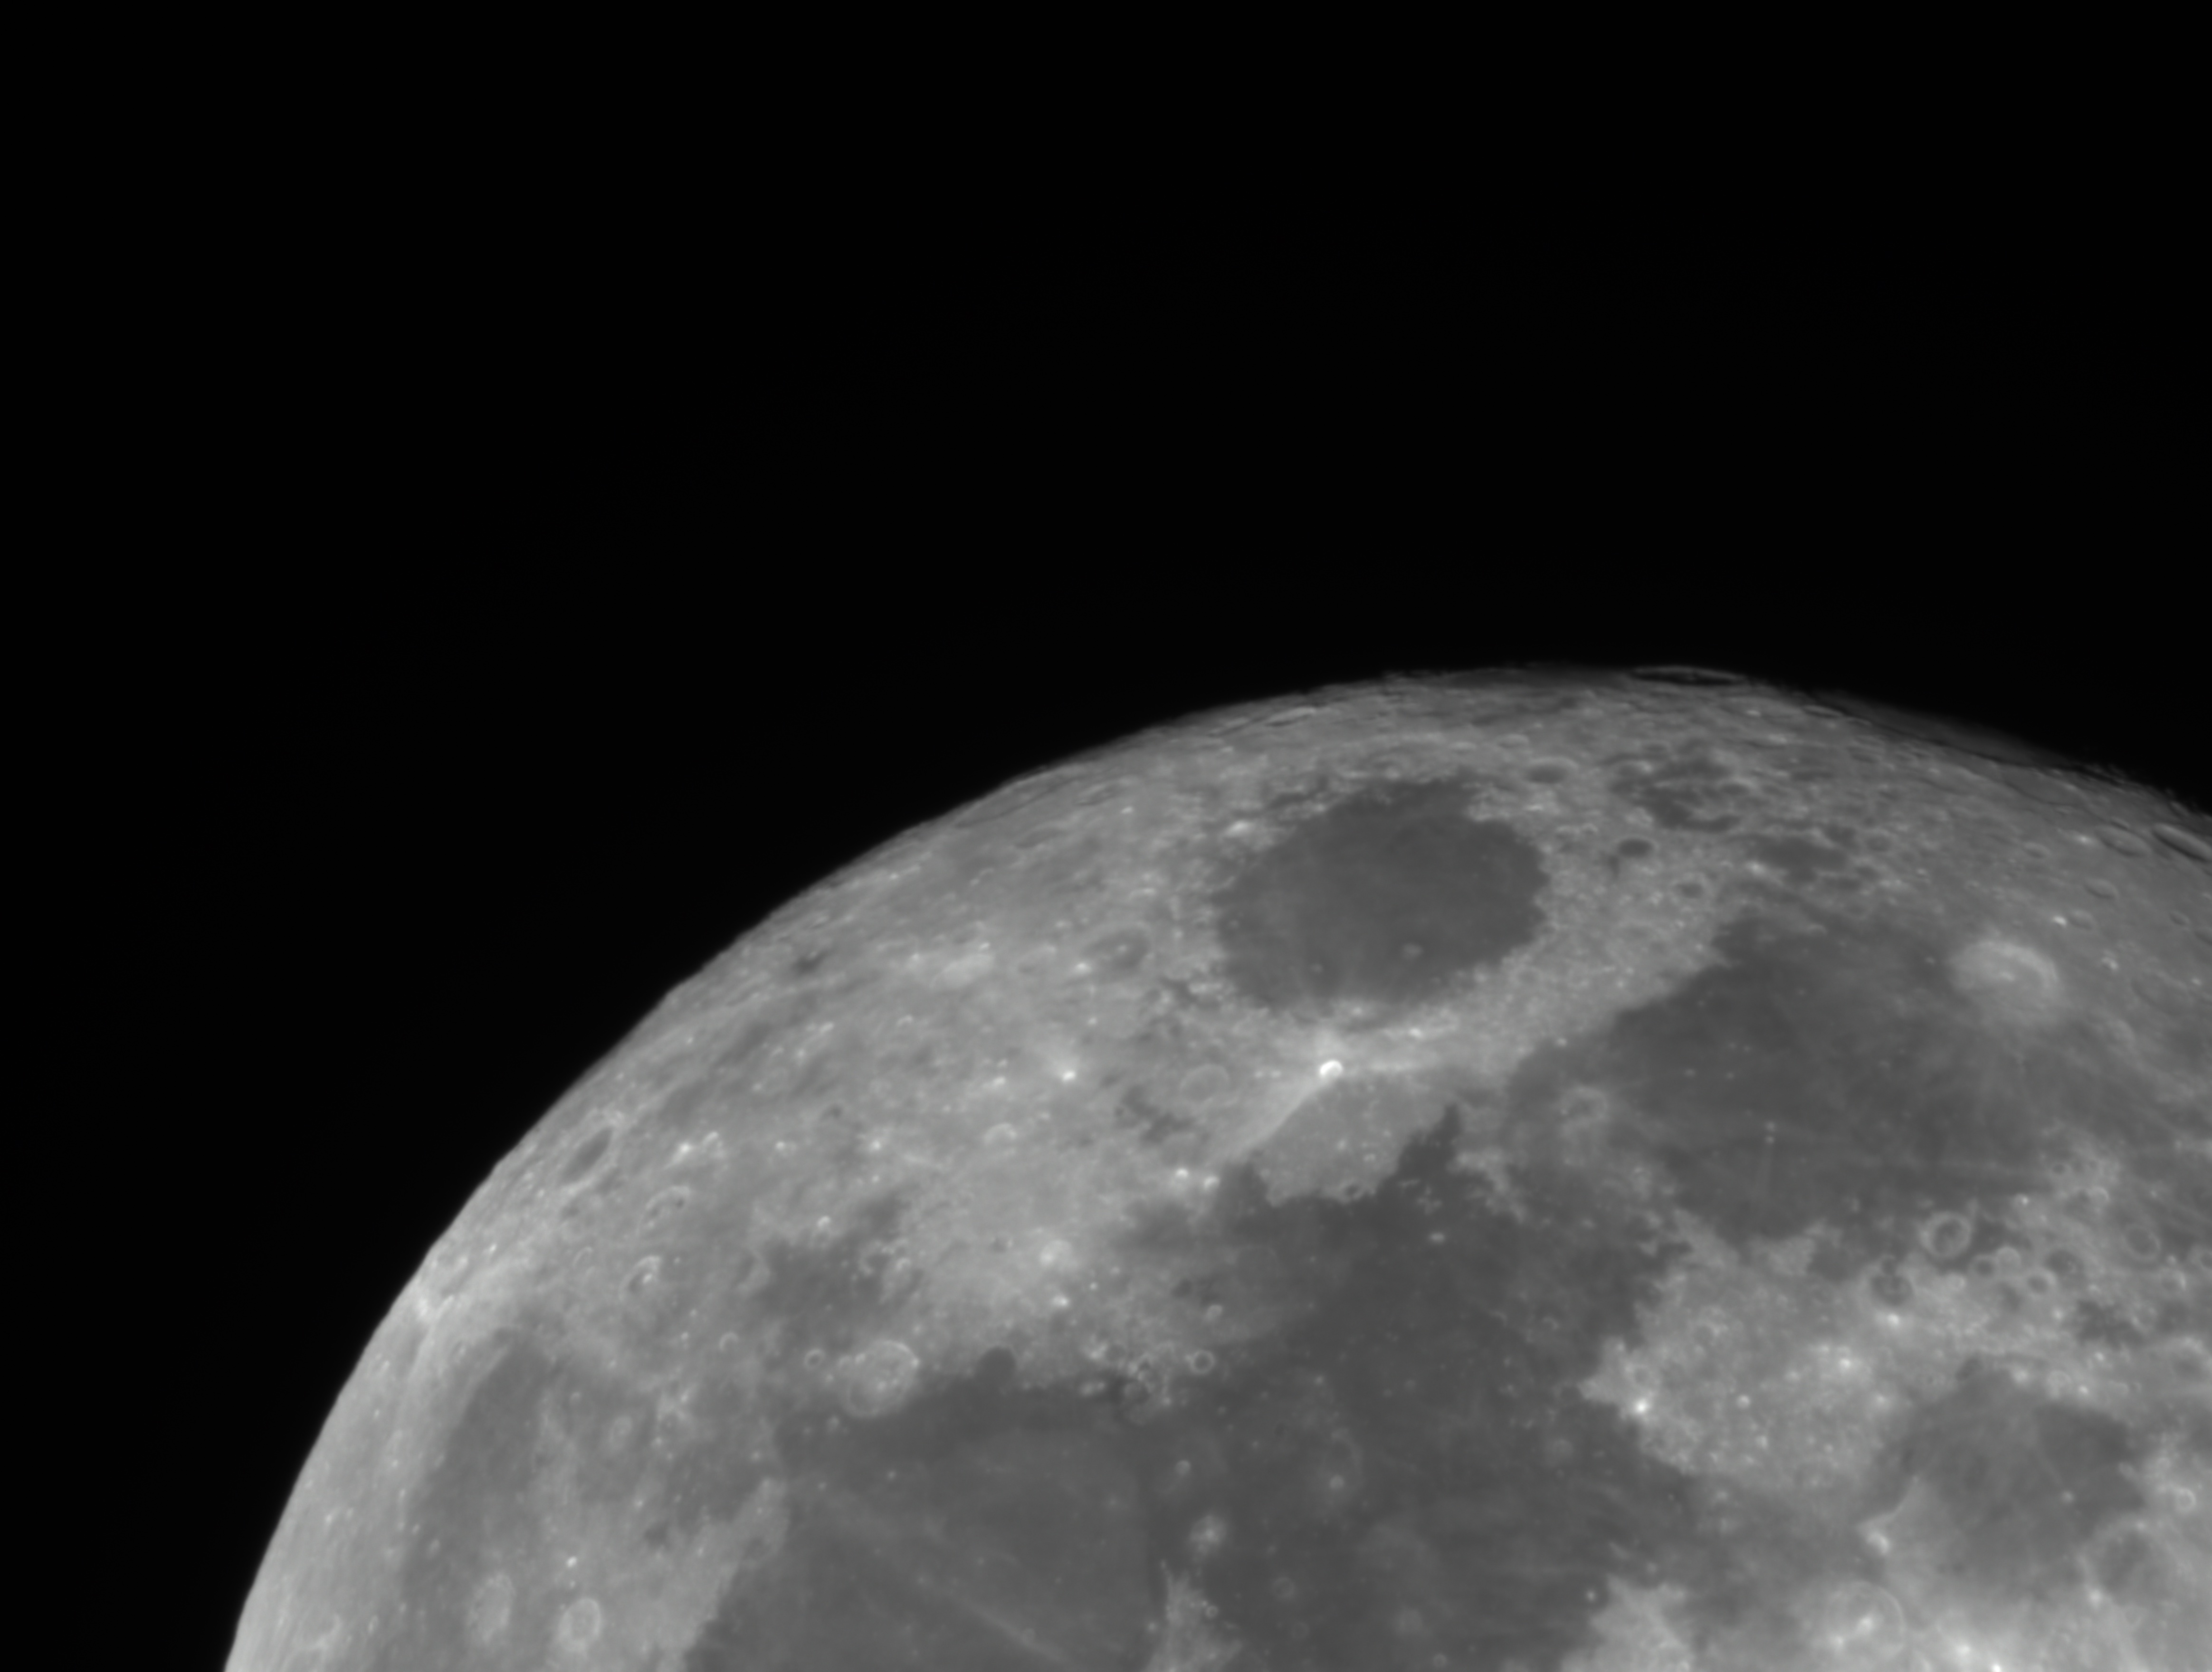
So with the Moon successfully acquired and whilst GingerGeek started looking at other targets through the scope, I opened the dome and slewed the 12″ to the Moon too.
Moon through 12″
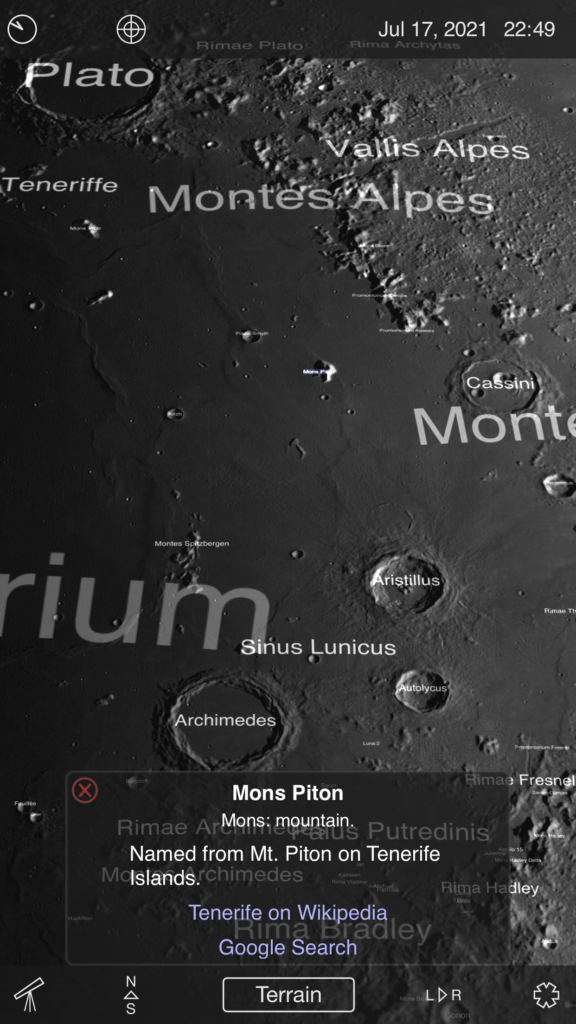
Alan, Bob and GingerGeek found a small bright mountain inside the terminator. We decided to try and find it through the 12″. When we did find it we then tried to work out what it was.
Mountain inside the terminatorIt looks like the island of La Palma!
It transpired to be Mons Piton, named after the top of mount Teide on the island of Tenerife. We would need to view it the news night to see it in full daylight.
Sky Safari
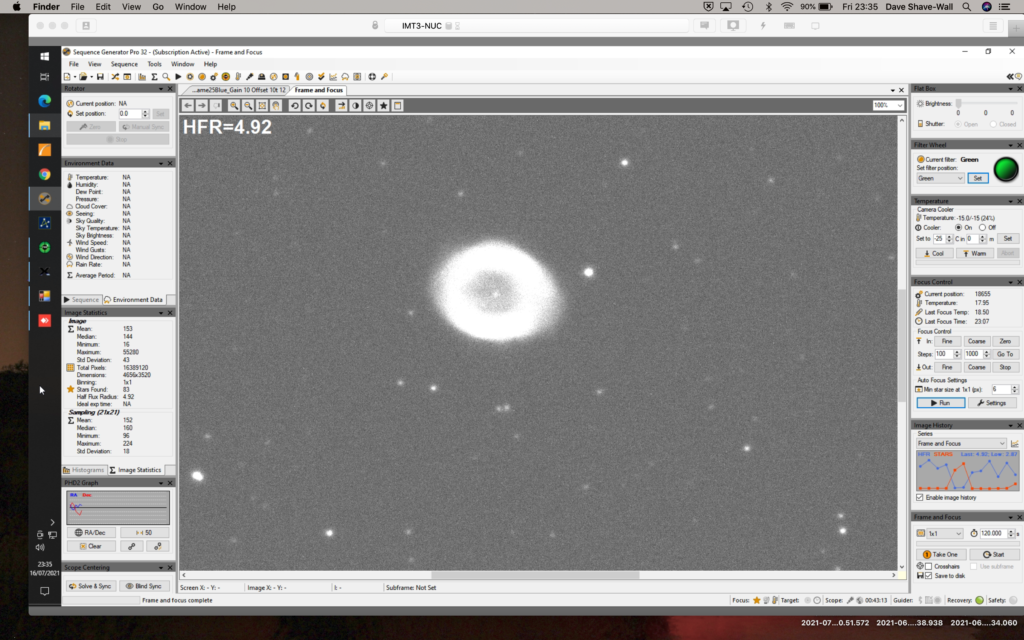
Next up was a quick look at the Ring Nebula M57.
M57
We then wanted to seed if we could make out the central white dwarf.
M57 Red
However through the Red and Blue filters and the Luminance filter we could not see it. Finally through the Green filter it stood out very well.
M57 Green
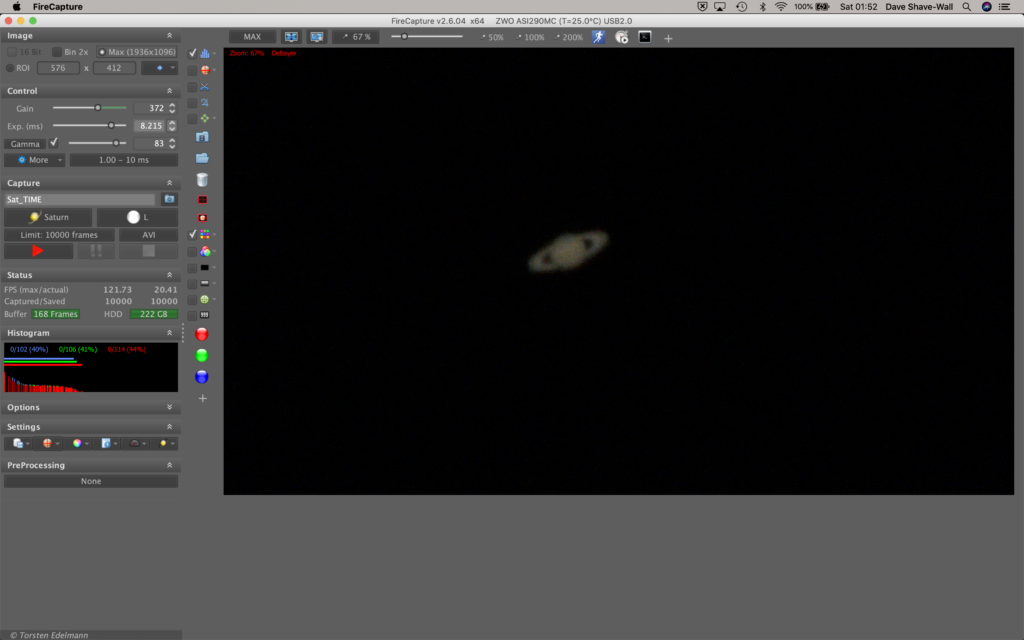
Whilst slewing around with the 12″ in the dome, I had also setup the travel scope with the Mak 180 on top. I wanted to grab some data on Jupiter in particular and Saturn just as it was nearby,.
Jupiter being imaged with Mak 180Saturn through Mak 180
I took a whole bunch of data for the next hour or so which I will process at a later time.
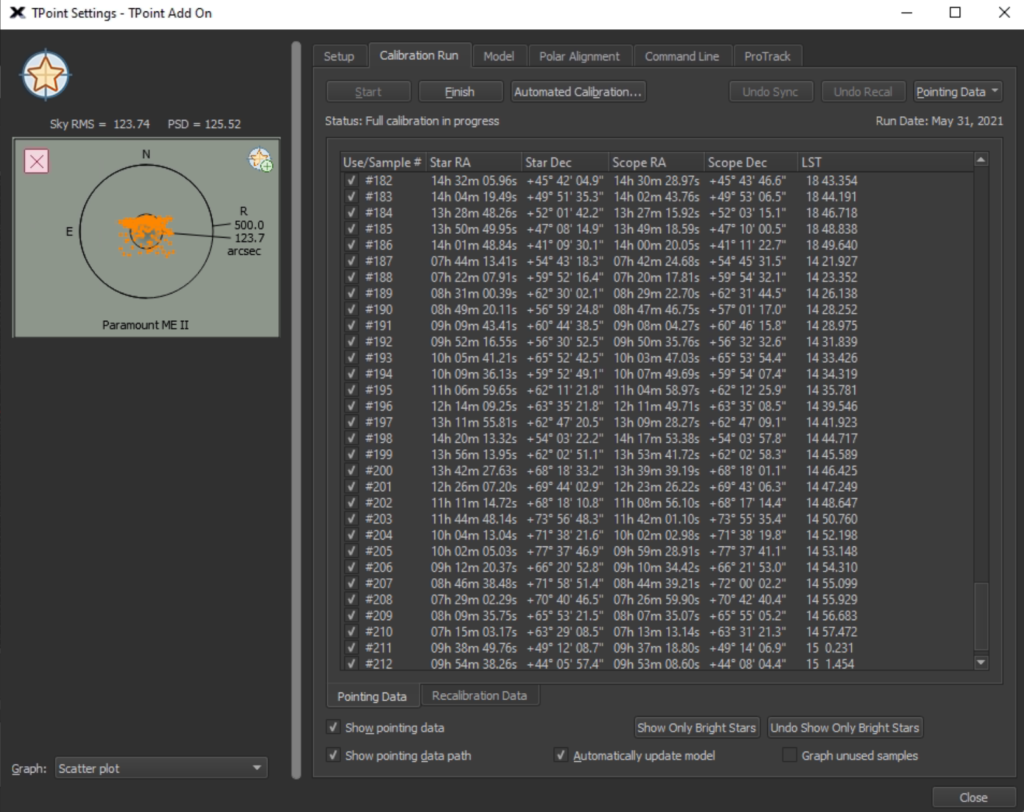
I will start by completing the TPoint run tonight before moving on to calibrate the guider and make sure I can get and image. So by 10:30pm it was just on the border of being dark enough to take and plate solve the first image and continue the TPoint session.
So by 11:30pm I had finished the 212 TPoint model.
212 TPoints
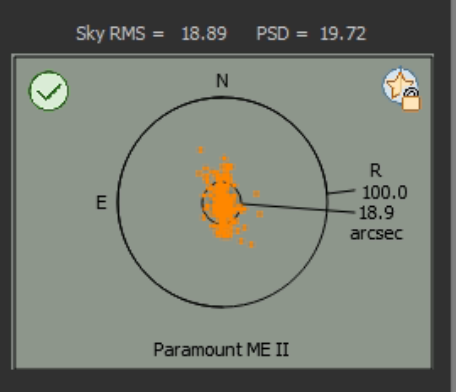
The next thing was to do a Supermodel on the data. This reduced the error pointing from 500 & 23.7 arcsecs to 100 & 19.
Model
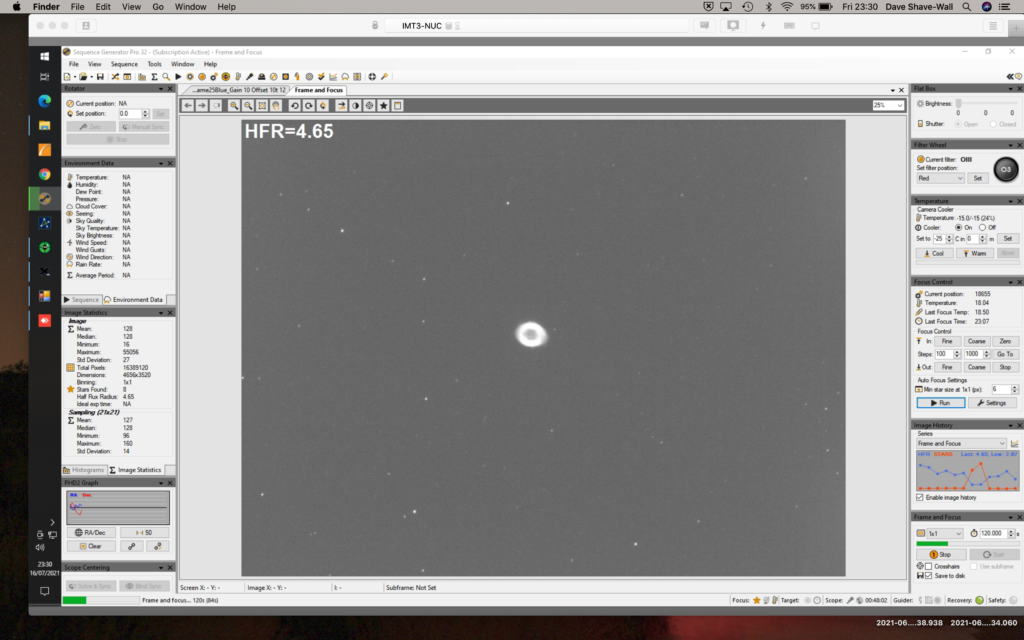
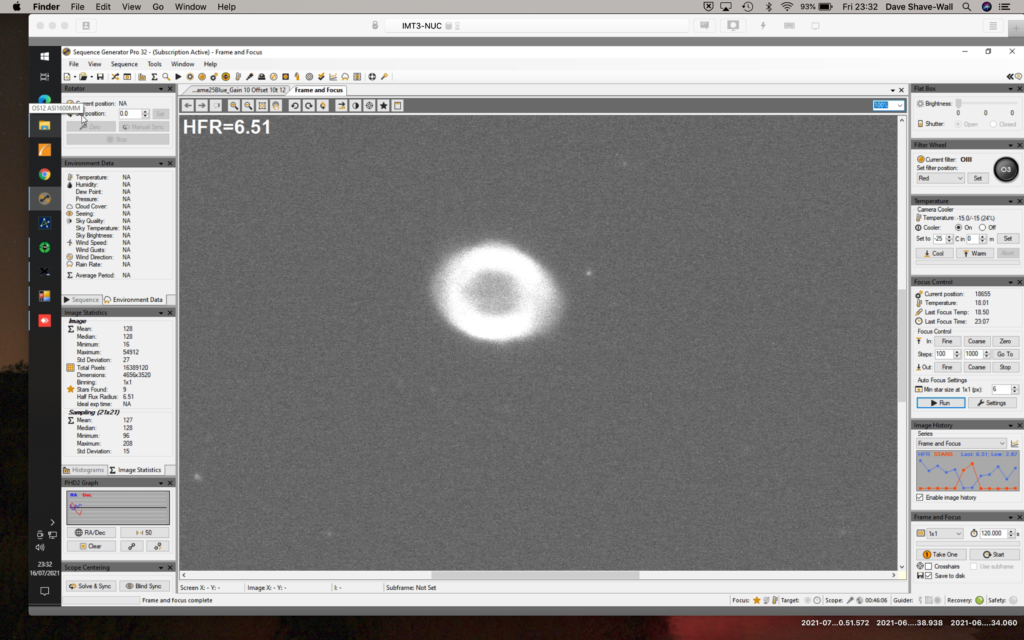
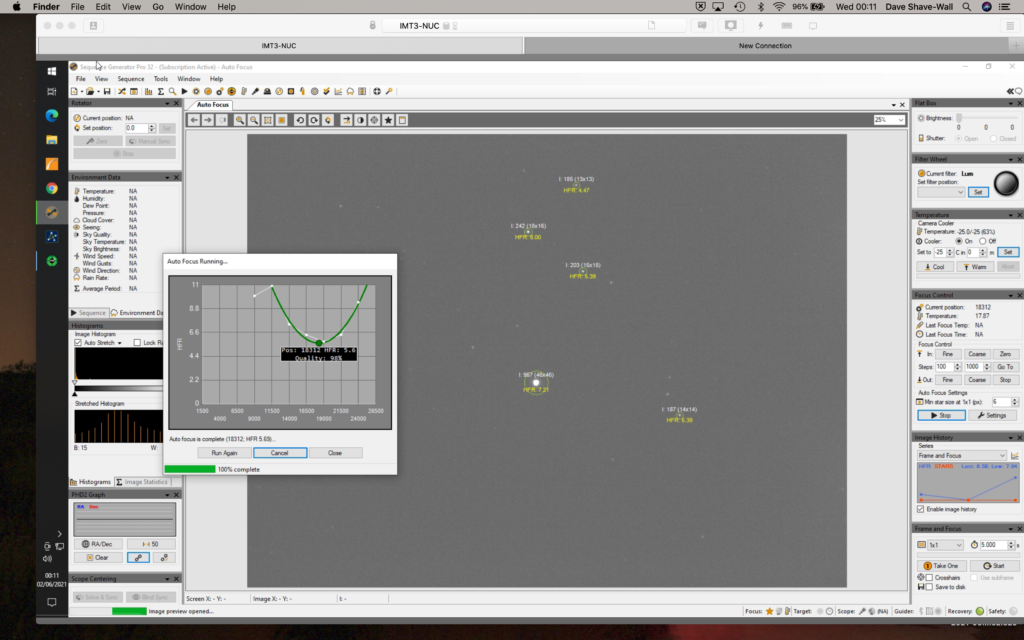
Now connected camera to SGP and running autofocus on a mag 6 star, new focus position for Luminance is 18,312 at 00:13
New focus position
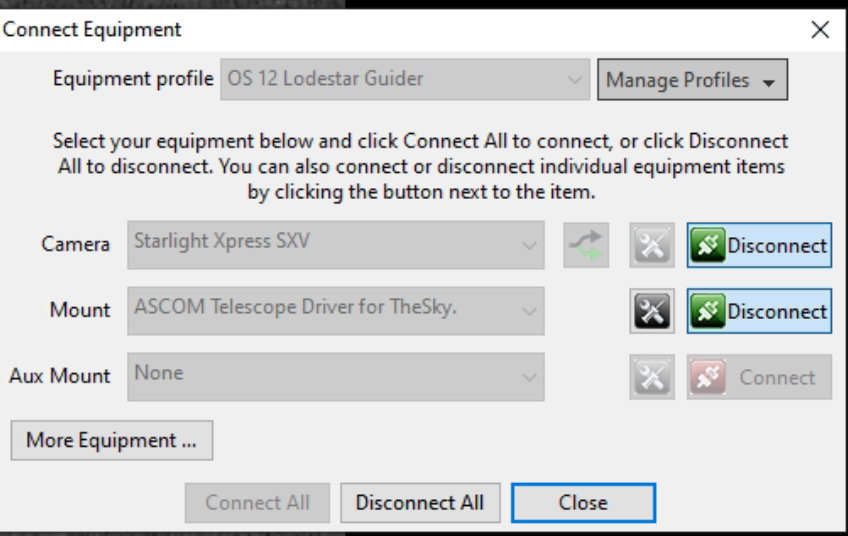
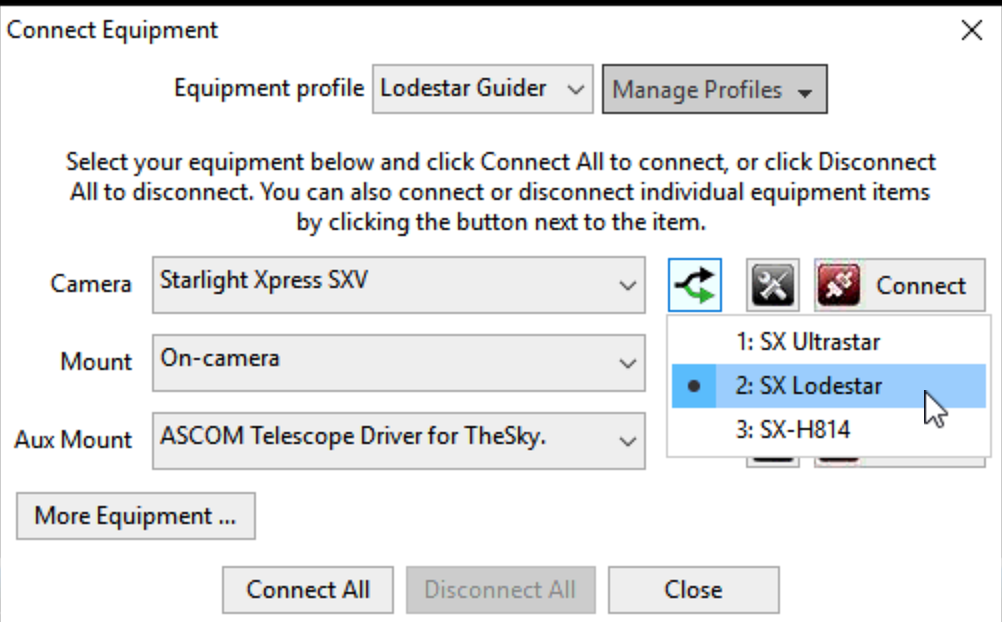
I then setup OpenPHD2 to guide and here I hit a problem. The guider did not move the mount. I have not got a guider cable attached as I do not want to do Pulse Guiding. Instead I always do Direct Guiding. So I looked at the settings in PHD2 and the mount was not set. So I went and searched my blog and I need to select the ASCOM Telescope Driver for TheySky. However it is not in the dropdown list.
ASCOM Telescope Driver for TheSky
Finally after a lot of head scratching I remember GingerGeek removed ASCOM and upgraded when I moved house. He had inadvertently removed the said driver and forgot to reinstall. I went to the ASCOM webpage, found the driver which took me to the Bisque website and downloaded. I then installed, restarted TheSkyX using PHD2 after I had restarted PHD2, I selected the said driver in the Mount dropdown and connected. This then moves the mount when I calibrate and subsequently guide. Fortunately I found all these answers on my blog posts from last year when I had setup the guiding originally.
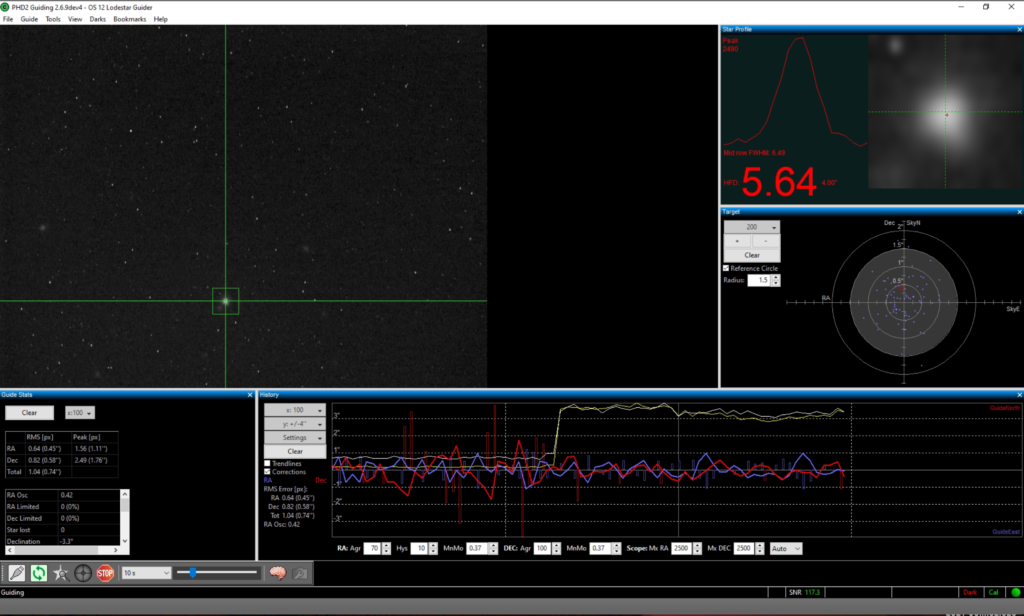
Finally guiding
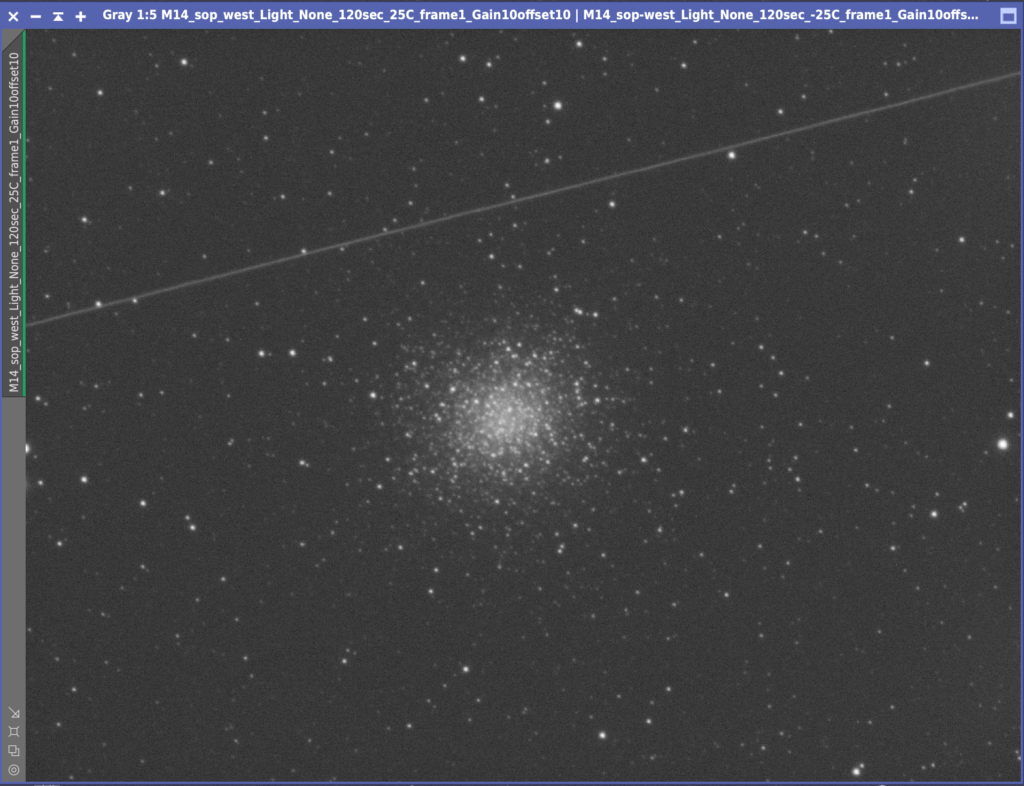
Now all of this is working it is rapidly approaching the time when the sky brightens, so it is already after 1am. I slewed to M14 using TSX, performed a Closed Loop Slew with the camera connected to TSX initially. Once I confirmed the object was in the centre of the FoV, I then disconnected the camera from TSX and reconnected to SGP.
M14
Guiding started, all started to work well. A couple of snags, focus position was wrong in the filter setup so I need to change. Tries to autofocus on start of sequence so I need to change that. I then decided to grab 1, 2 and 5 min subs of LRGB to determine the best exposure. However half way through and some localised cloud rolled in and stopped the session.
Clouds
The good thing its the closed loop slew is working well in TSX.
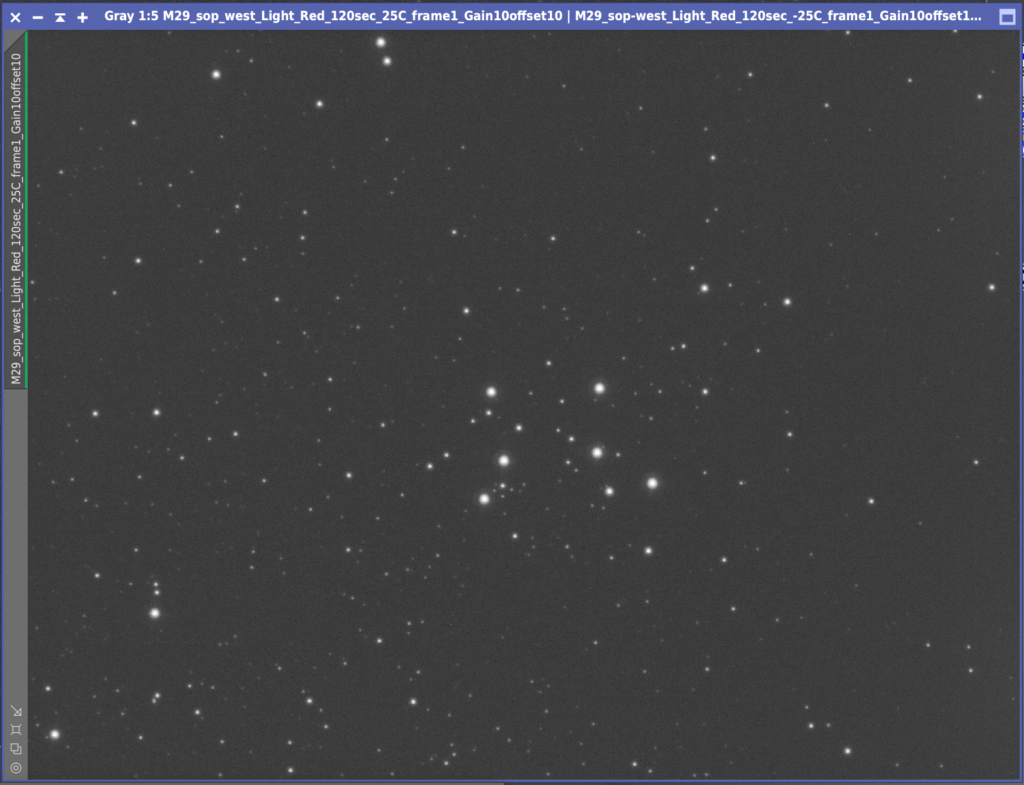
So with the local cloud still causing issues to the South, I slewed North East to another Messier target on my list, M29. Once again I setup 1,2 and 5 min exposures across LRGB to see which would be best. All the imaging tonight for Globular Clusters and Open Clusters was done at Gain 10 Offset 10.
M29 test 2mins Red
I manage to get frames and then I was afflicted by the same cloud. So instead I packed up and called it a night.
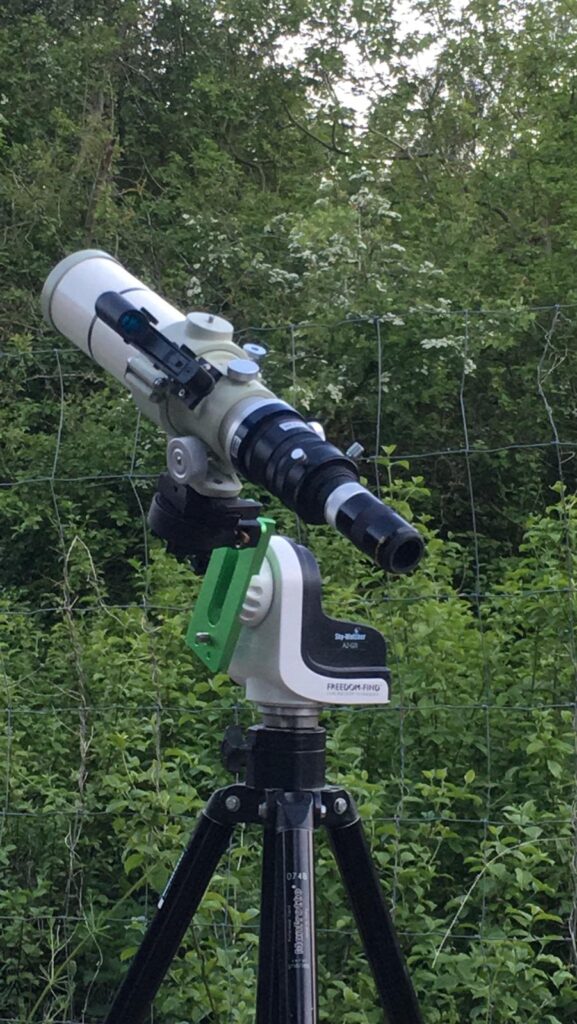
Bob came over again tonight which is great company. He setup his Skywatcher AZ-GTI portable mount with his Tak FS60 on it so we could do visual throughout the night on a goto mount along with my star hoping through the 100mm binos.
Skywatcher AZ-GTI
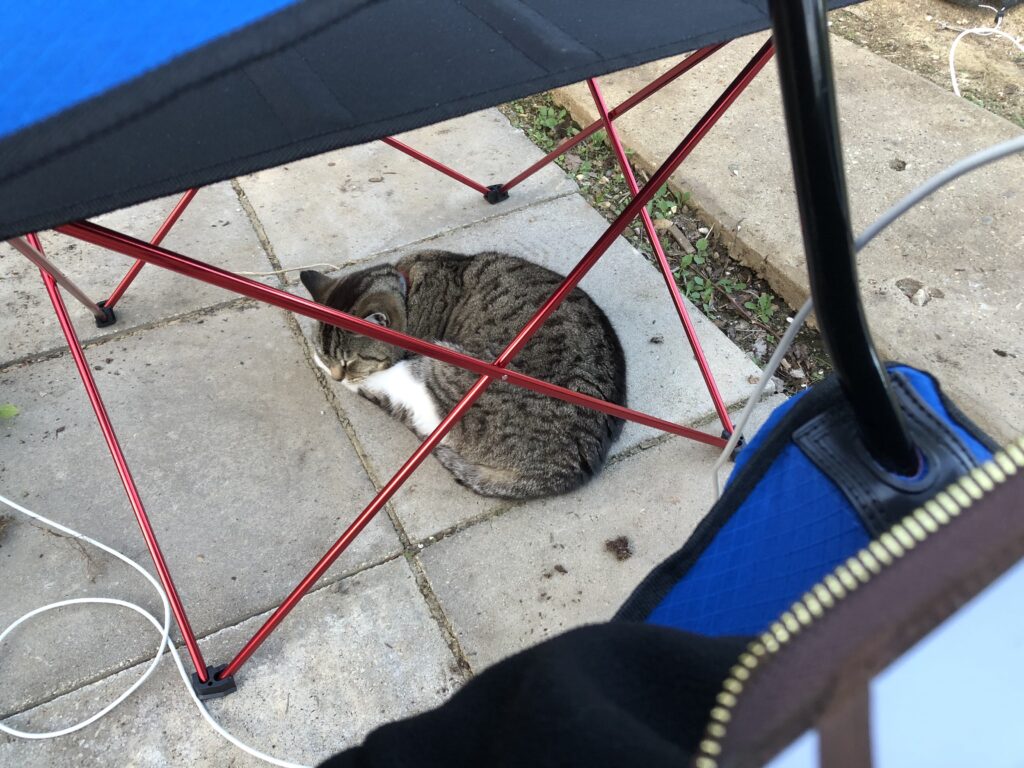
I started the evening whilst light, measuring for the replacement T2 (M42) adapter for the camera train. Given the 0.083 microns per movement of the FLI Atlas focuser I need to reduce the image train length by 3mm. So the new adapter needs to be 31mm, current M42 adapter is 35mm. Meanwhile my AstroCat Fluffy decided to get some more sleep before dark.
Fluffy taking a hard earned nap
Next up was writing the Lat Long on the dome so I can give it to anyone that visits. With that done I started testing the rotation of the dome to make sure the dome no longer slips since I put the anti-slip tape around the edge. After spending some 15mins rotating the dome it seemed ok, it would be fully tested later when I redo the Tpoint model. This is due to the 2.1 arc minutes of error in my azimuth polar alignment that needs adjusting by 4.2 tics.
I adjusted the mount as above and ran a 20 point model. This told me the error int he azimuth was less than 1 arc min and that there was no need to adjust the mount any further, however it had low confidence. So now I will run a full 212 Tpoint model to see what it reports.
212 TPoint Model map
On starting the run I hit another problem, the mount hung and beeped. This was due to a balance problem on the tube which is weird as I thought it was fine. However maybe I had not rebalanced since adding the rotator properly. I removed a little weight at the front of the OTA and shifted it backward. I then tried again but again it hung and beeped. It transpired to be the same loose cale I had before, the focuser cable which had come loose. I applied some more white electrical tape to hold it in until I get round to changing the 2.1mm adapter.
At 23:40 I started a new TPoint run and am now 7 stars in and all is well. That did not last for long, around 47 Tpoints and I kept getting blank images. It seems the dome had lost its position. The Home sensor does not seem to be registering. I slewed the dome manually to Home at 123 degrees and synced that back into the dome controller. Starting the TPoint again resumed stars being seen.
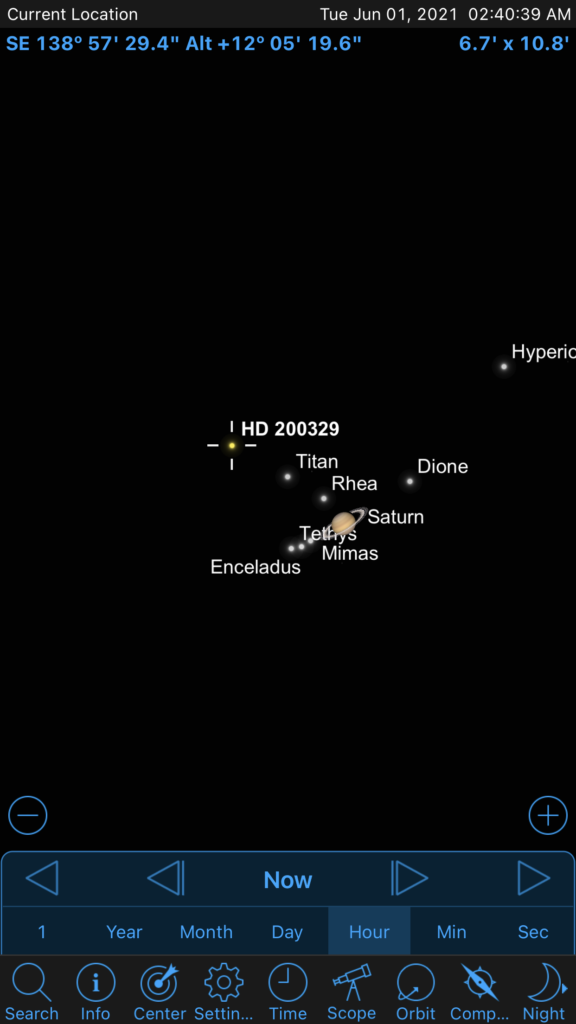
Meanwhile Bob was moving from object to object without the AZ-GTI mount. M5, M57, M10, M12 along the way. We easily split Albeiro although Bob was slightly worried about my eyesight as I initially struggled. We saw the head of Scorpius pop up above the tree line but we didn’t get M4 from the IMT Plateau and Antares only just made it above the tree line. So I decided to relocate my bins to another spot in the garden by the Sun Plateau so we got M4 through them. M17 was seen through he 100mm binos also, looking remarkably like a Swan! Finally as it got light just after 3am we nabbed Saturn, Jupiter and the Moon.
We could see the star HD 200329 and Titan along with Saturn
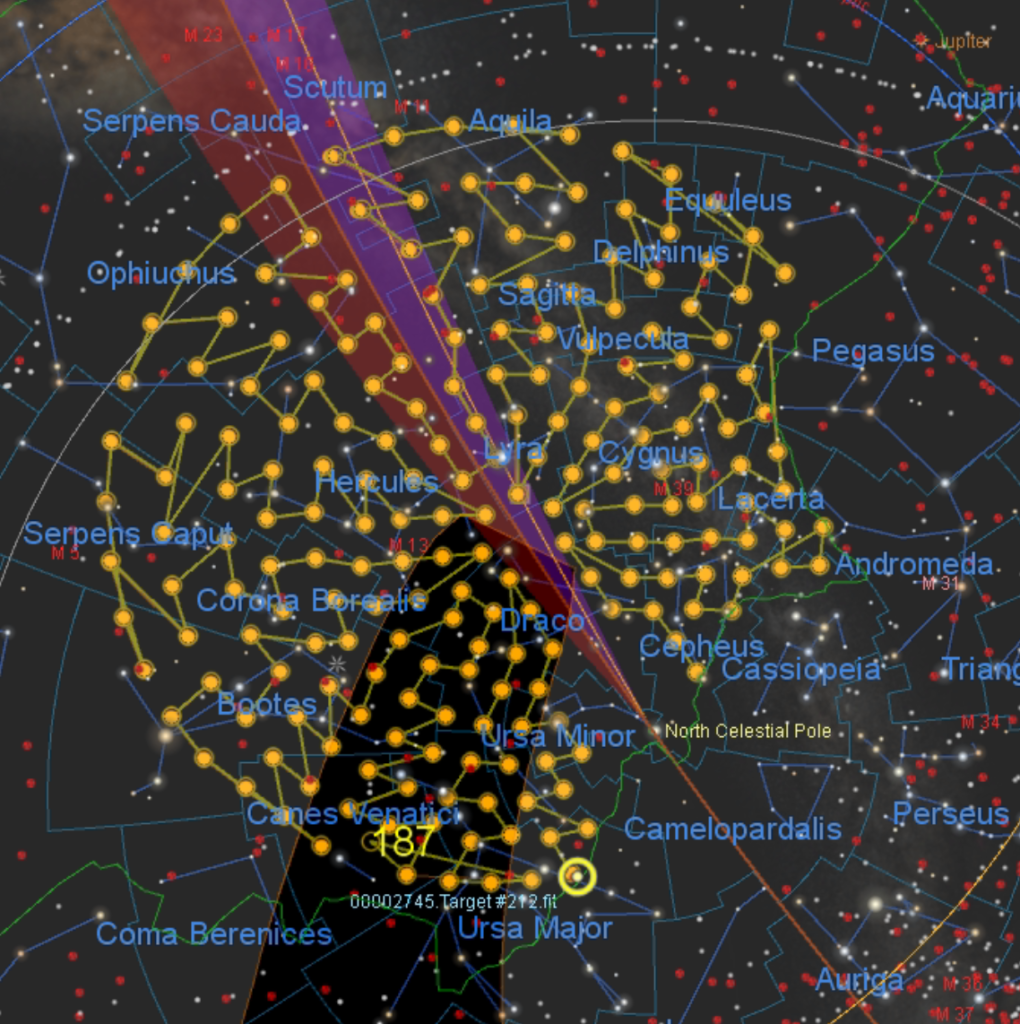
By the end of the night I was at 187 TPoints so not enough for me to be confident the whole sky was mapped, nor enough to fix the model and have Protrack running. I will continue the mapping when dark tomorrow night.
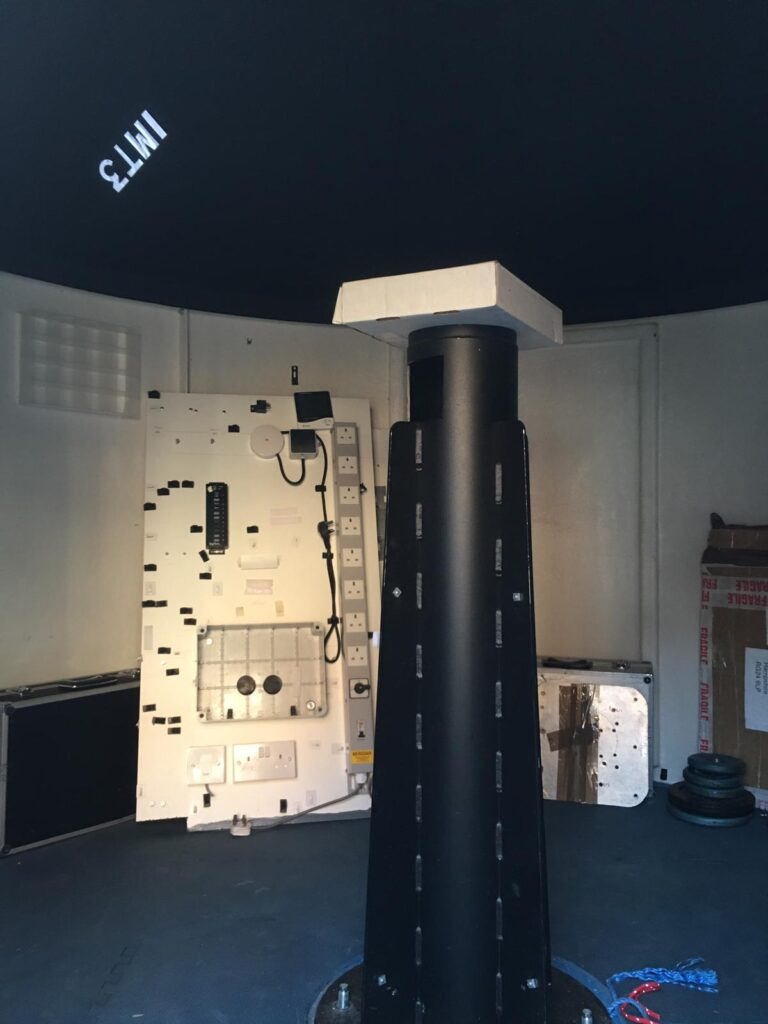
So we started the decommissioning of IMT3, dome and all ready for the move to a new darker site location. The new incarnation once installed will be known as IMT3b. As part of the process the Esprit120 will be relocated to a separate pier mount in a RoR shed to be known as IMT3c.
This evening GingerGeek and I are going to try and get the guider in focus again. I hope we can do this so I can use the observatory remotely shortly.
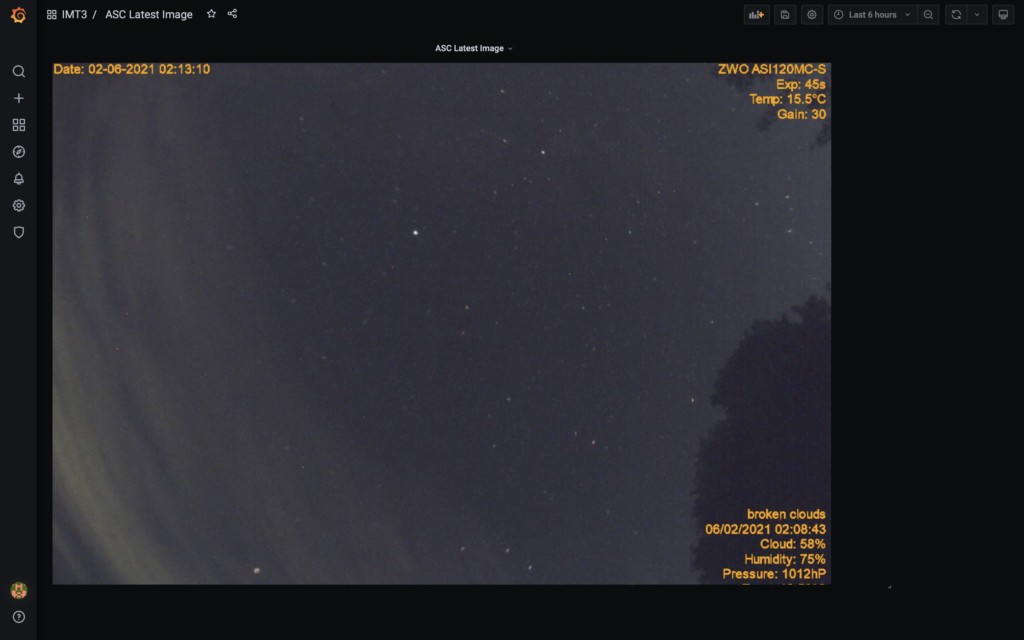
On connecting to the observatory I noticed once again that after running the ZWO120MC for a while under ASICAP it went black. I have still not had a reply on the forum and it reminds me not to buy another ZWO as they are particularly bad at support.
That said there are a few things we need to try including taking the 10m USB extension out of the equation. Once I started TheSkyX and SGPro and PHD etc I could see Vega in the image for the 12″. Moving it to the centre and syncing for the moment manually until GingerGeek shows me how to sync and solve with SGPro. The final part here was moving the scope so that Vega was now in the centre of the FoV of the guider square on TheSkyX.
Vega nearly in the middle
So Mark arrived to help focus the guider whilst I looked at the screen on PHD. Before we started Bob remotely once again turned the USB power off to the All Sky Cam to reset it using Node Red. That worked so we had that camera working again.
PHD showed a very bright white screen, we had to wait over another hour for the sky to taken enough to be able to make anything out. Once we could, all we saw was the edge of the dome again.
Edge of dome through camera
It took GingerGeek a while fiddling with the focus to realise the camera on the screen was not the guider! It transpired PHD had for whatever reason picked up the other webcam mounted on one of the OTAs. No wonder we had problems.
Selecting the SX Lodestar guider from the down list in PHD brought up a picture with Vega in it! From there we had a flat topped star as Vega is too bright for the guider. So we slewed to another star nearby (mag +8) and then refined the focus on that. Next we calibrated the guider again as we had been removing and turning the guide camera.
Once done we then slewed to a star near the Meridian to test output of drift align to find that the mount is still reporting being out in dec which is possible for one of a couple of reasons, either the knobs were not tightened correctly or the mount has moved after being hit. Next weekend I will adjust if clear again, but this also means starting a whole new TPoint model.
When I drift align I will perform that on a star near the meridian and the celestial equator. I will then slew away then back and repeat. If all is well I will then test drift away from the equator to see if we have flex and if so if it is due to balance problems.
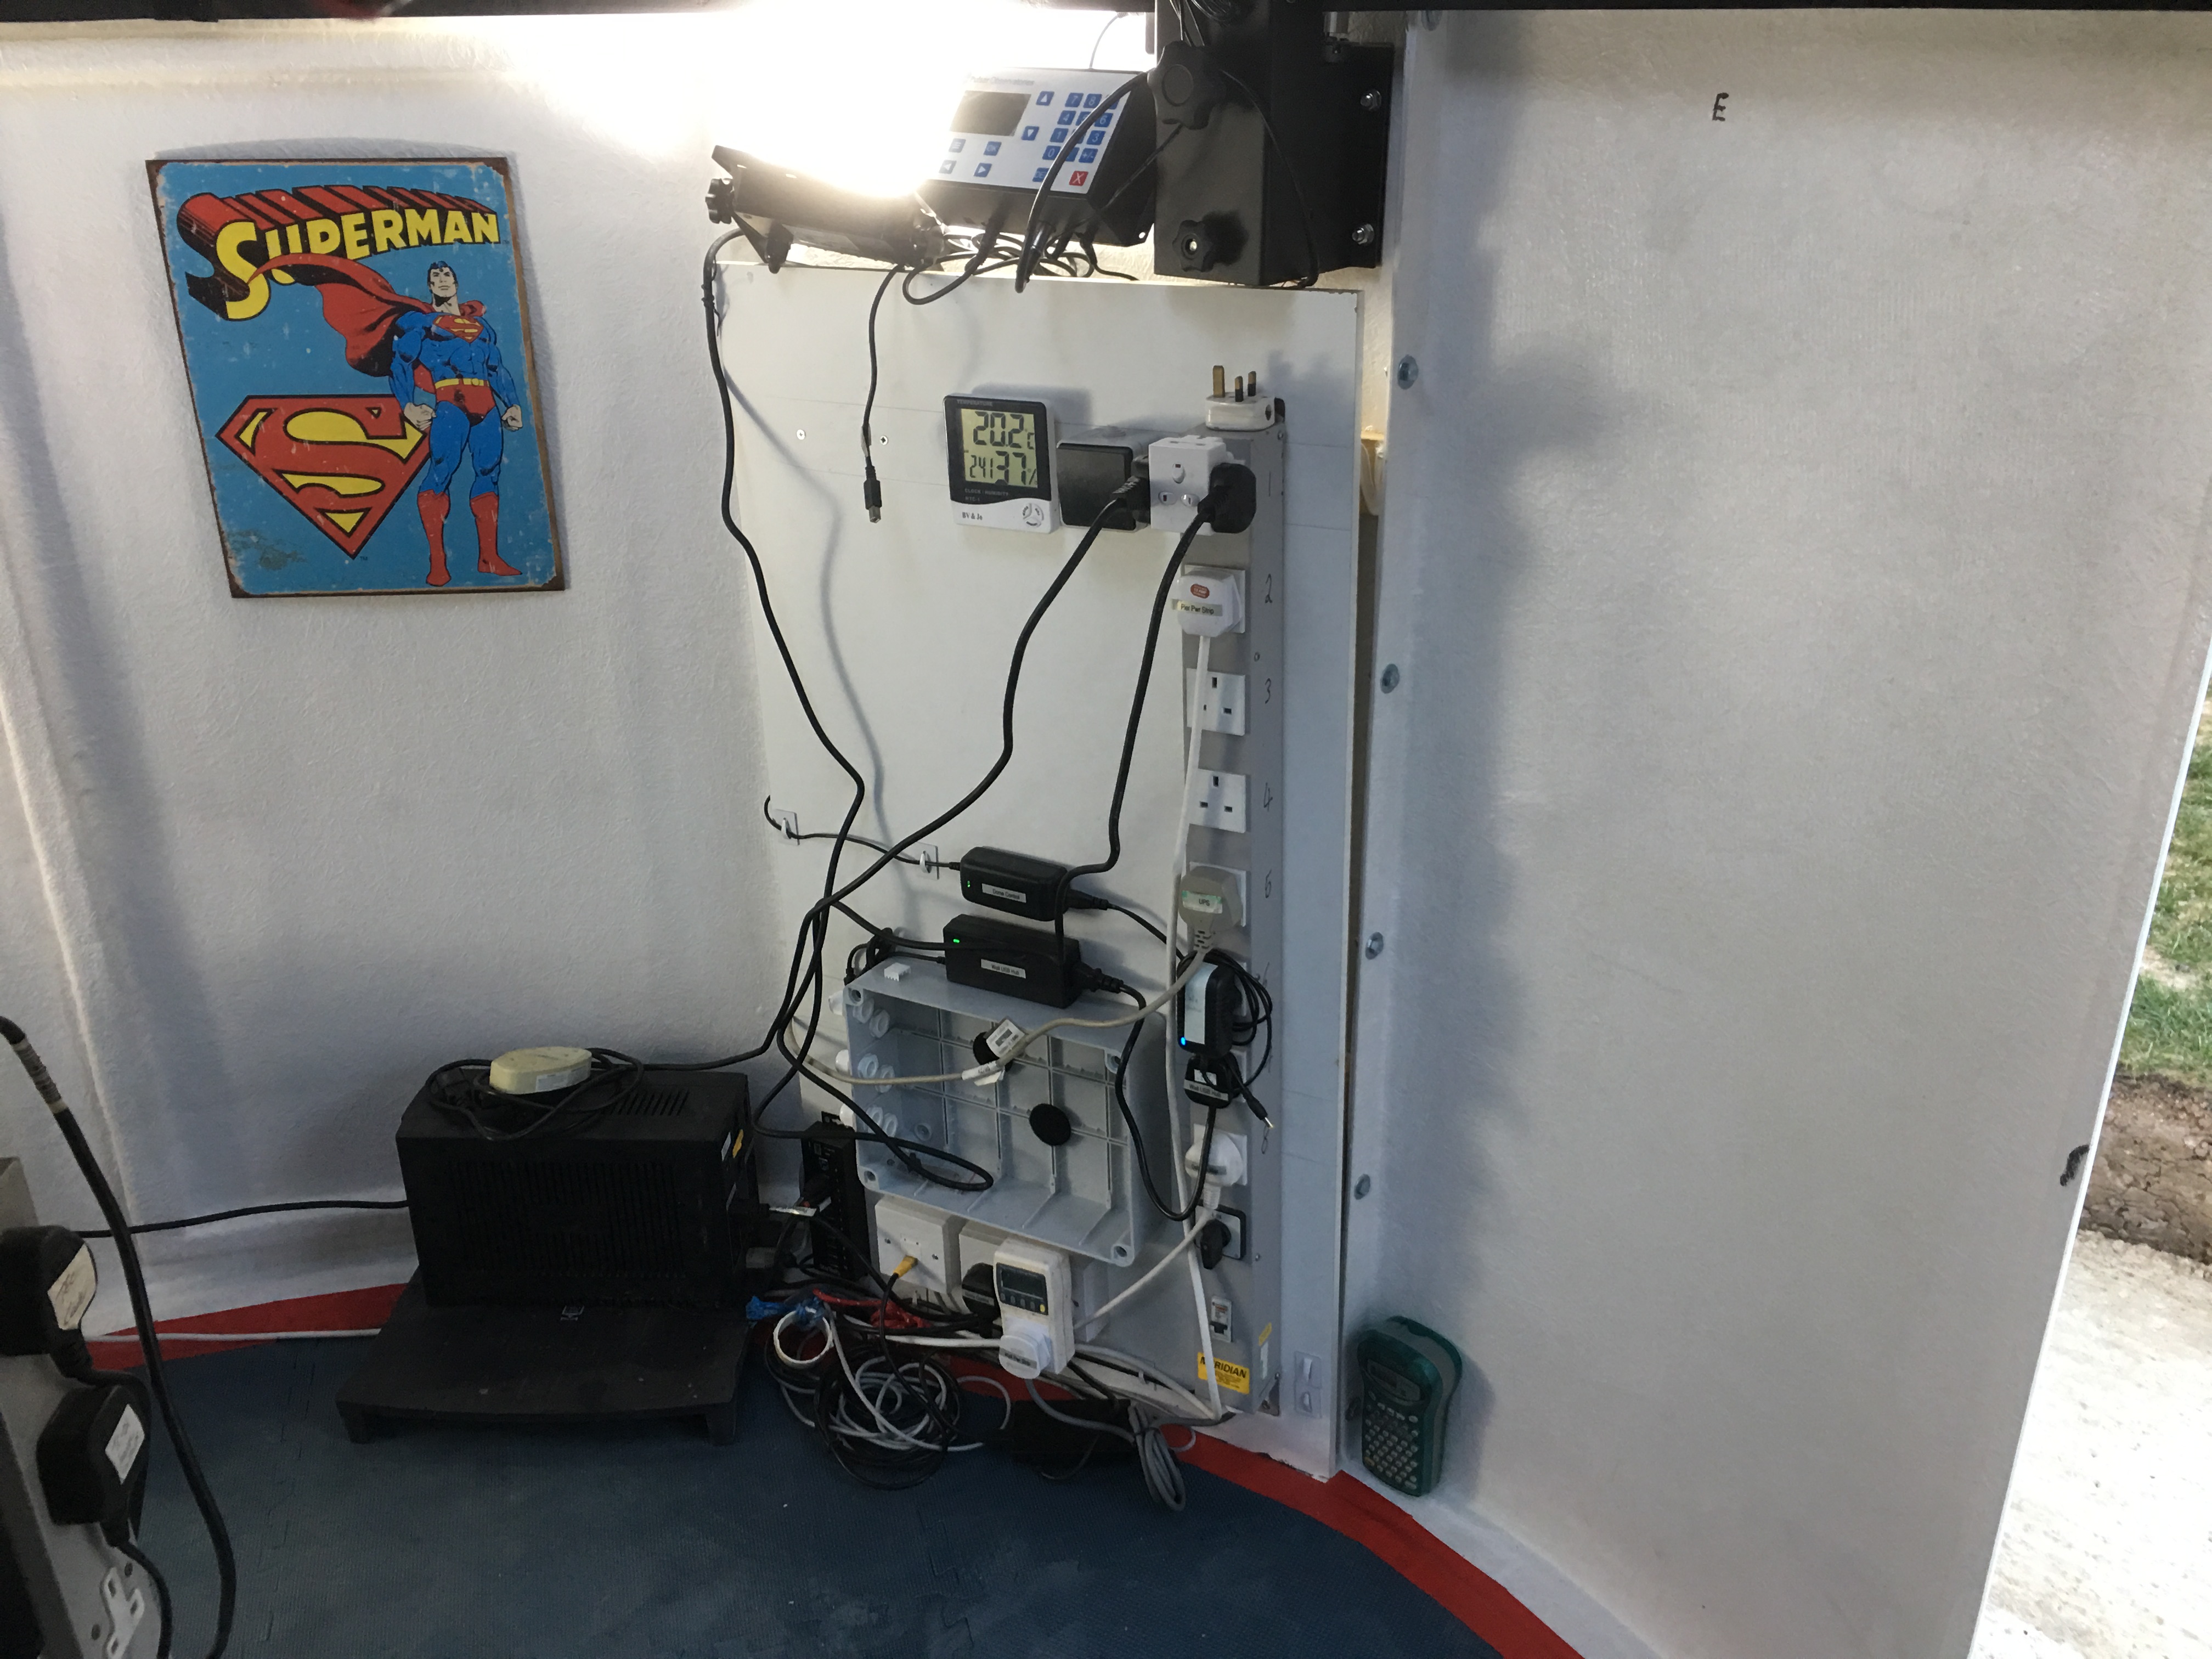
As the first phase of the build completes for the IMT3 observatory but before the commissioning stage begins, a few other additions need to be completed. We started with adding a UPS for the Intel NUC. The dome itself for the shutter at least runs on a battery backup in case of power failure, the dome automatically shuts. What we wanted to avoid was loosing power to the house and not being able to shut the PC down gracefully until power returned. The UPS also comes with software so that we can sense the power going and then ask the PC to shutdown if needed.
UPS installed
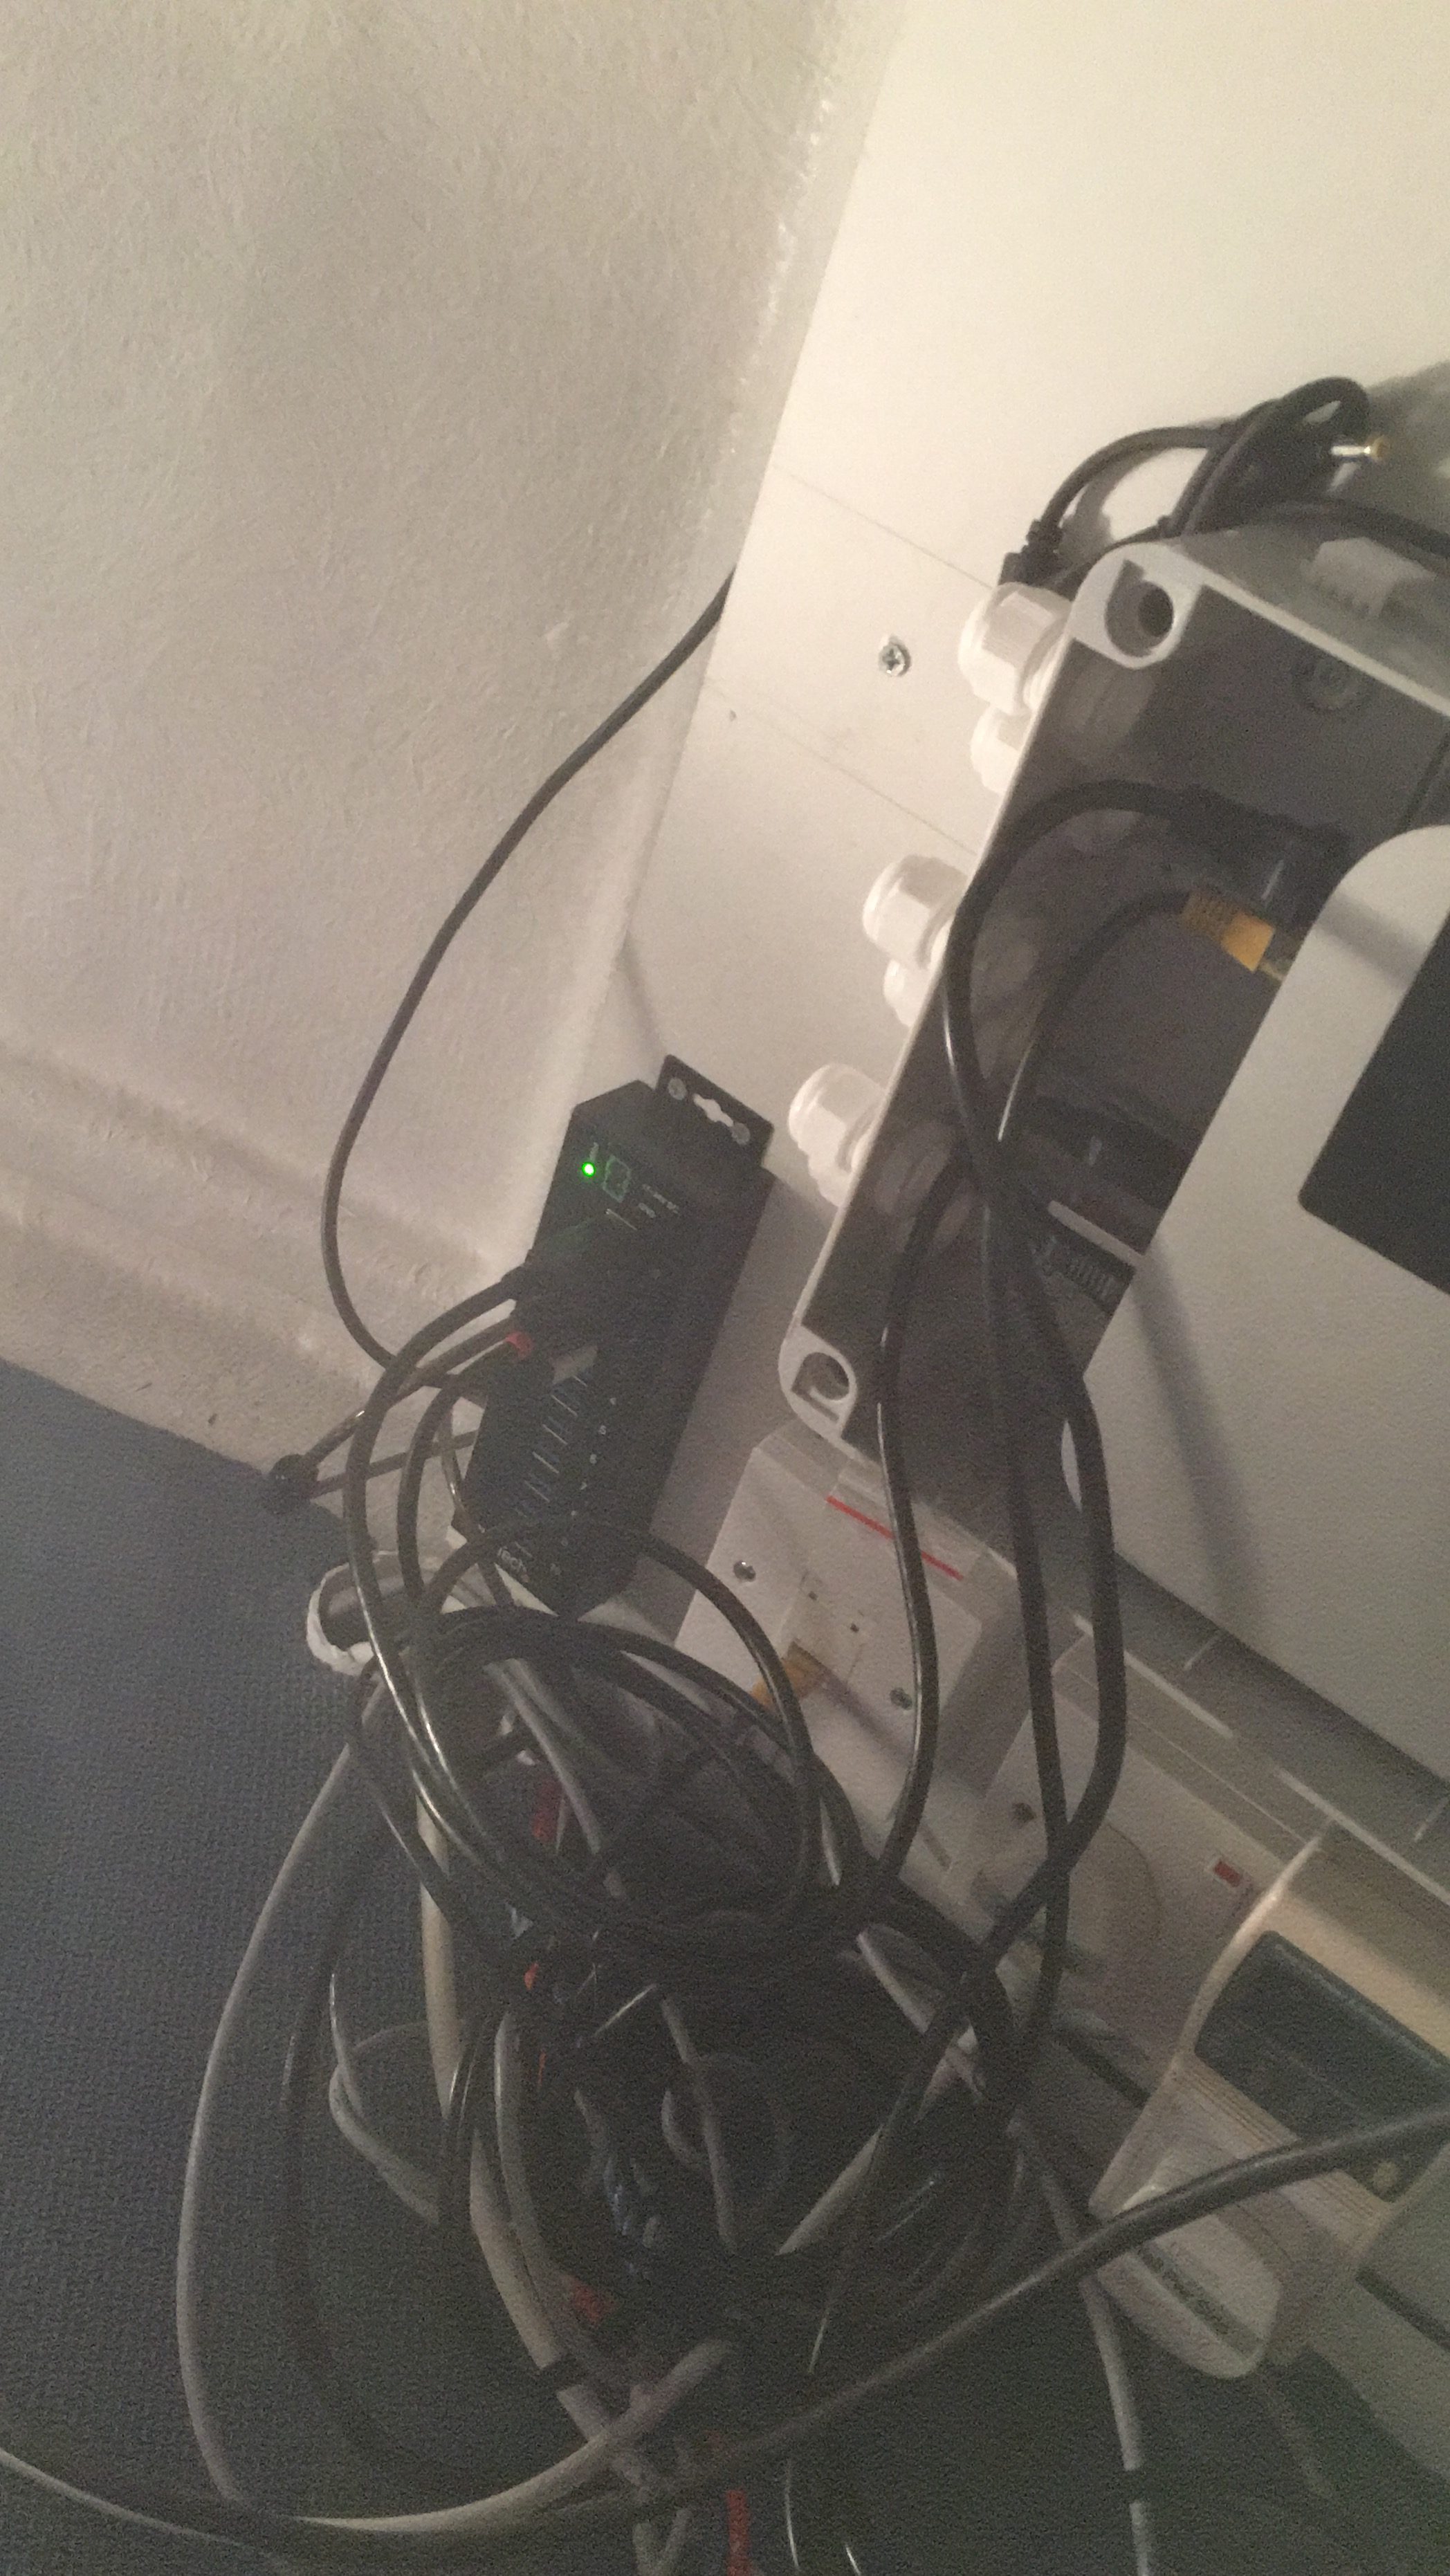
Temporary LED lighting has been fitted but needs properly fixing and connecting into the master switch and the soft switch for turning on and off remotely. The cables meanwhile to the first of many USB hubs starts to fill up.
Rats nest of USB cables
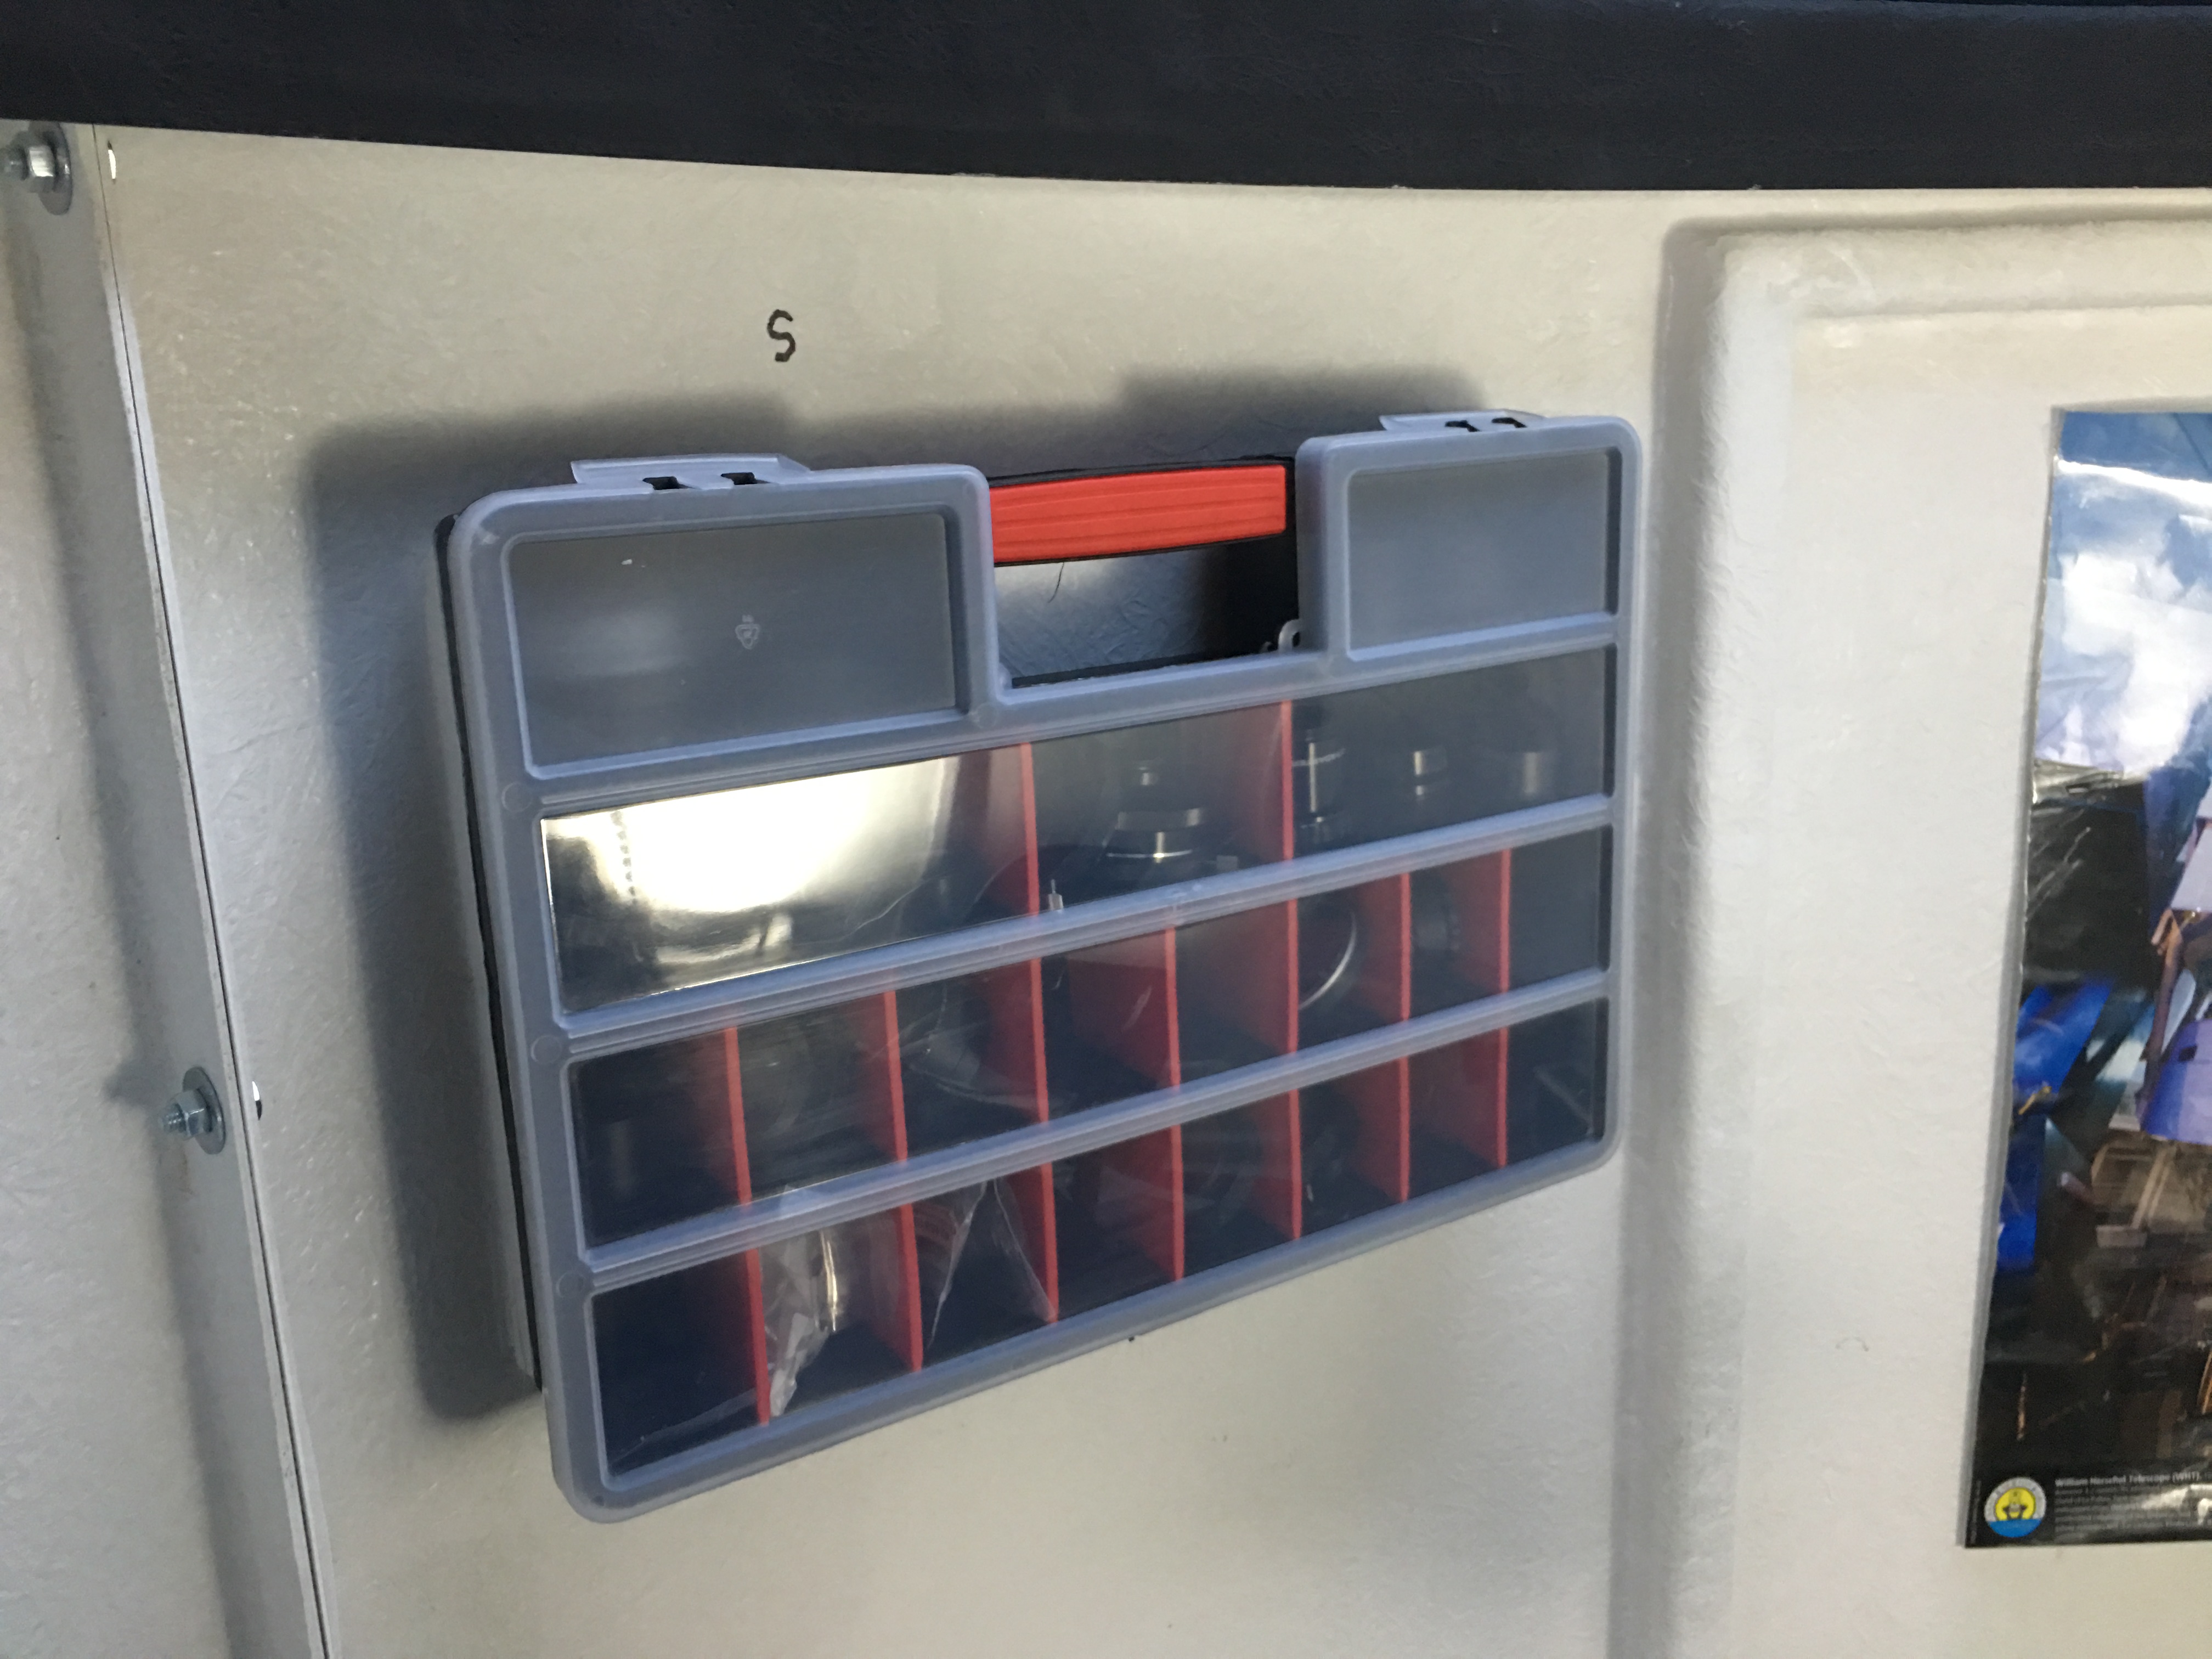
An adapter station is fixed to the wall for the copious adapters one needs for astronomy
More adapters
Shortly followed by another due the copious adapters needed for astronomy……….
Adapter heaven
Hat hooks are added due to a few unfortunate instance with a head and the mount which concluded in a hospital trip and some superglue.
Hat hooks
Multiple weights can be seen supporting the large amount of the wieght at the business end of the mount
Weights
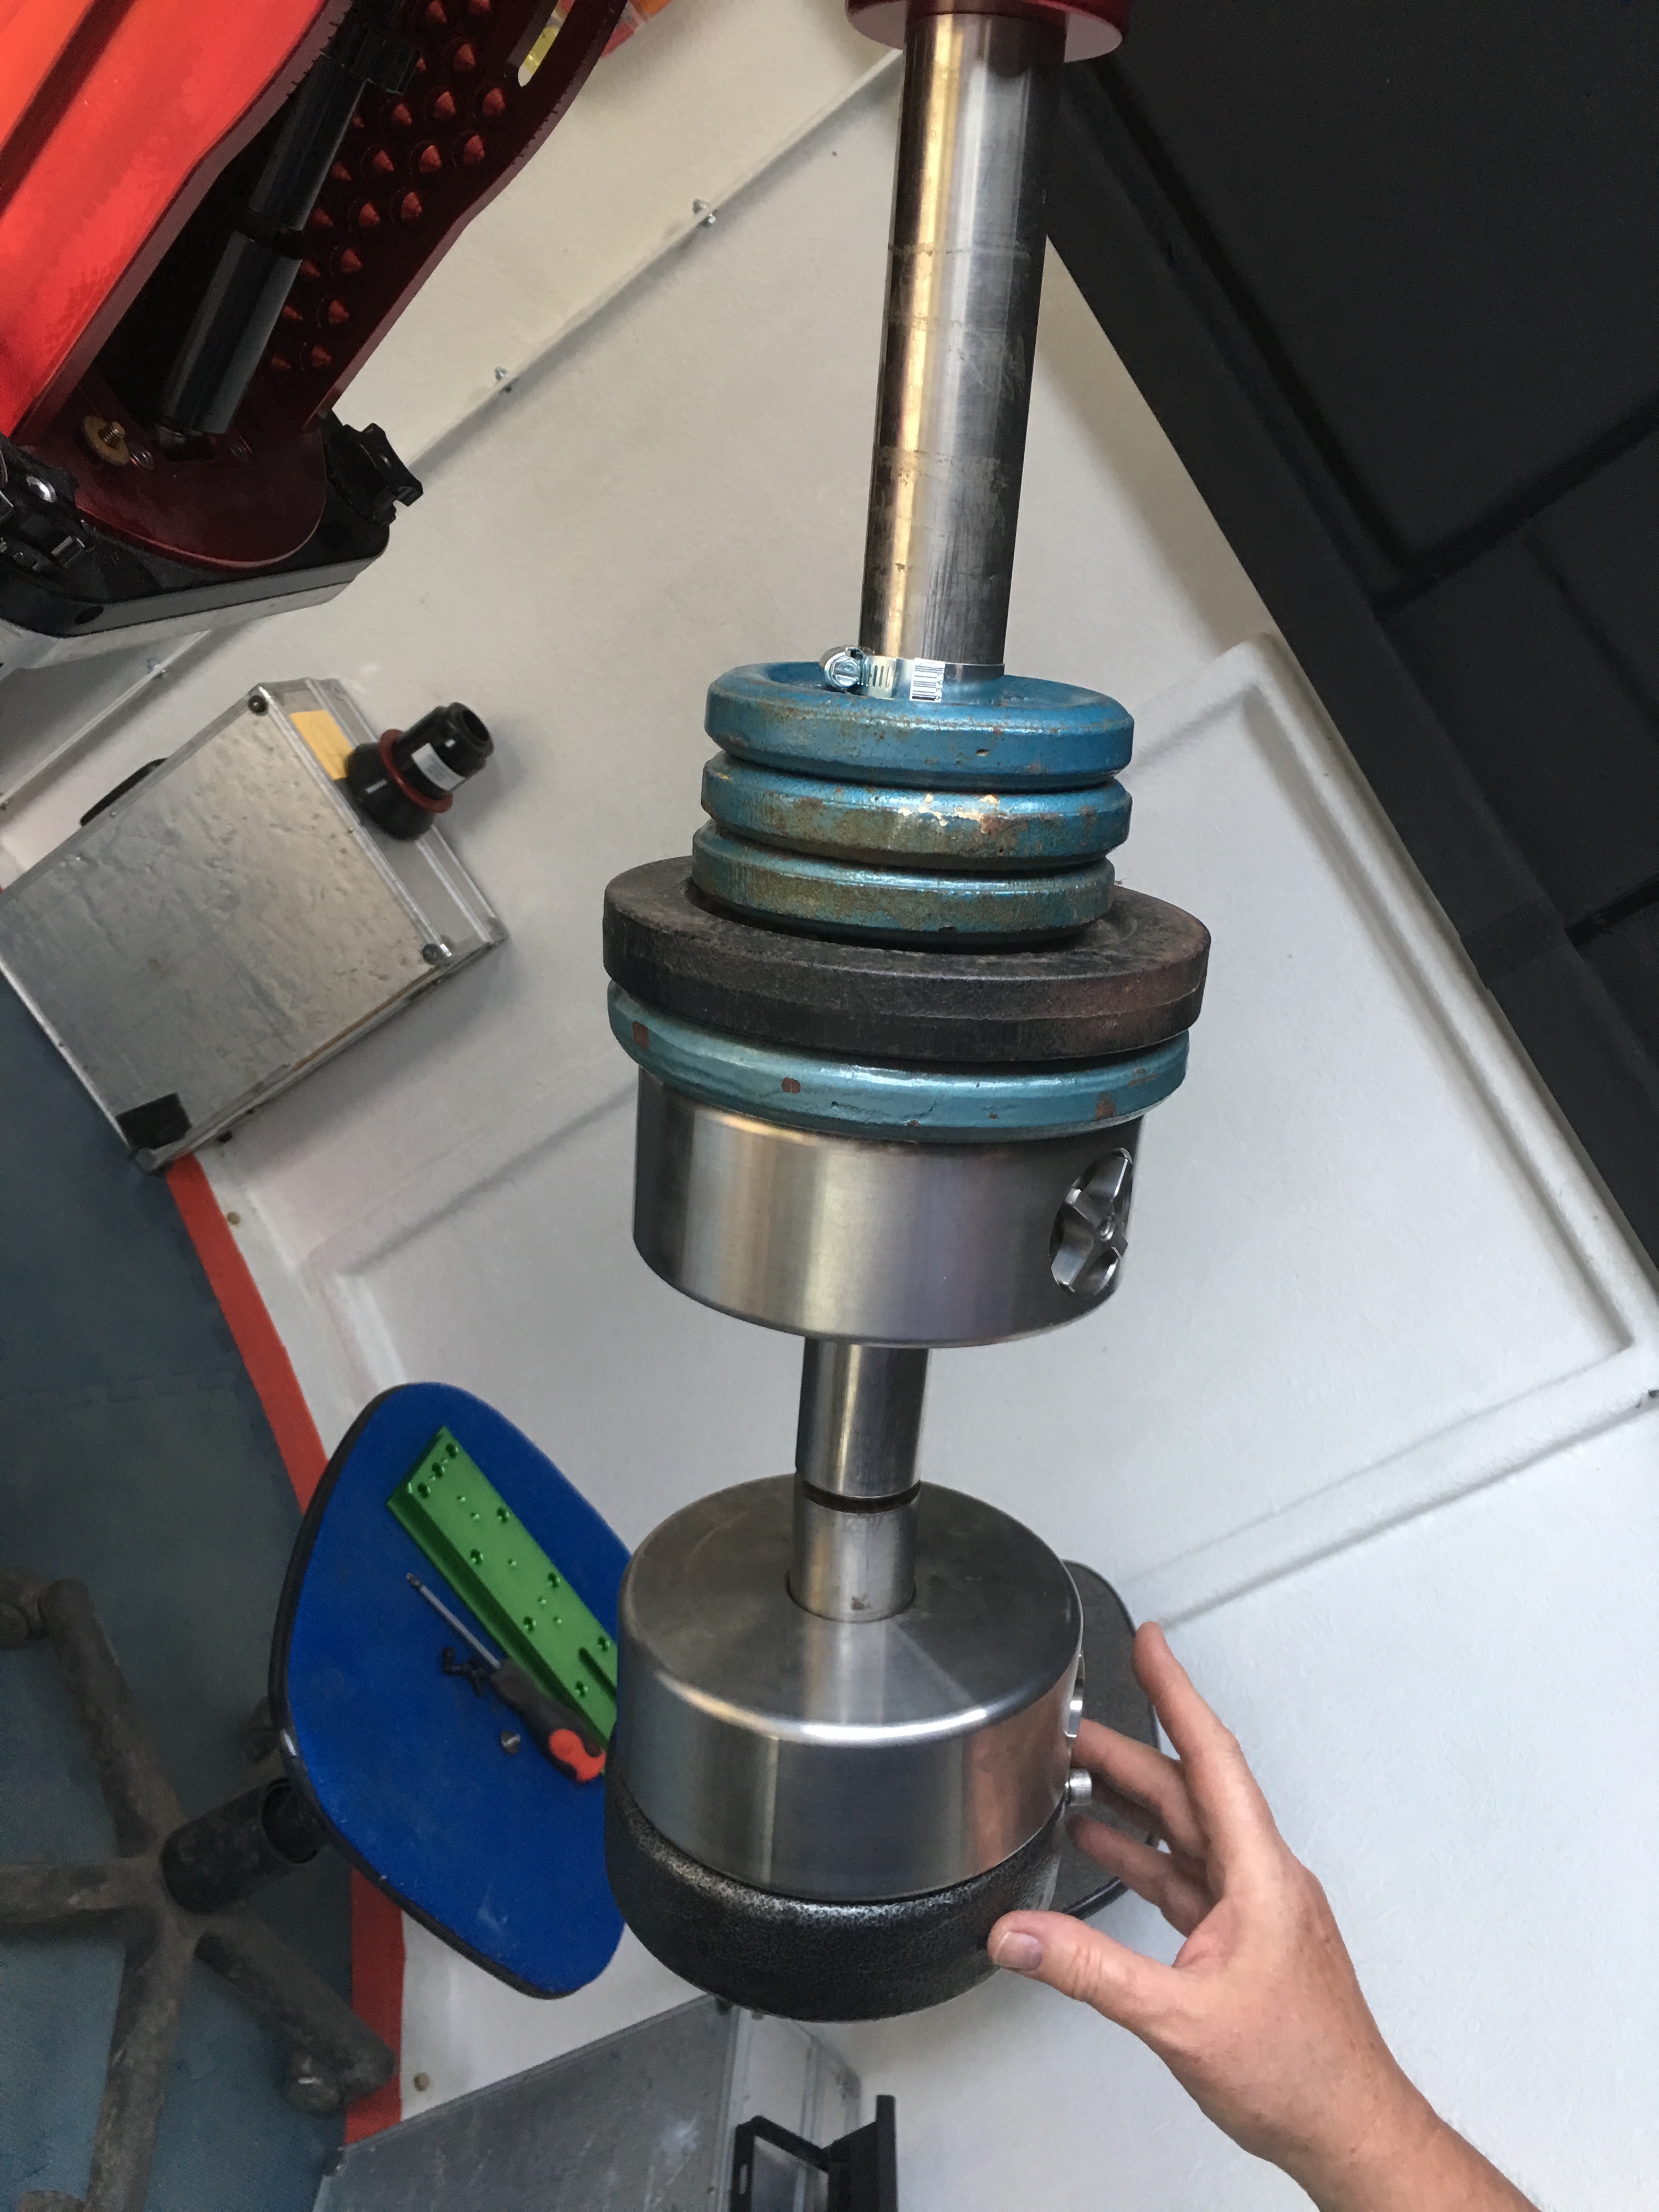
Whilst there is still much more to add including the imaging trains for the other OTAs and the focusers for each of them being added (Lakeside) I managed to go out one evening and get first light with the 12″ OTA on the Moon.
First light of the 12″ for focus
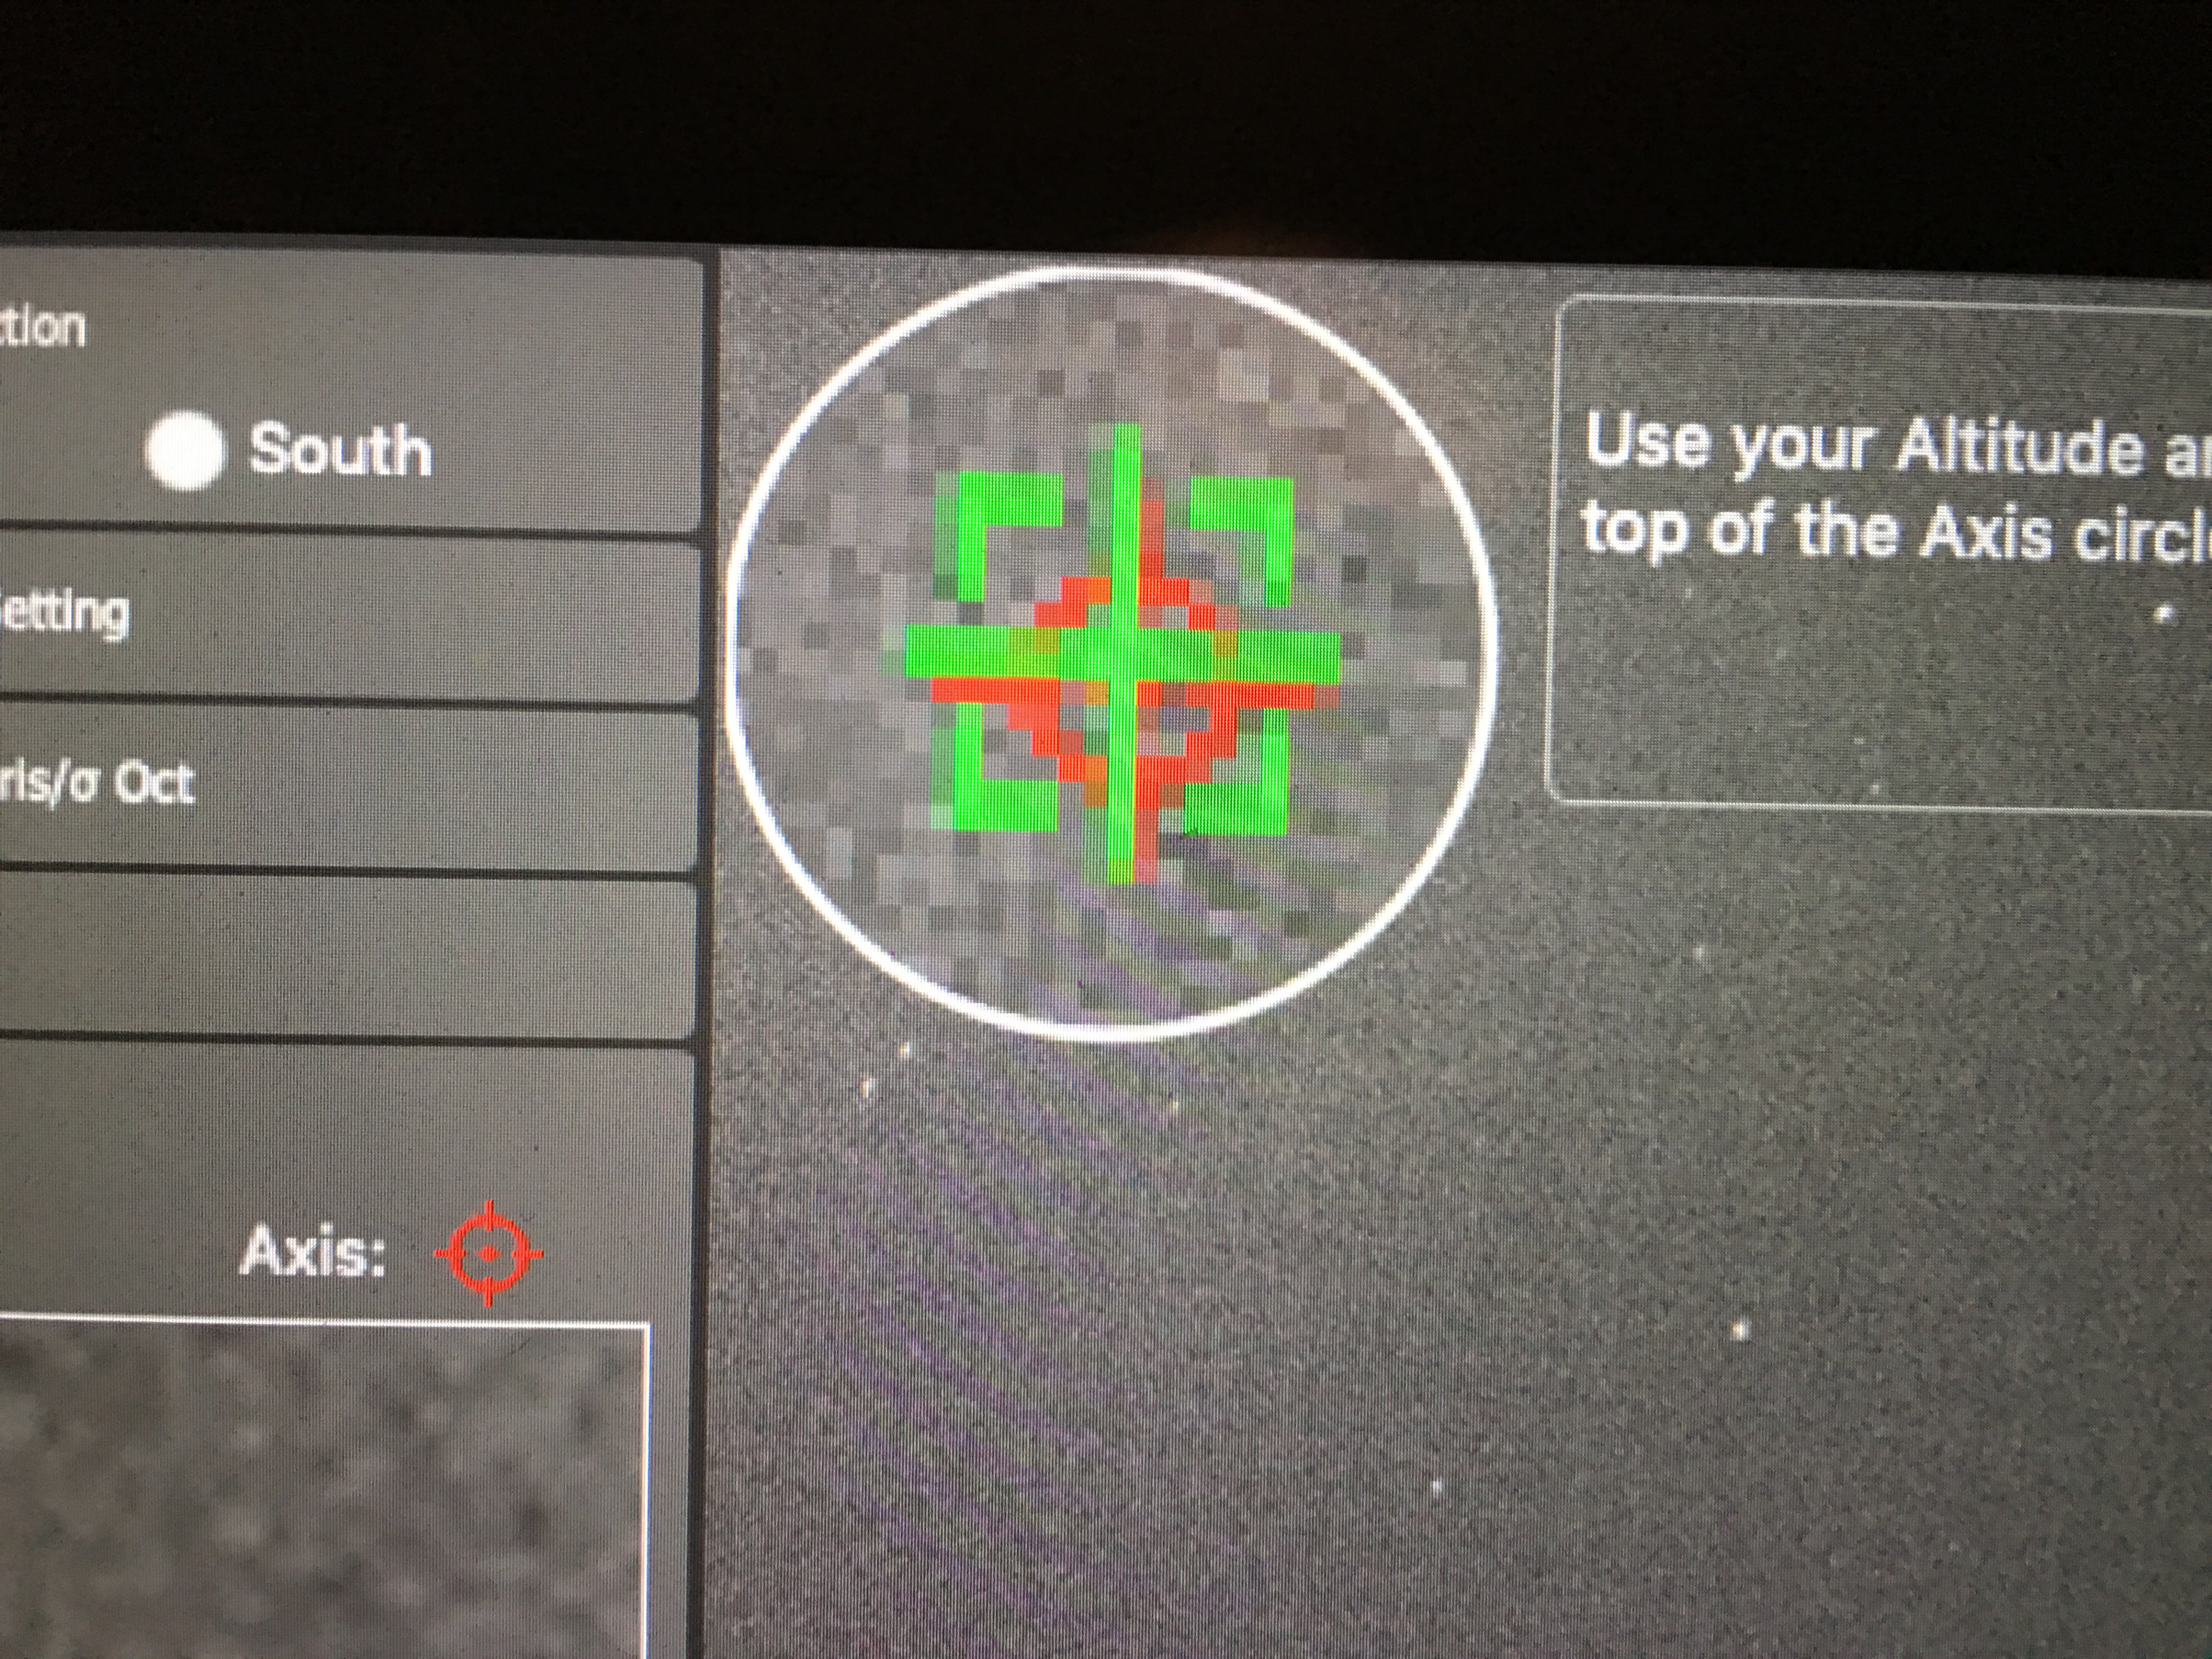
I started the first run of polar alignment with the PoleMaster for which I dedicated an entire blog entry to it here.
as it’s more complicated than one might think. This is the initial polar alignment through hard work and measuring twice always!
How close was our polar alignment?
Polaris is the bright star and needs to be in the white circle. Not bad for a rough alignment. I then proceeded to adjust the alignment based on this first result until the green and red square/crosses aligned. It should be noted that the accuracy for the Polemaster is ok for short focal length OTAs but for long focal length you need to use a combination of approaches which include on the Paramount using TPoint followed by drift aligning using PHD2.
Perfect polar alignment……..
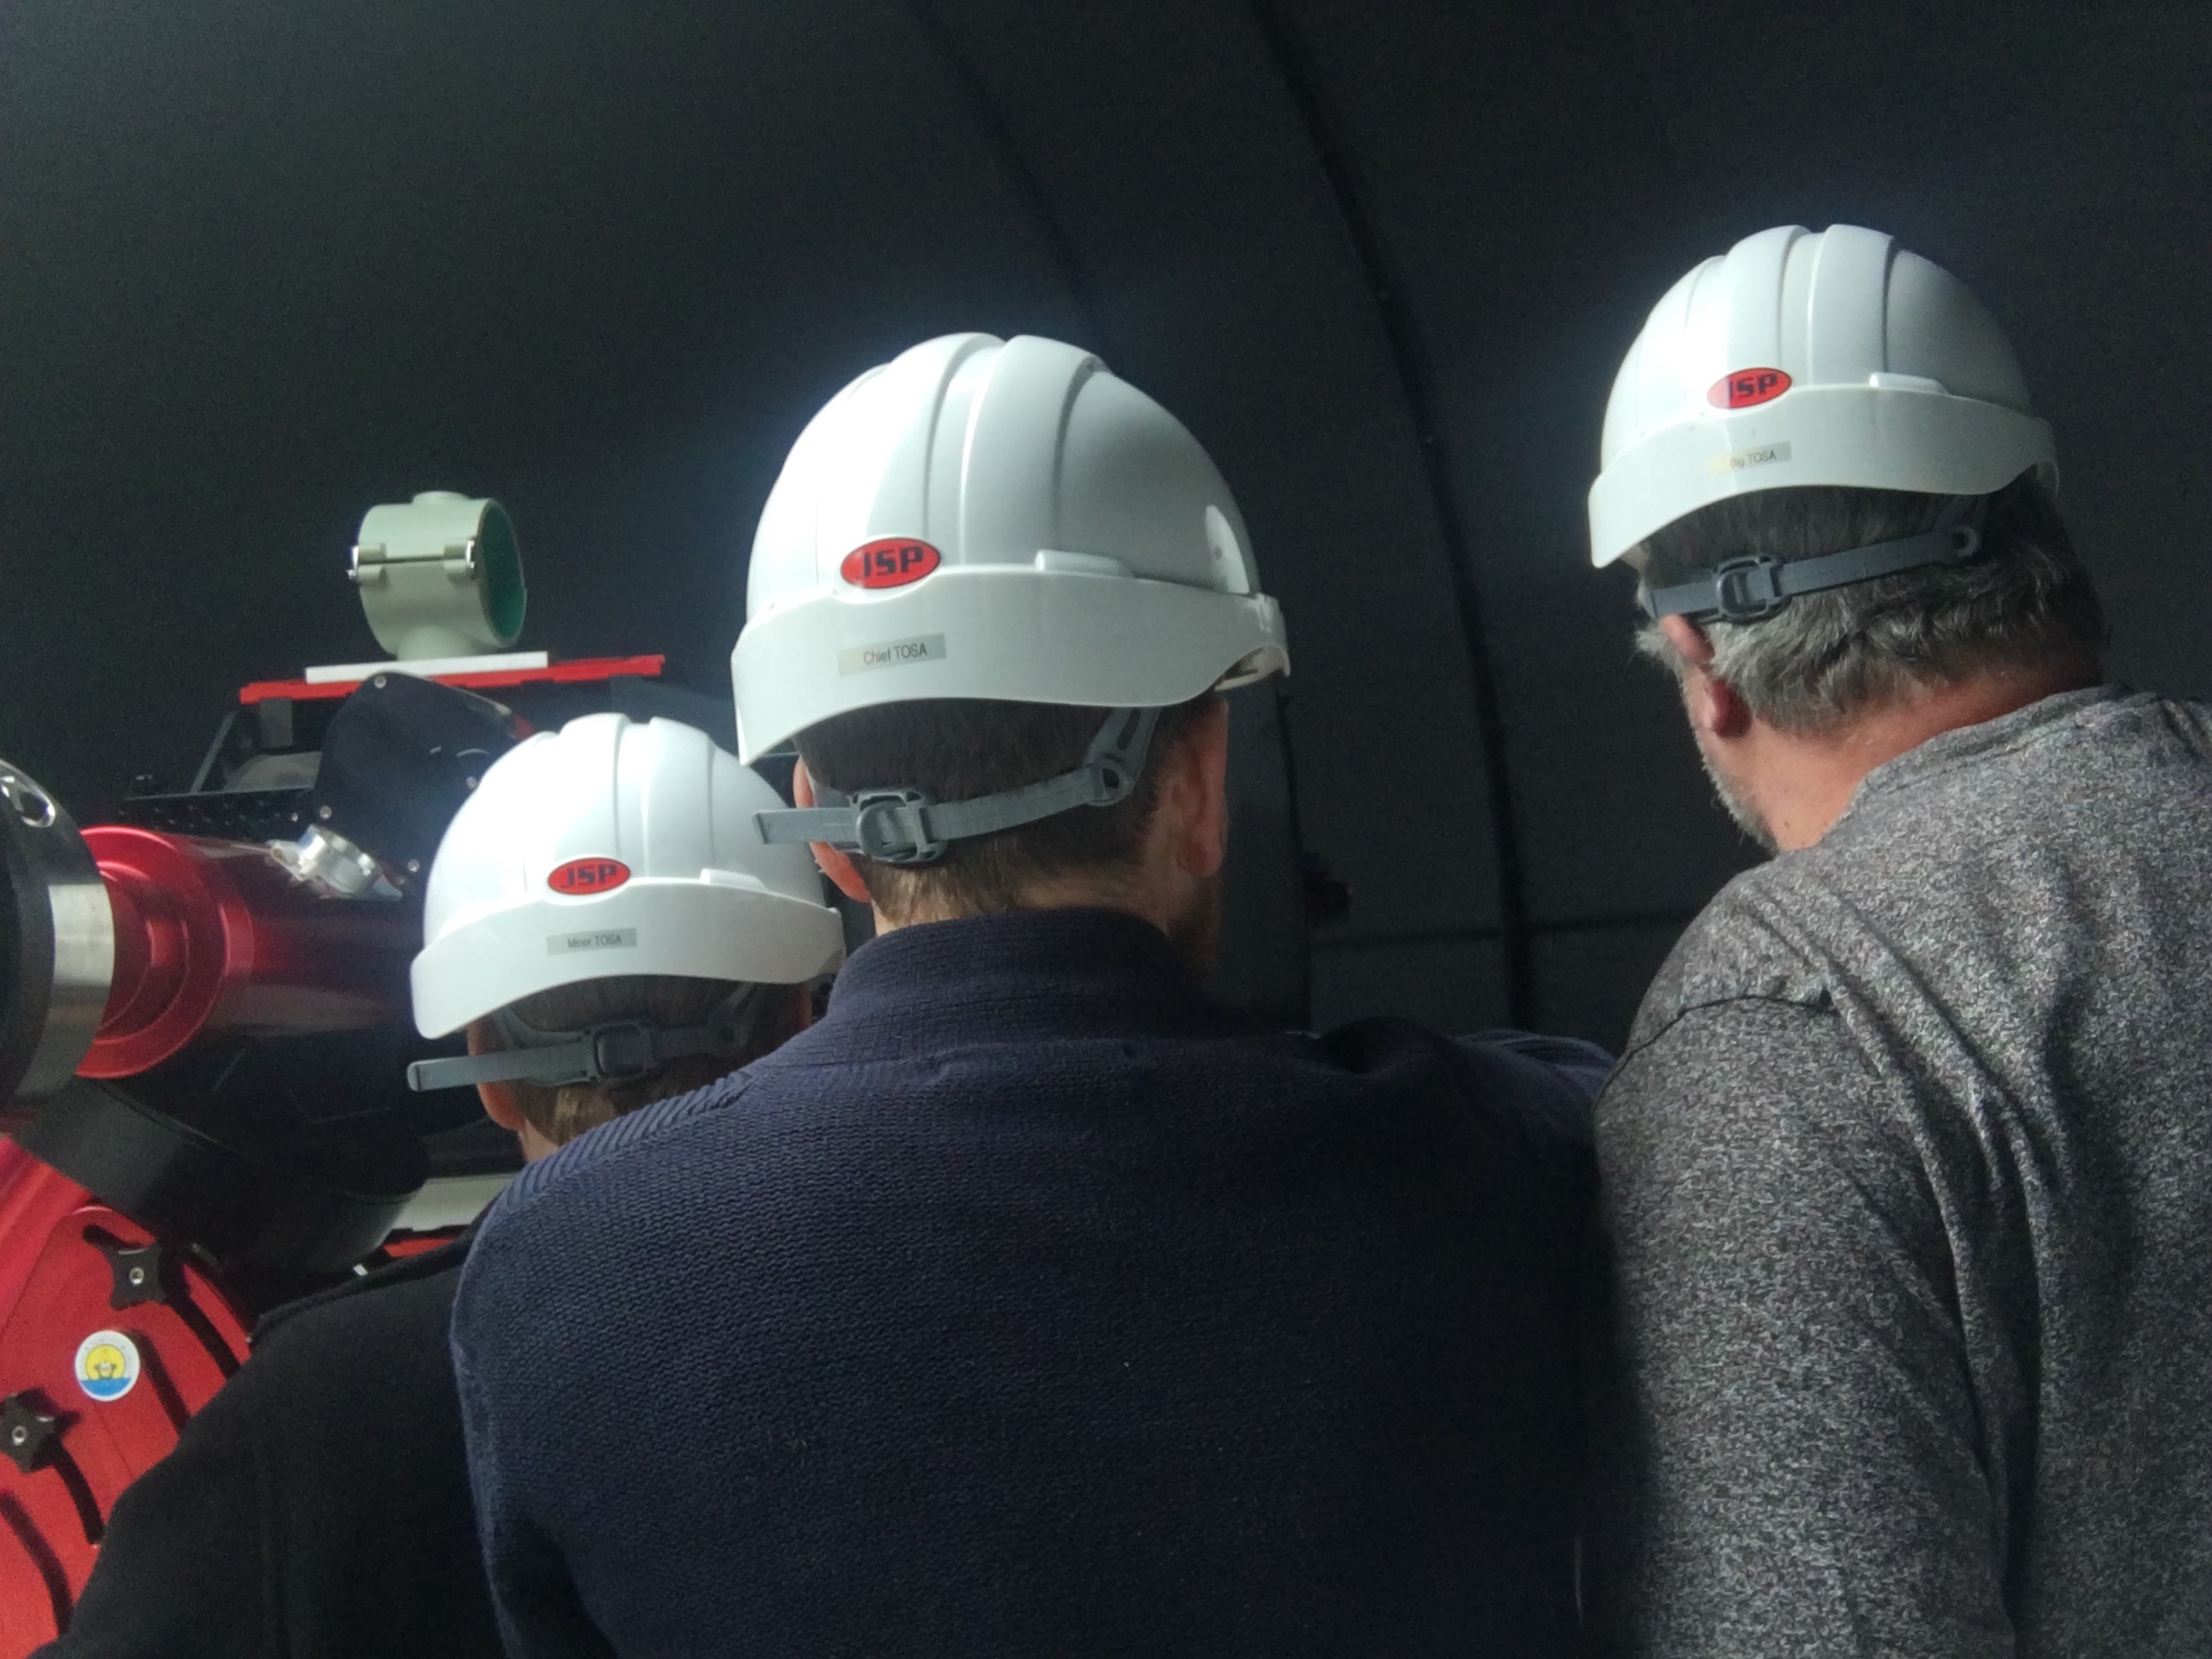
So after many days building out the IMT3 the 3 geeks with their hard hats relax and have another beer.
TOSAs
And the business end of the scope starts to look more useful and beautiful to the trained eye.
So I left you with the weather station build out and will happily provide details of the software used and some of the challenges we had / have getting this working as out of the box most thing just don’t work, fortunately I have a Bob and a GingerGeek to assist 🙂
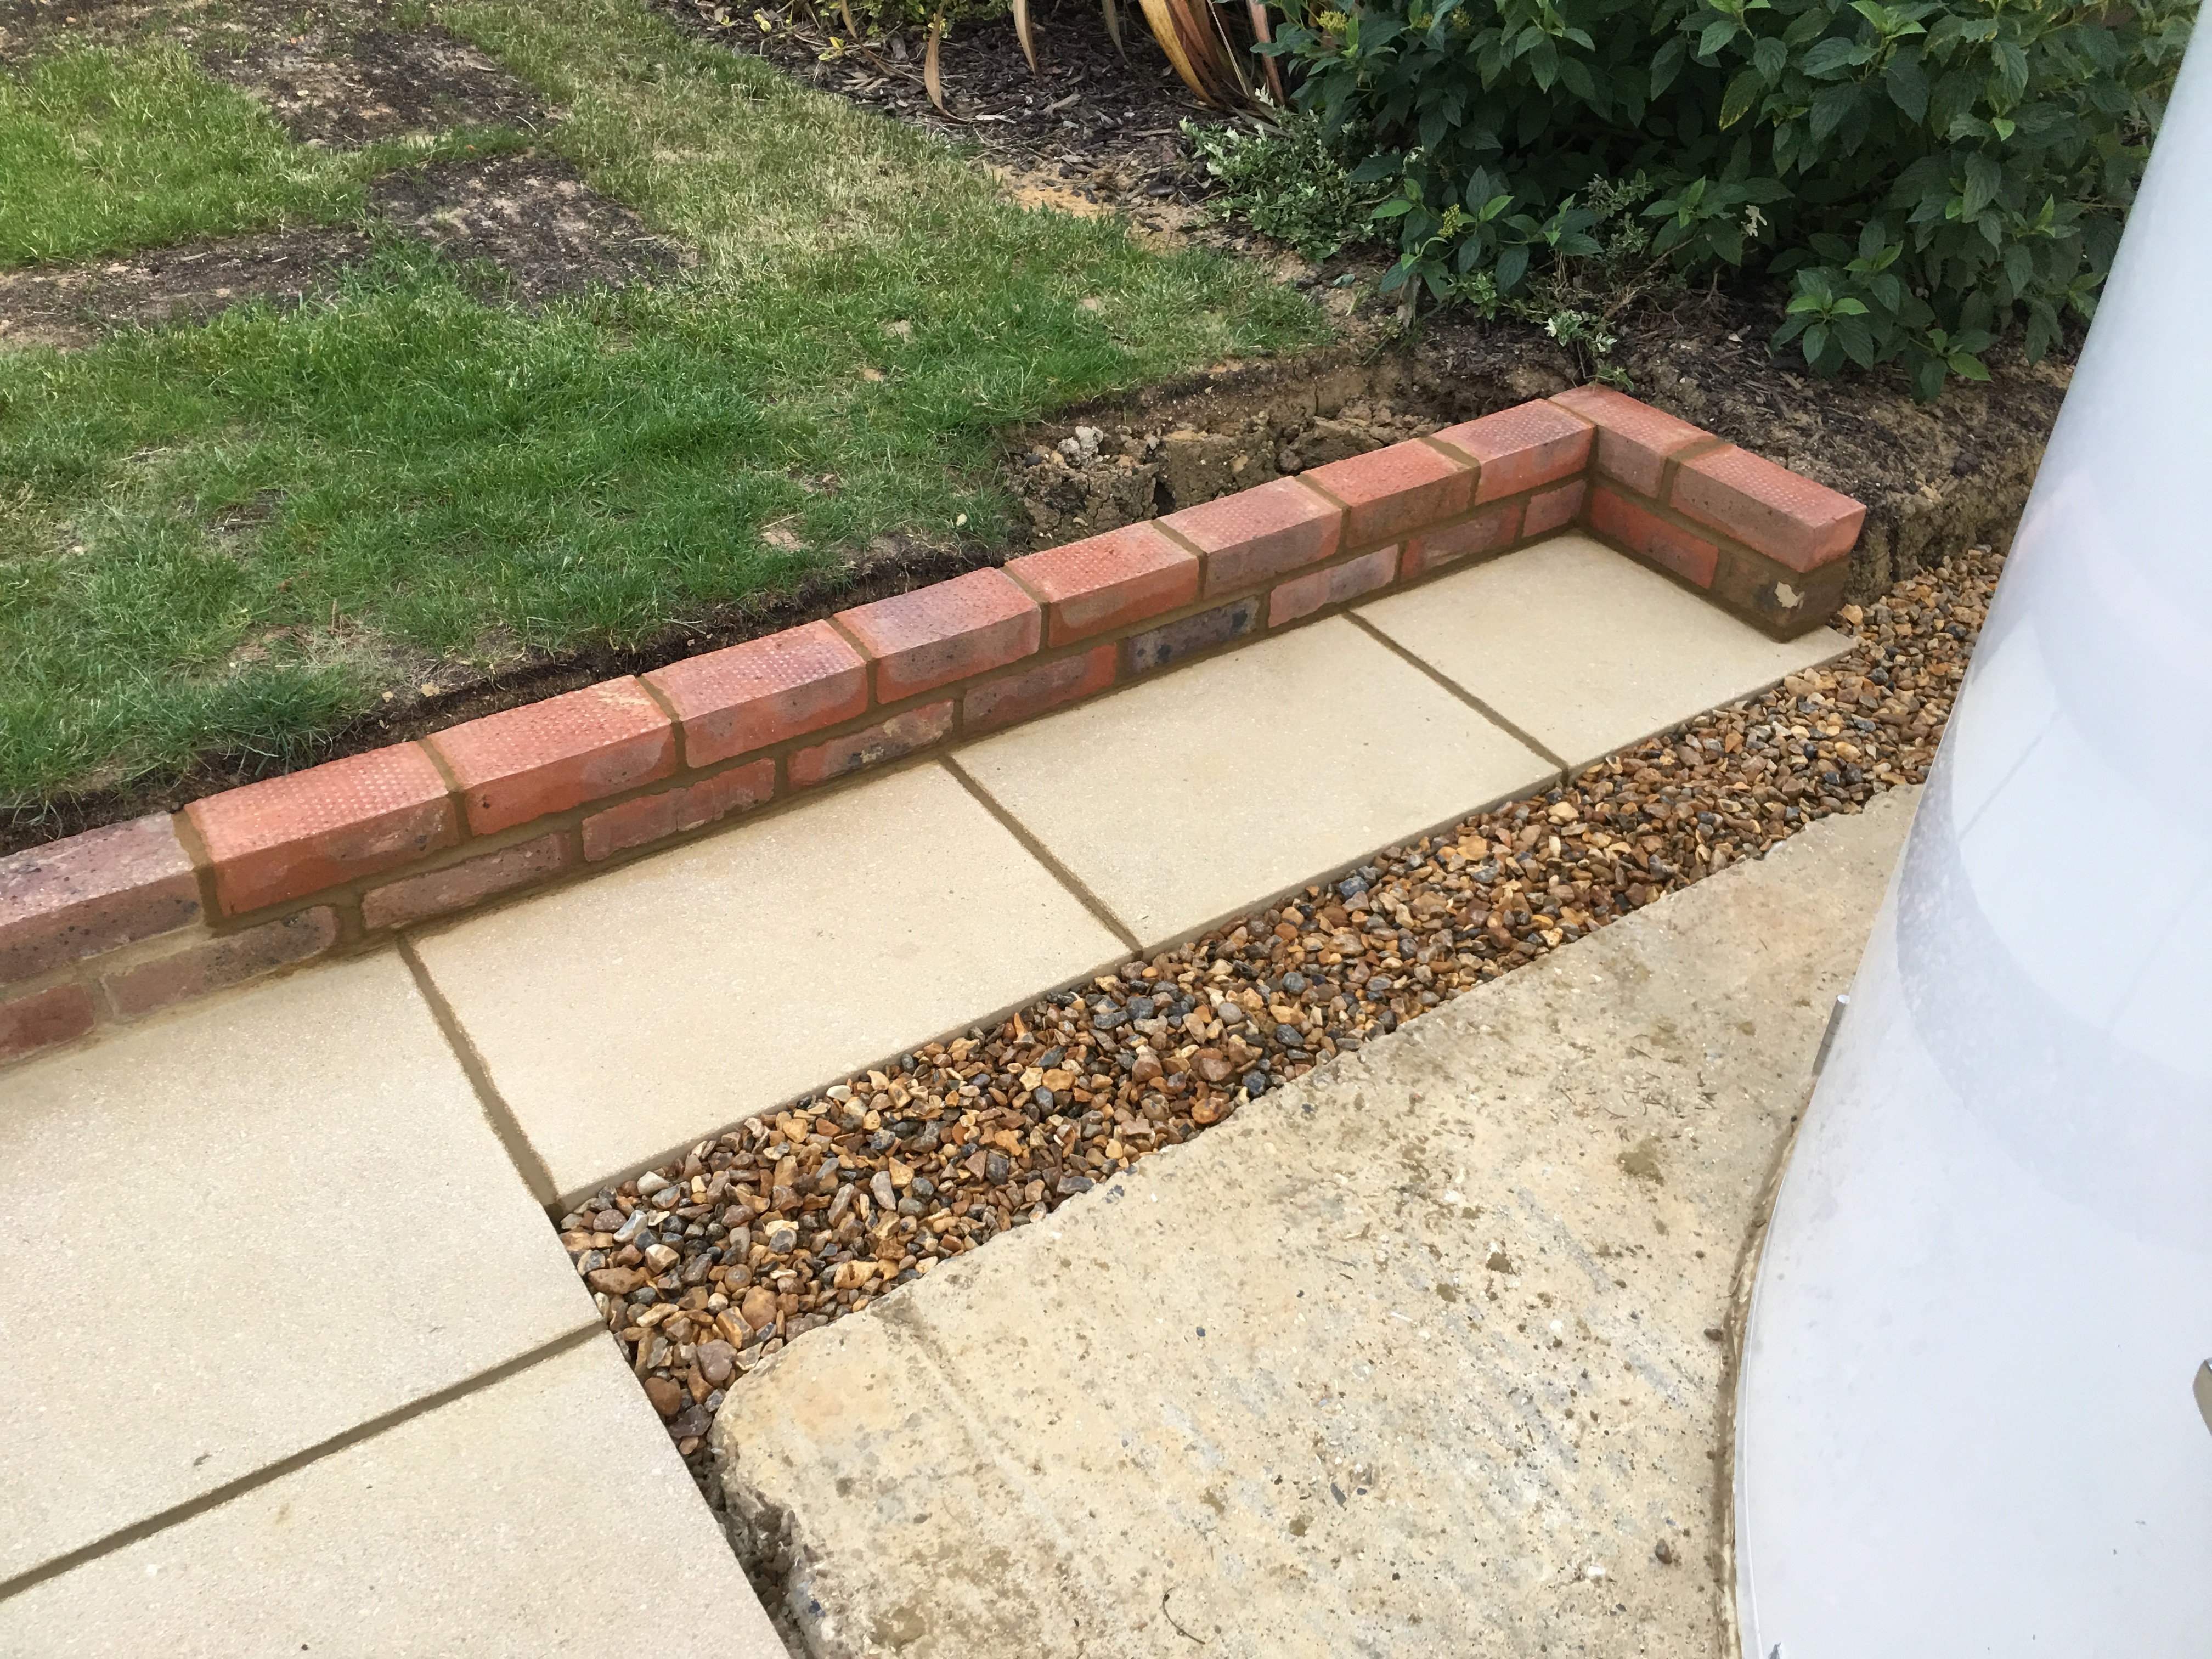
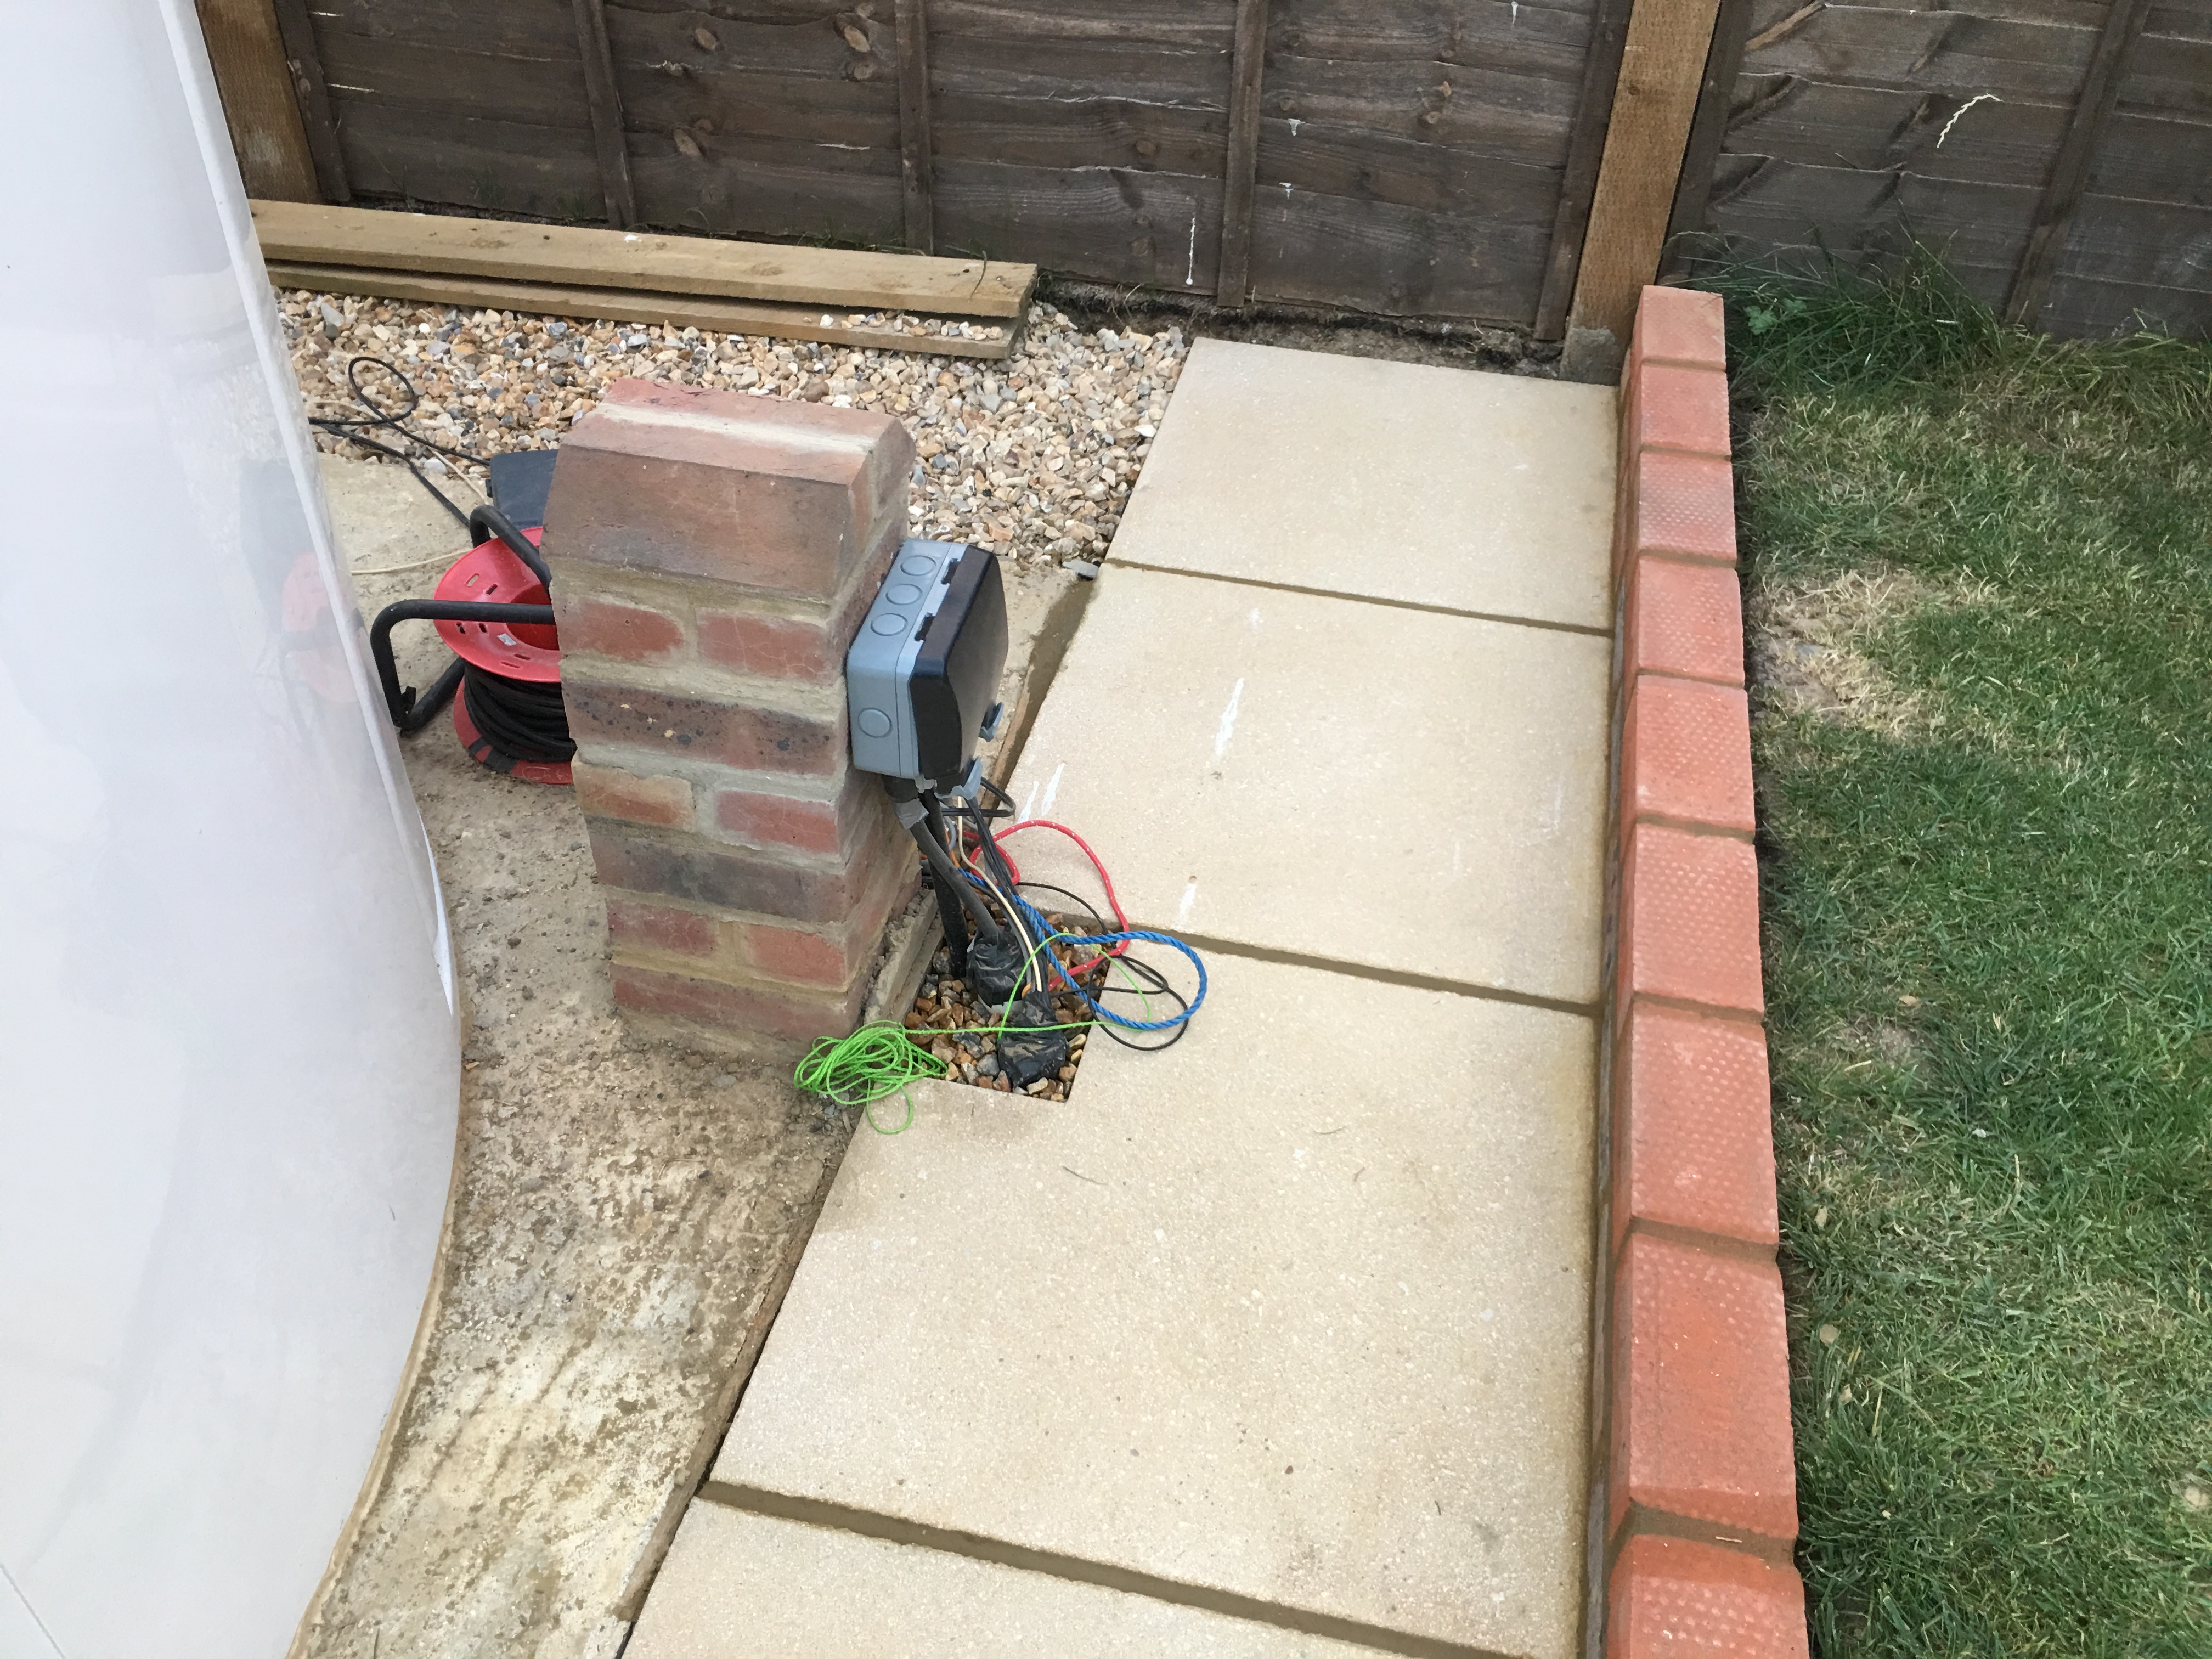
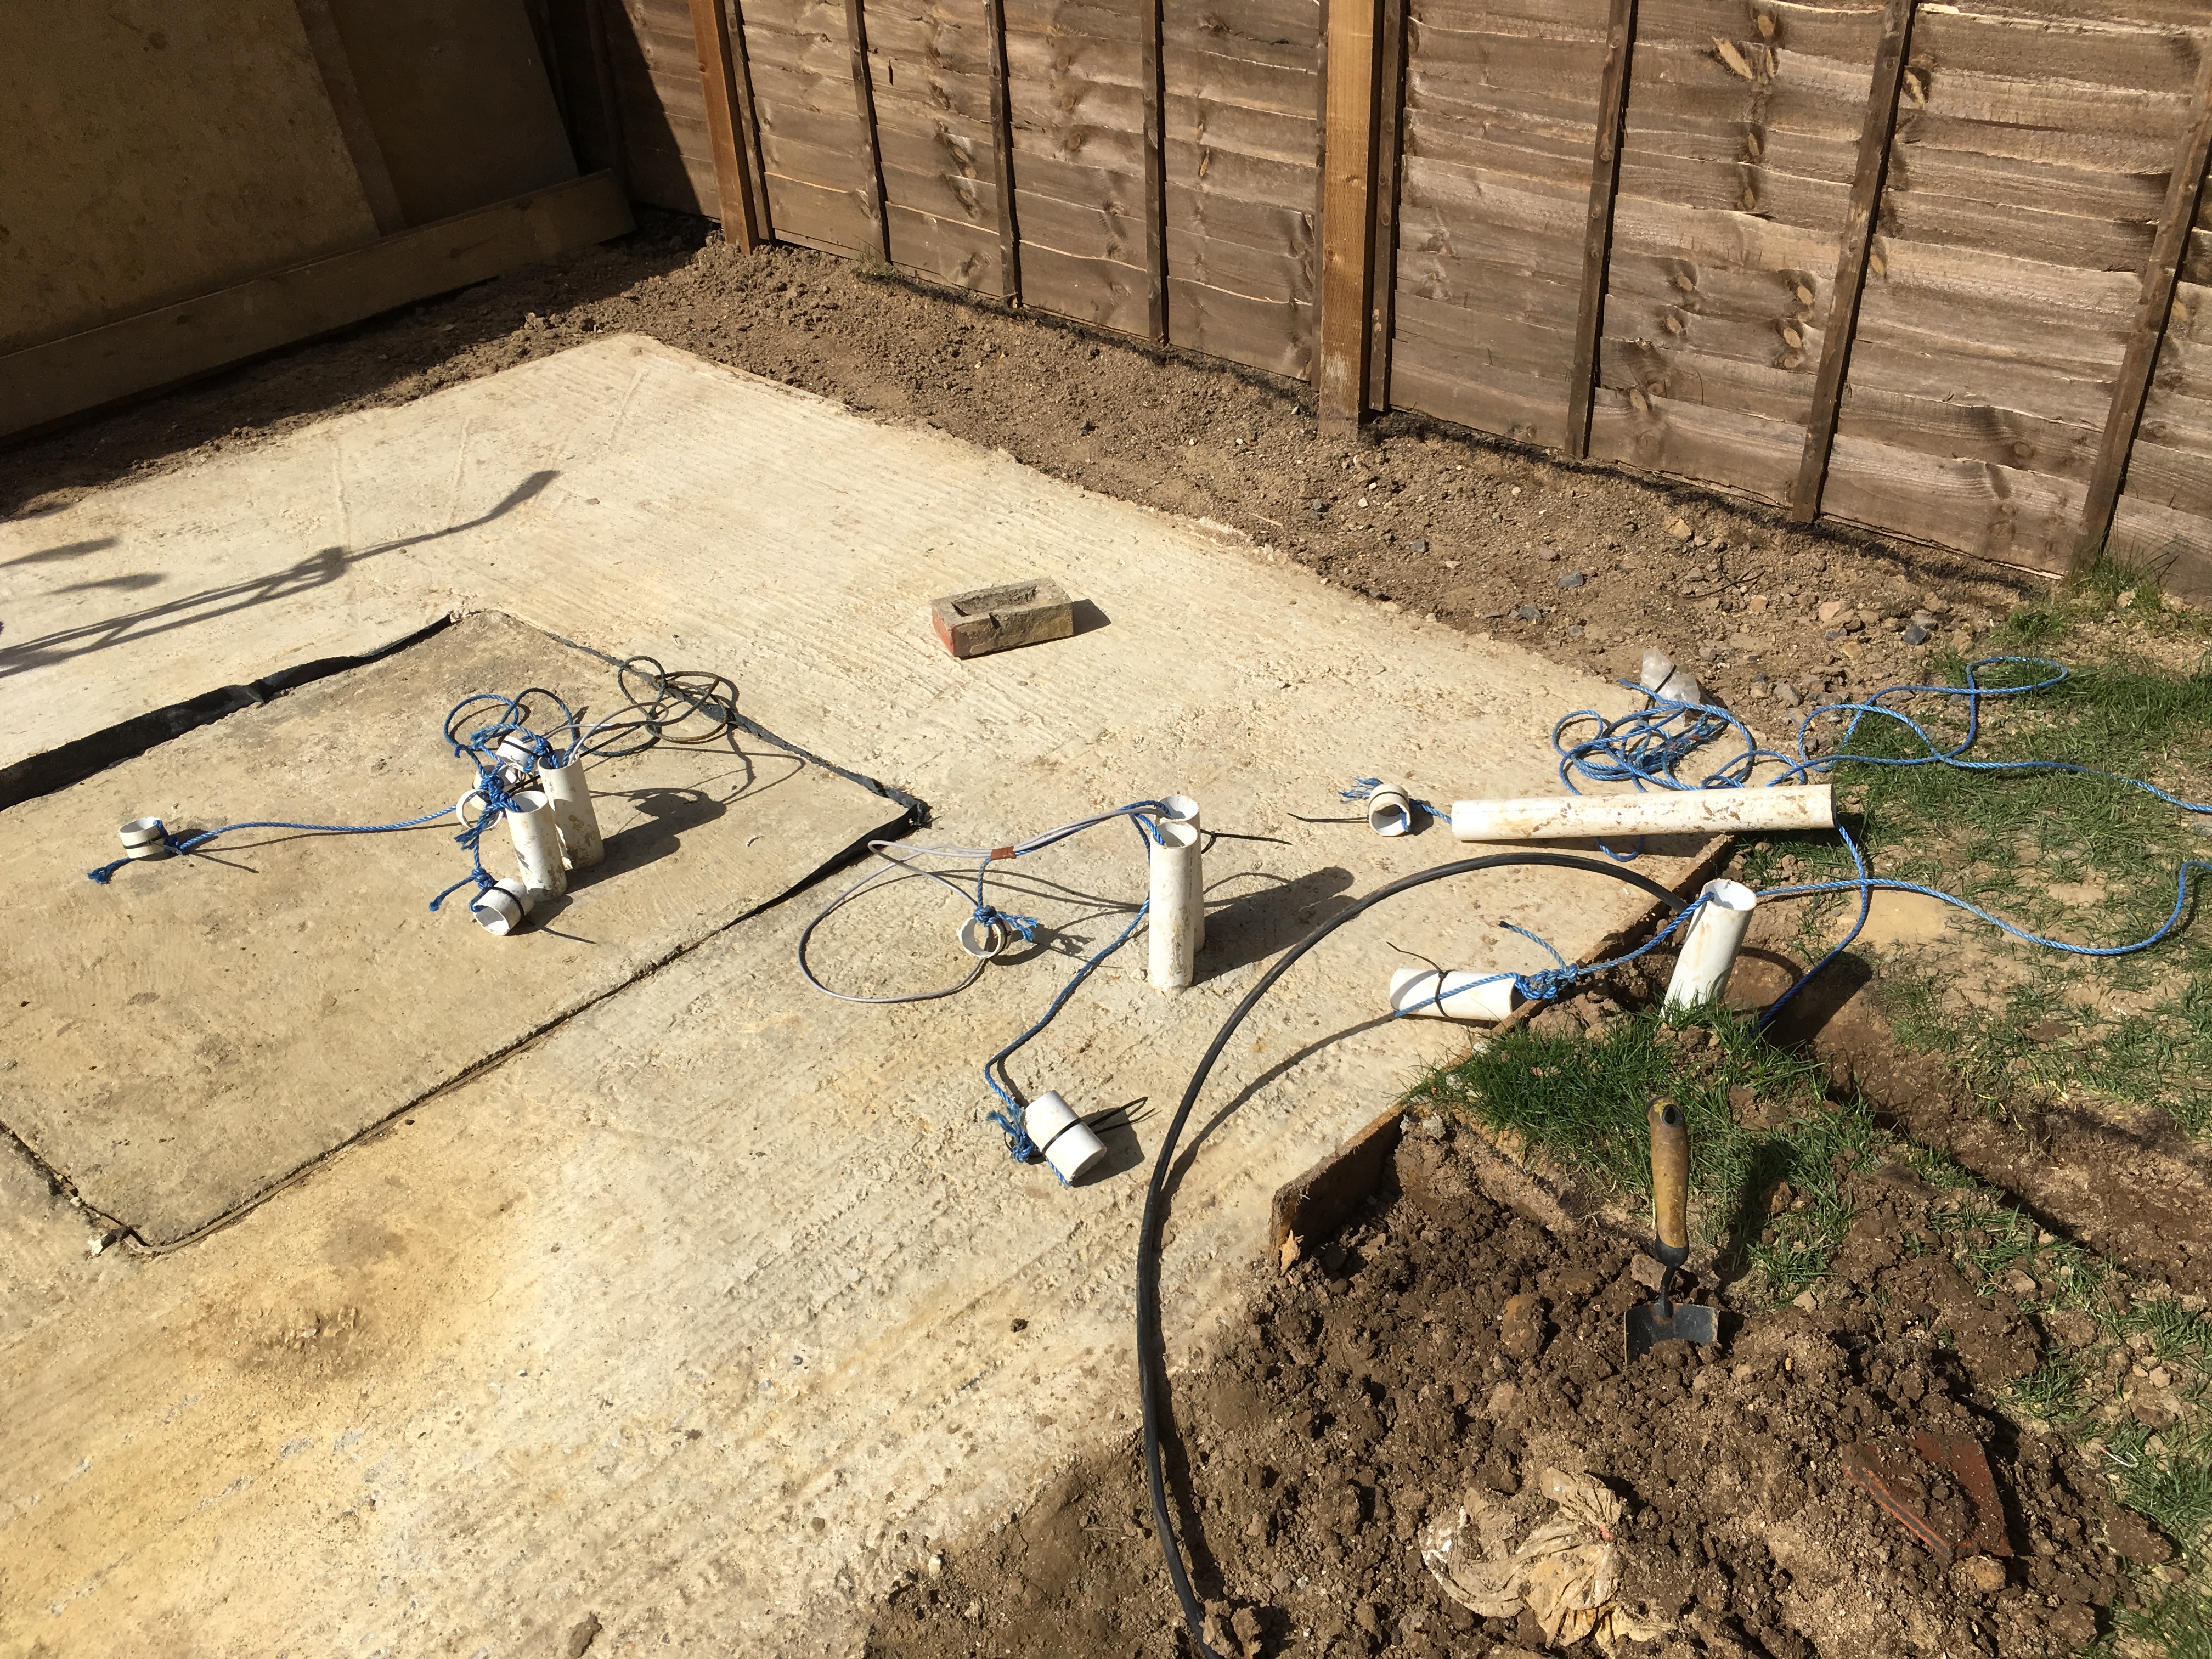
The outside takes shape with the patio being completed next to the french drain and a retaining wall being built, along with a small chimney of bricks to hold the master outside socket for the weather station.
Patio and retaining wall near French drainBrick chimney for outside power
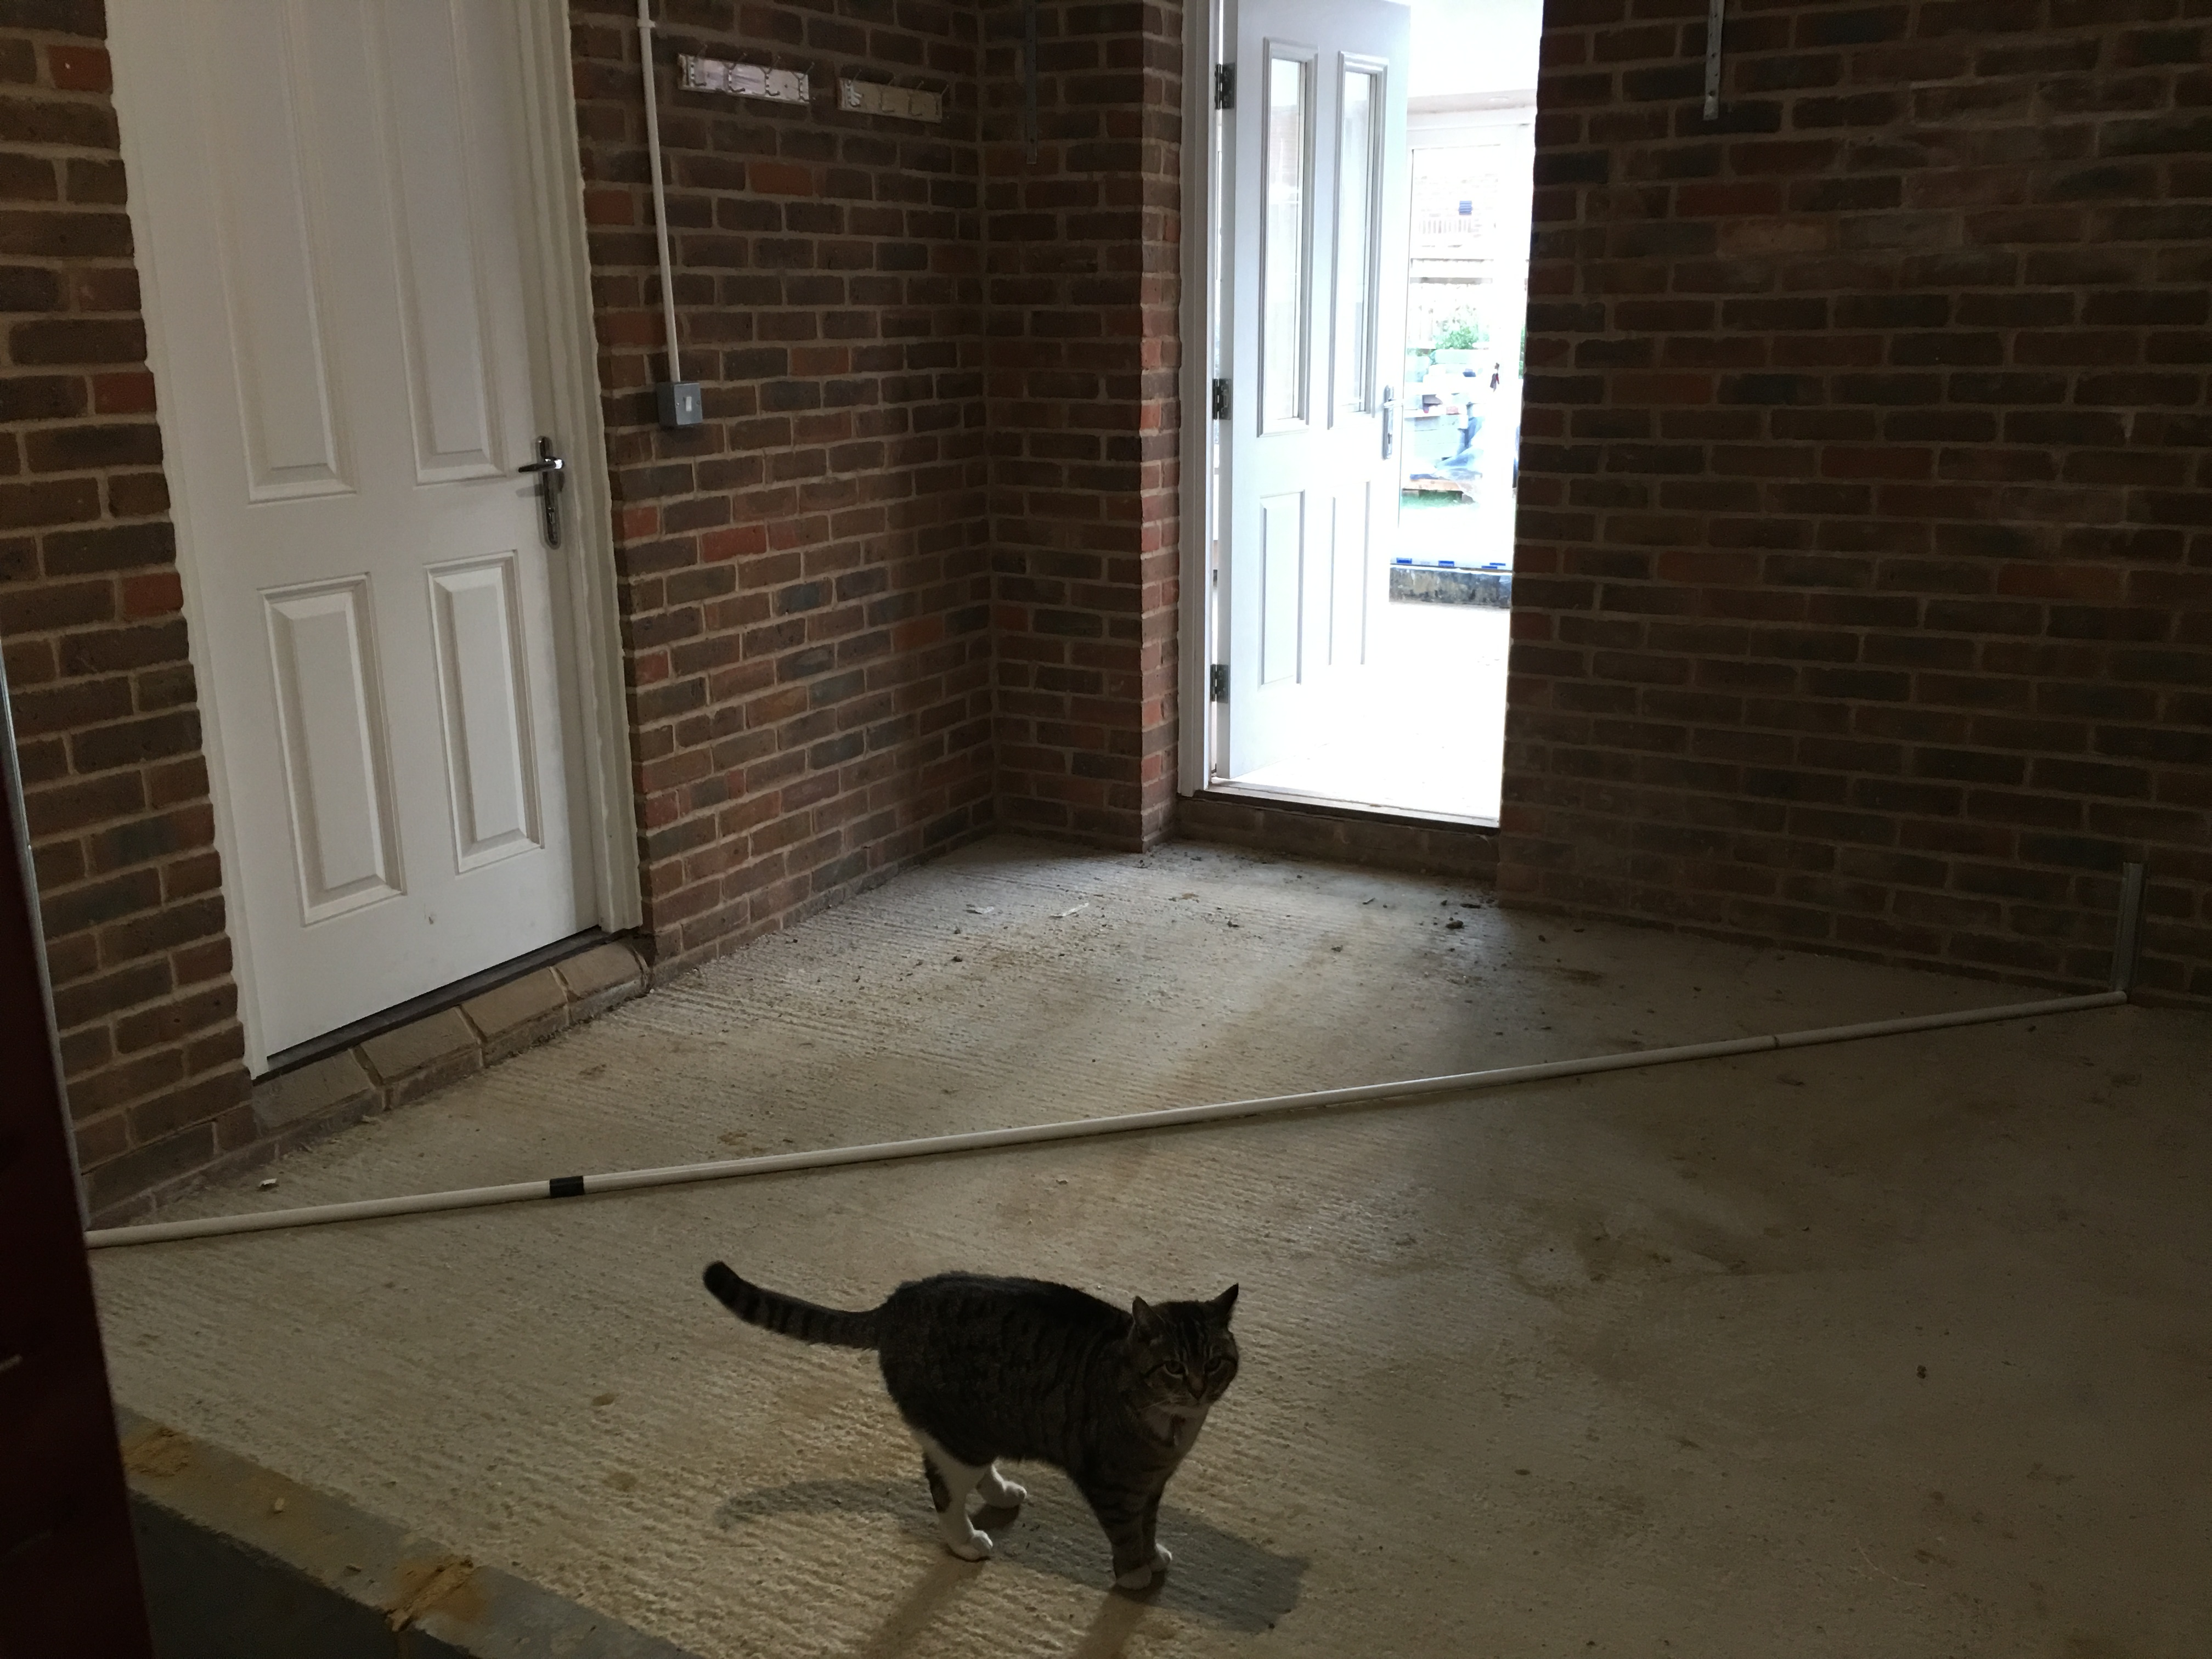
The last few touches have been done to the Orangery and building of a second utility room which helped as it gave me somewhere to run the Cat6 cable from the dome 🙂
Cat 6 cable
Although my cat Fluffy was curious about what it was.
Literally Cat 6 cable 🙂
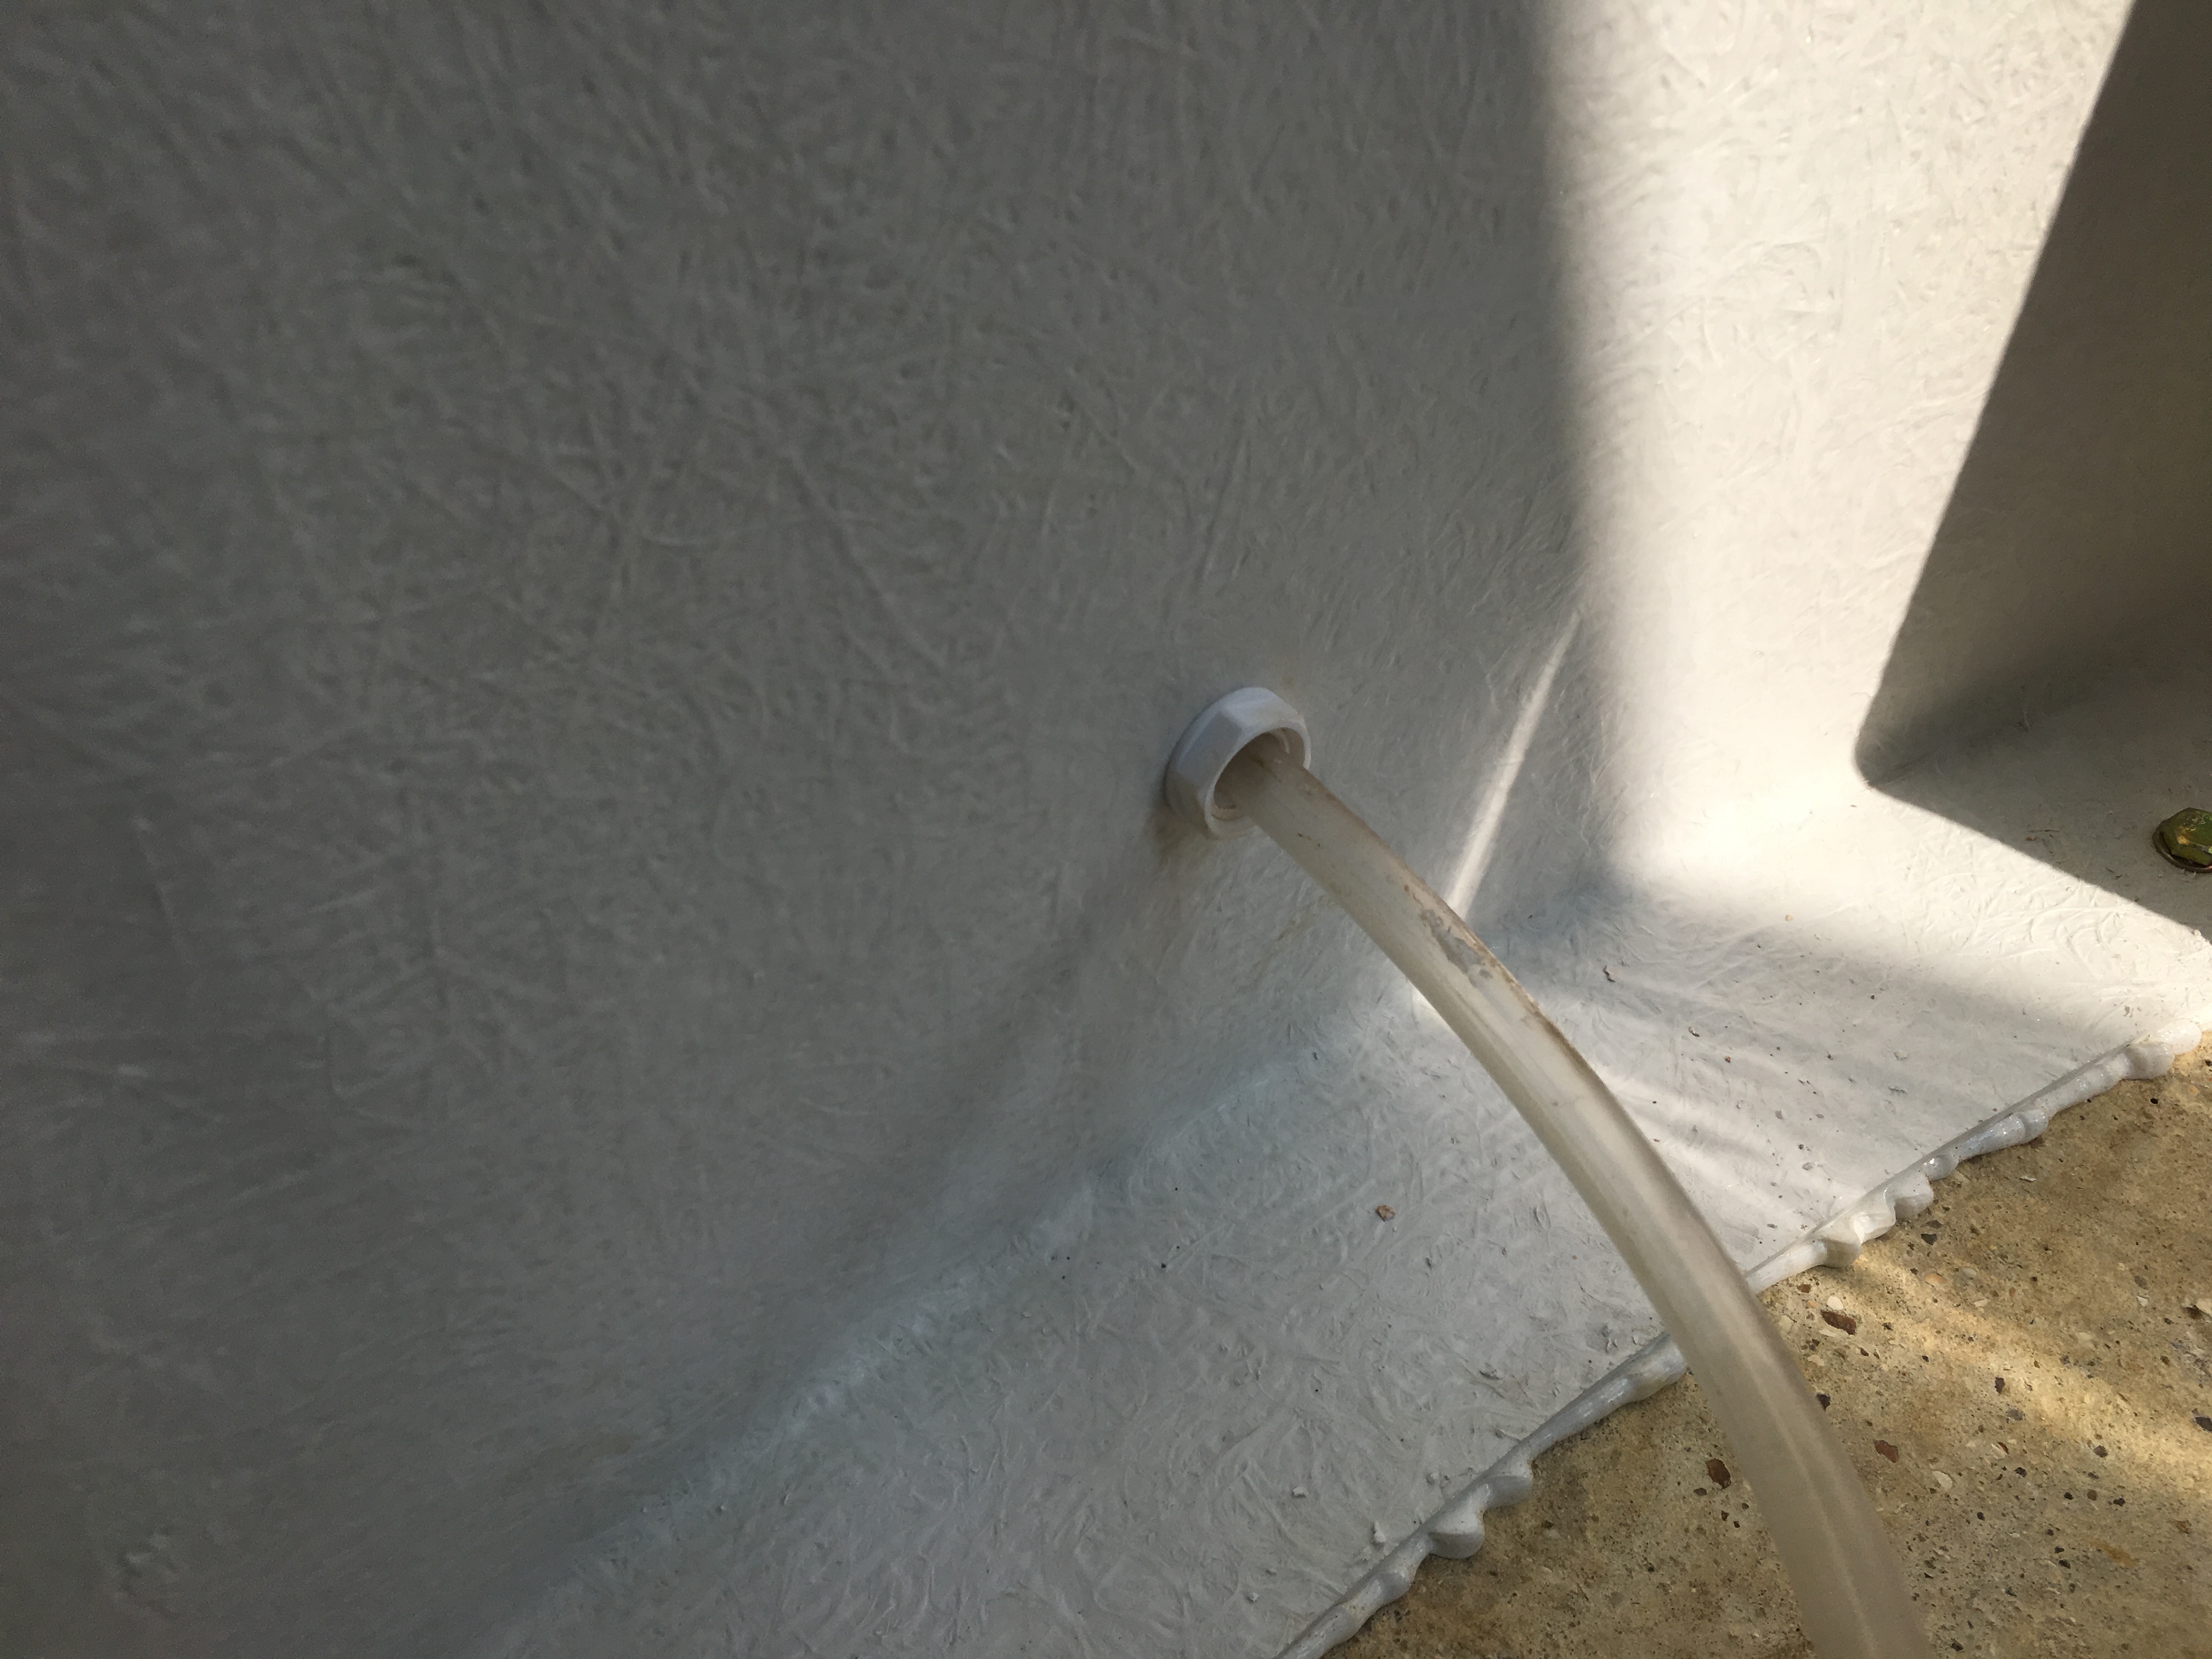
The inside of the dome had the hole drilled and pipe and associated collet fitted for the dehumidifier
Dehumidifier inside connection
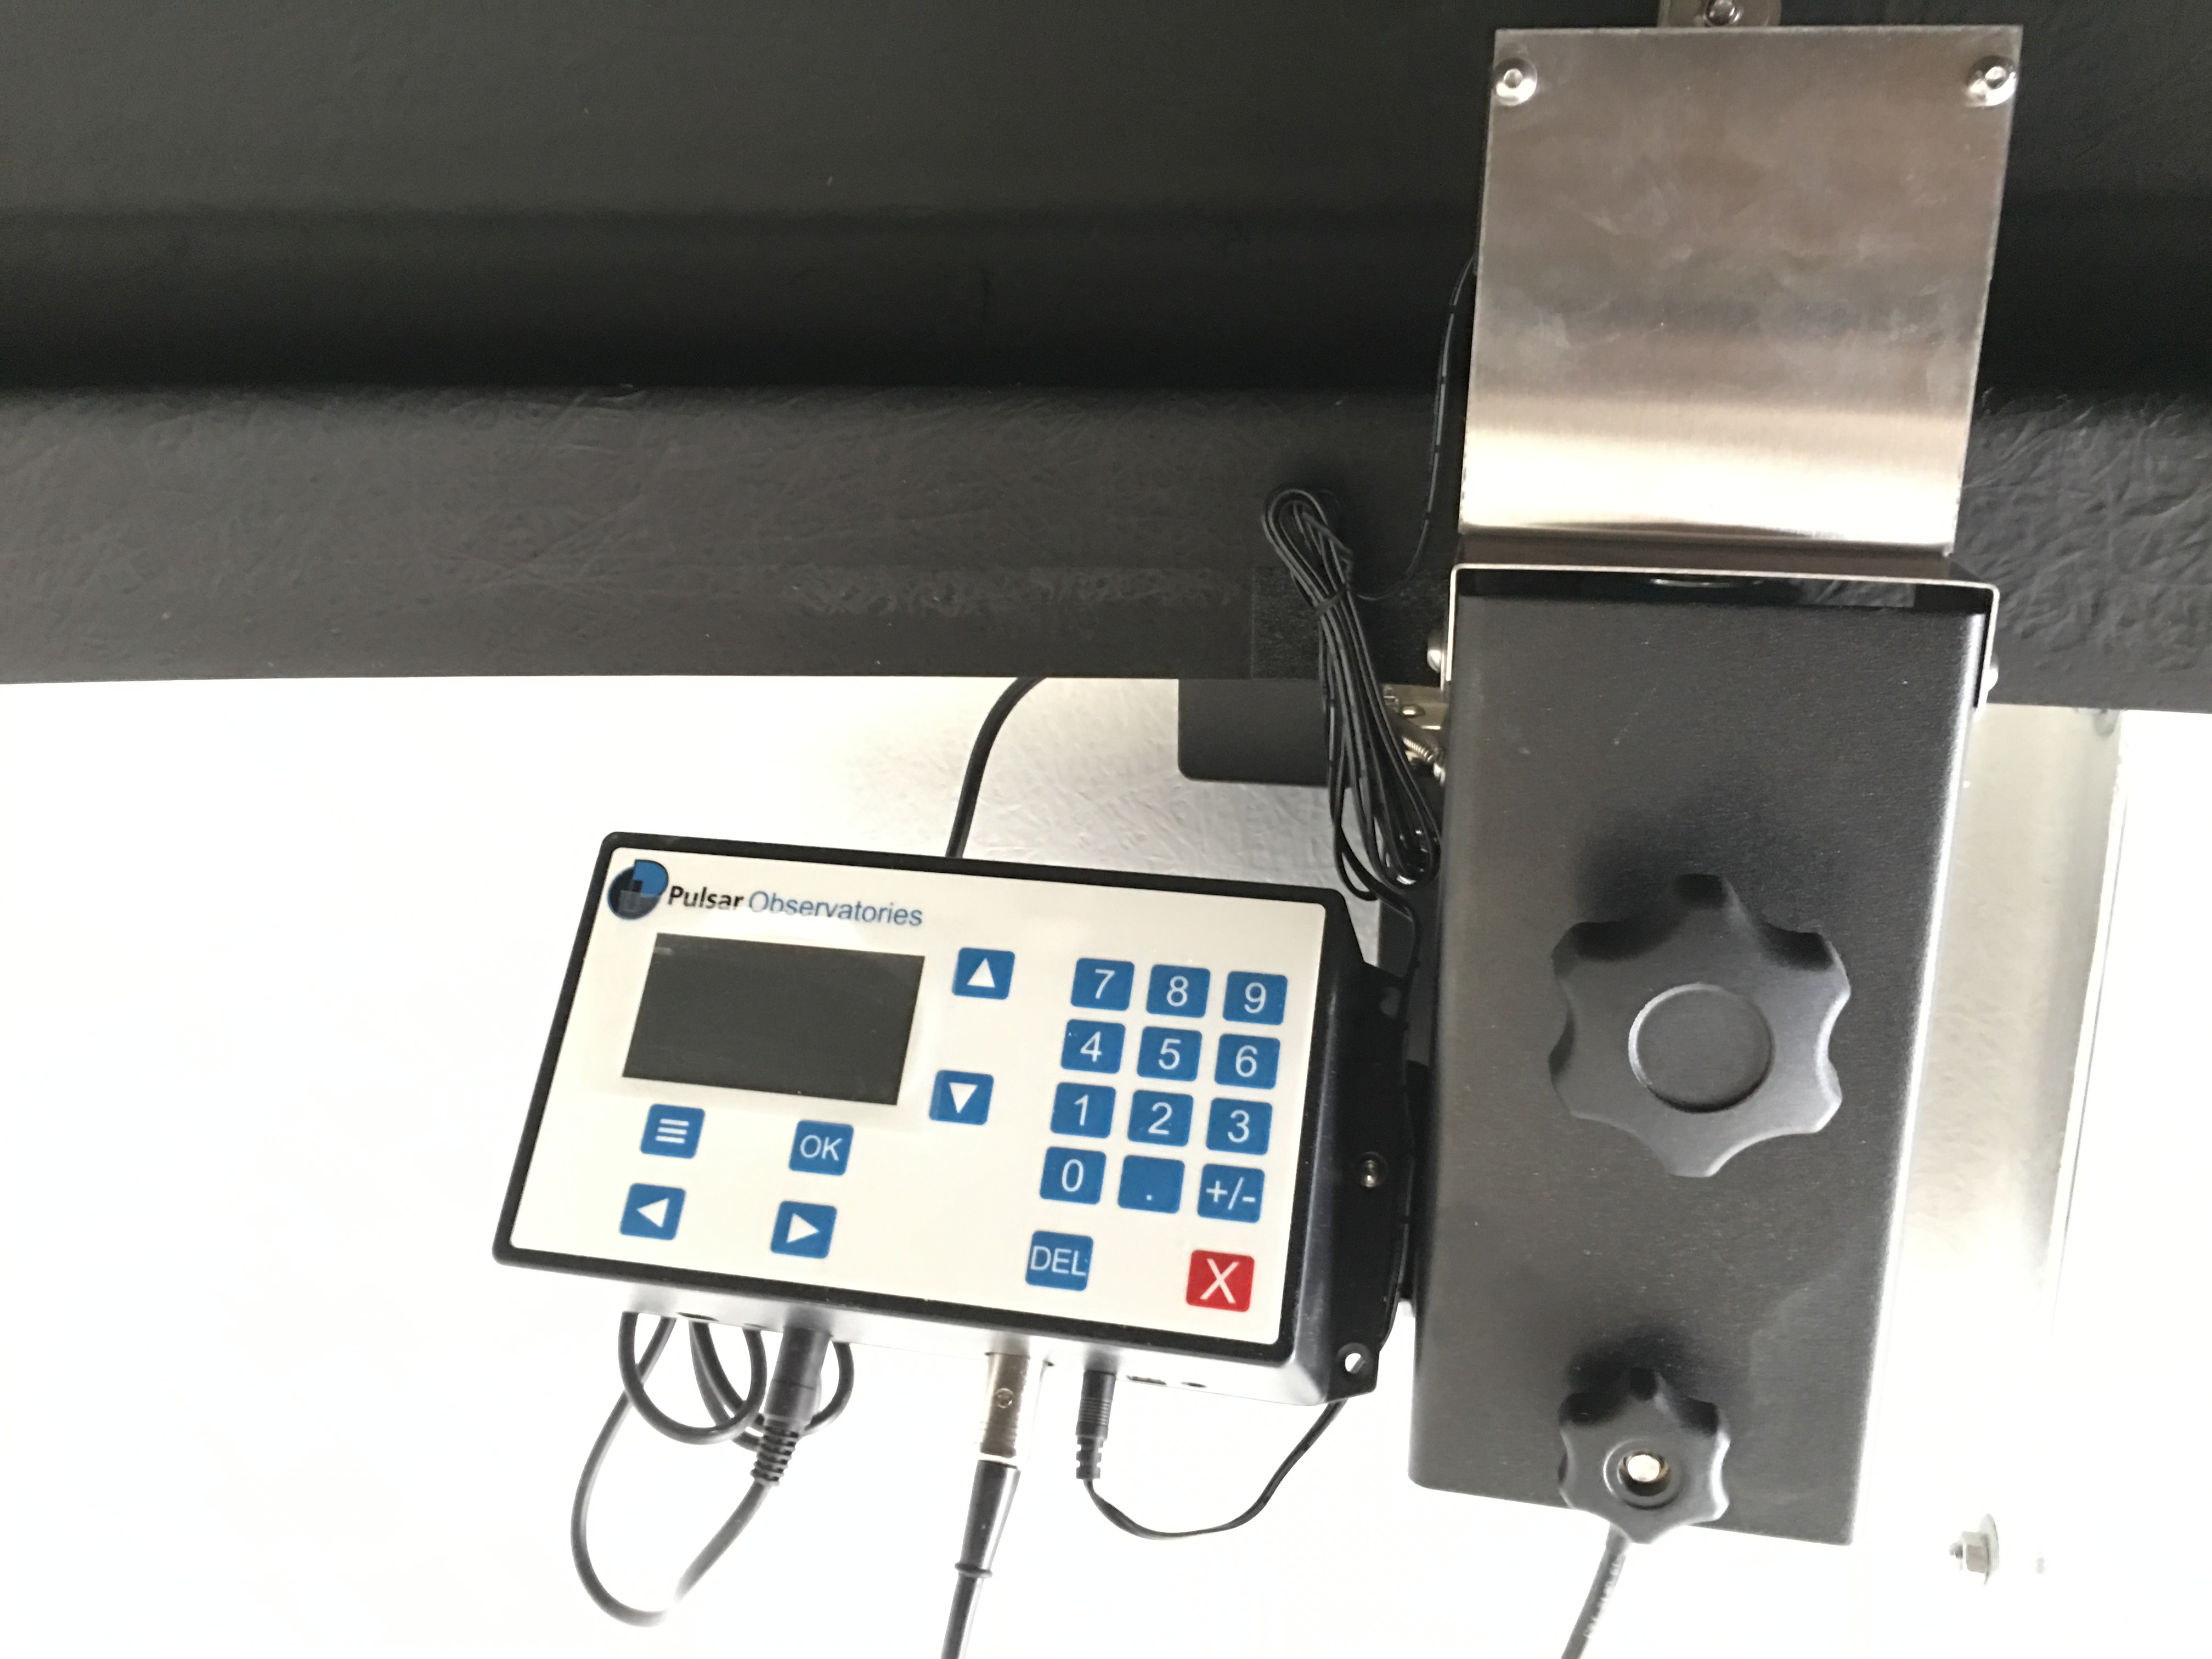
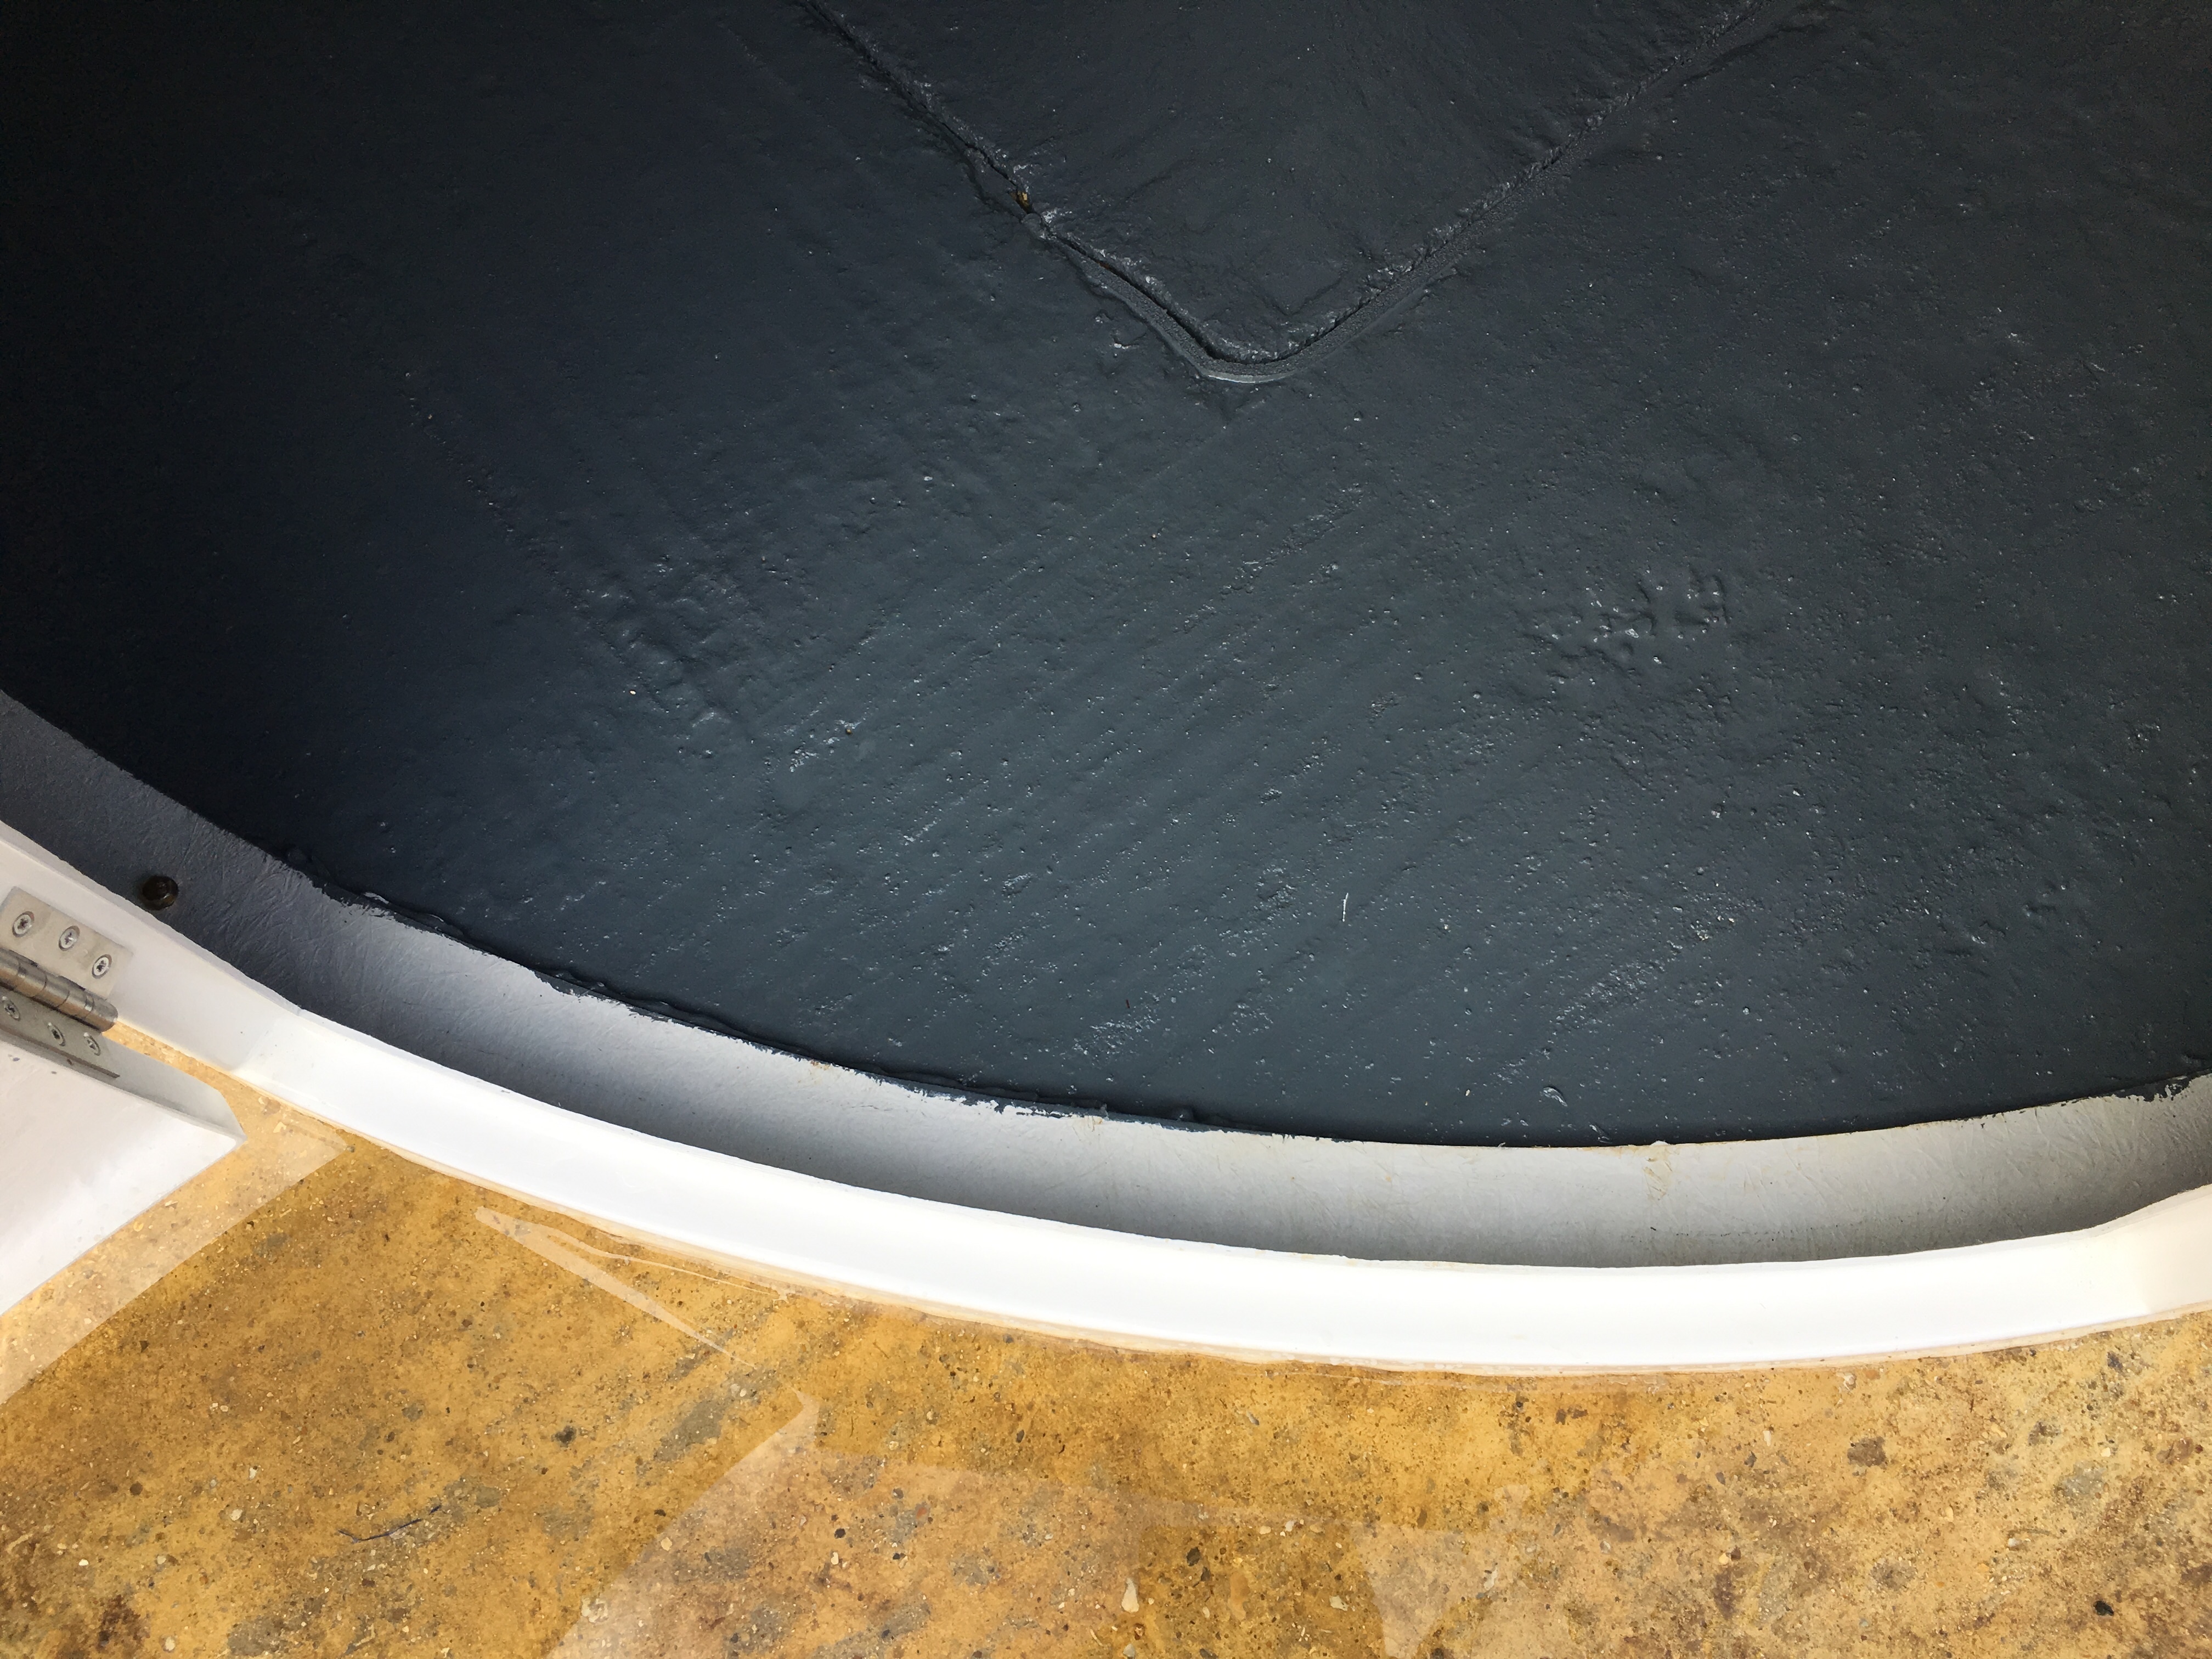
The dome controller fitted with the install from Pulsar sits above the electric supply as planned. The adjustment knobs for the dome rotation drive can also be seen. They did need adjusting and finally settled down after the dome slipped in various places. The only remaining issue that I may never fix is the gaps in-between the sections of the dome, when they go over the role they cause the dome to drop, judder and make a noise, really they should be tightly fitted, filled and taped.
Dome controller and rotation adjustment
During the night I rotated the dome to the various positions around the sky to map, North, East, South and West and included the offset to Polaris as can be seen below.
North and Polar North
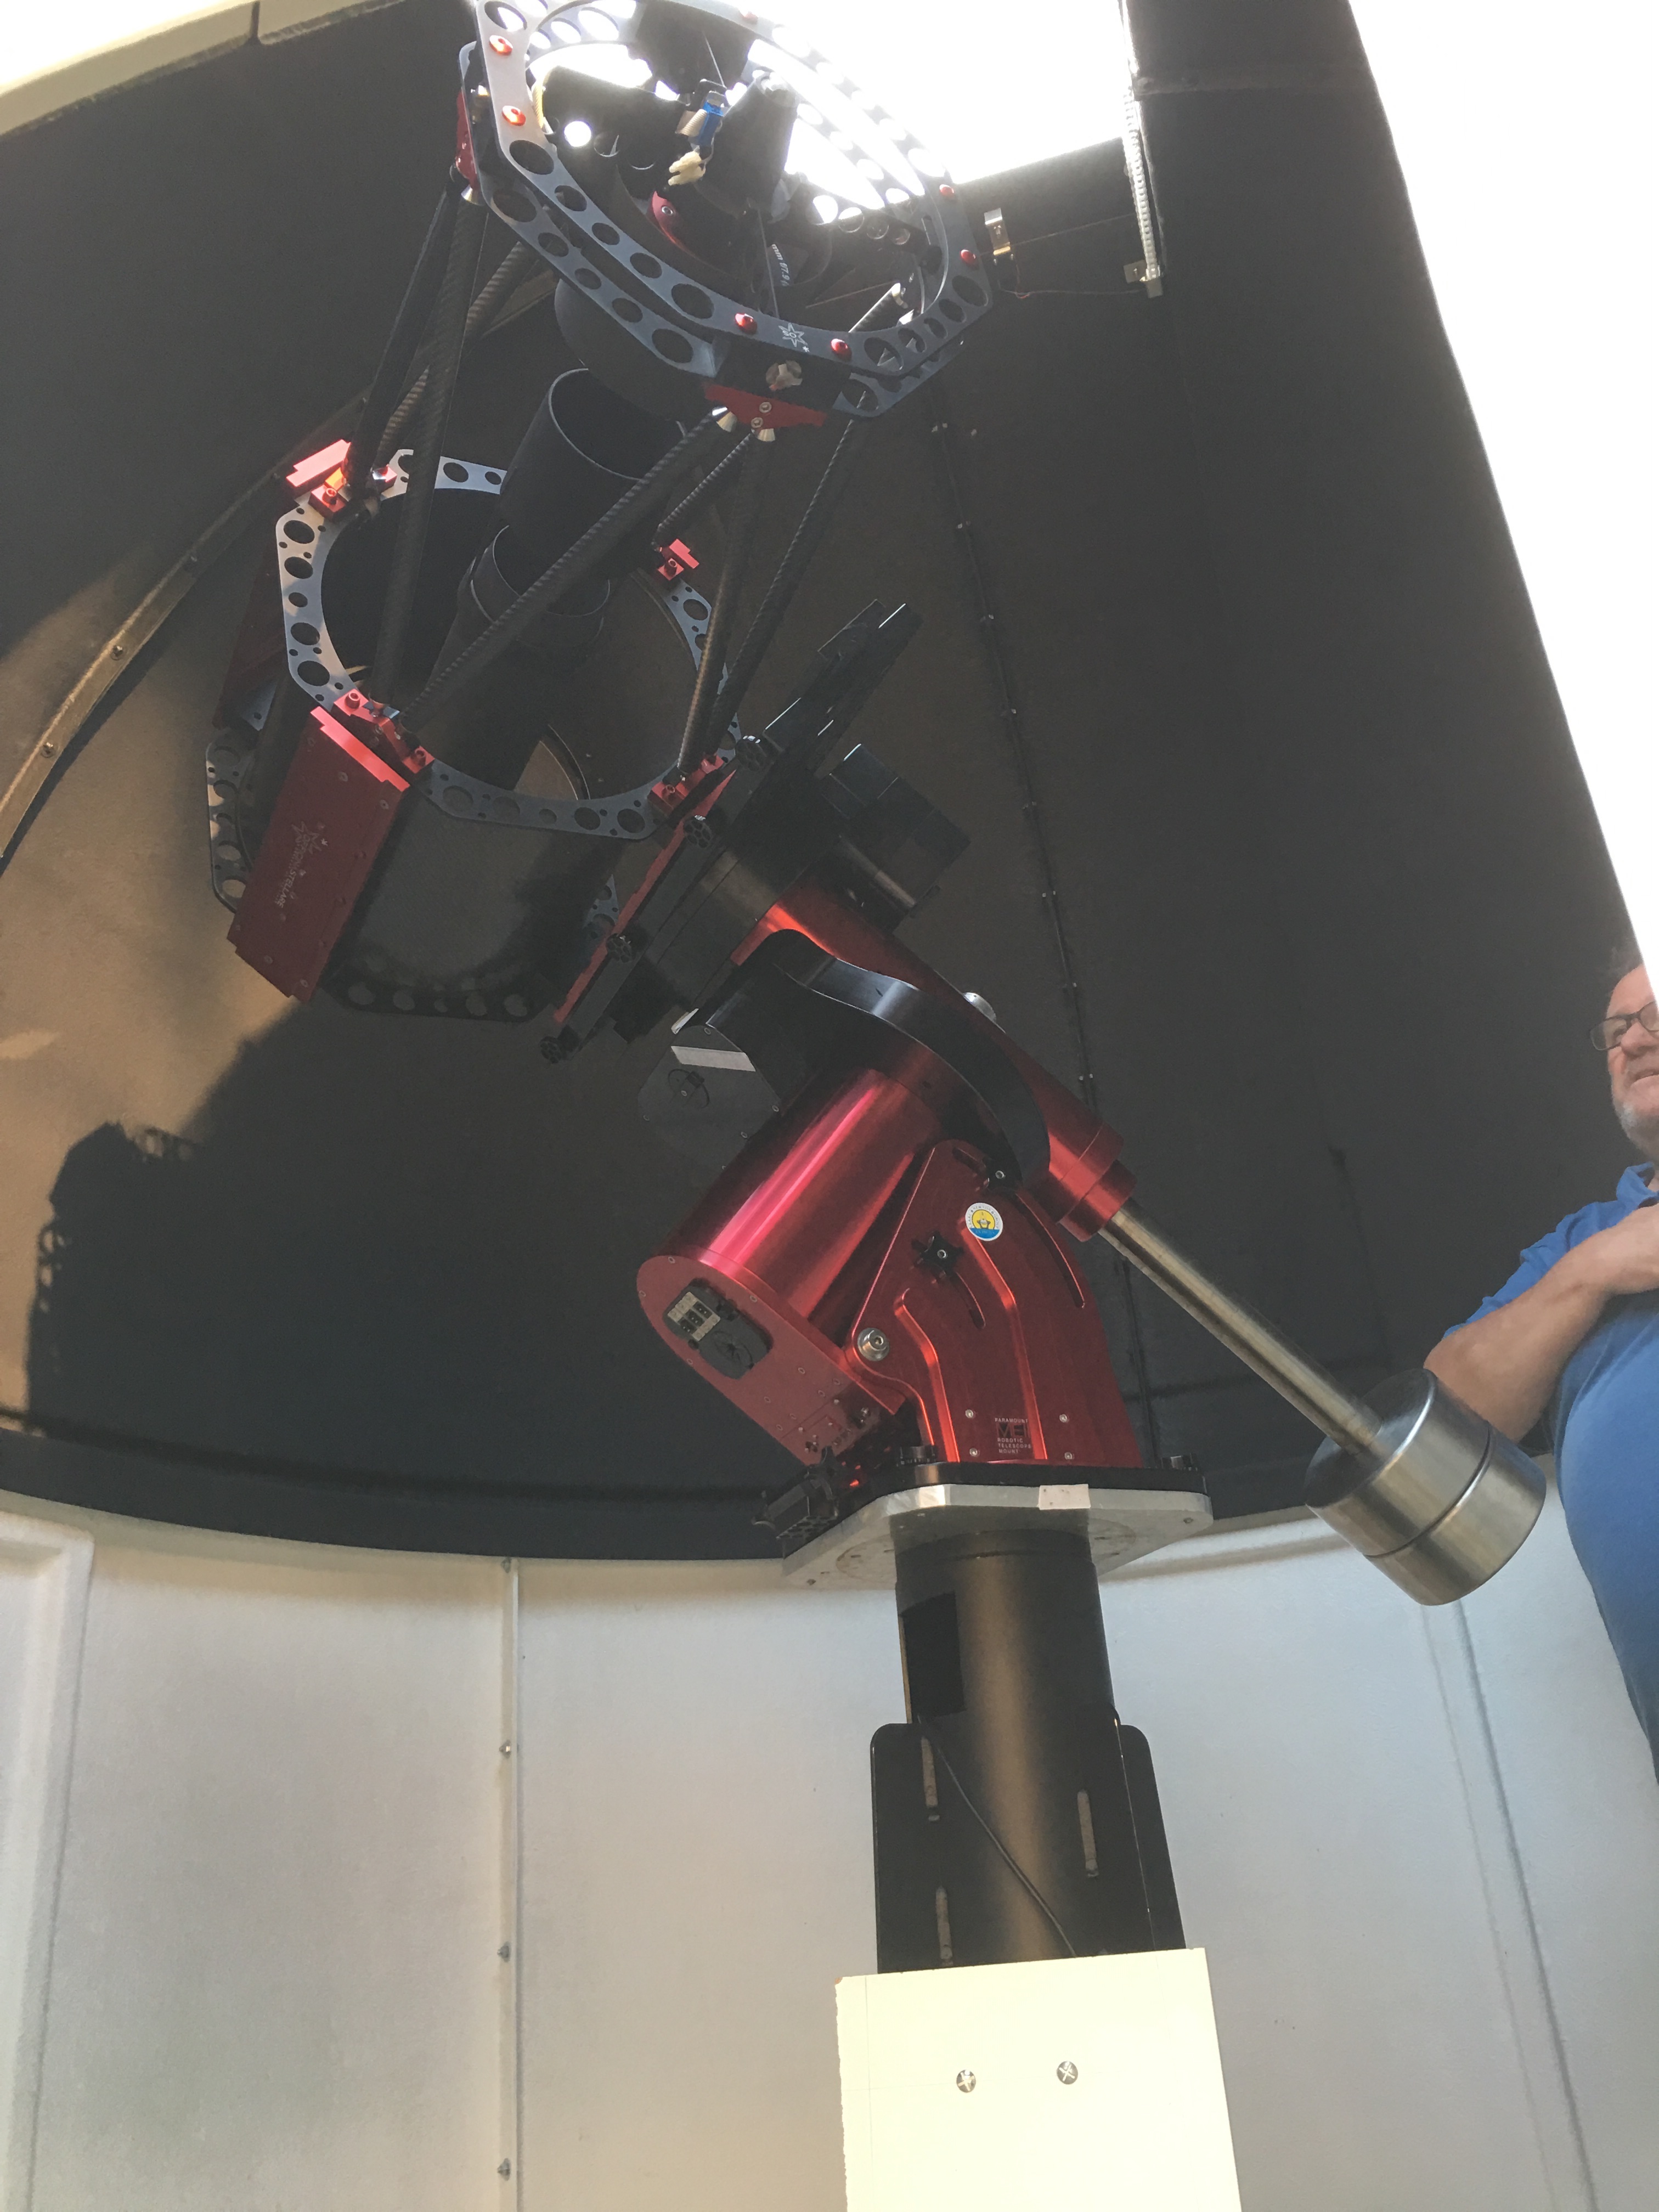
With most of the ancillary work now done attention turned to installing the mount and the OTAs. First the Paramount ME II had to be fitted with three people in assistance to lifting. Once in place the placement and threading of cables through the mount had to take place, it always amazes me how many cables are needed to do astronomy!
MEII fitted with thru the mount cabling
The top end of the mount shows the Versa-Plate missing so that the cable can be pulled through. Several power cables and a master USB cable were fitted.
Top of ME II without Versa-Plate
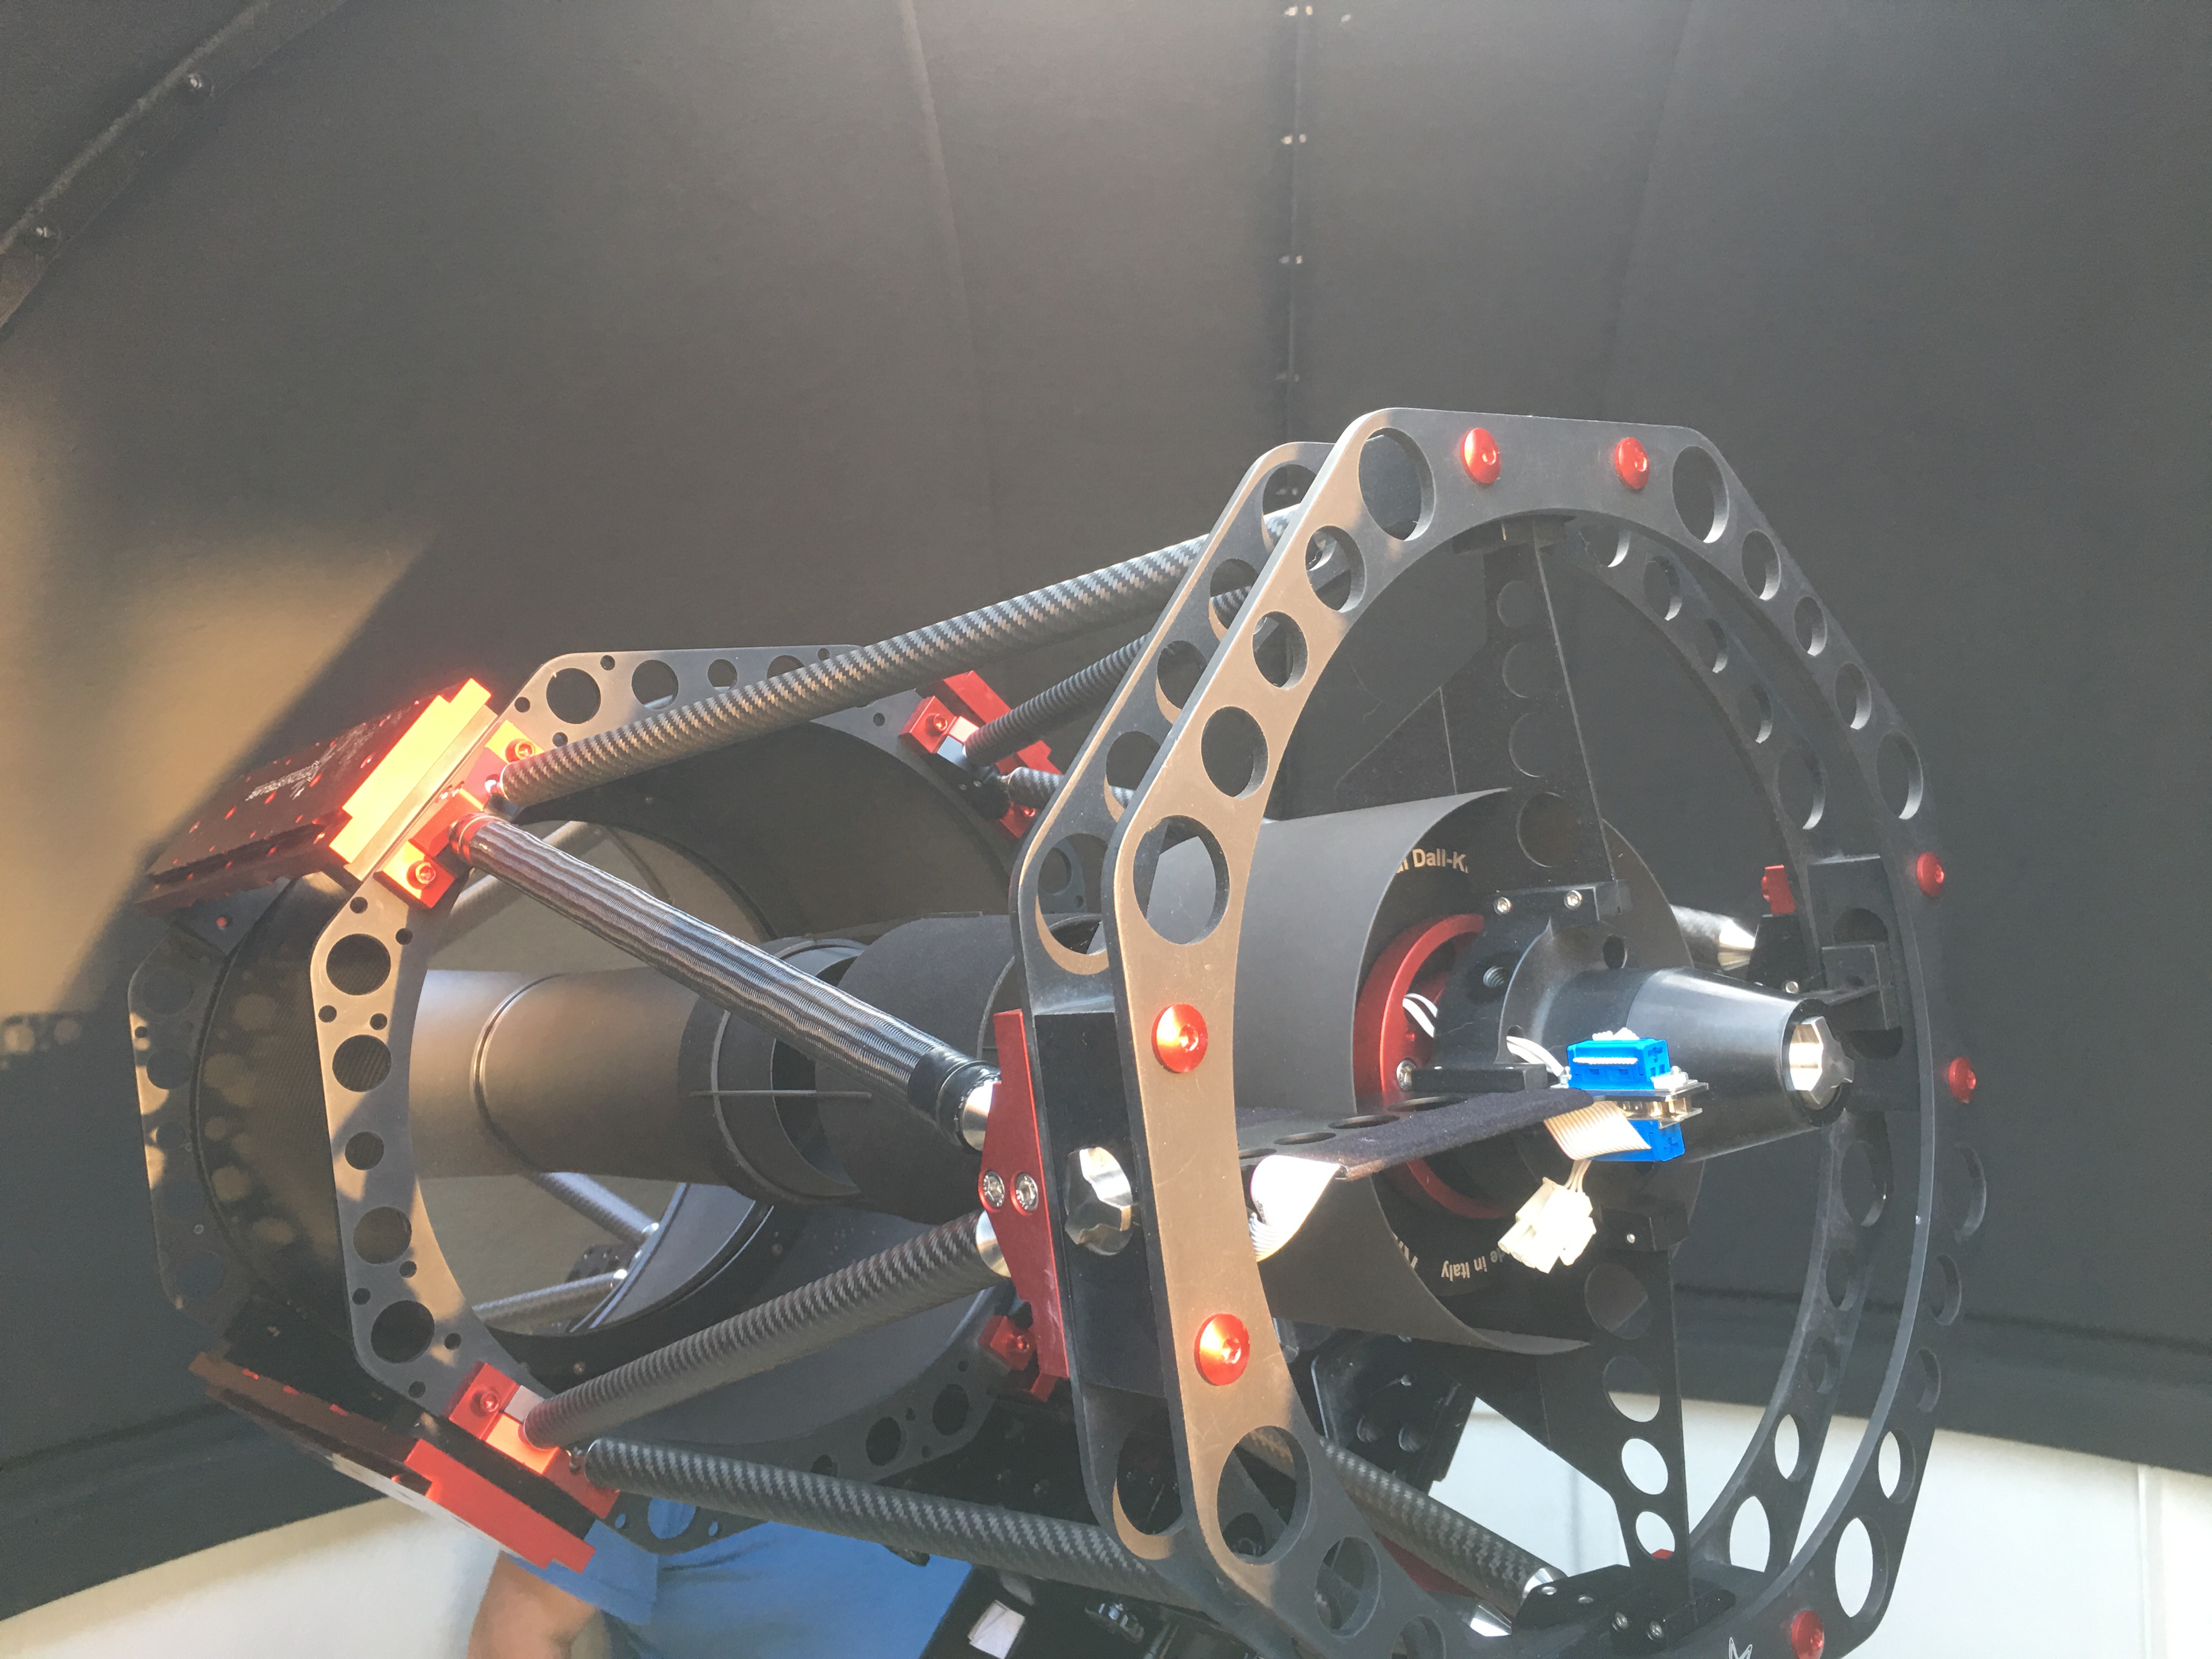
Finally the first of the 3 OTAs are fitted, this is the Officinal Stellare 305mm RiDK that the other 2 OTAs would piggy-back on.
OS 12″ RiDK
Luckily we opted for a 2.7m dome else we would not have fitted this setup in here.
First scope on mount
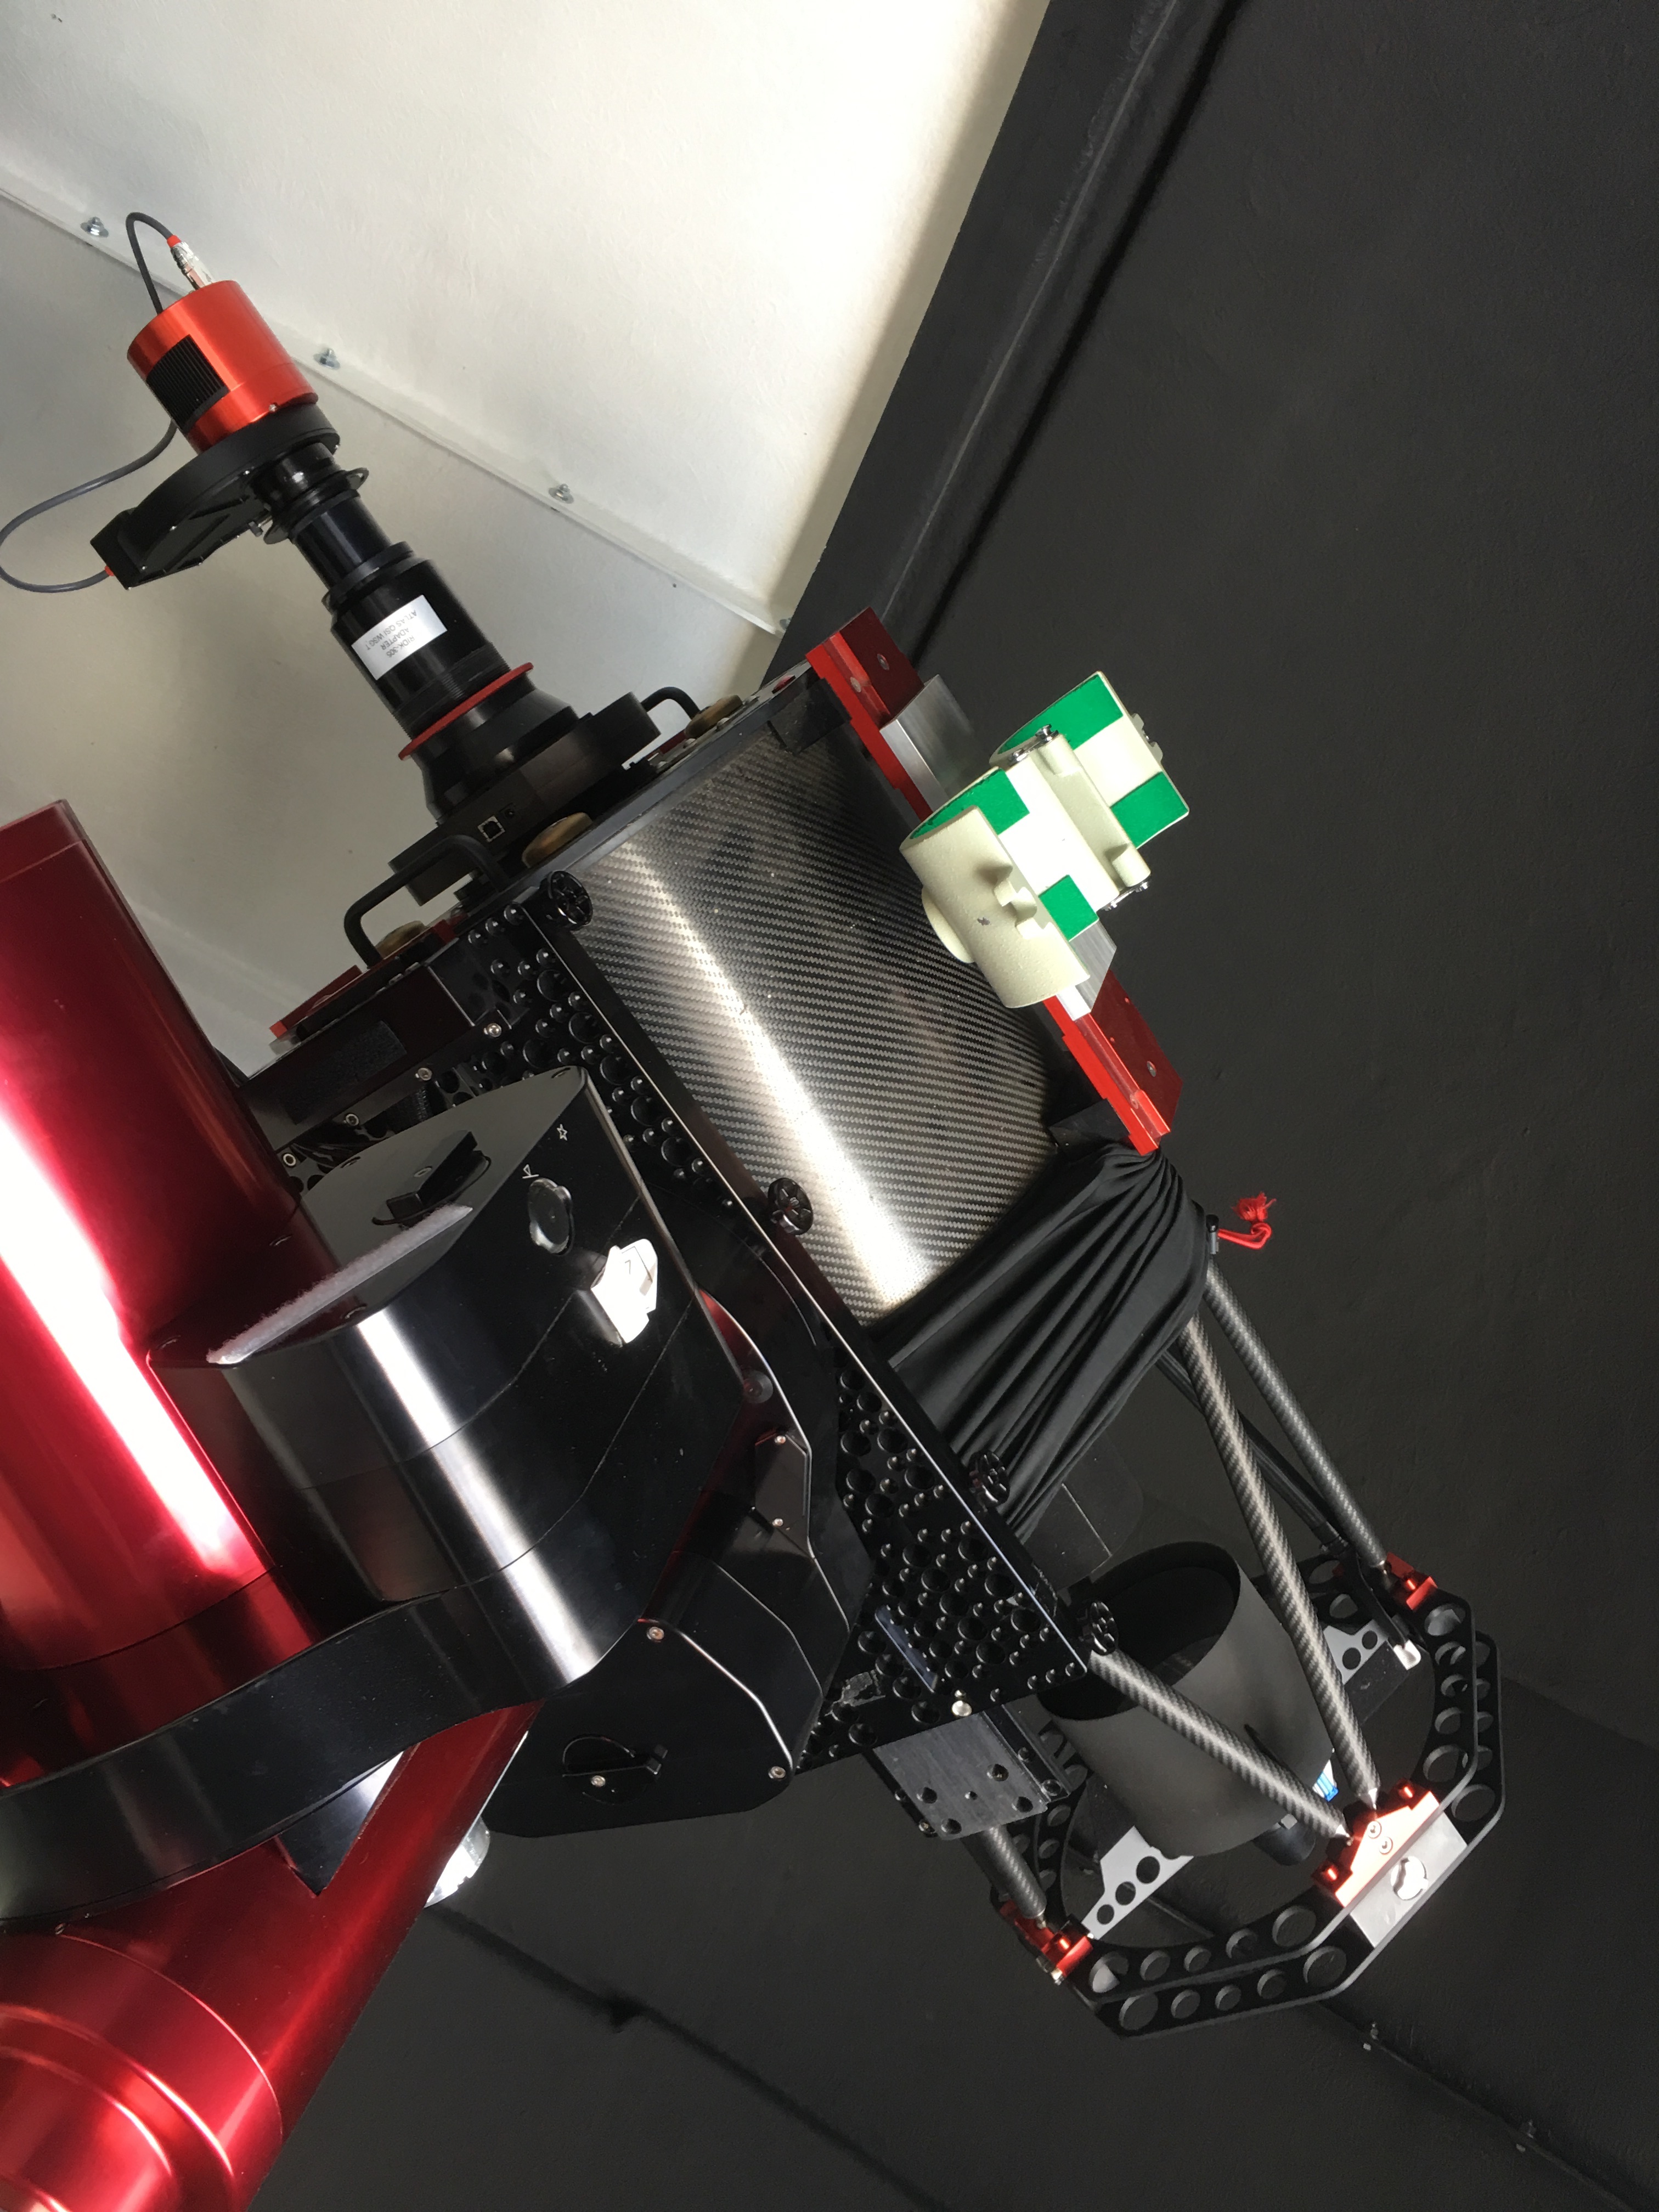
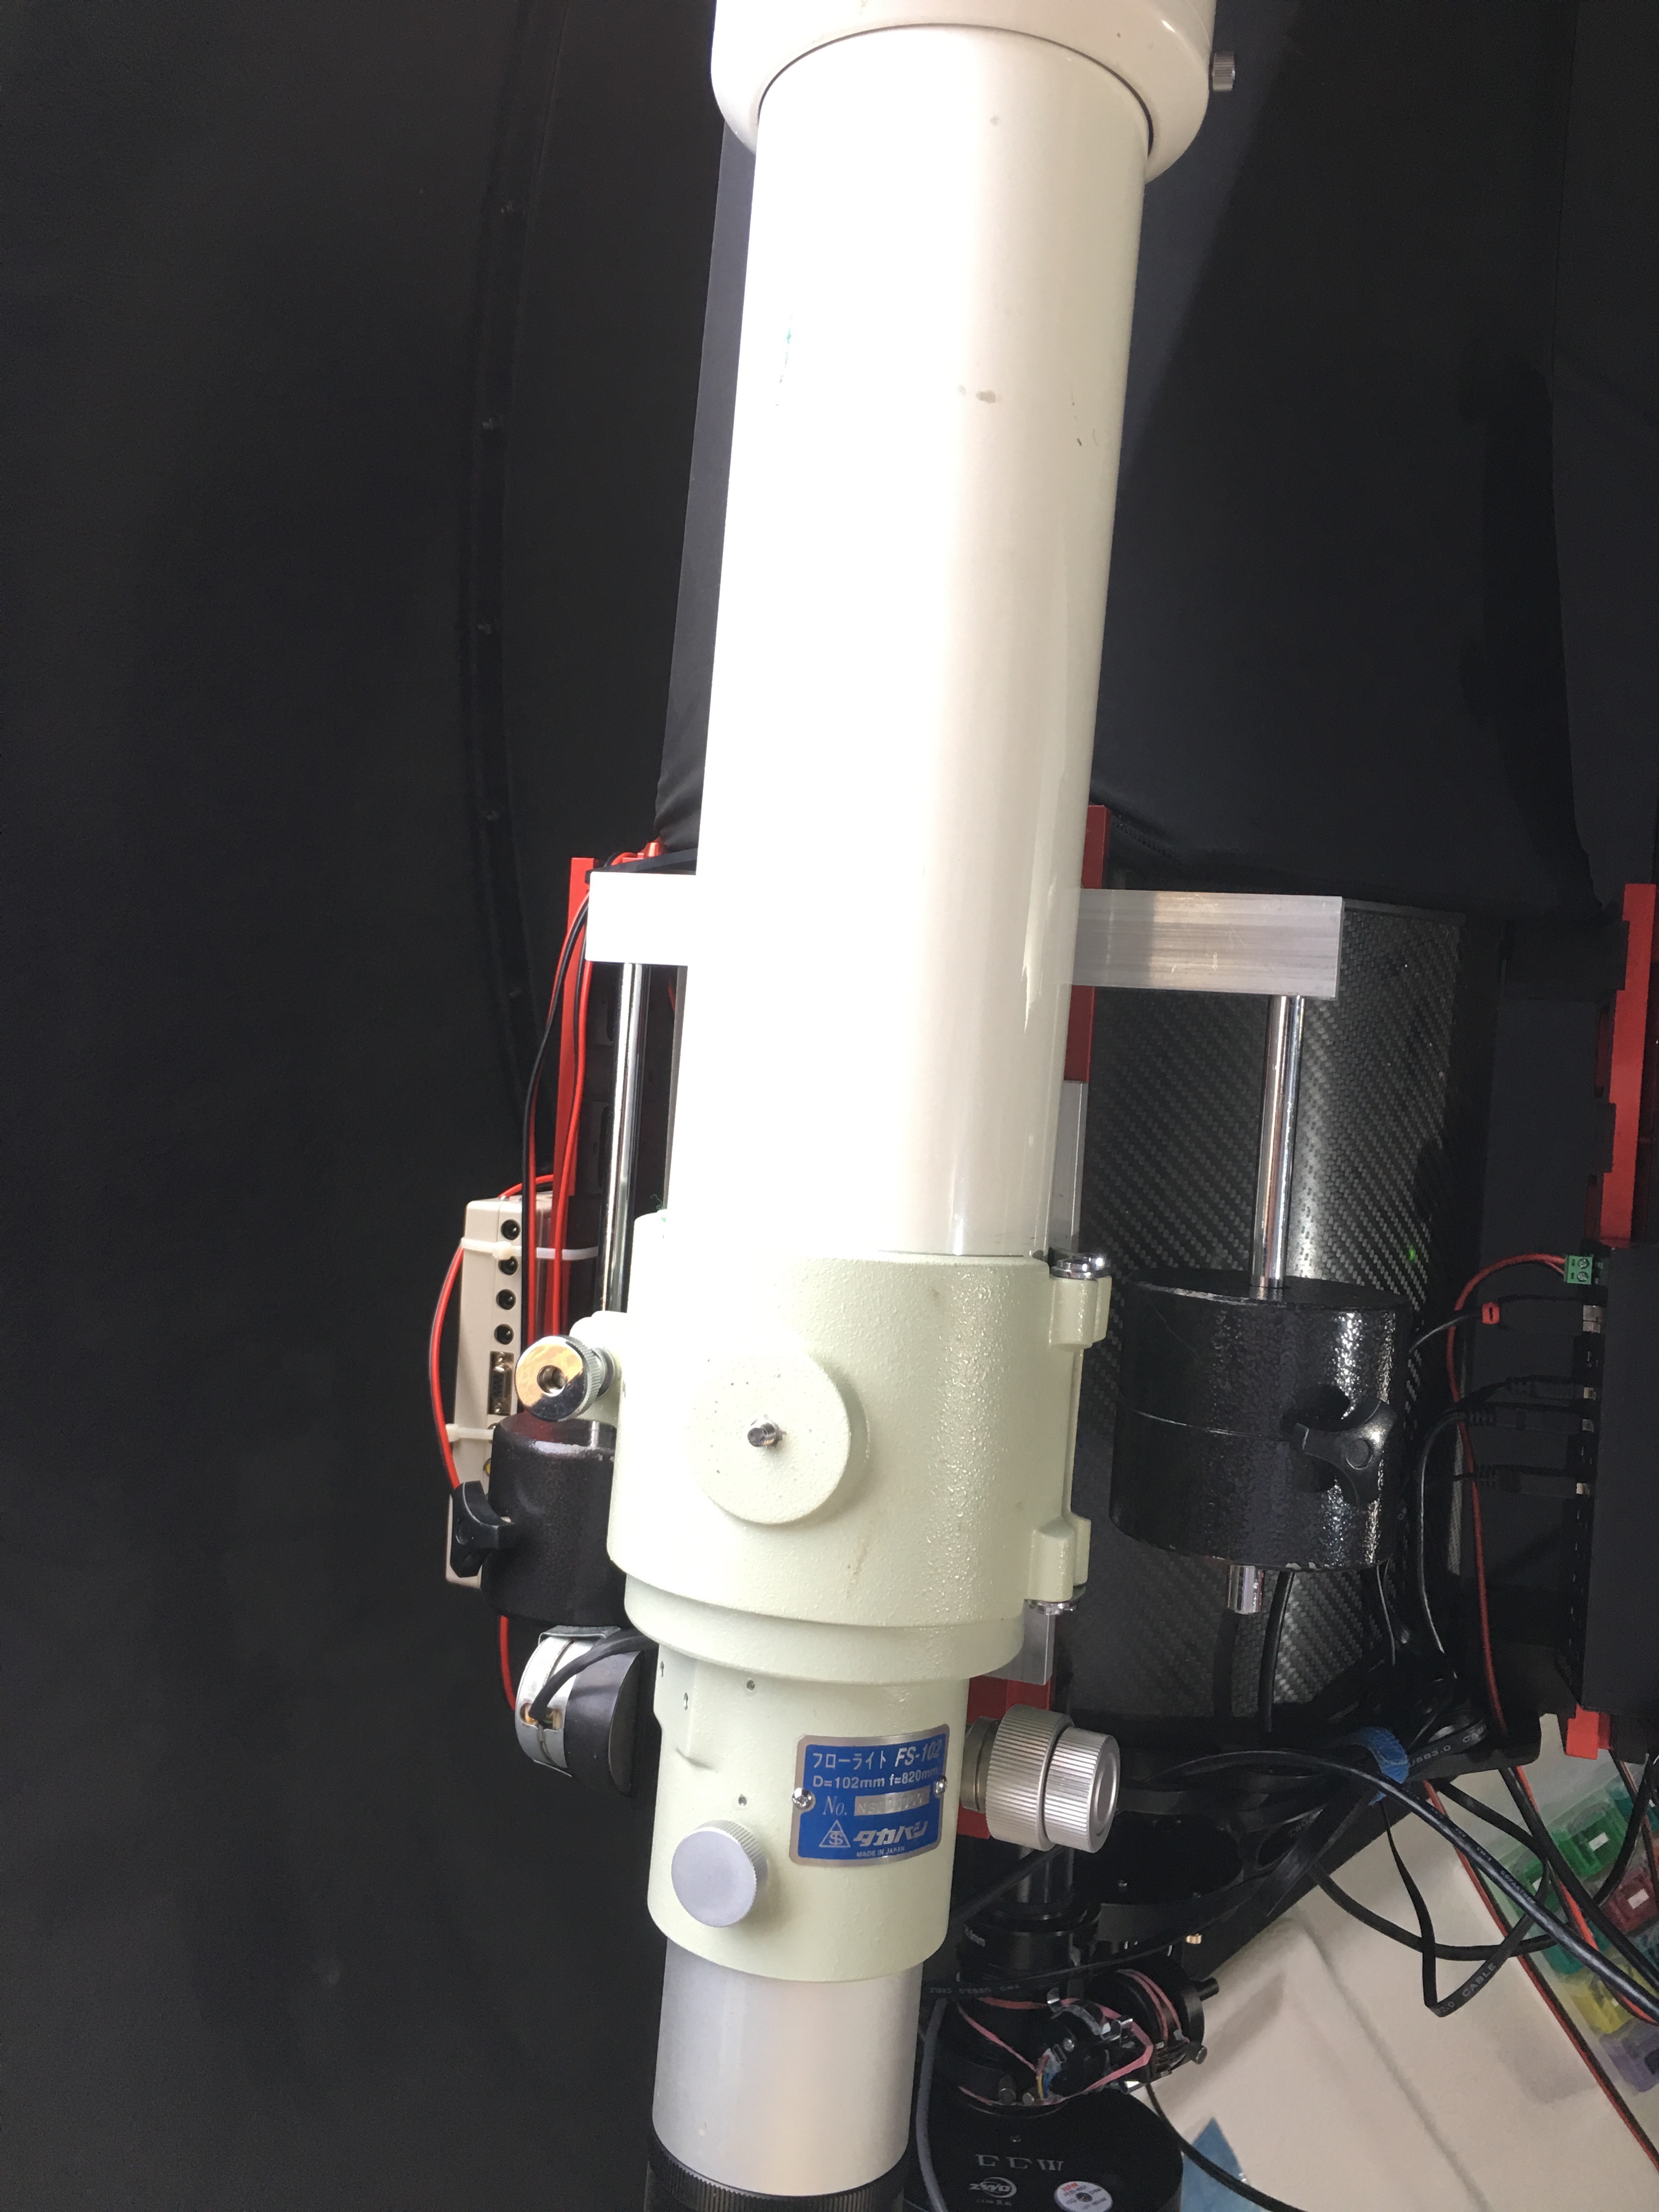
Next came the fitting of the Takahashi FS102 refractor and the Sky-Watcher Esprit 120ED refractor. First the clamshell for the Tak is fitted, also the first dry fitting of the QHY1600MM camera and 7 position filter wheel, the adapters to connect it would cane later.
Tak Clamshell and QHY camera
Then the Tak is fitted. As can be seen from this image taken later, we had to make a new counterweight system to offset the slightly lighter Tak with the heavier Esprit 120. This novel system designed by Bob used standard astronomy weights and bars from skywatcher mounts.
Tak 102 and weights
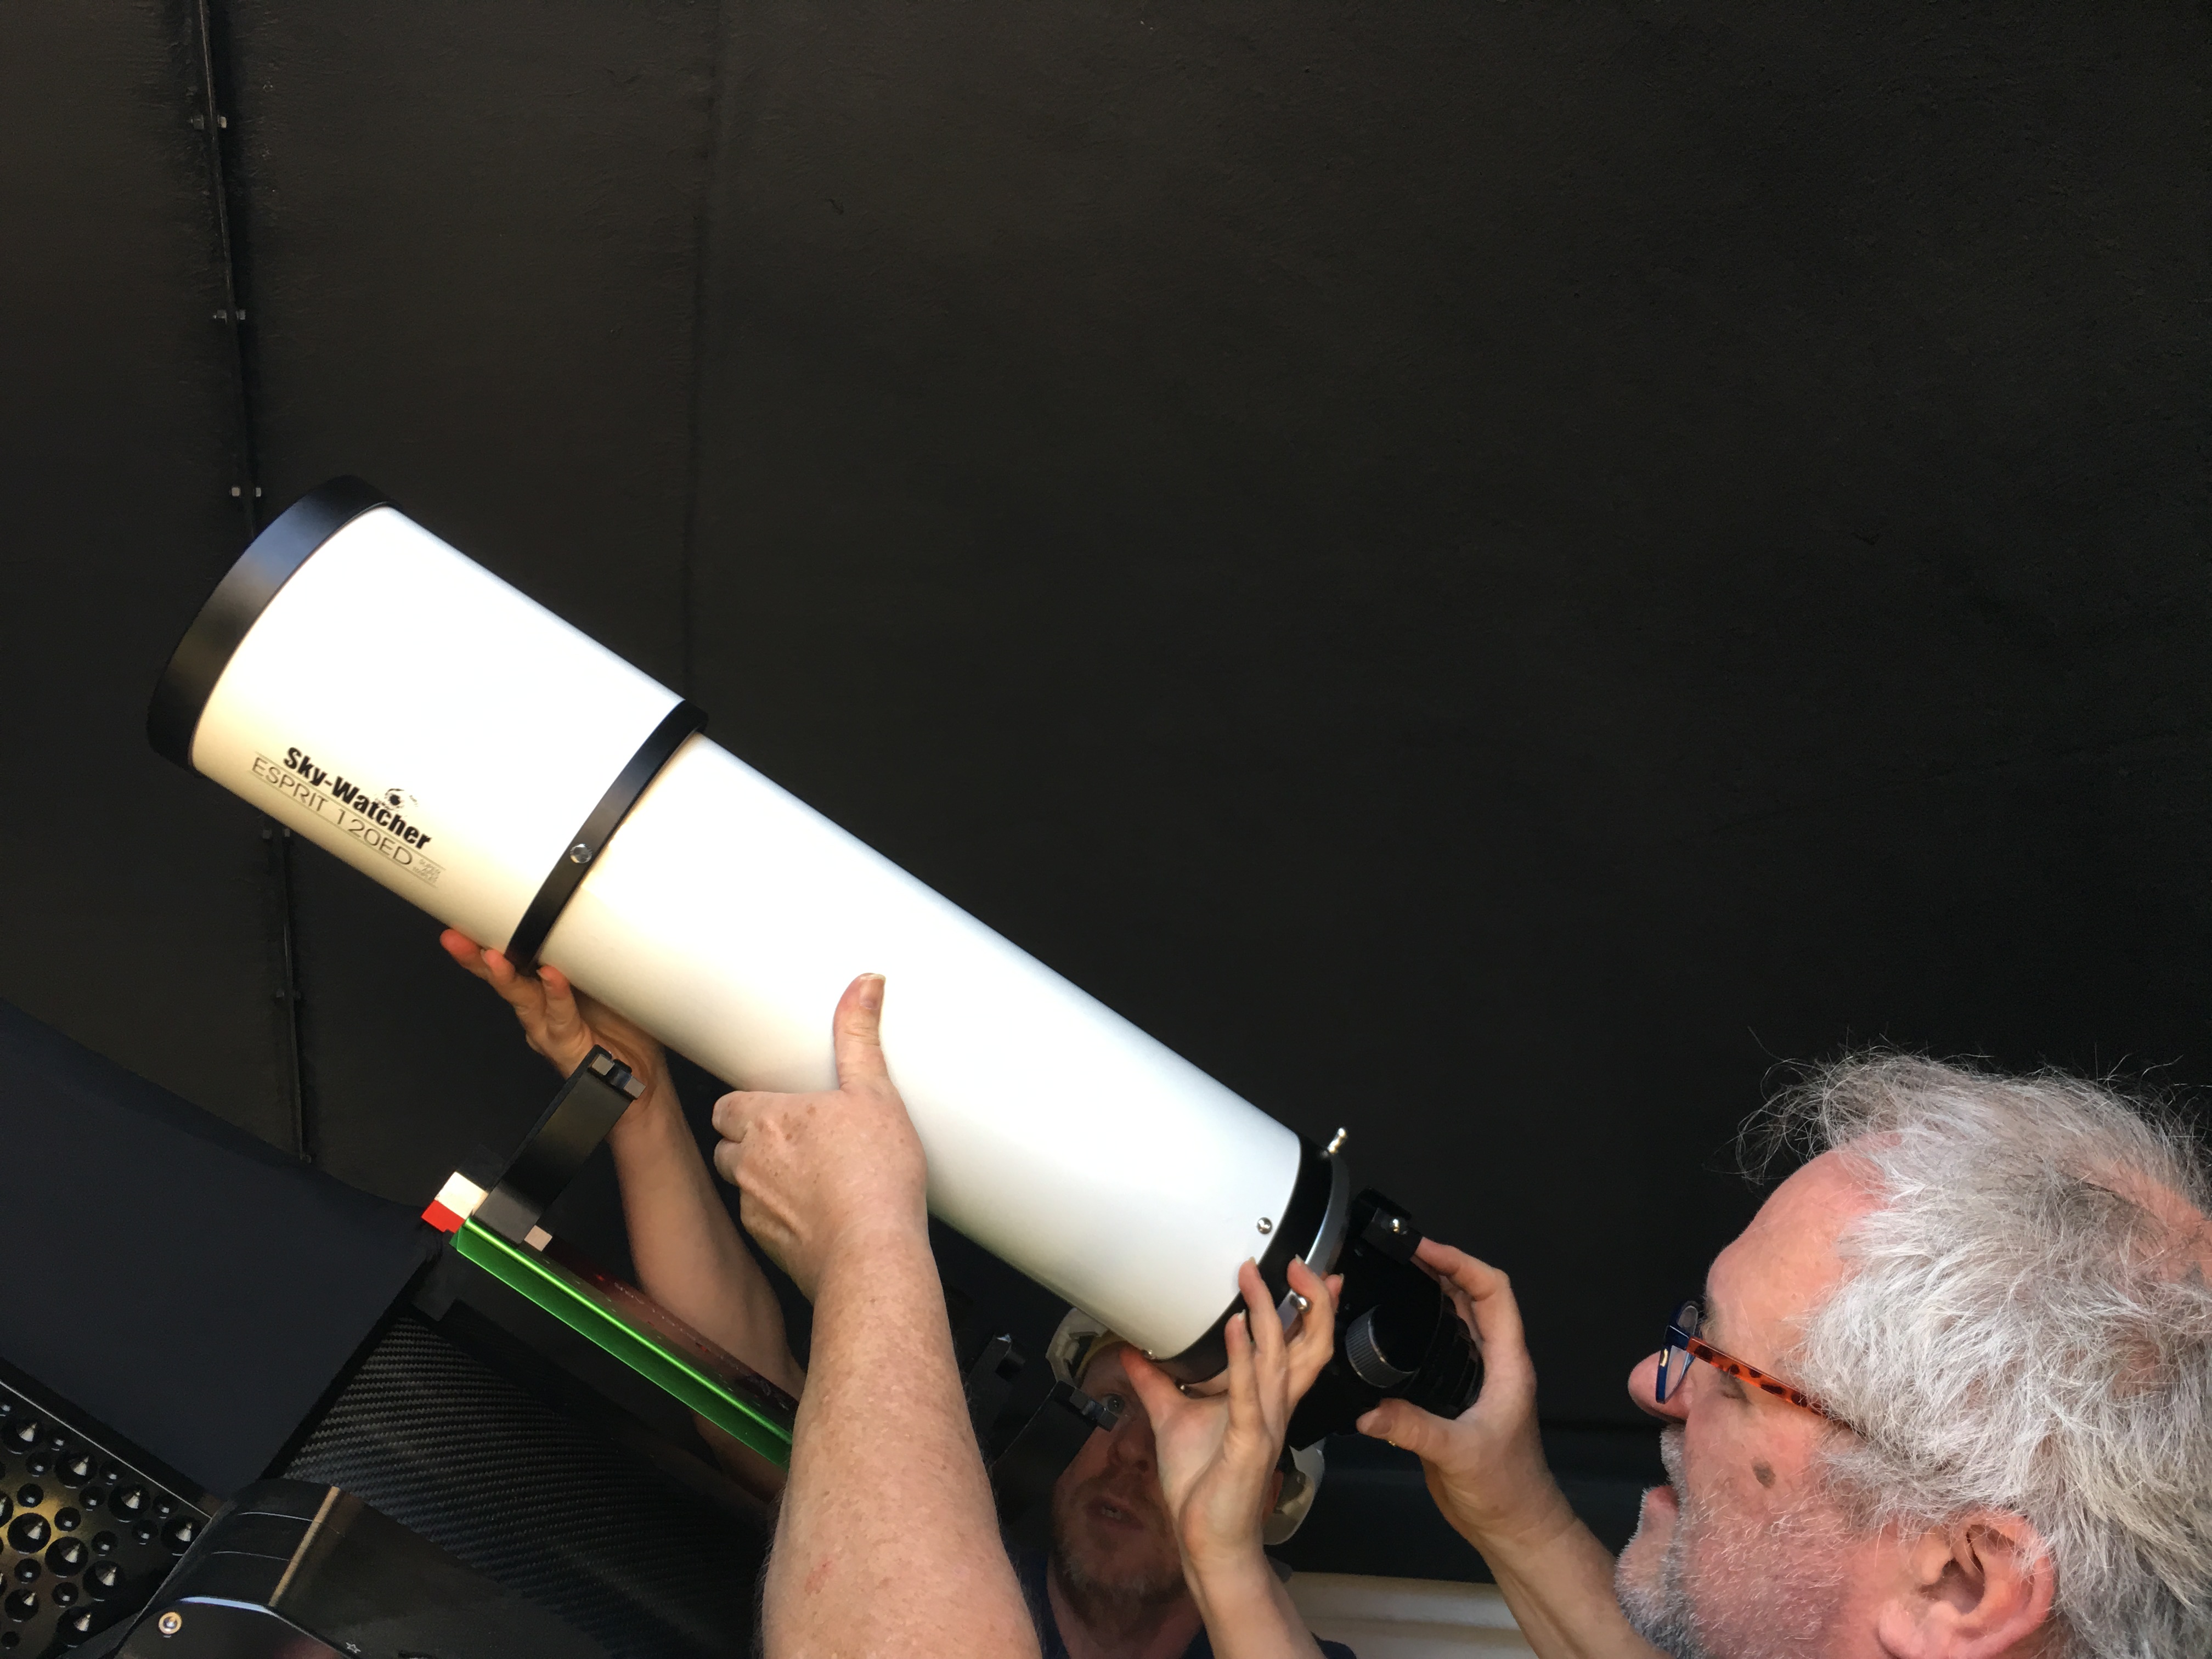
Next the Skywatcher 120 is fitted carefully to the other side.
Skywatcher 120
Next some more ancillary work is needed before the final setup is shown…….
So in my last post I left you with the pier being fitted, this is just the start of the journey to be able to place the mount and telescope OTA’s Optical Tube Assembly on top. All of that would require power! And to fix all the power to the pier I needed a piece of wood which I had handy in the garage.
Once fitted this became one of two panels within the dome. We really wanted to keep the power and data and associated cables to two places. This would have a the MEII power supply at the top, a power strip to the right, the master power coming in from below and to a 2-way switch, there would be additions to this later.
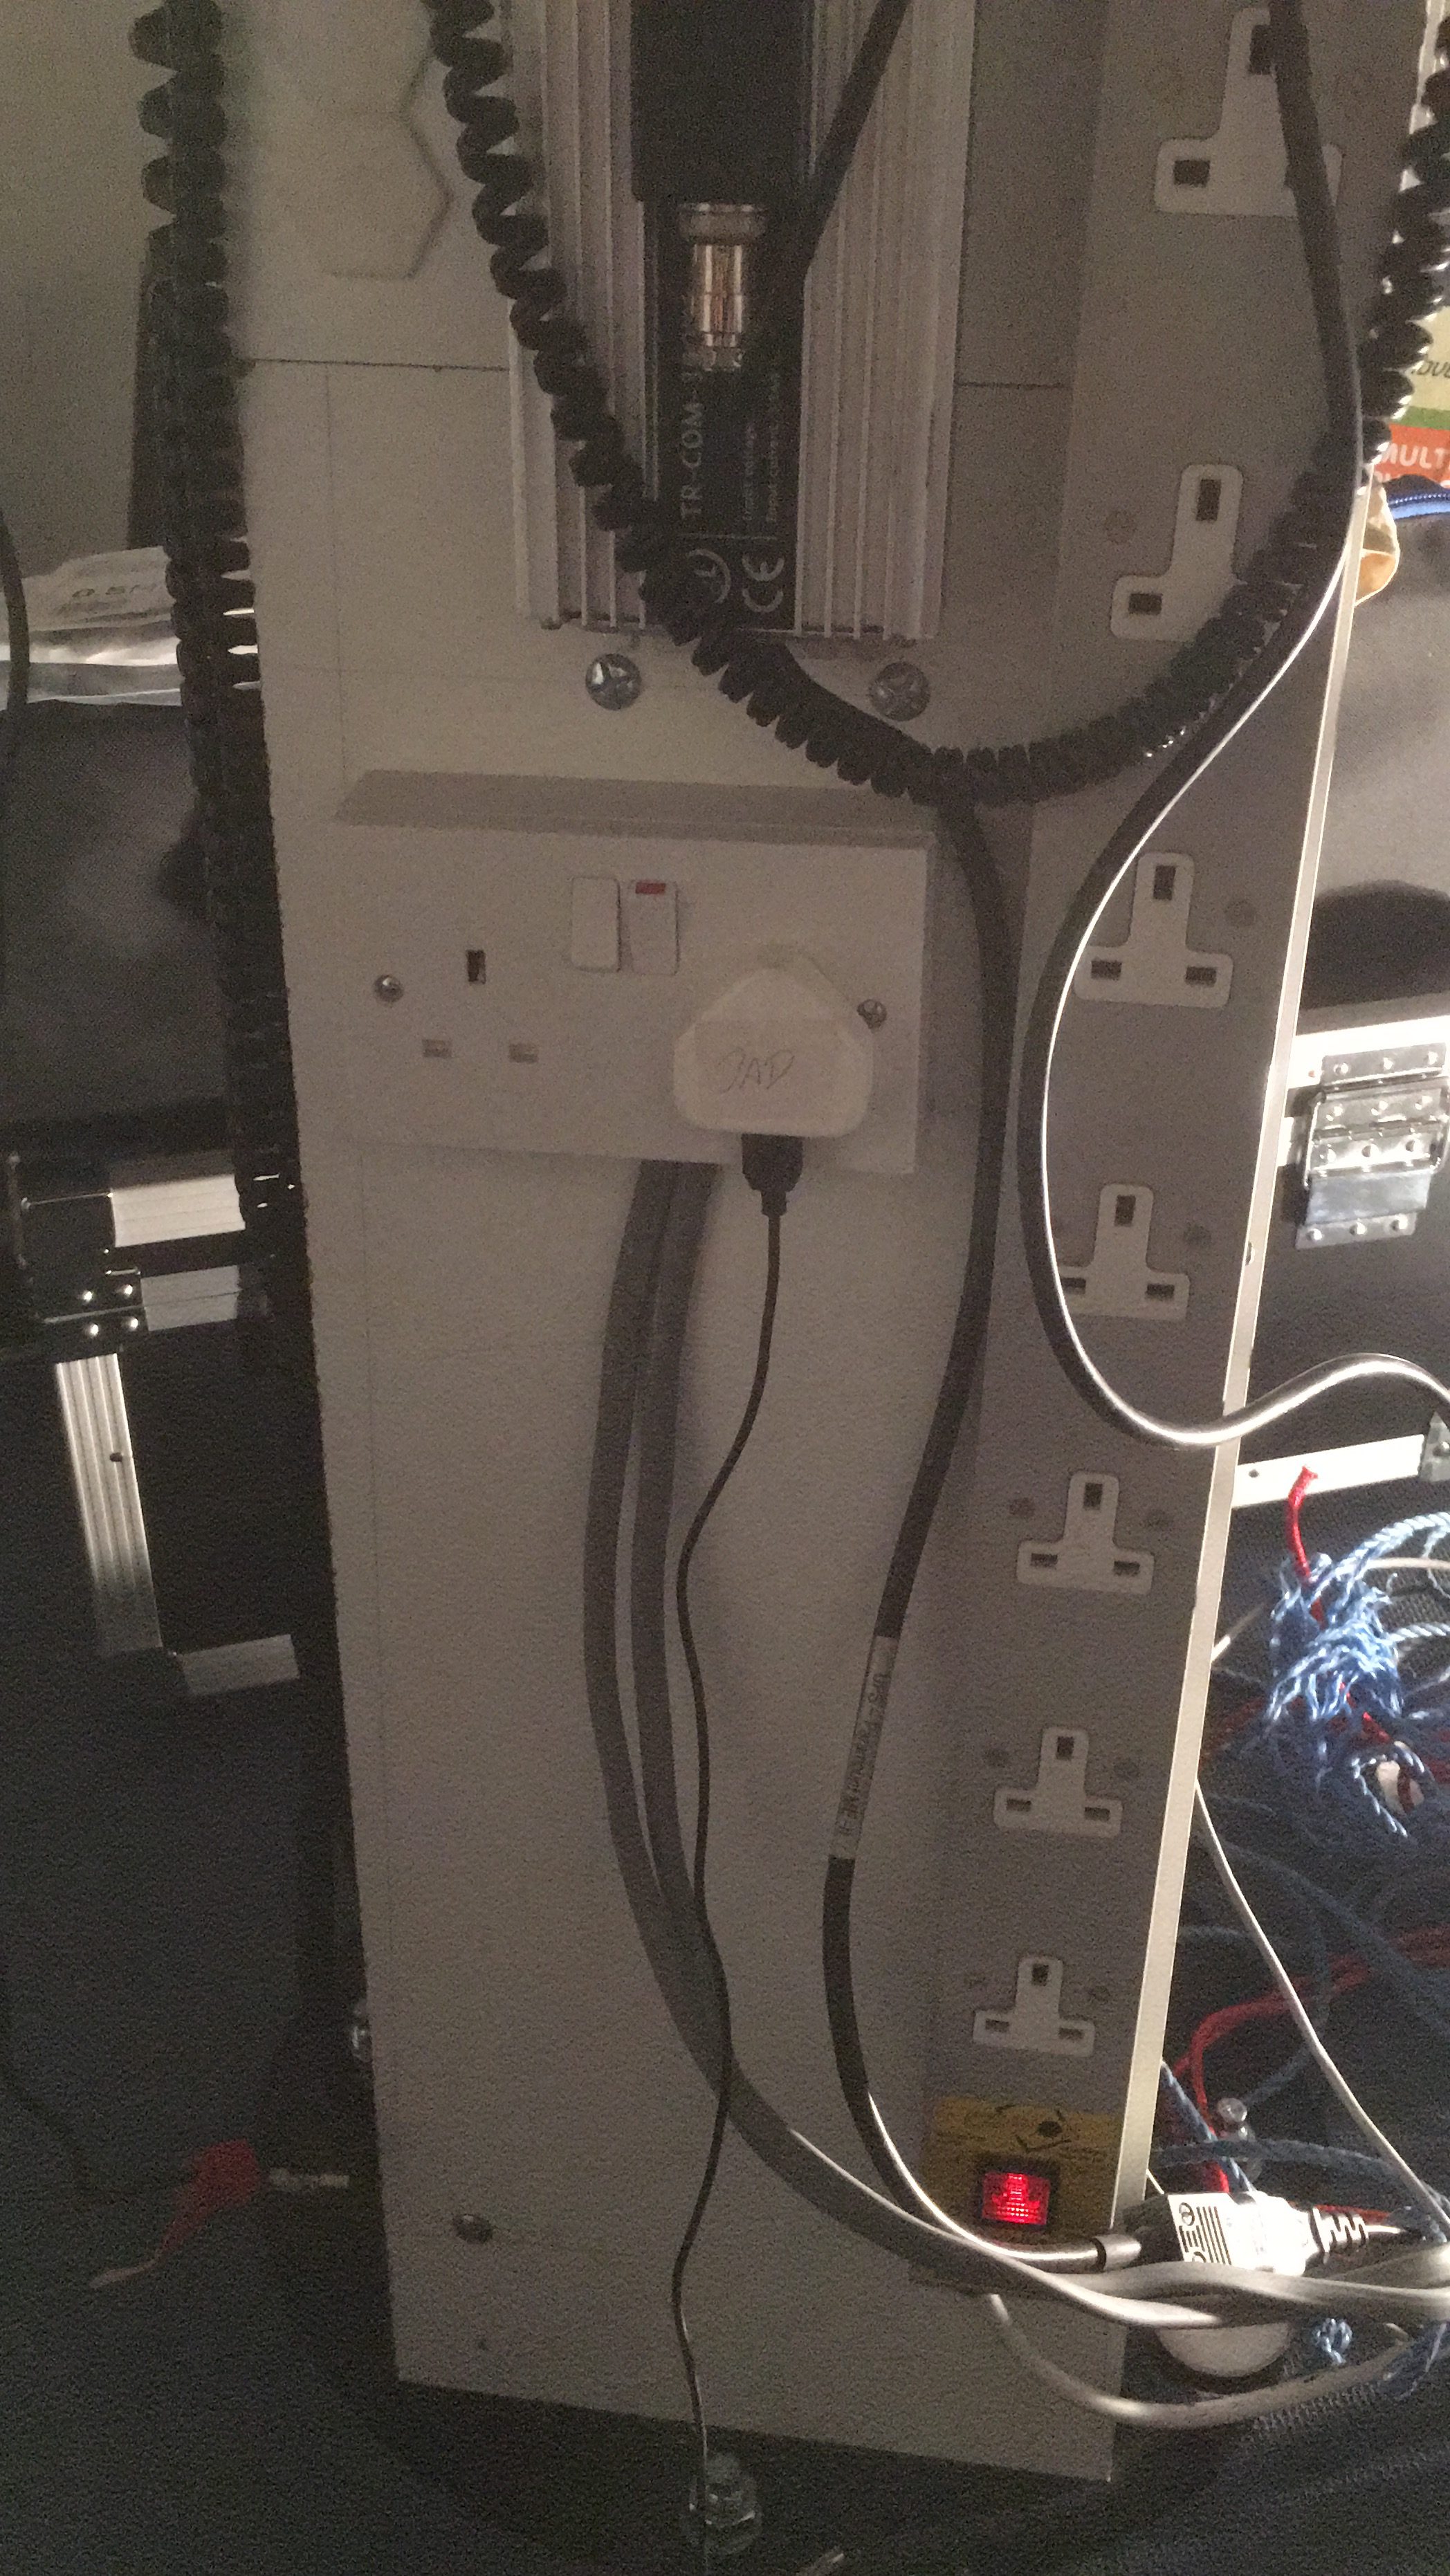
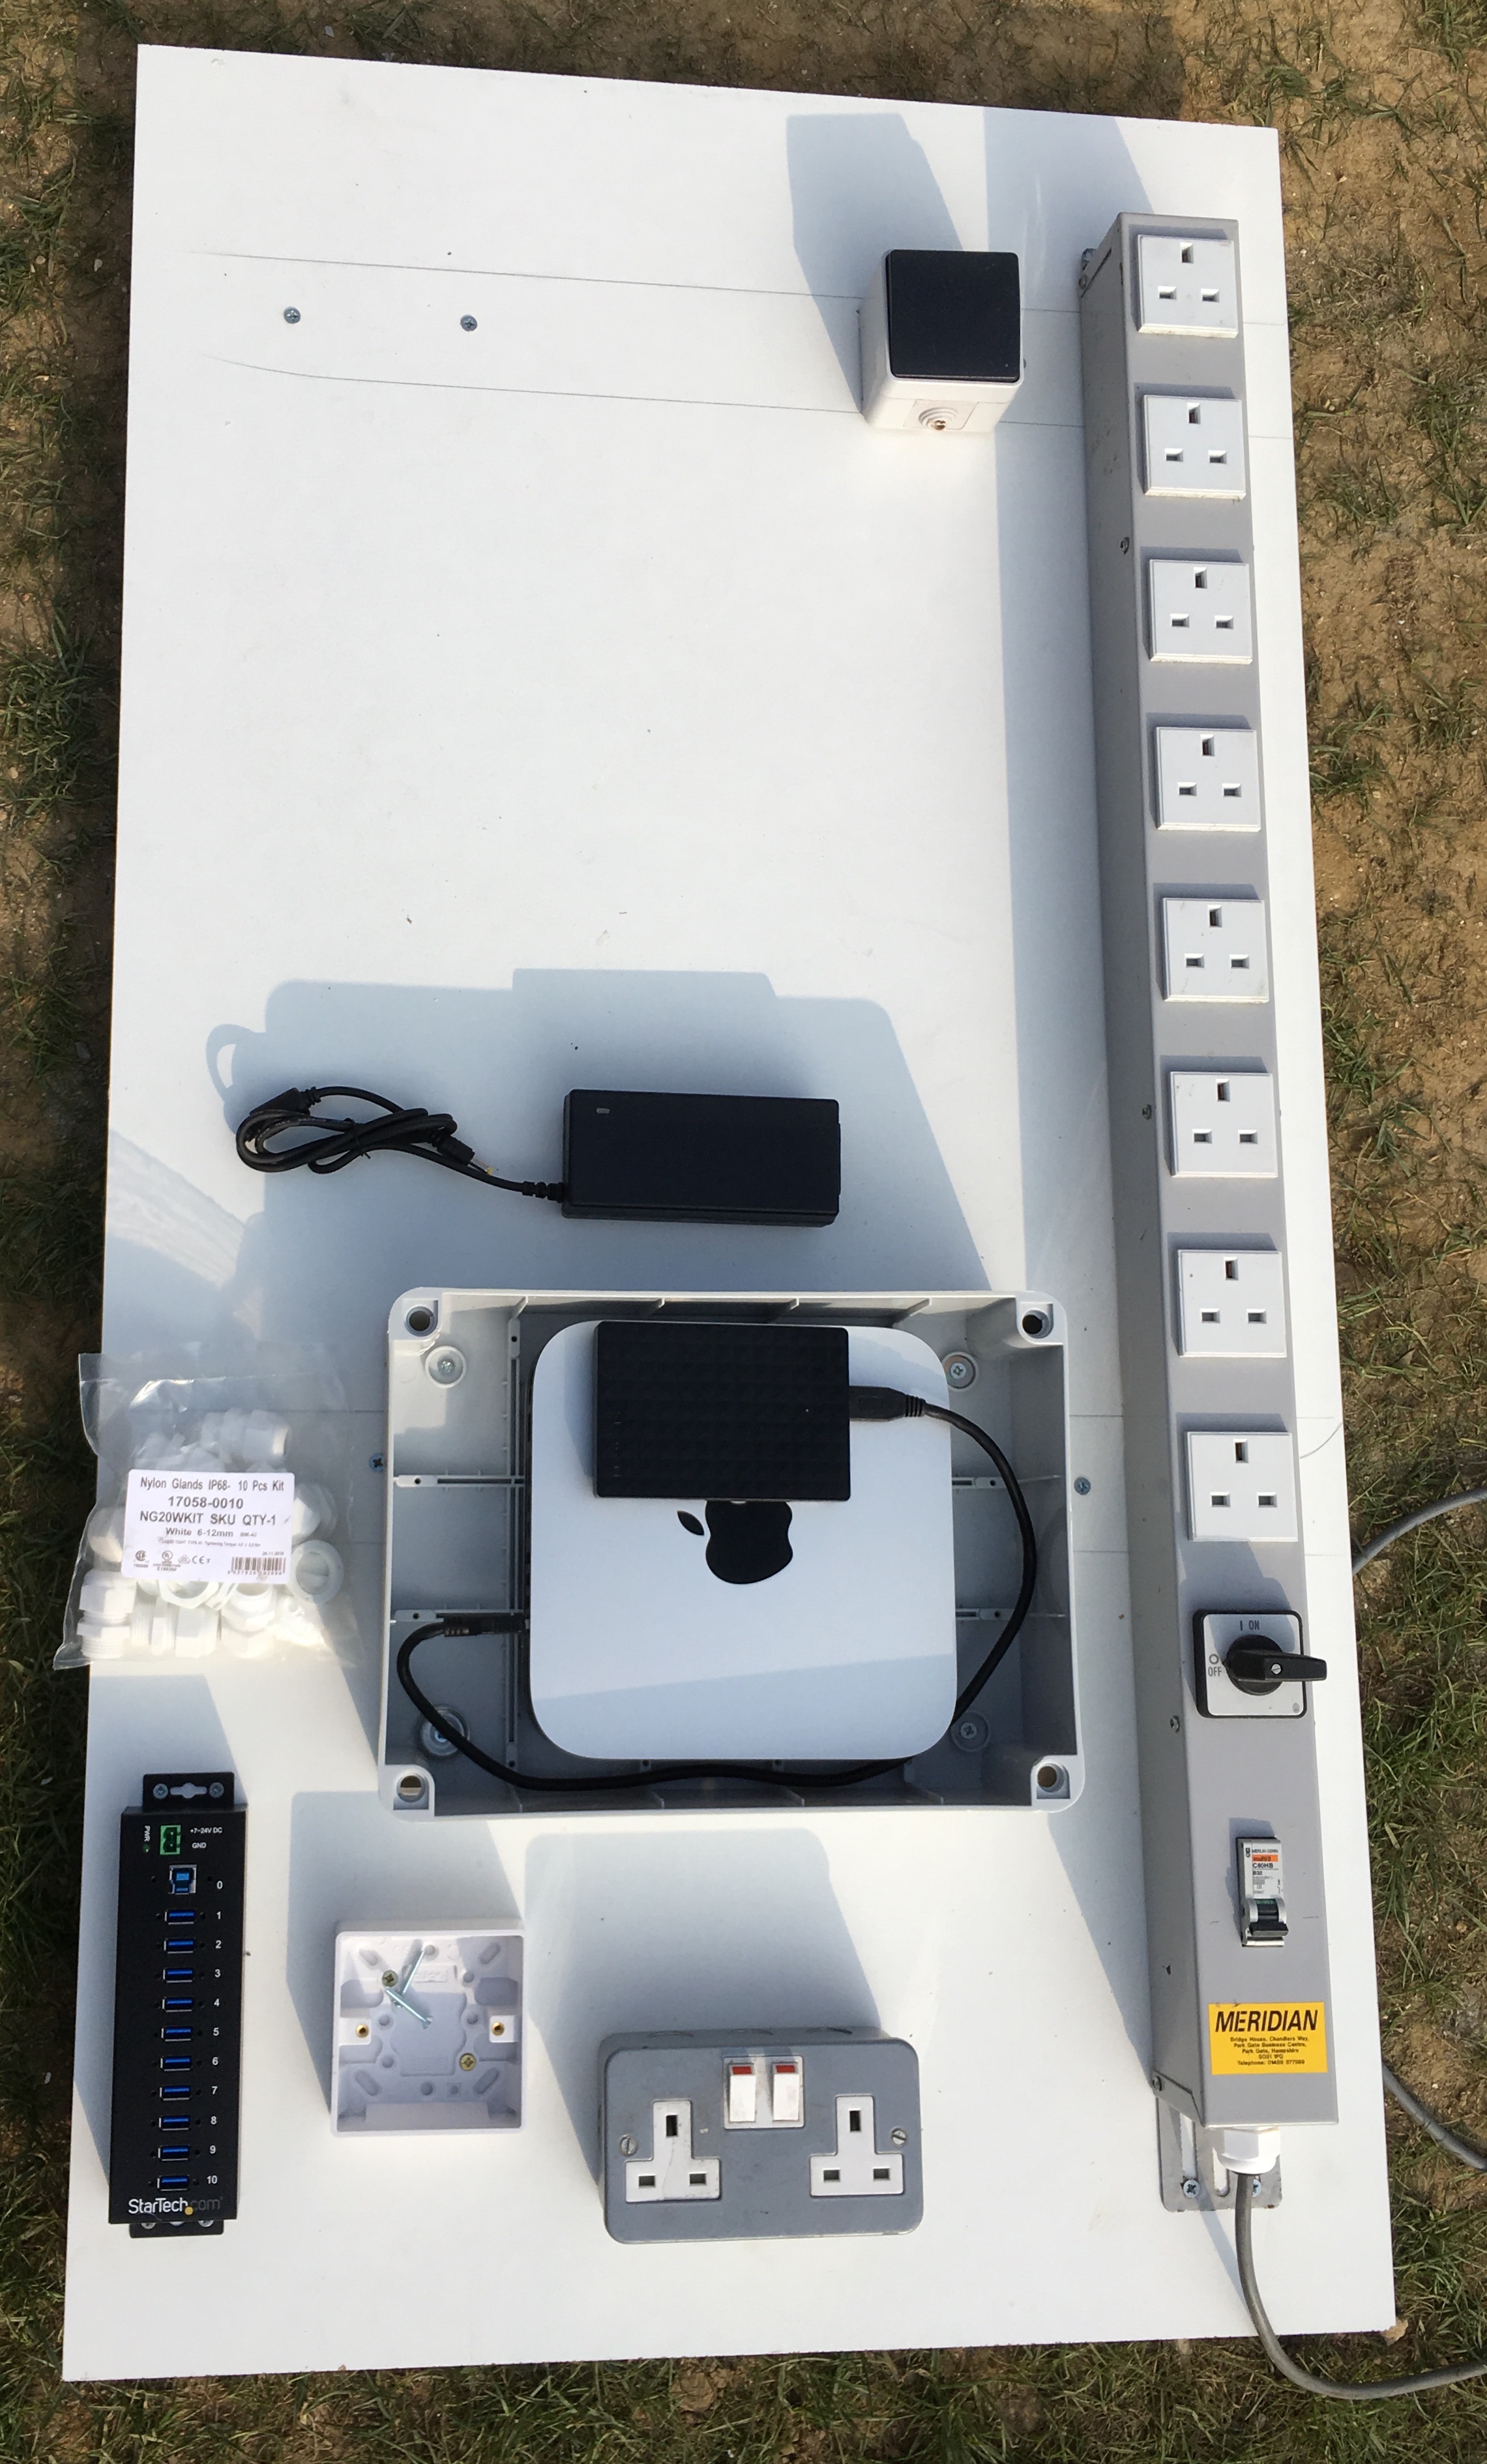
The other board would sit by the incoming power and data supplies near the edge and Eastern side of the dome. A master switch for the lights, another power strip, a waterproof box for the MacMini, later to be changed to an Intel NuC due to software issues that we later realised we could fix 🙁 A 10 port USB hub (one of many), master Ethernet port for the incoming network connection from the house and providing 330MB into the dome and finally the master double socket for the electric.
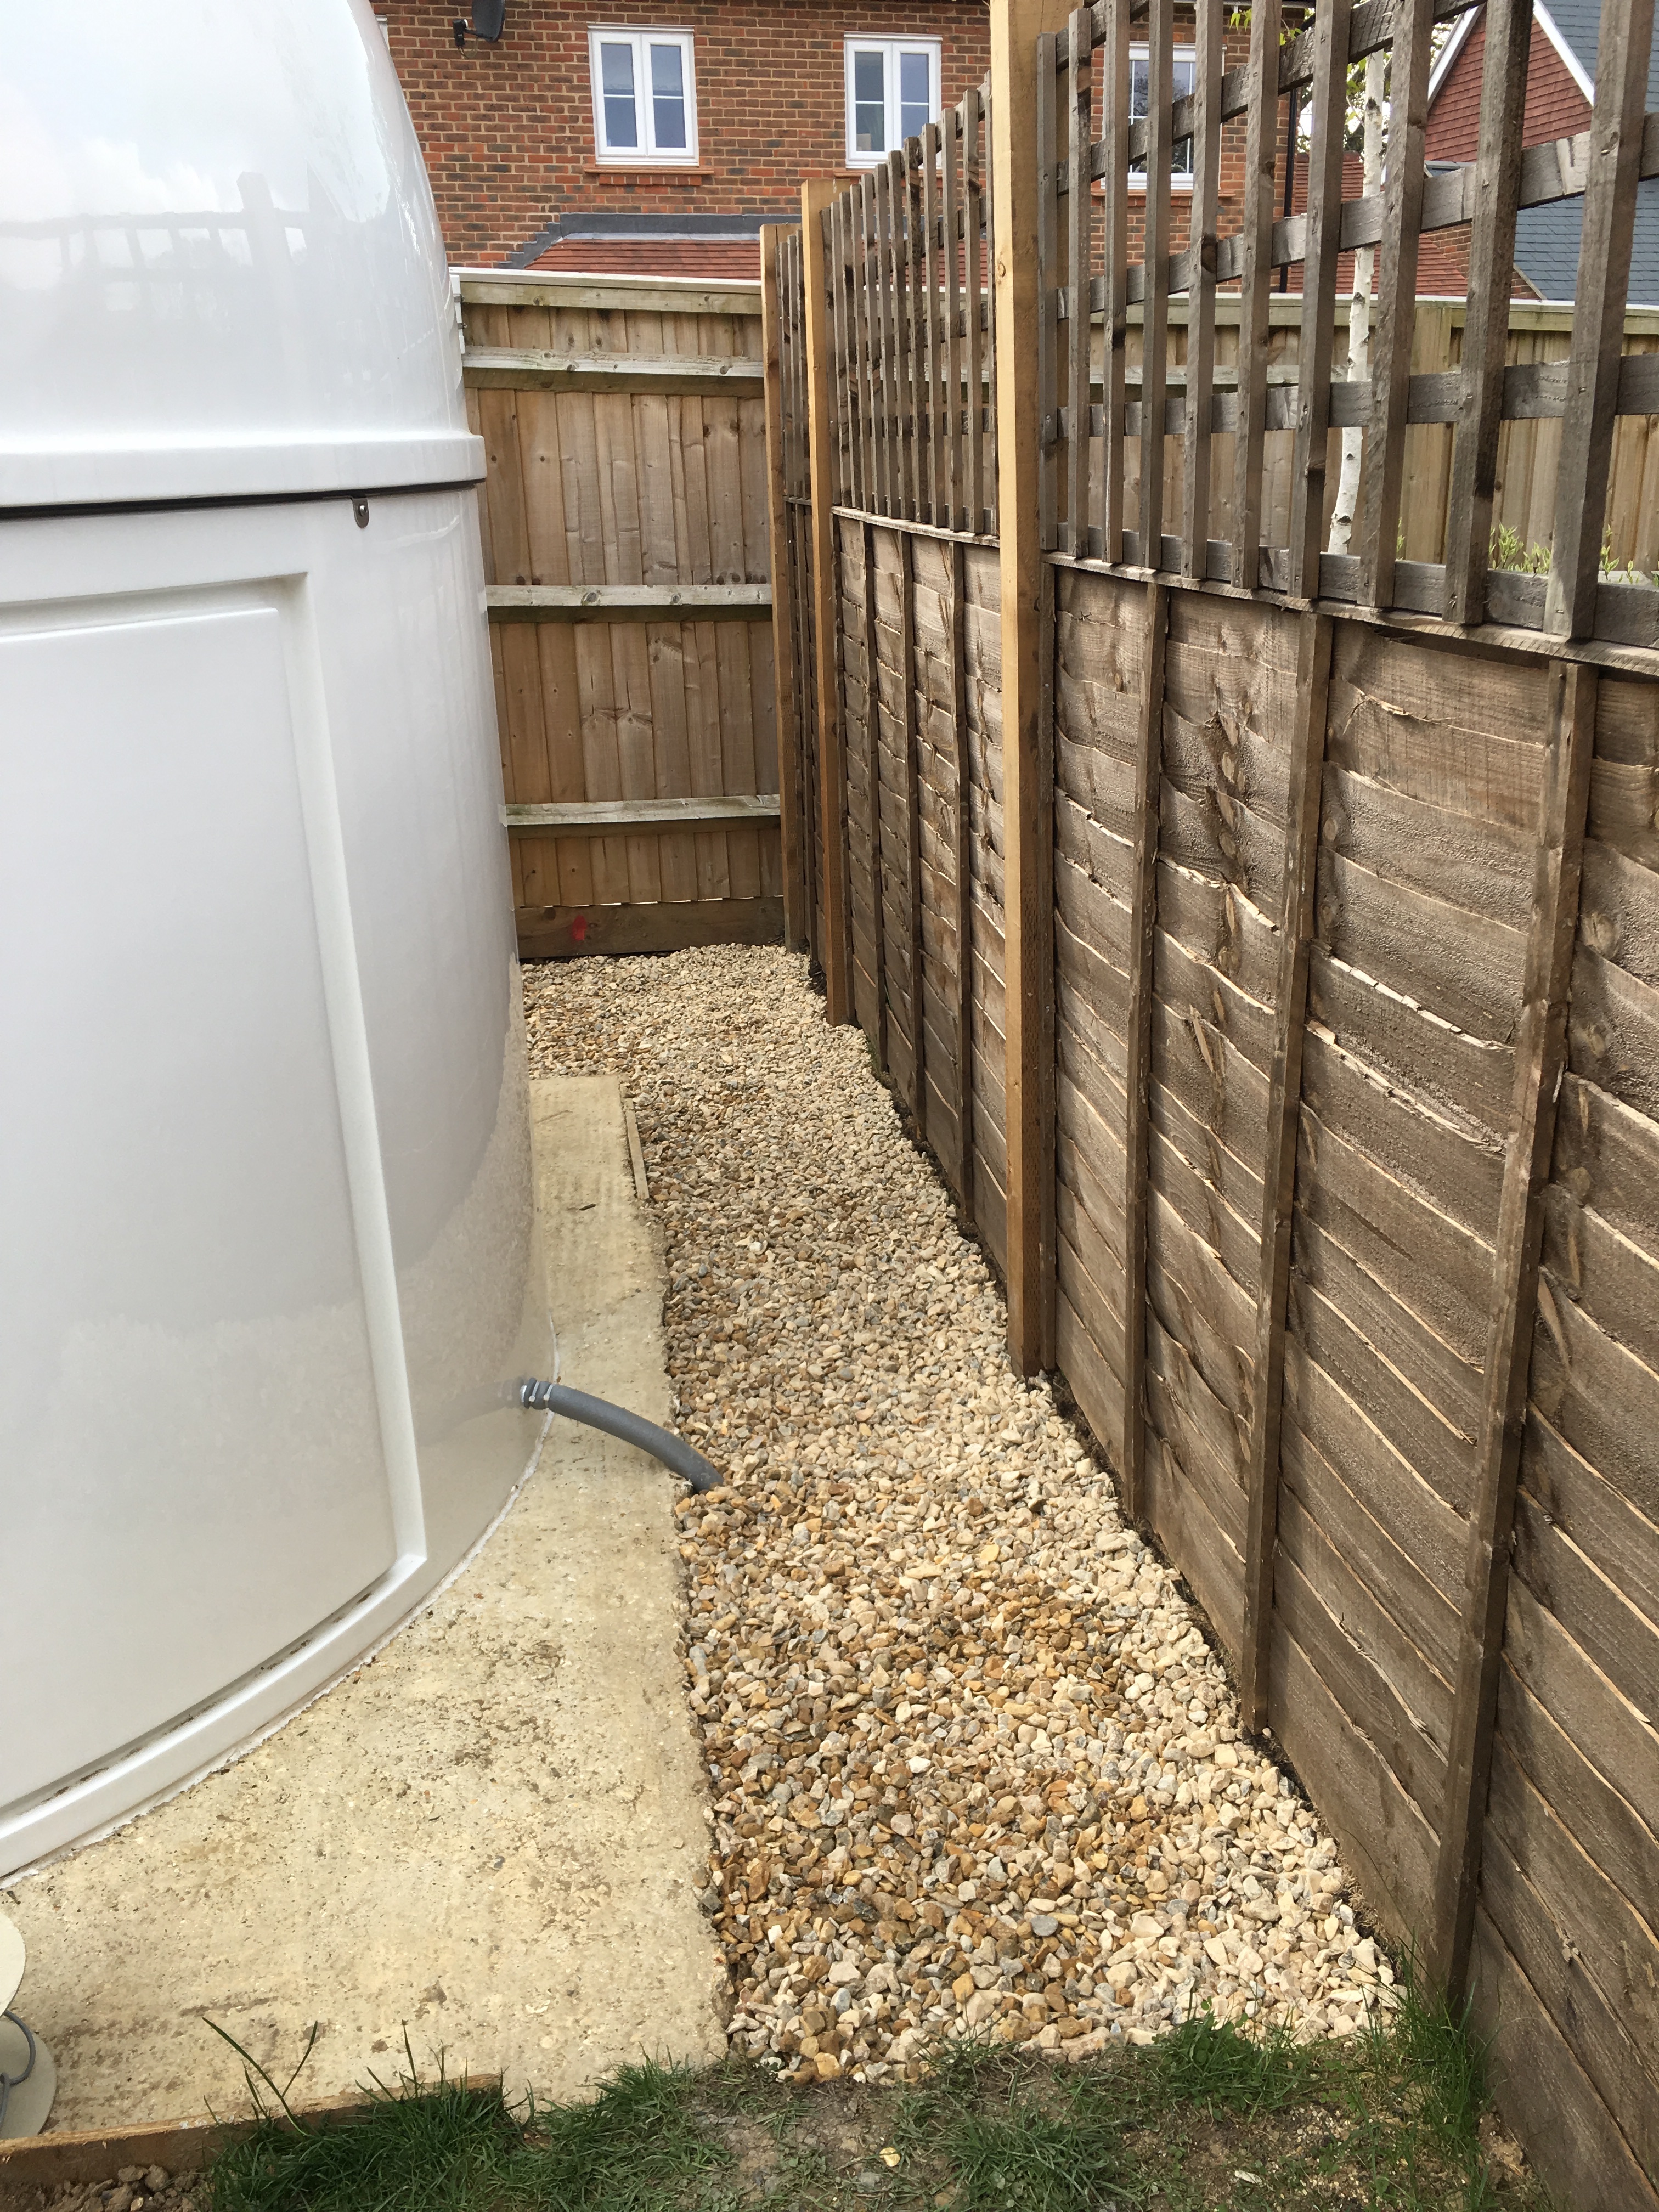
Meanwhile the view from the Orangery was great, with the dome taking shape, although the plan is to have fencing and planting to soften the view for others.
The floor of the dome was painted with garage floor paint to seal in the concrete. It would transpire that the rubber matting I would later fit would need a DPC membrane under it to stop the build up of condensation caused by the cold concrete against the warmer rubber.
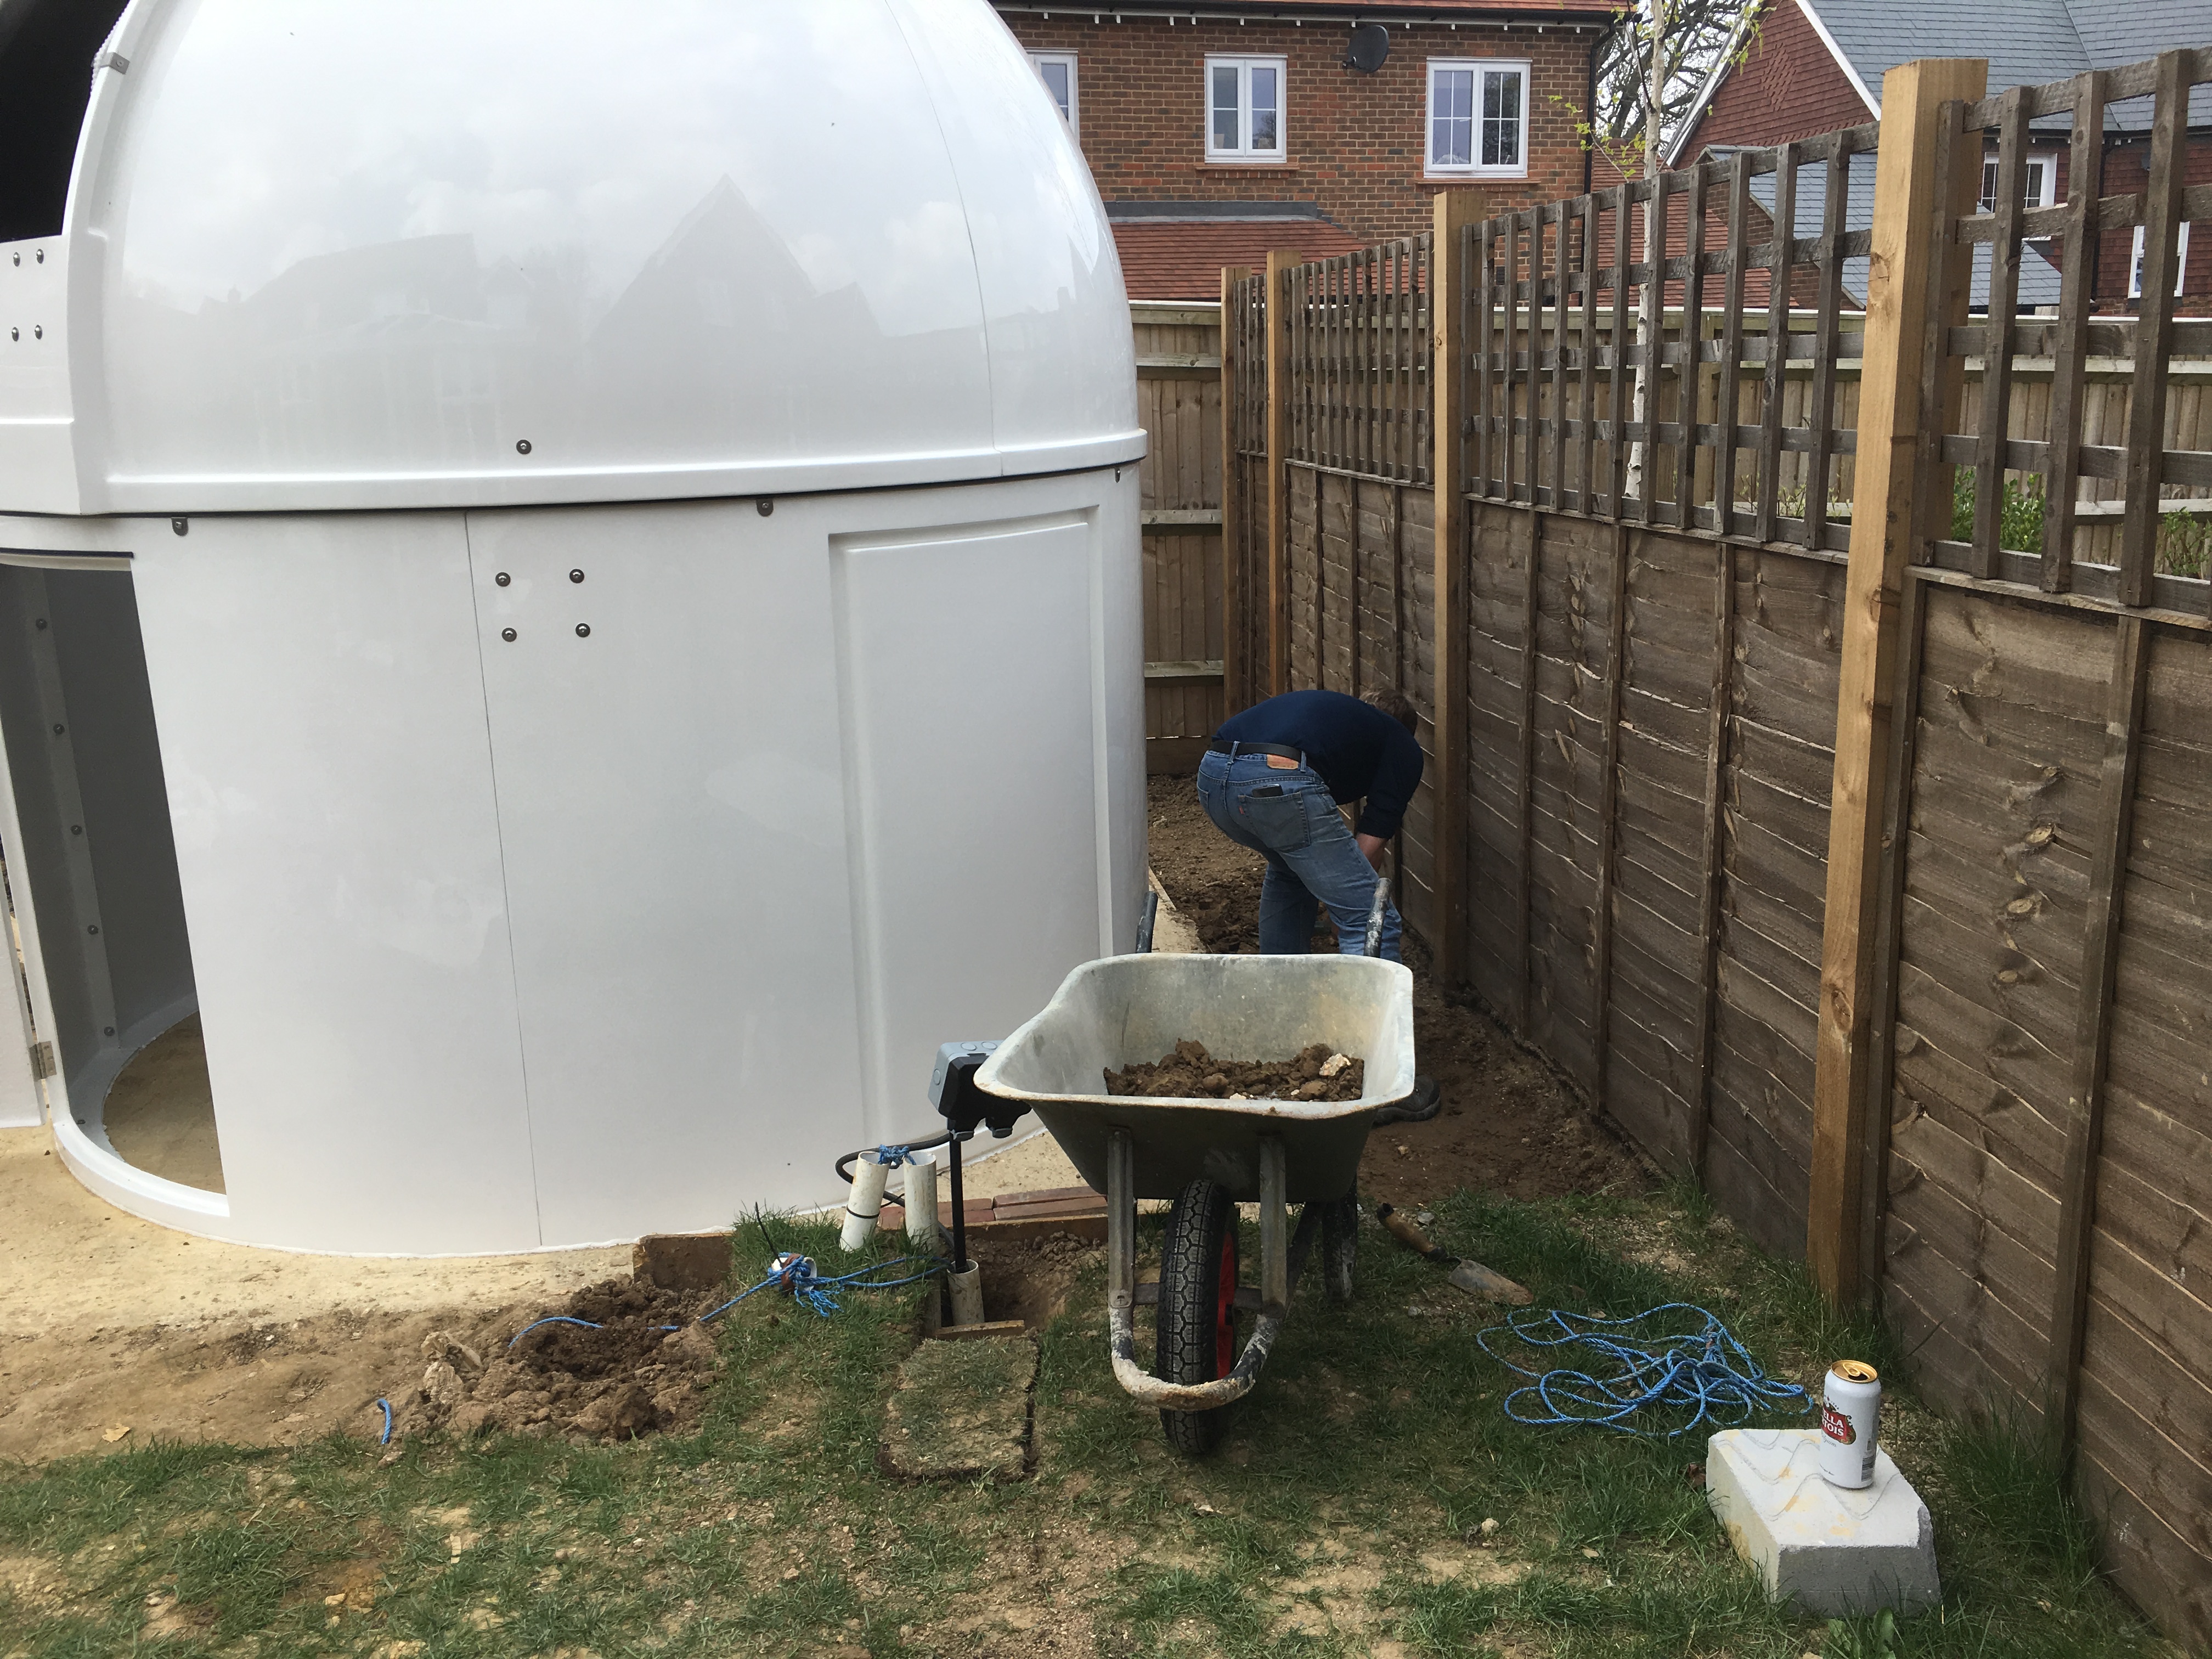
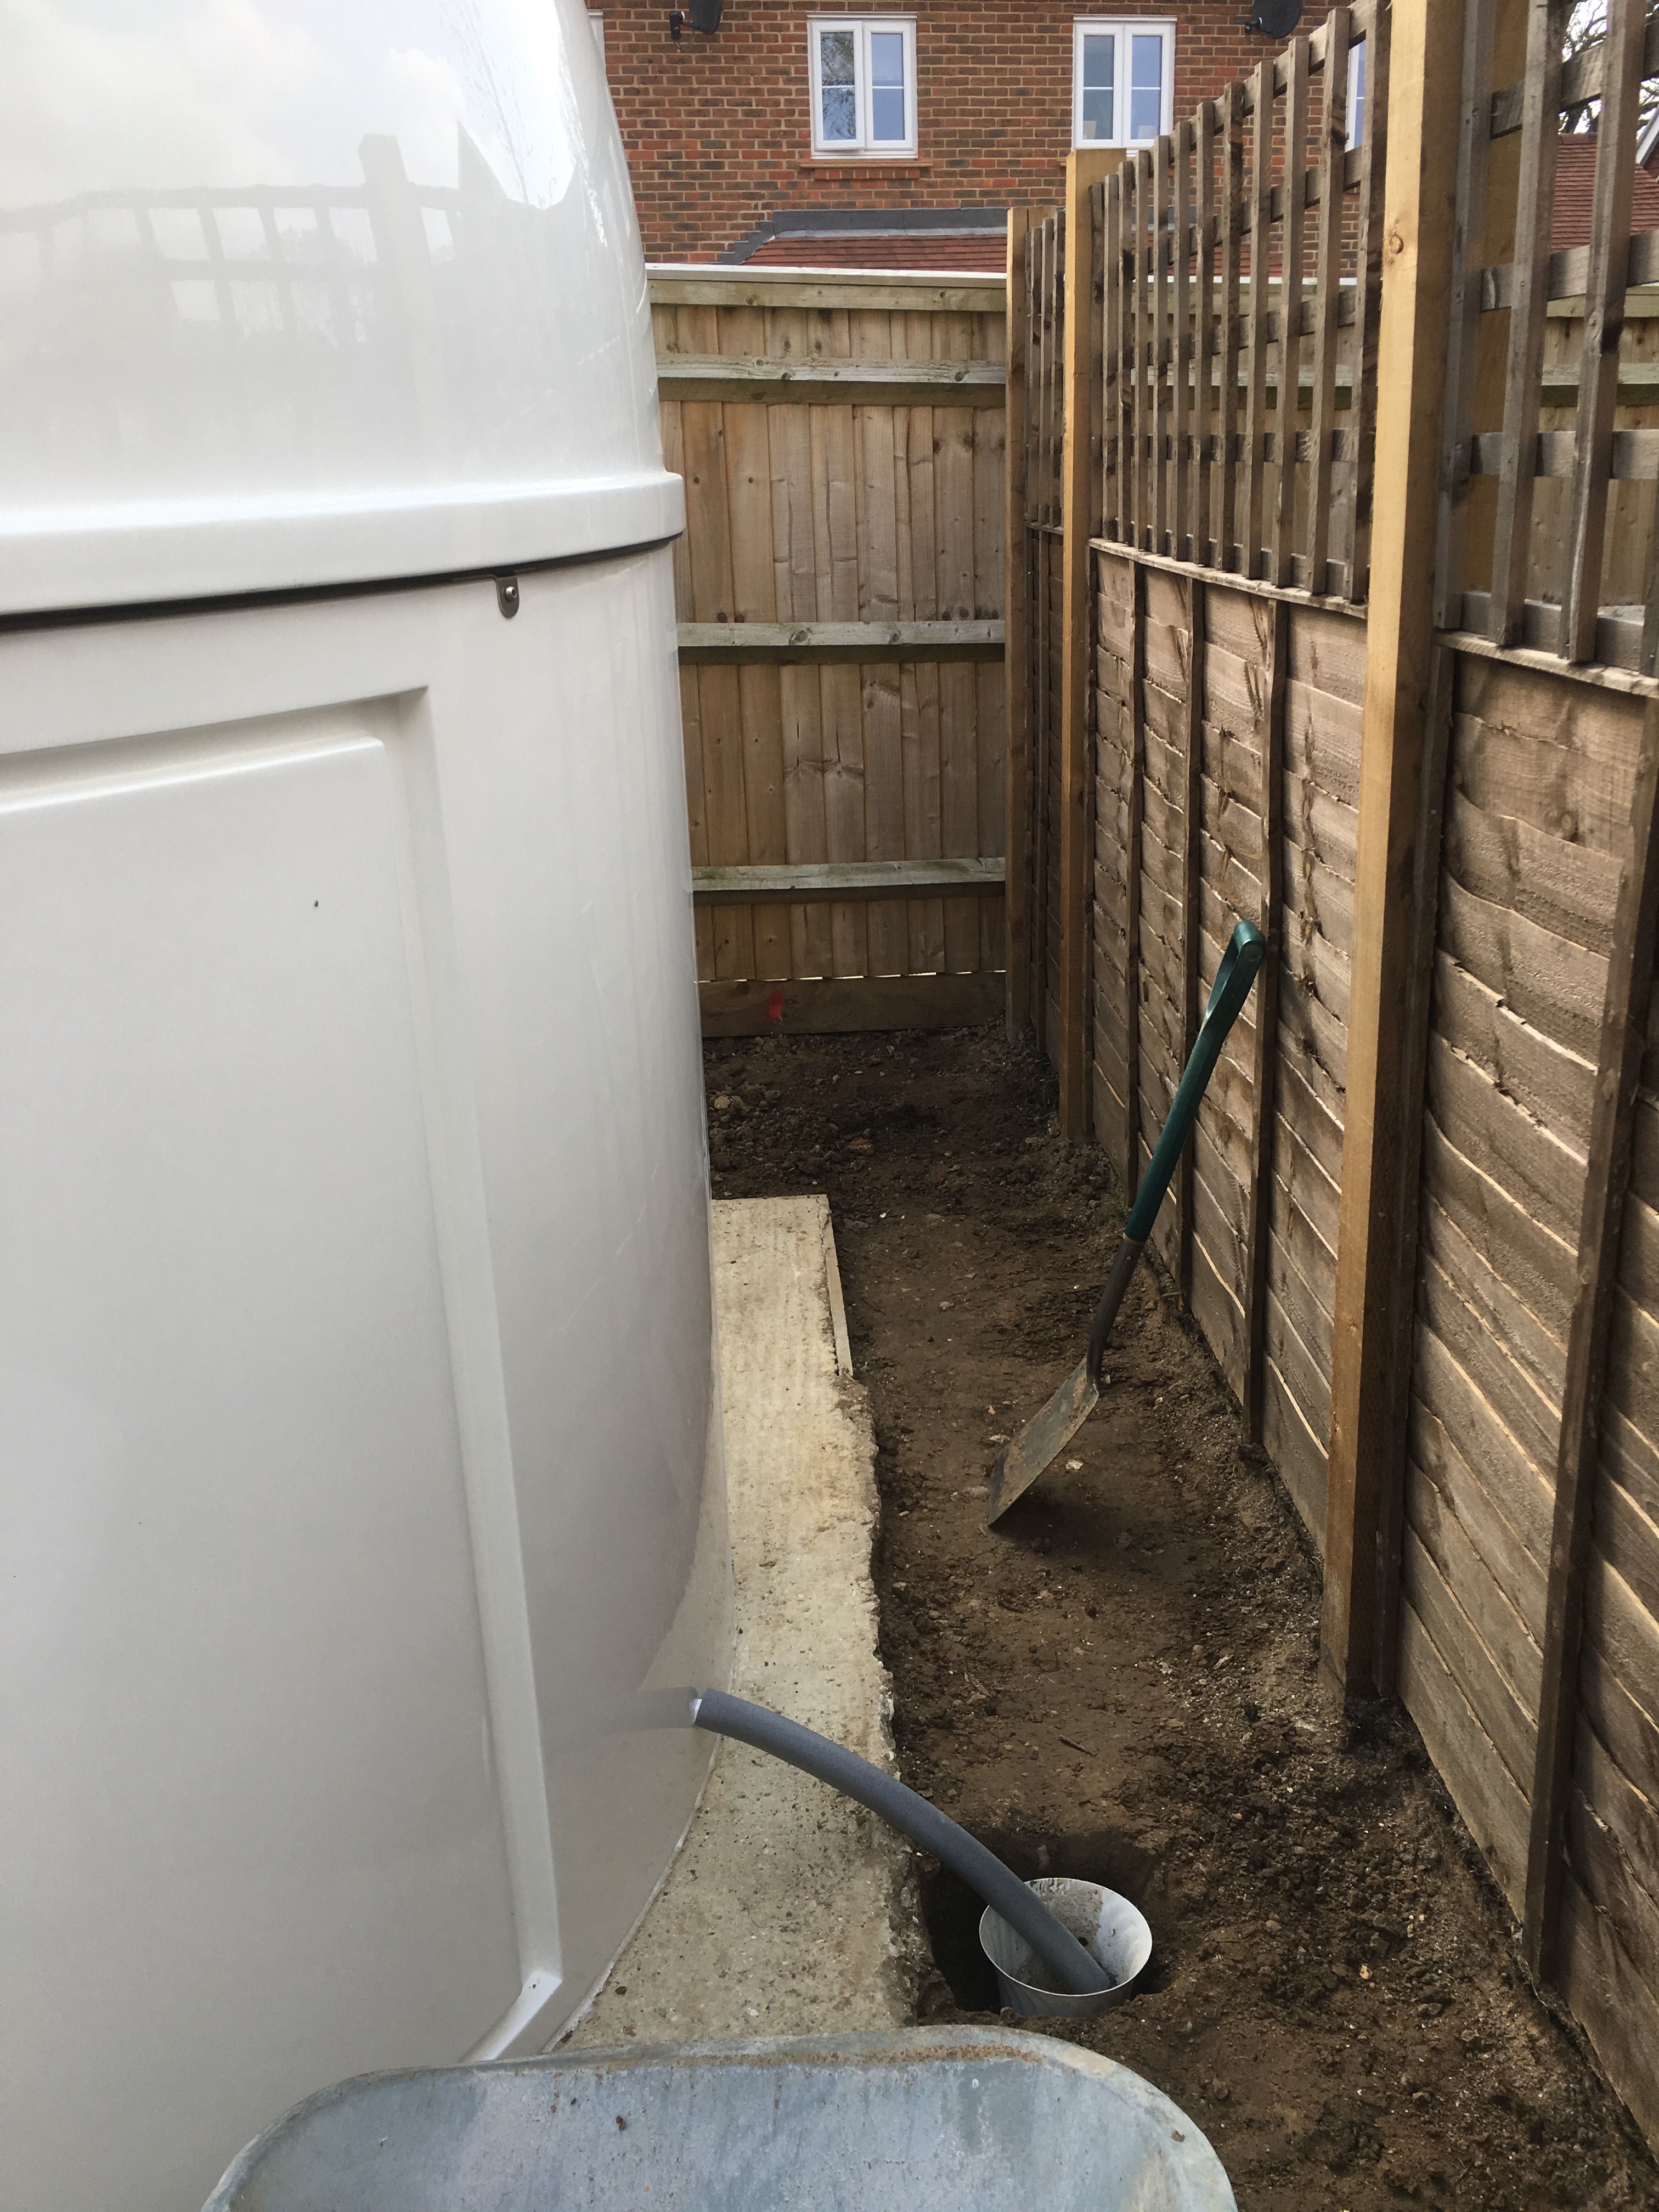
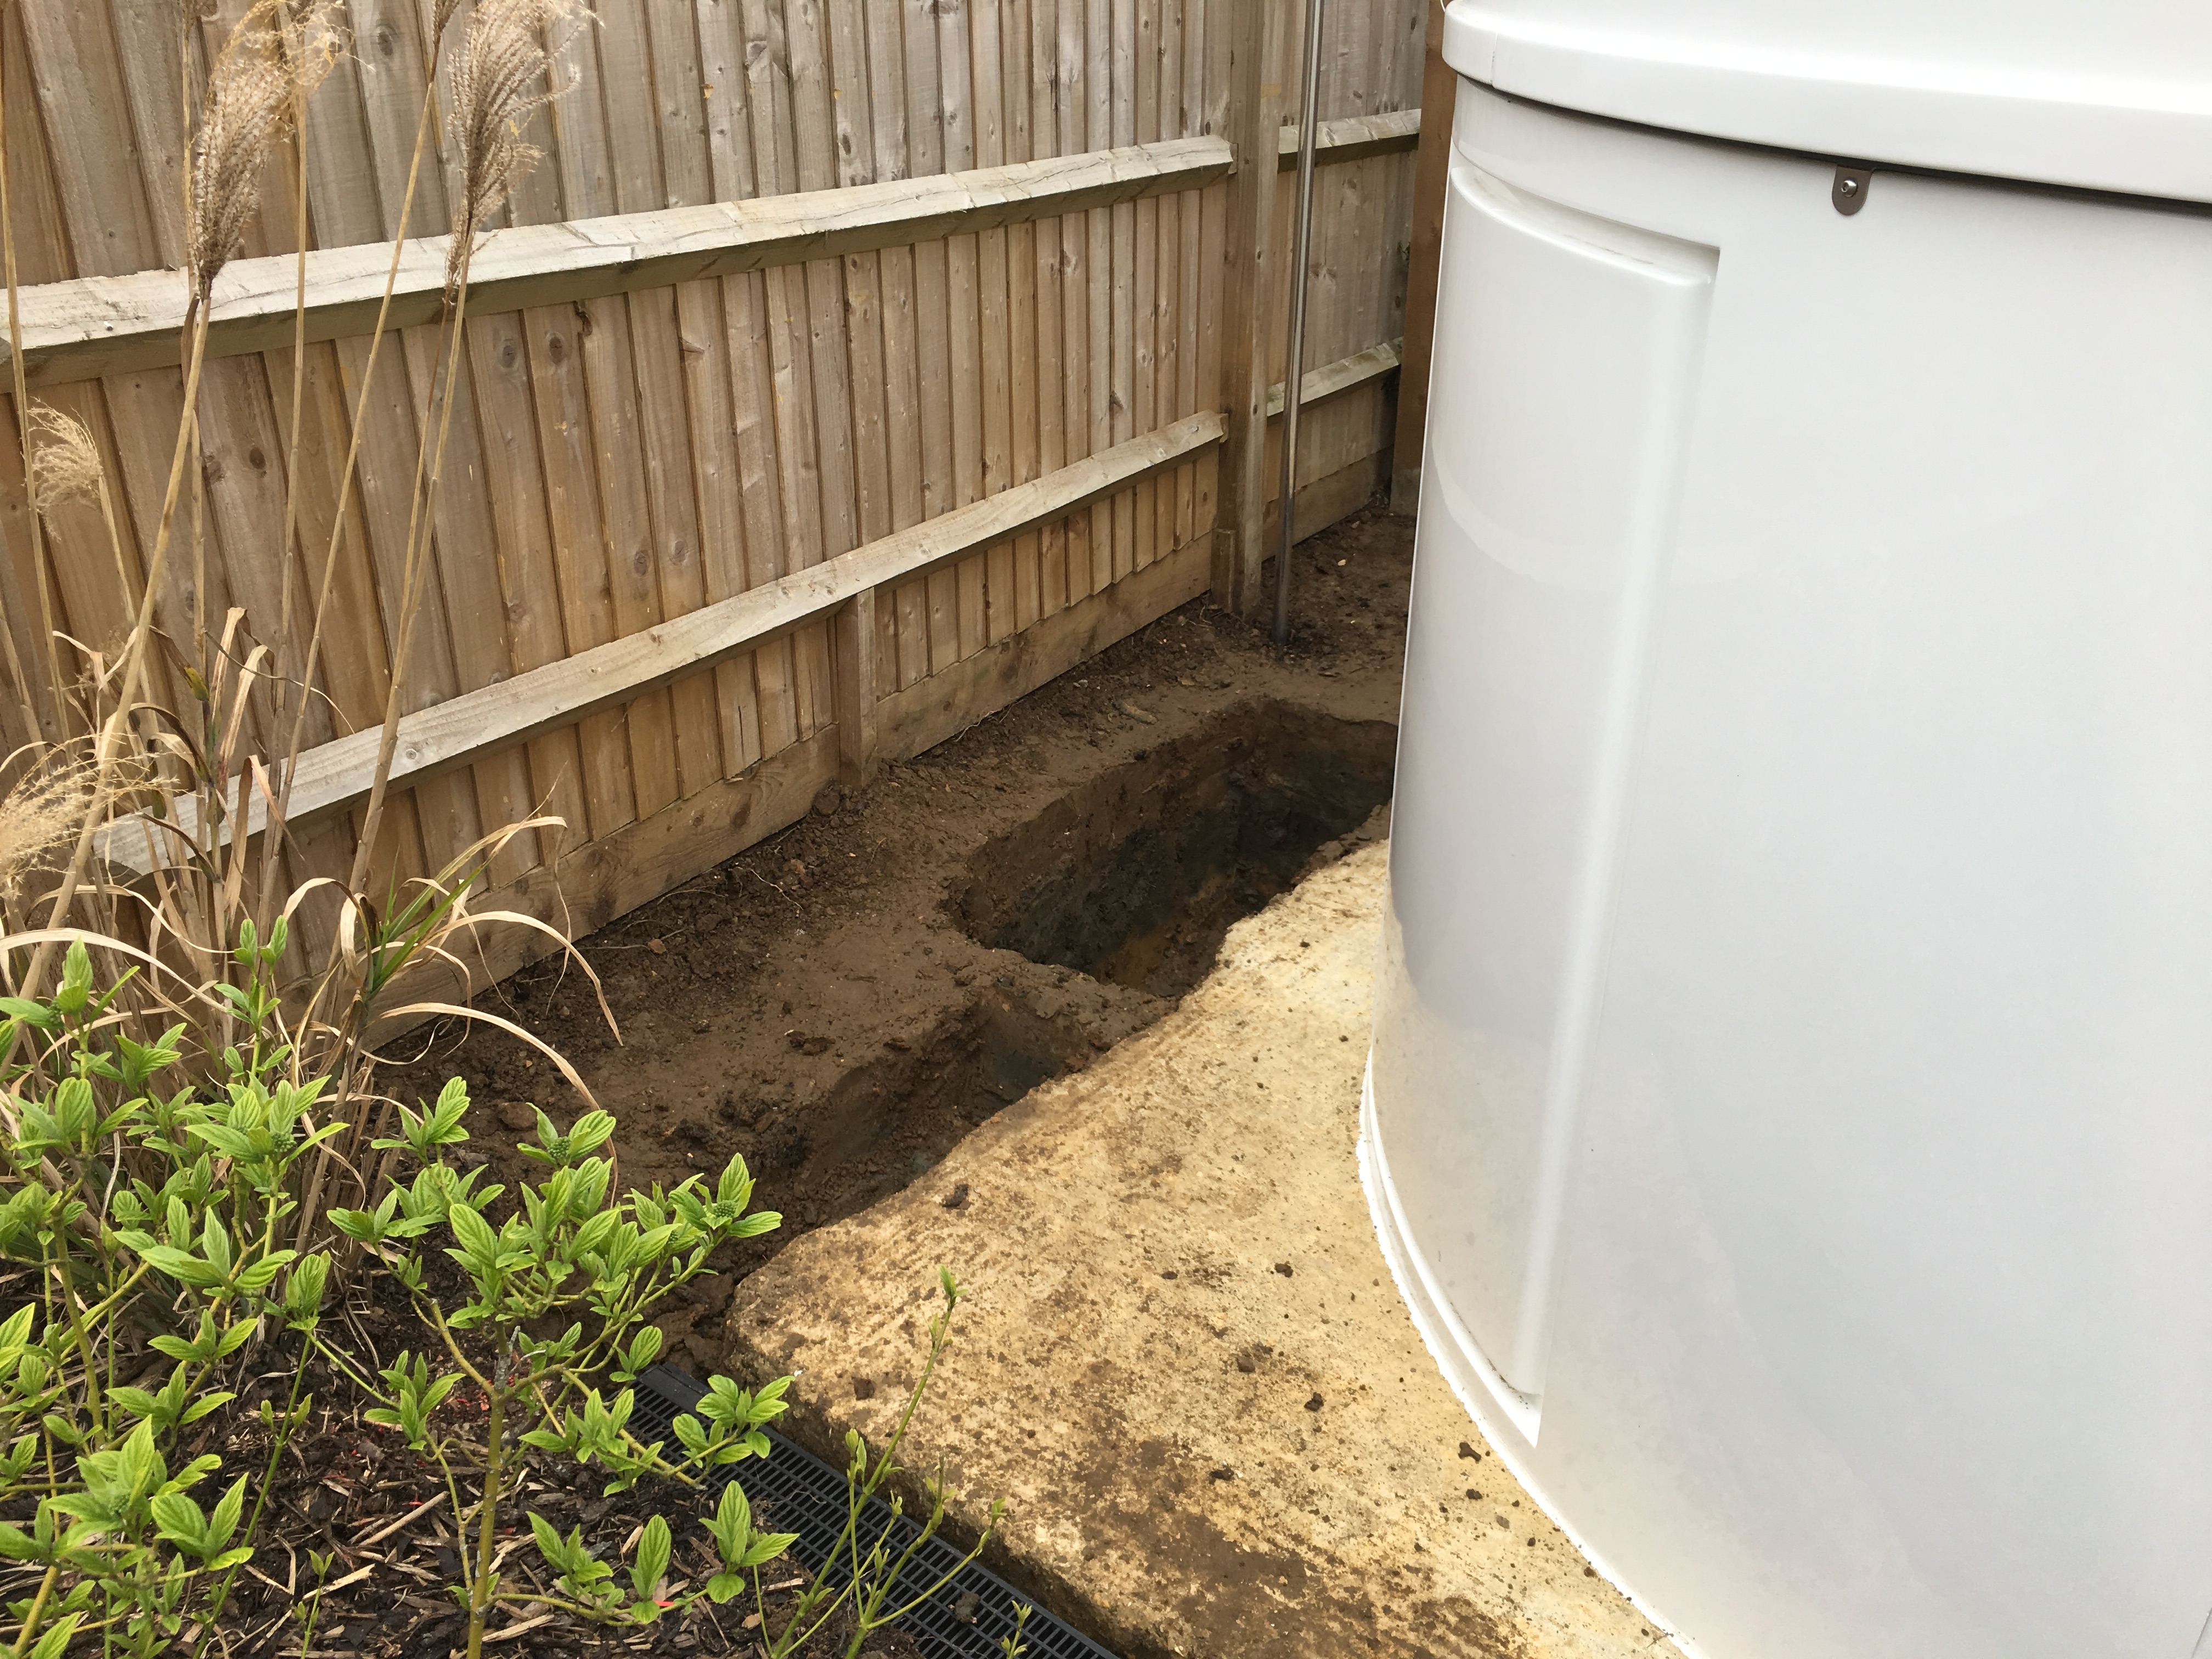
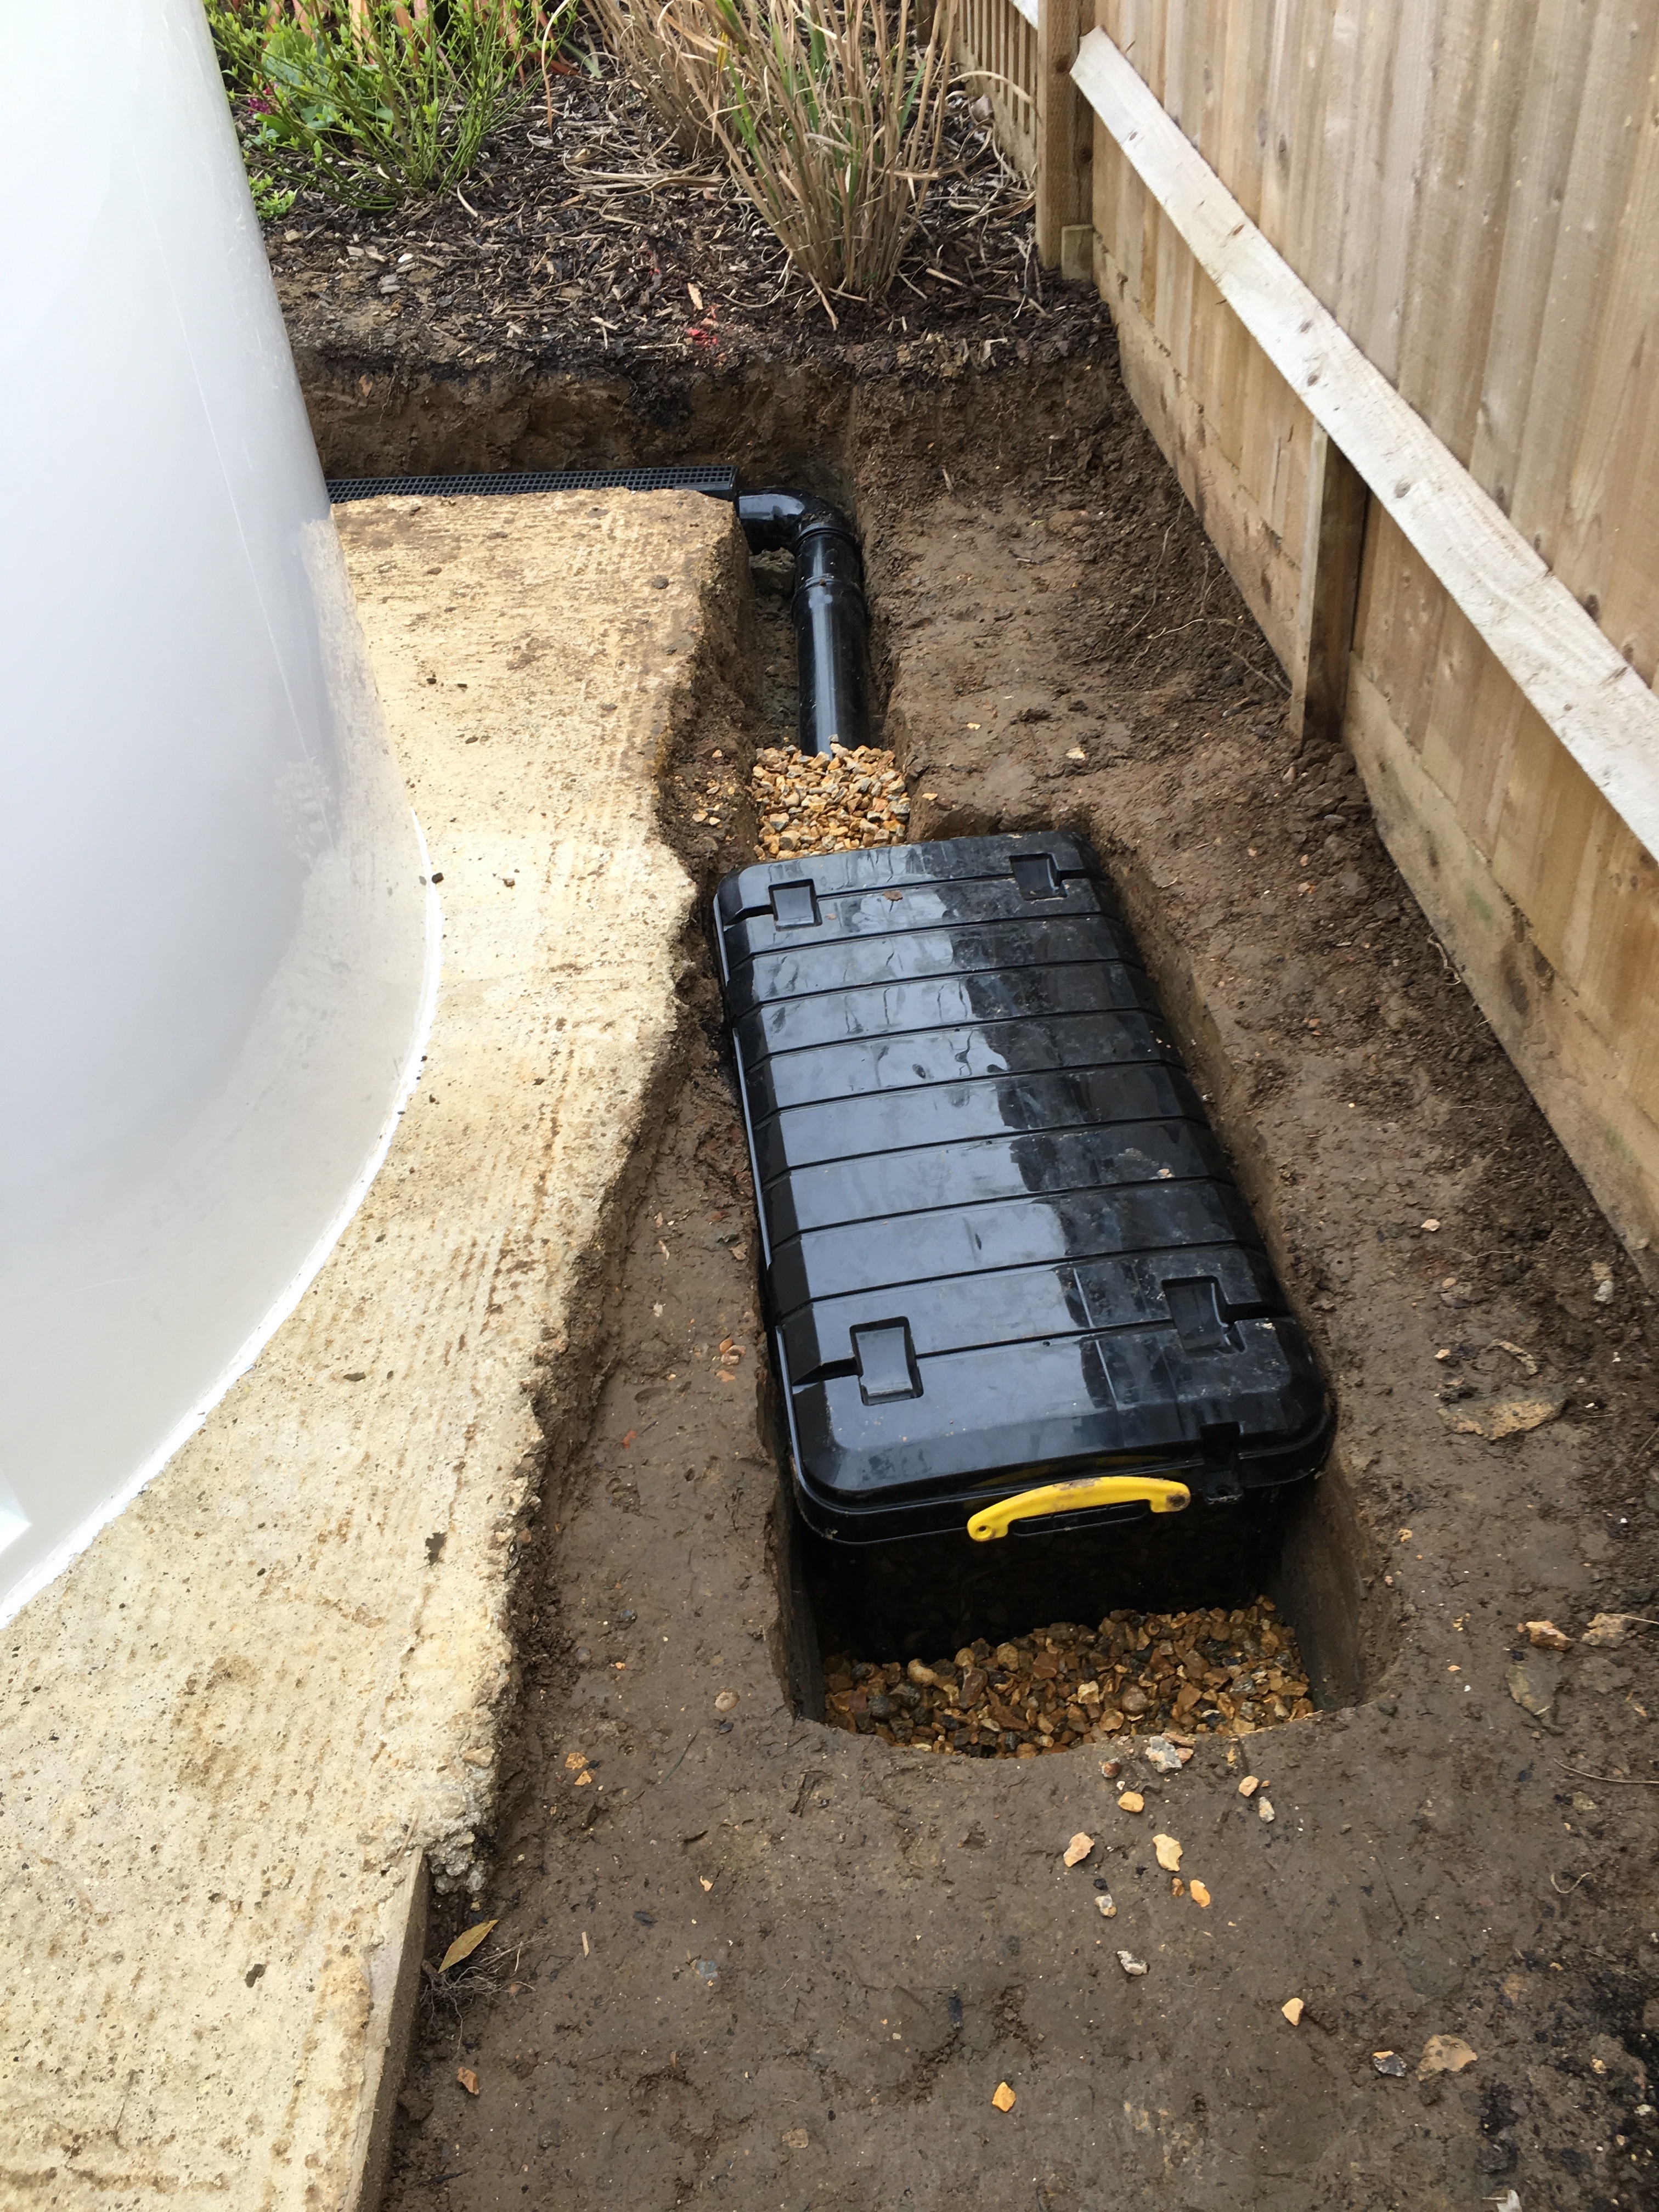
Meanwhile, we continued outside with building the supporting infrastructure, including a master soak-away and putting in the weather station pole and associated instruments. GingerGeek spent time helping dig the soak-away, we dug down either side of the concrete to the North and West which would be backfired with 20mm shingle.
A hole was then dug for the drainage for the dehumidifier, a must for any observatory. The plant pot has holes drilled in and was then filled with shingle to stop any soil from backfilling over time.
Round to the West of the dome we started to dig out the section for the soak-away.
I had purchased a sturdy large plastic container (I could stand on it without it flexing) and then drilled a fair amount of holes in it. It was then buried in the ground, connected to a standard large drainage pipe typically found taking waster from the house and connected that into it, completing the connection with several guns of mastic.
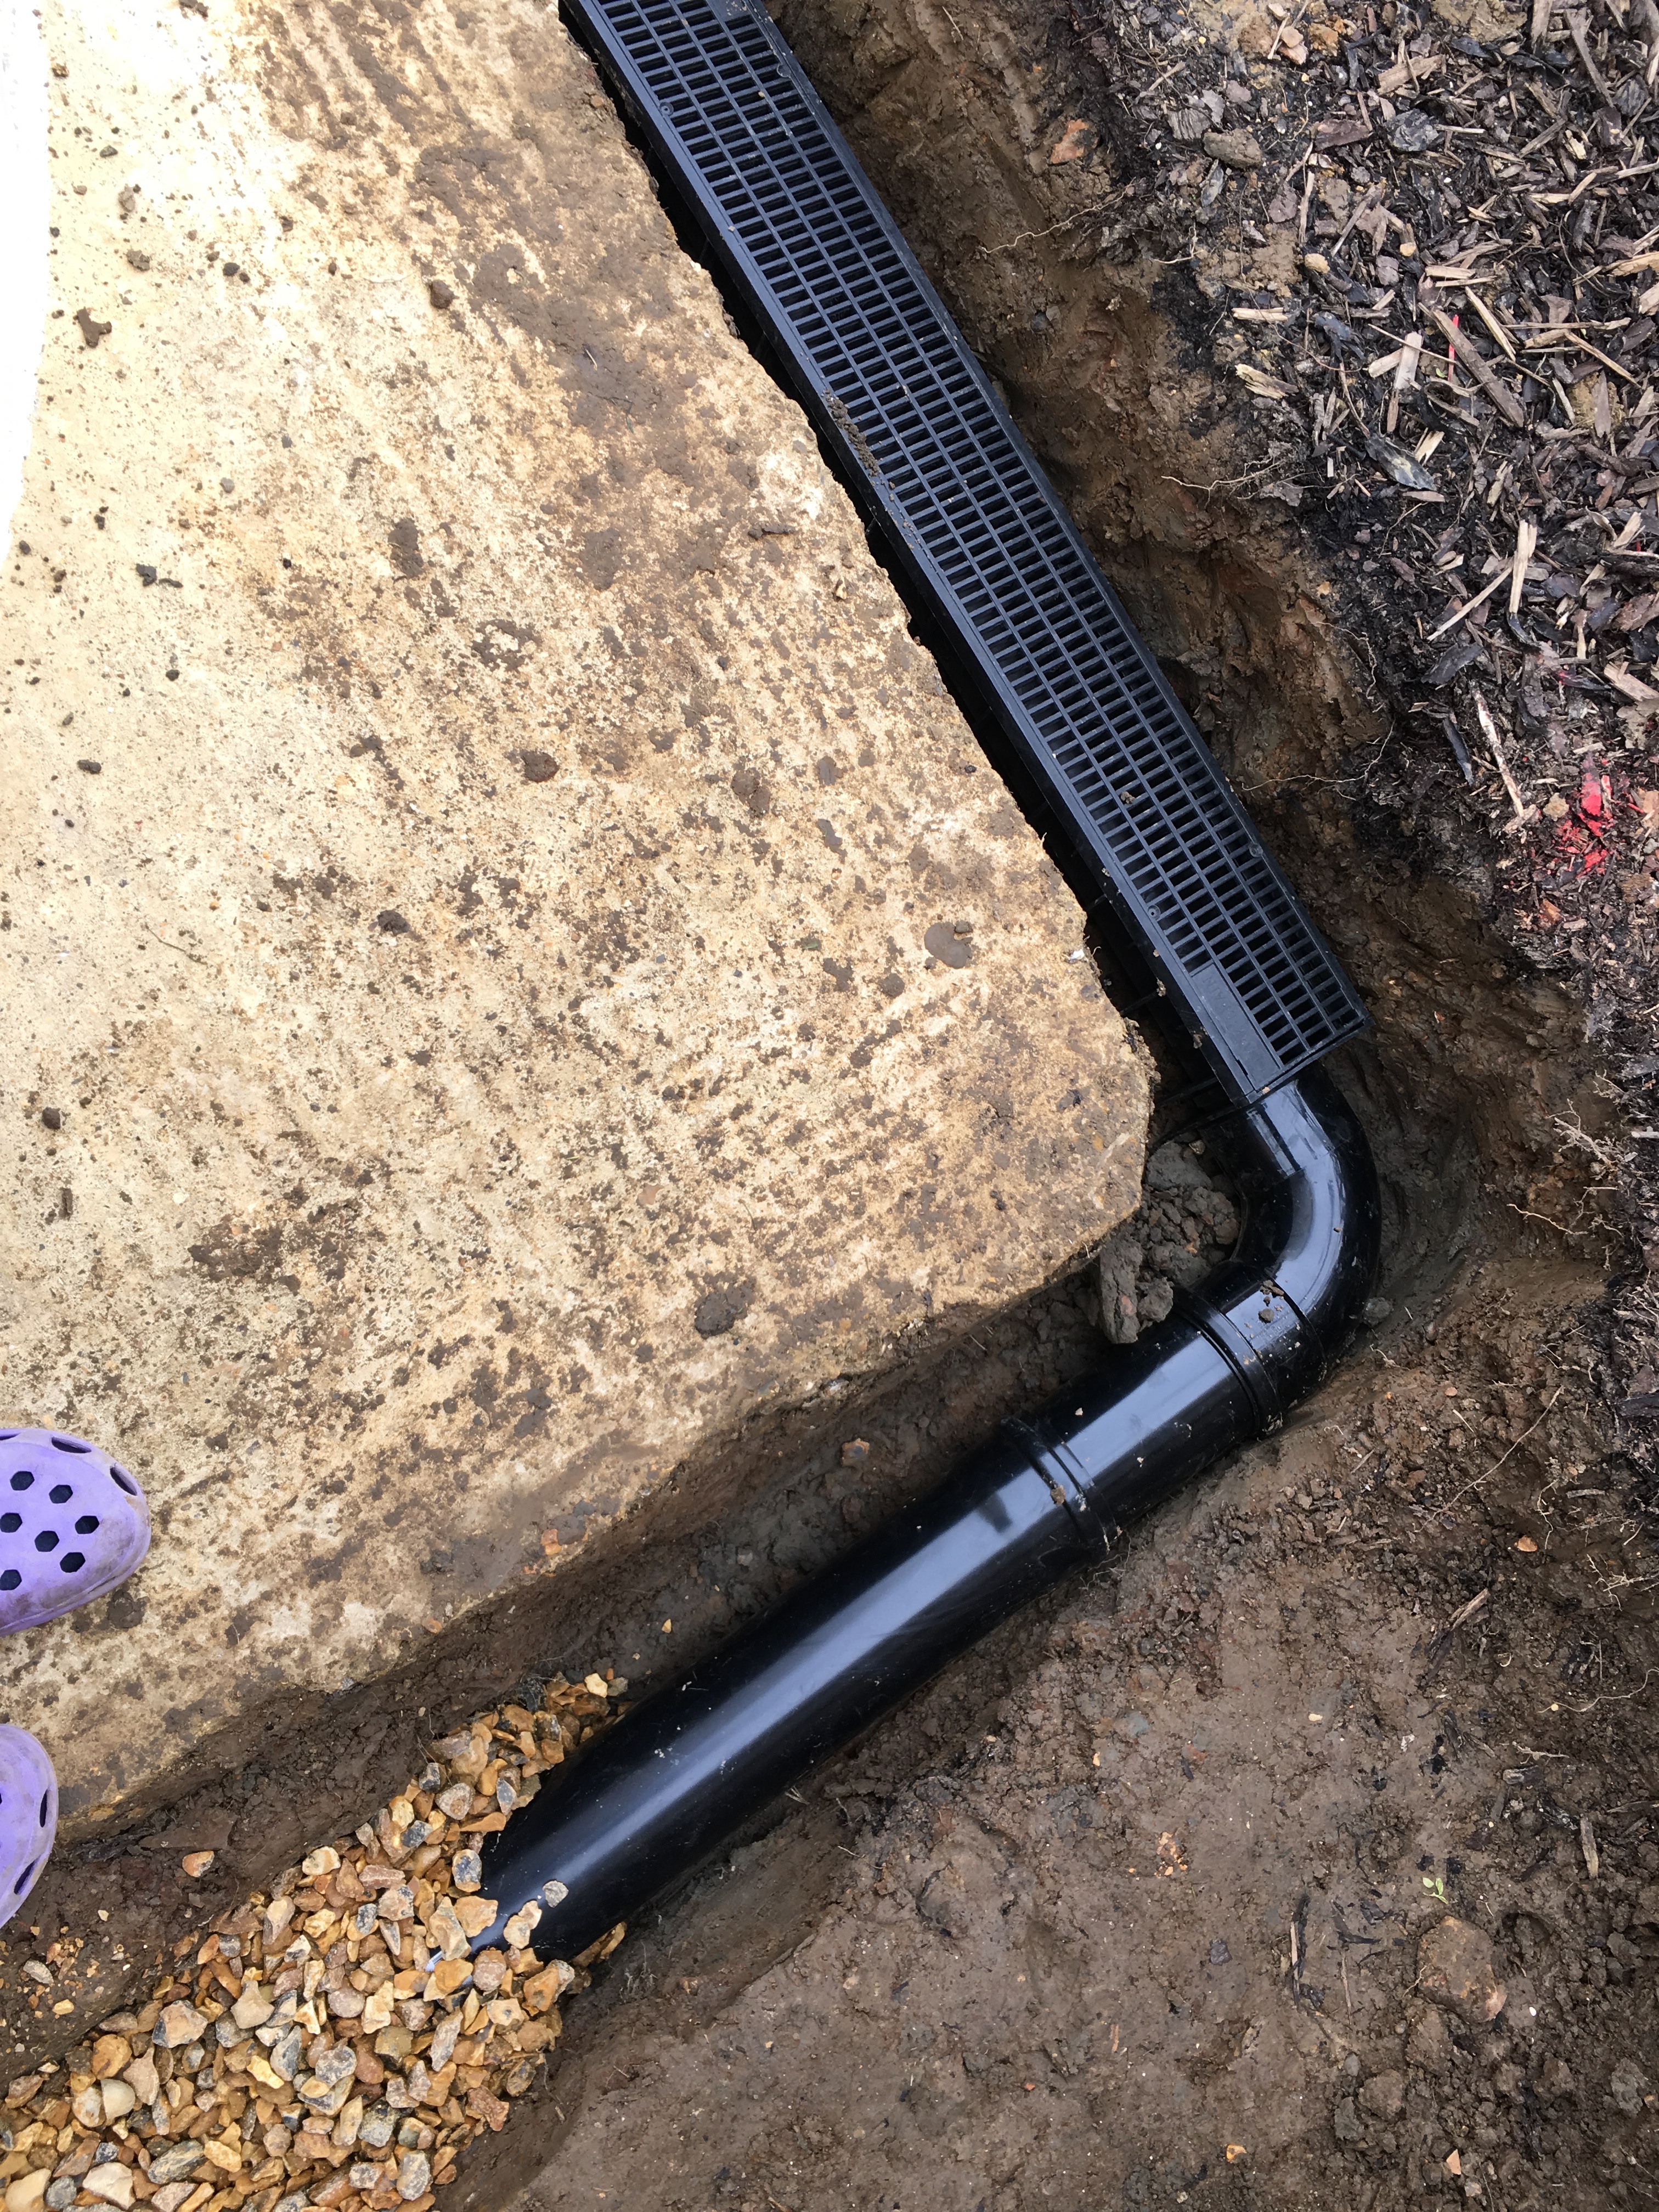
This was then connected to the plastic french drain we had previously dug out for and fitted.
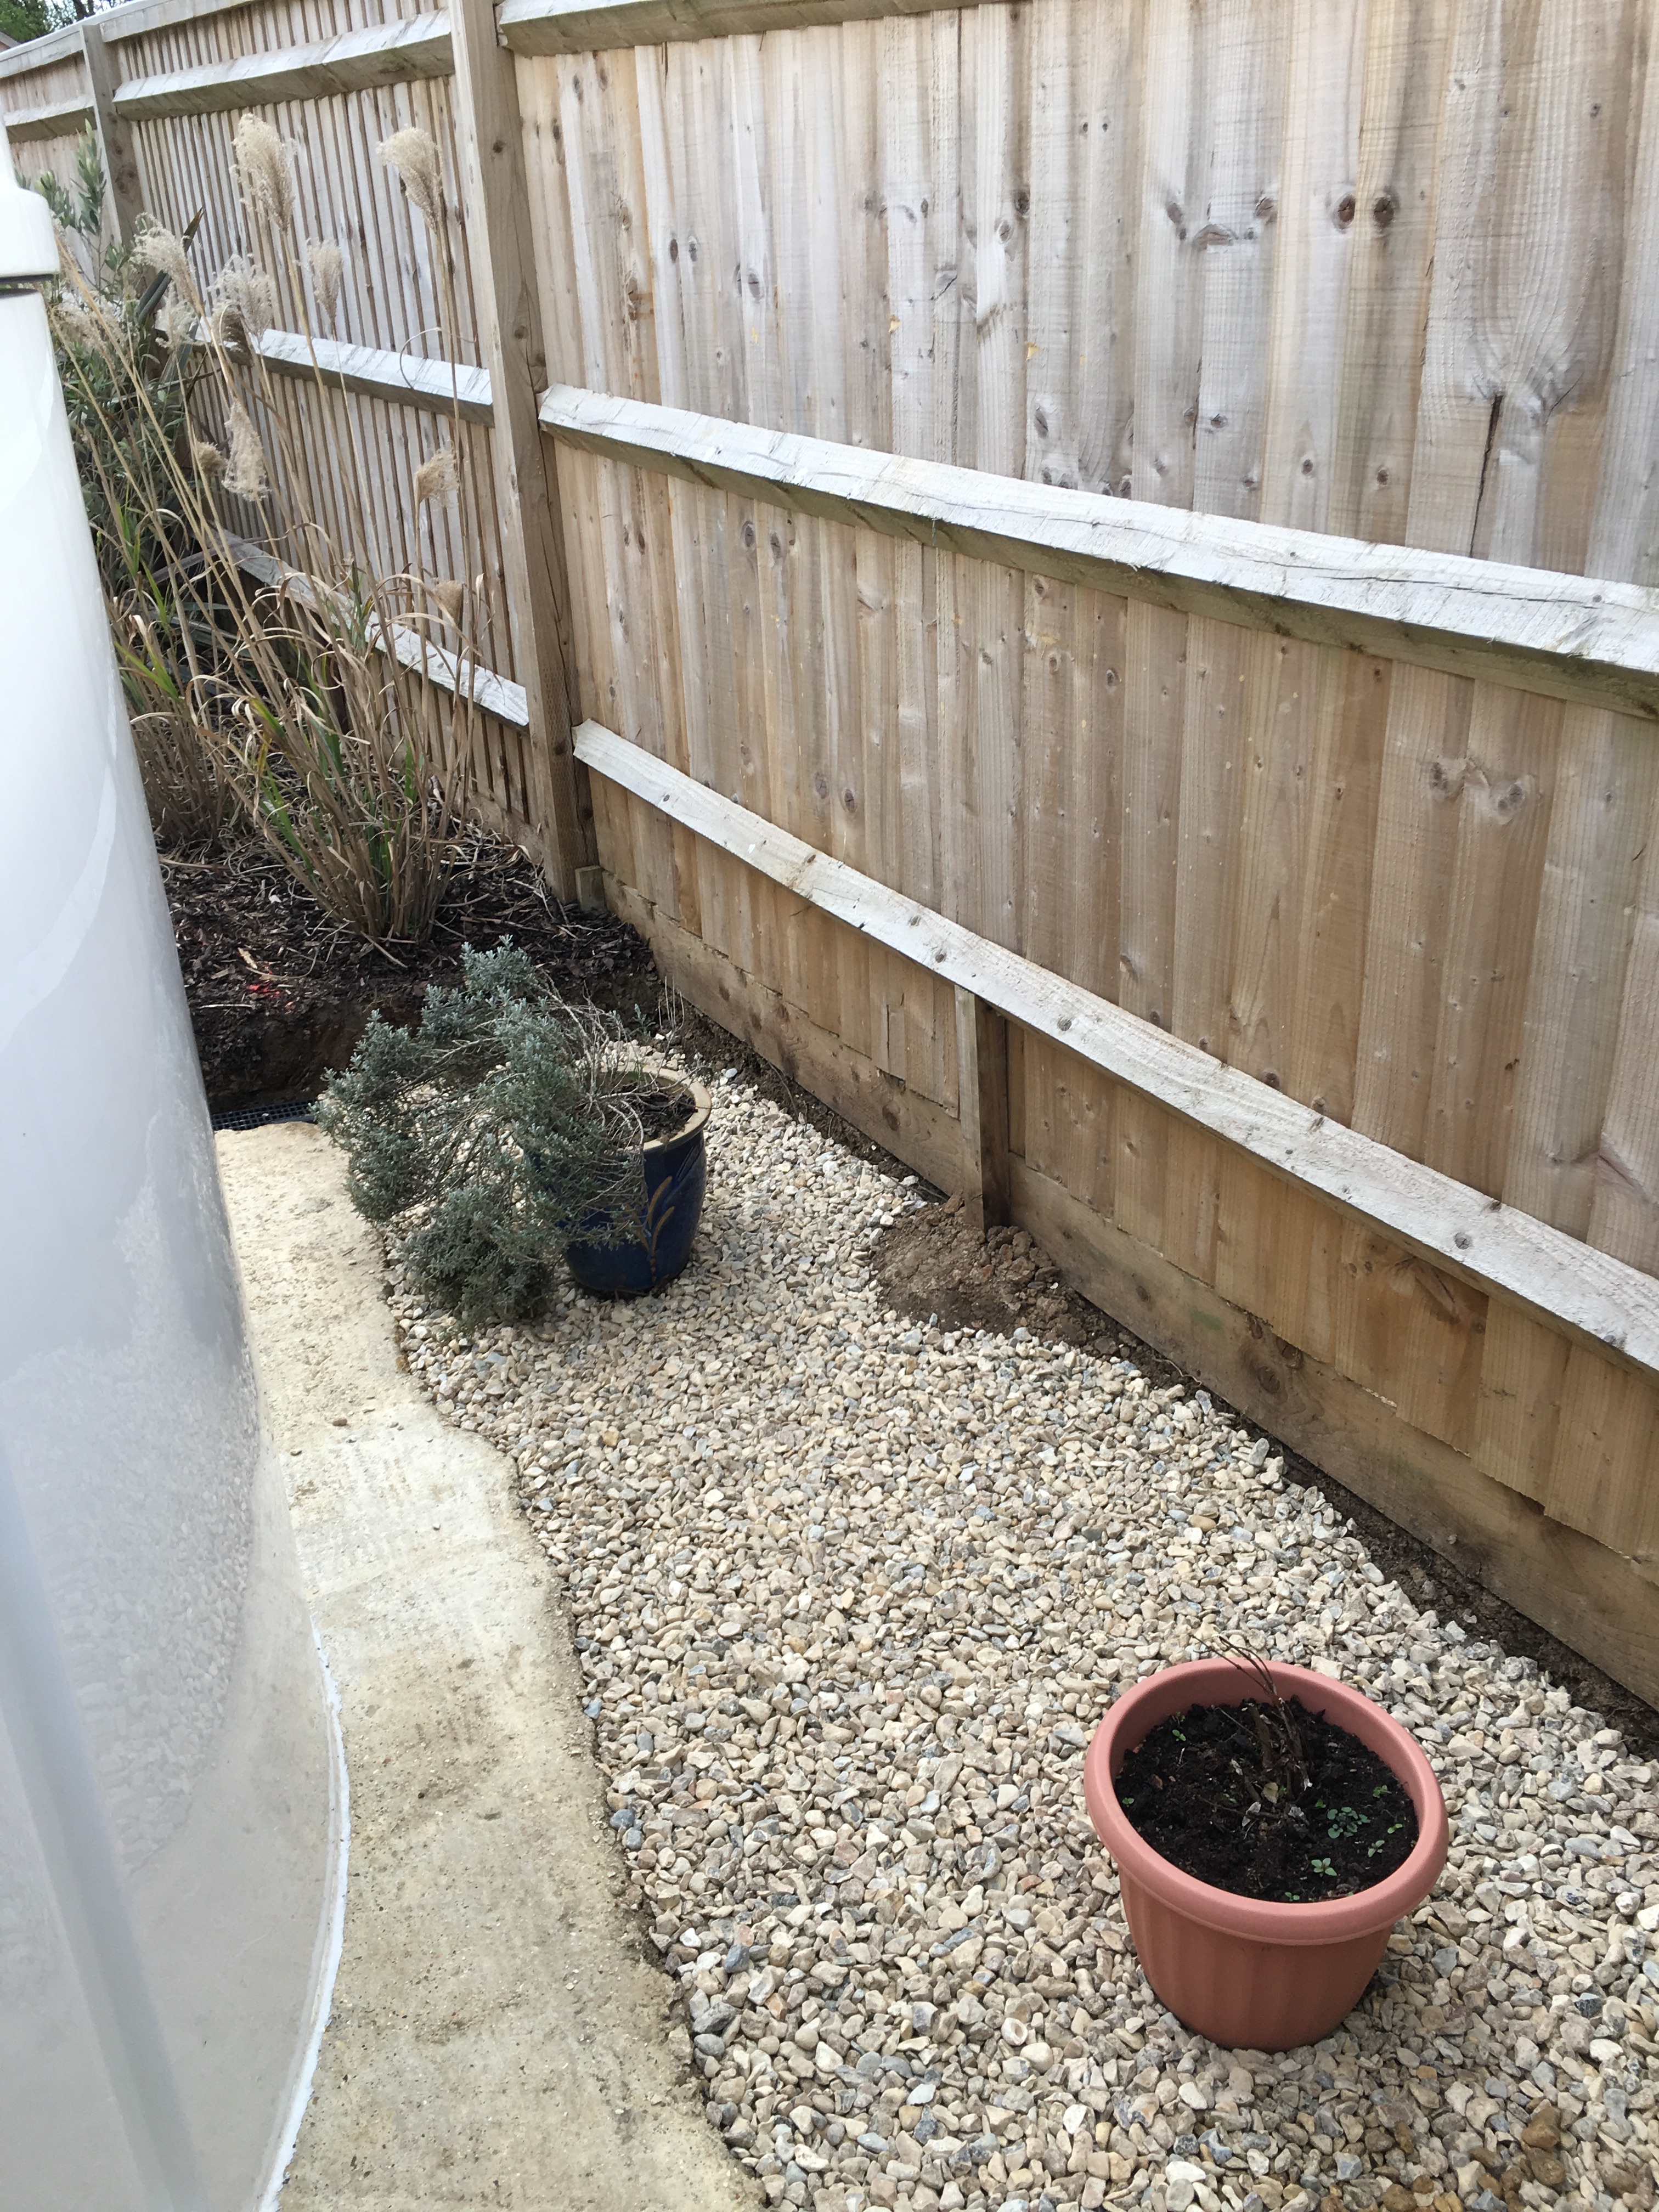
Once this was done we laid the 20mm gravel to the entire North and West of the dome to cover, the plant pots as a reminder of where the soak-away was.
The pipe for the dehumidifier was covered with a standard plumbing pipe insulating cover to protect it from frost
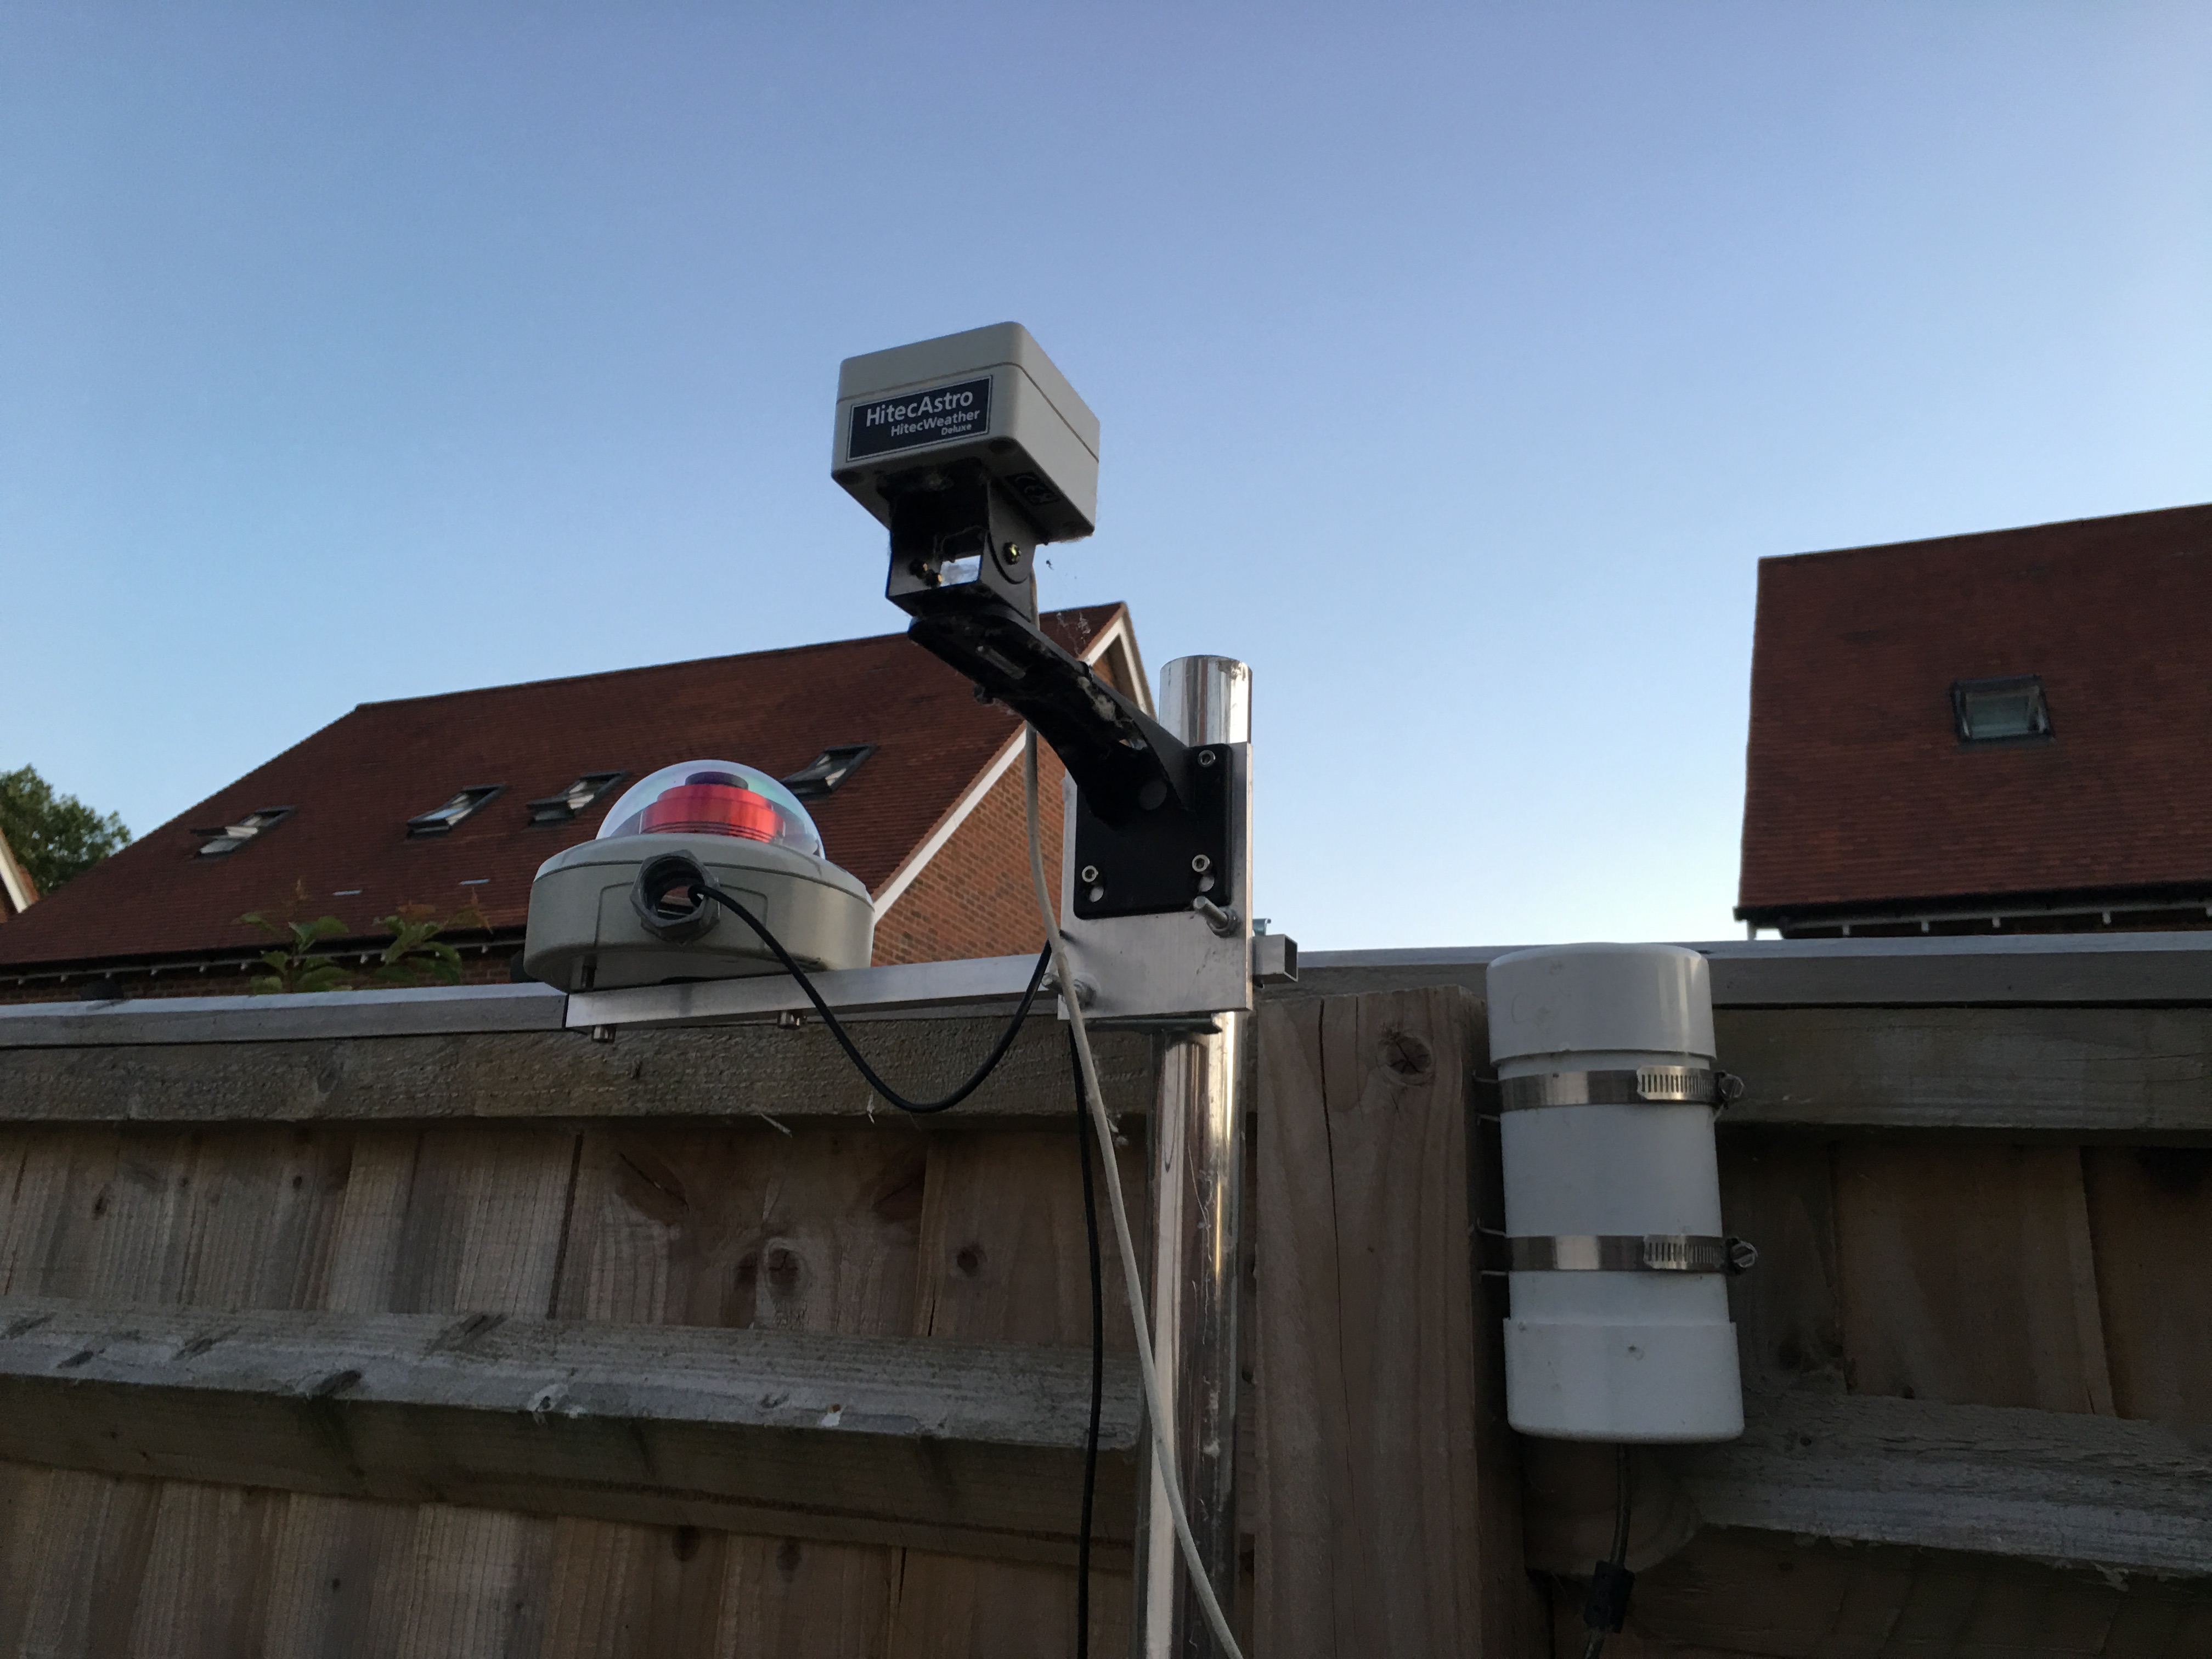
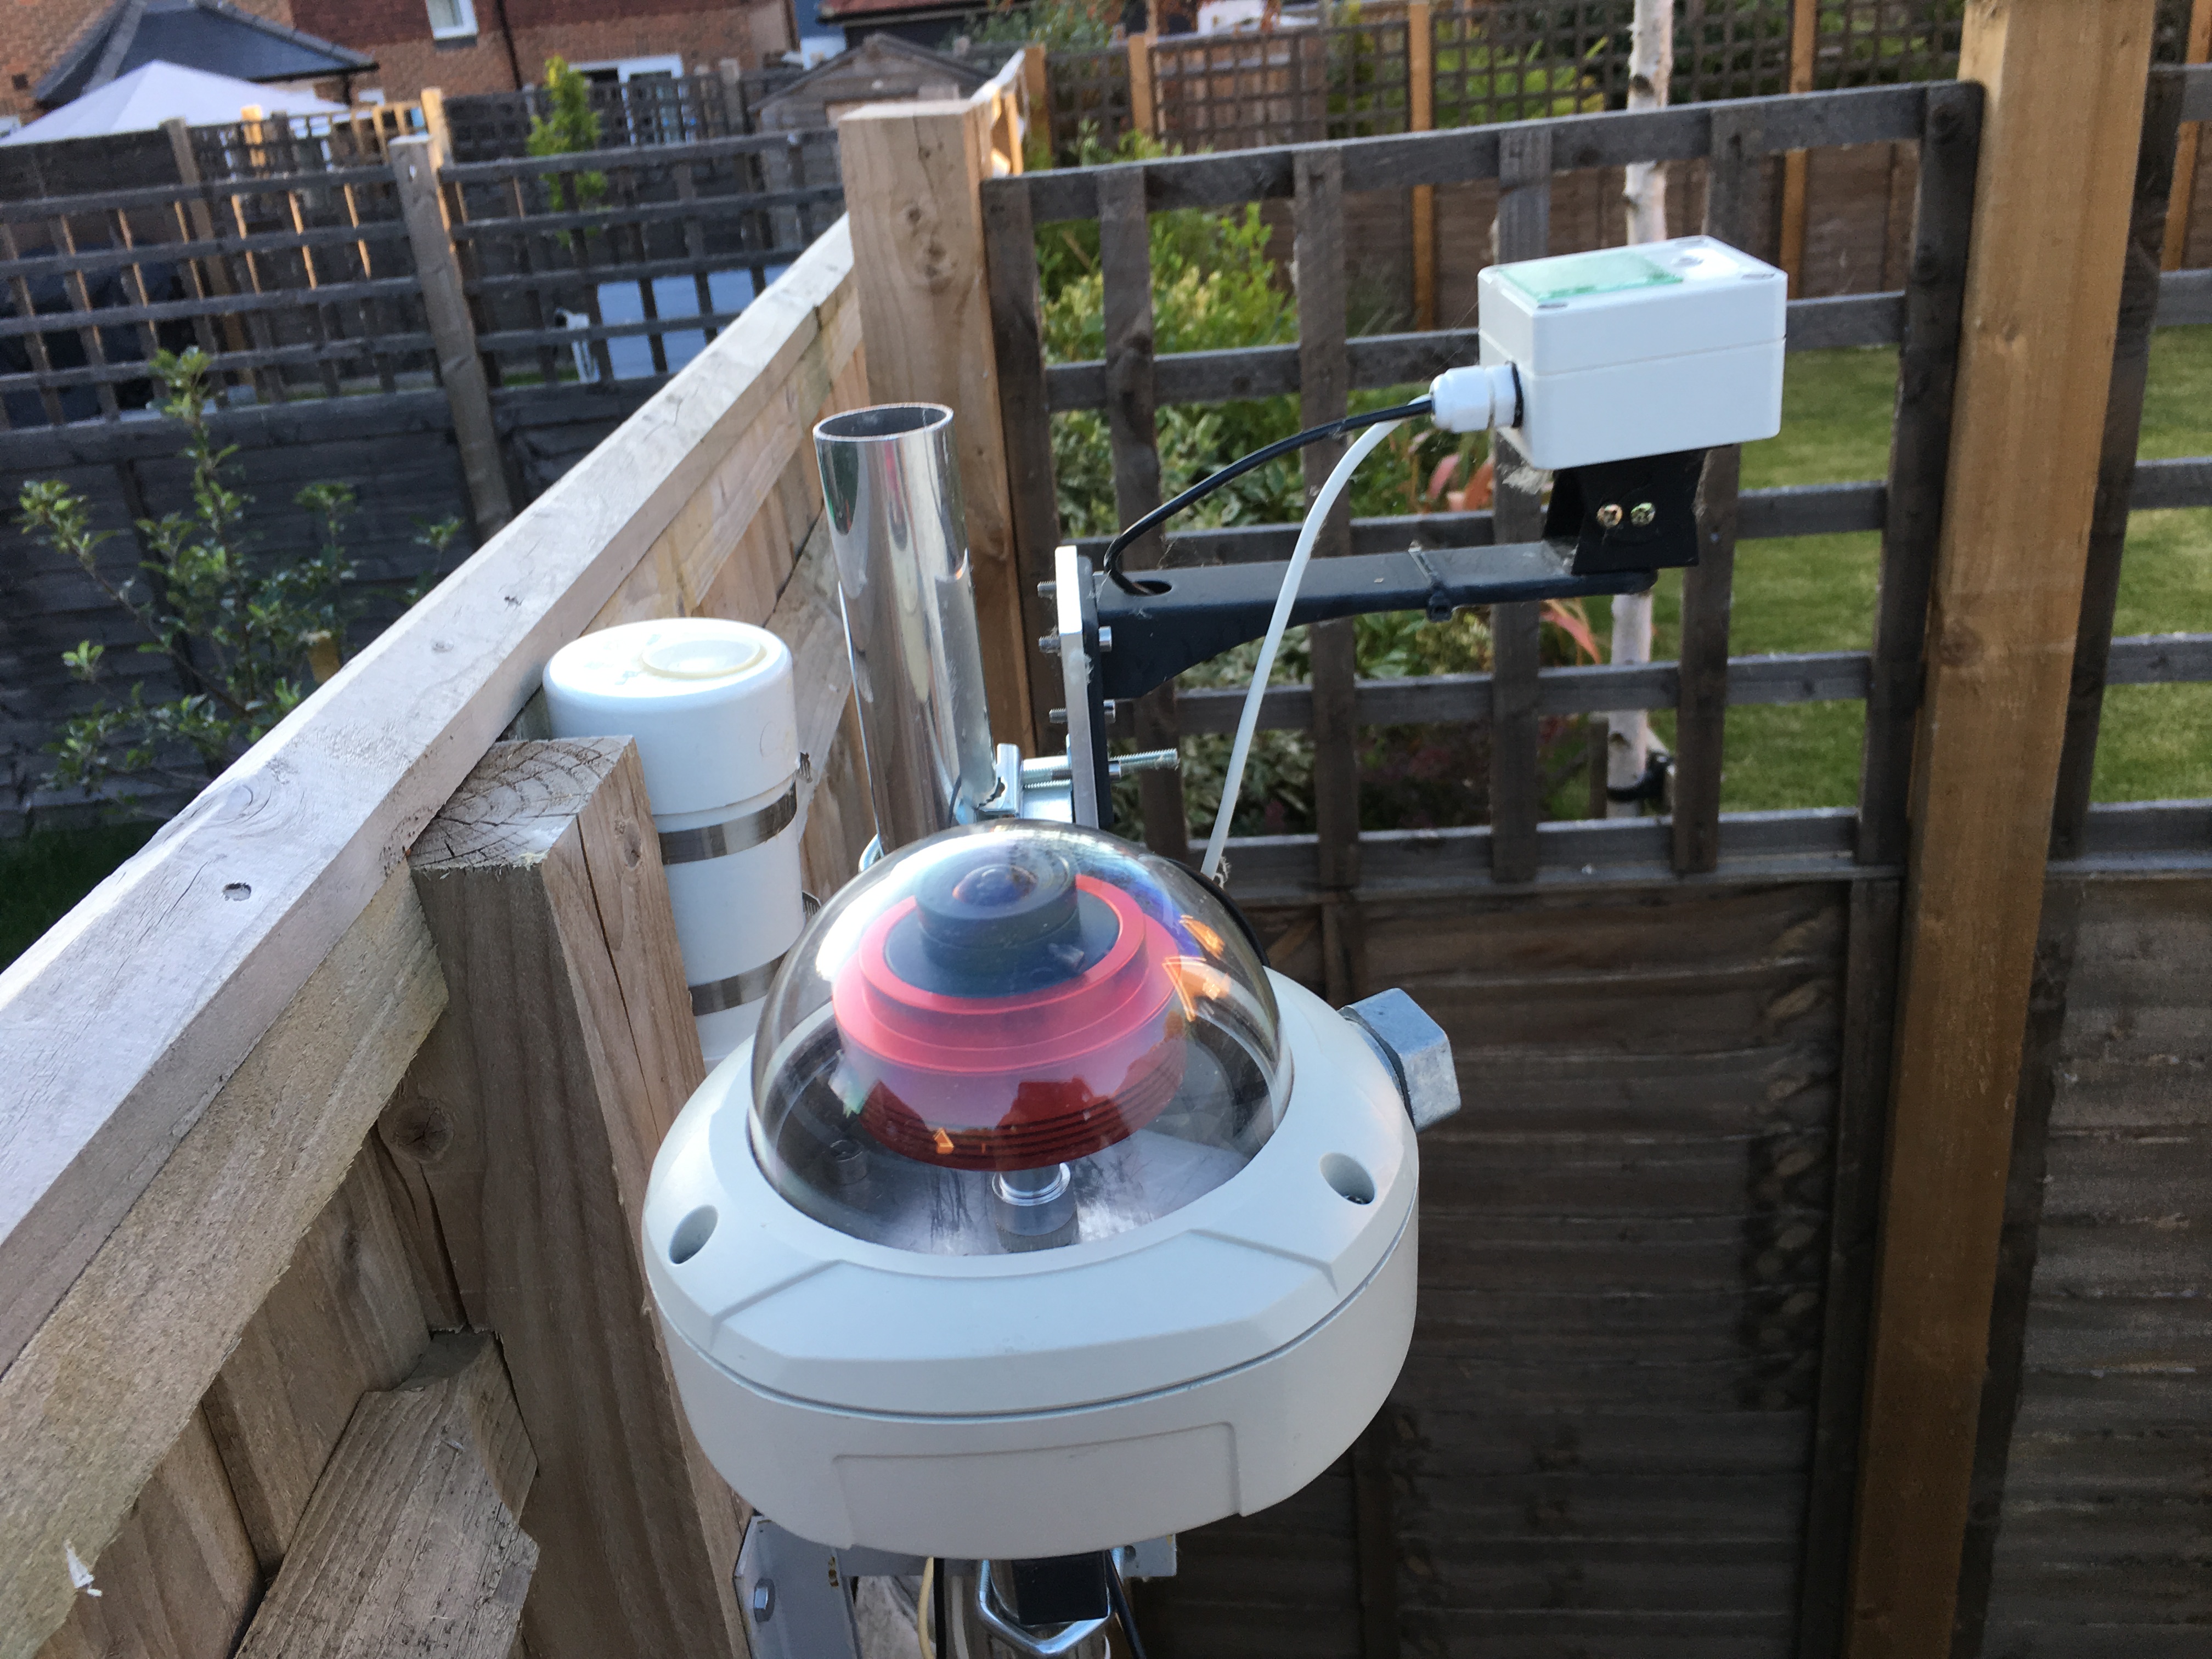
The weather station fitting was a pole Bob had purchased and found brackets to fit to the fence to the West. The top instrument is a cloud monitor and rain detector from HiTech Astro and works well. We have it connected to the dome through a relay Bob put together so once cloud is detected or rain the dome closes and will not open unless you override in the software. The instrument to the right is the Sky Quality Meter provided by GingerGeek and is fantastic and telling you how dark it is and when my neighbours put their lights on or God forbid don’t turn them off all night …….. A further instrument was added later for an All Sky Camera which is a ZWO ASI120MC that Bob placed inside a dome and then connected through
So the dome was built in a day, which was clearly quicker than Rome 🙂 The video of the construction can be seen below. The new Orangery is to the right and the building mess within my garden is apparent.
IMT3 Timelapse Construction
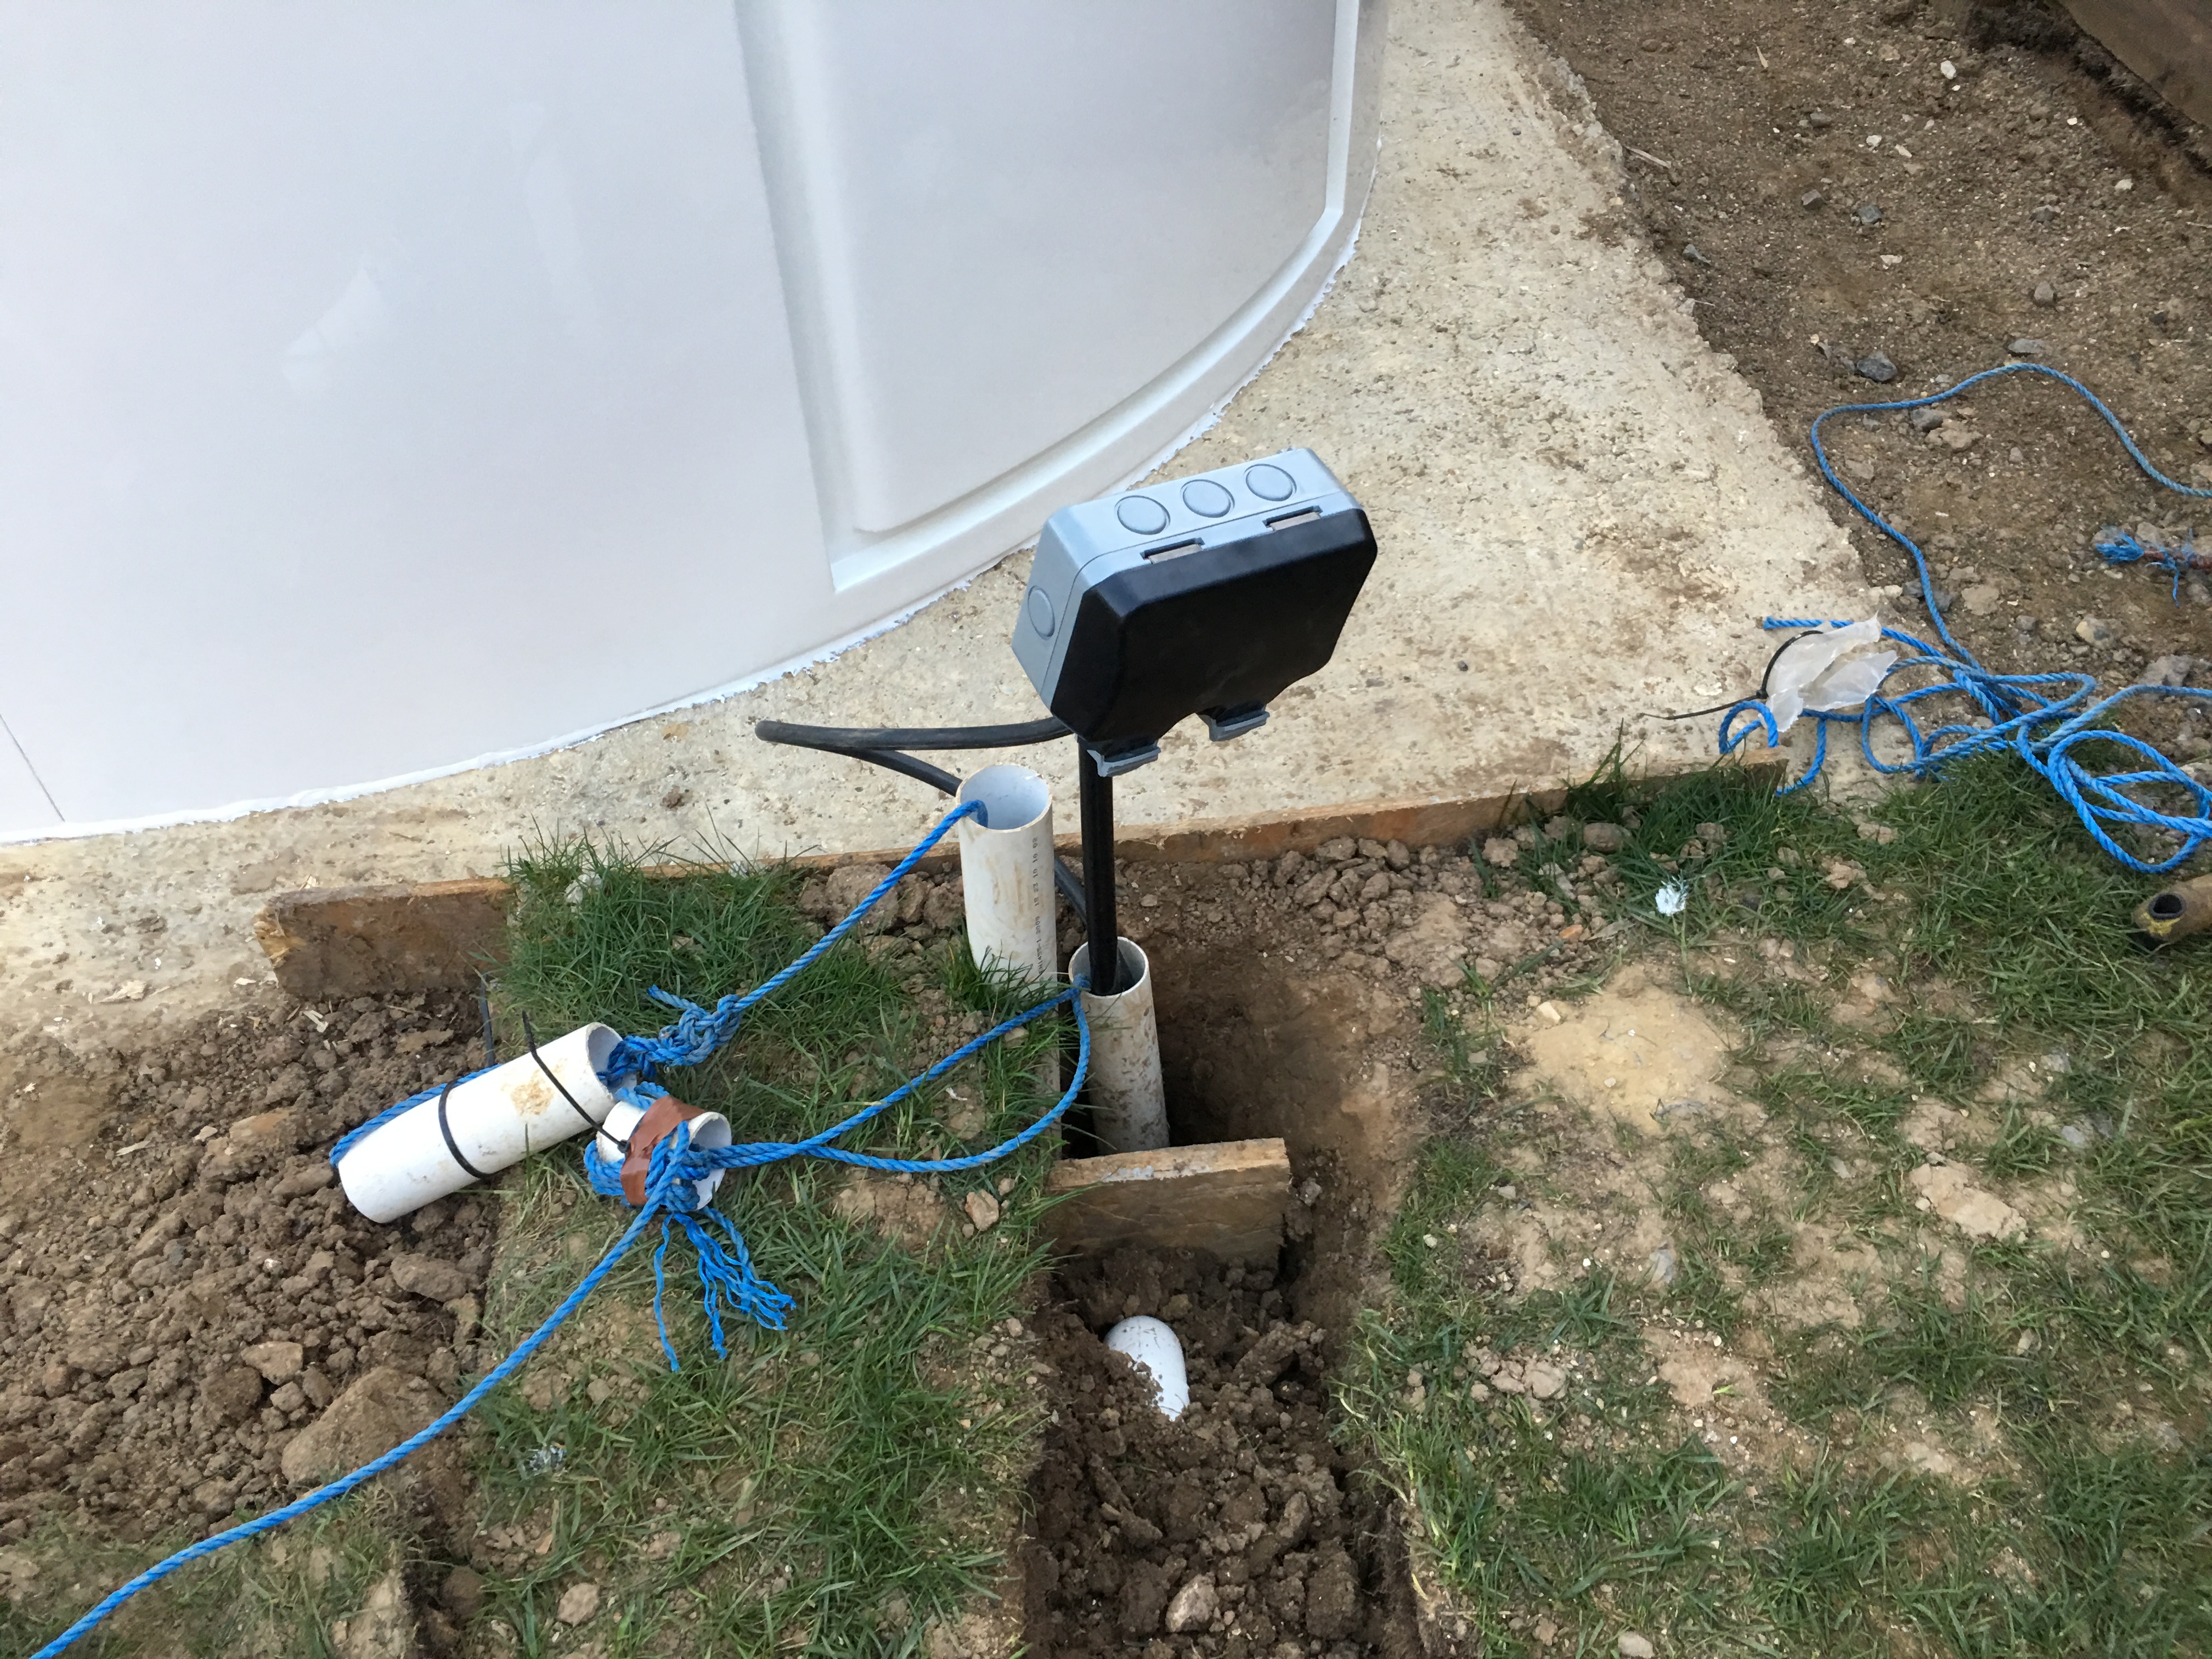
With all the planning, I was always slightly nervous the cable pipes we had now concreted in place would not be in the correct positions. I required a set outside the dome, a set just inside where the electrics and computers would sit and a set near the pier. Fortunately I was pleased I measured twice 🙂
Cable run just inside the domeCable run outside the domeCable run by the pier
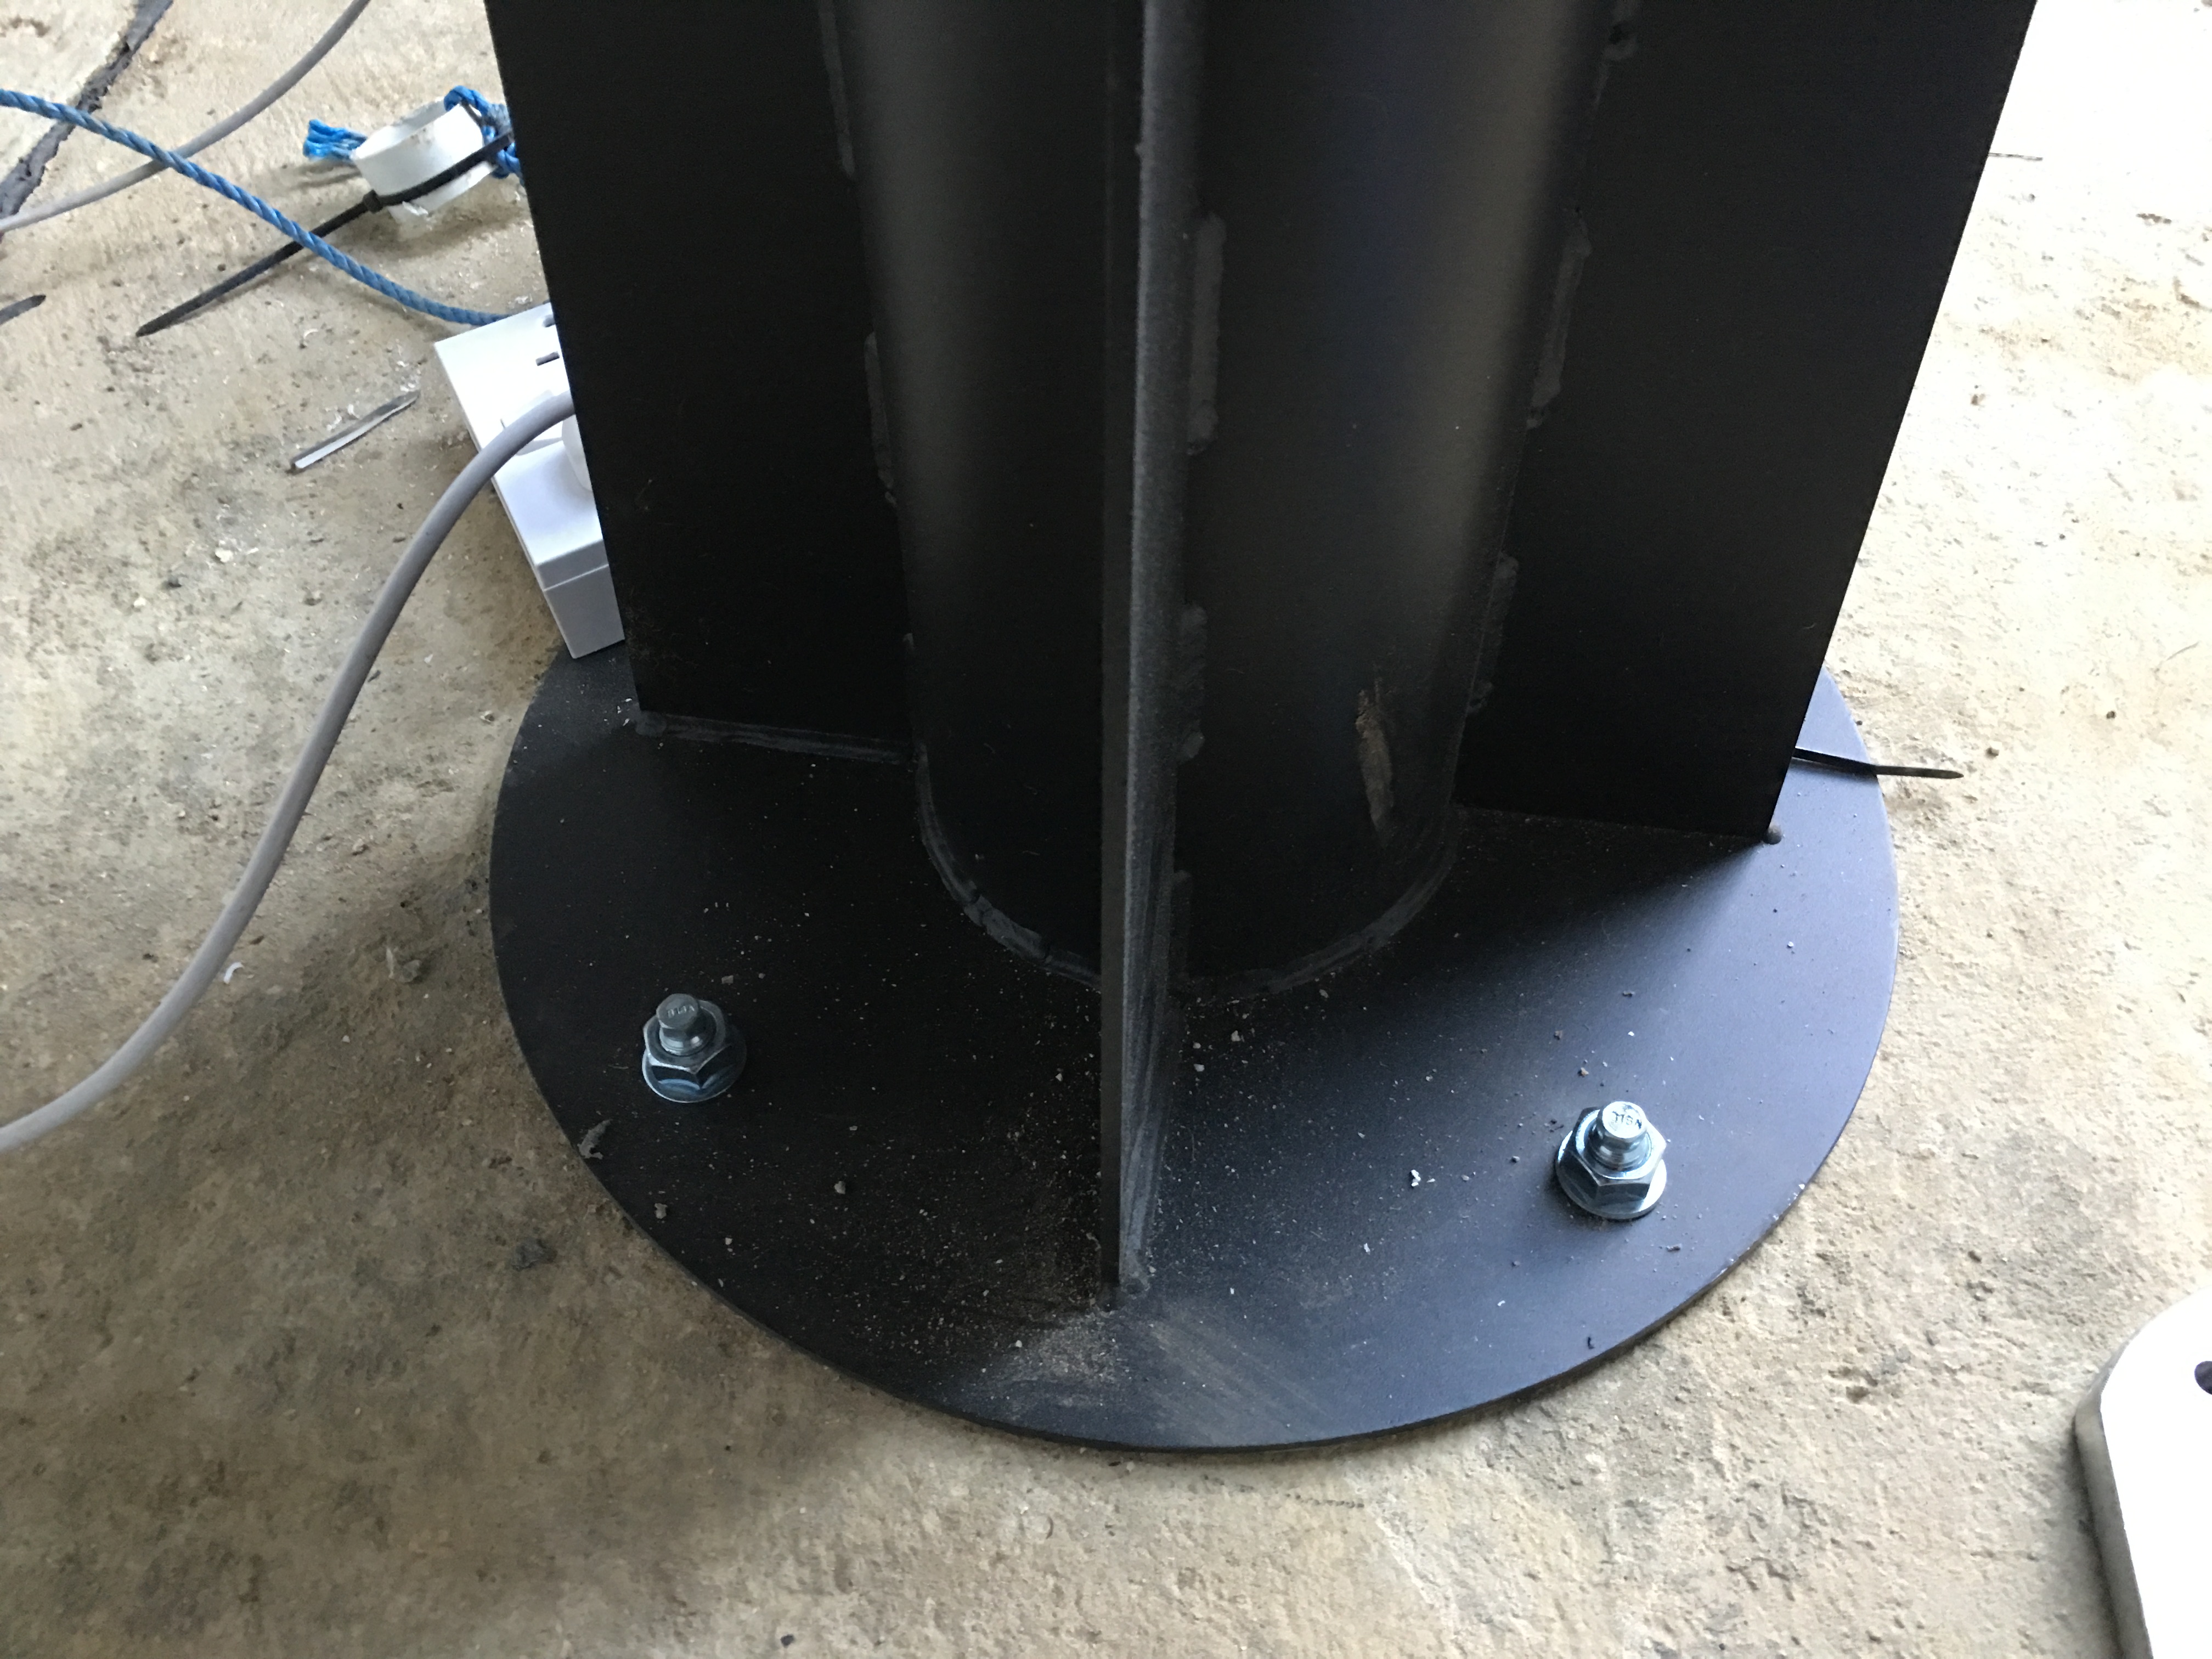
As you can see above the pier was fitted centrally which is what I wanted rather than offset as some suggest. The pier was a standard pulsar pier and took some time after fitting by Pulsar themselves to settle. As can be seen below, they fitted rods and bolts to secure and used a resin in the holes drilled.
Pier bolts now tight
This was different than my last observatory where I used long 12″ bolts. After tightening with a spanner the pier seemed secure but upon placing weight on it it started to move. I then tightened to the point where it was still vibrating a lot. I left a week to settle then came back with a torque wrench to tighten again. This drew the bolts out by about an inch which told me the resin had not gone off. Another week went by and I tightened a little more, this time the wrench kicked in with clicking and the bolts held, the pier stopped vibrating and all is finally well including the top plate fitted but Pulsar with a standard Meade pre drilled pattern.
Standard Meade pre drilled top (notch to the left is North)
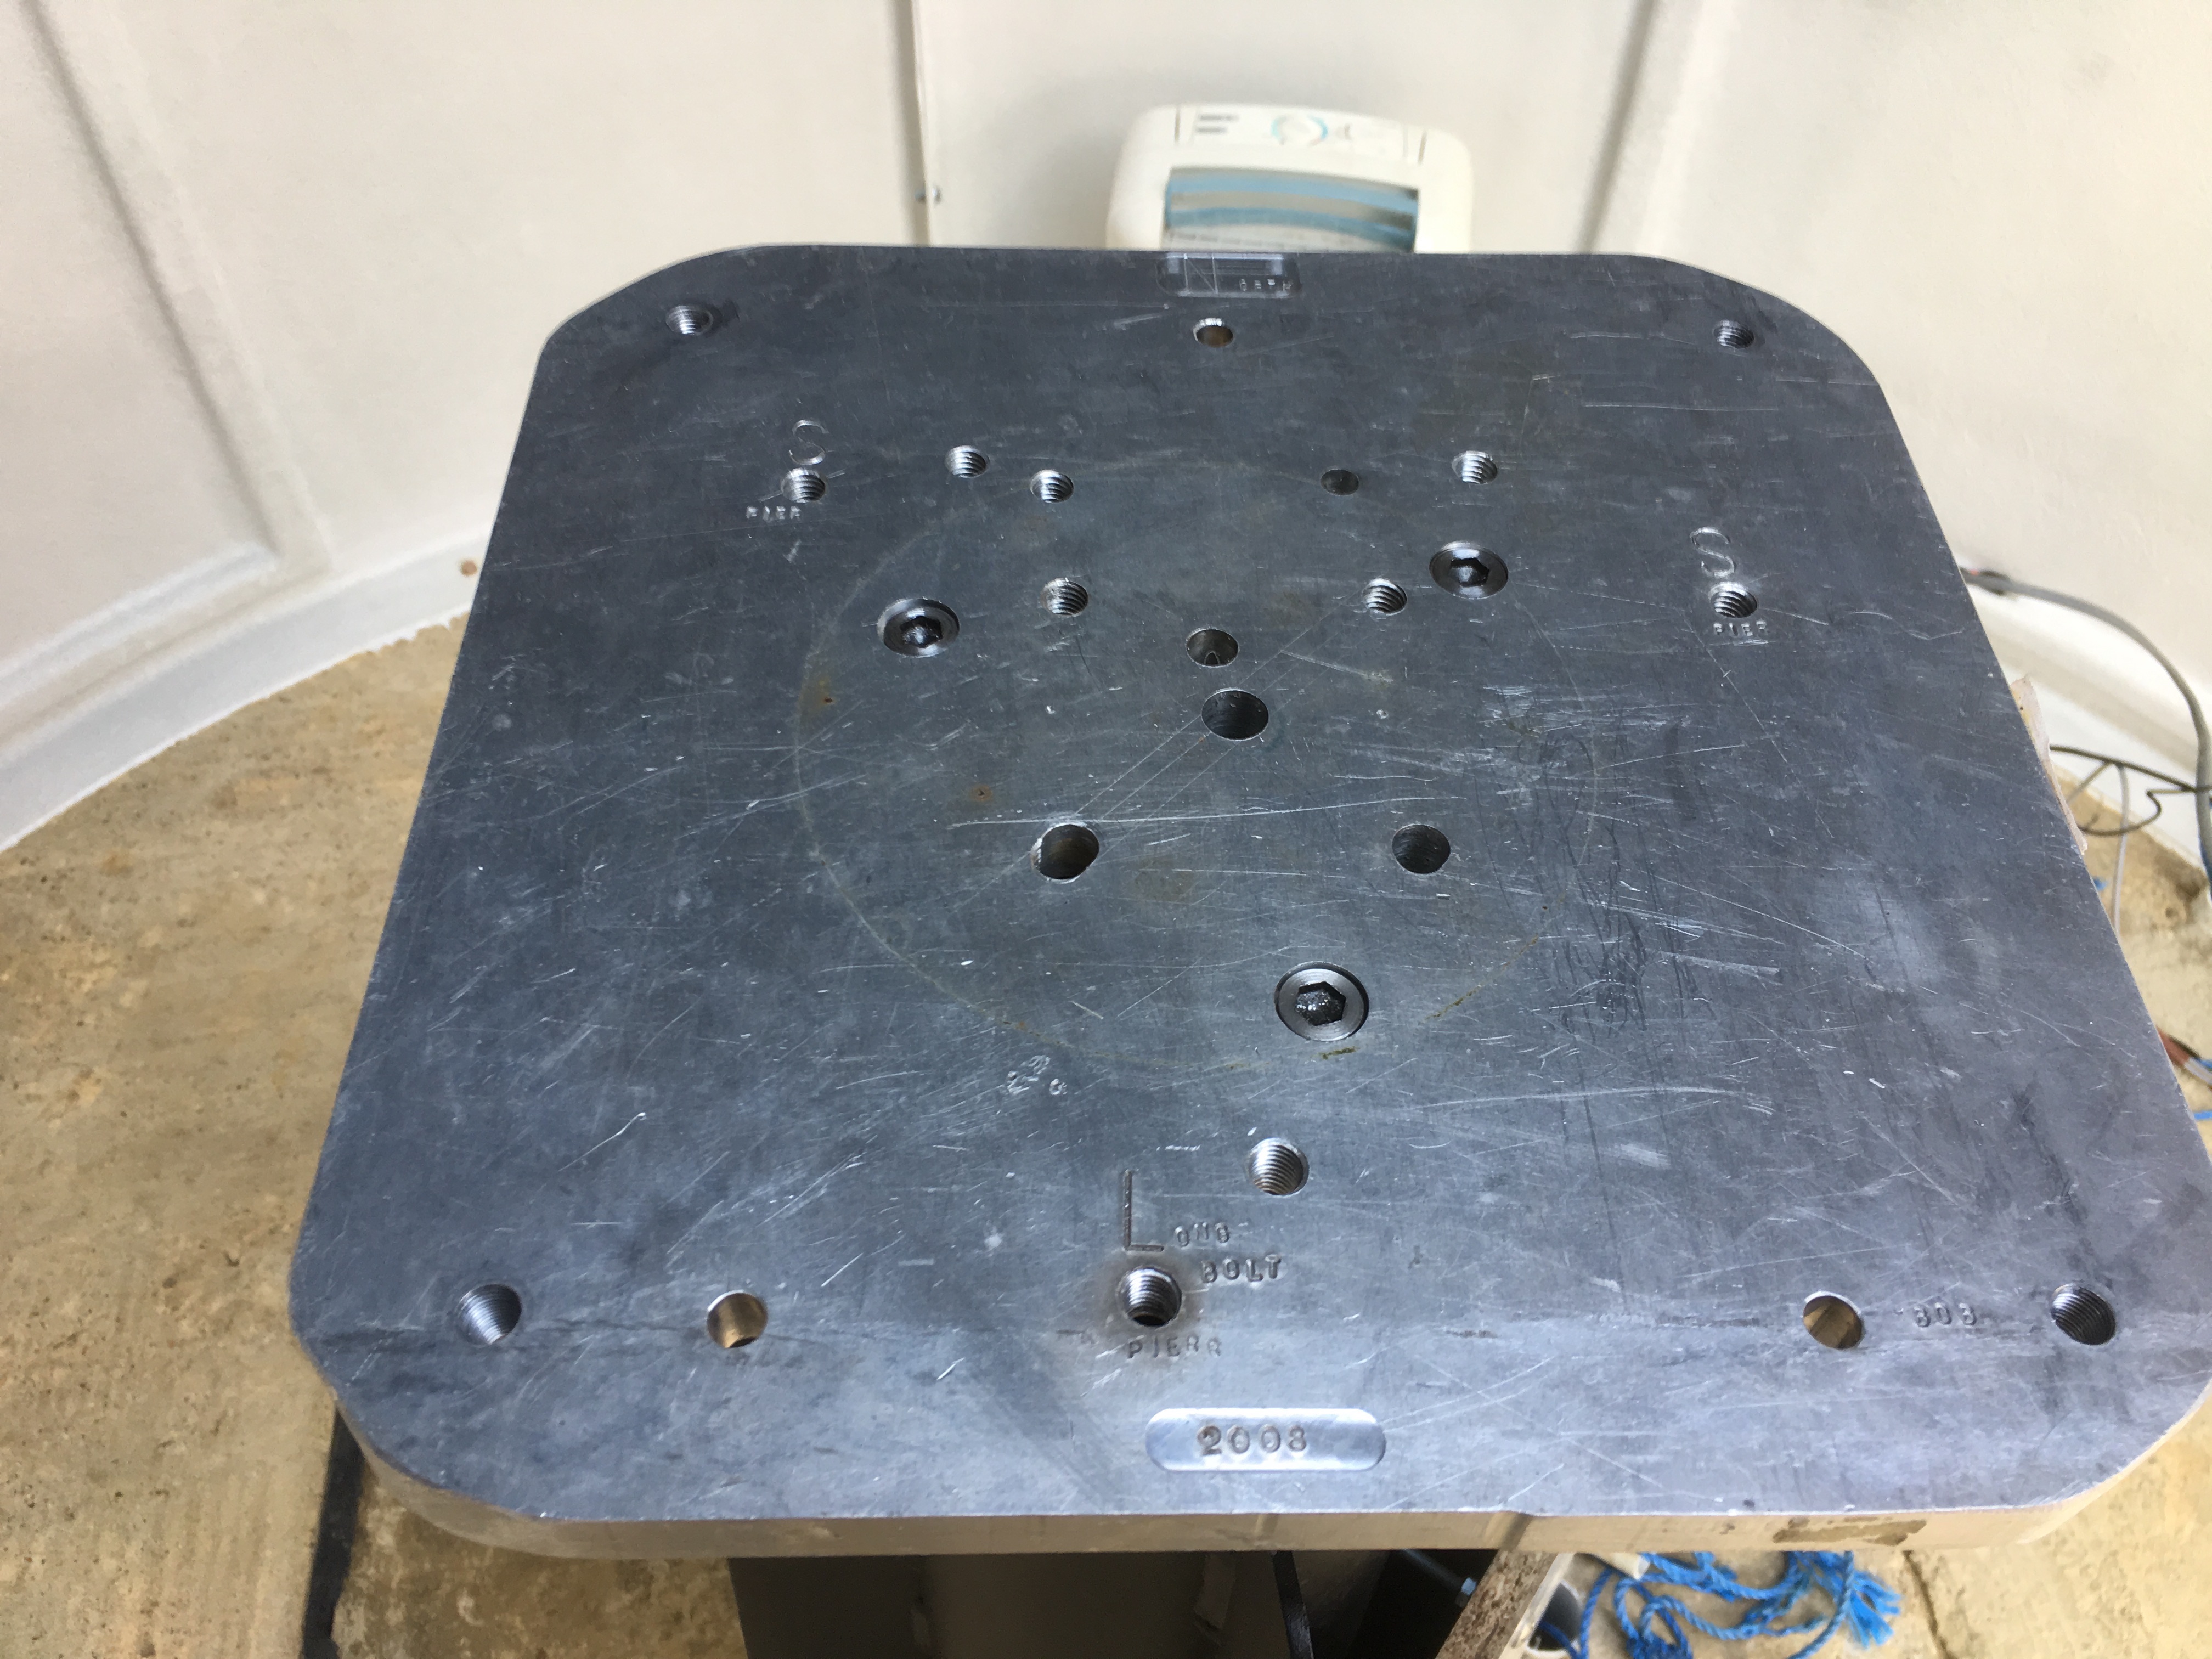
I asked for the pier to be central and gave the Pulsar team the direction for North using a compass on my phone and checking with a traditional compass. Hopefully this would get me near the North Celestial pole once we fitted the Paramount MEII mounting plate we had. It turned out a few new holes needed to be drilled in our slightly used plate which to be fair was used for previous telescope mounts including a Meade 16″, Skywatcher EQ6, Paramount ME and now the MEII.
You can see Bob’s name proudly punched into the aluminium as well as the original manufacturing date of 2008.
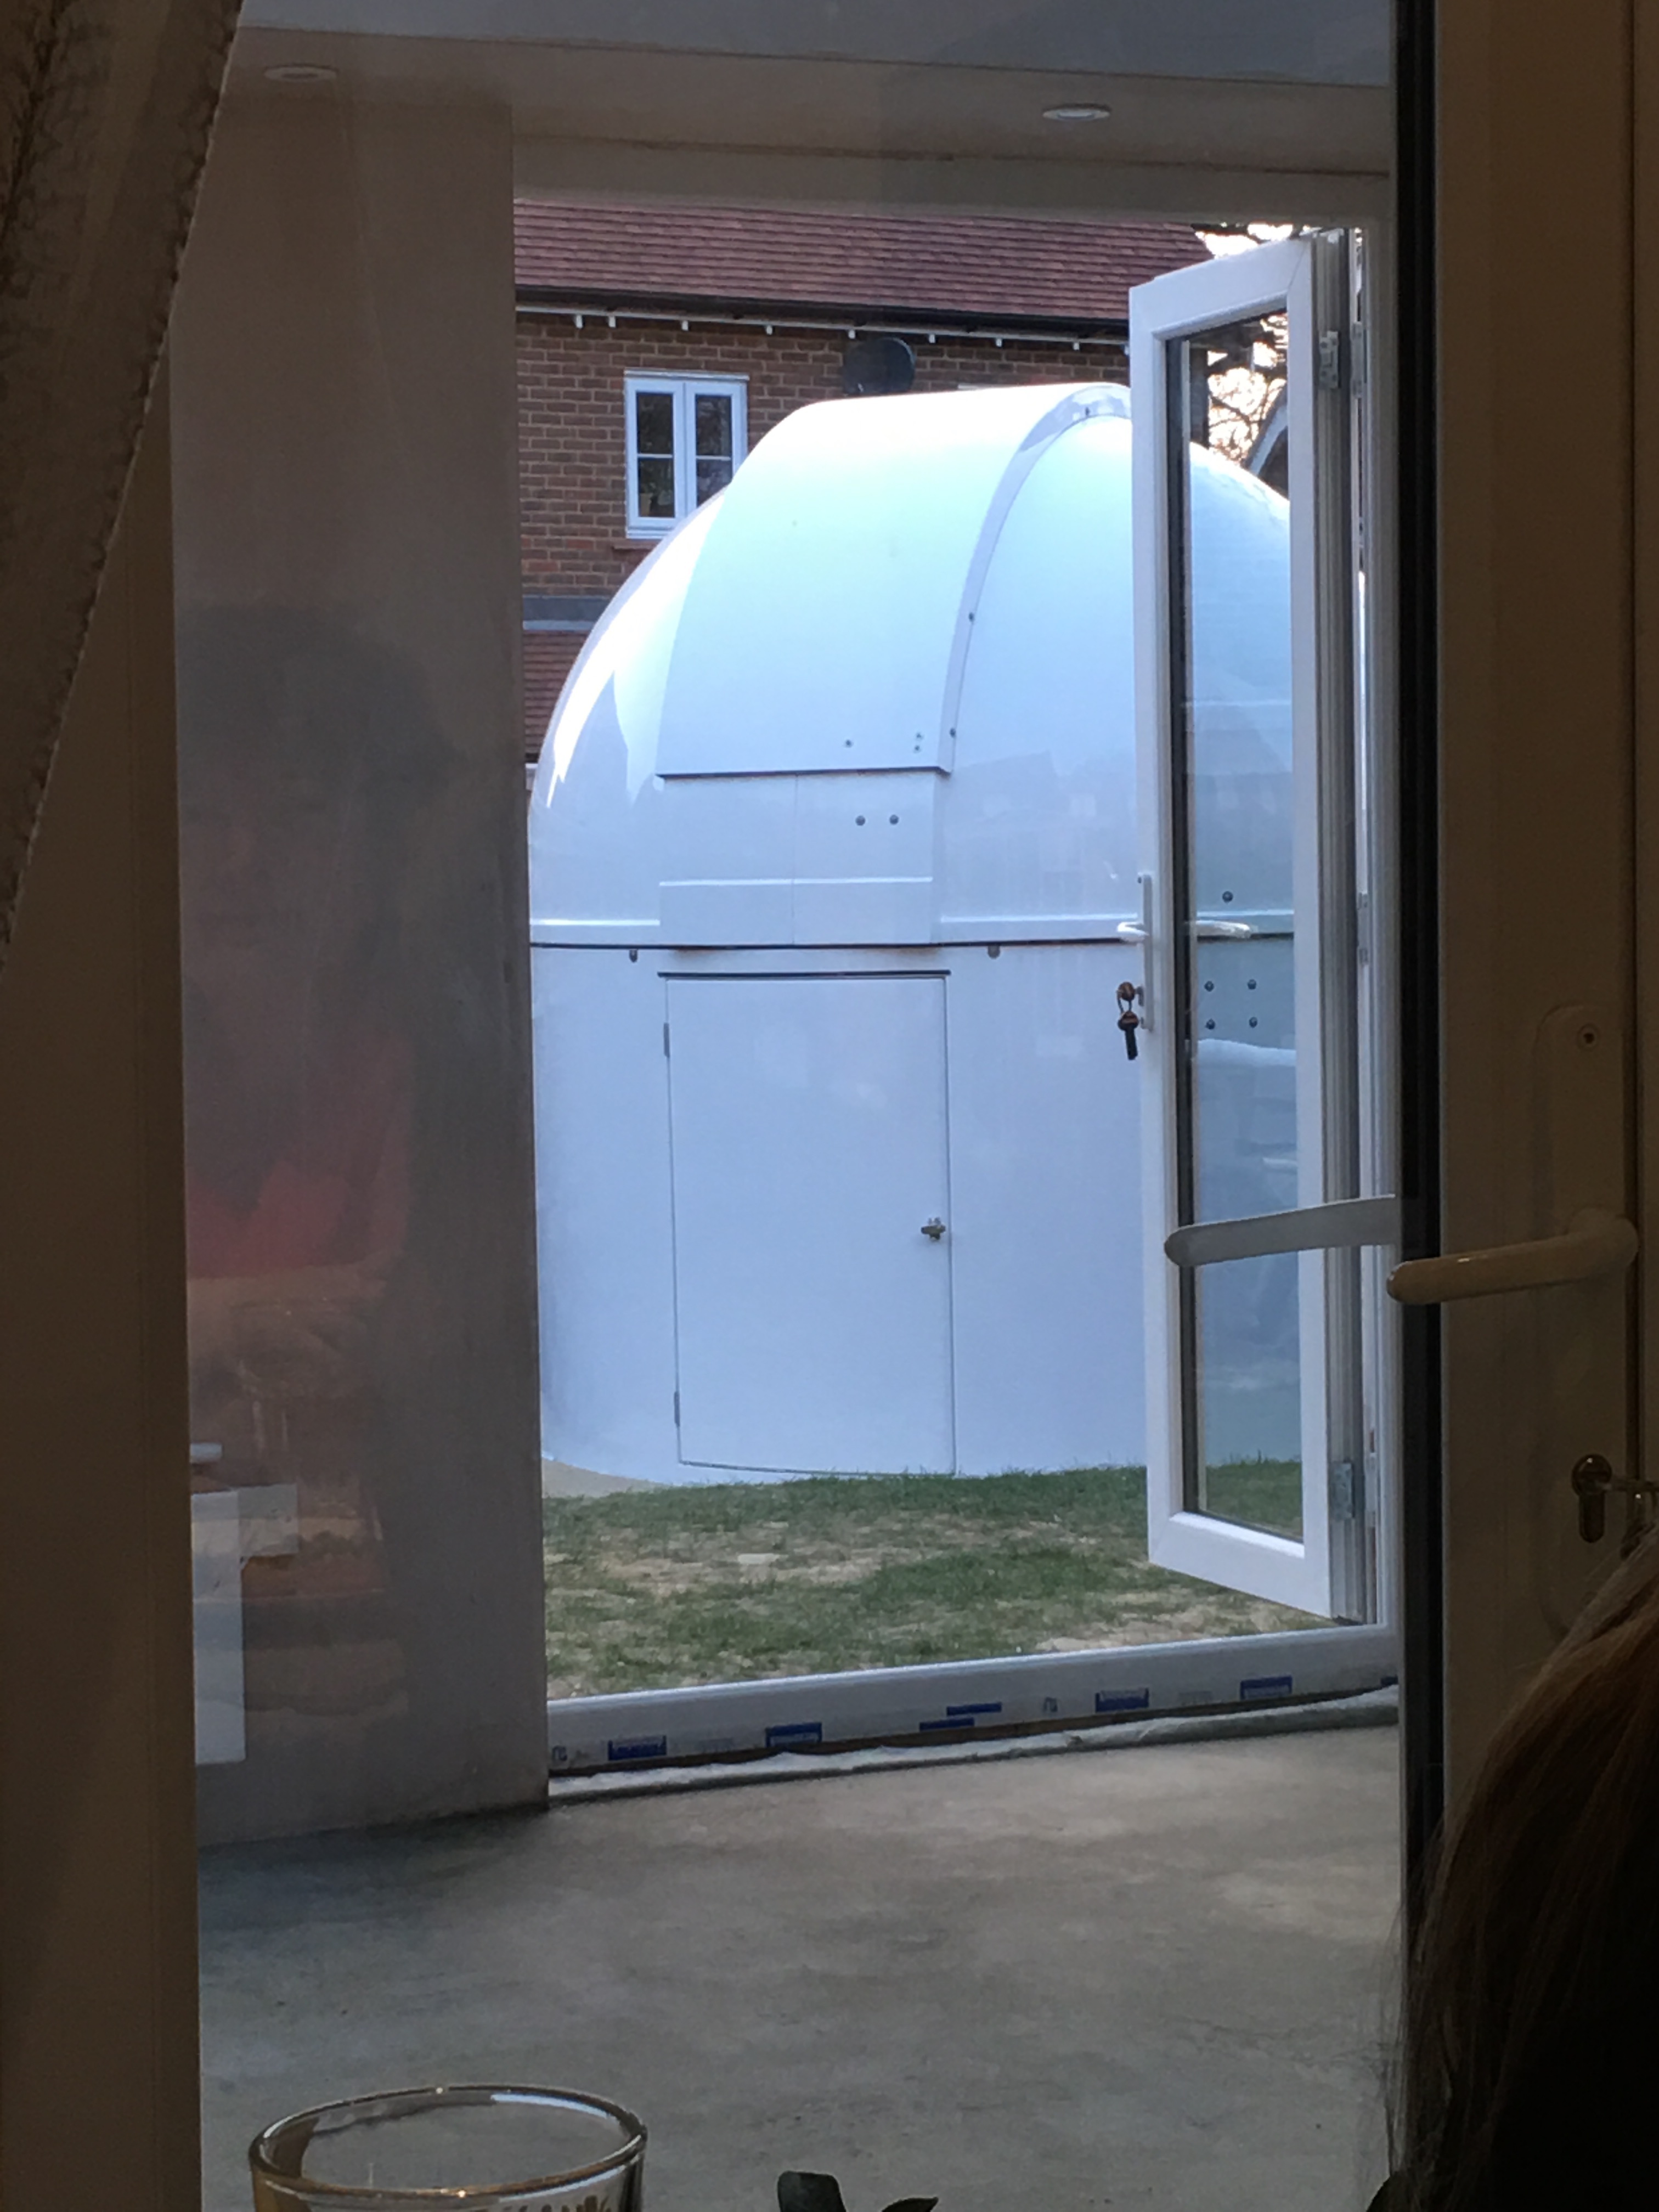
Ok so it’s been a while, well more than a while, as Douglas Adams once said, ‘you thought it was a long way down the road to the chemist’ well I can tell you it’s a long road to building a commissioning an off the shelf observatory too! So even though the observatory is nearly complete I though I would share the build experience here on this very blog.
So it’s not been helped by the weather, it’s not been helped by the other building work on the house and it’s definitely not been helped by working so much either. The Ripton Windows team, incidently who are building a lovely Orangery for me as well as some other works, were also good enough to take on building the base and laying the electrics and network access.
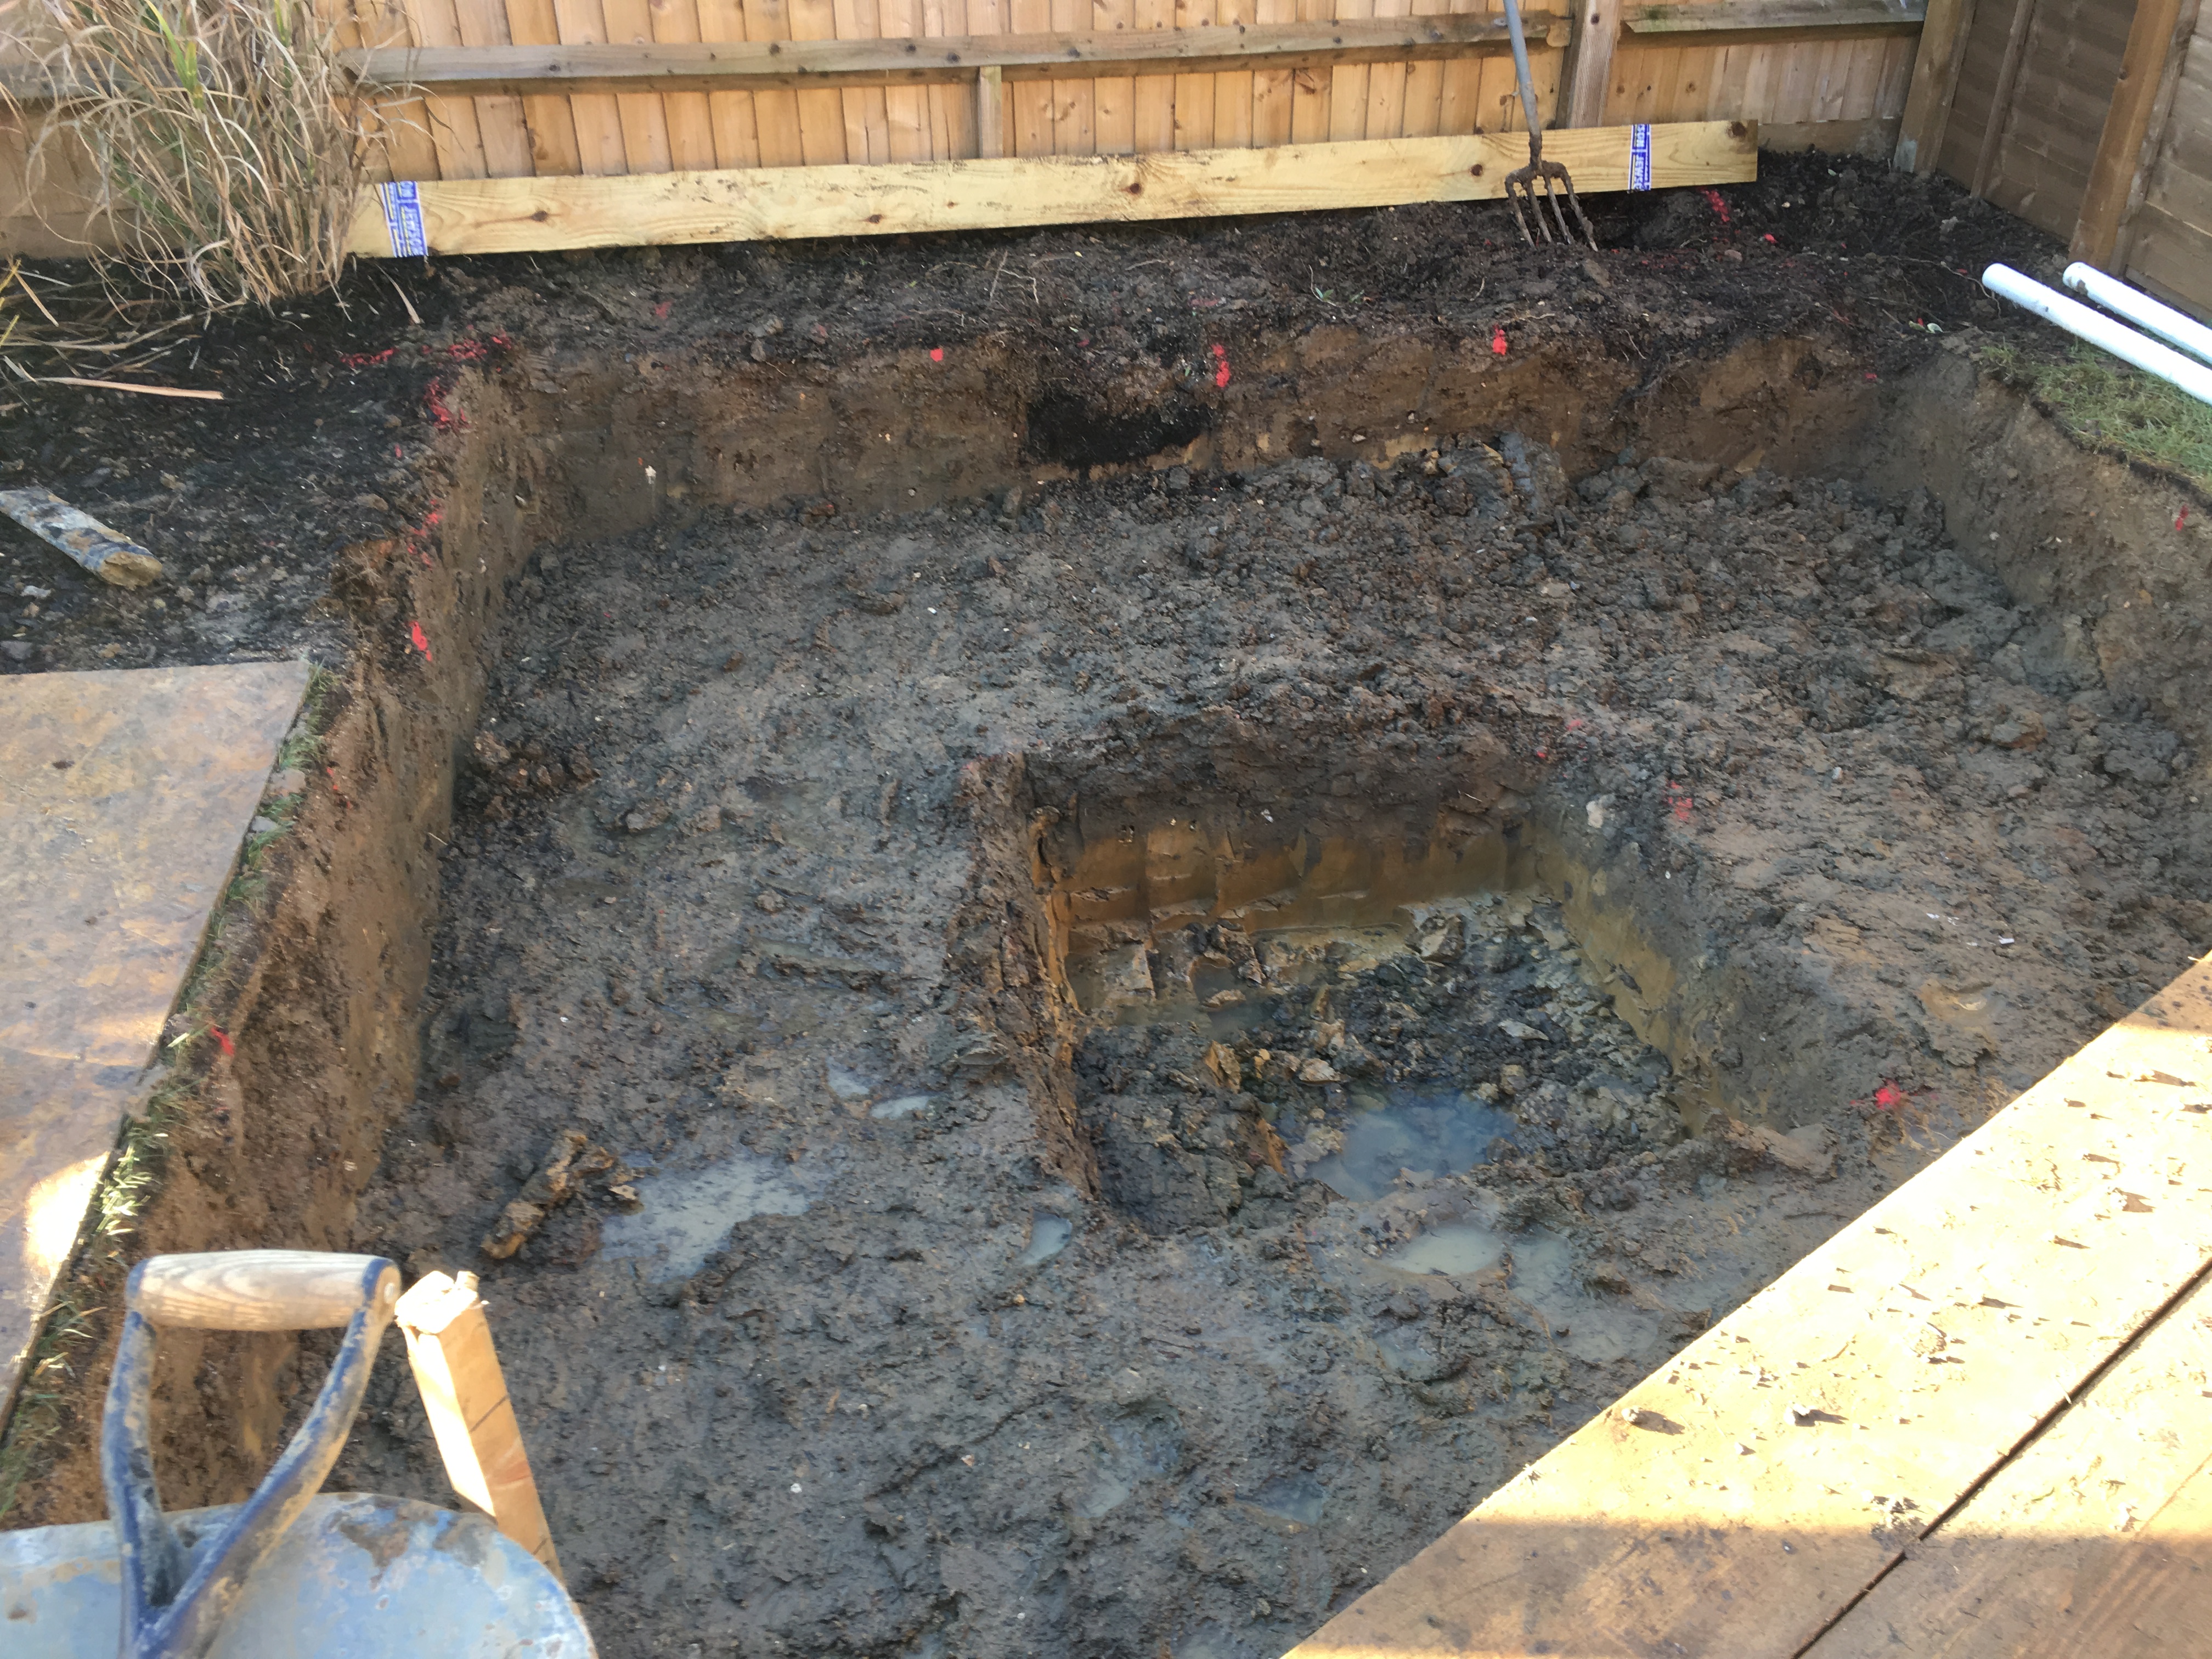
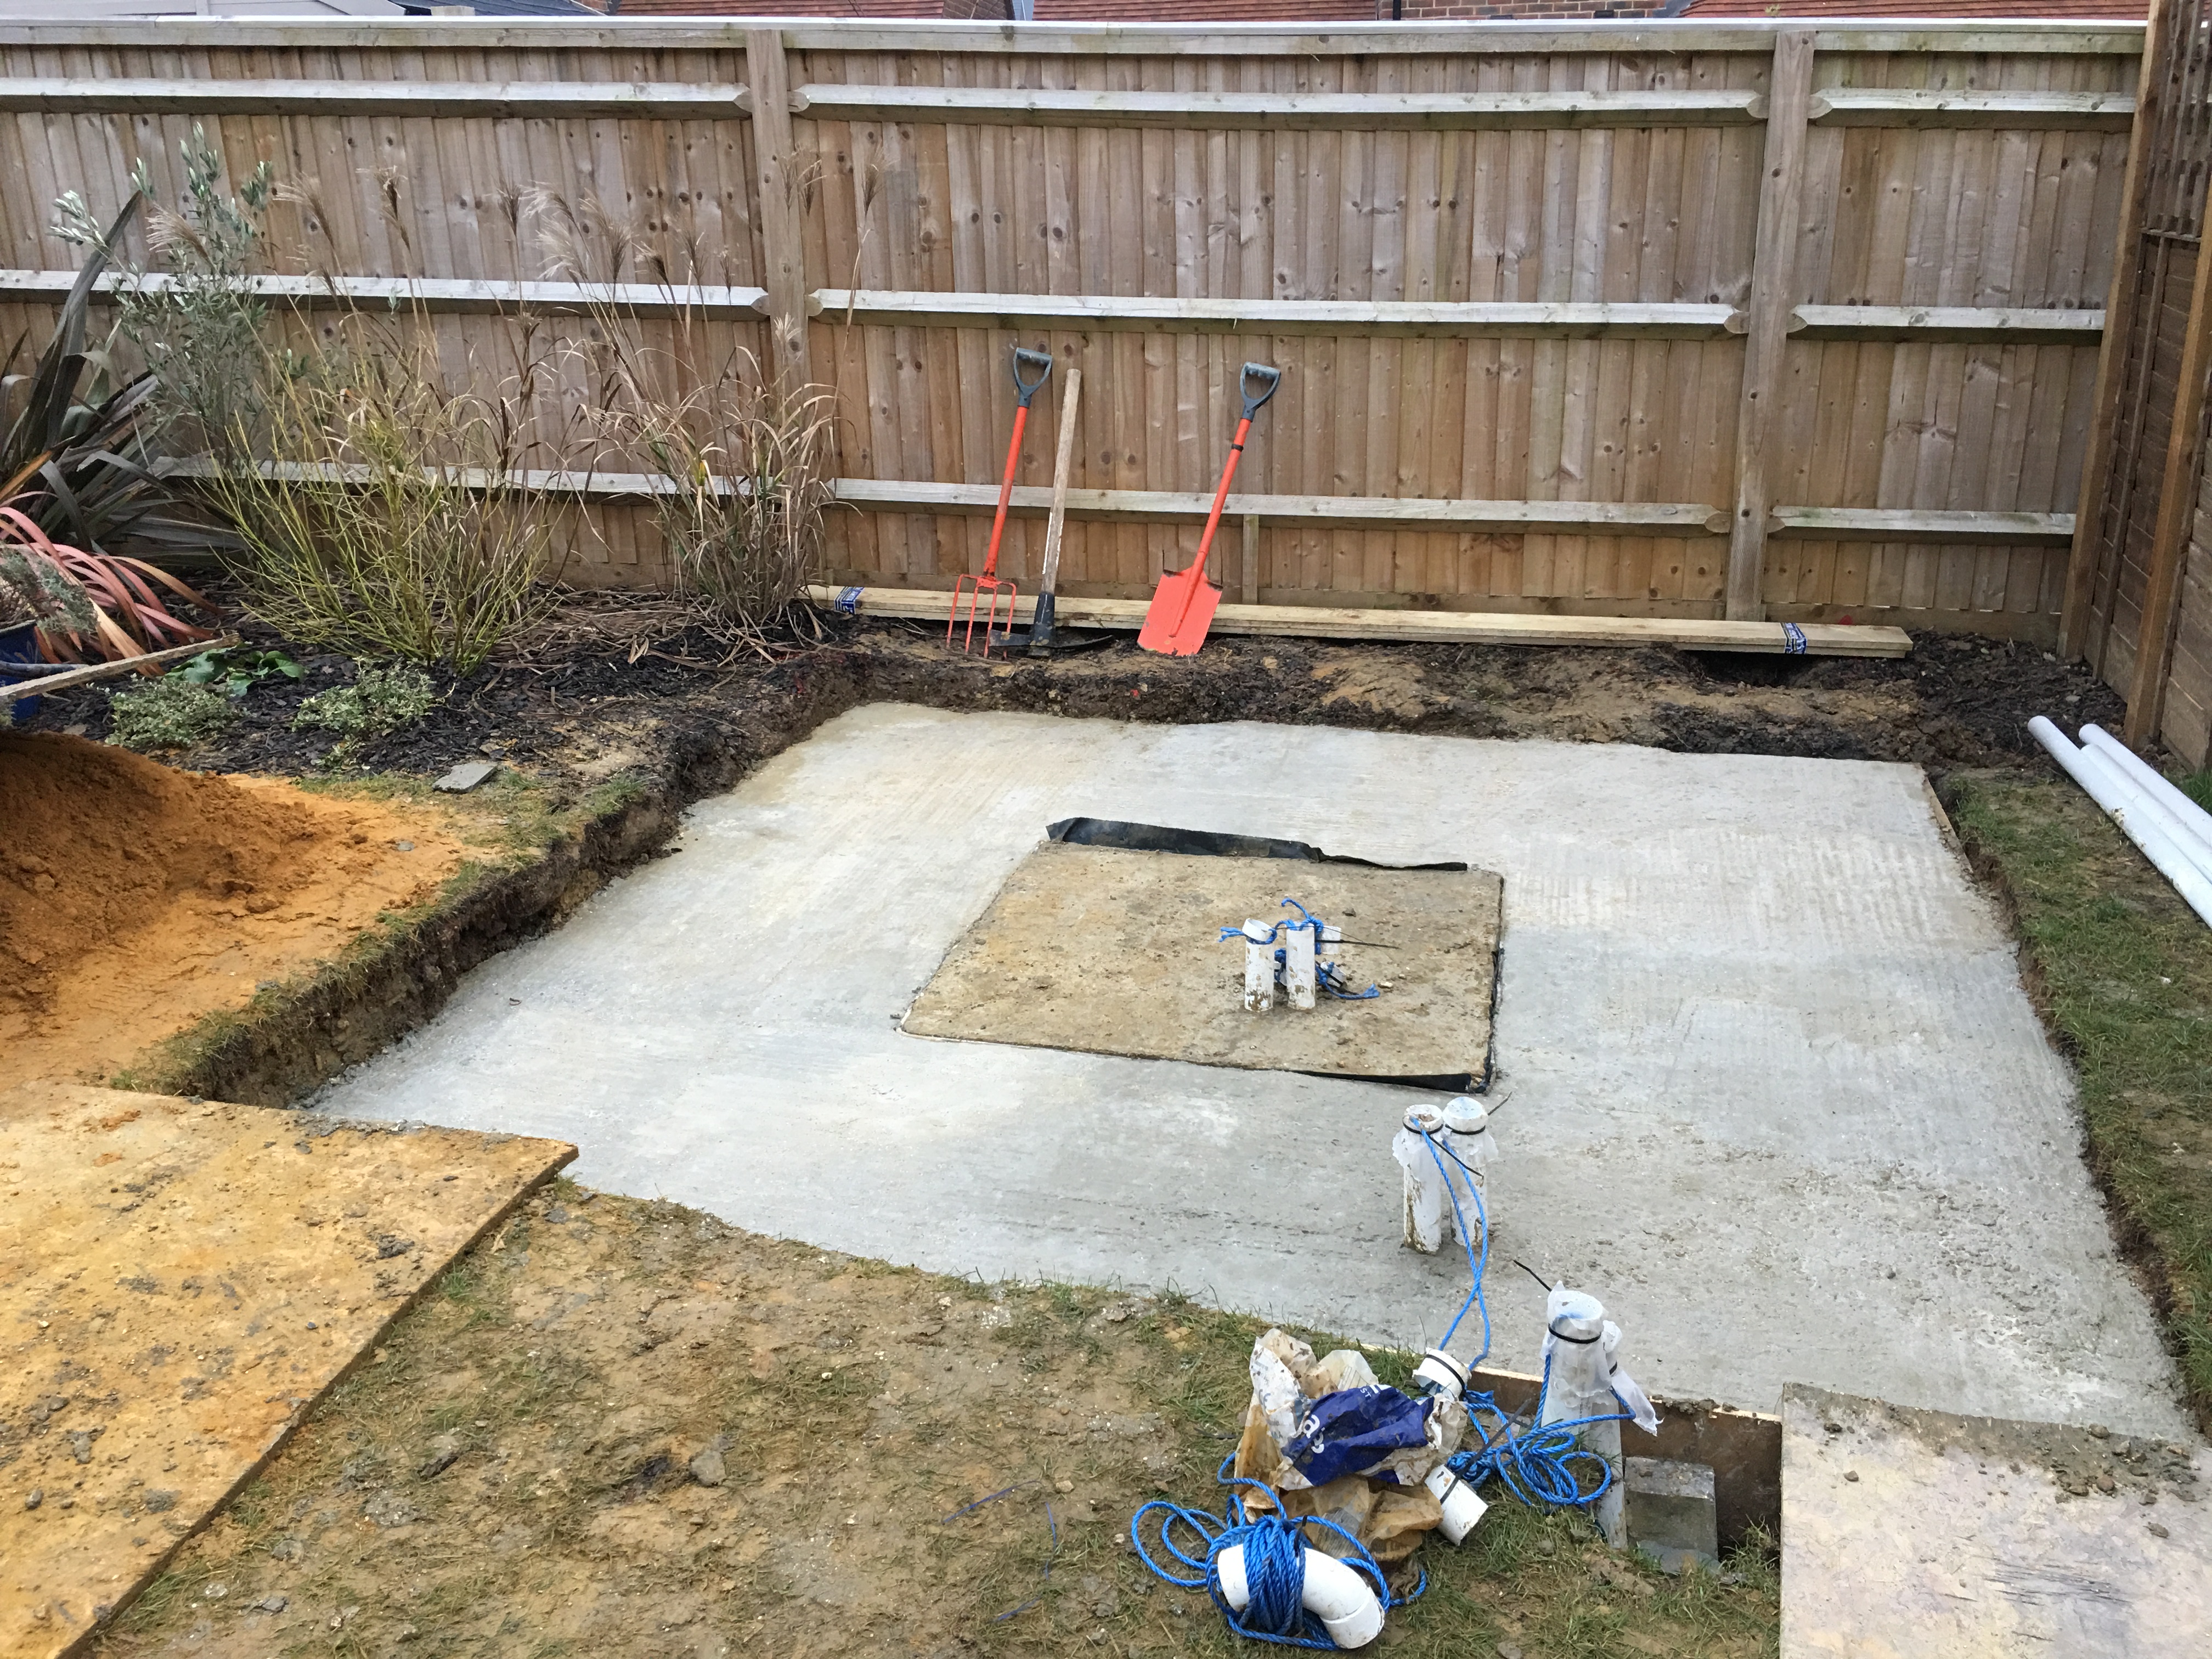
The base for the pier was a single discrete 1m cube of concrete and surrounding that a slab of concrete of 3m square and 150mm deep. This was so the pier is isolated from any vibrations from the dome rotating or people walking about inside the dome.
The team from Ripton took a few days to dig the hole, pour the concrete in a couple of stages and then we had many weeks for it to set due to a delay in the Pulsar 2.7m dome arriving for install. I also laid a shingle surround to act as a french drain and included a homemade soaraway, more pictures later.
Work started with digging out from the outside in using a JCB, the team did a quick and good job, considering all the clay.
After some rain holding off the final dig, the team managed to dig out the rest of the base including the much deeper but separate 1m cube.
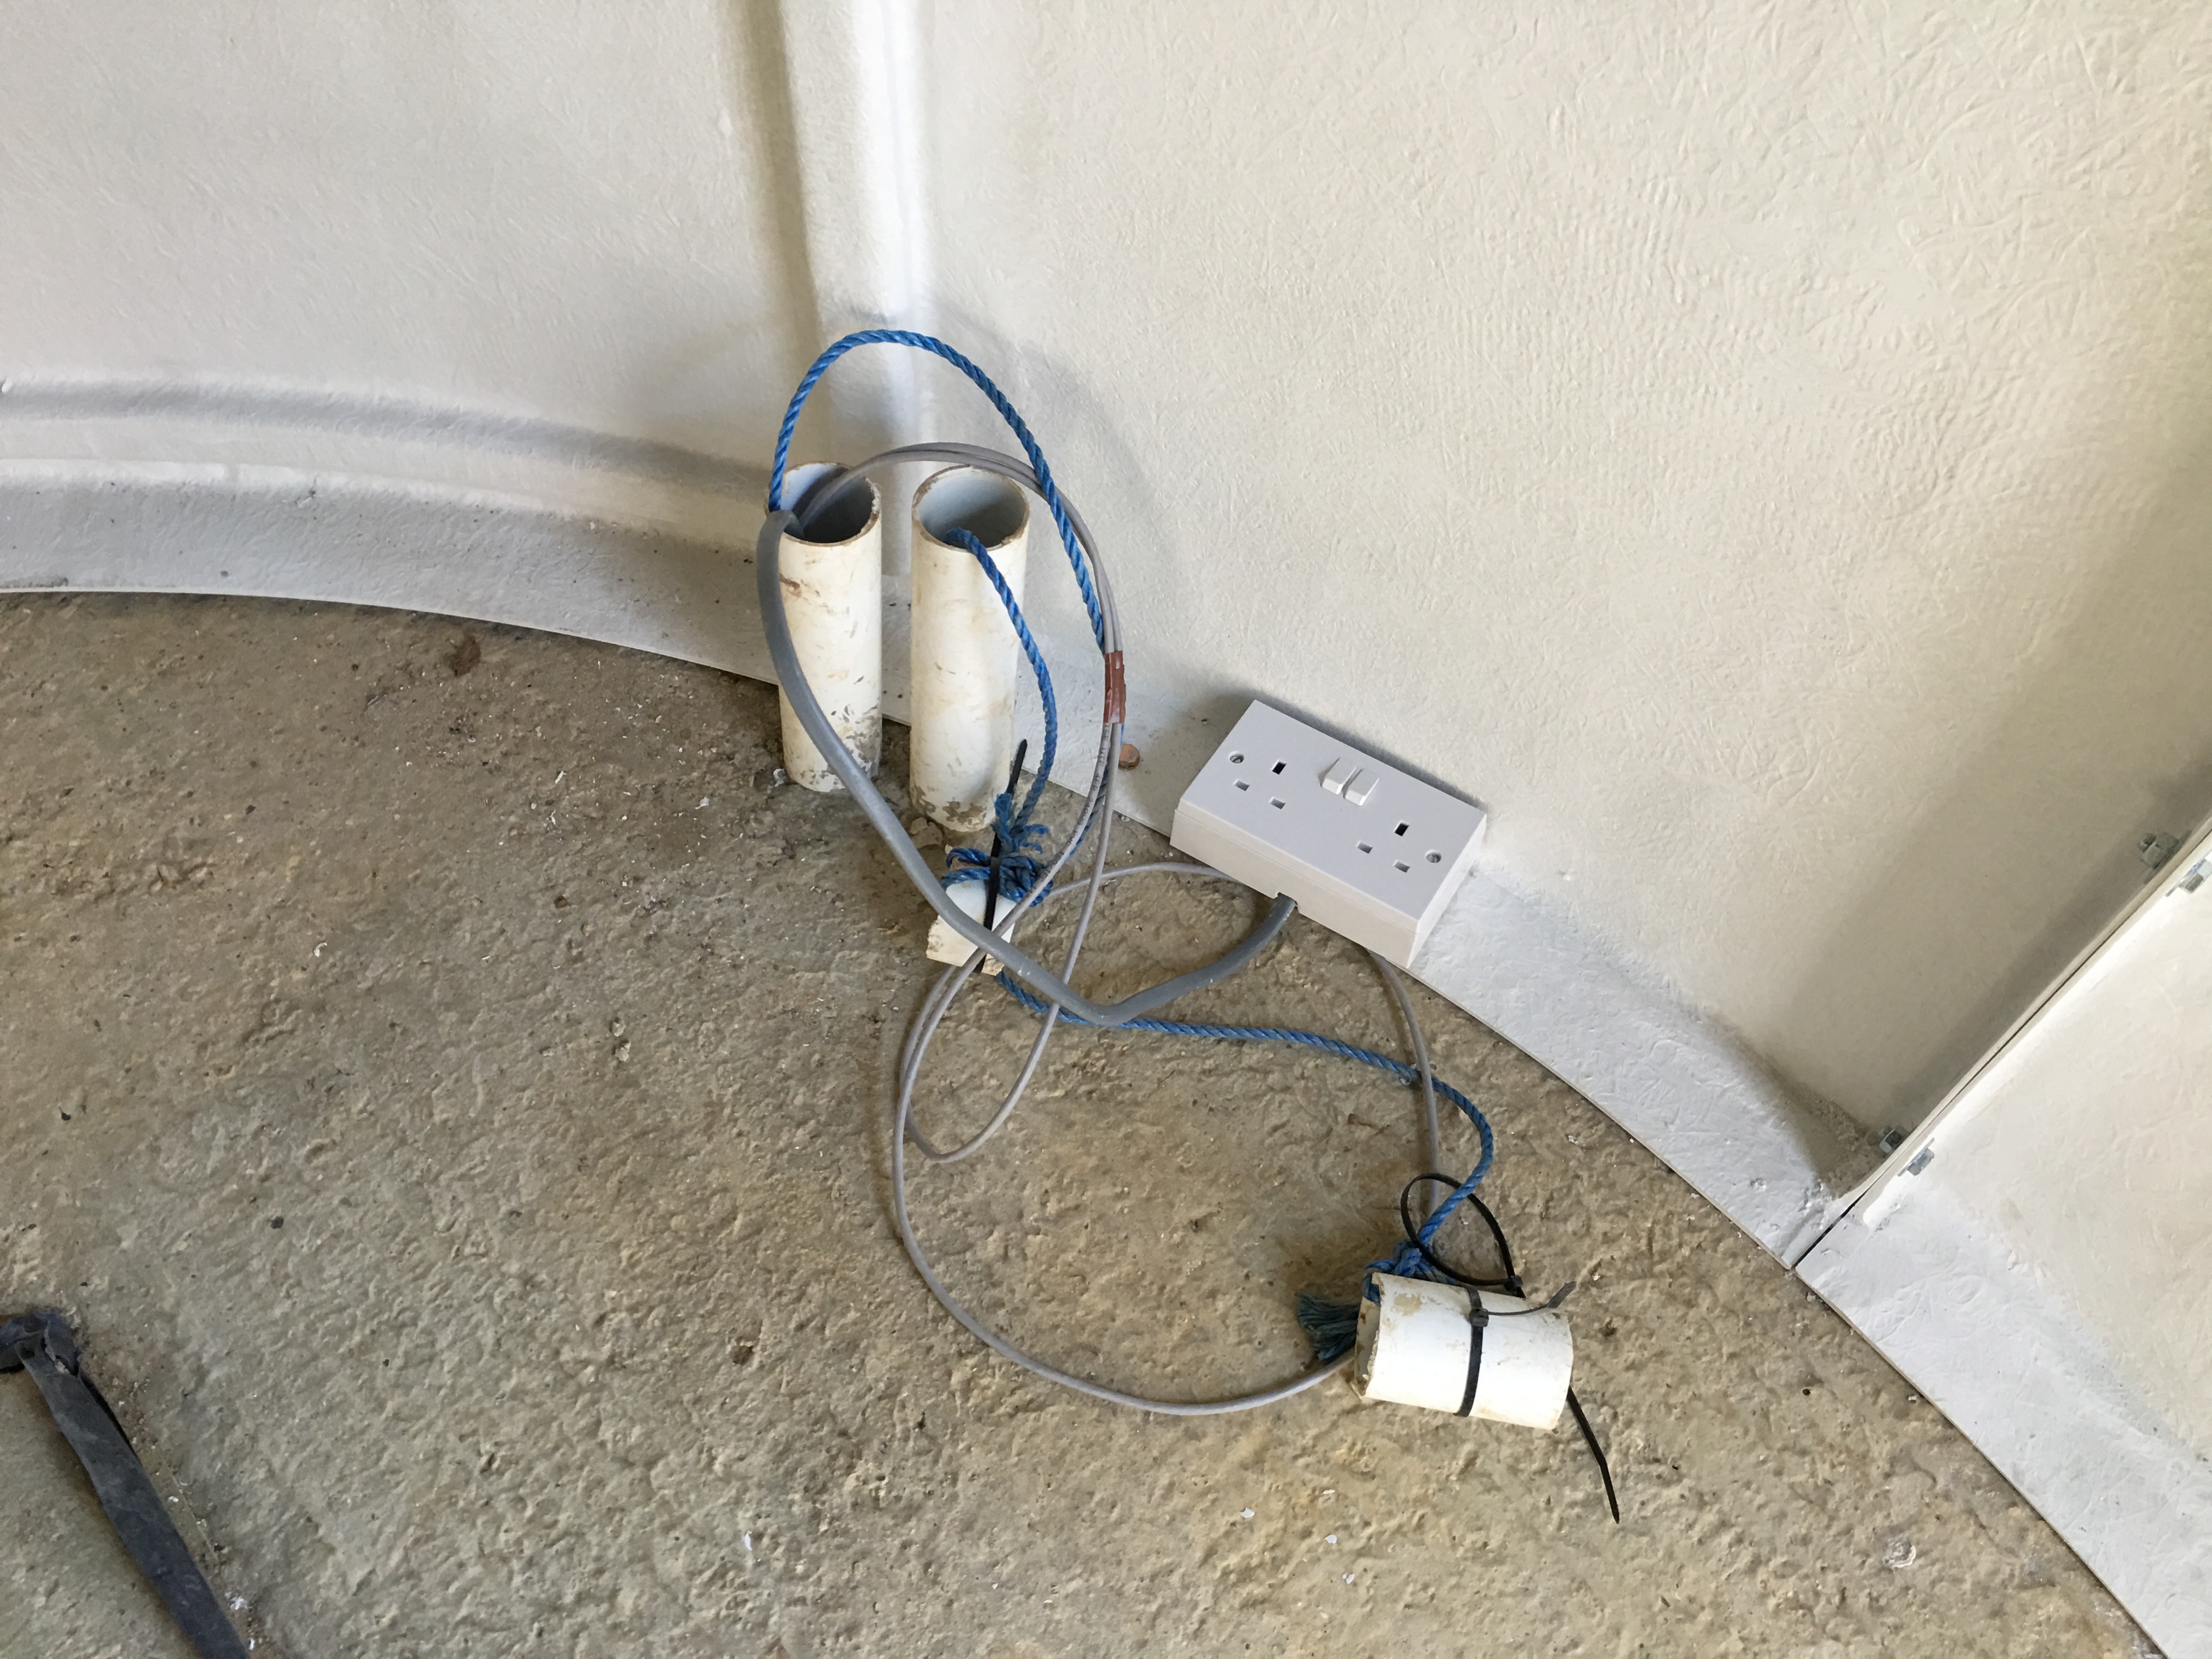
Scalpings were then laid and shuttering to act as a former for the central cube was fitted, this included DPC to help keep the cube from being effected by the surrounding area. PVC piping was also added before the mix was poured for the data and electric cable runs.
Before long the concrete was poured for both the inner and outer segments, now you can see the level below ground to which we dug to make sure we were inside the planning rules for the area.
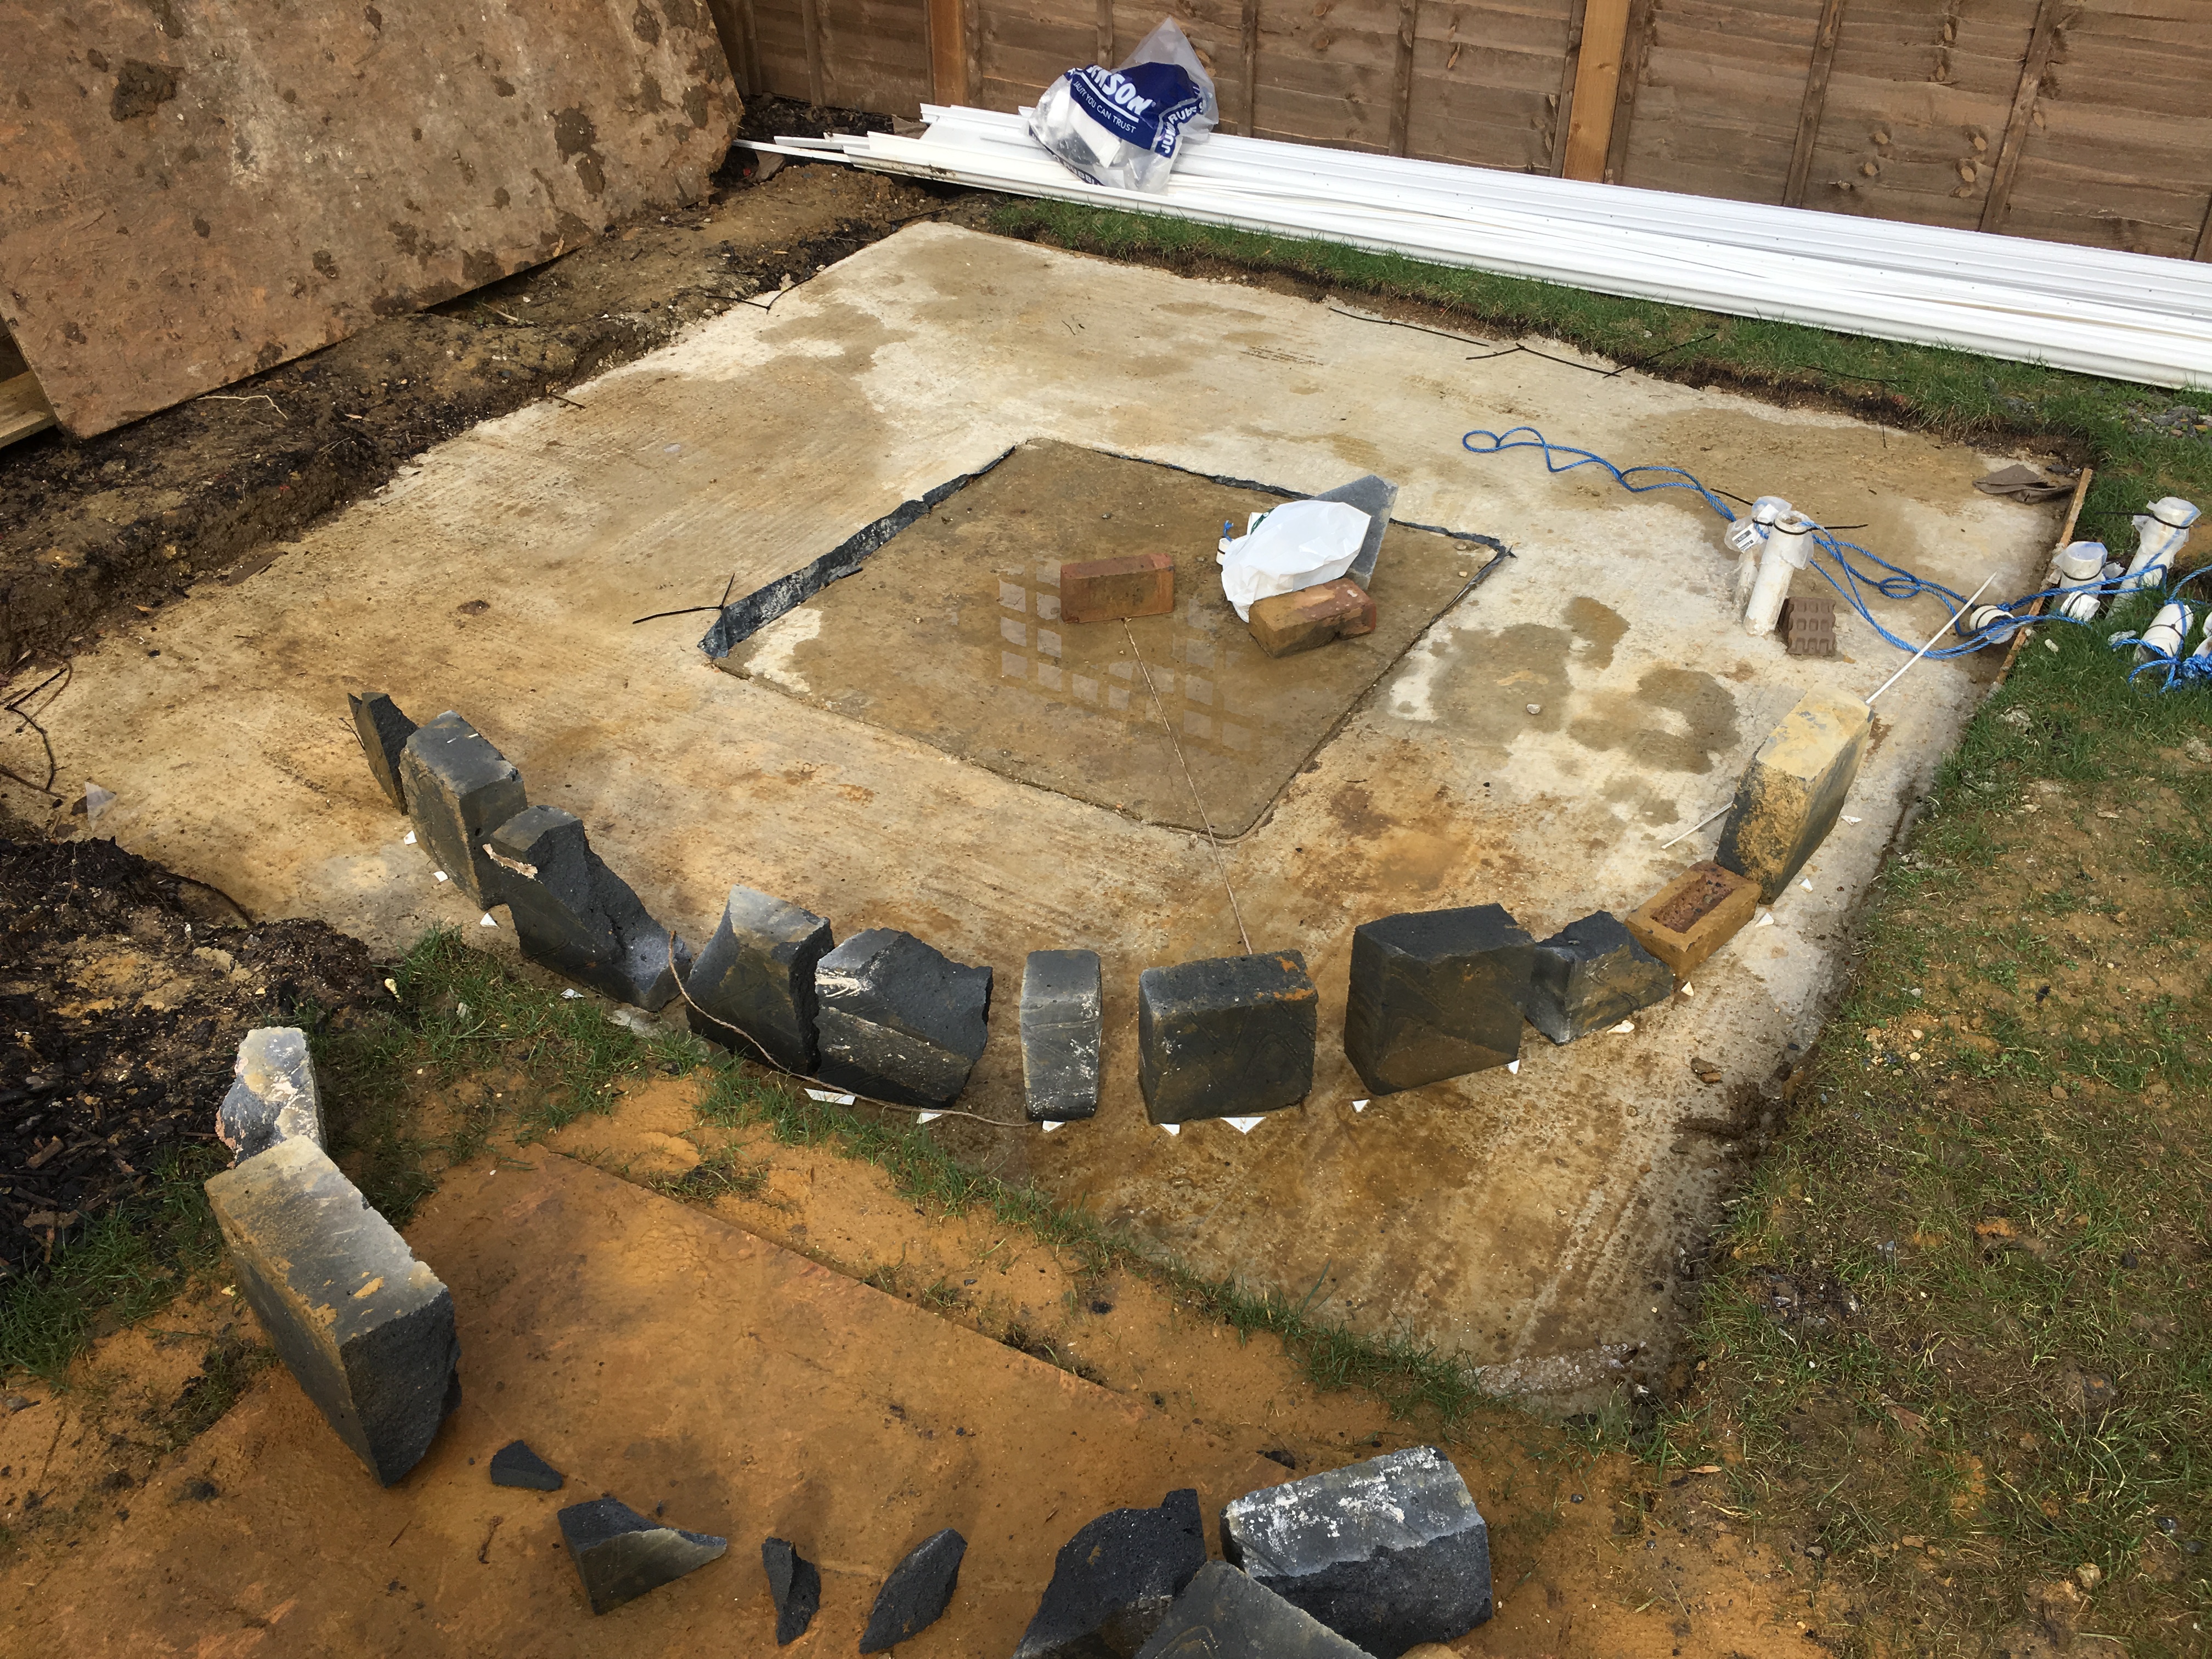
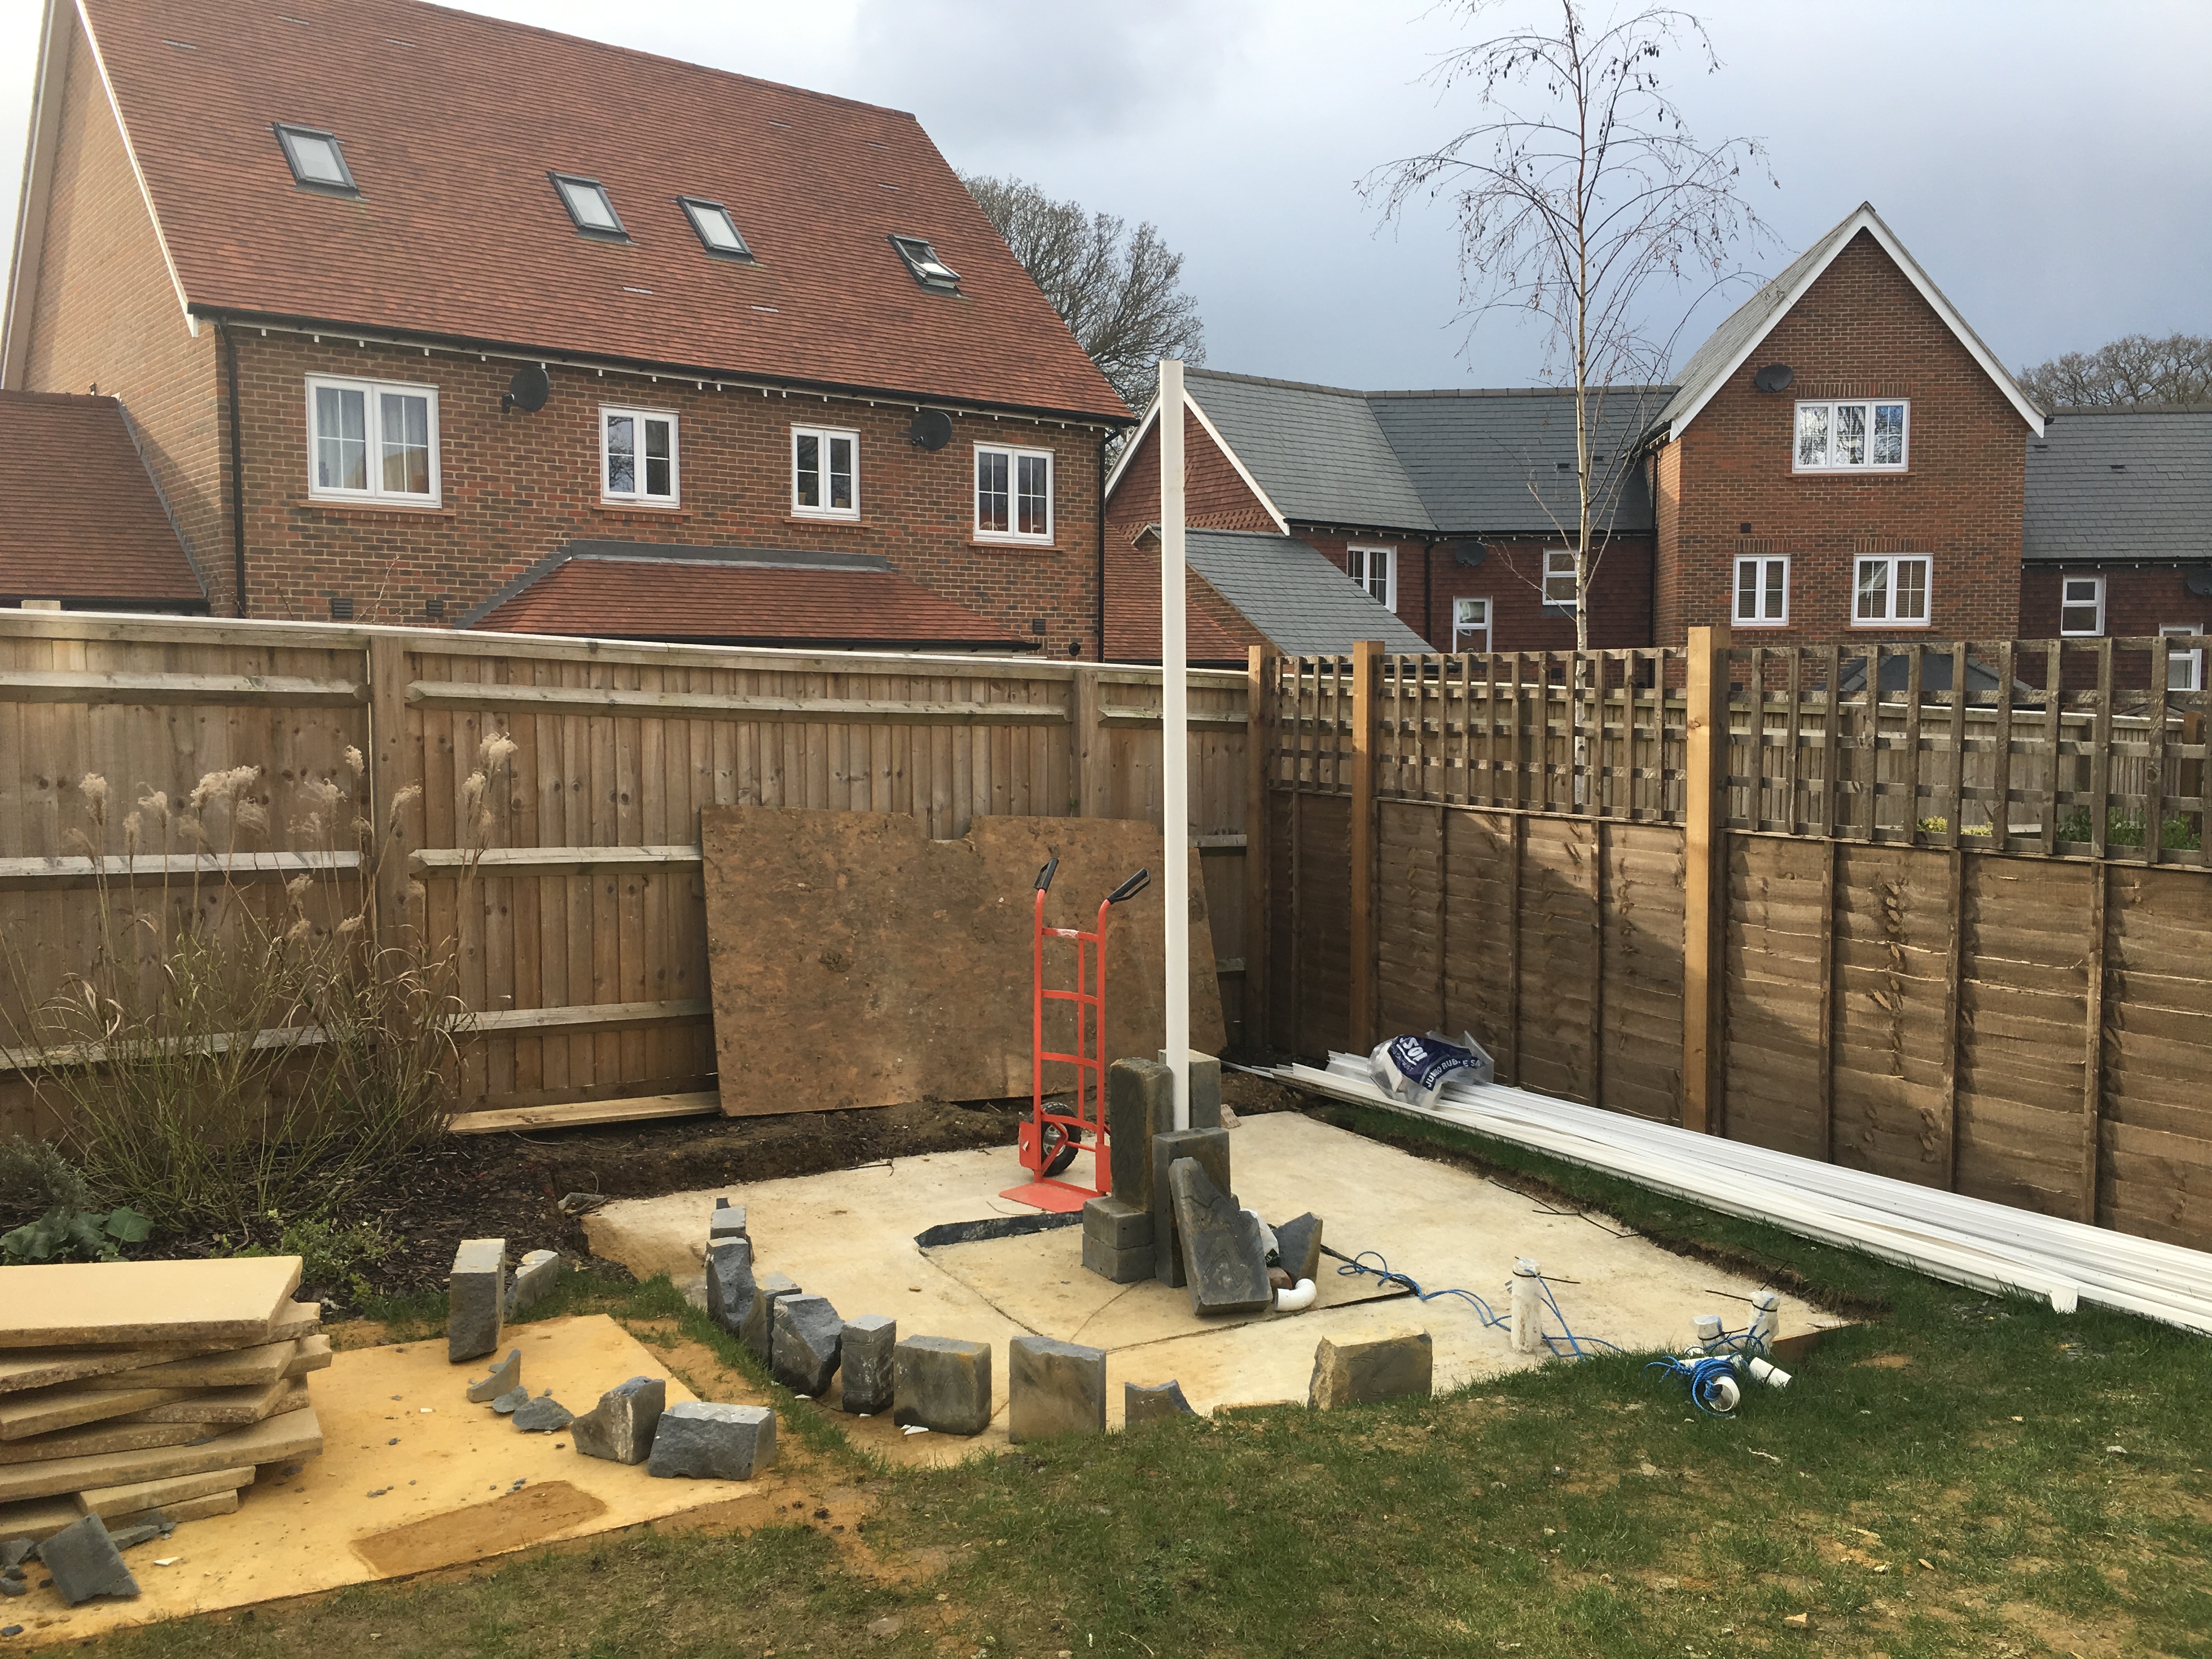
Creating my very own stone henge, allowed me to see where the dome would finally come to.
I then went one stage further and placed a plastic pipe vertically to see the height of the final dome once fitted.
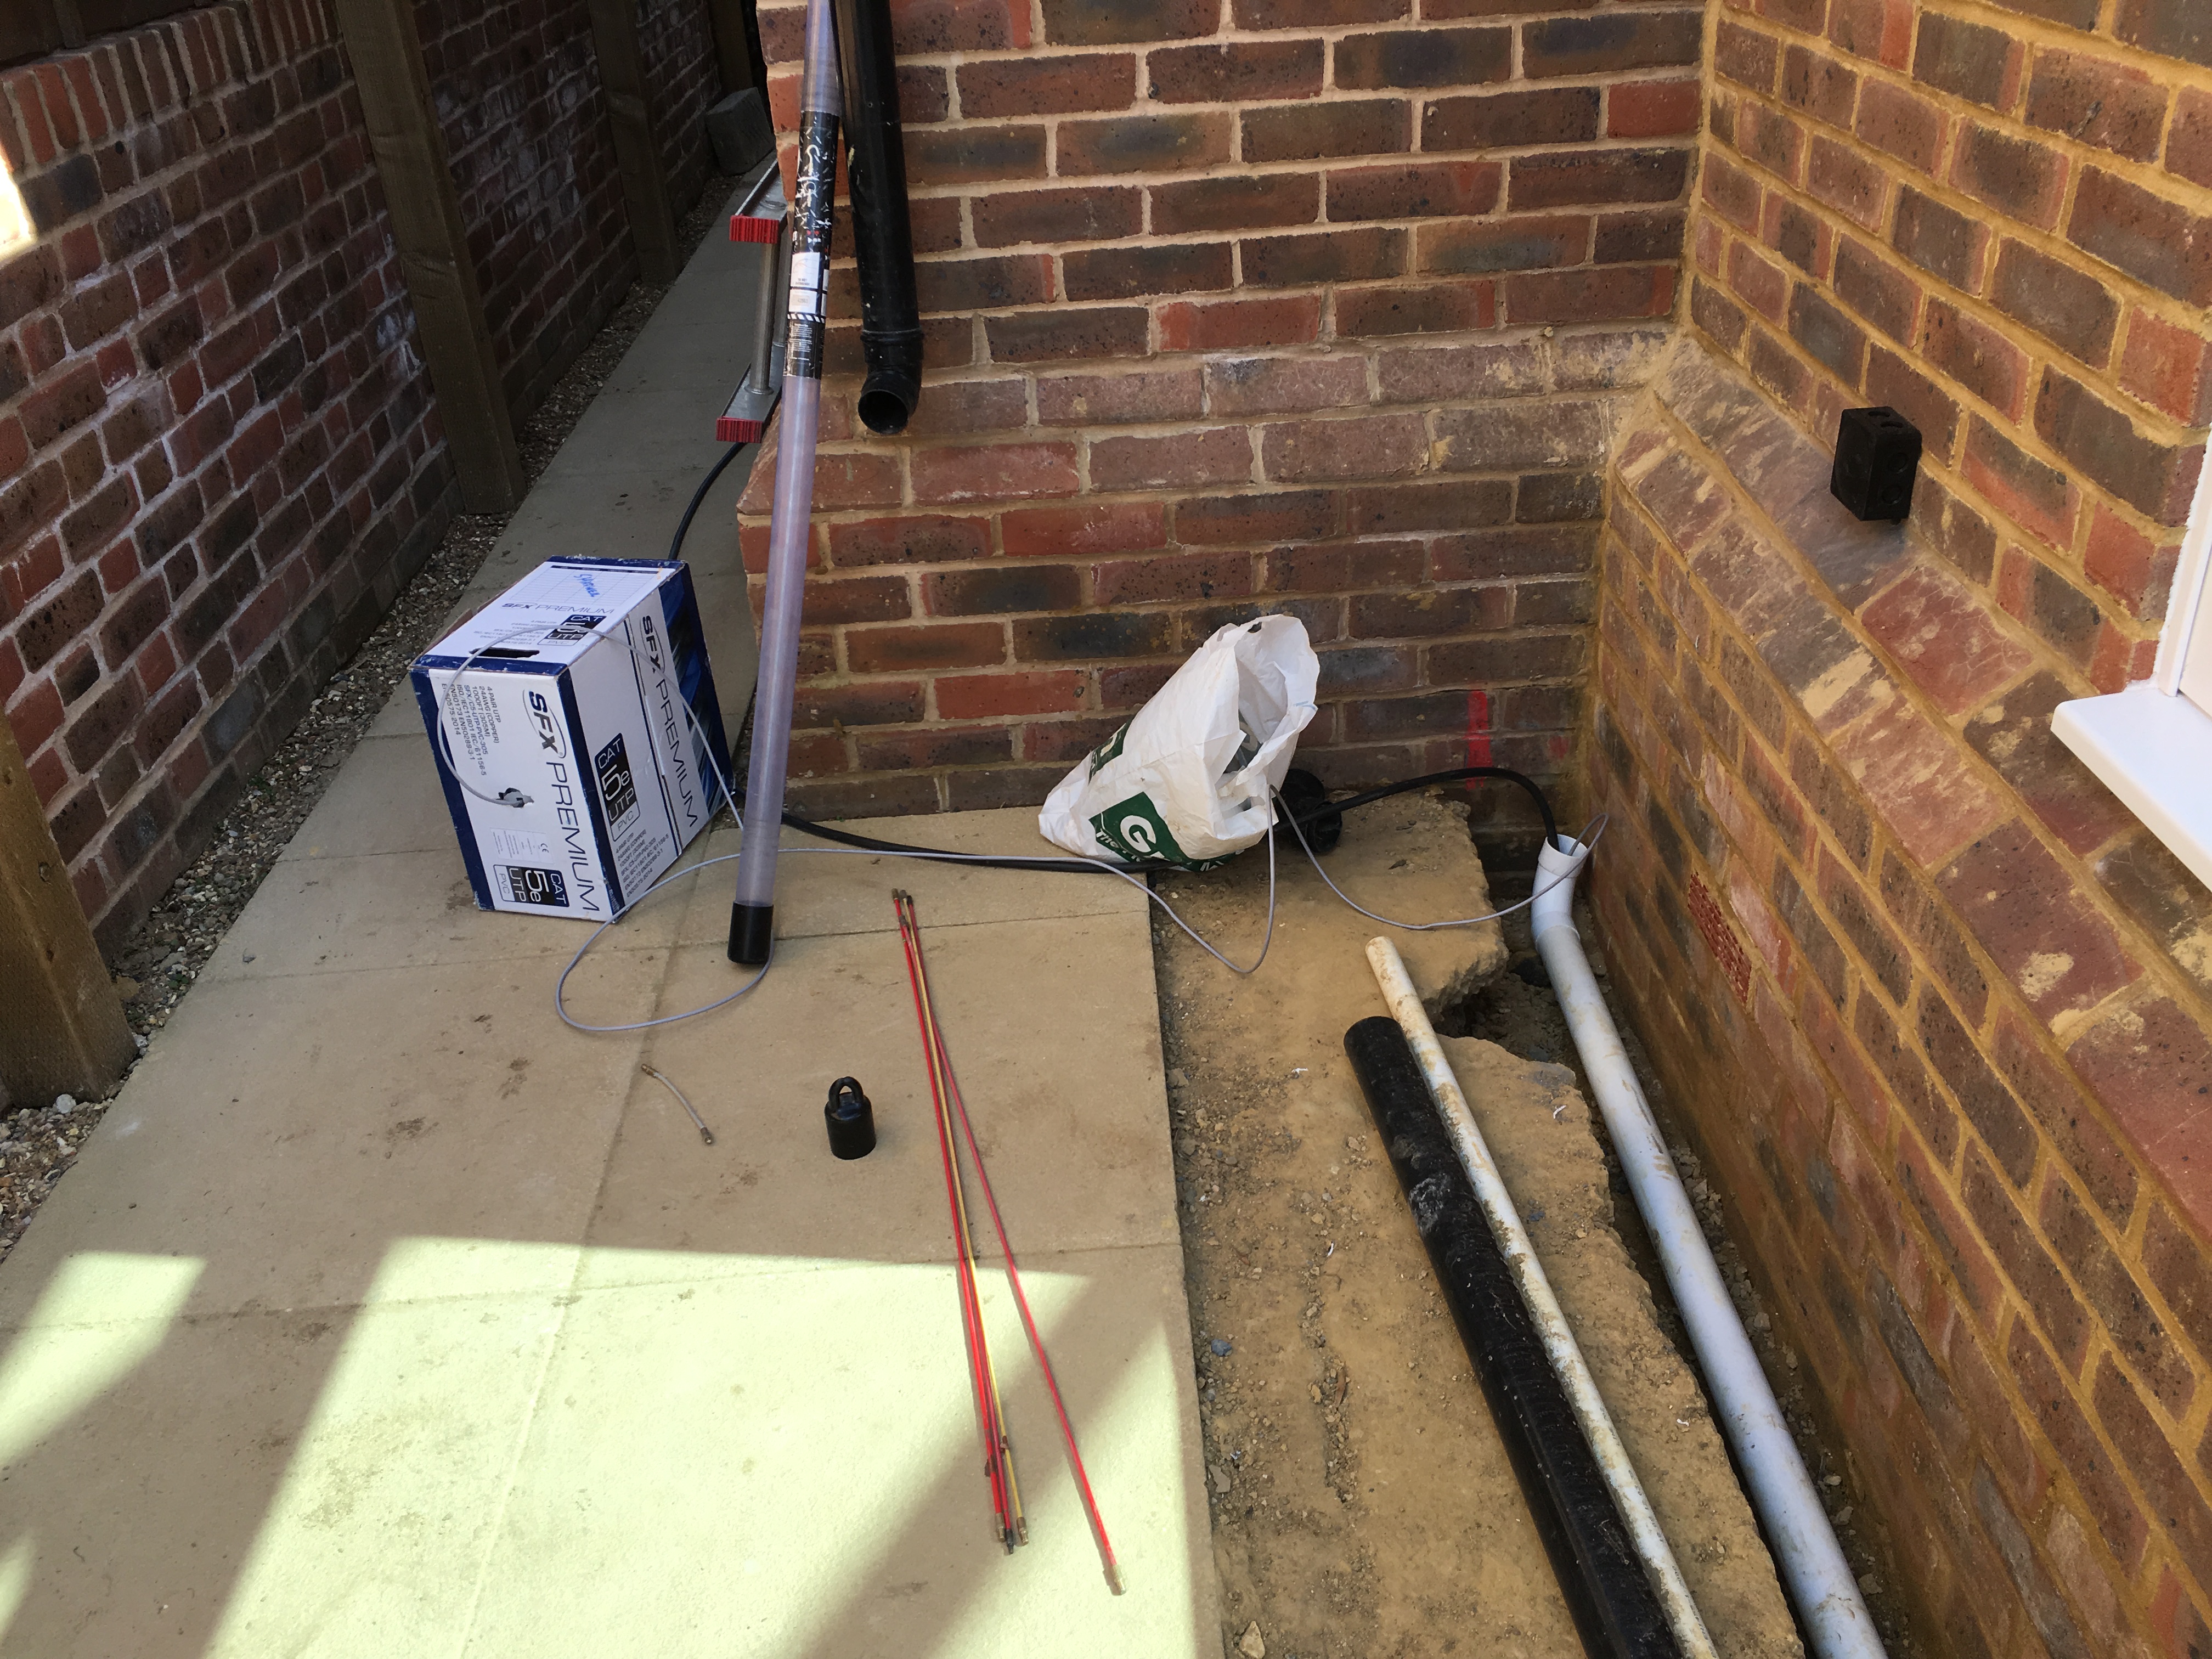
Finally my favourite electrician Steve fitted the main power to the outside and included CAT6 cable back to the main fibre hub for me.
This was run under the ground through plastic pipe, even though the cable was armoured, in case we wanted to run additional cables later.
It has been interesting to see if we can automate the Pulsar Dome through ASCOM to slave it to the movement of the Paramount MEII and the 3 OTAs that reside on top.
We originally tried using SGPro and a complicated spreadsheet from Pulsar to record and then model the spherical trigonometry that is needed to make this work. After a number of days we gave up as it simply was not aligning the slit of the dome with the main OTA let alone the other 2 that are piggybacked.
So we are now trying to resolve using TheSkyX Dome Add-On, an expensive piece of software from Bisque that if it works, despite the cost is worth every penny.
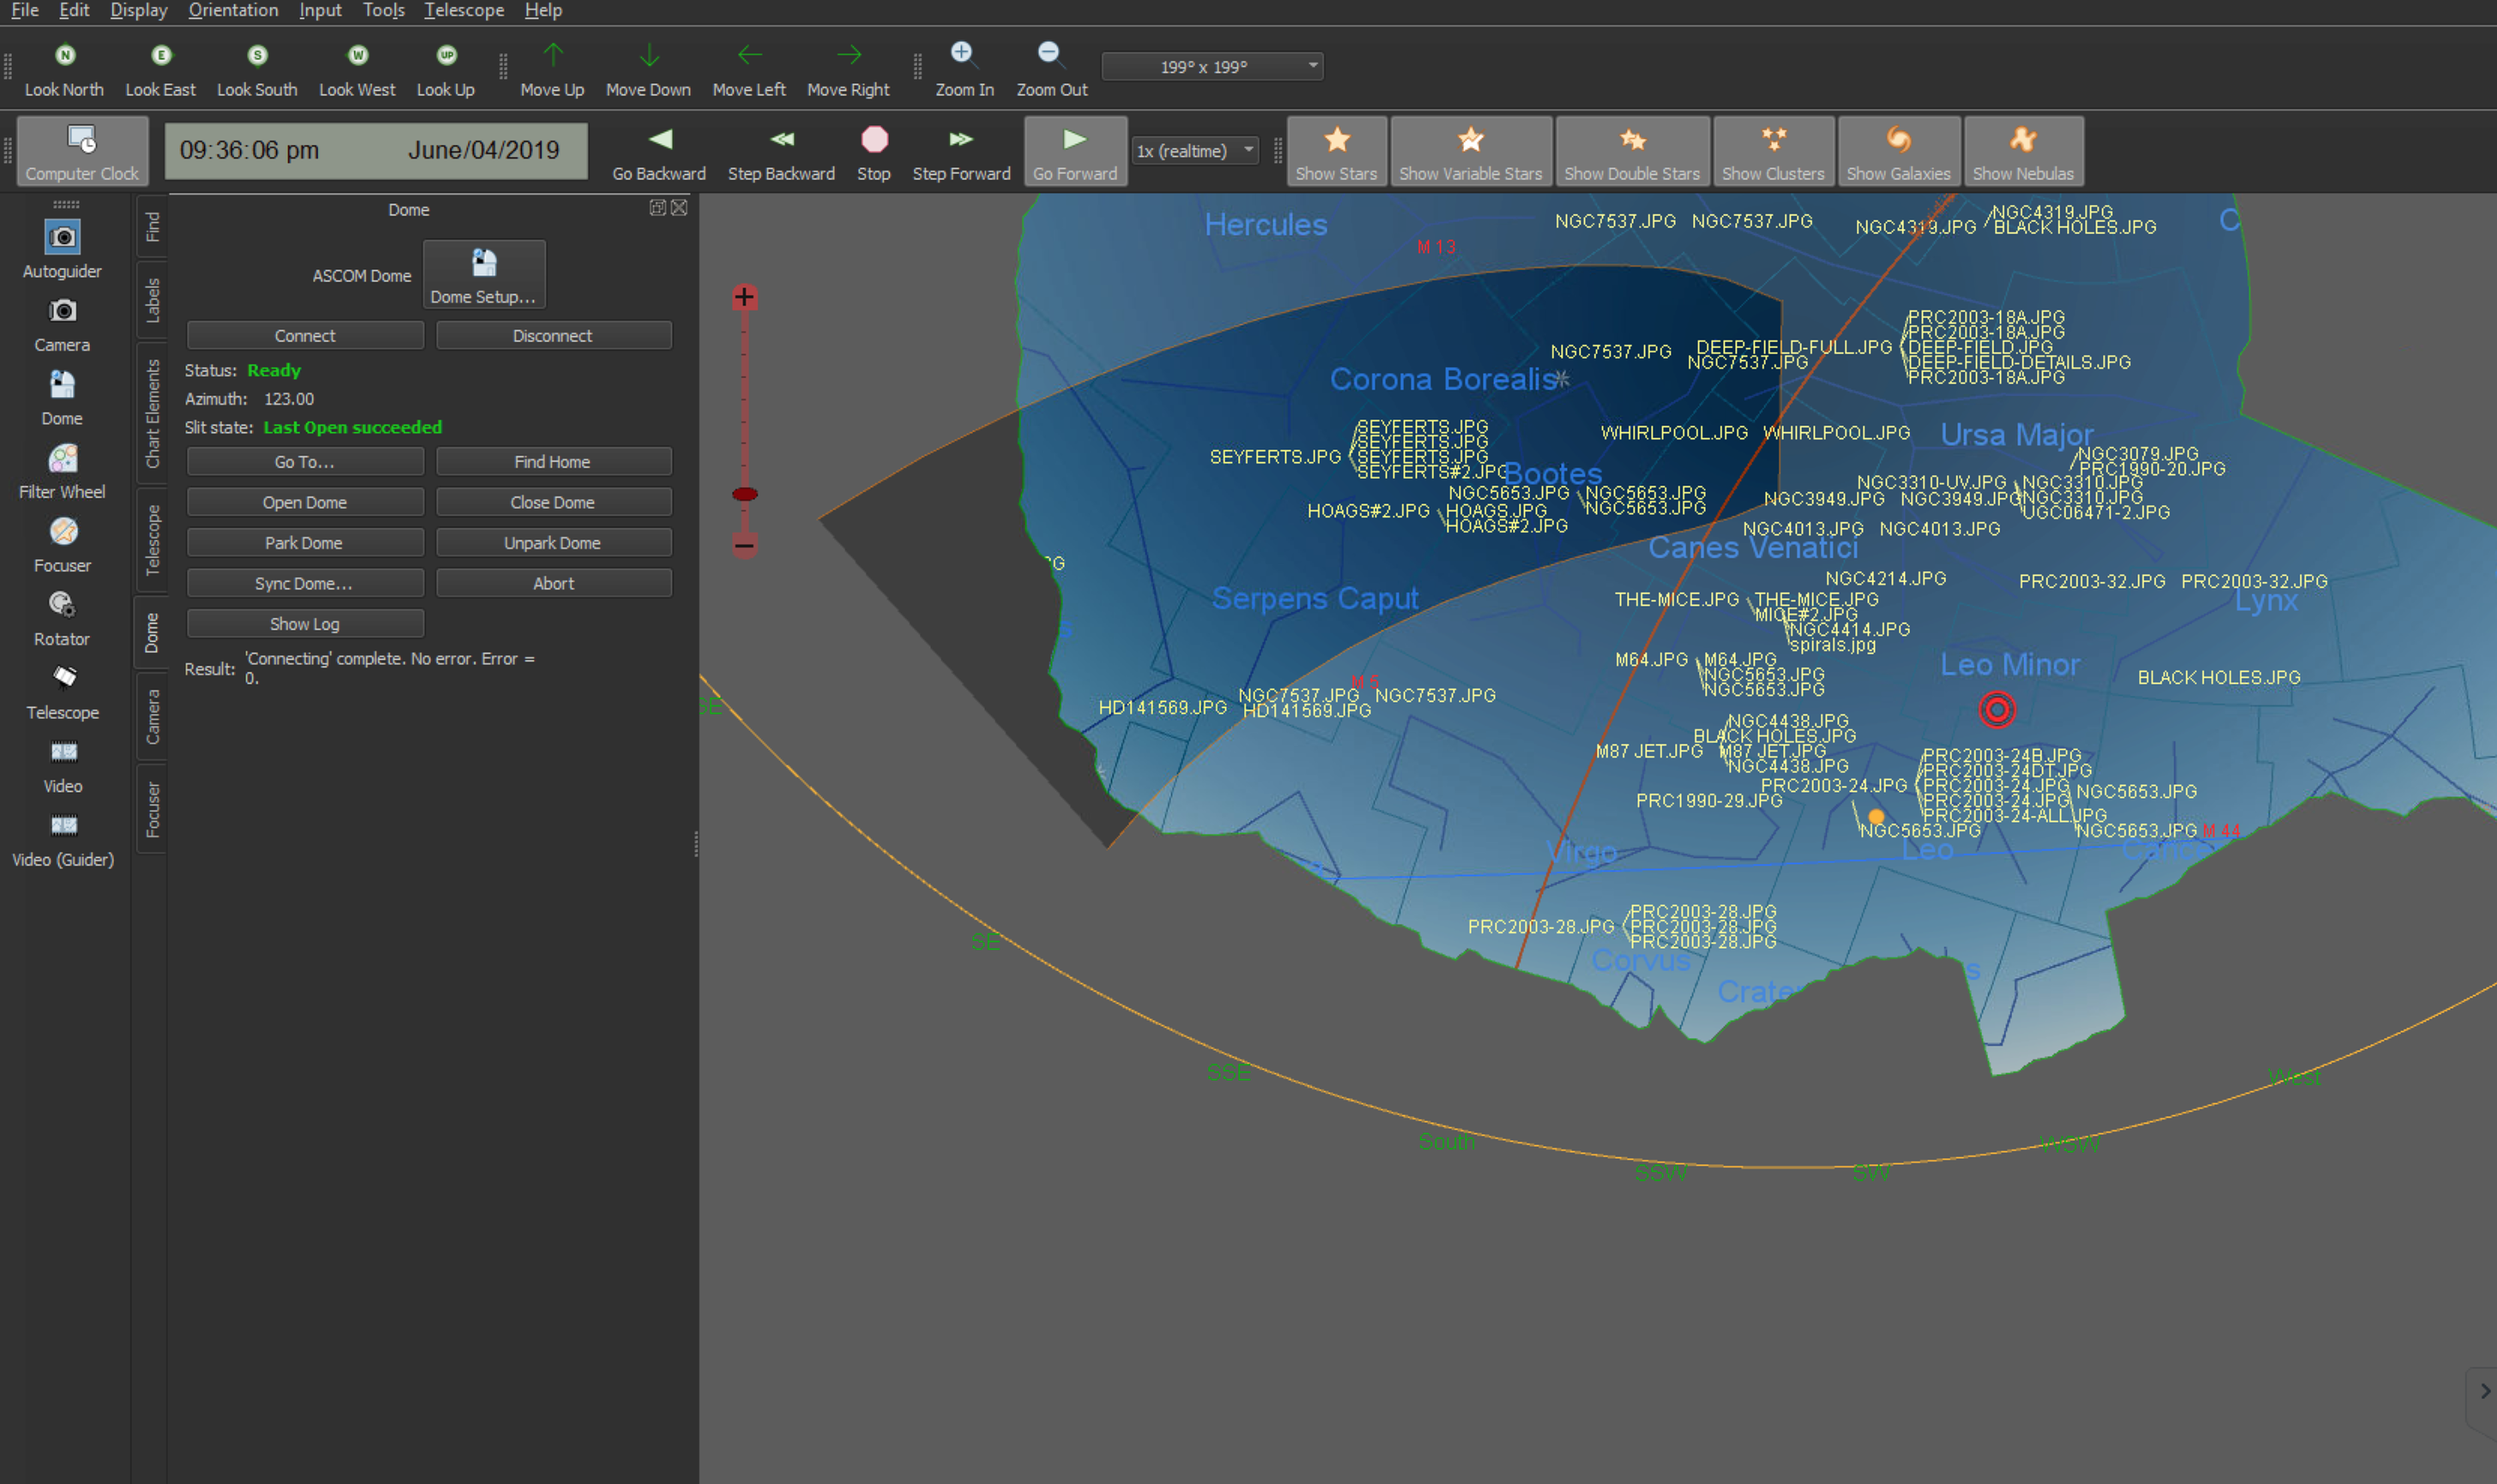
TheSkyX Dome Slit visibility
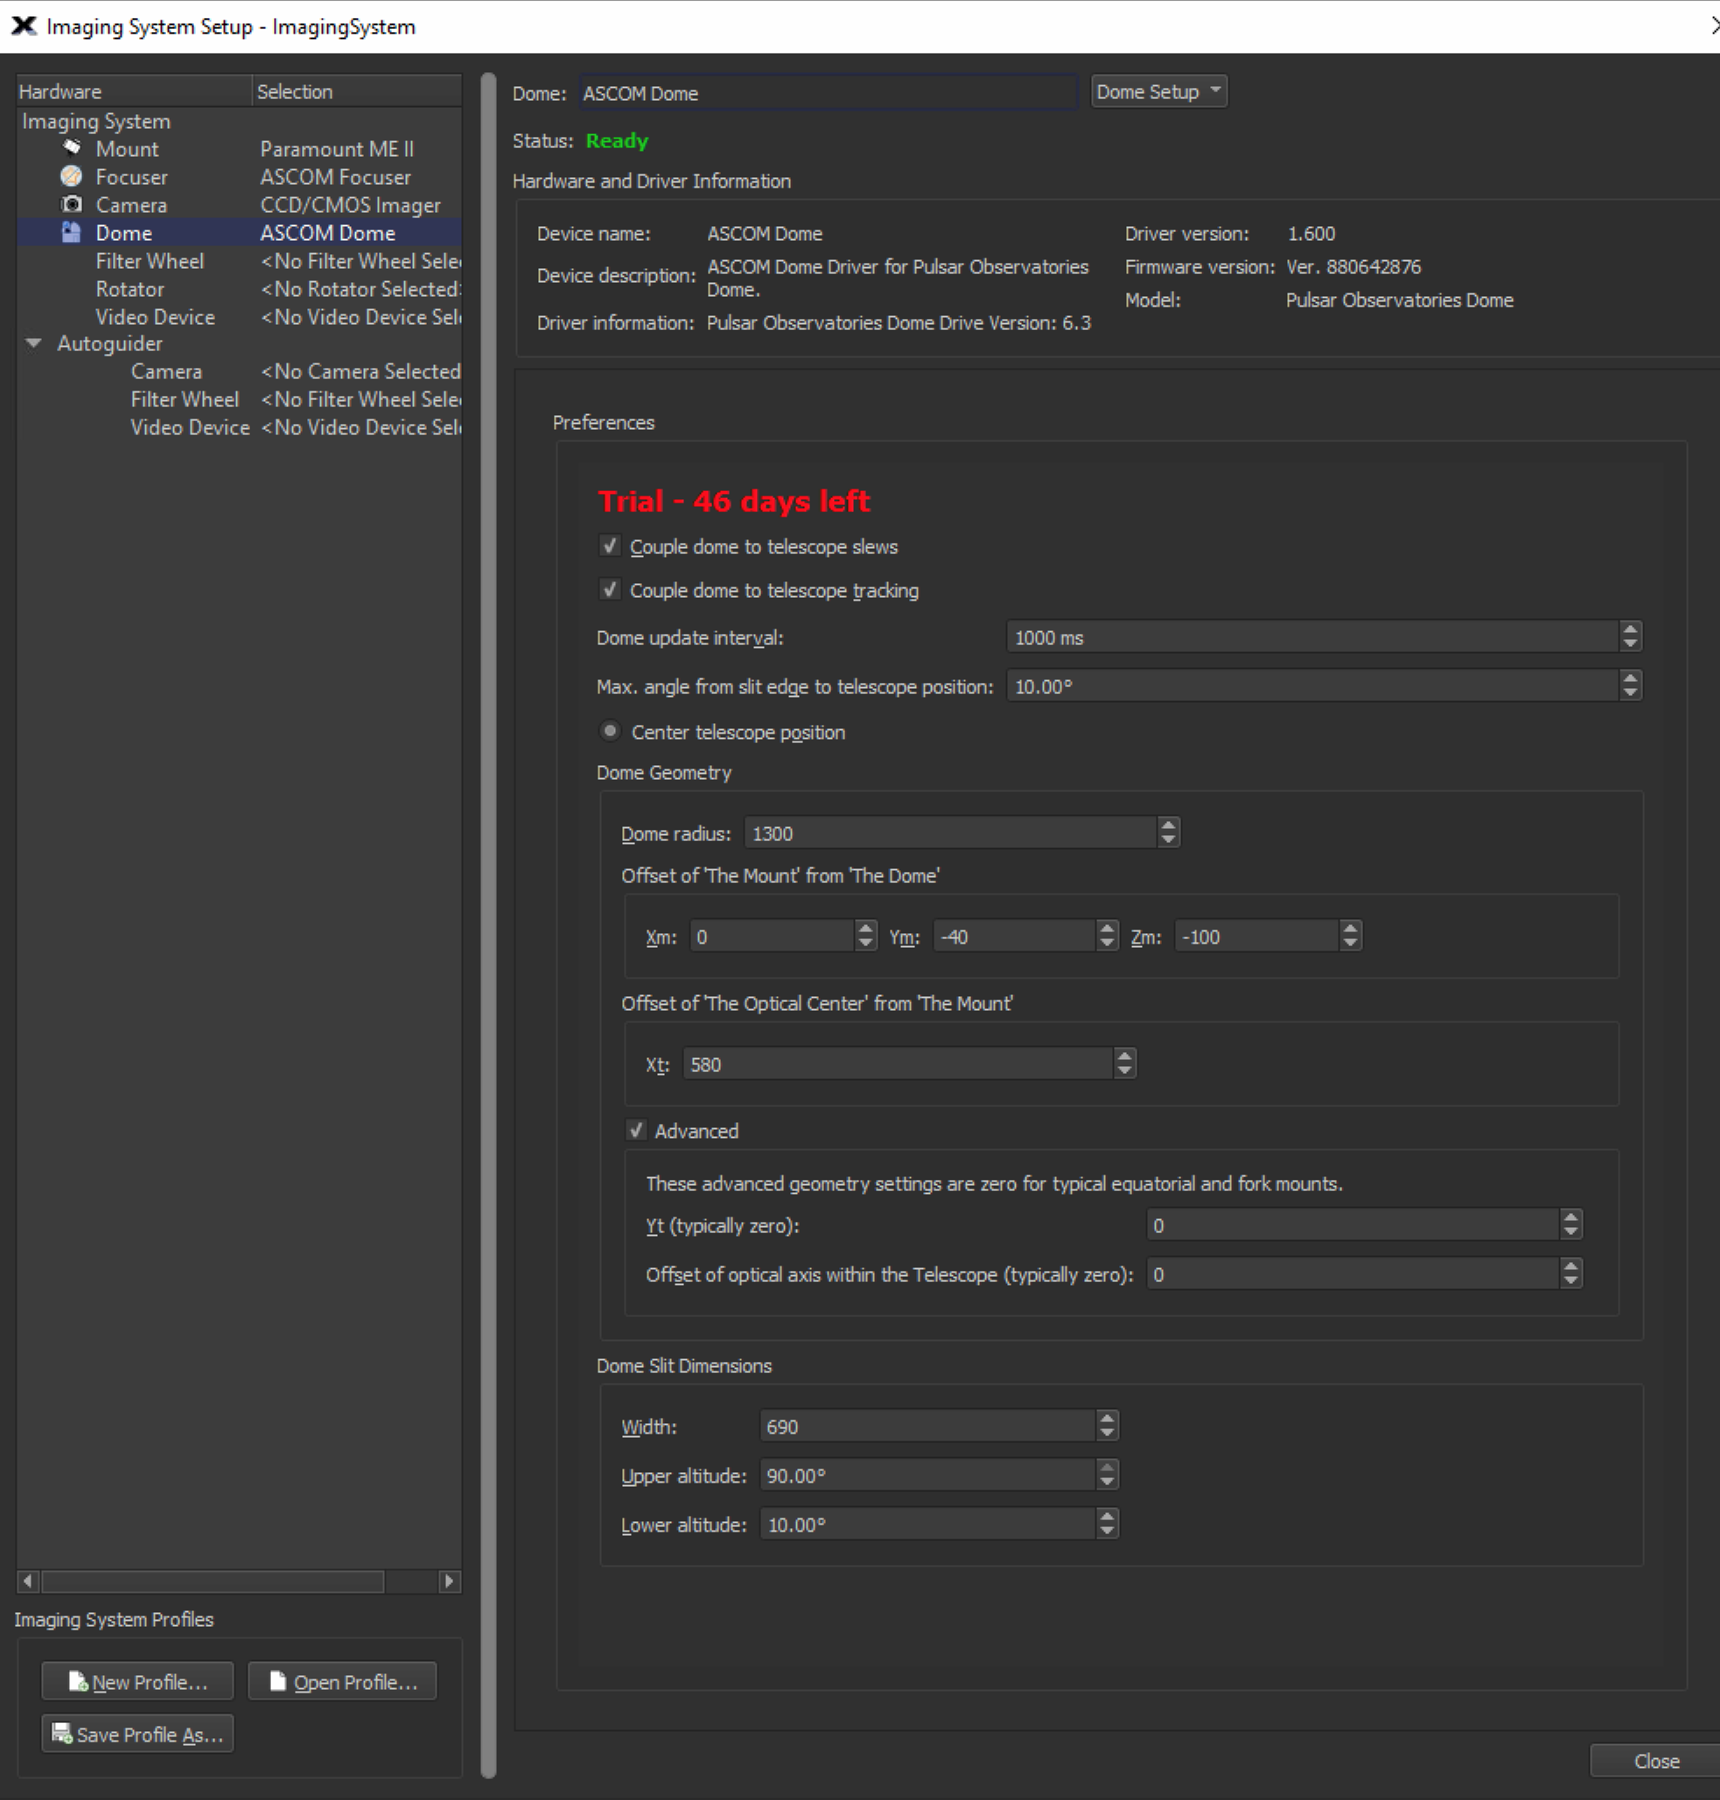
Well after putting in some simple figures as stated in TheySkyX user manual over a few pages, we have managed to slave the dome slit to the main scope with ease. It was really very simple and after the mucking about with SGPro and the model information from Pulsar spreadsheet, it just works. I then took a look at the 2 other OTAs and have changed various figures that I will share once all work flawlessly. These figures are to do with offsets for the OTAs from the optical centre of the main OTA. I have asked Bisque to confirm I am changing the right figures and asked how I save them to a profile or alike so that I do not have to re-enter them every time we want to swap scopes to image from. I have also asked for clarity around moving the dome at sidereal using the distance of the OTA to the dome slit figure.
Dome Add-On setting page for configuring the scope offset
At the moment whilst I await their return on the questions, the mount is able to slew around the sky and the main OTA is always within the centre of the dome. The 2 other OTAs if I change the figures in the fields for the offsets also are in the main through the slit, just near the meridian there is a slight overlap but I have guessed some fo the figures so they may be wrong.
More to update later once I have the clarity from Software Bisque I hope.