So for a short period of time we had settled on using AllSkyEye. Recently we noticed that the author had issued a Kerogram and stretched horizon generate of the latest image but only available in a new Pro Edition.
The Pro edition was only £20 for a 3 user license, the author gives this purchase as a donation to the charity of his choice – good man ! So now we have AllSkyEye Pro in use at the IMT2 and IMT3 domes.
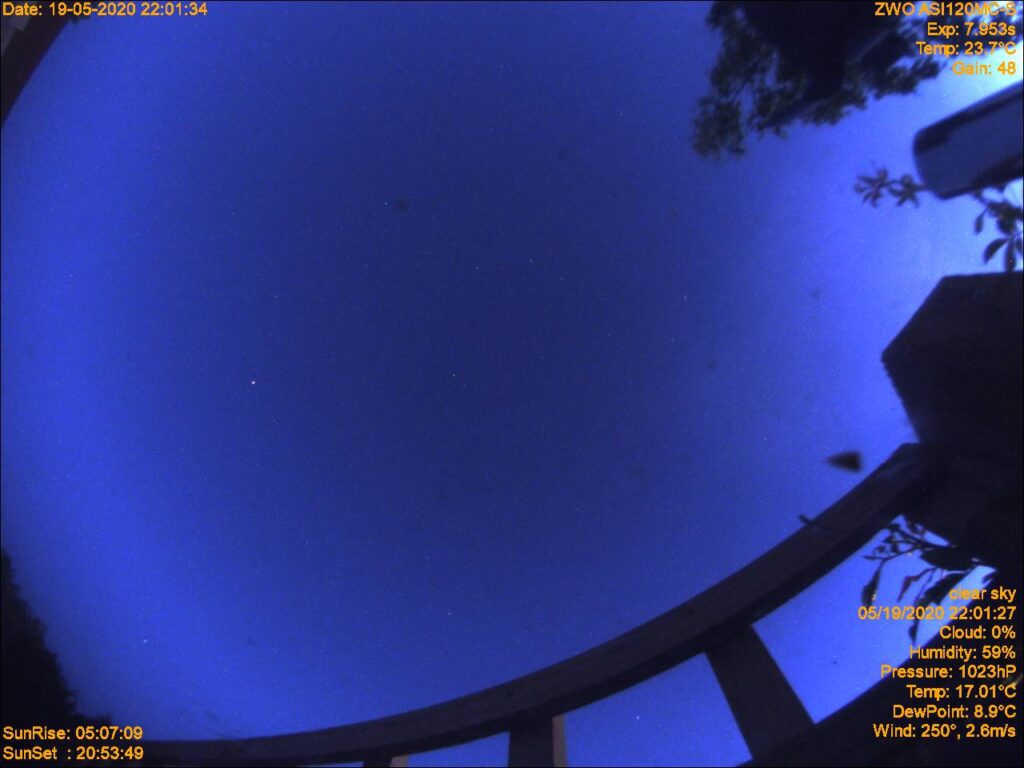
Latest Image with custom text overlays
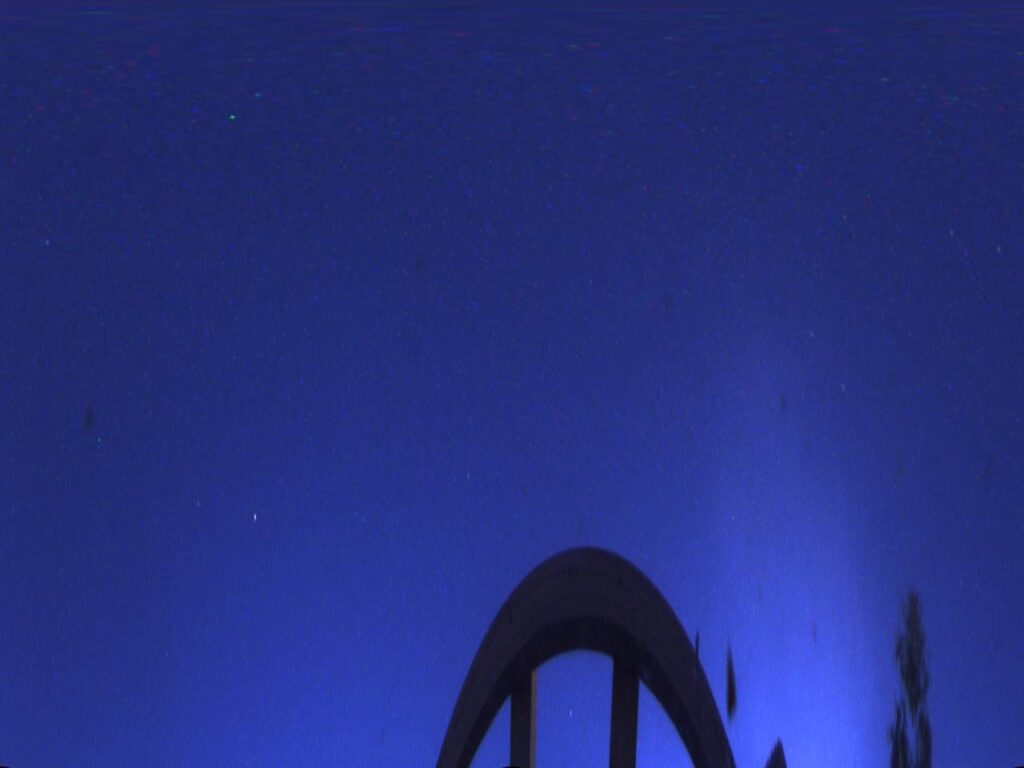
Latest Image Horizon Projection
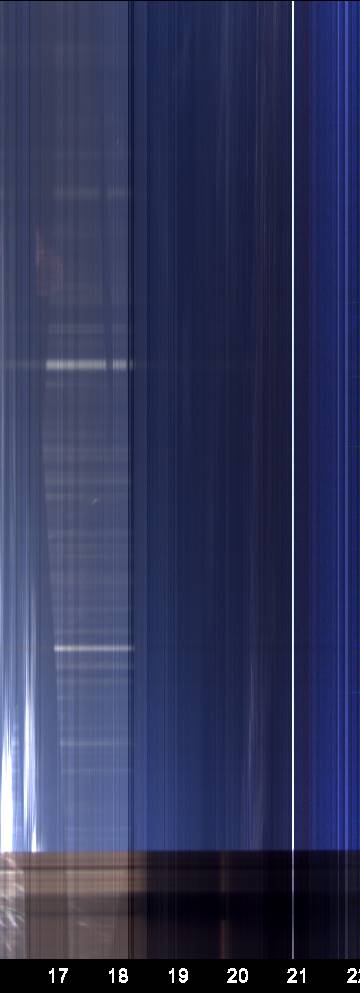
A Keogram is an image composed of slices taken from images in a sequential time order.The slices (which are always taken from the same location and with the same shape) are stitched together to form an image displaying a timeline of the selected part of the image as shown below.
Keogram
We still have the dark map to take to remove the hot pixels from the image but at the moment it gives us a nice view remotely before we decide to open the dome – that’s if the AAG Cloudwatcher limits agree and it thinks it’s safe to do so of course !
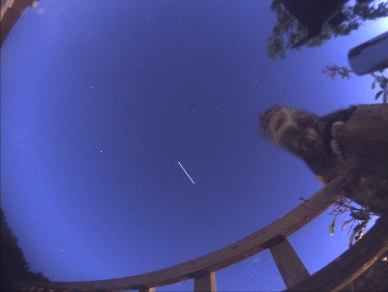
Bob noticed we had our local security guard aka Fluffy watching over his night’s imaging and turning to watch an ISS pass.
Fluffy stands guard at the weather station as the ISS passes over
So I left you with the weather station build out and will happily provide details of the software used and some of the challenges we had / have getting this working as out of the box most thing just don’t work, fortunately I have a Bob and a GingerGeek to assist 🙂
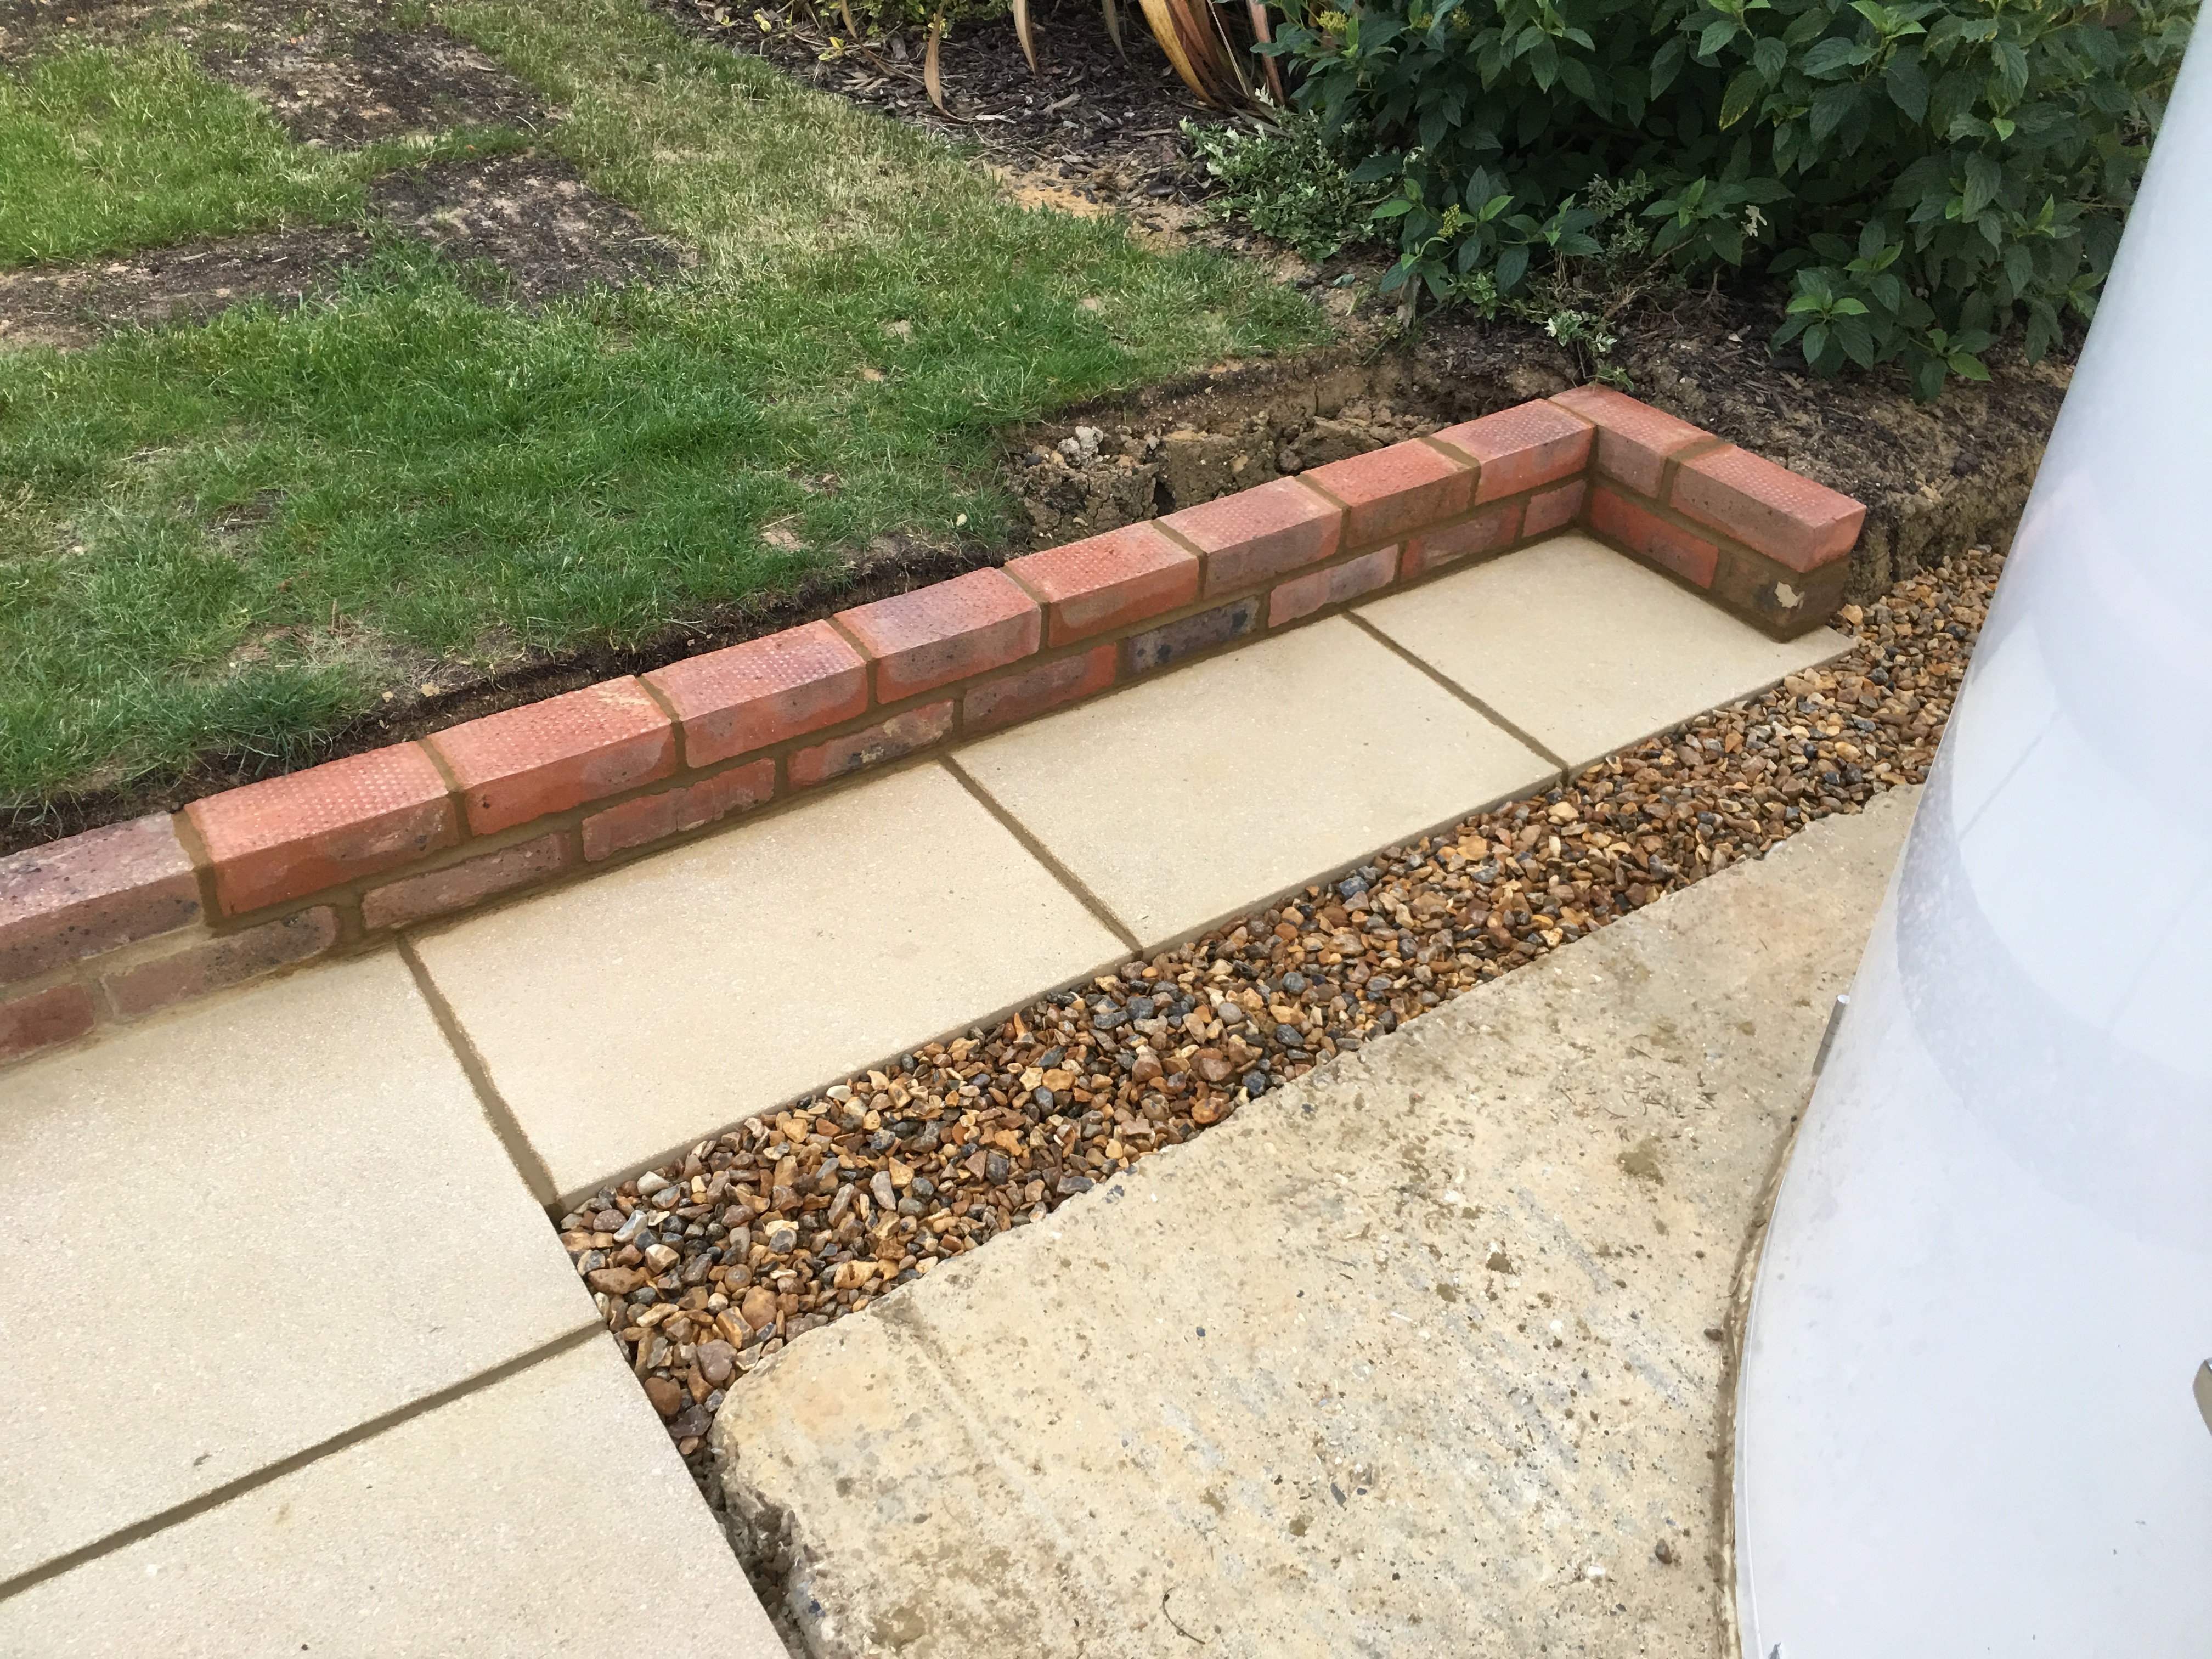
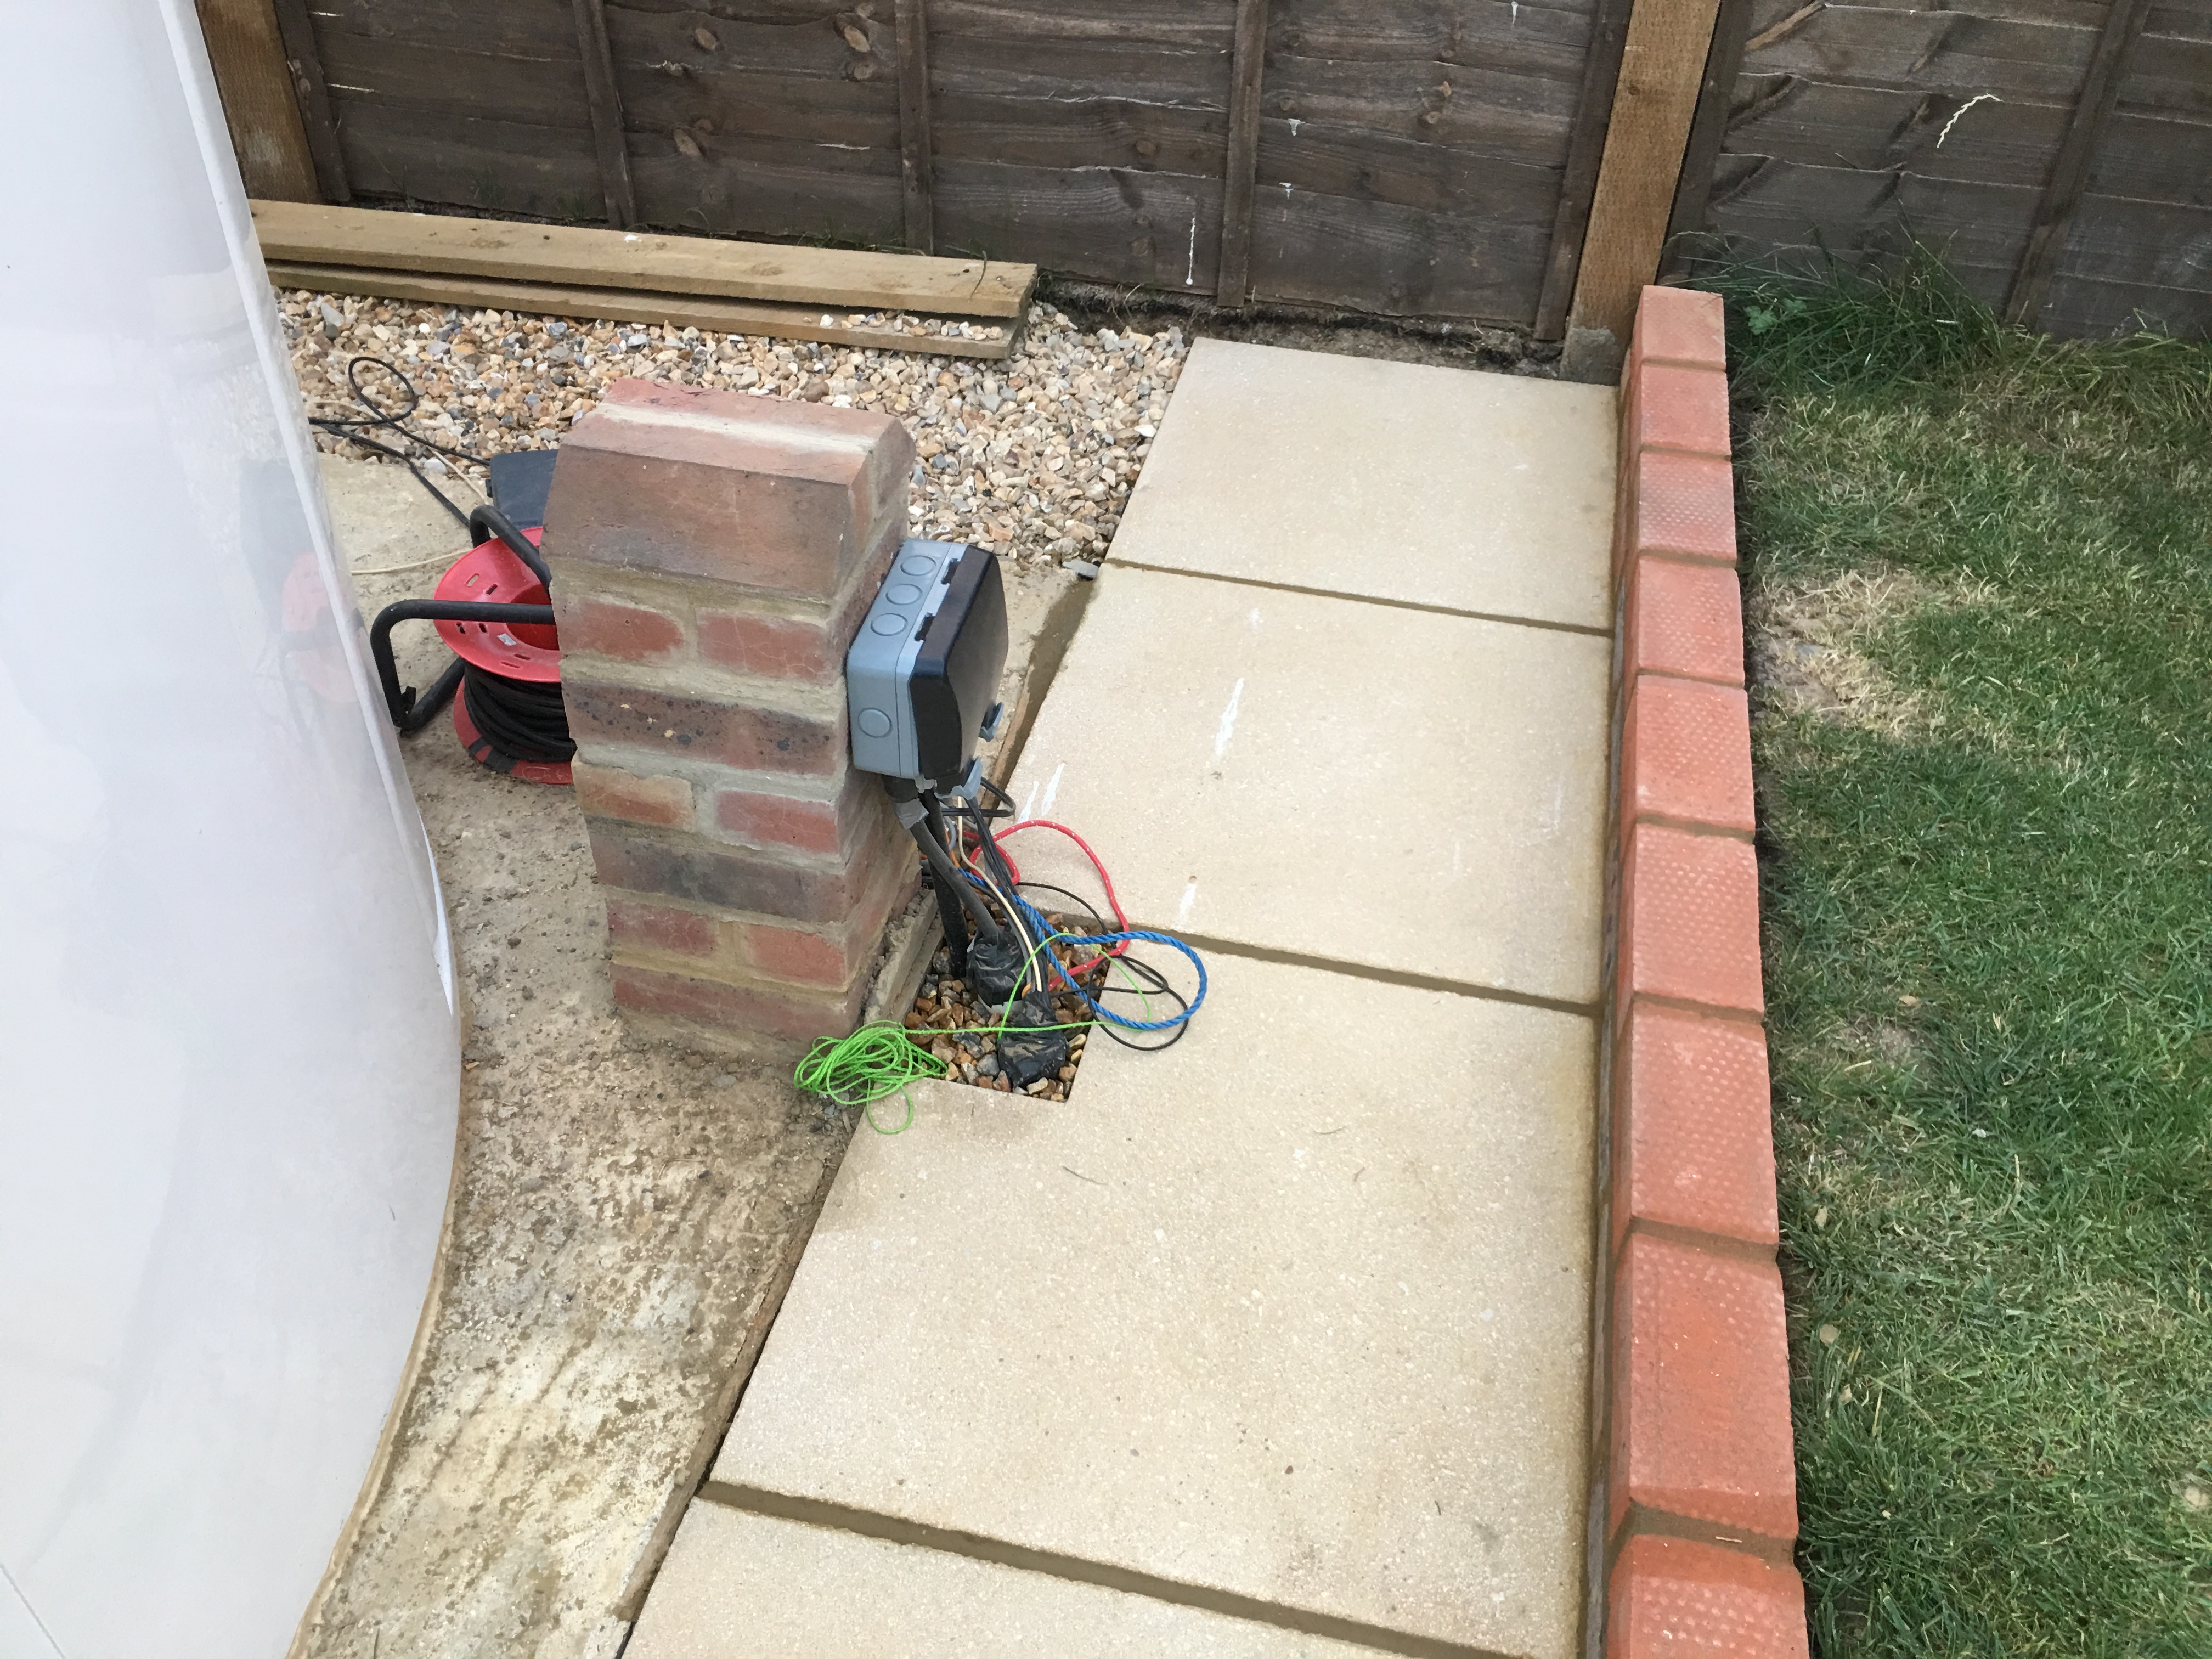
The outside takes shape with the patio being completed next to the french drain and a retaining wall being built, along with a small chimney of bricks to hold the master outside socket for the weather station.
Patio and retaining wall near French drainBrick chimney for outside power
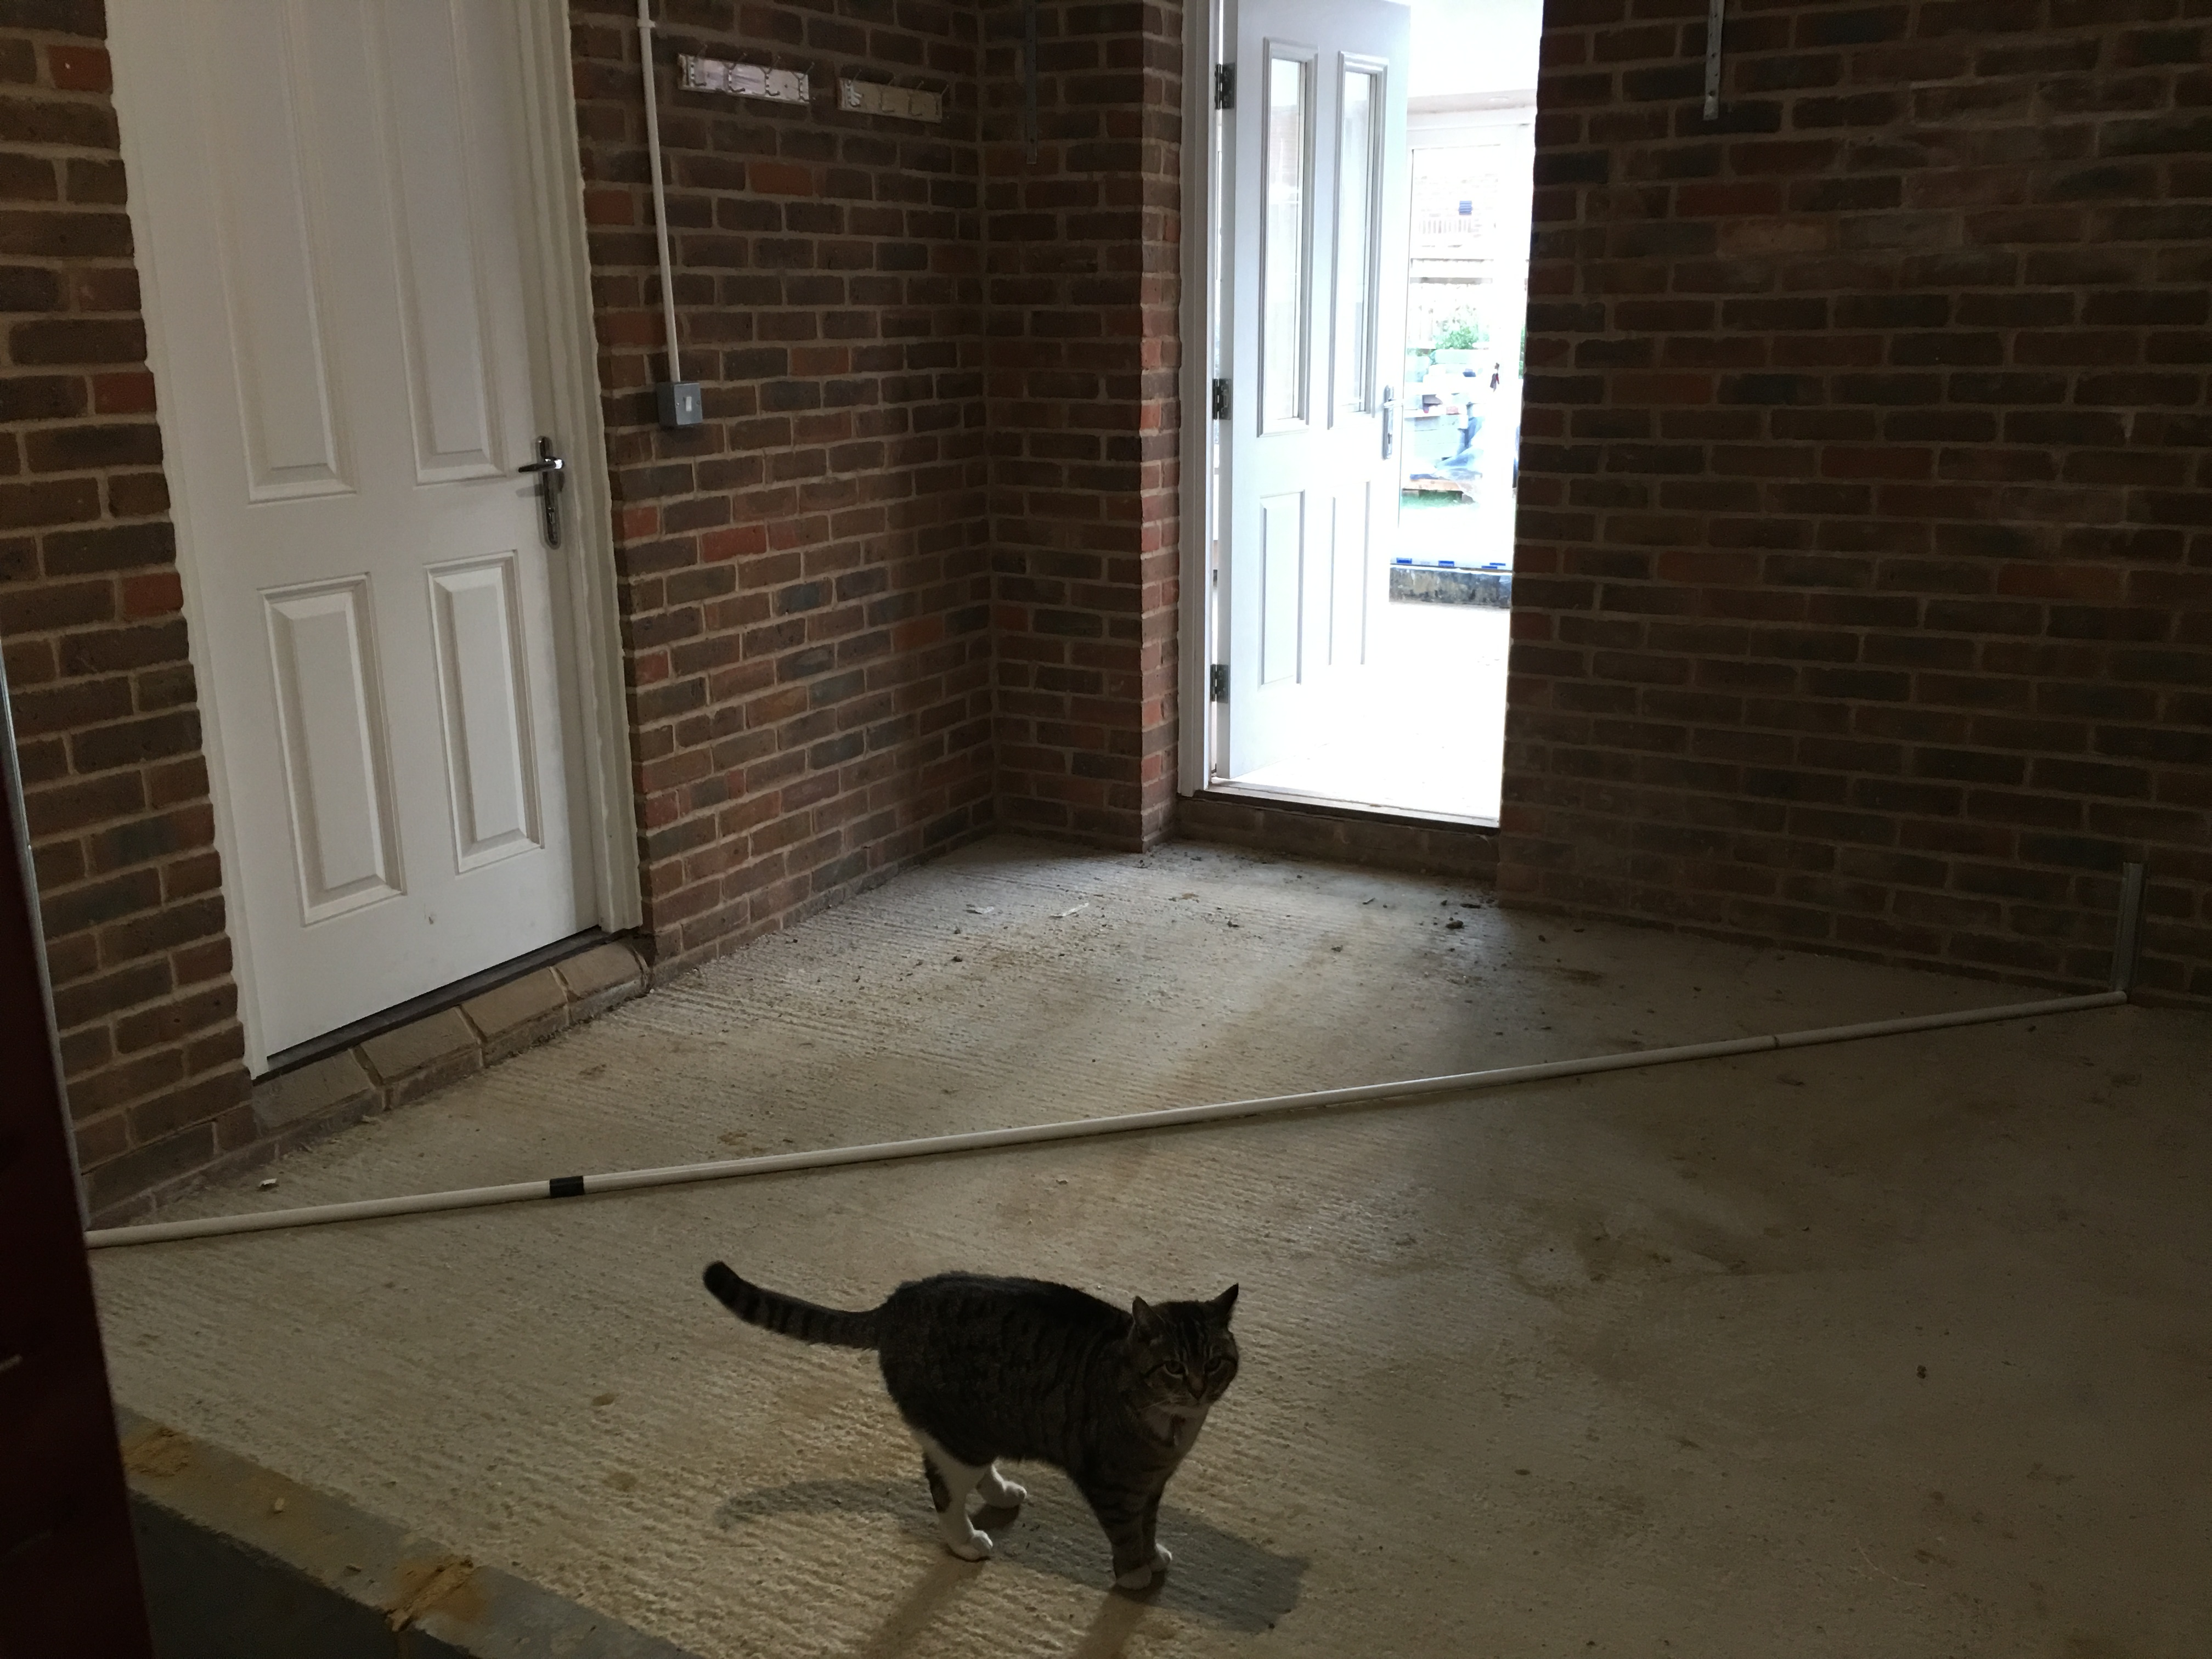
The last few touches have been done to the Orangery and building of a second utility room which helped as it gave me somewhere to run the Cat6 cable from the dome 🙂
Cat 6 cable
Although my cat Fluffy was curious about what it was.
Literally Cat 6 cable 🙂
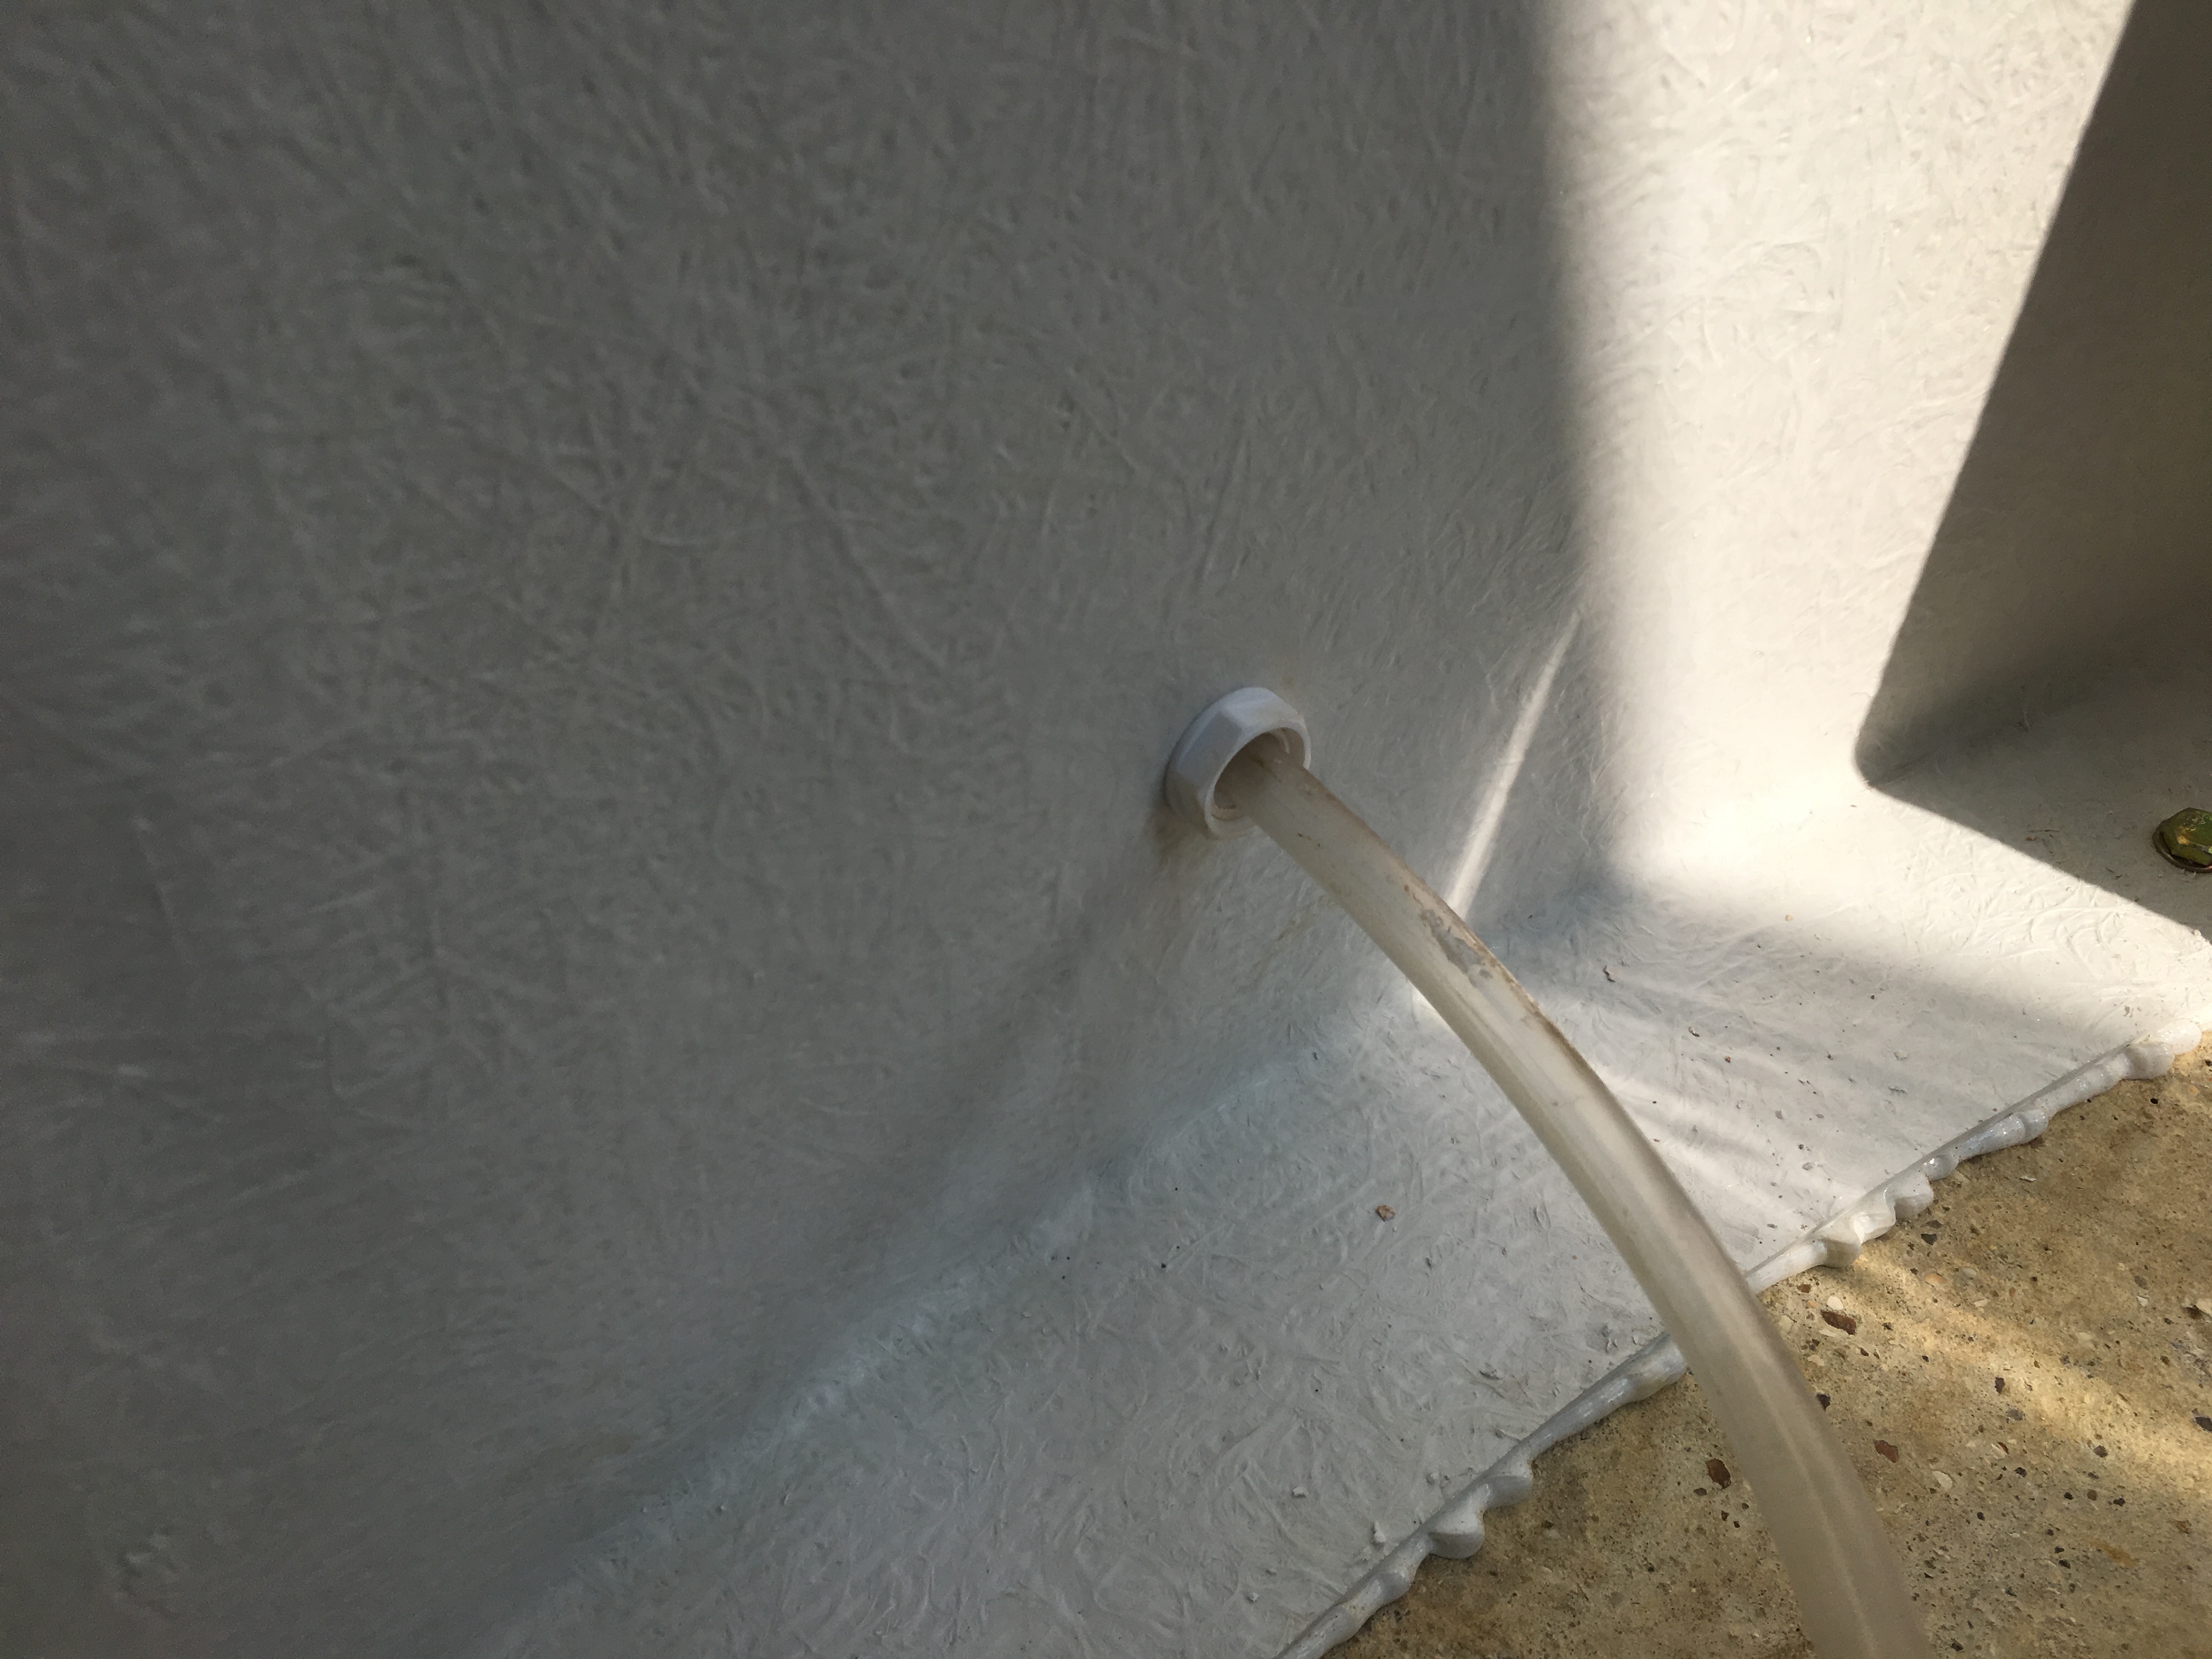
The inside of the dome had the hole drilled and pipe and associated collet fitted for the dehumidifier
Dehumidifier inside connection
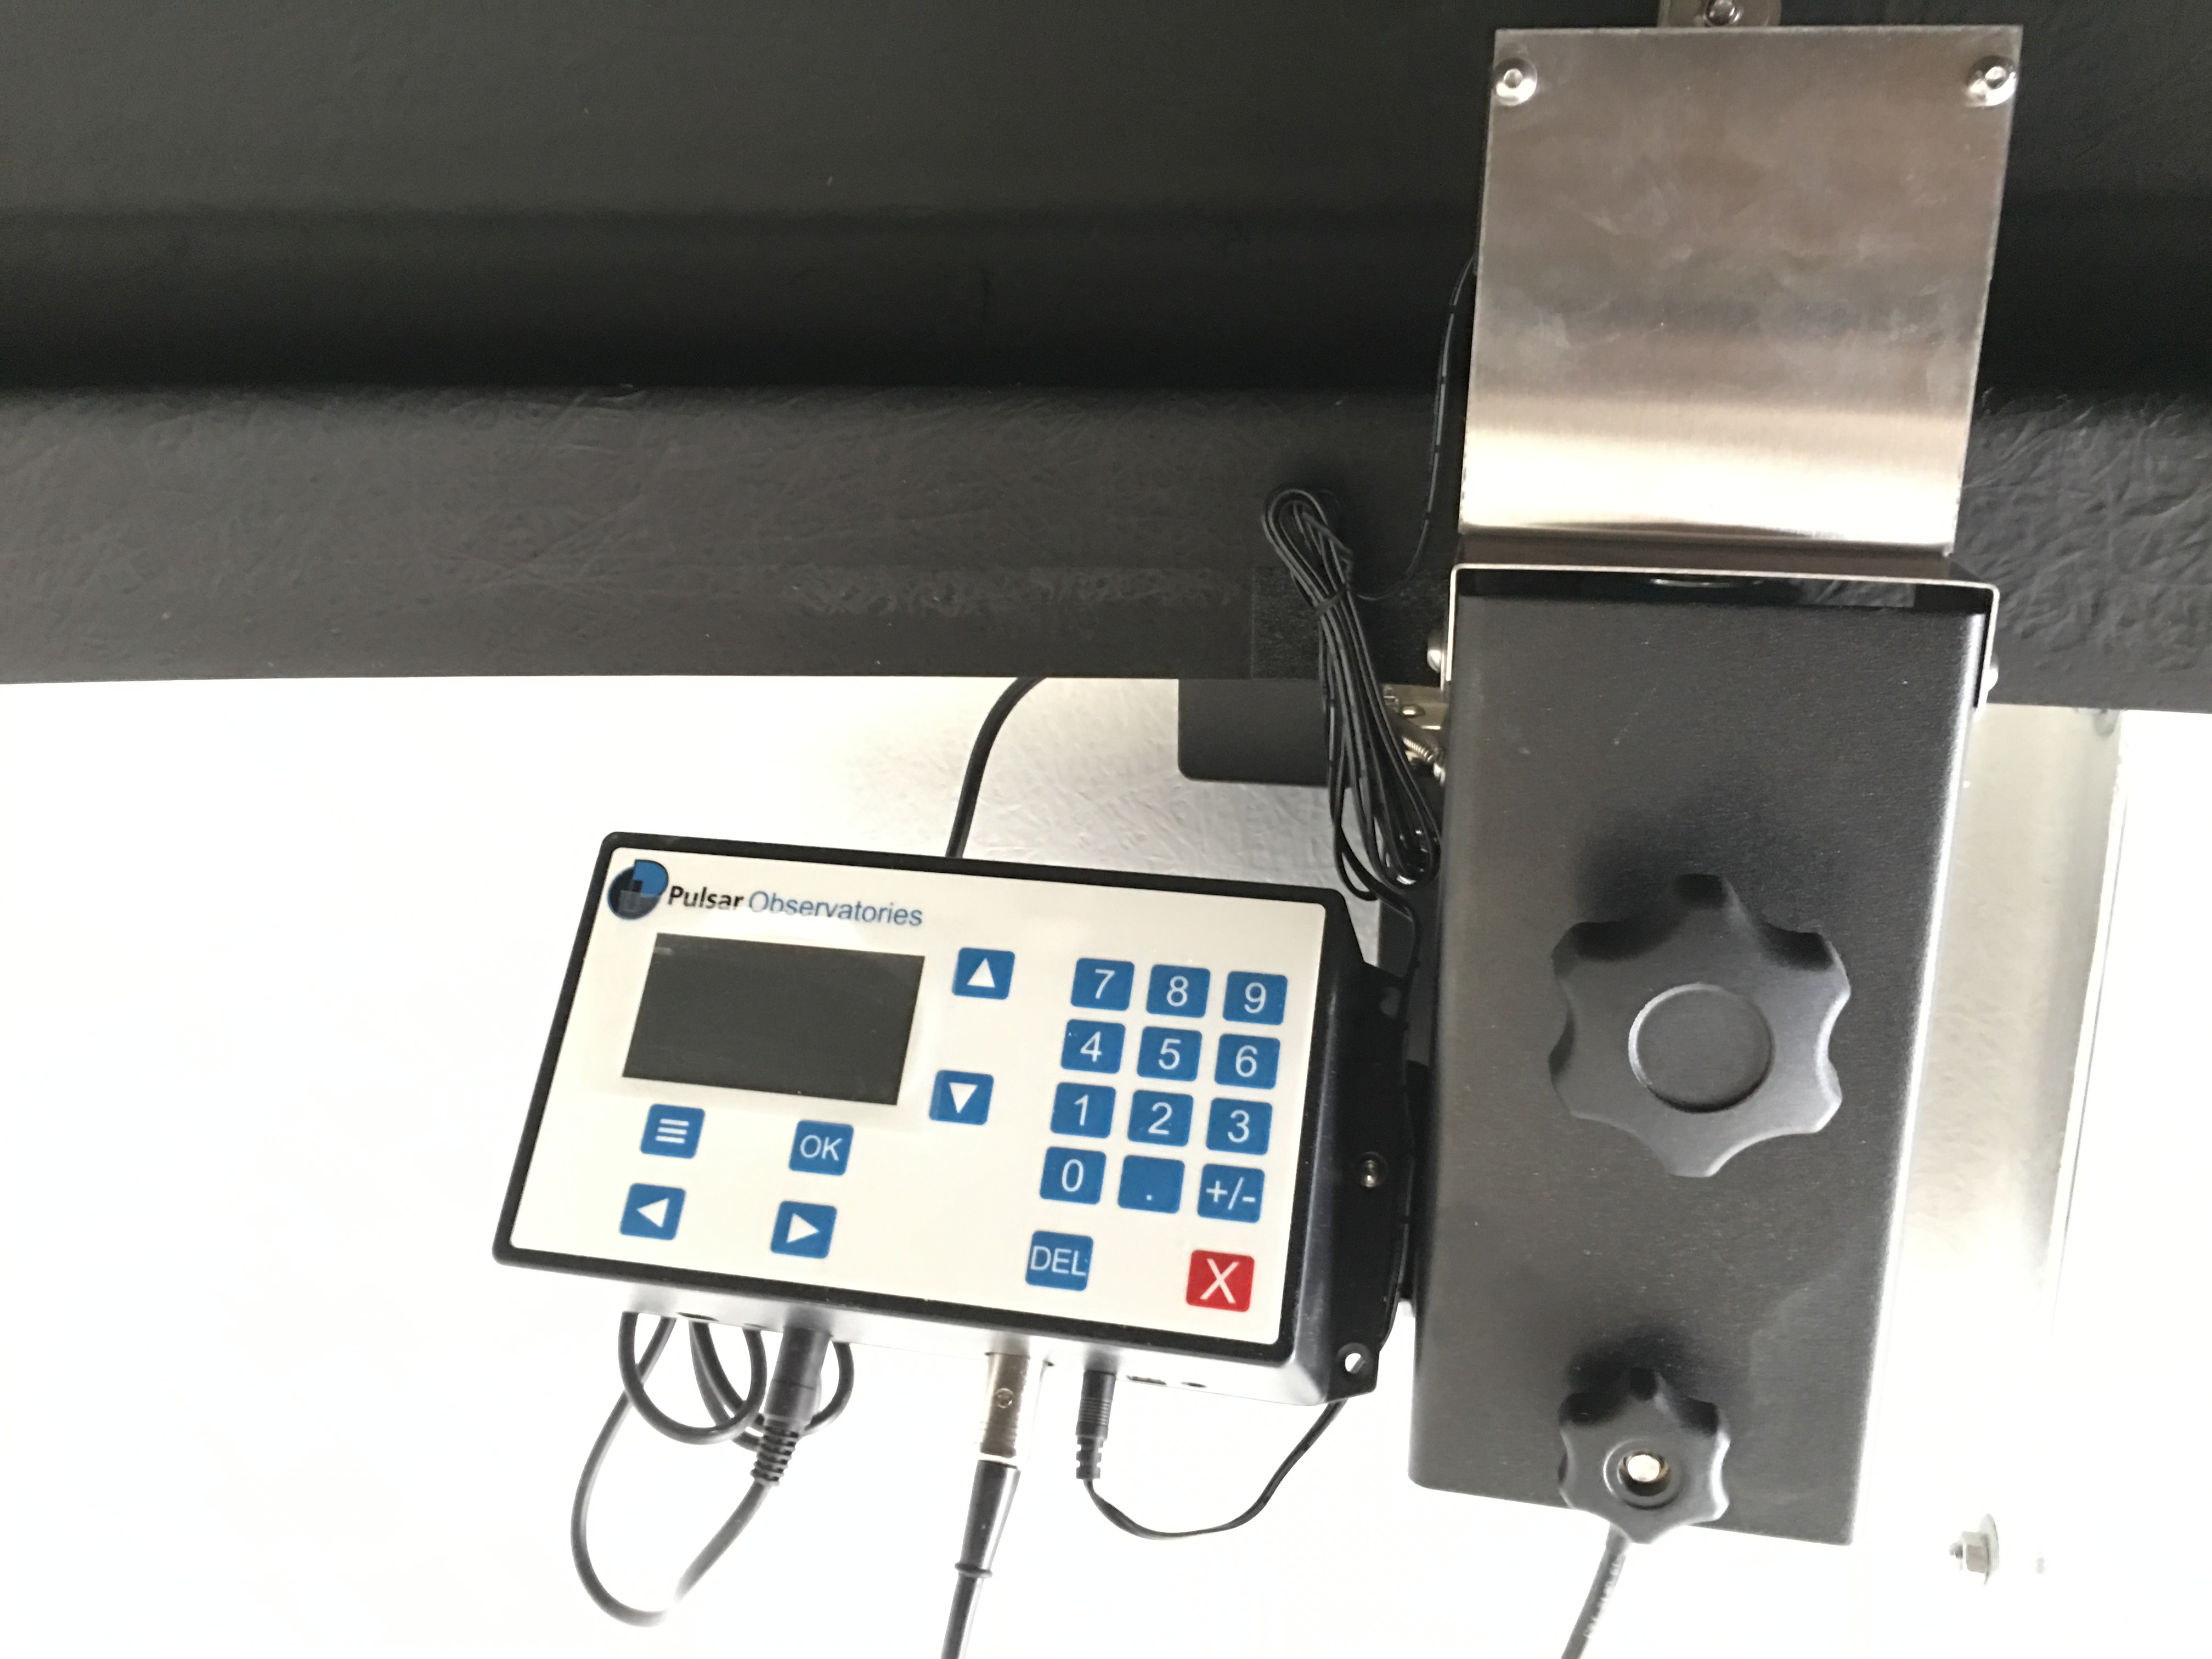
The dome controller fitted with the install from Pulsar sits above the electric supply as planned. The adjustment knobs for the dome rotation drive can also be seen. They did need adjusting and finally settled down after the dome slipped in various places. The only remaining issue that I may never fix is the gaps in-between the sections of the dome, when they go over the role they cause the dome to drop, judder and make a noise, really they should be tightly fitted, filled and taped.
Dome controller and rotation adjustment
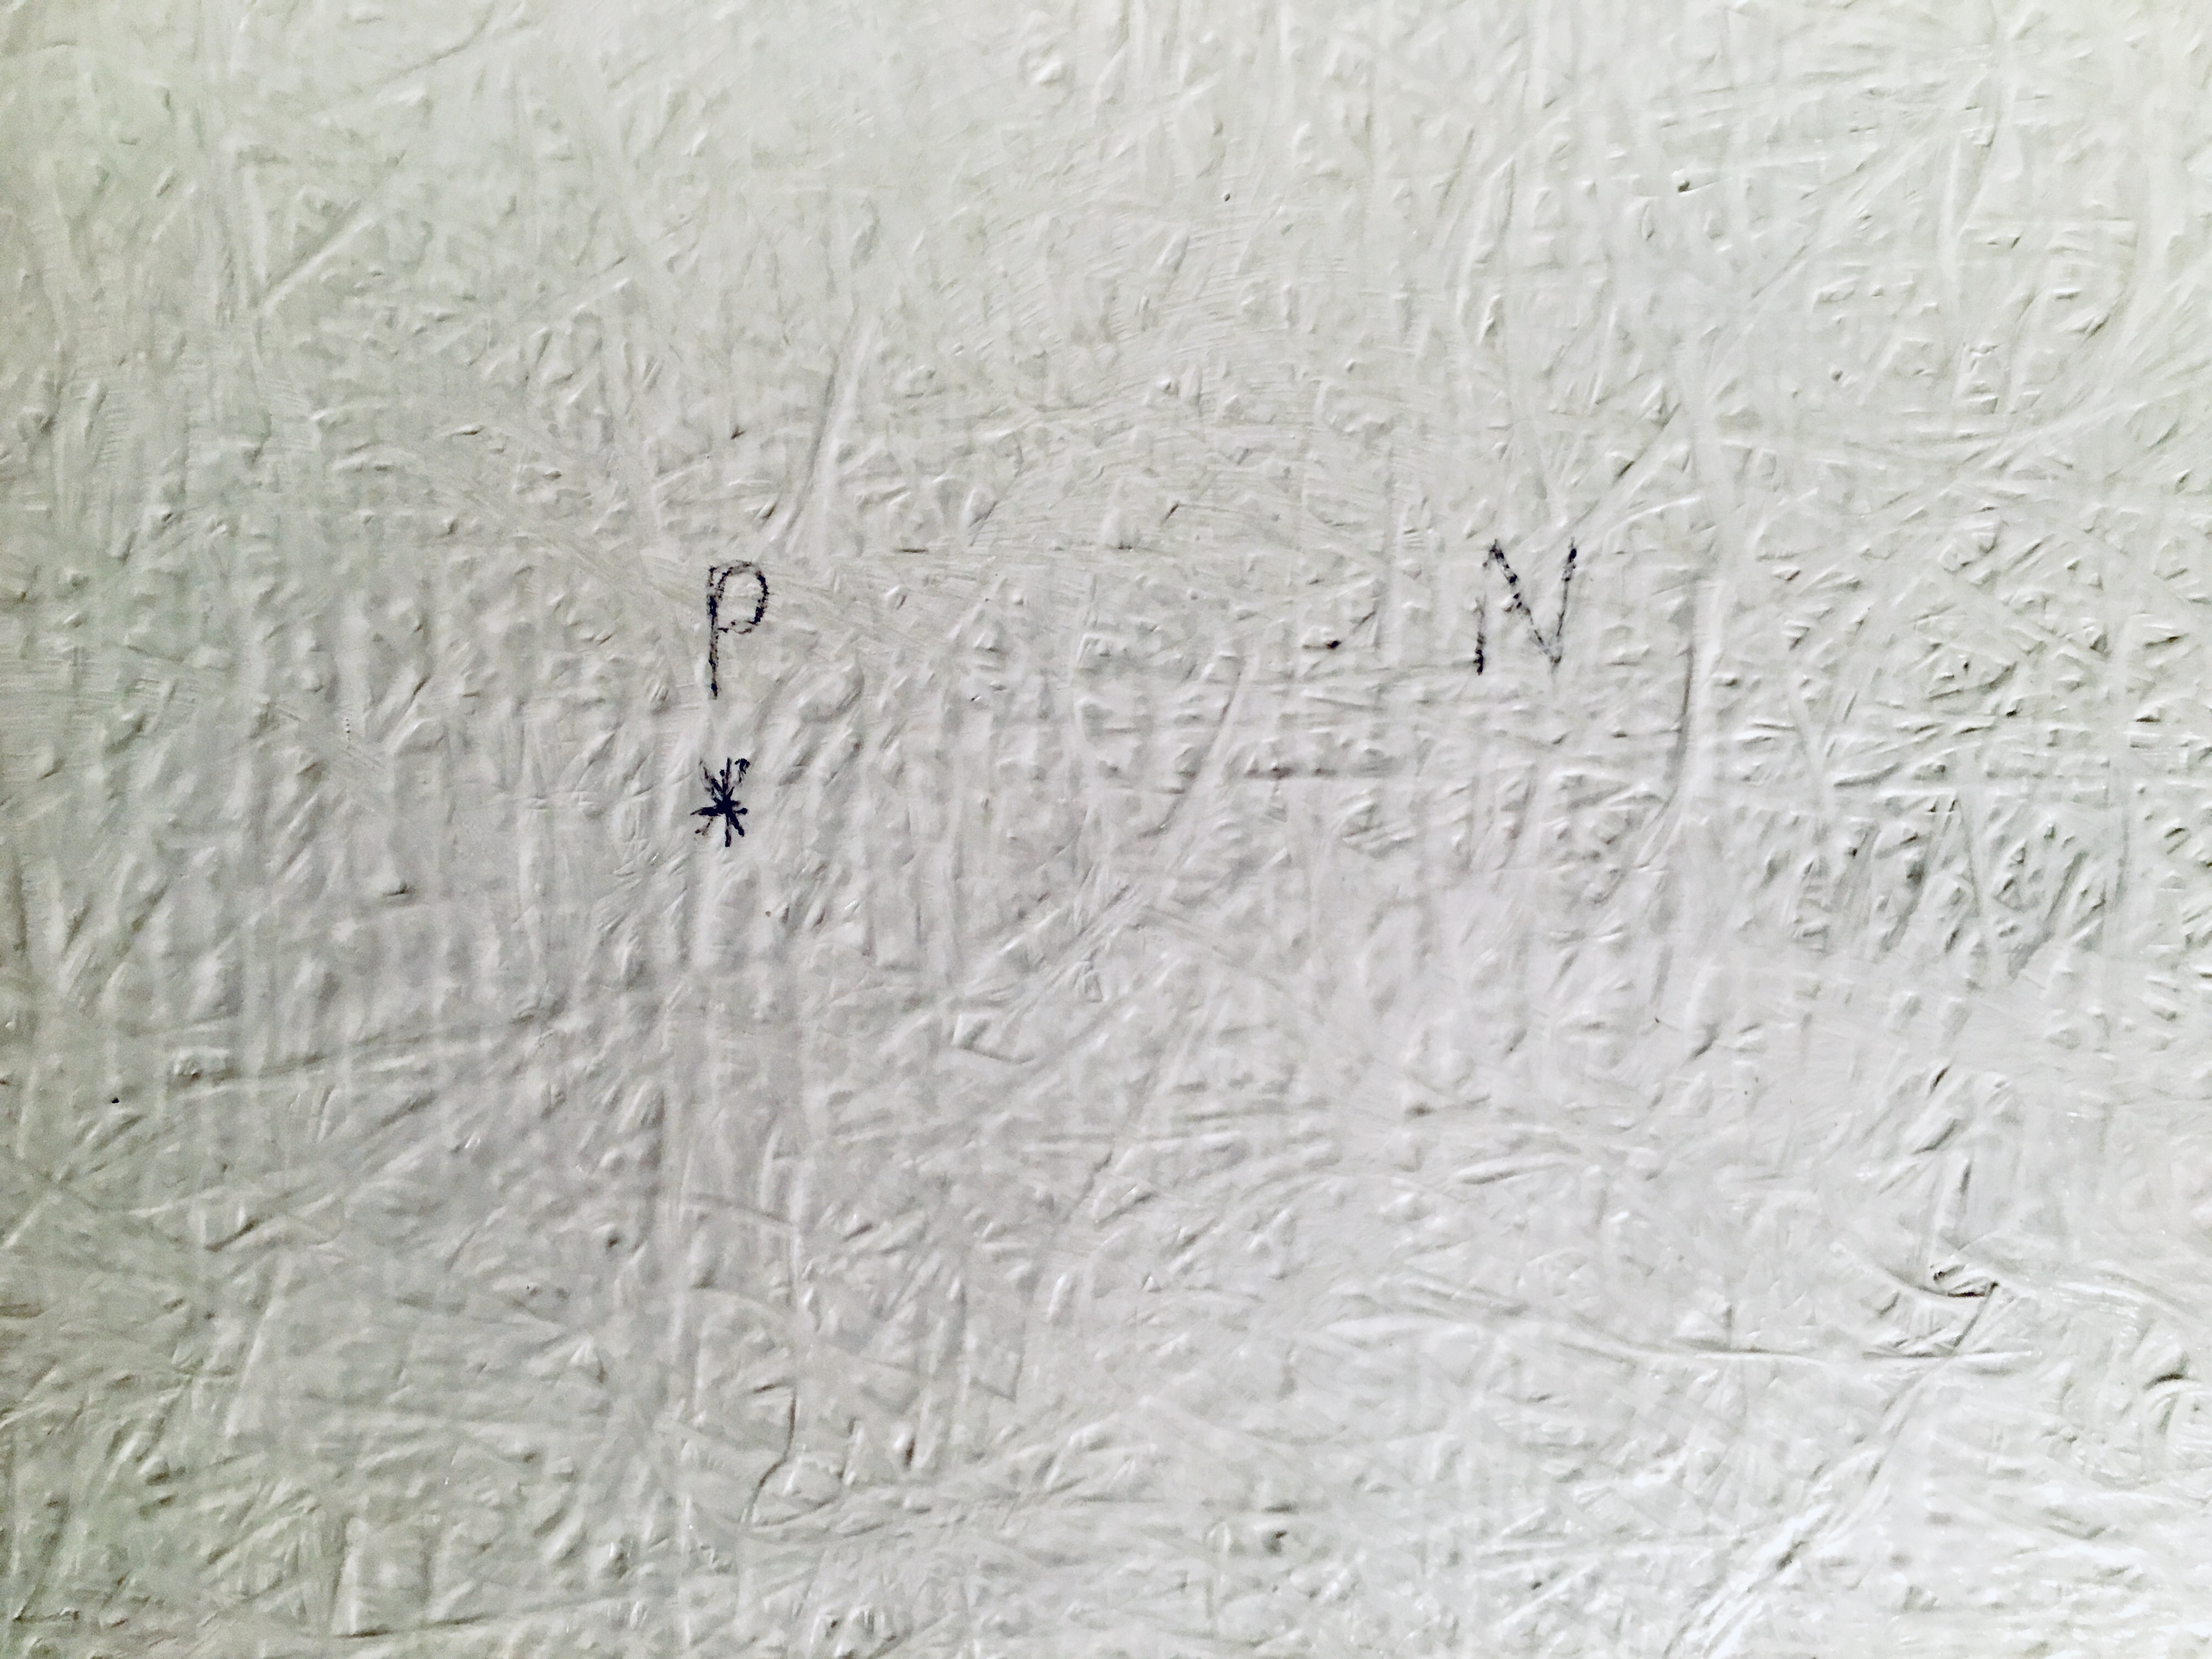
During the night I rotated the dome to the various positions around the sky to map, North, East, South and West and included the offset to Polaris as can be seen below.
North and Polar North
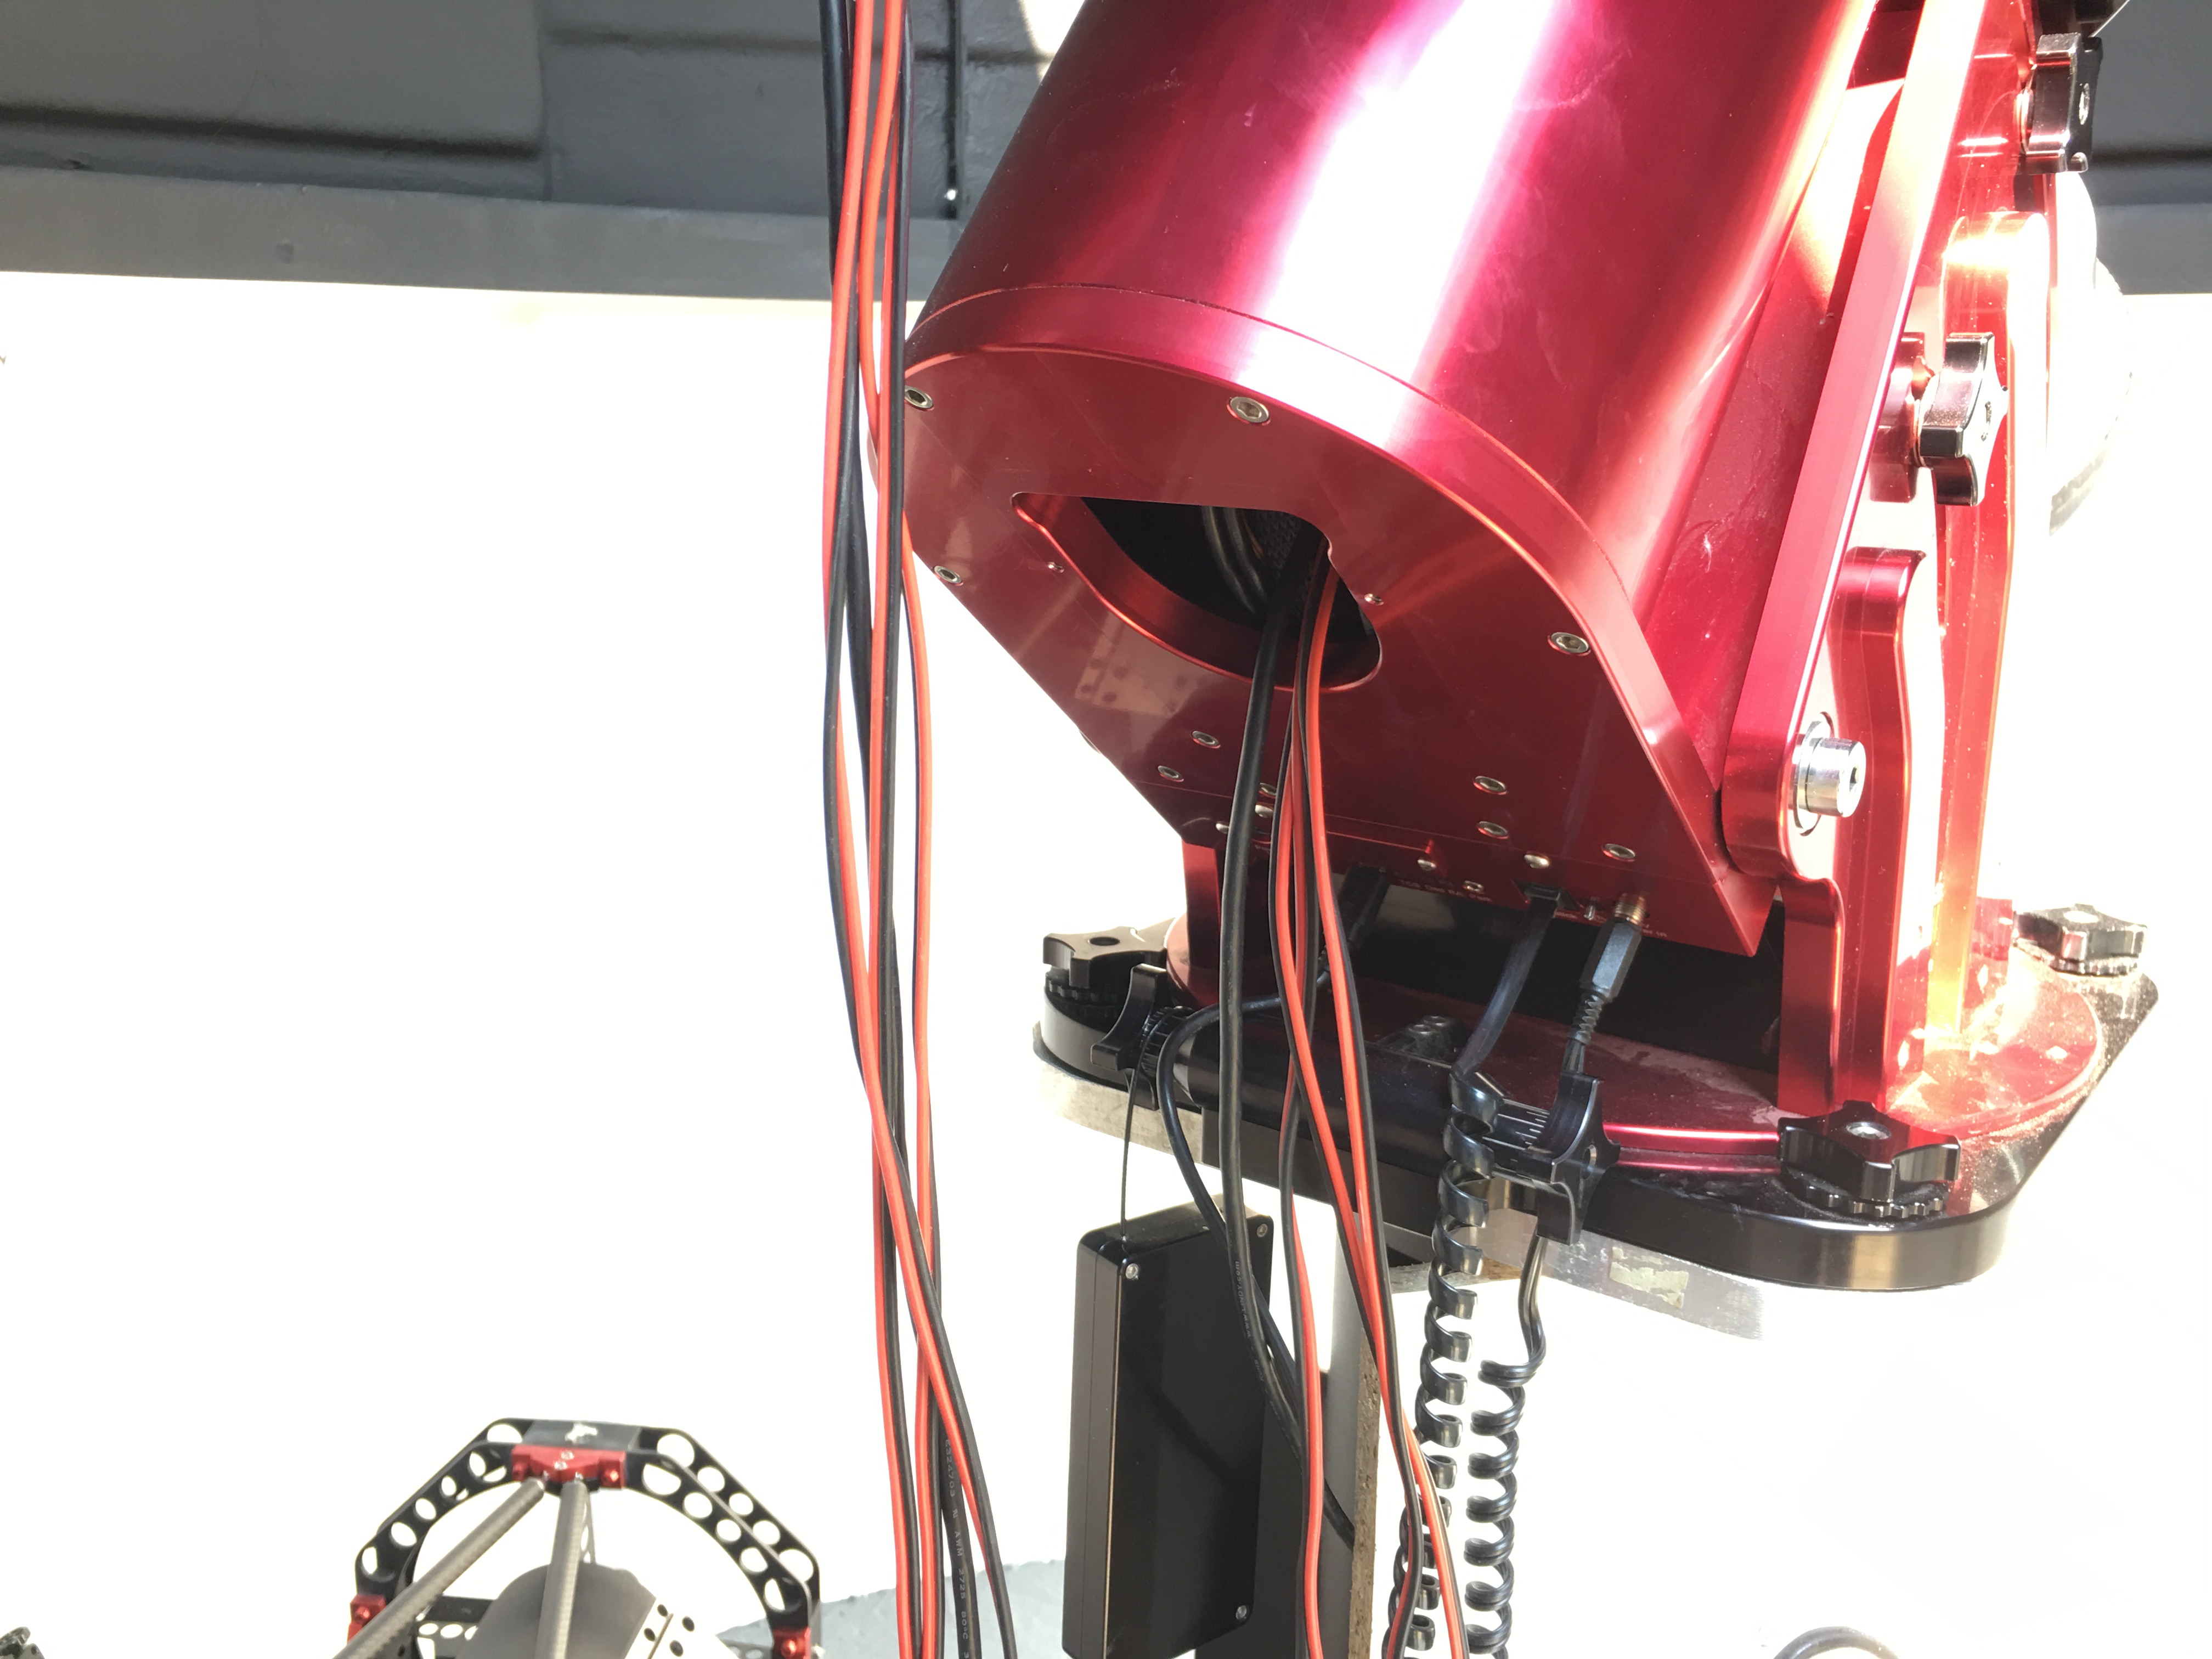
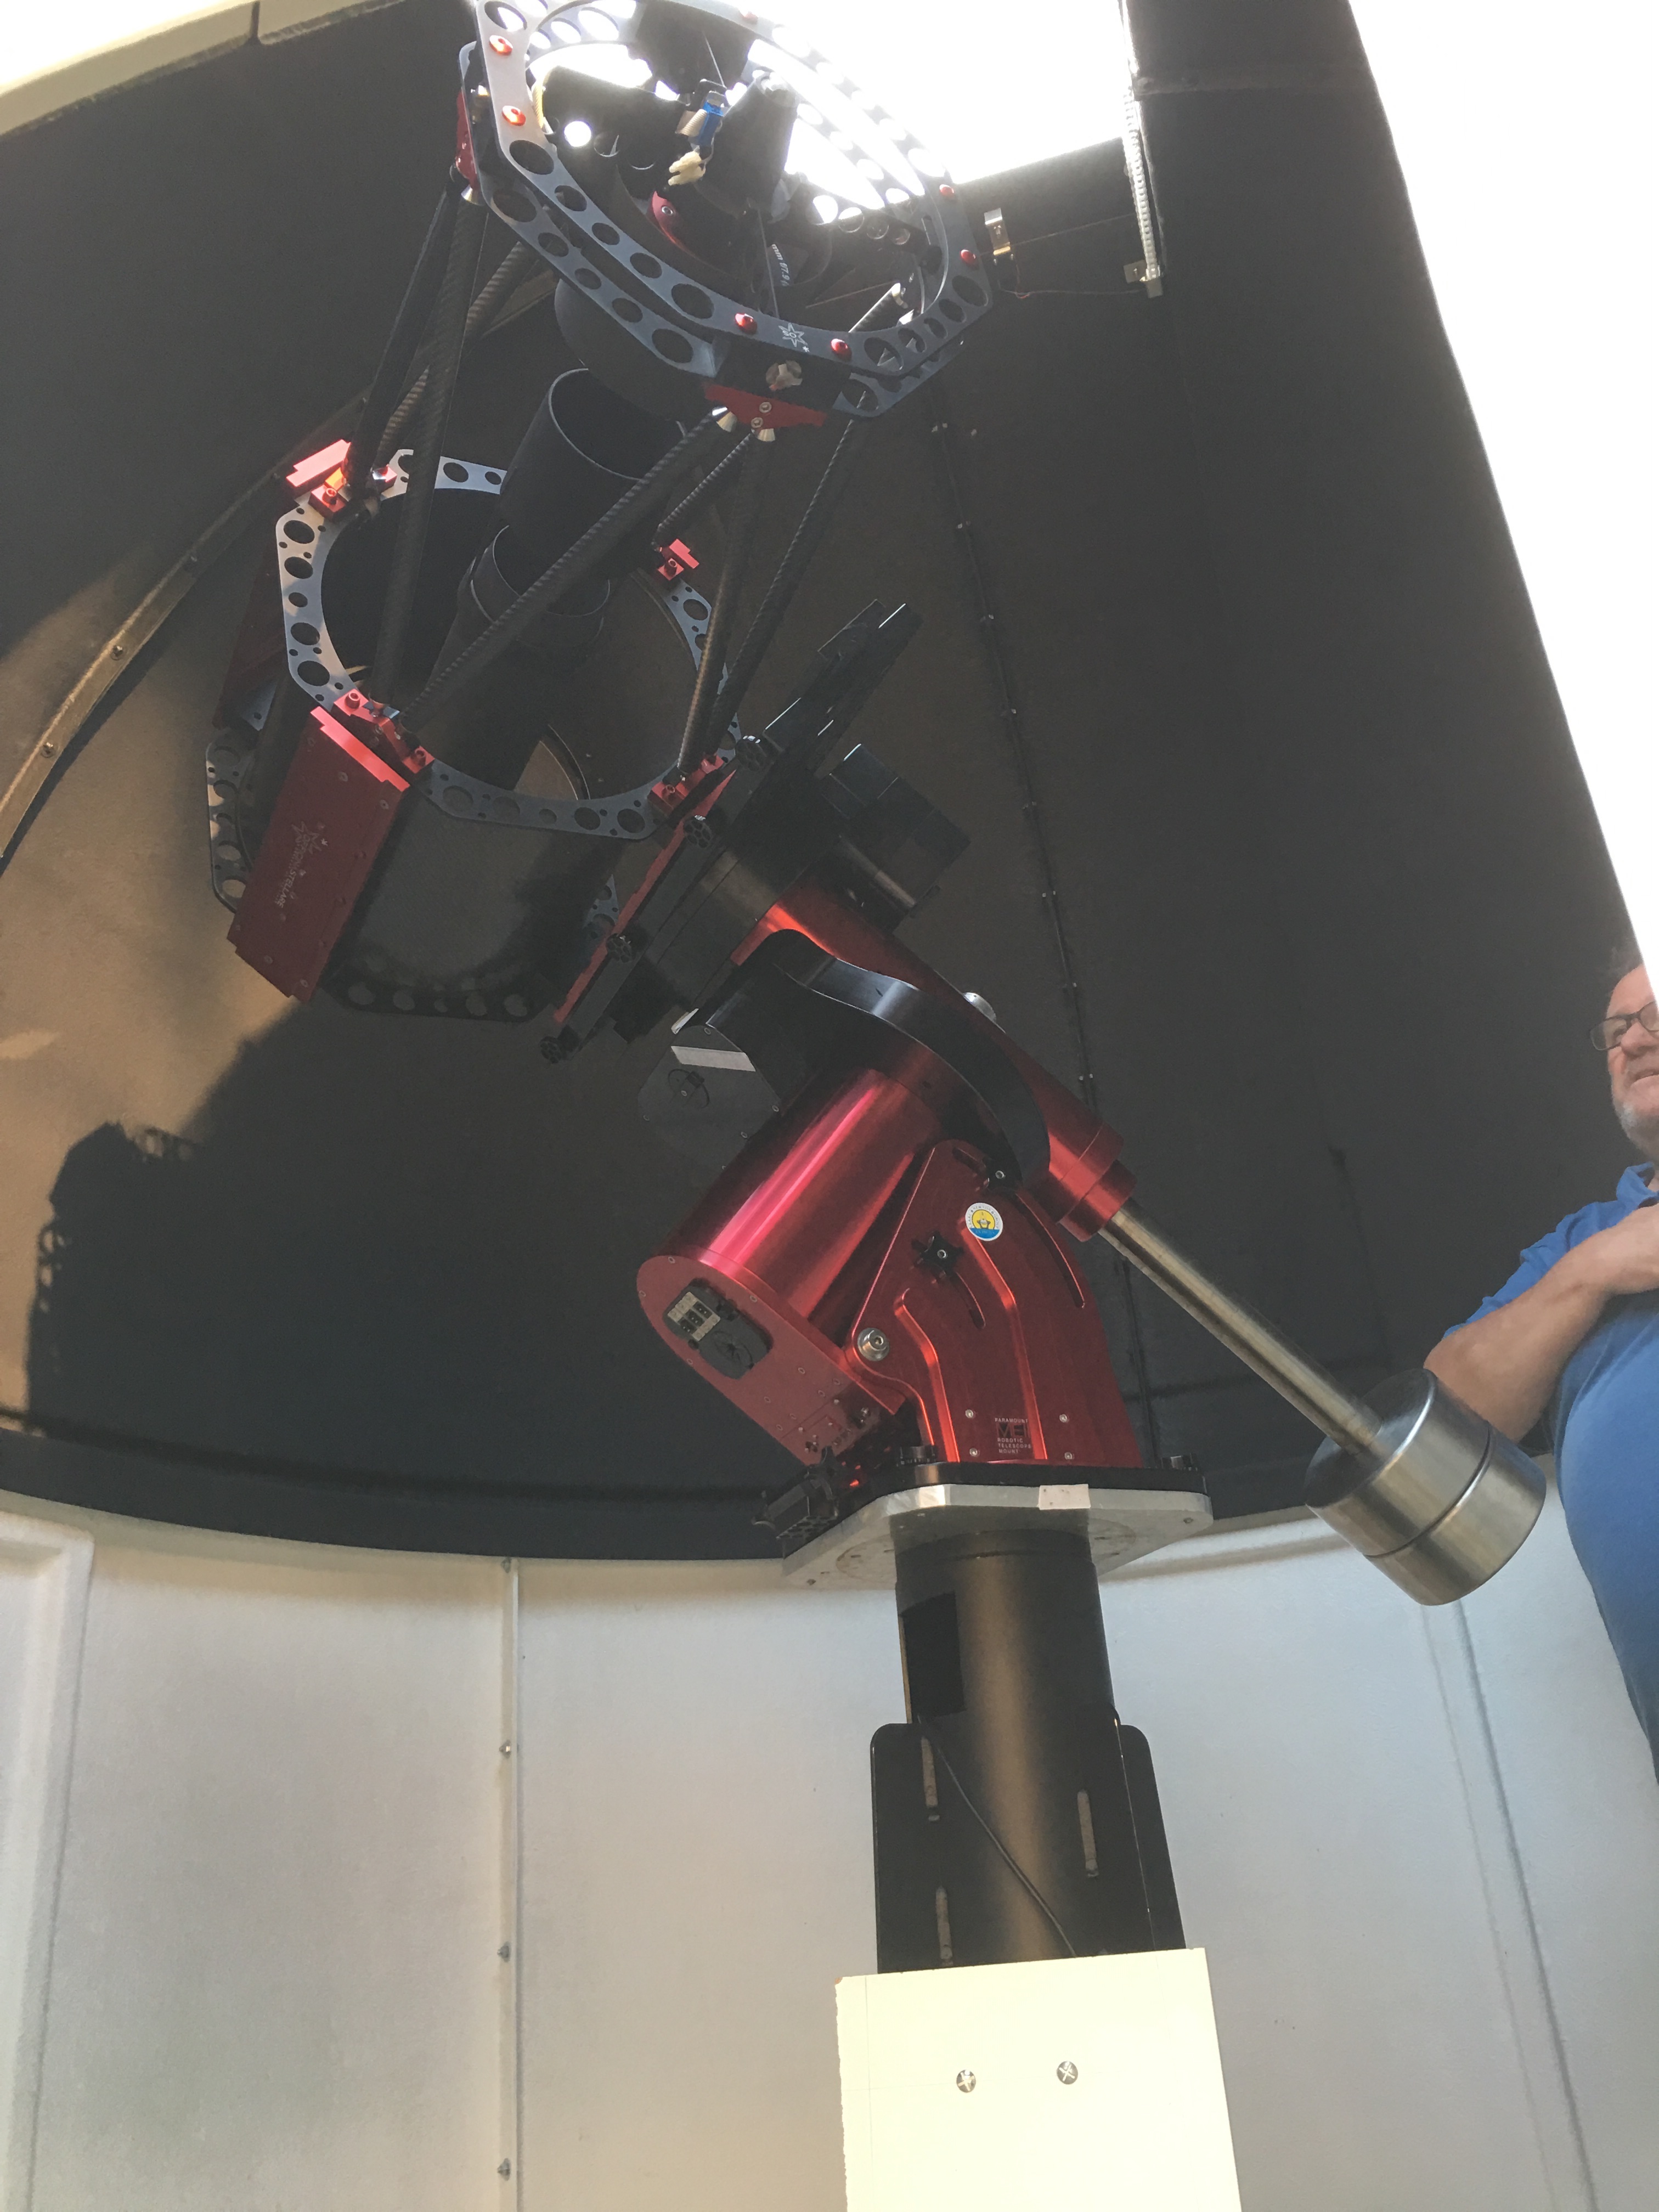
With most of the ancillary work now done attention turned to installing the mount and the OTAs. First the Paramount ME II had to be fitted with three people in assistance to lifting. Once in place the placement and threading of cables through the mount had to take place, it always amazes me how many cables are needed to do astronomy!
MEII fitted with thru the mount cabling
The top end of the mount shows the Versa-Plate missing so that the cable can be pulled through. Several power cables and a master USB cable were fitted.
Top of ME II without Versa-Plate
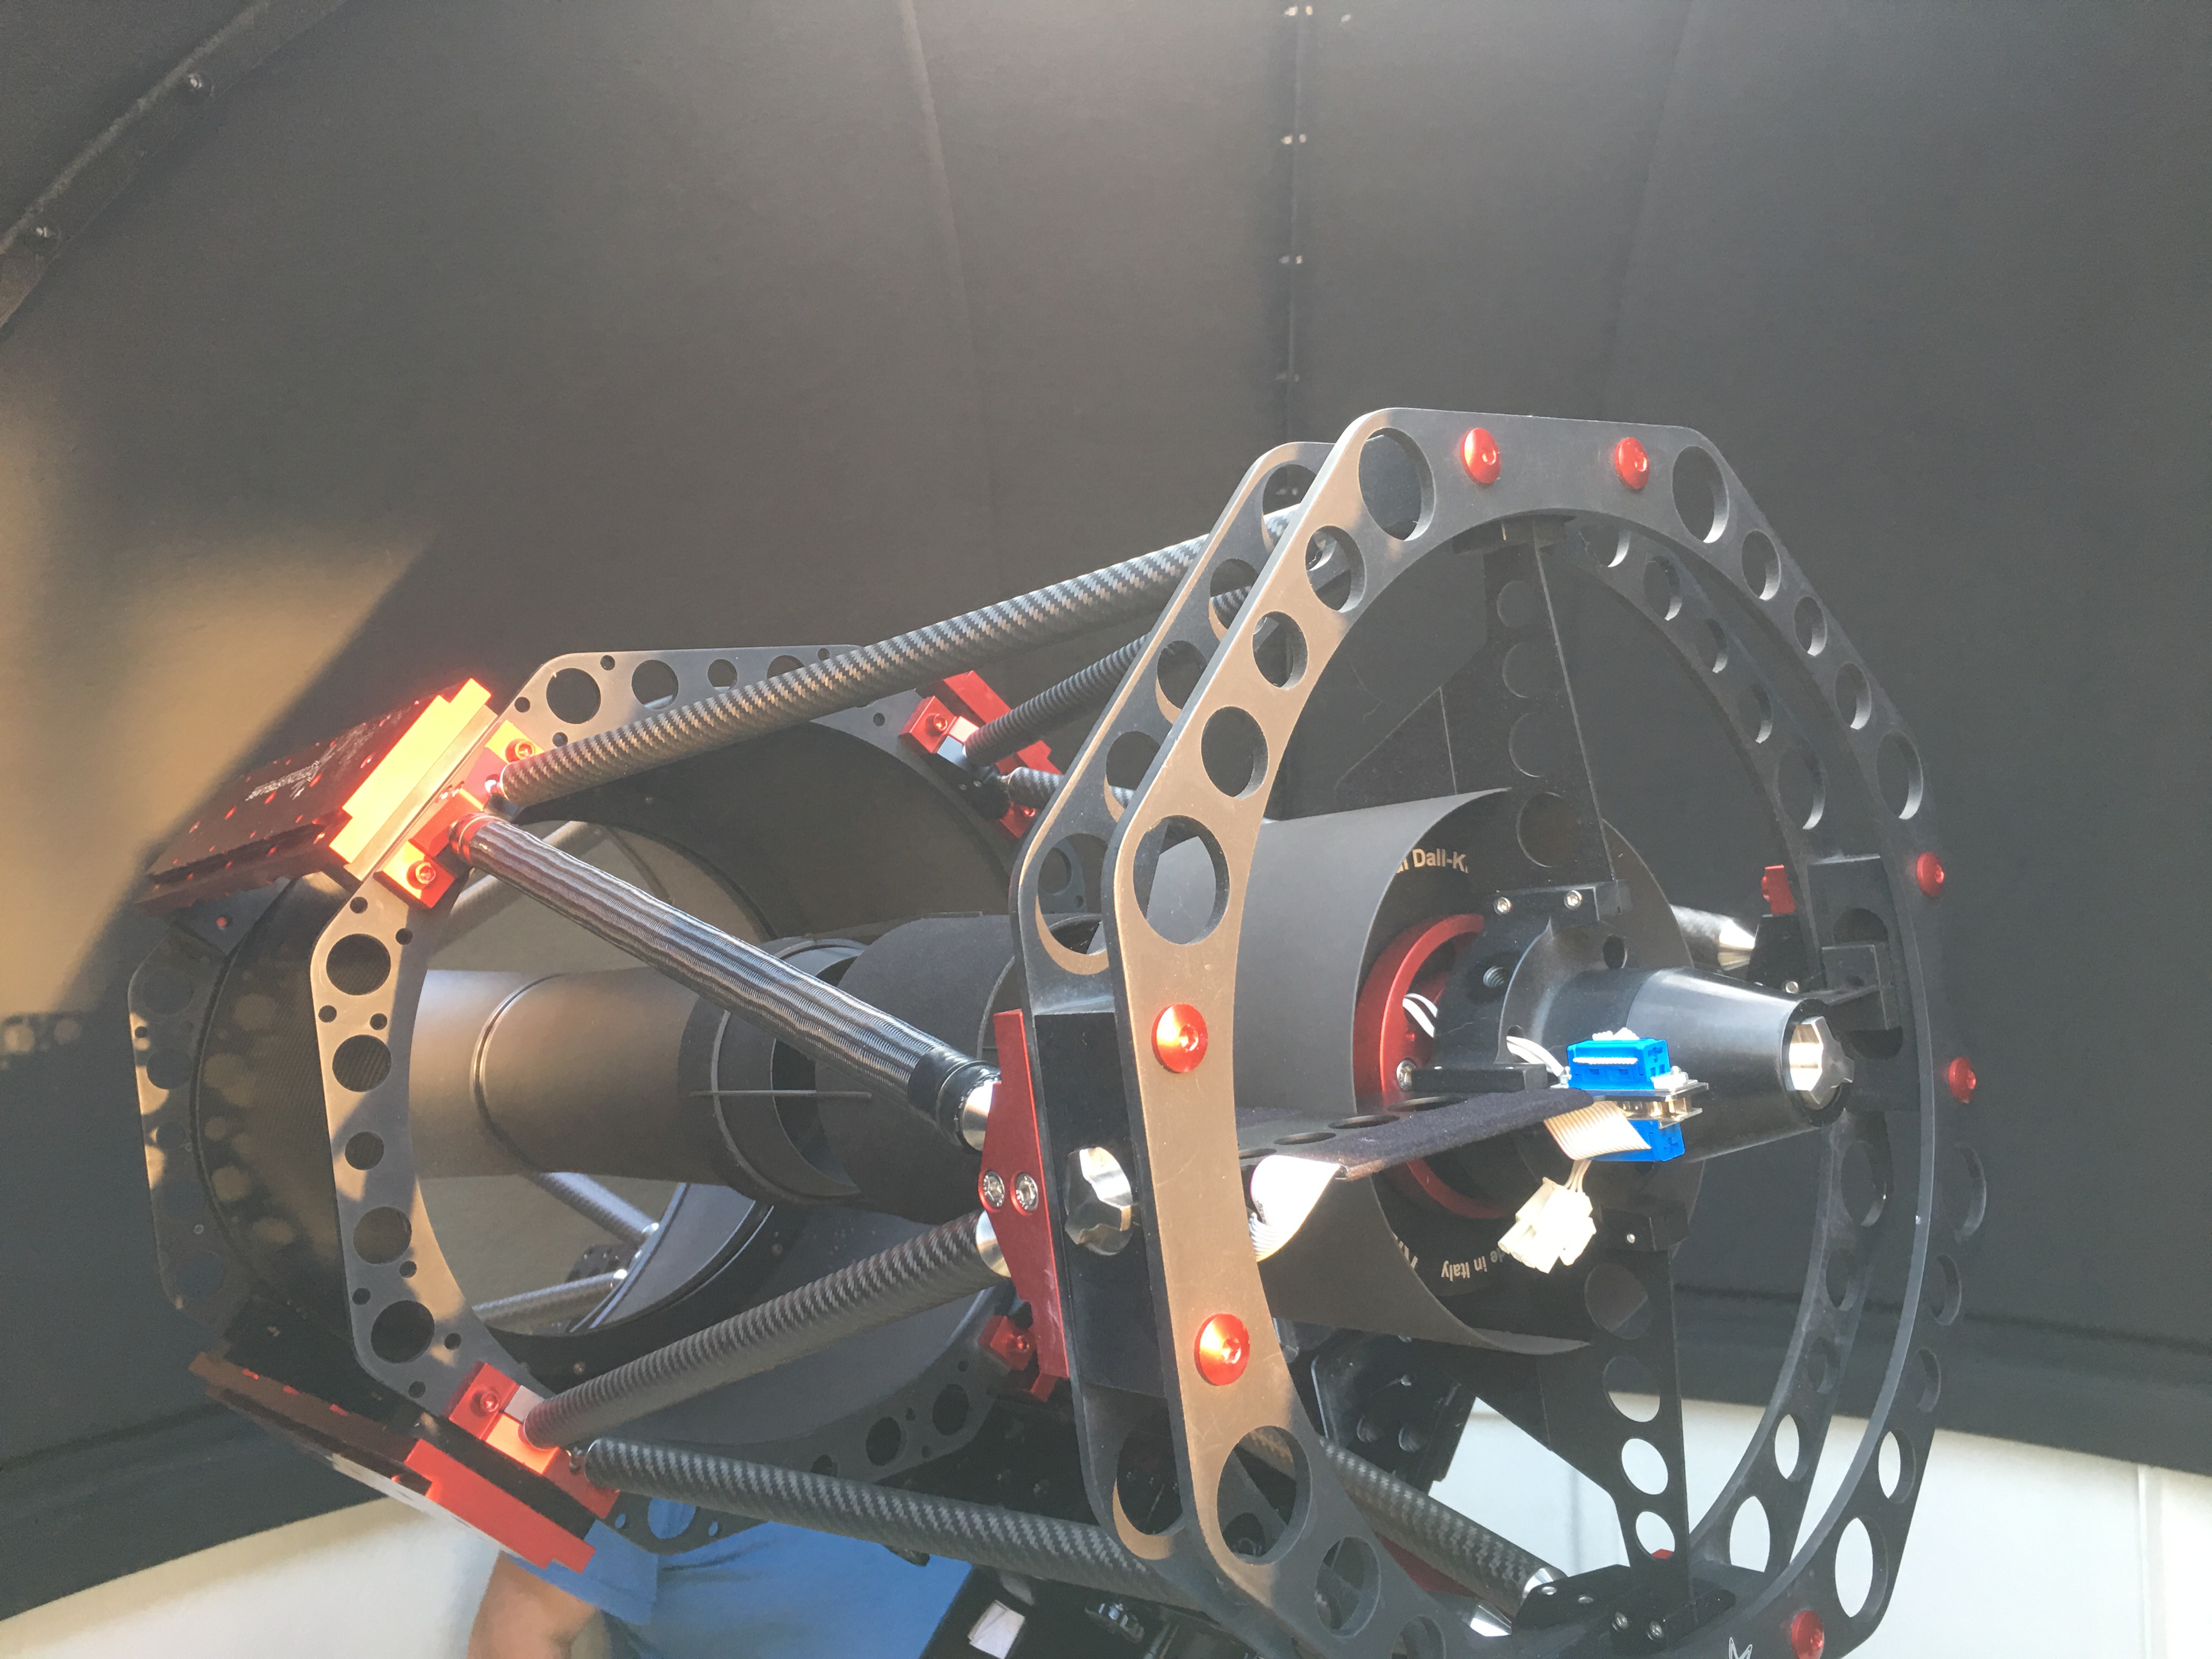
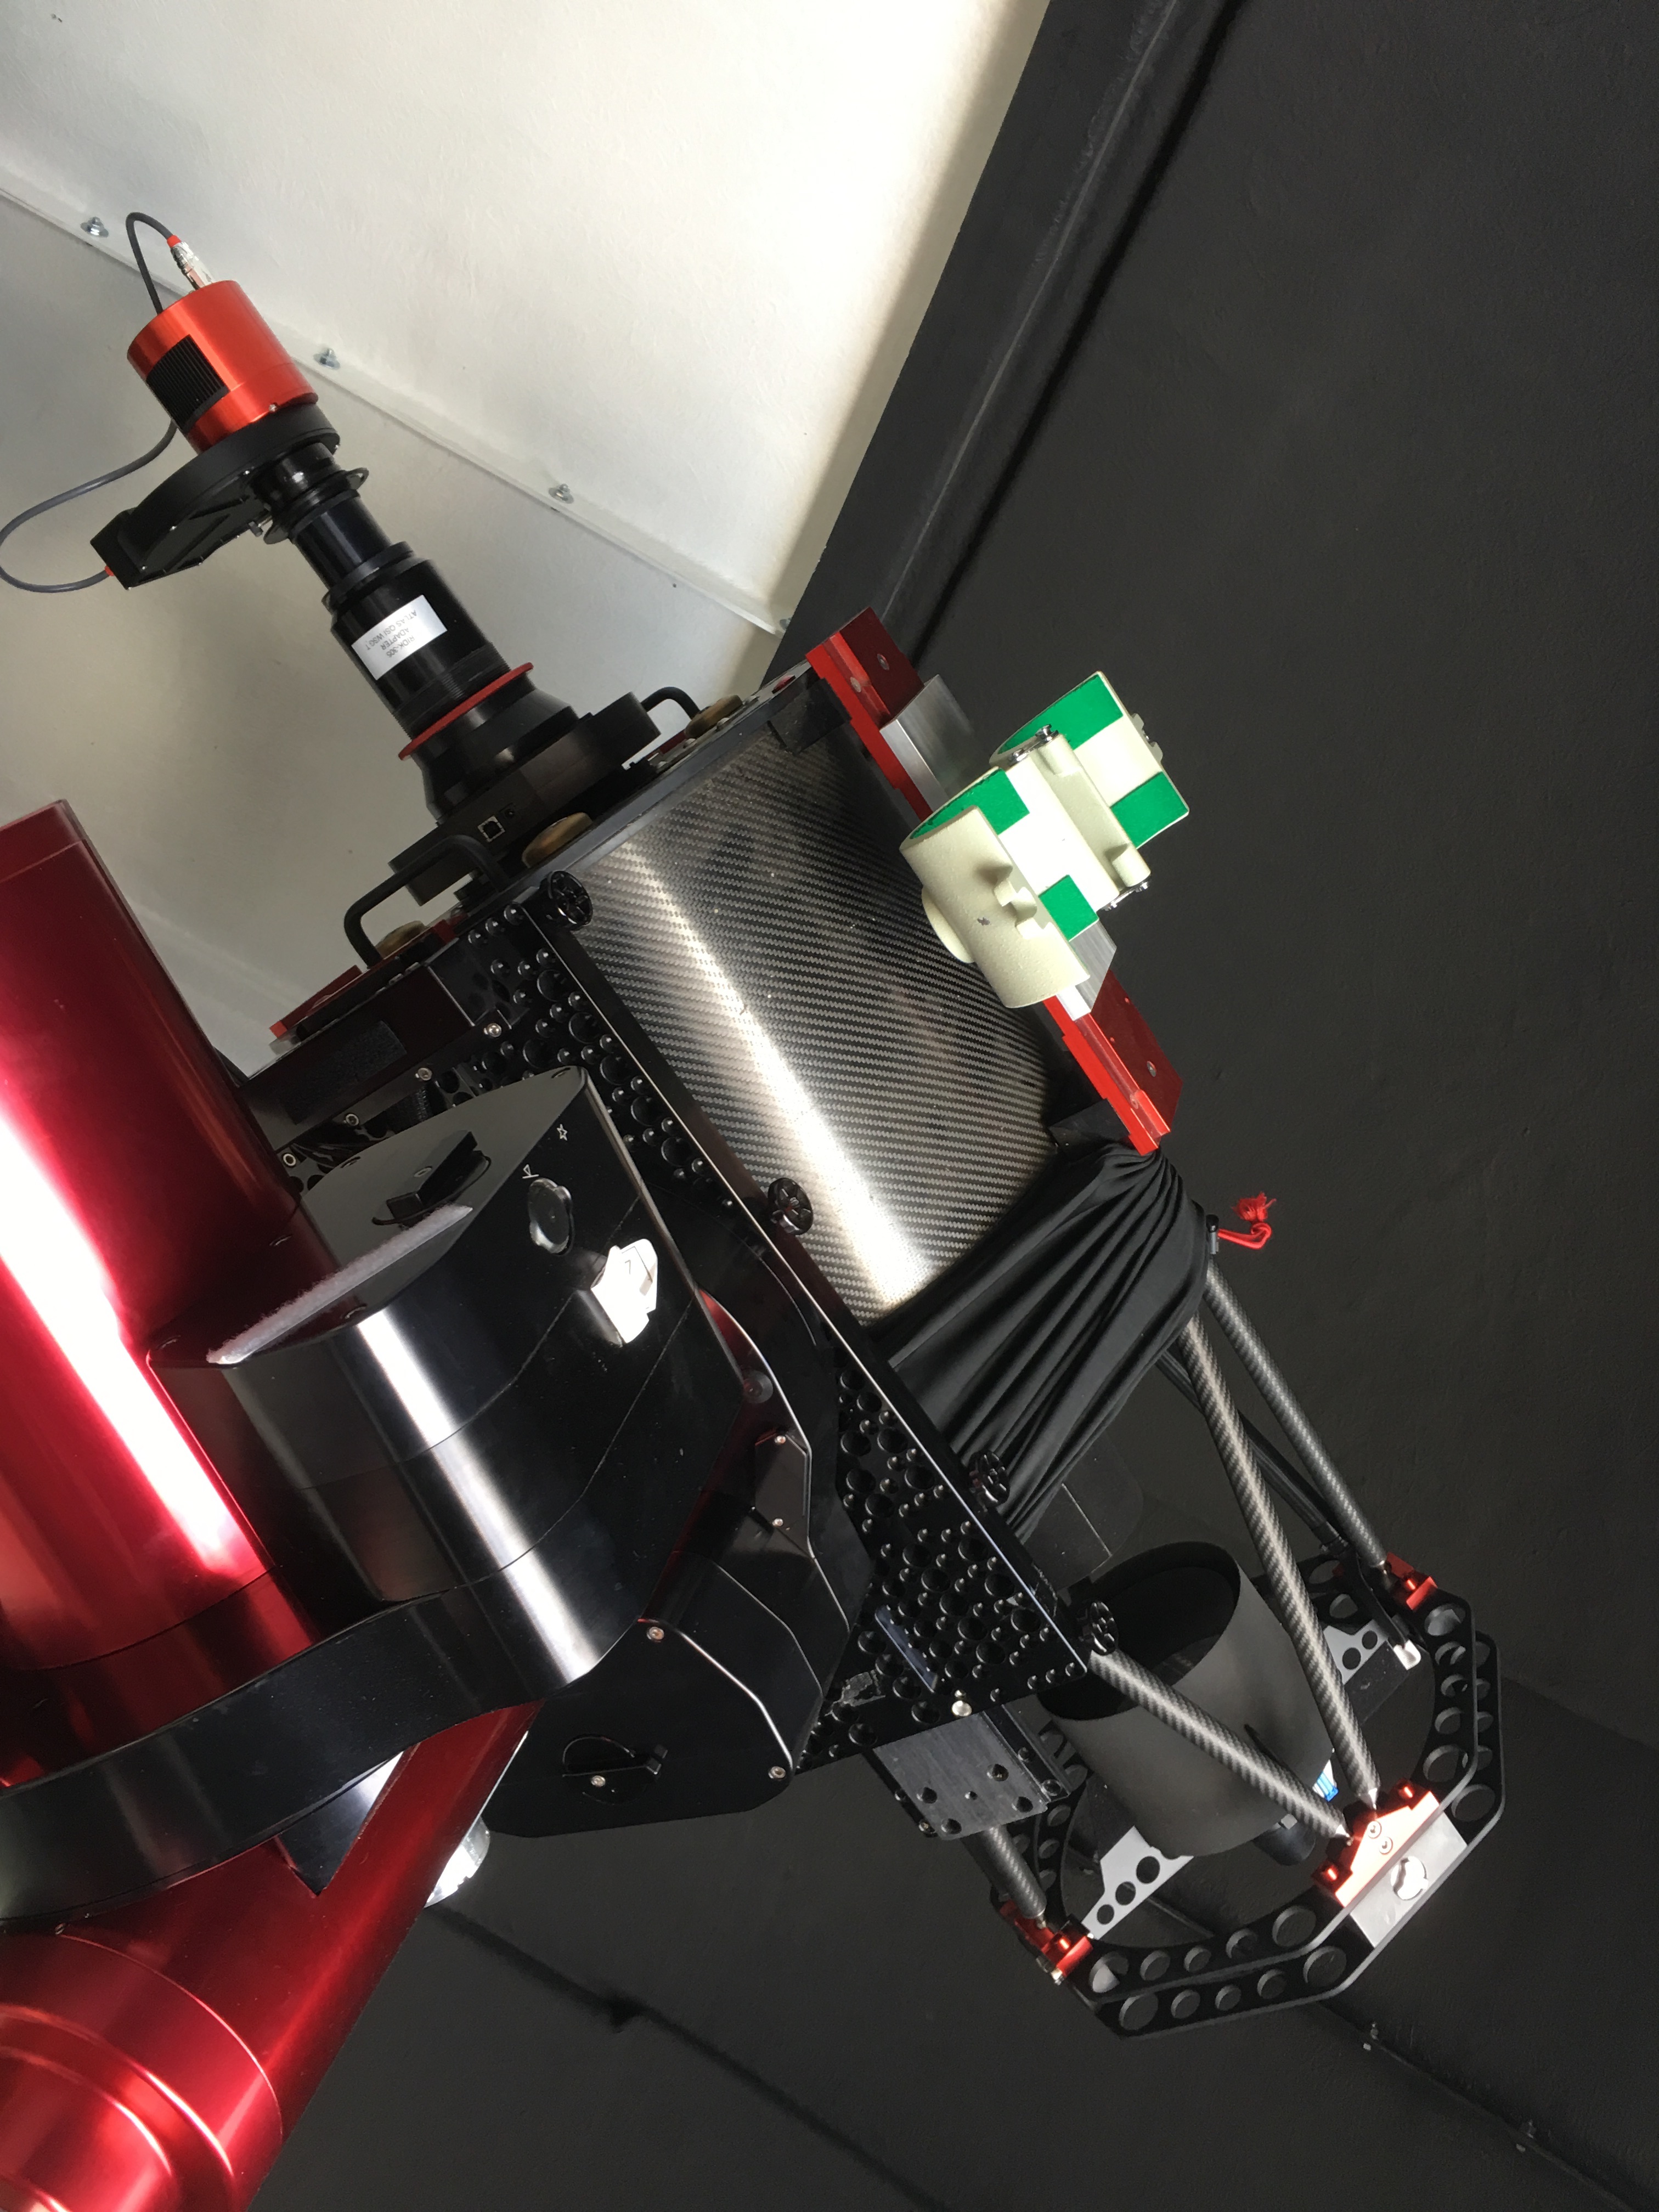
Finally the first of the 3 OTAs are fitted, this is the Officinal Stellare 305mm RiDK that the other 2 OTAs would piggy-back on.
OS 12″ RiDK
Luckily we opted for a 2.7m dome else we would not have fitted this setup in here.
First scope on mount
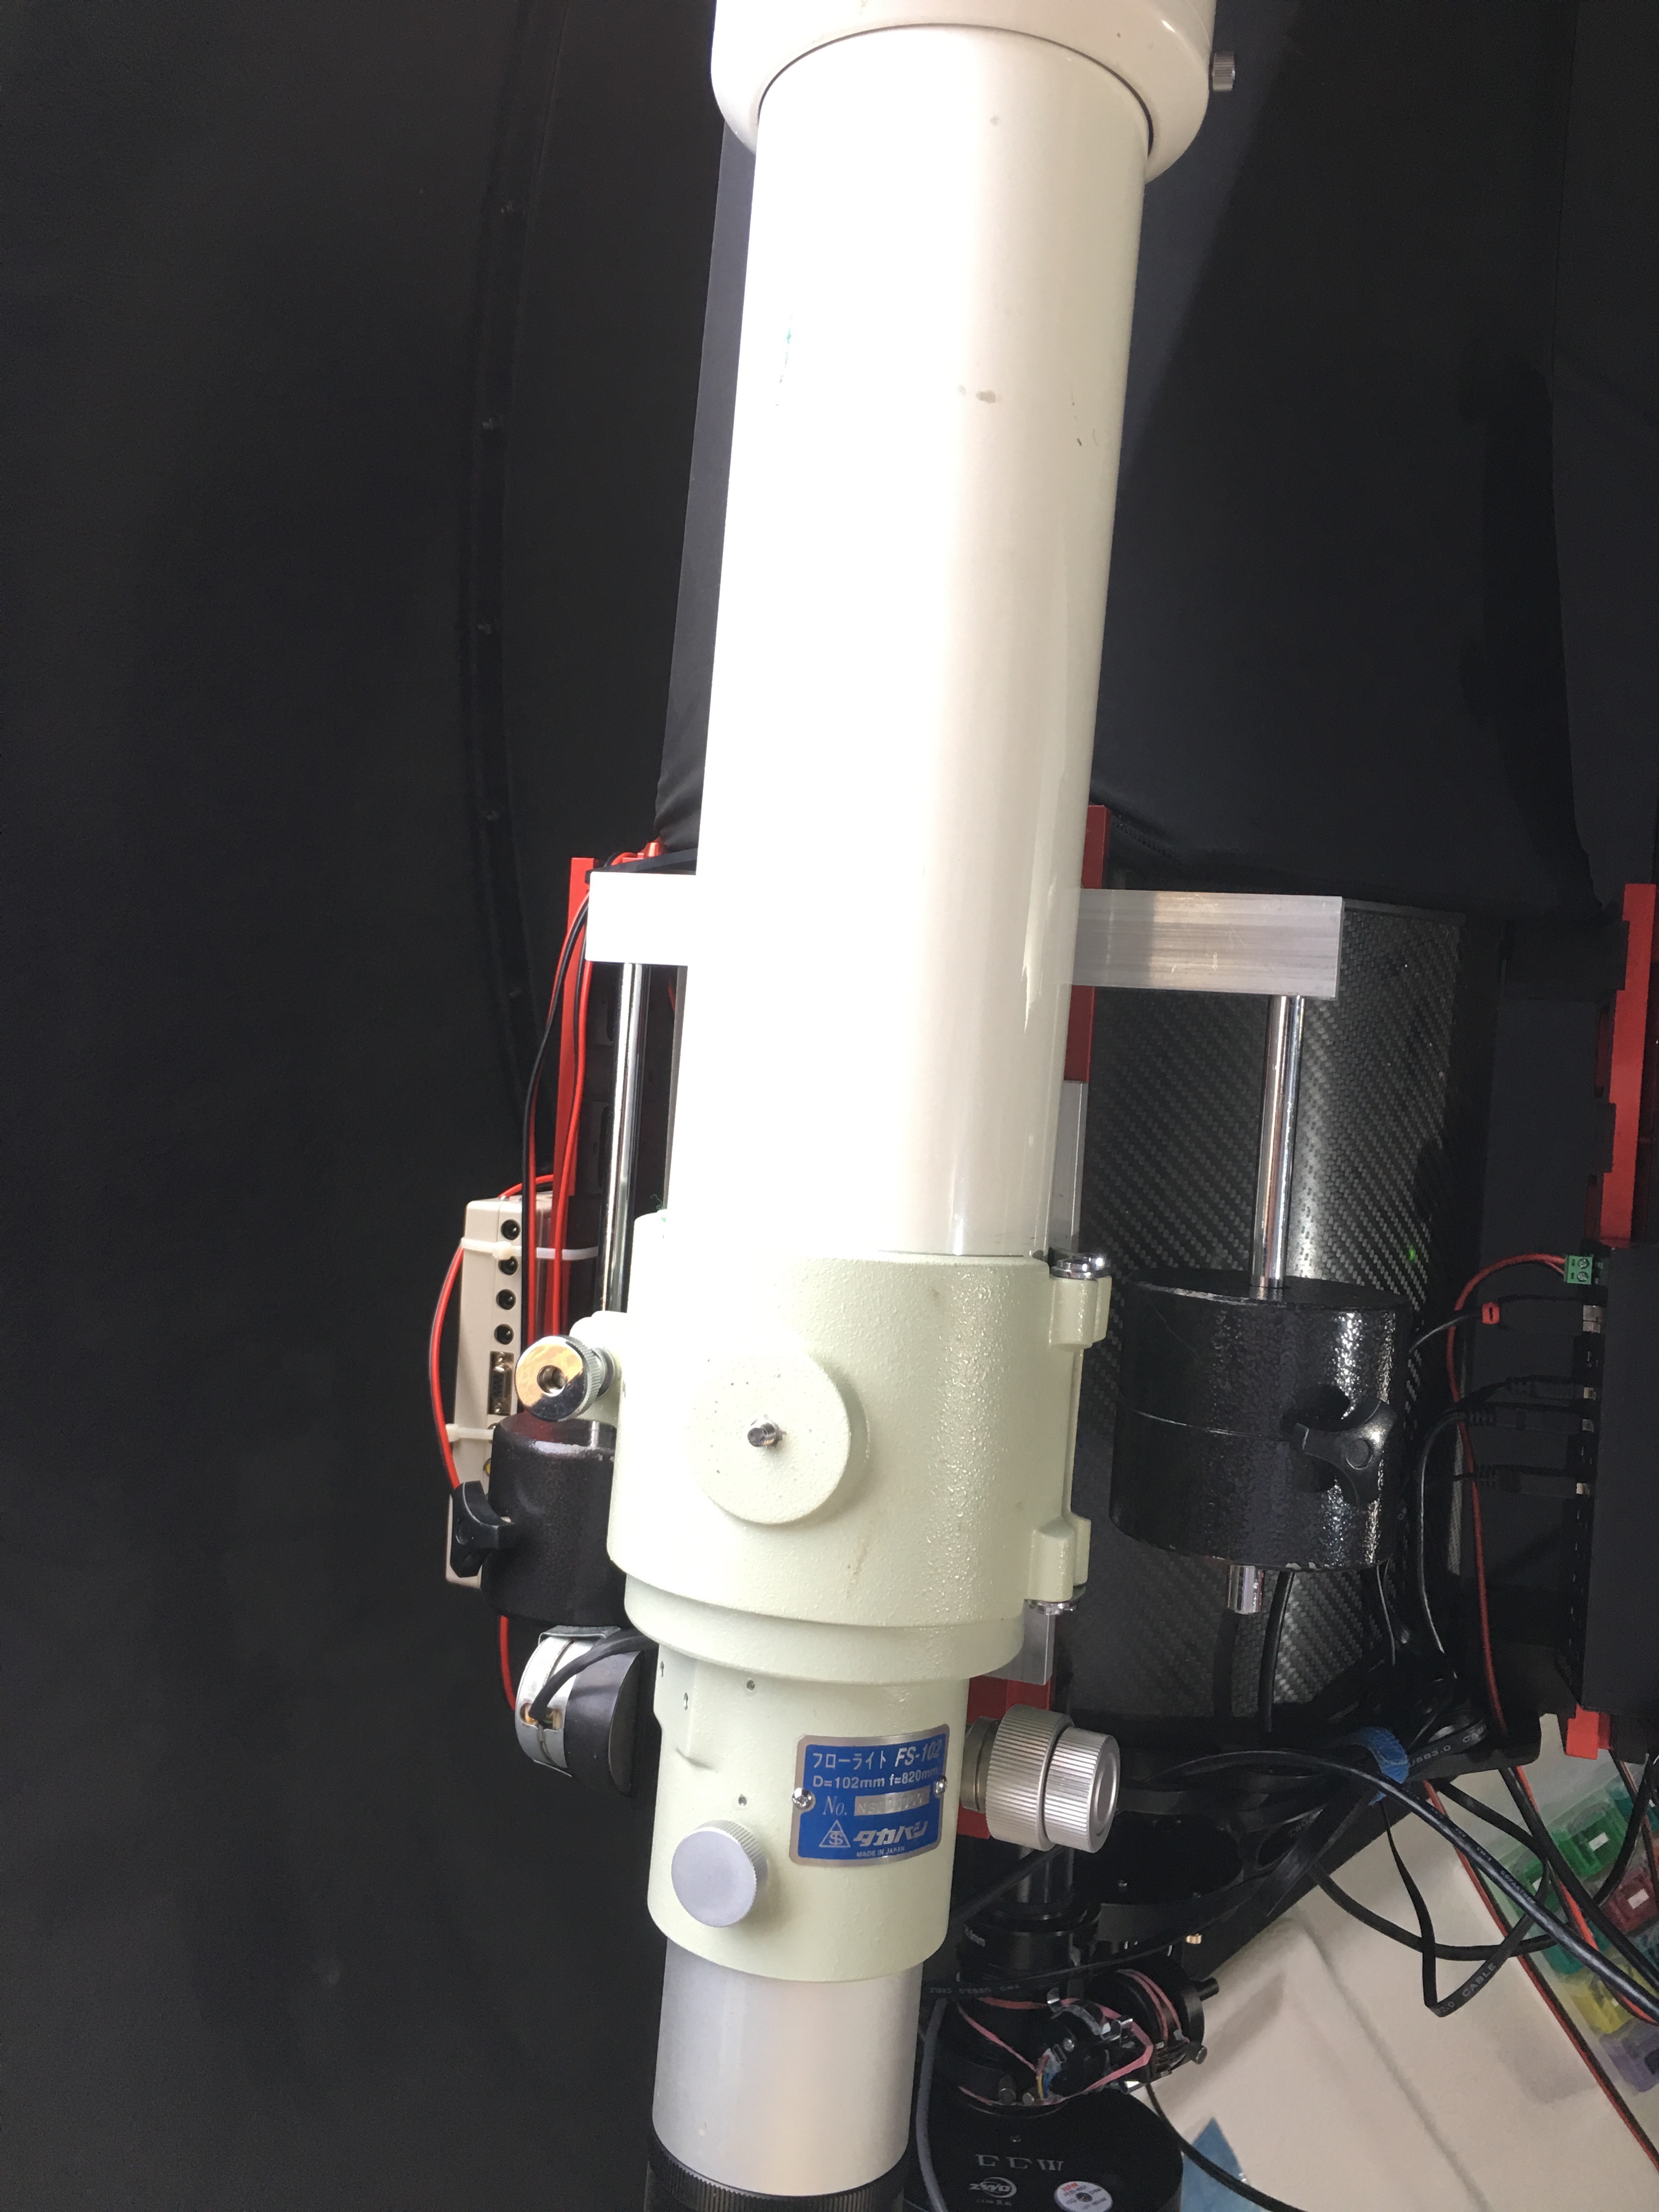
Next came the fitting of the Takahashi FS102 refractor and the Sky-Watcher Esprit 120ED refractor. First the clamshell for the Tak is fitted, also the first dry fitting of the QHY1600MM camera and 7 position filter wheel, the adapters to connect it would cane later.
Tak Clamshell and QHY camera
Then the Tak is fitted. As can be seen from this image taken later, we had to make a new counterweight system to offset the slightly lighter Tak with the heavier Esprit 120. This novel system designed by Bob used standard astronomy weights and bars from skywatcher mounts.
Tak 102 and weights
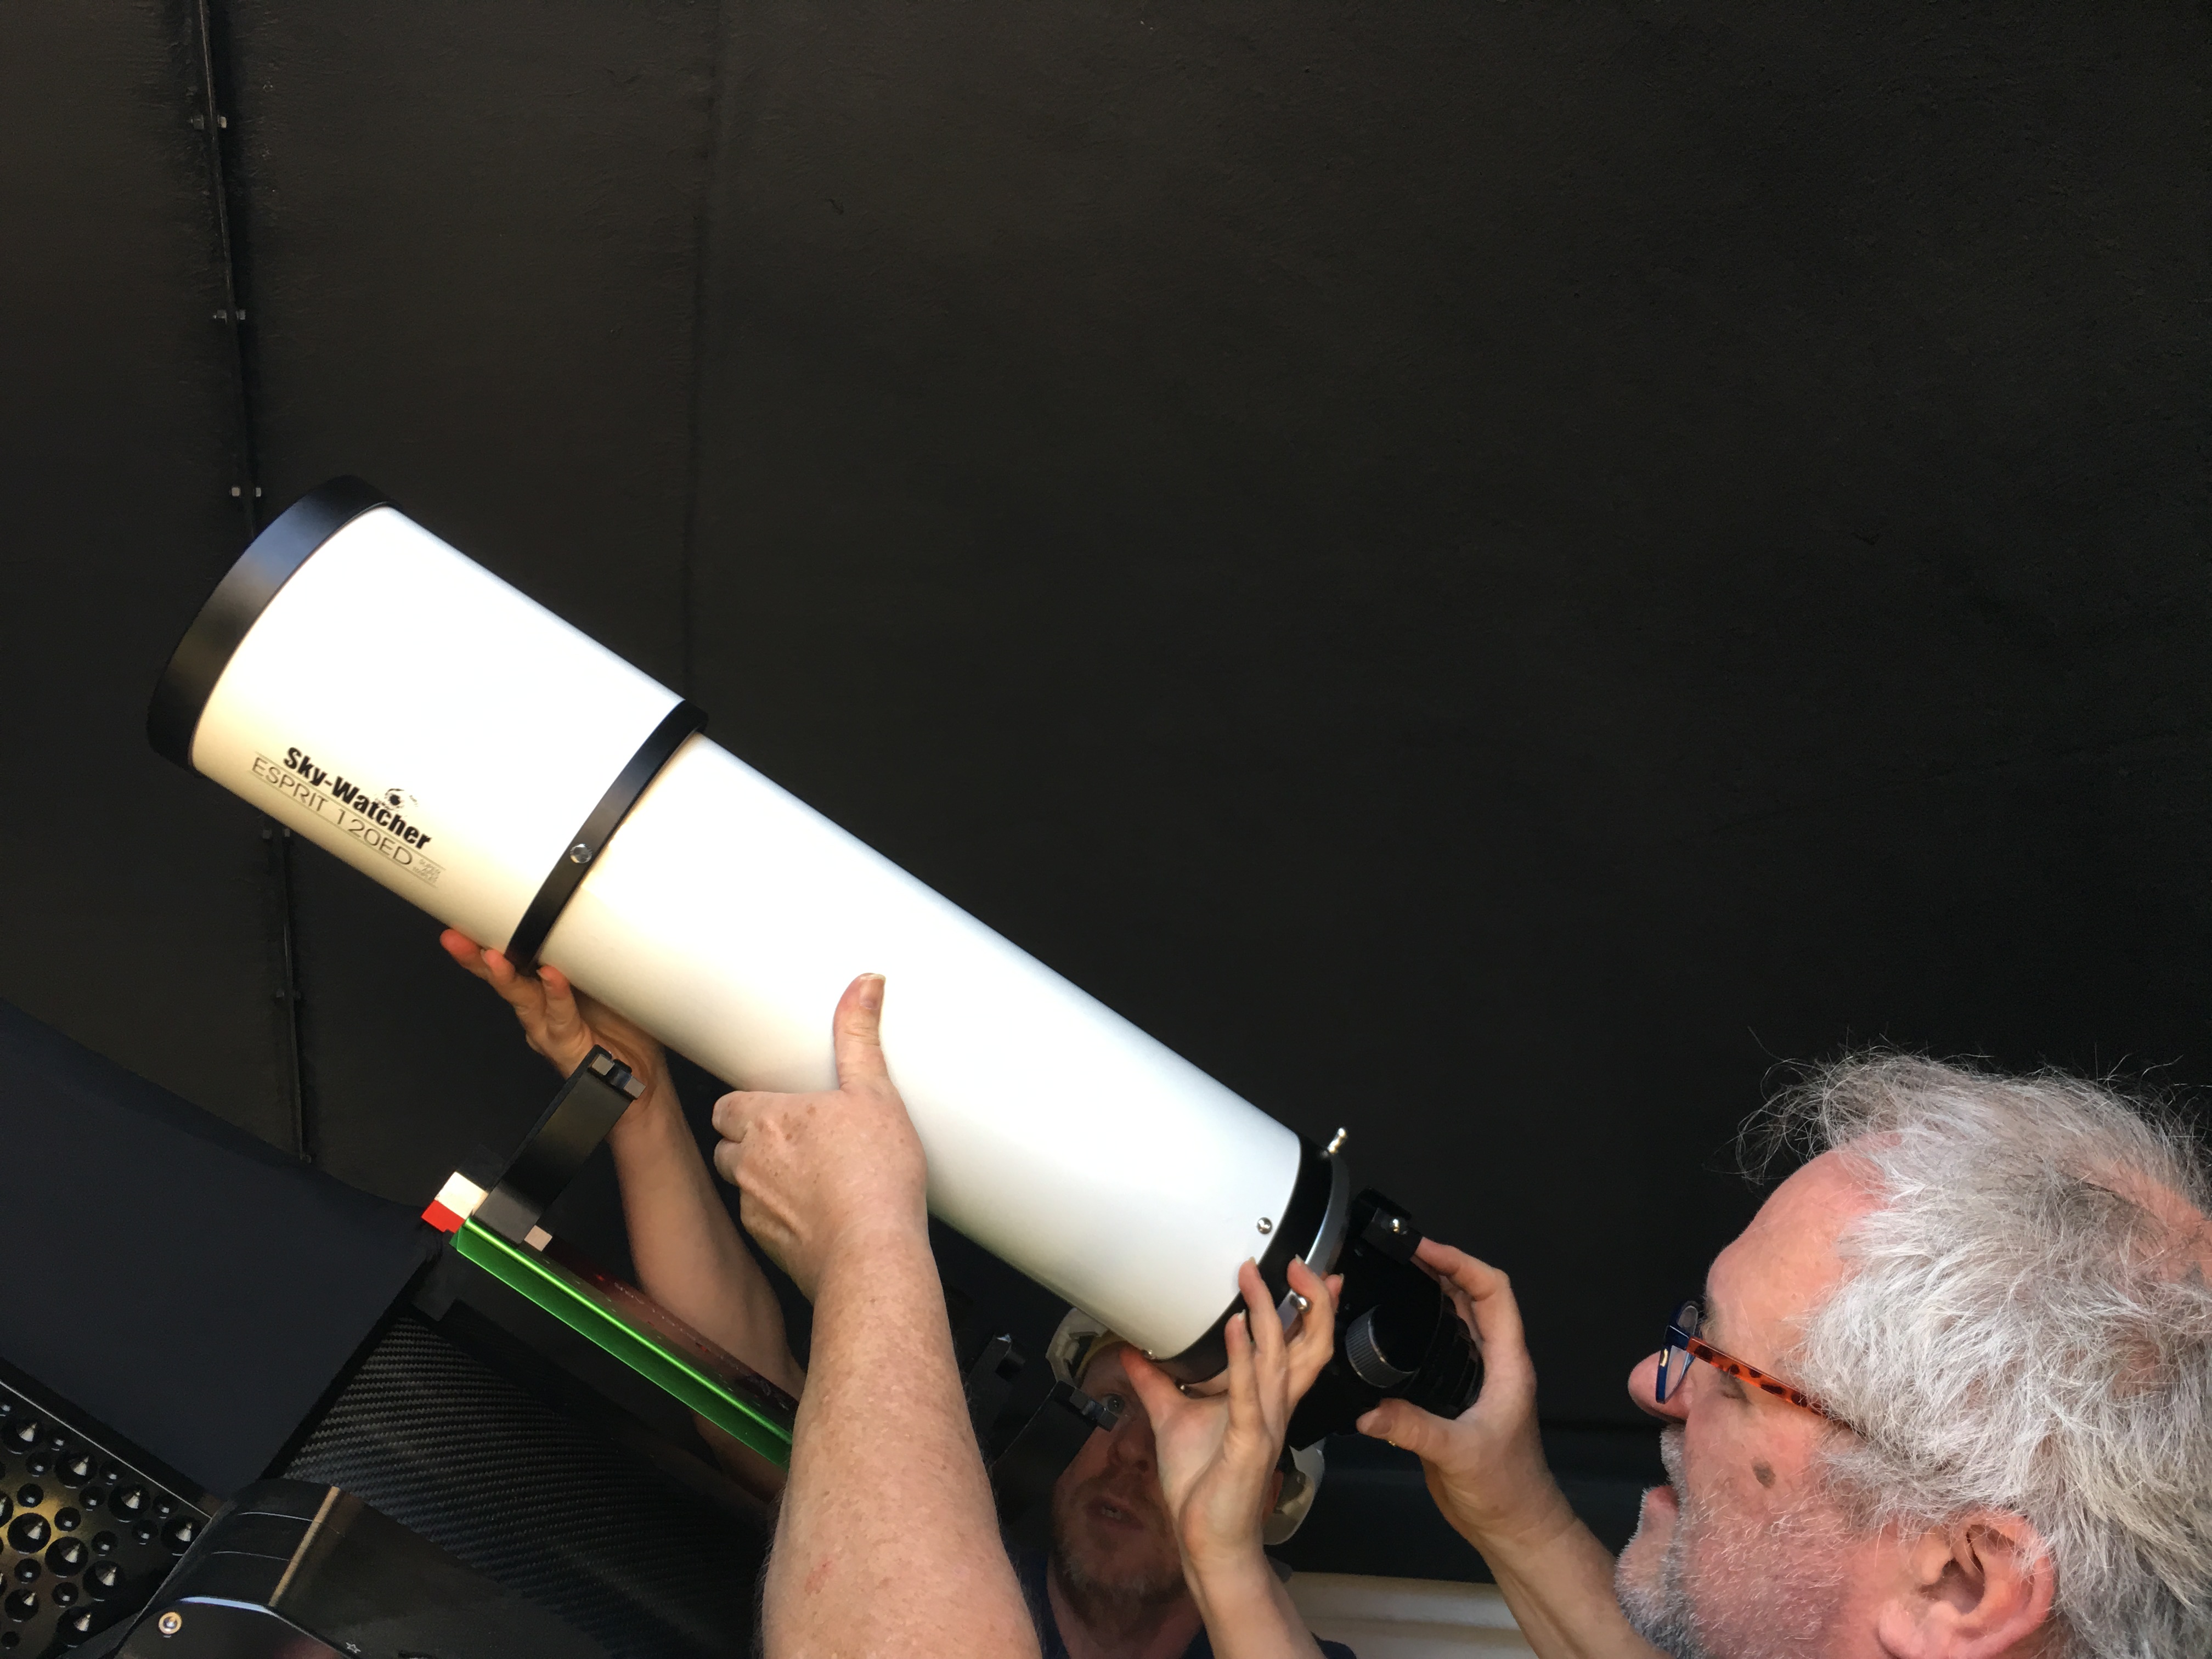
Next the Skywatcher 120 is fitted carefully to the other side.
Skywatcher 120
Next some more ancillary work is needed before the final setup is shown…….