Ok so it’s been a while, well more than a while, as Douglas Adams once said, ‘you thought it was a long way down the road to the chemist’ well I can tell you it’s a long road to building a commissioning an off the shelf observatory too! So even though the observatory is nearly complete I though I would share the build experience here on this very blog.
So it’s not been helped by the weather, it’s not been helped by the other building work on the house and it’s definitely not been helped by working so much either. The Ripton Windows team, incidently who are building a lovely Orangery for me as well as some other works, were also good enough to take on building the base and laying the electrics and network access.
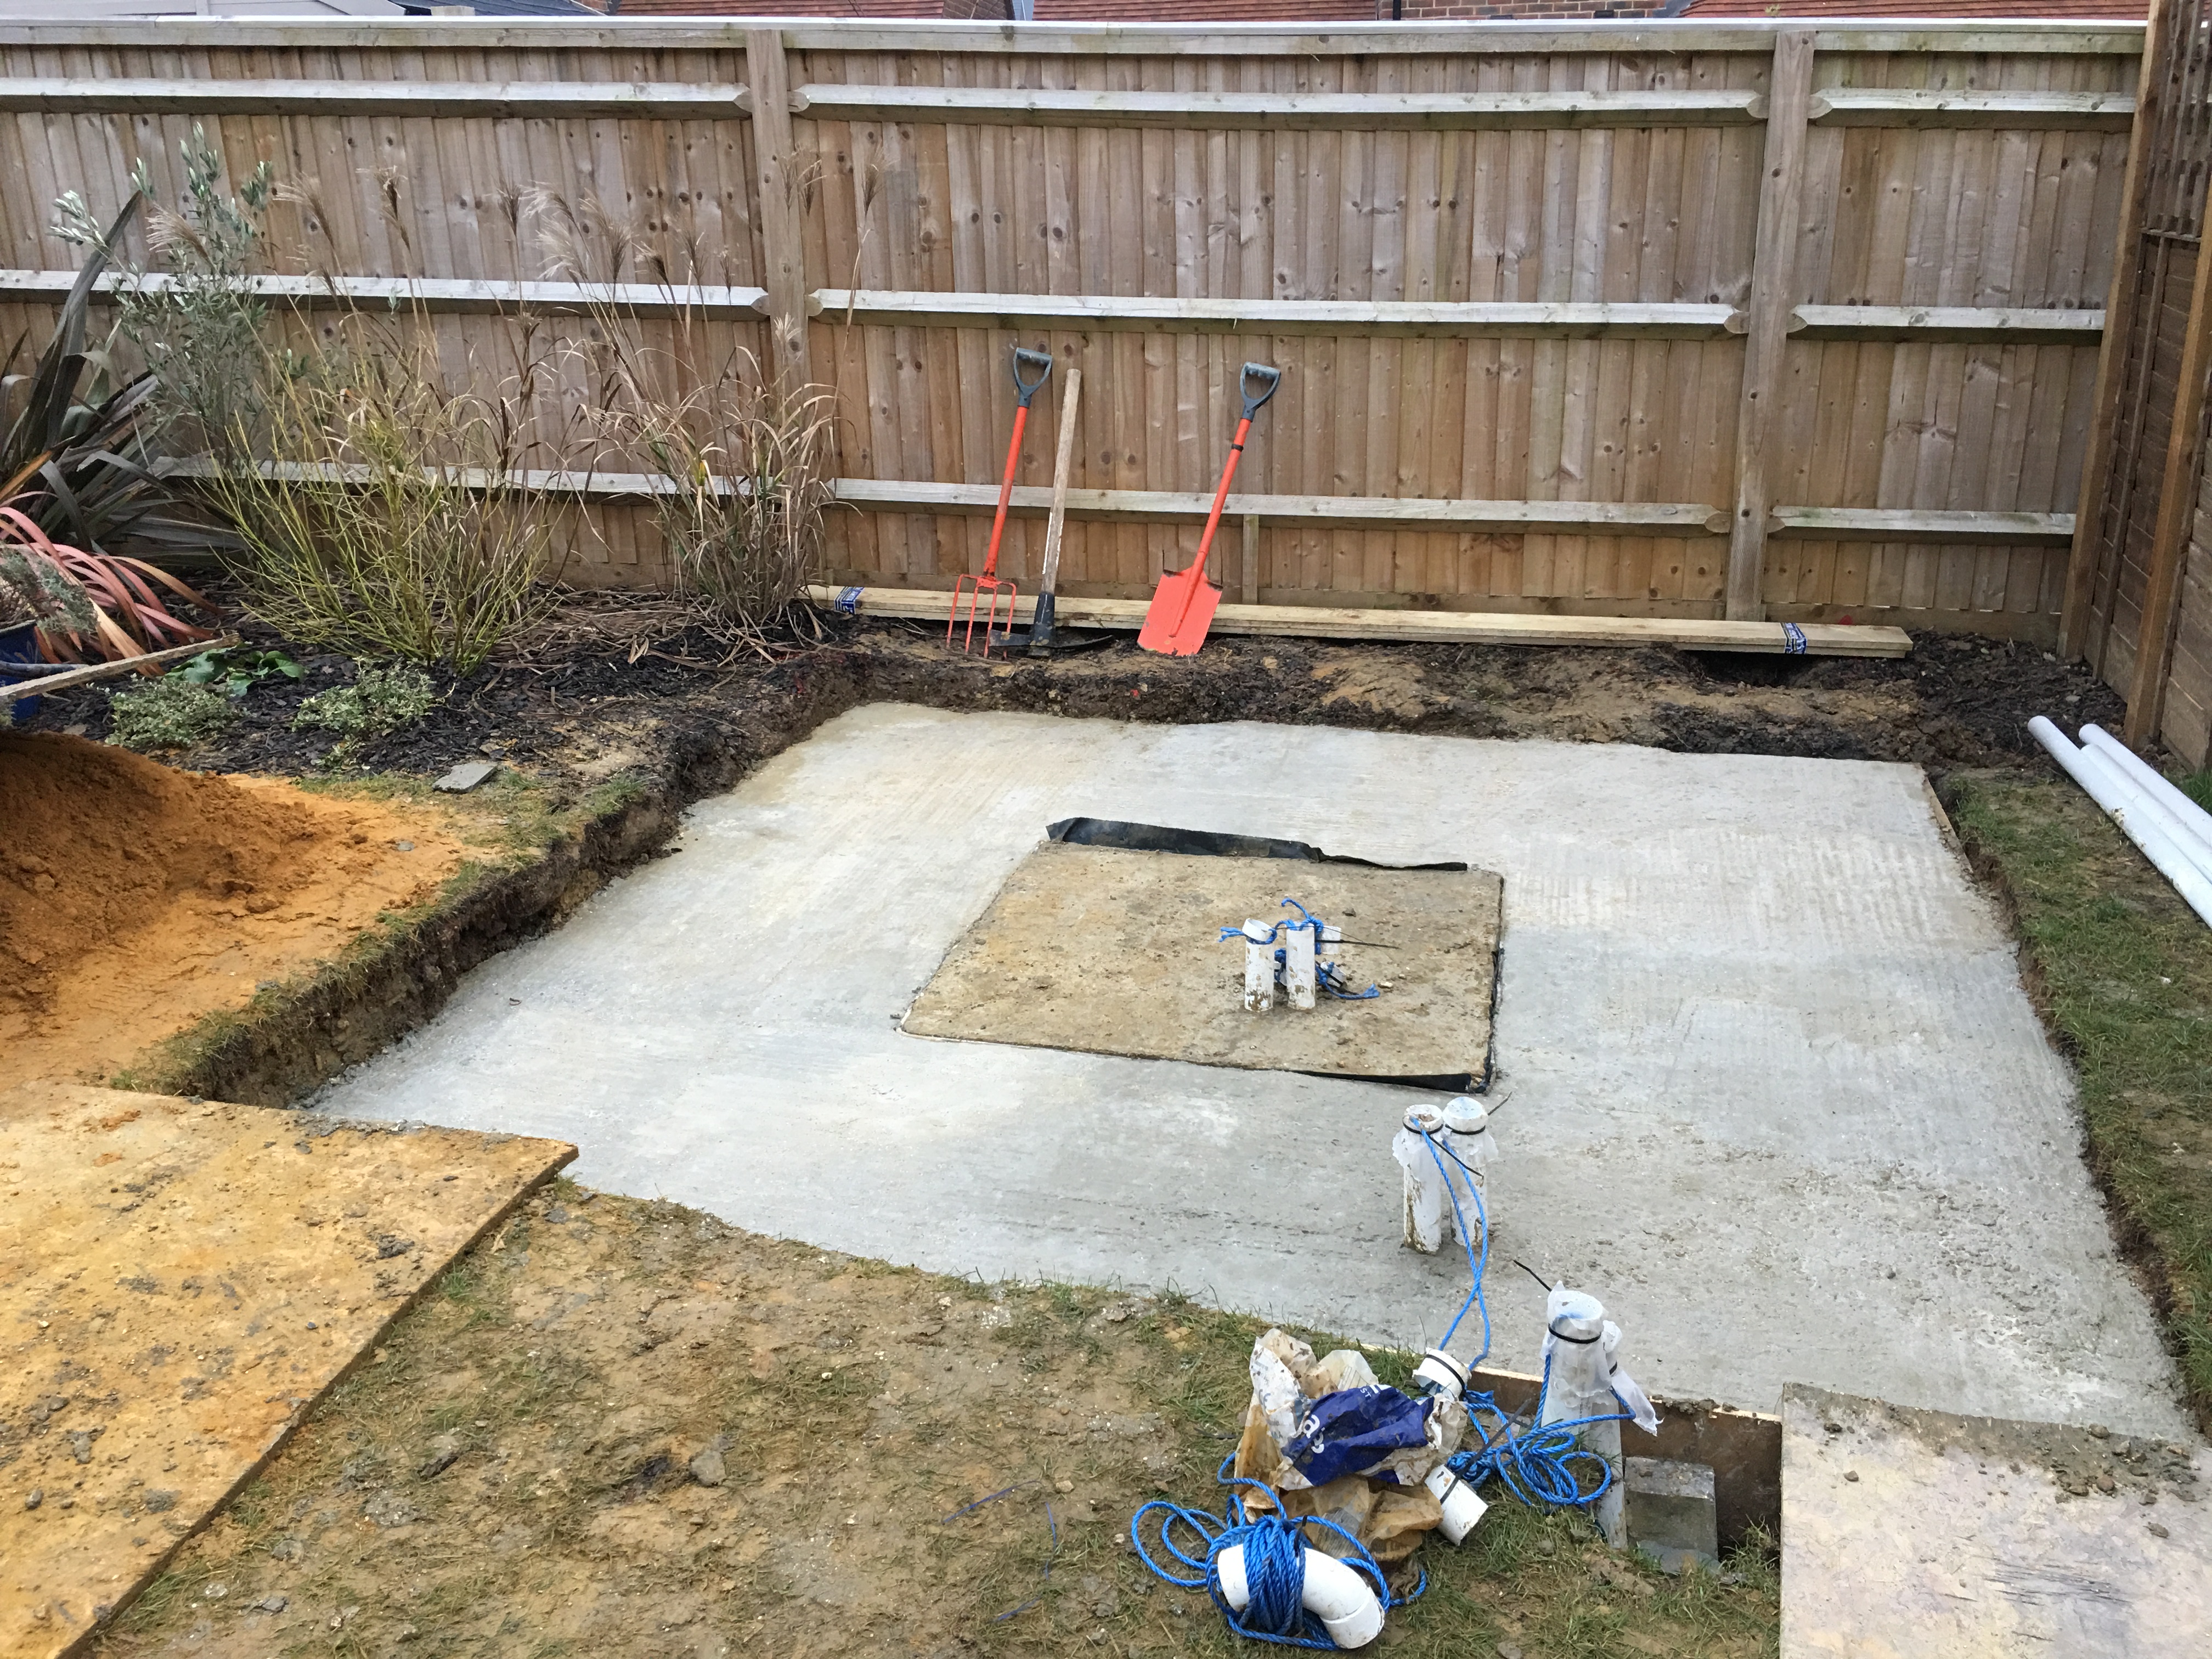
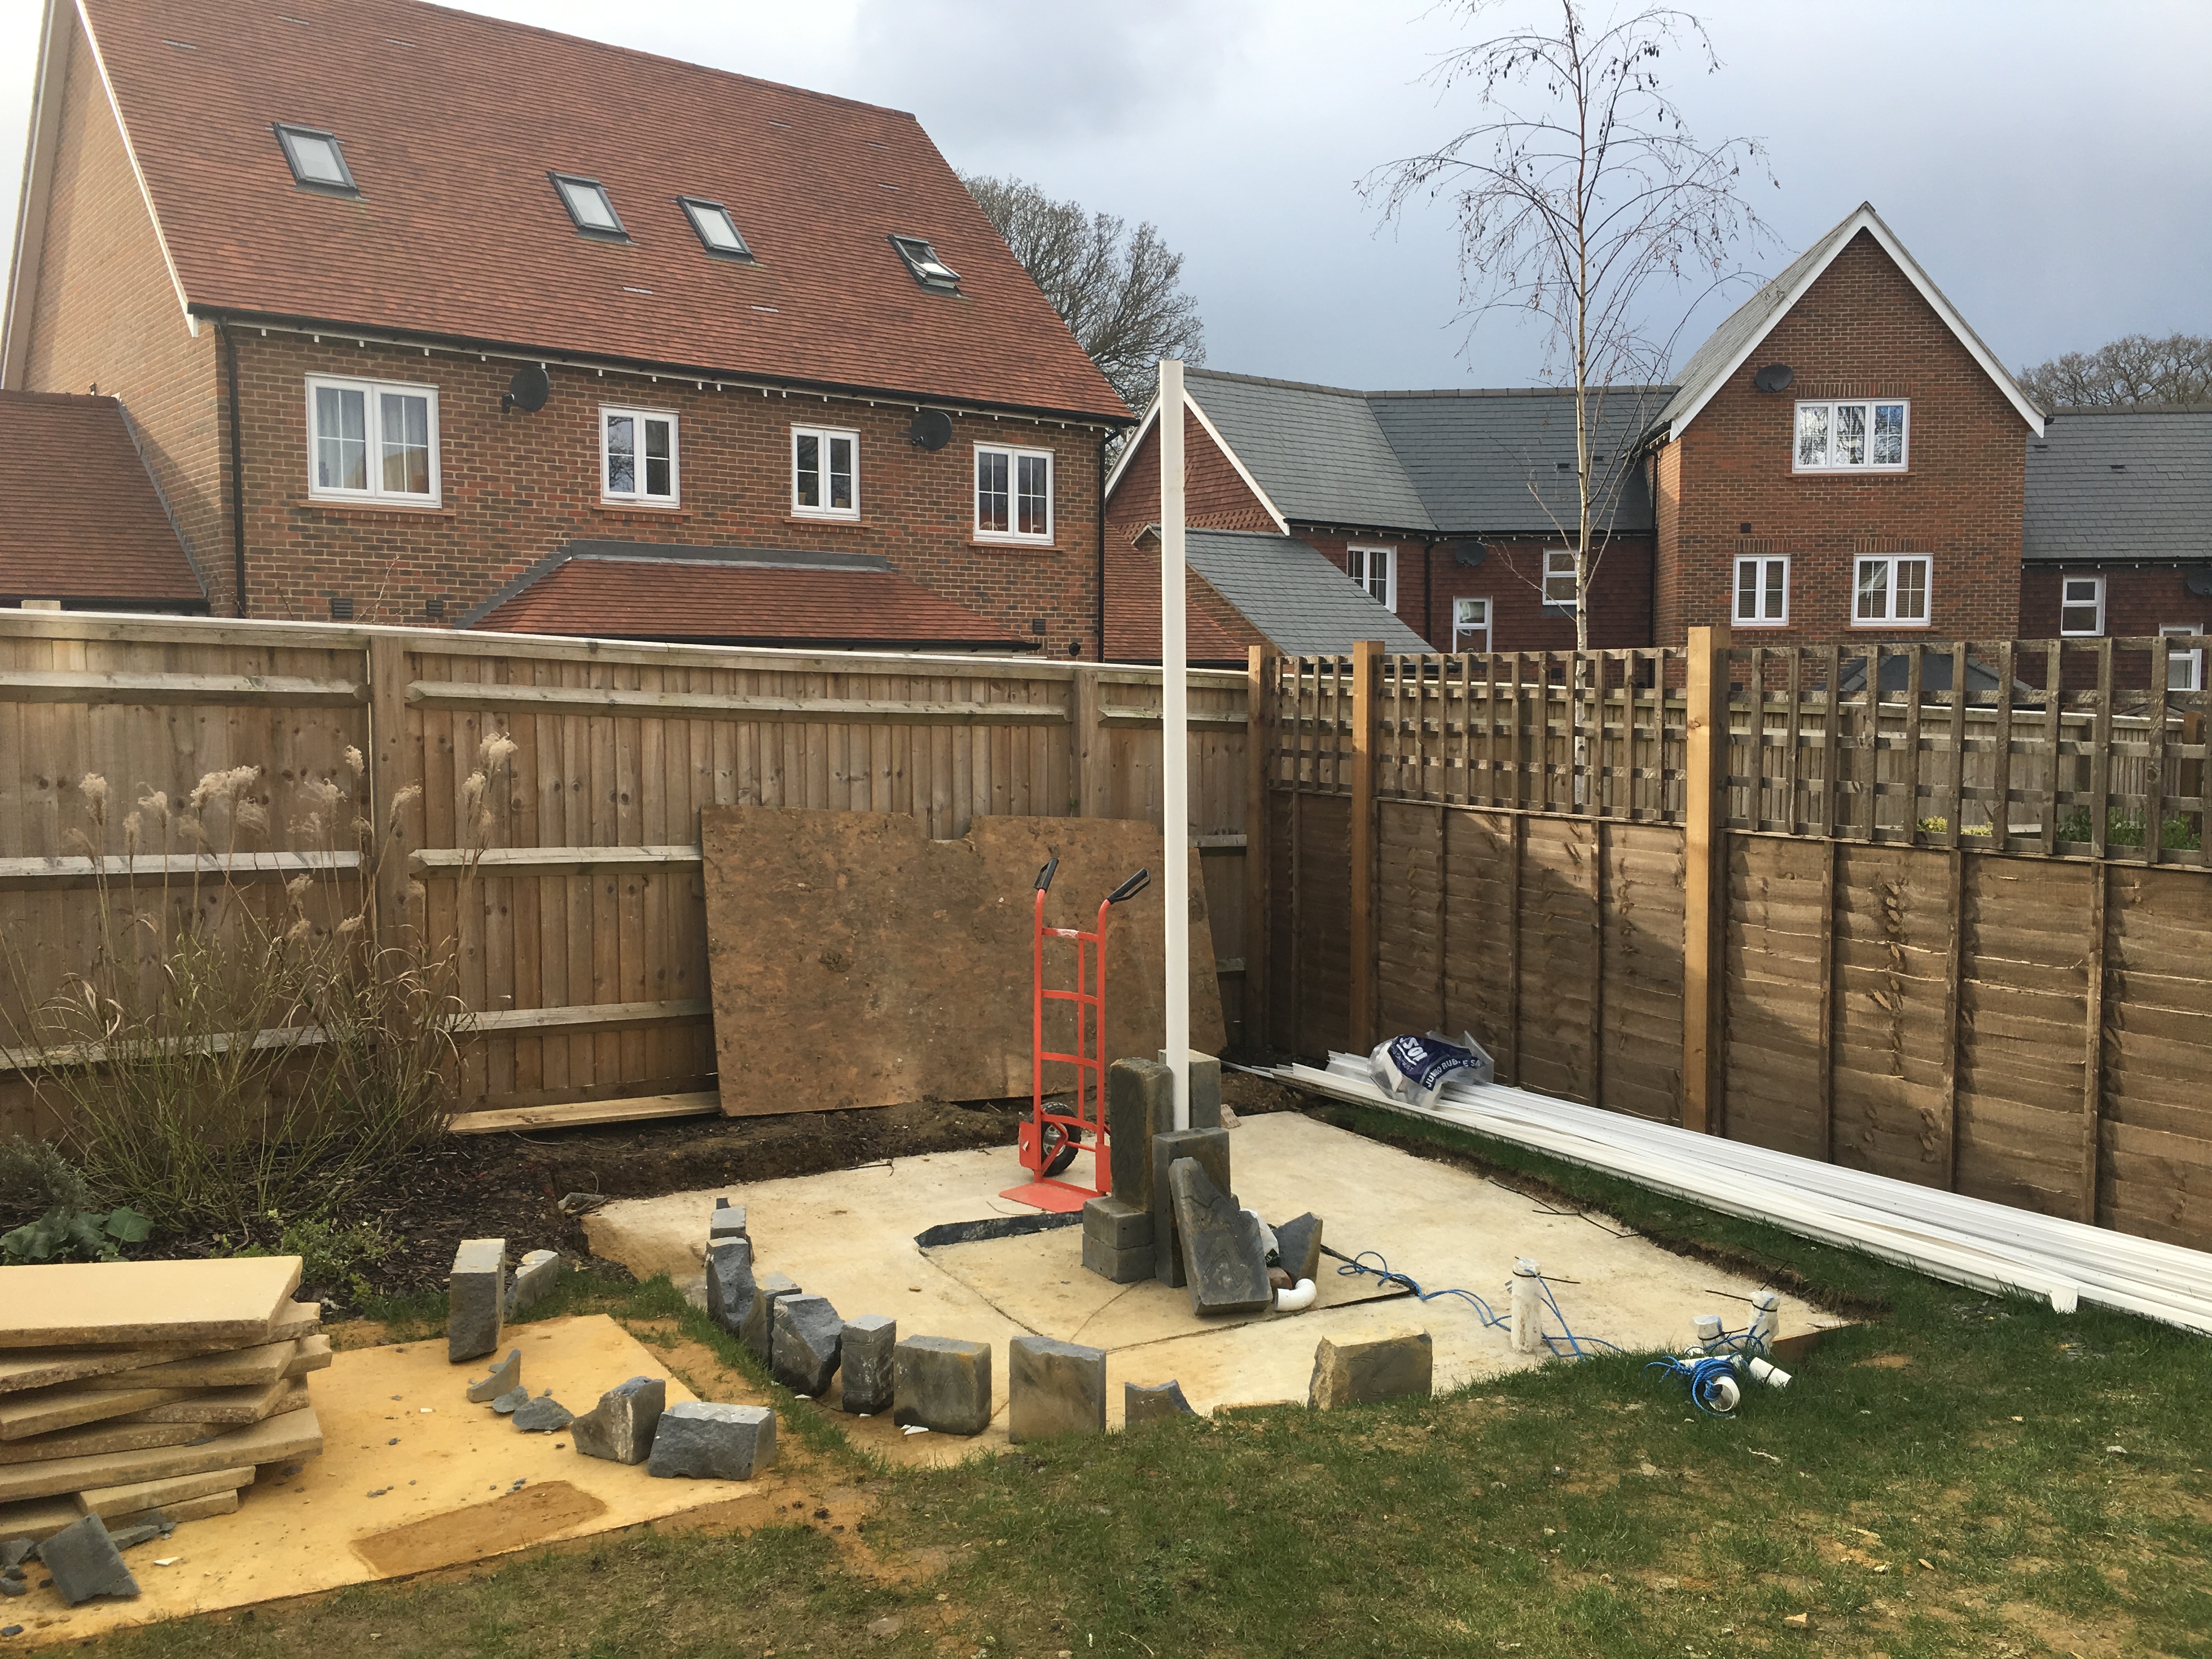
The base for the pier was a single discrete 1m cube of concrete and surrounding that a slab of concrete of 3m square and 150mm deep. This was so the pier is isolated from any vibrations from the dome rotating or people walking about inside the dome.

The team from Ripton took a few days to dig the hole, pour the concrete in a couple of stages and then we had many weeks for it to set due to a delay in the Pulsar 2.7m dome arriving for install. I also laid a shingle surround to act as a french drain and included a homemade soaraway, more pictures later.
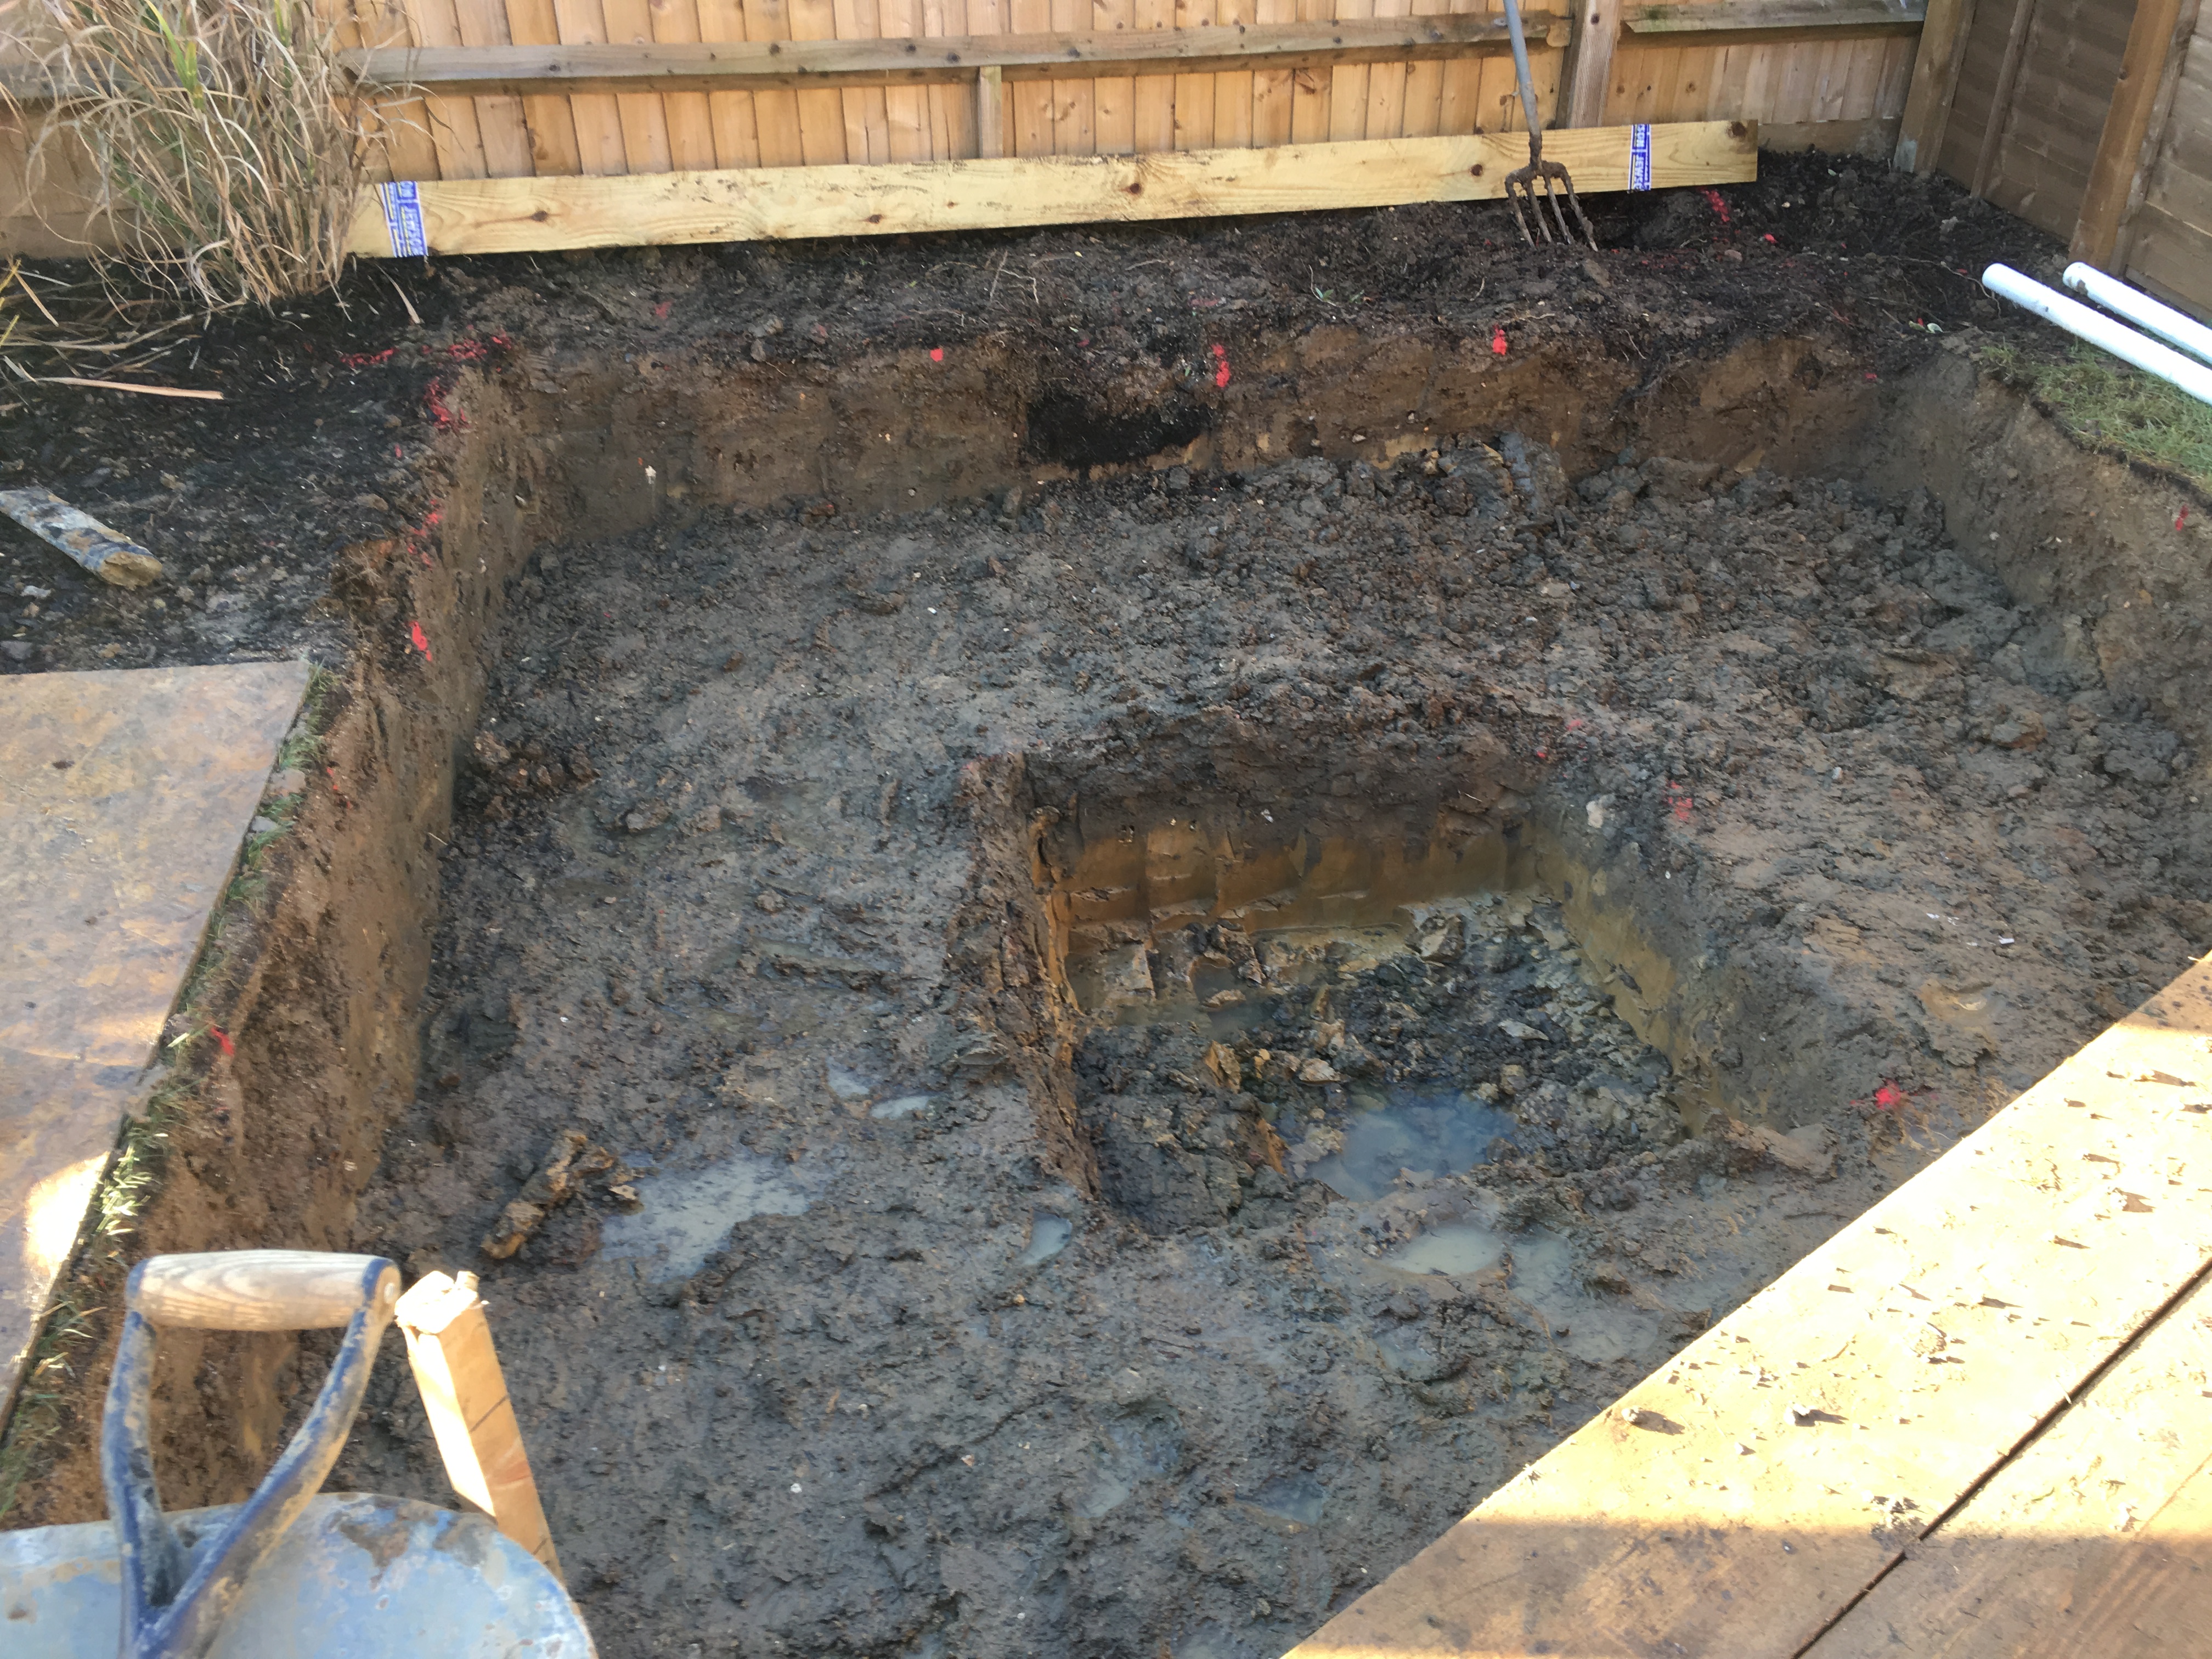
Work started with digging out from the outside in using a JCB, the team did a quick and good job, considering all the clay.

After some rain holding off the final dig, the team managed to dig out the rest of the base including the much deeper but separate 1m cube.
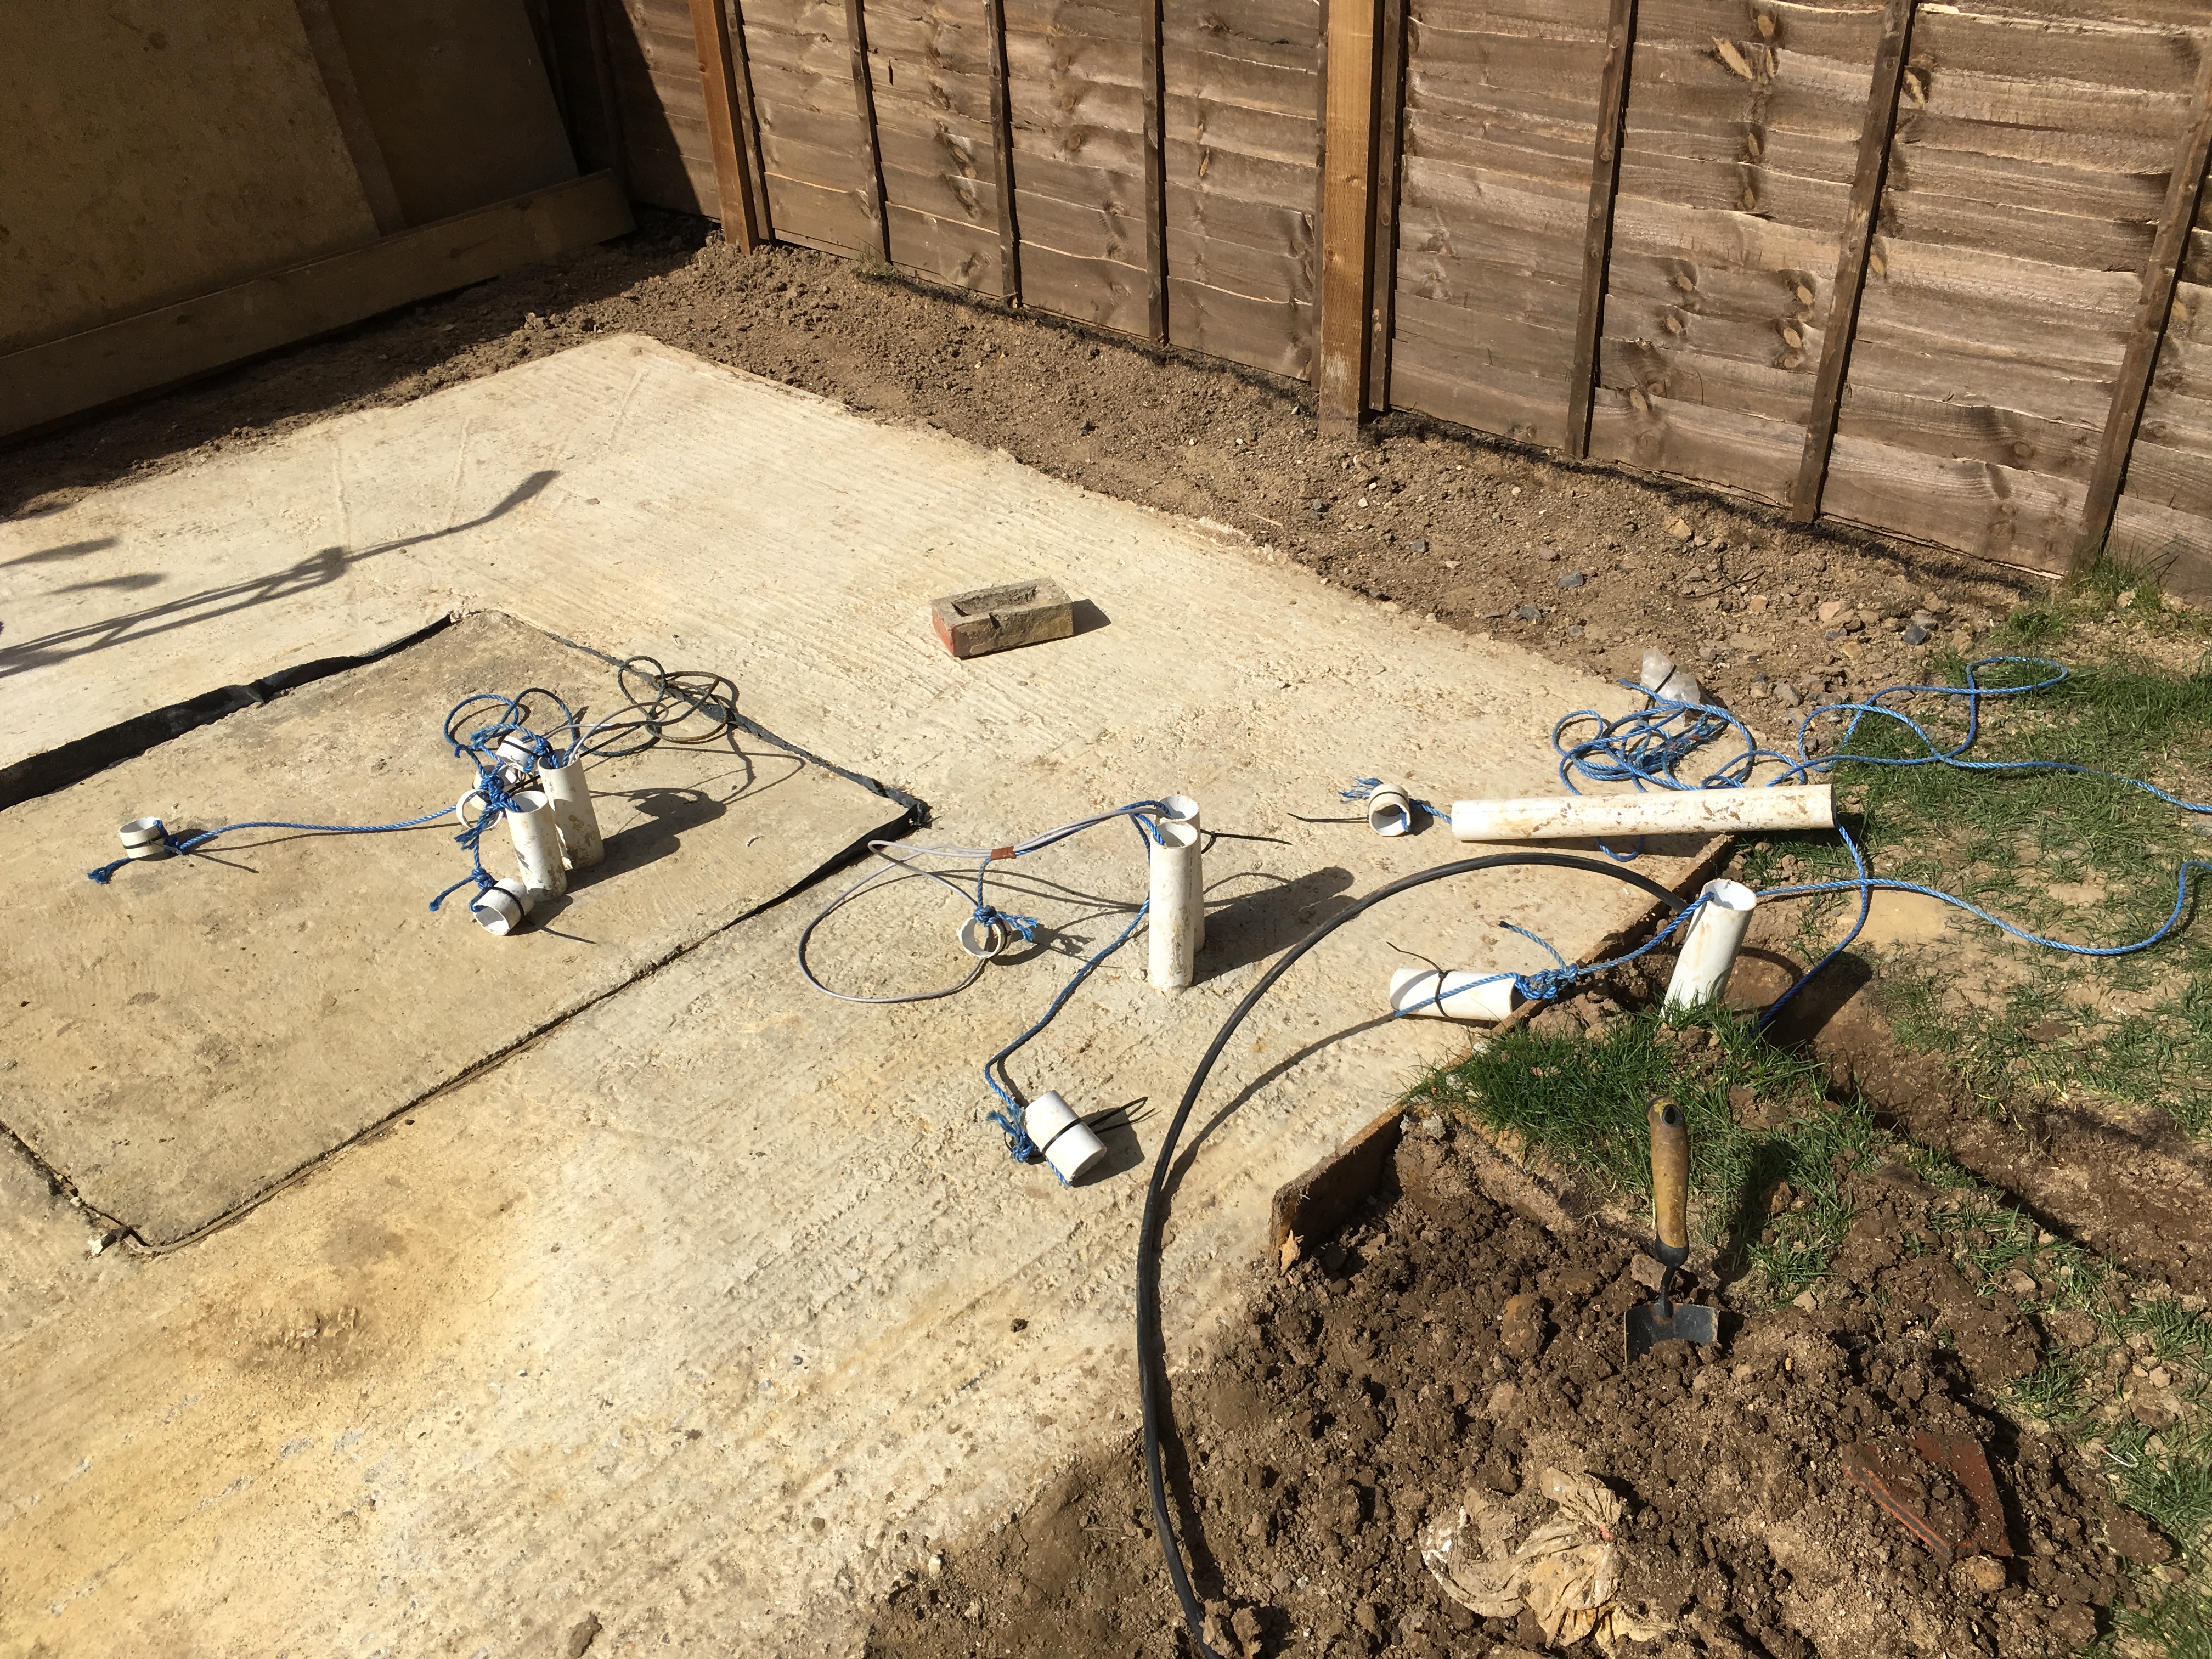
Scalpings were then laid and shuttering to act as a former for the central cube was fitted, this included DPC to help keep the cube from being effected by the surrounding area. PVC piping was also added before the mix was poured for the data and electric cable runs.

Before long the concrete was poured for both the inner and outer segments, now you can see the level below ground to which we dug to make sure we were inside the planning rules for the area.
Creating my very own stone henge, allowed me to see where the dome would finally come to.
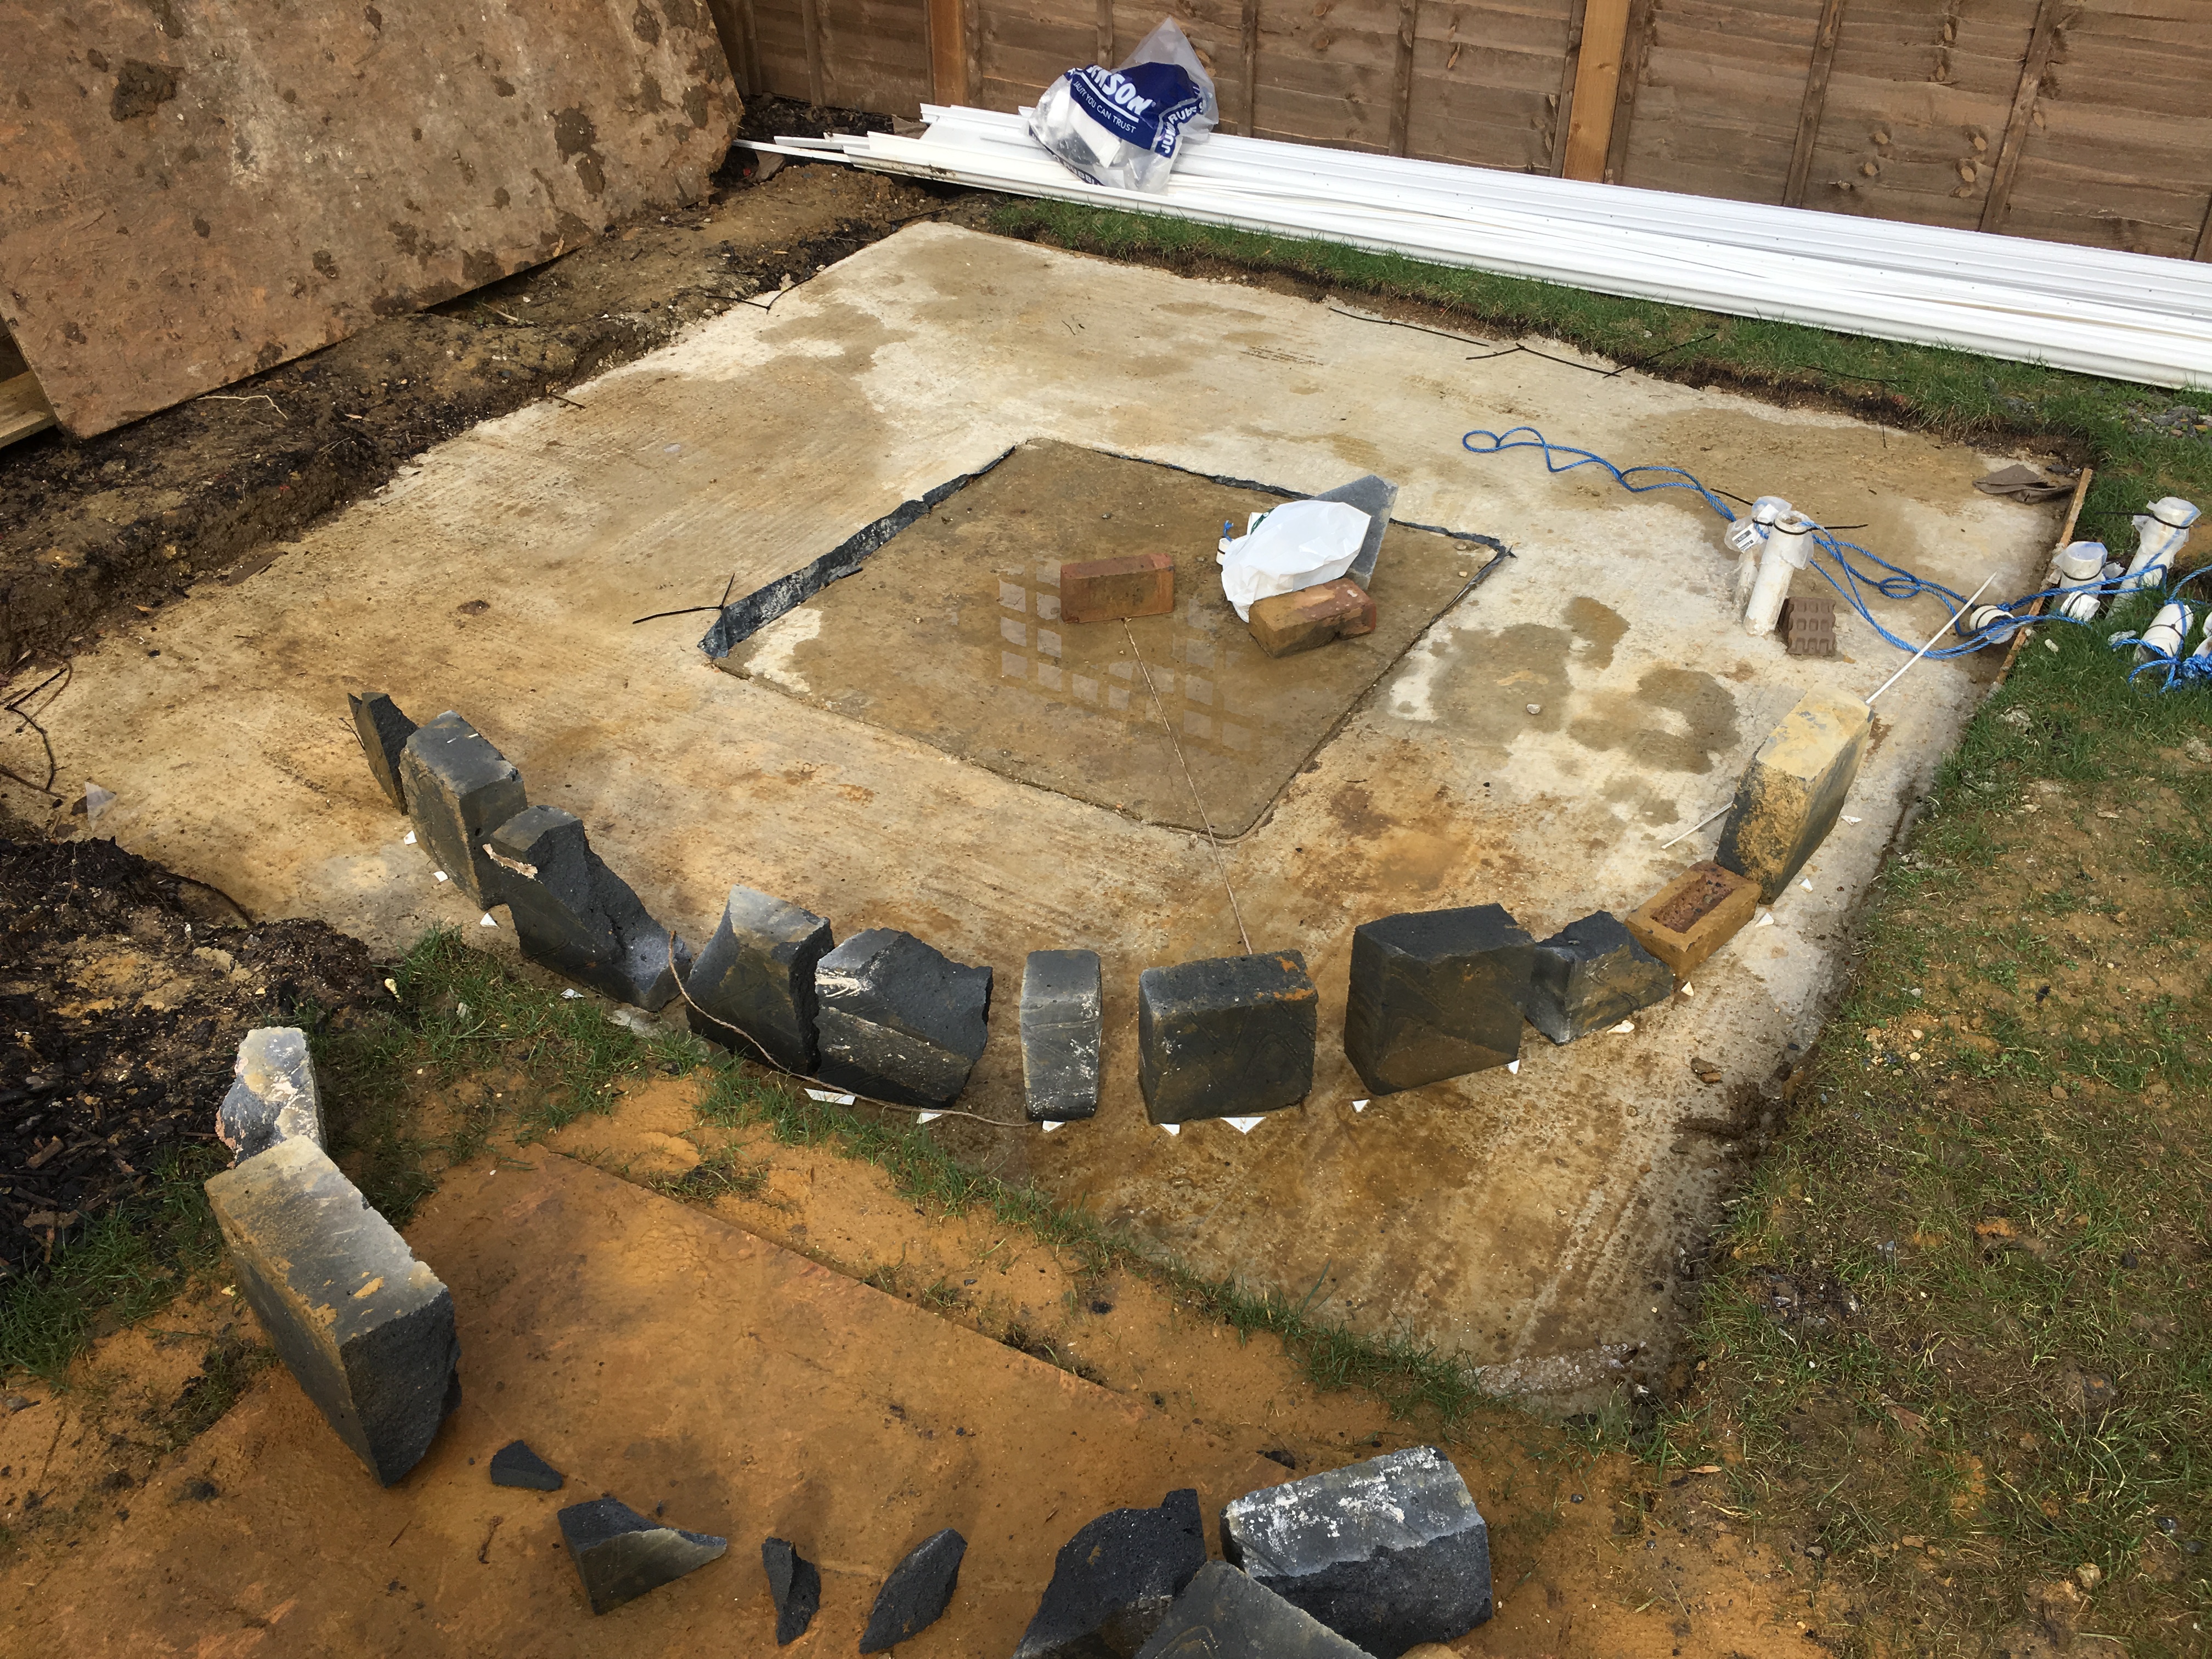
I then went one stage further and placed a plastic pipe vertically to see the height of the final dome once fitted.
Finally my favourite electrician Steve fitted the main power to the outside and included CAT6 cable back to the main fibre hub for me.
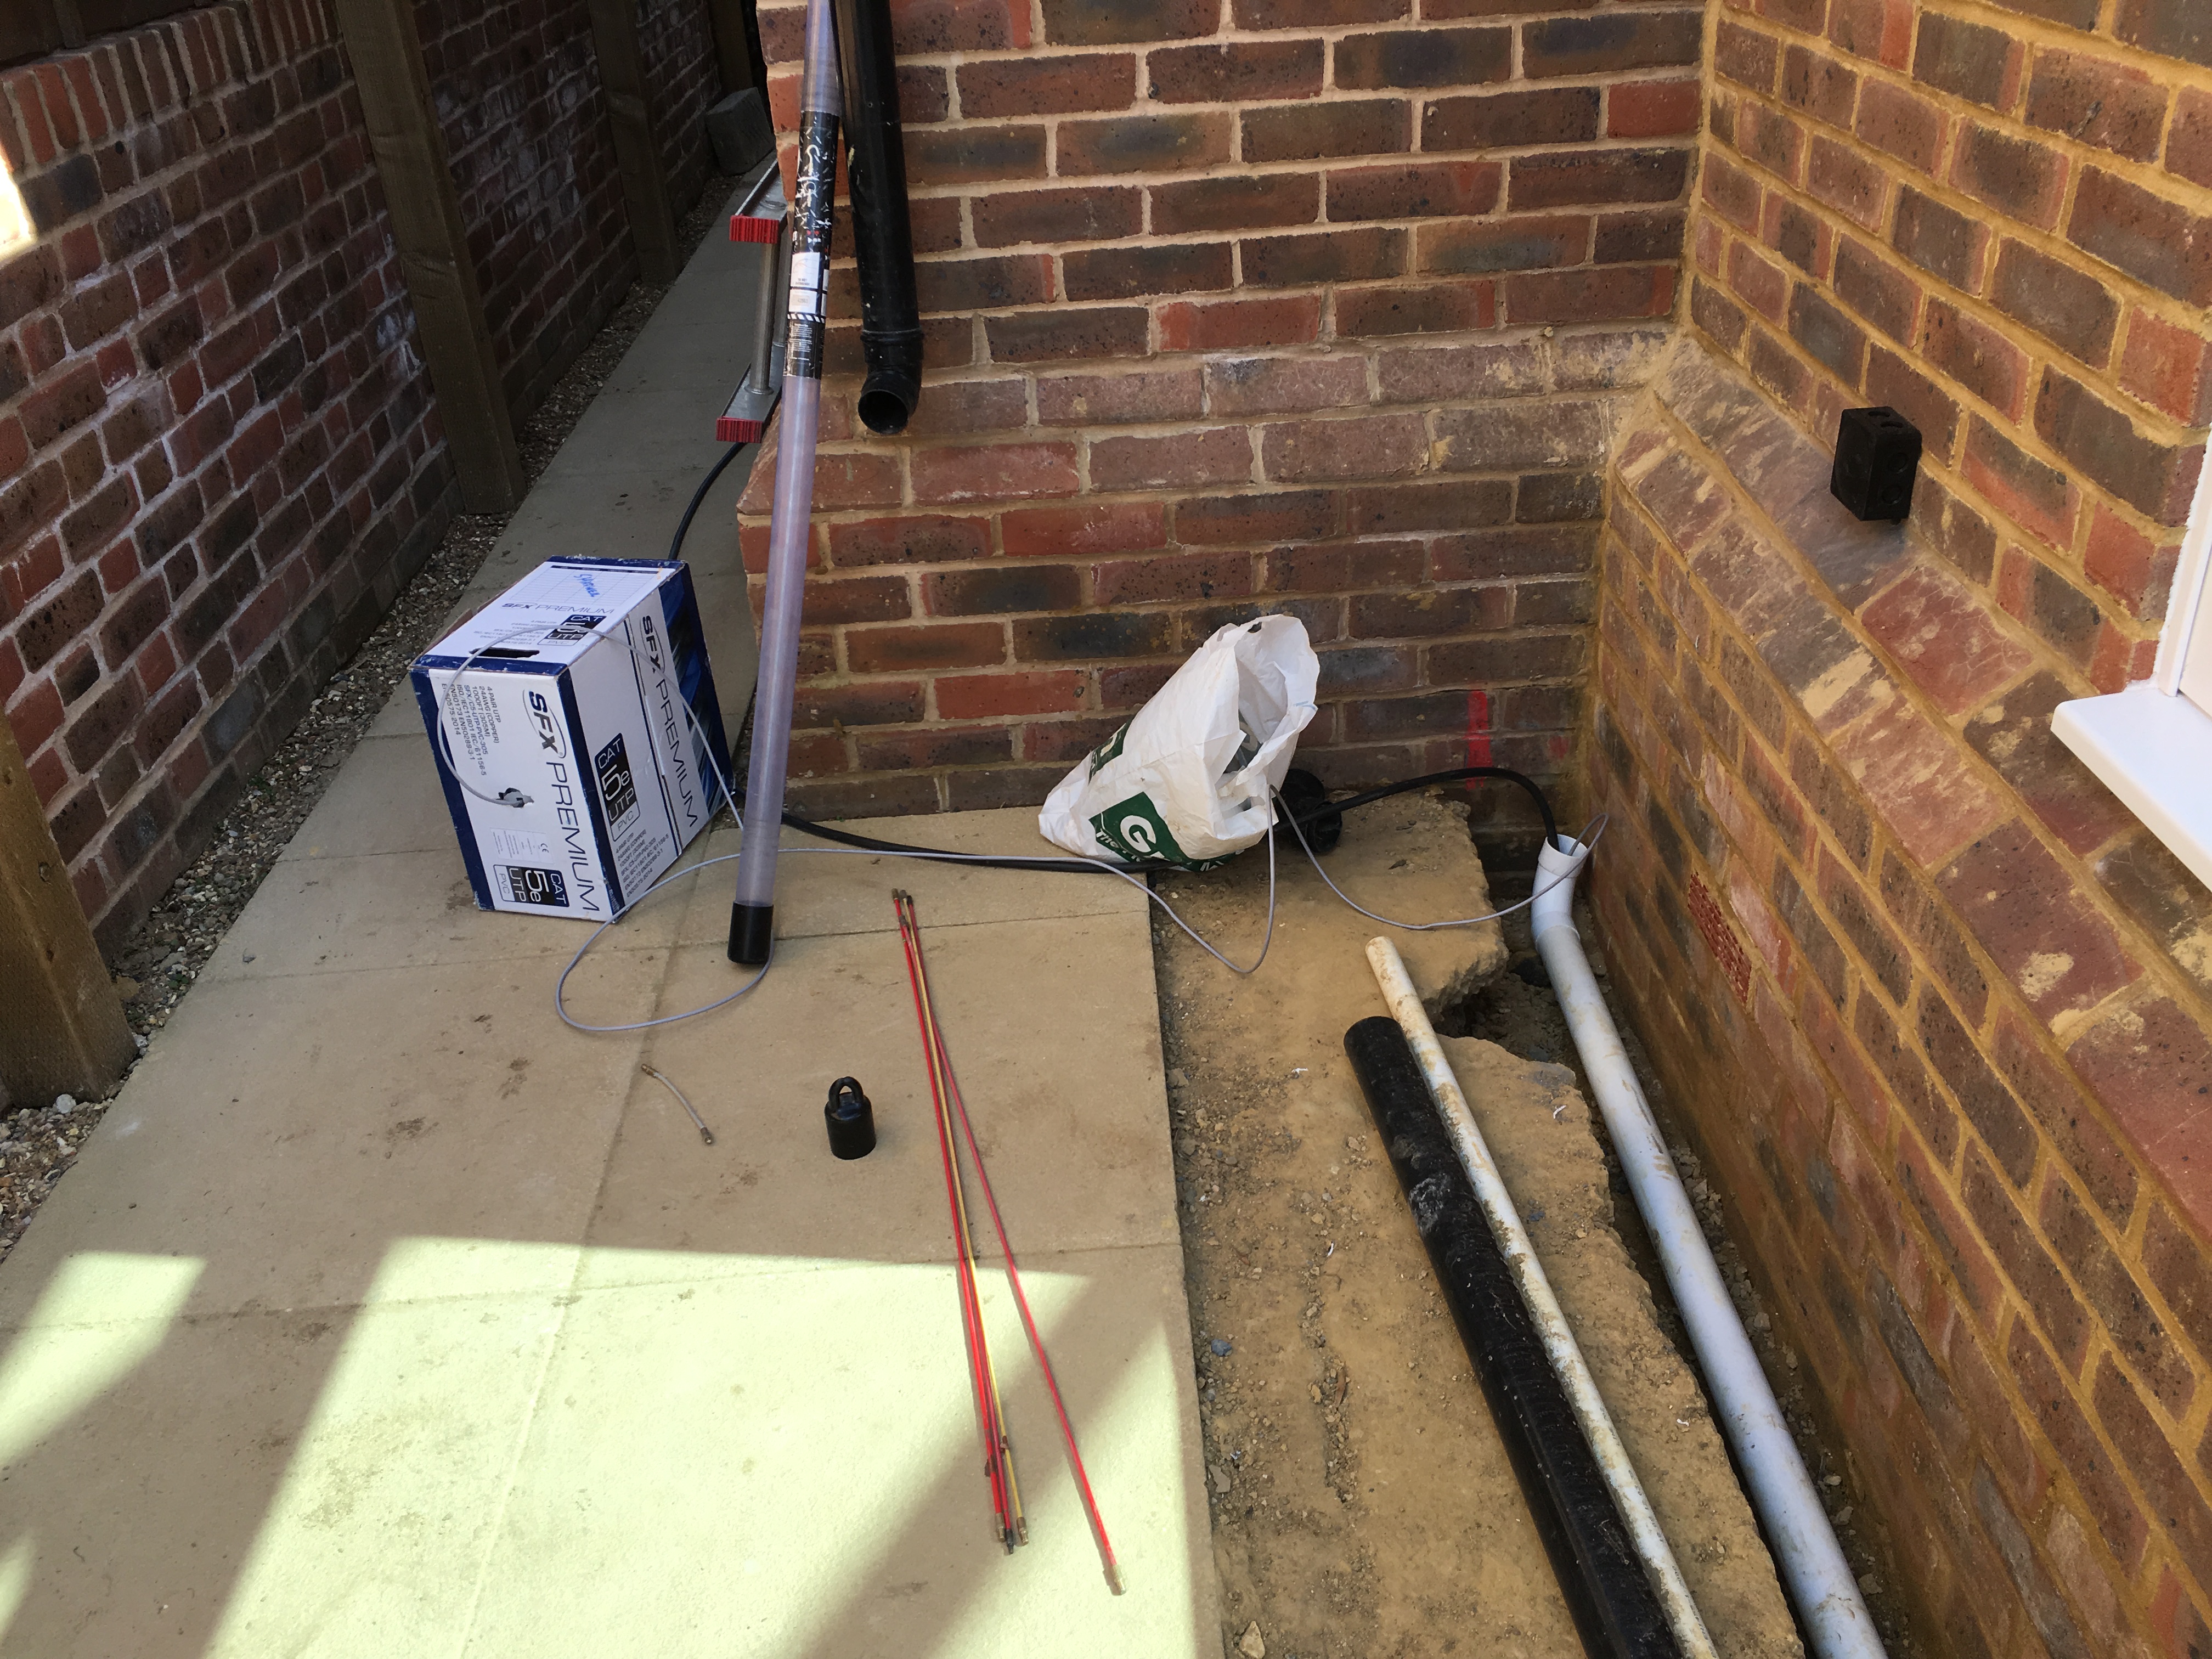
This was run under the ground through plastic pipe, even though the cable was armoured, in case we wanted to run additional cables later.