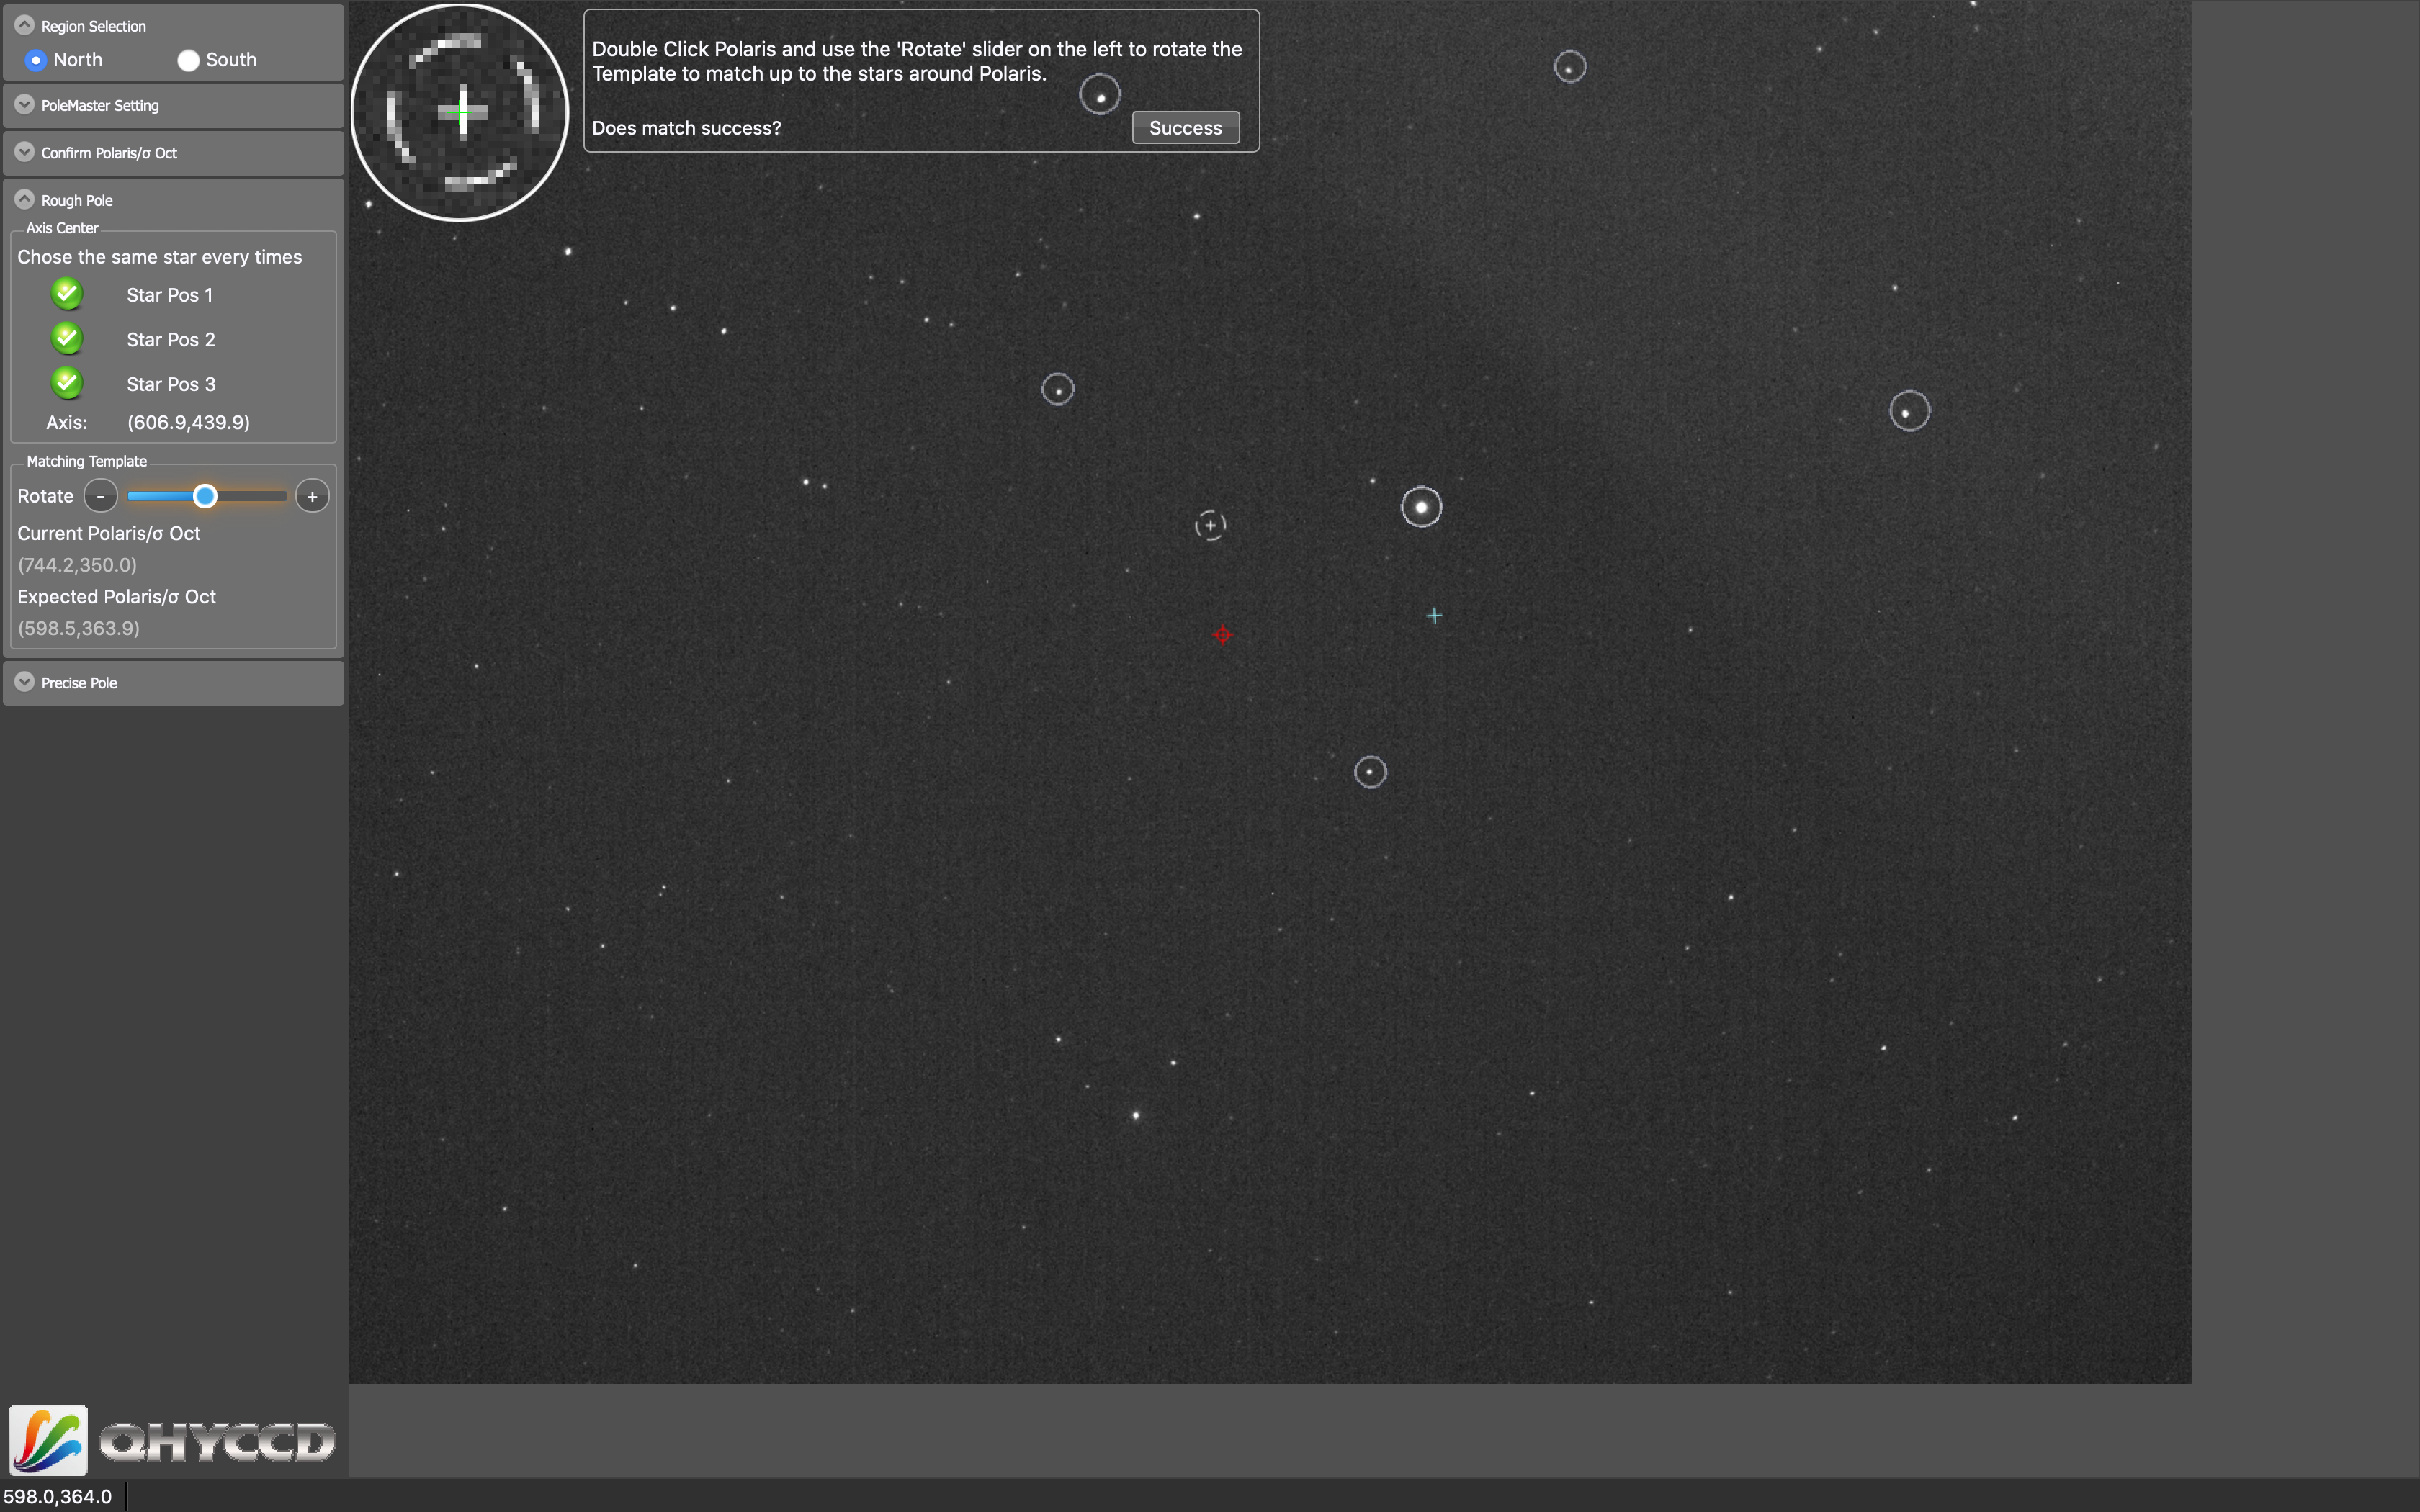
I started setting up before dusk and the scope was ready for my on the patio once darkness had fallen. The first thing to do was use Polemaster to get the polar alignment roughly done.
Polemaster prior to alignment
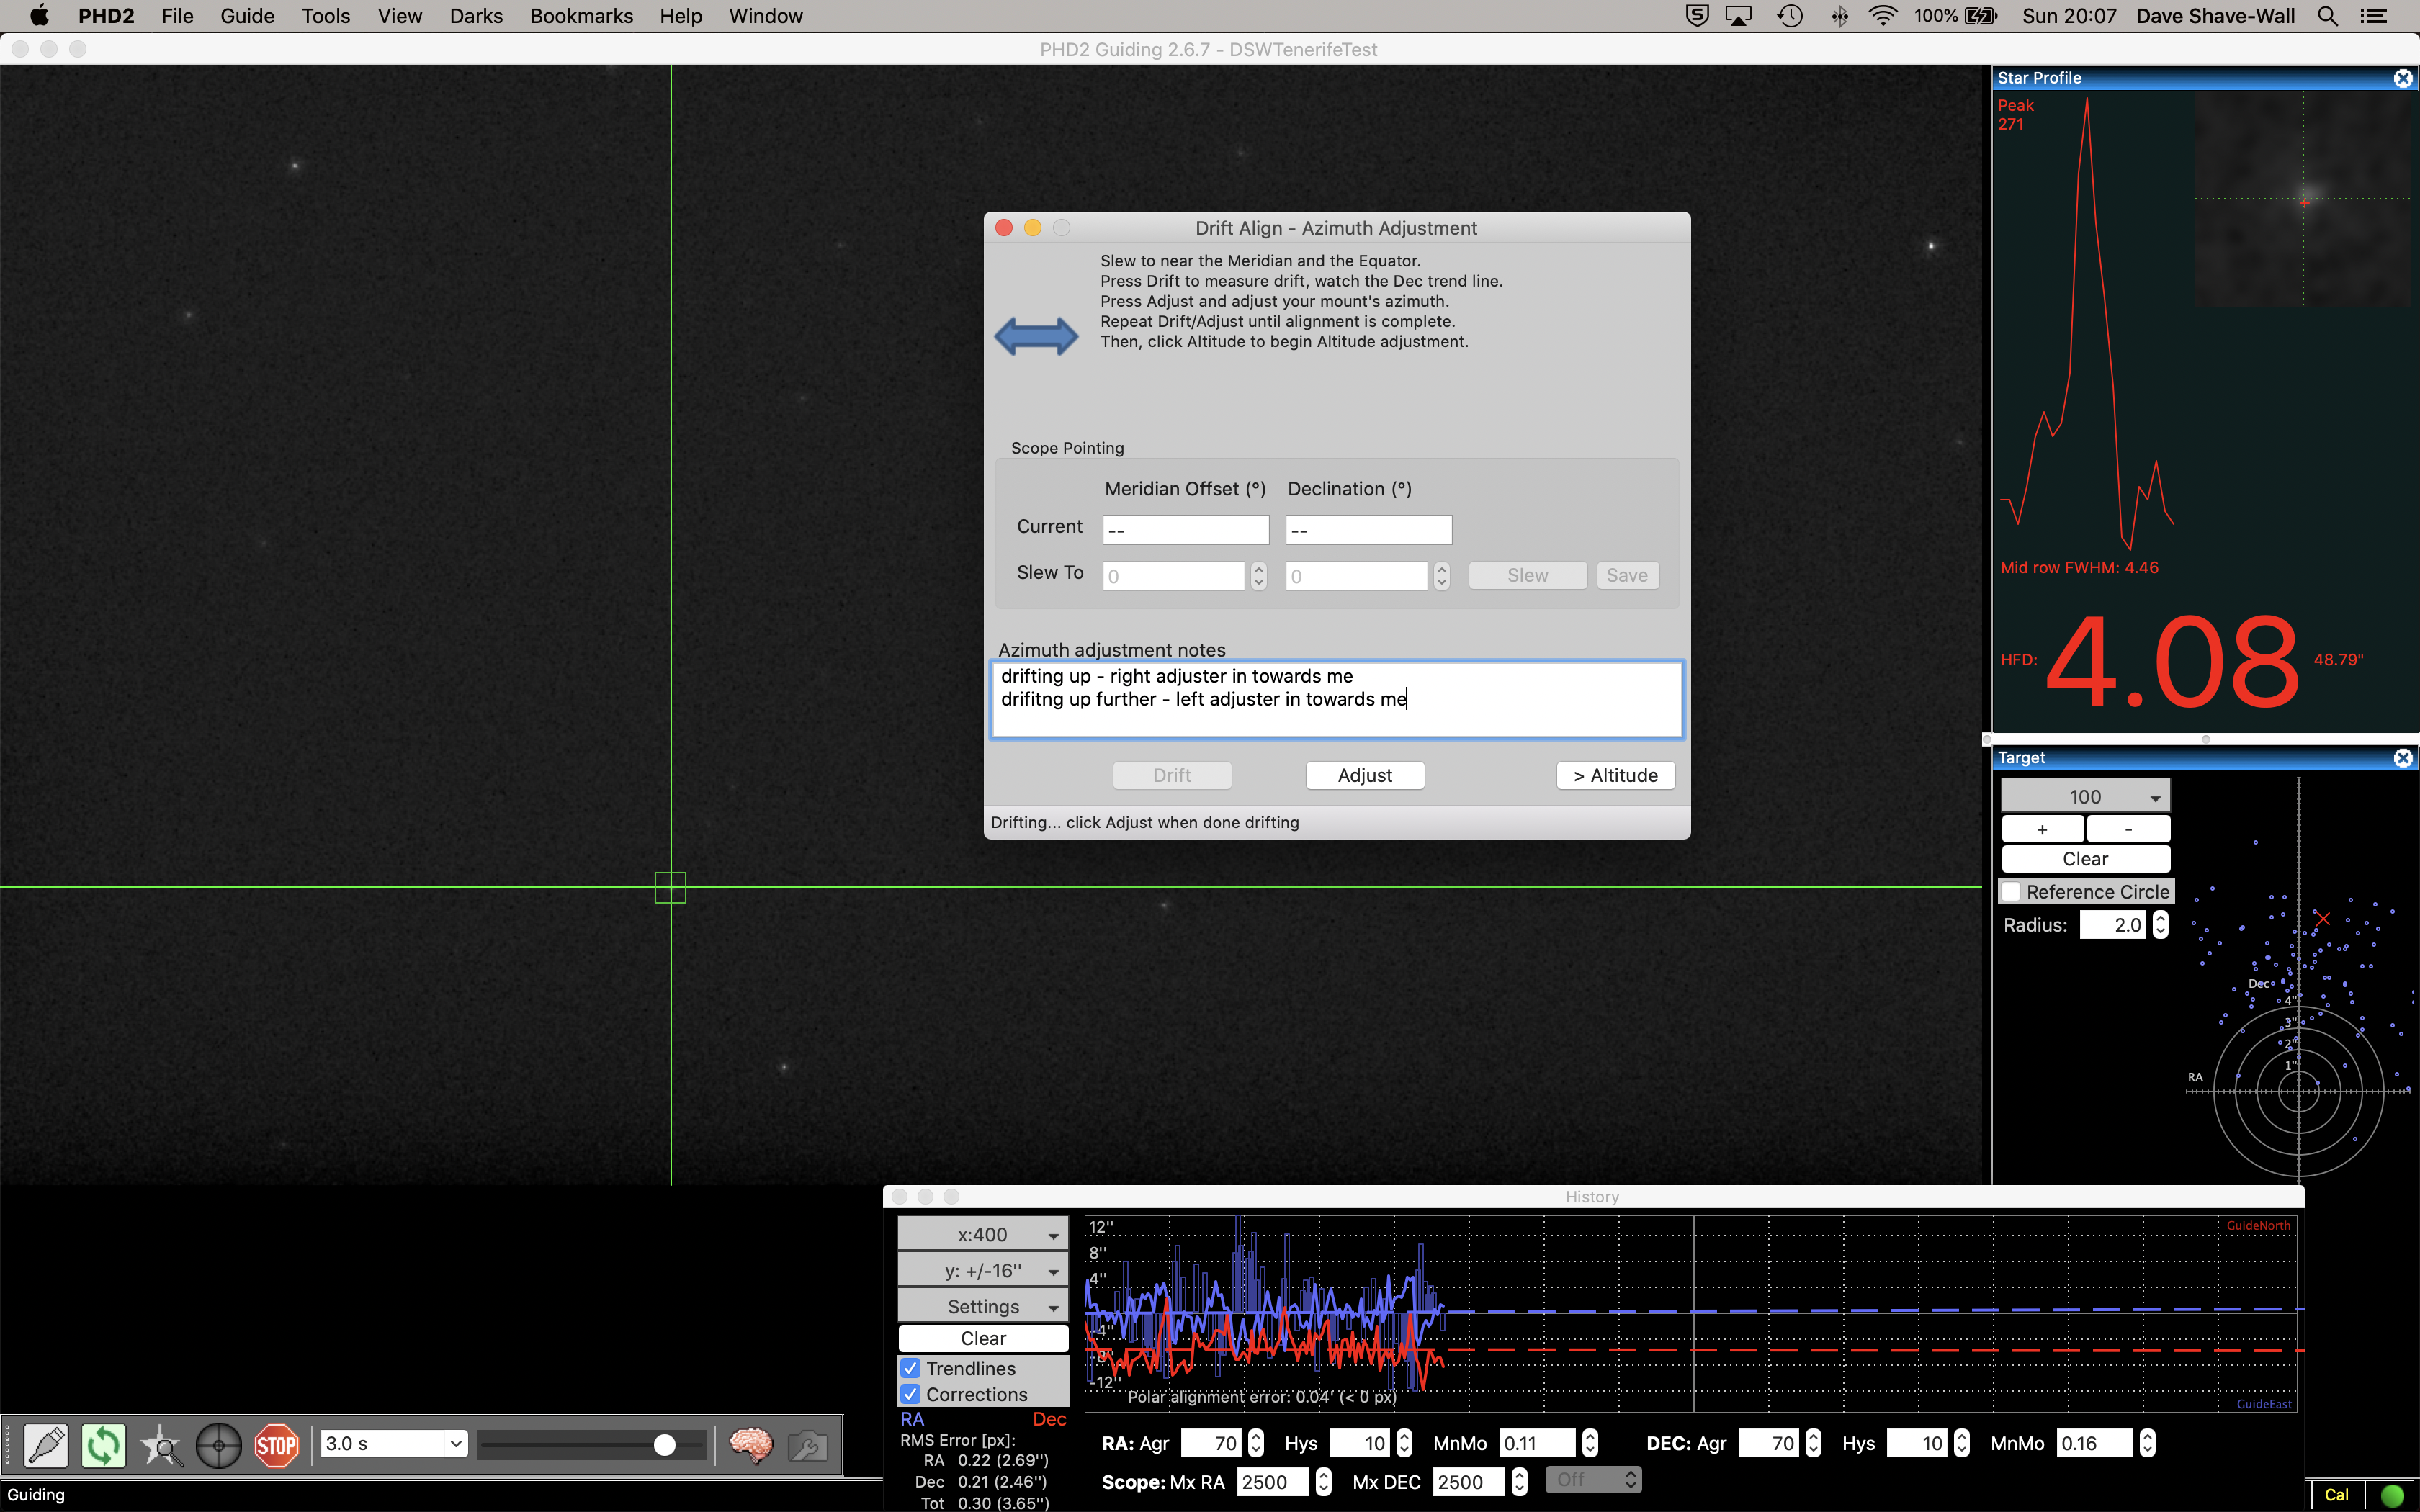
@19:43 finished Polar alignment and started PHD2 drift alignement
Drift alignment for the azimuth
@20:07 finished drift aligning in Dec
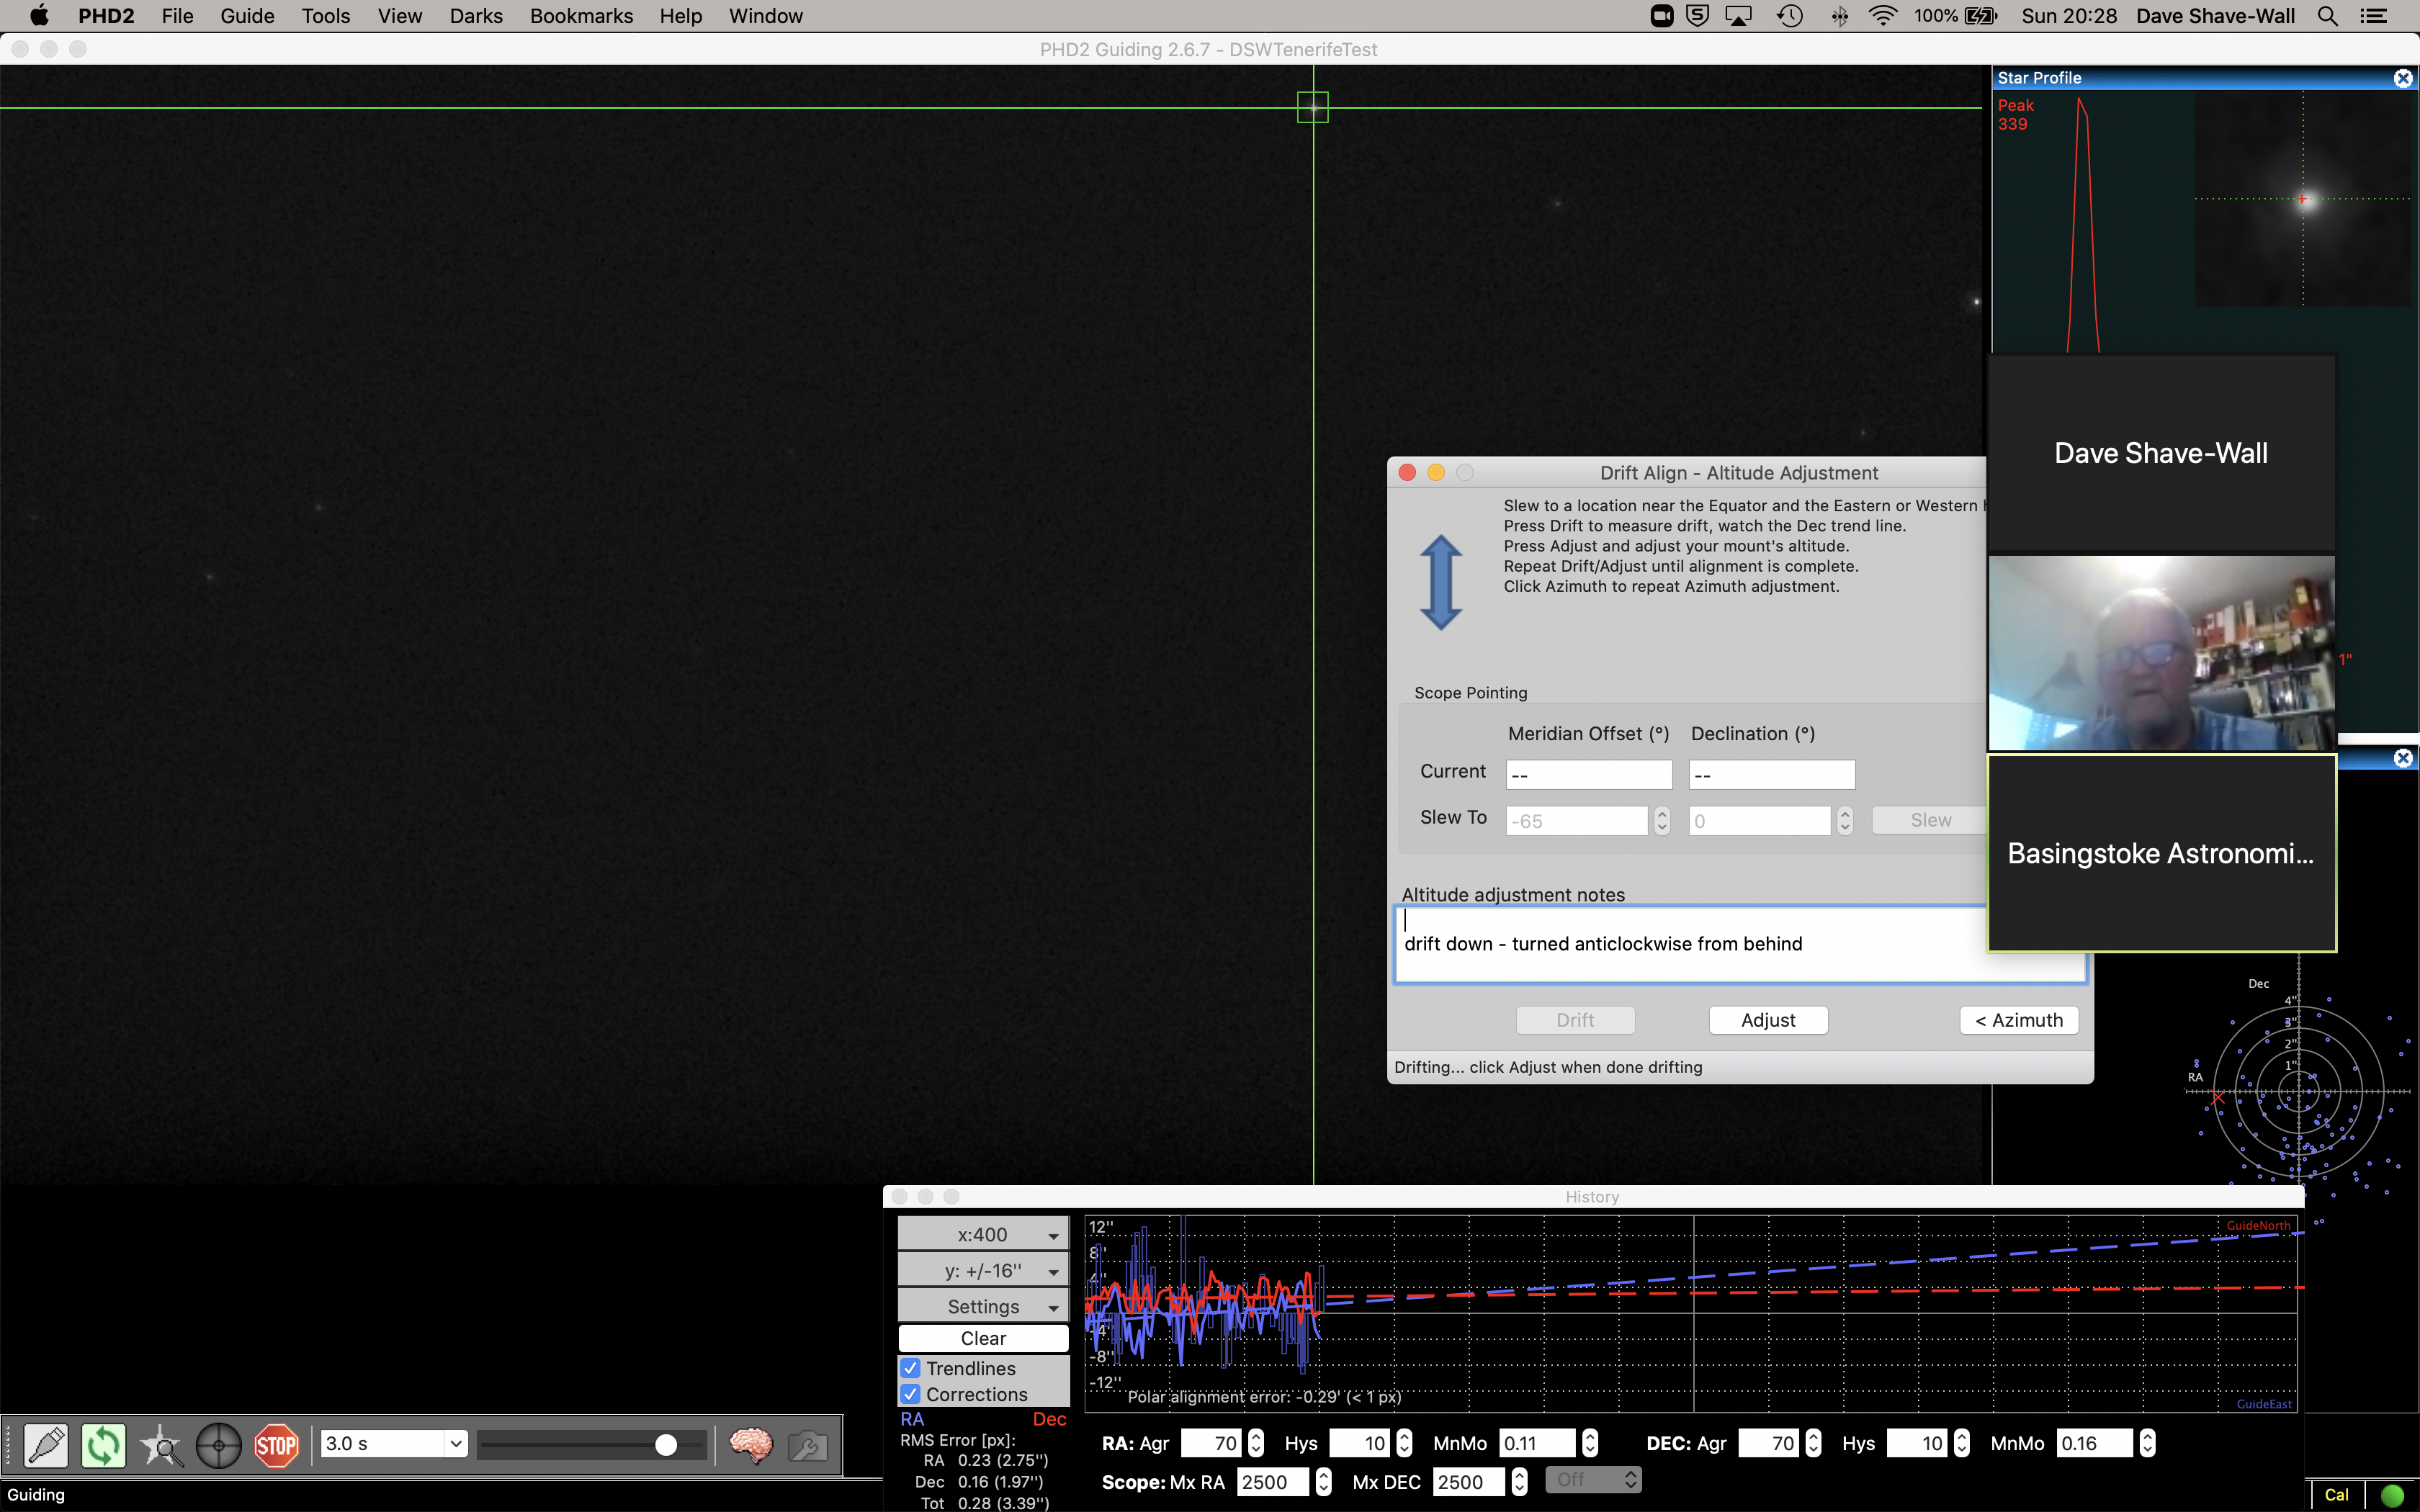
@20:23 after doing the washing up I am now back to do the drift alignment of the altitude
Drift alignment altitude
@20:29 finished drift alignment in the altitude and did not need to adjust
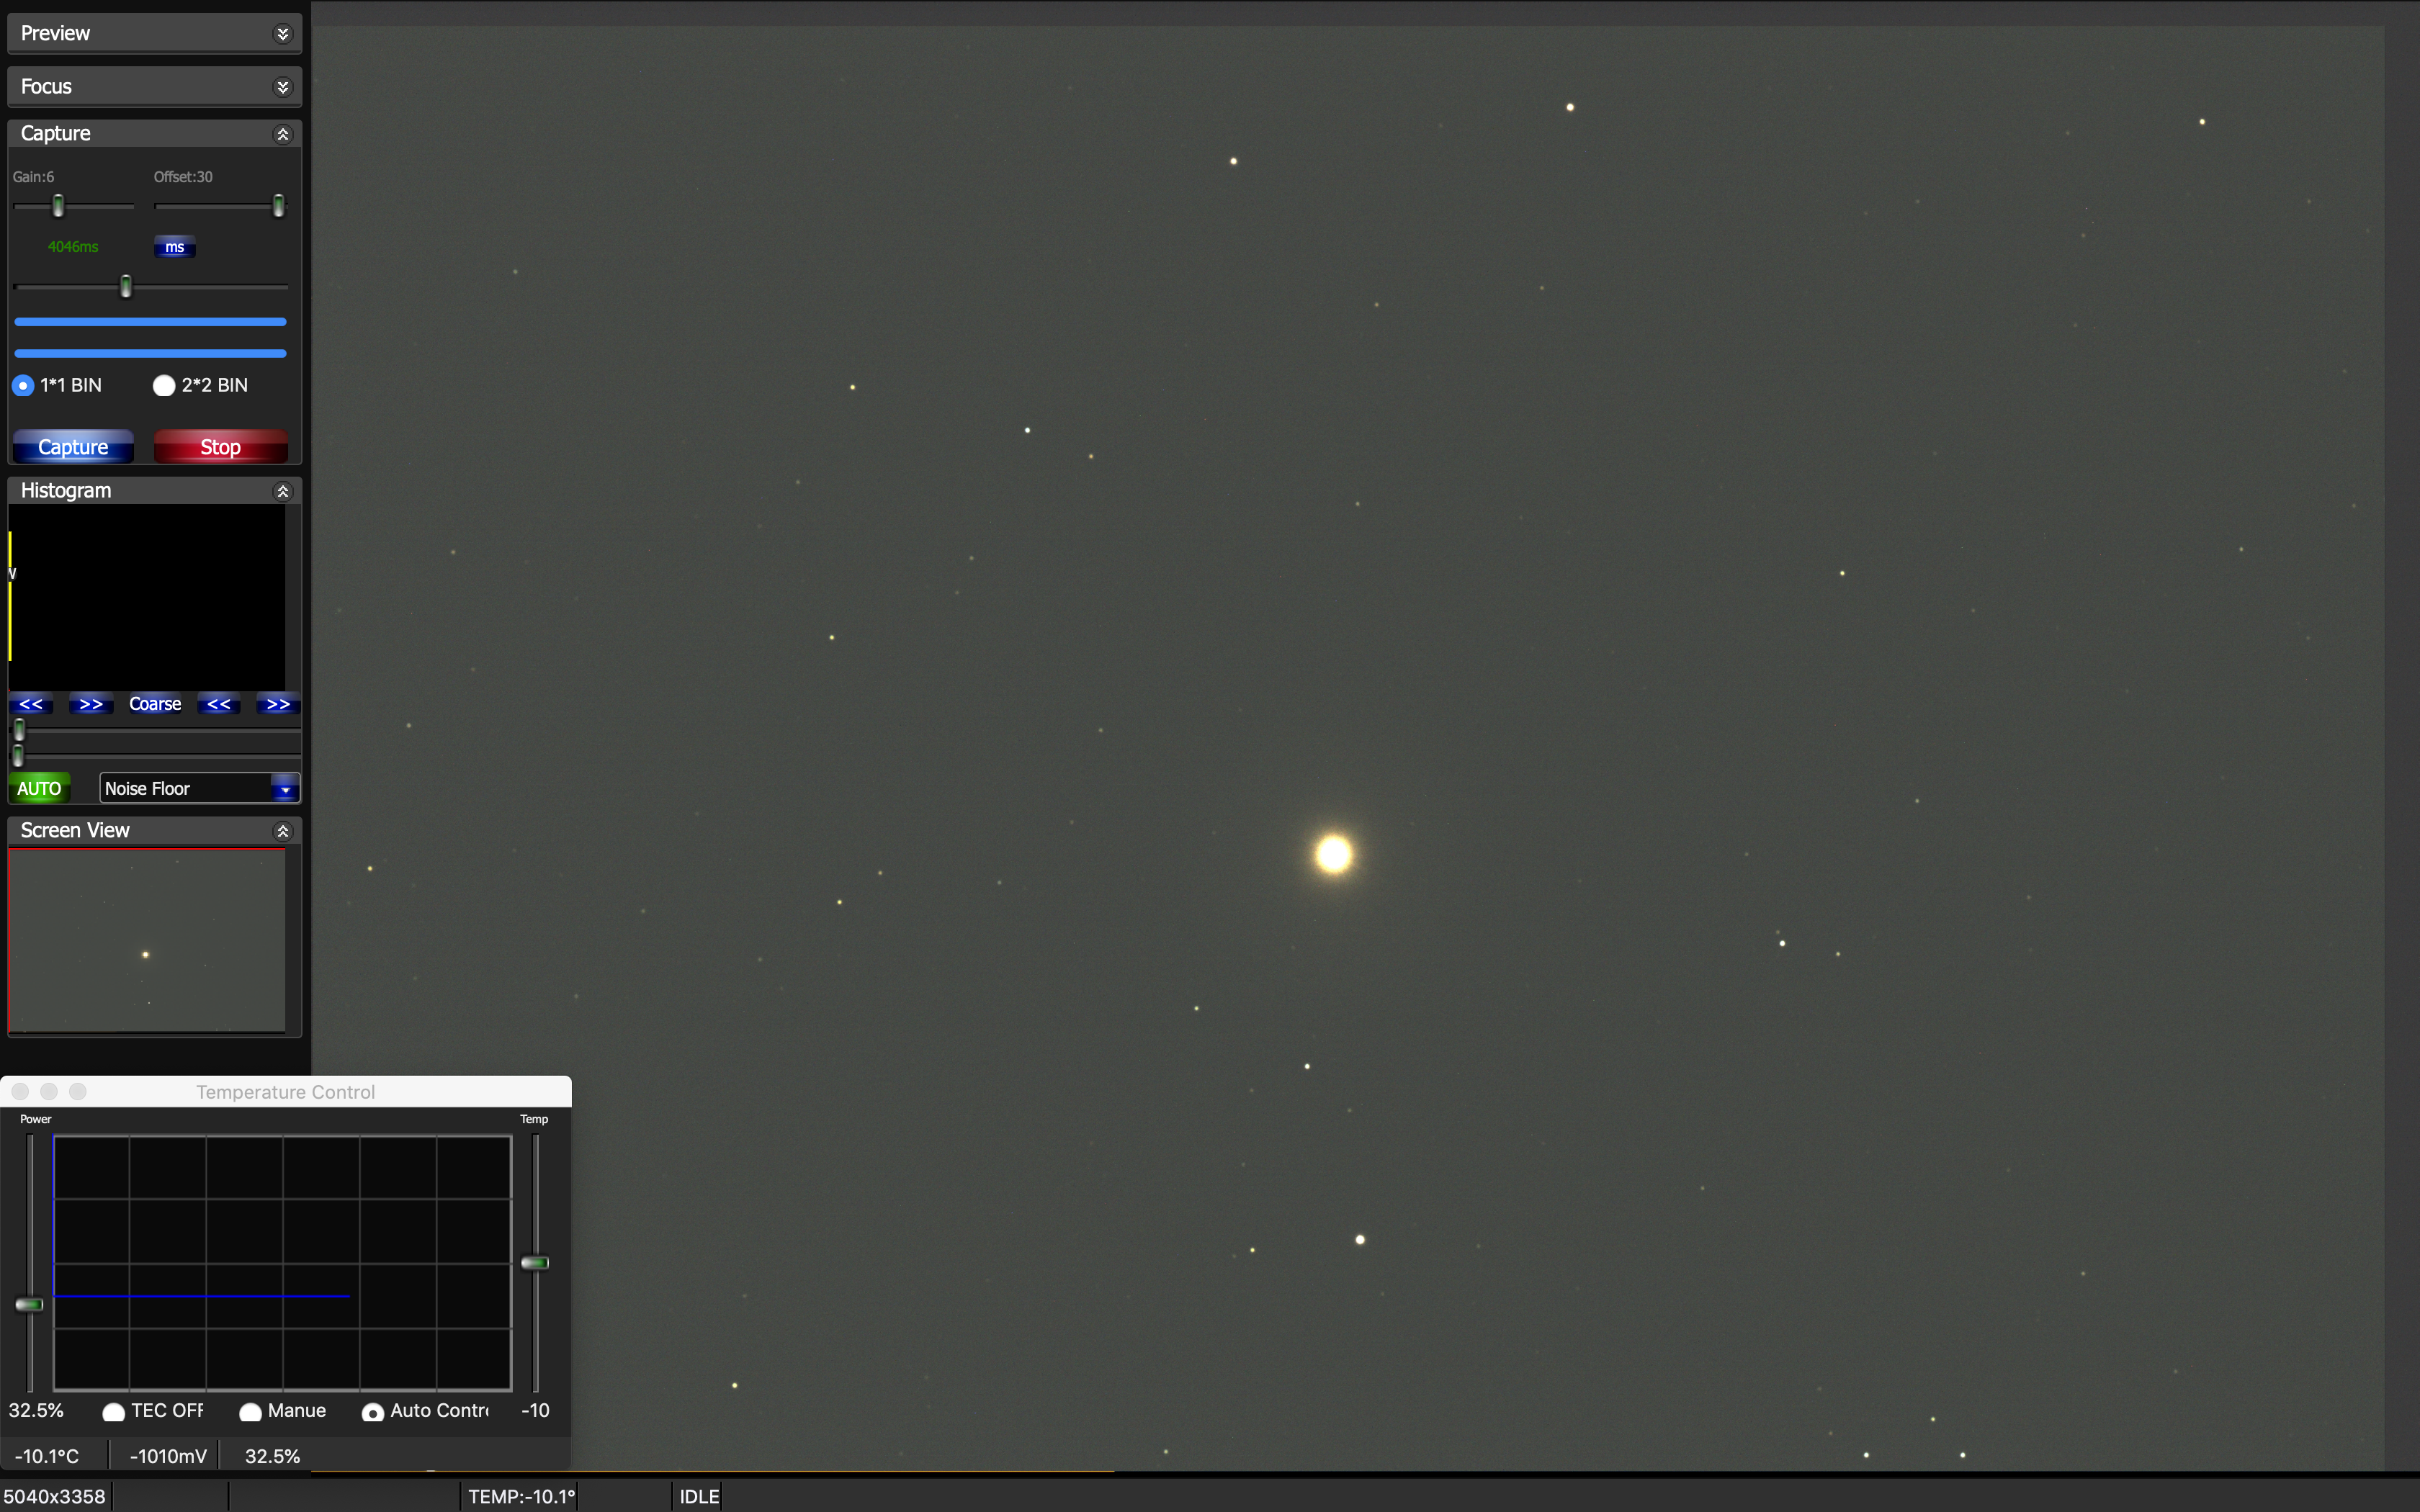
@20:43 slewed to M35 and set the camera temp -25℃ and its running at 40%. I have set Gain to 7 and Offset to 30
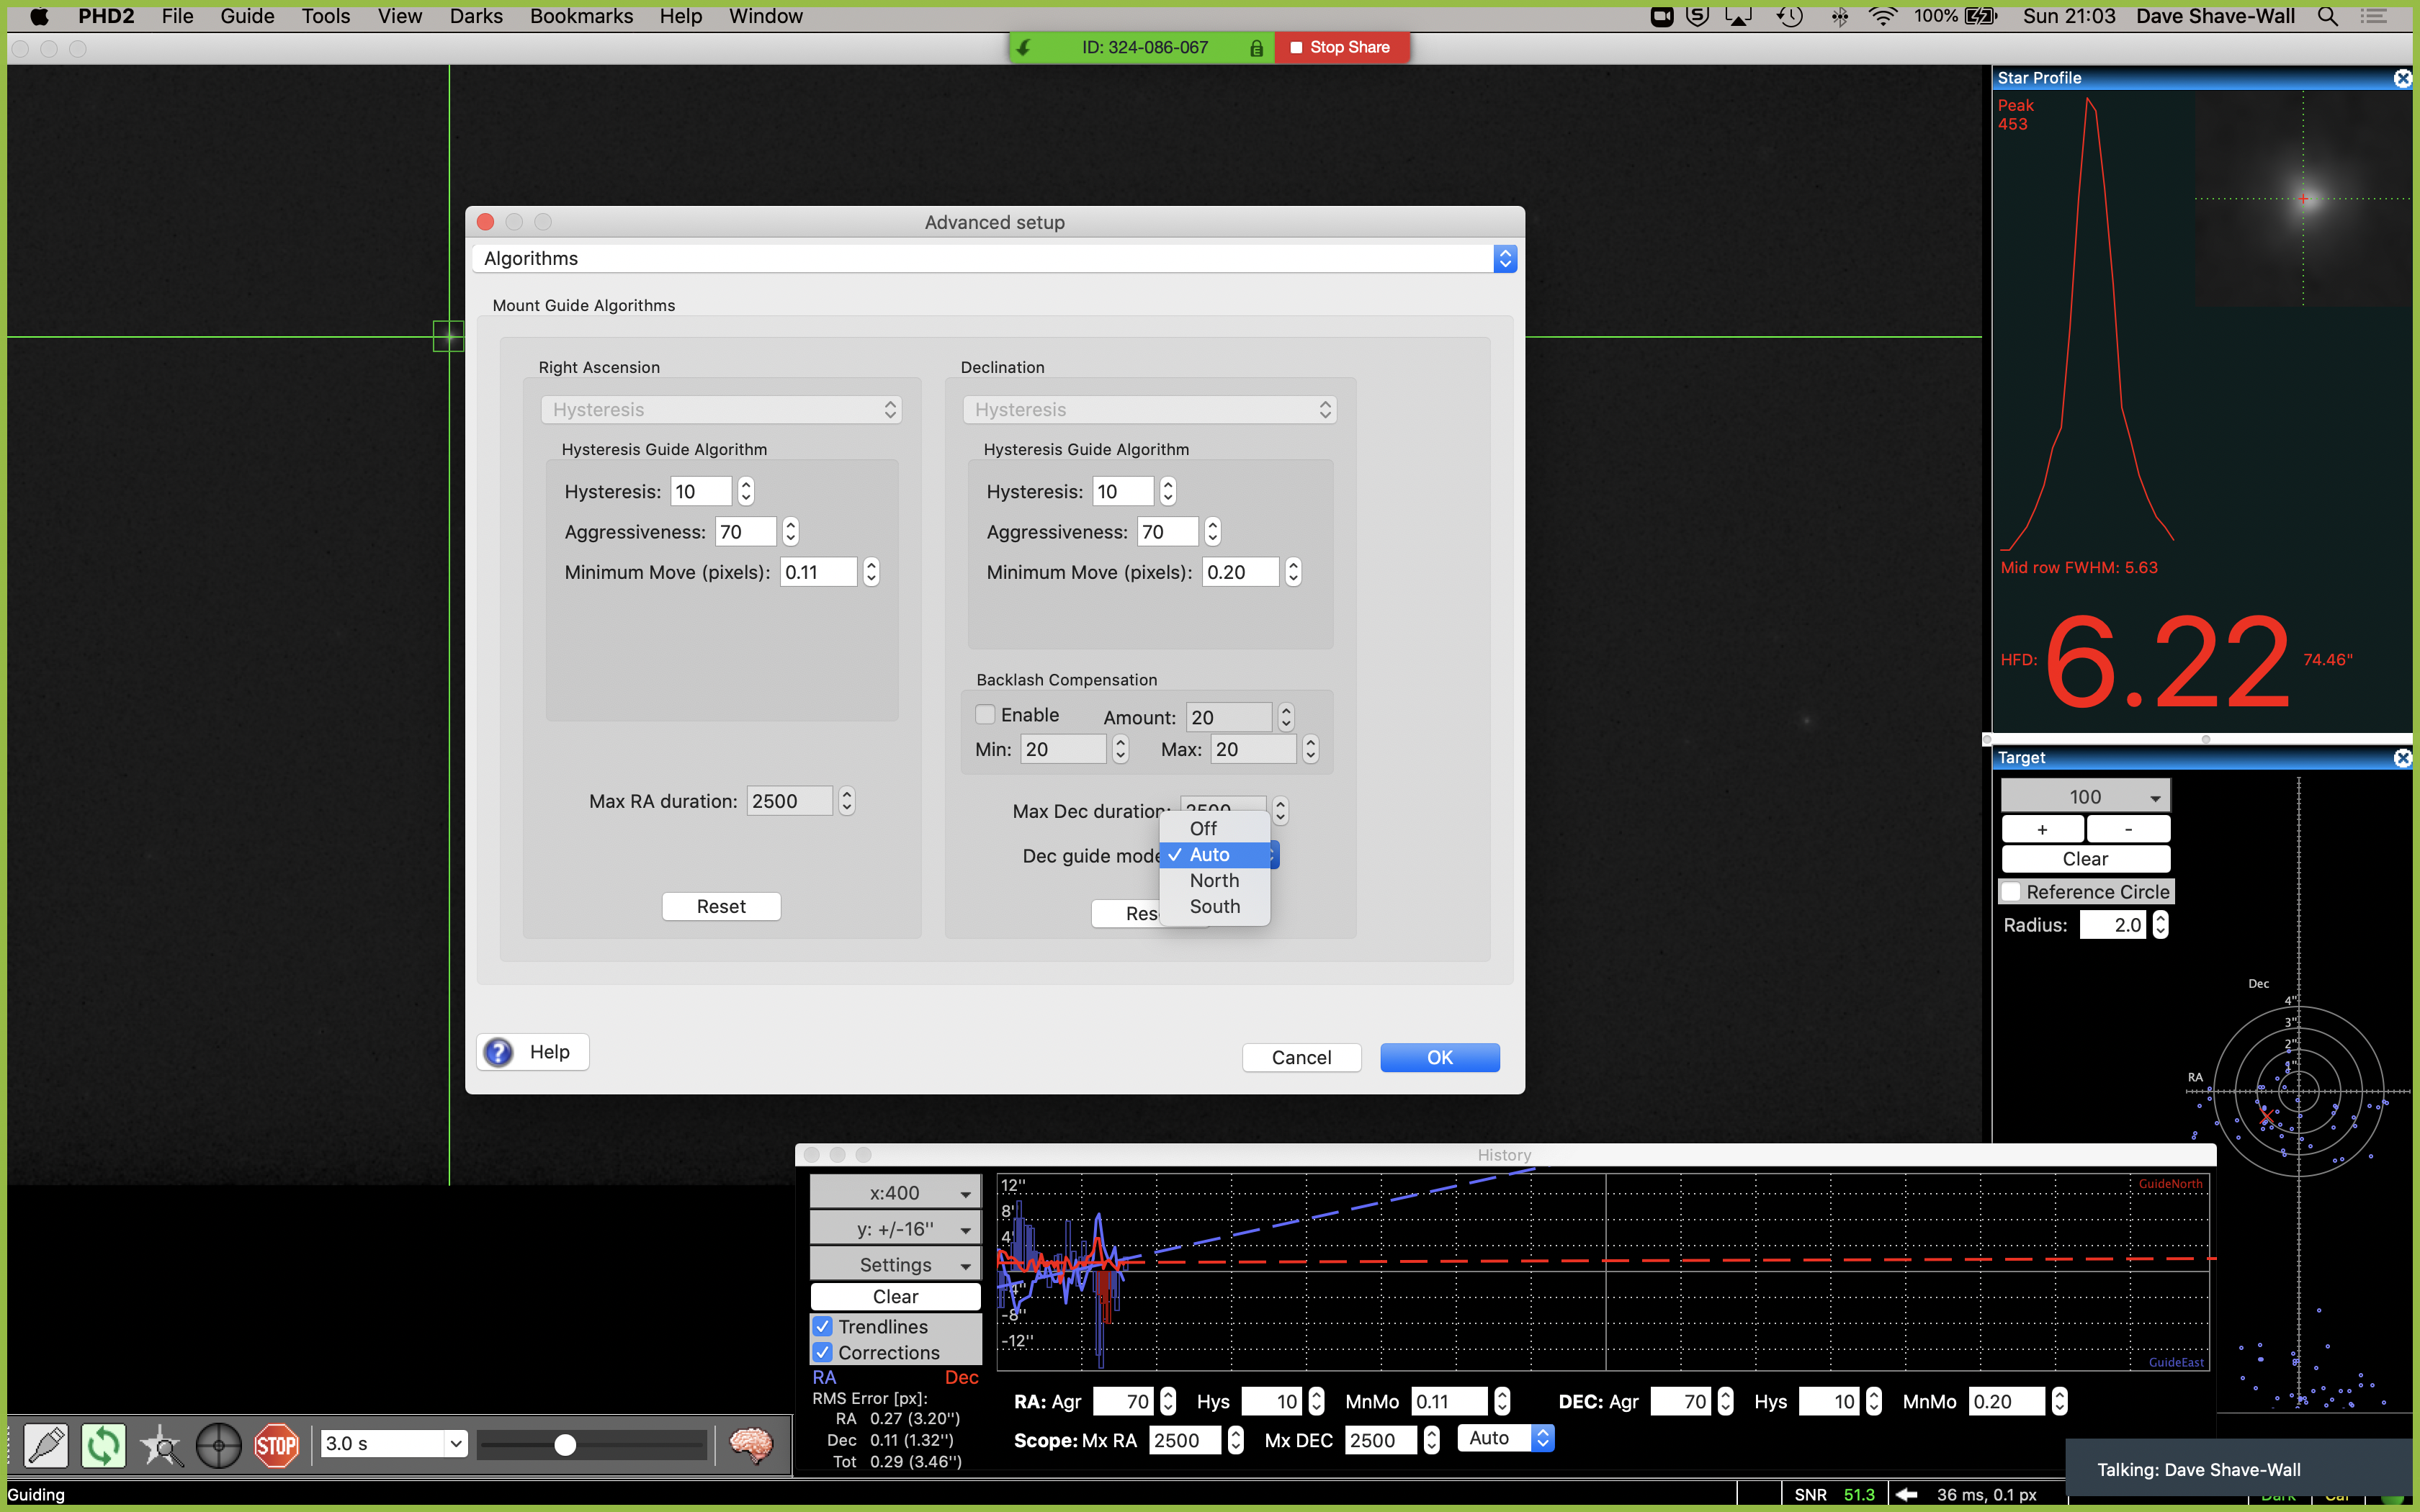
I then joined the BAS Zoom call along with many others from the society. I shared my screen and explained the problem I was having that the DEC axis was still drifting. Mil Dave took me through the settings and it transpired that I had the Dec Guide Mode set to North rather than Auto. This meant it was not correcting for the error as it drifted South., I set to Auto and PHD started to correct! It now works 🙂 Thanks Mil Dave!
PHD Dec Guide Mode Setting to Auto!!!!!!!!@
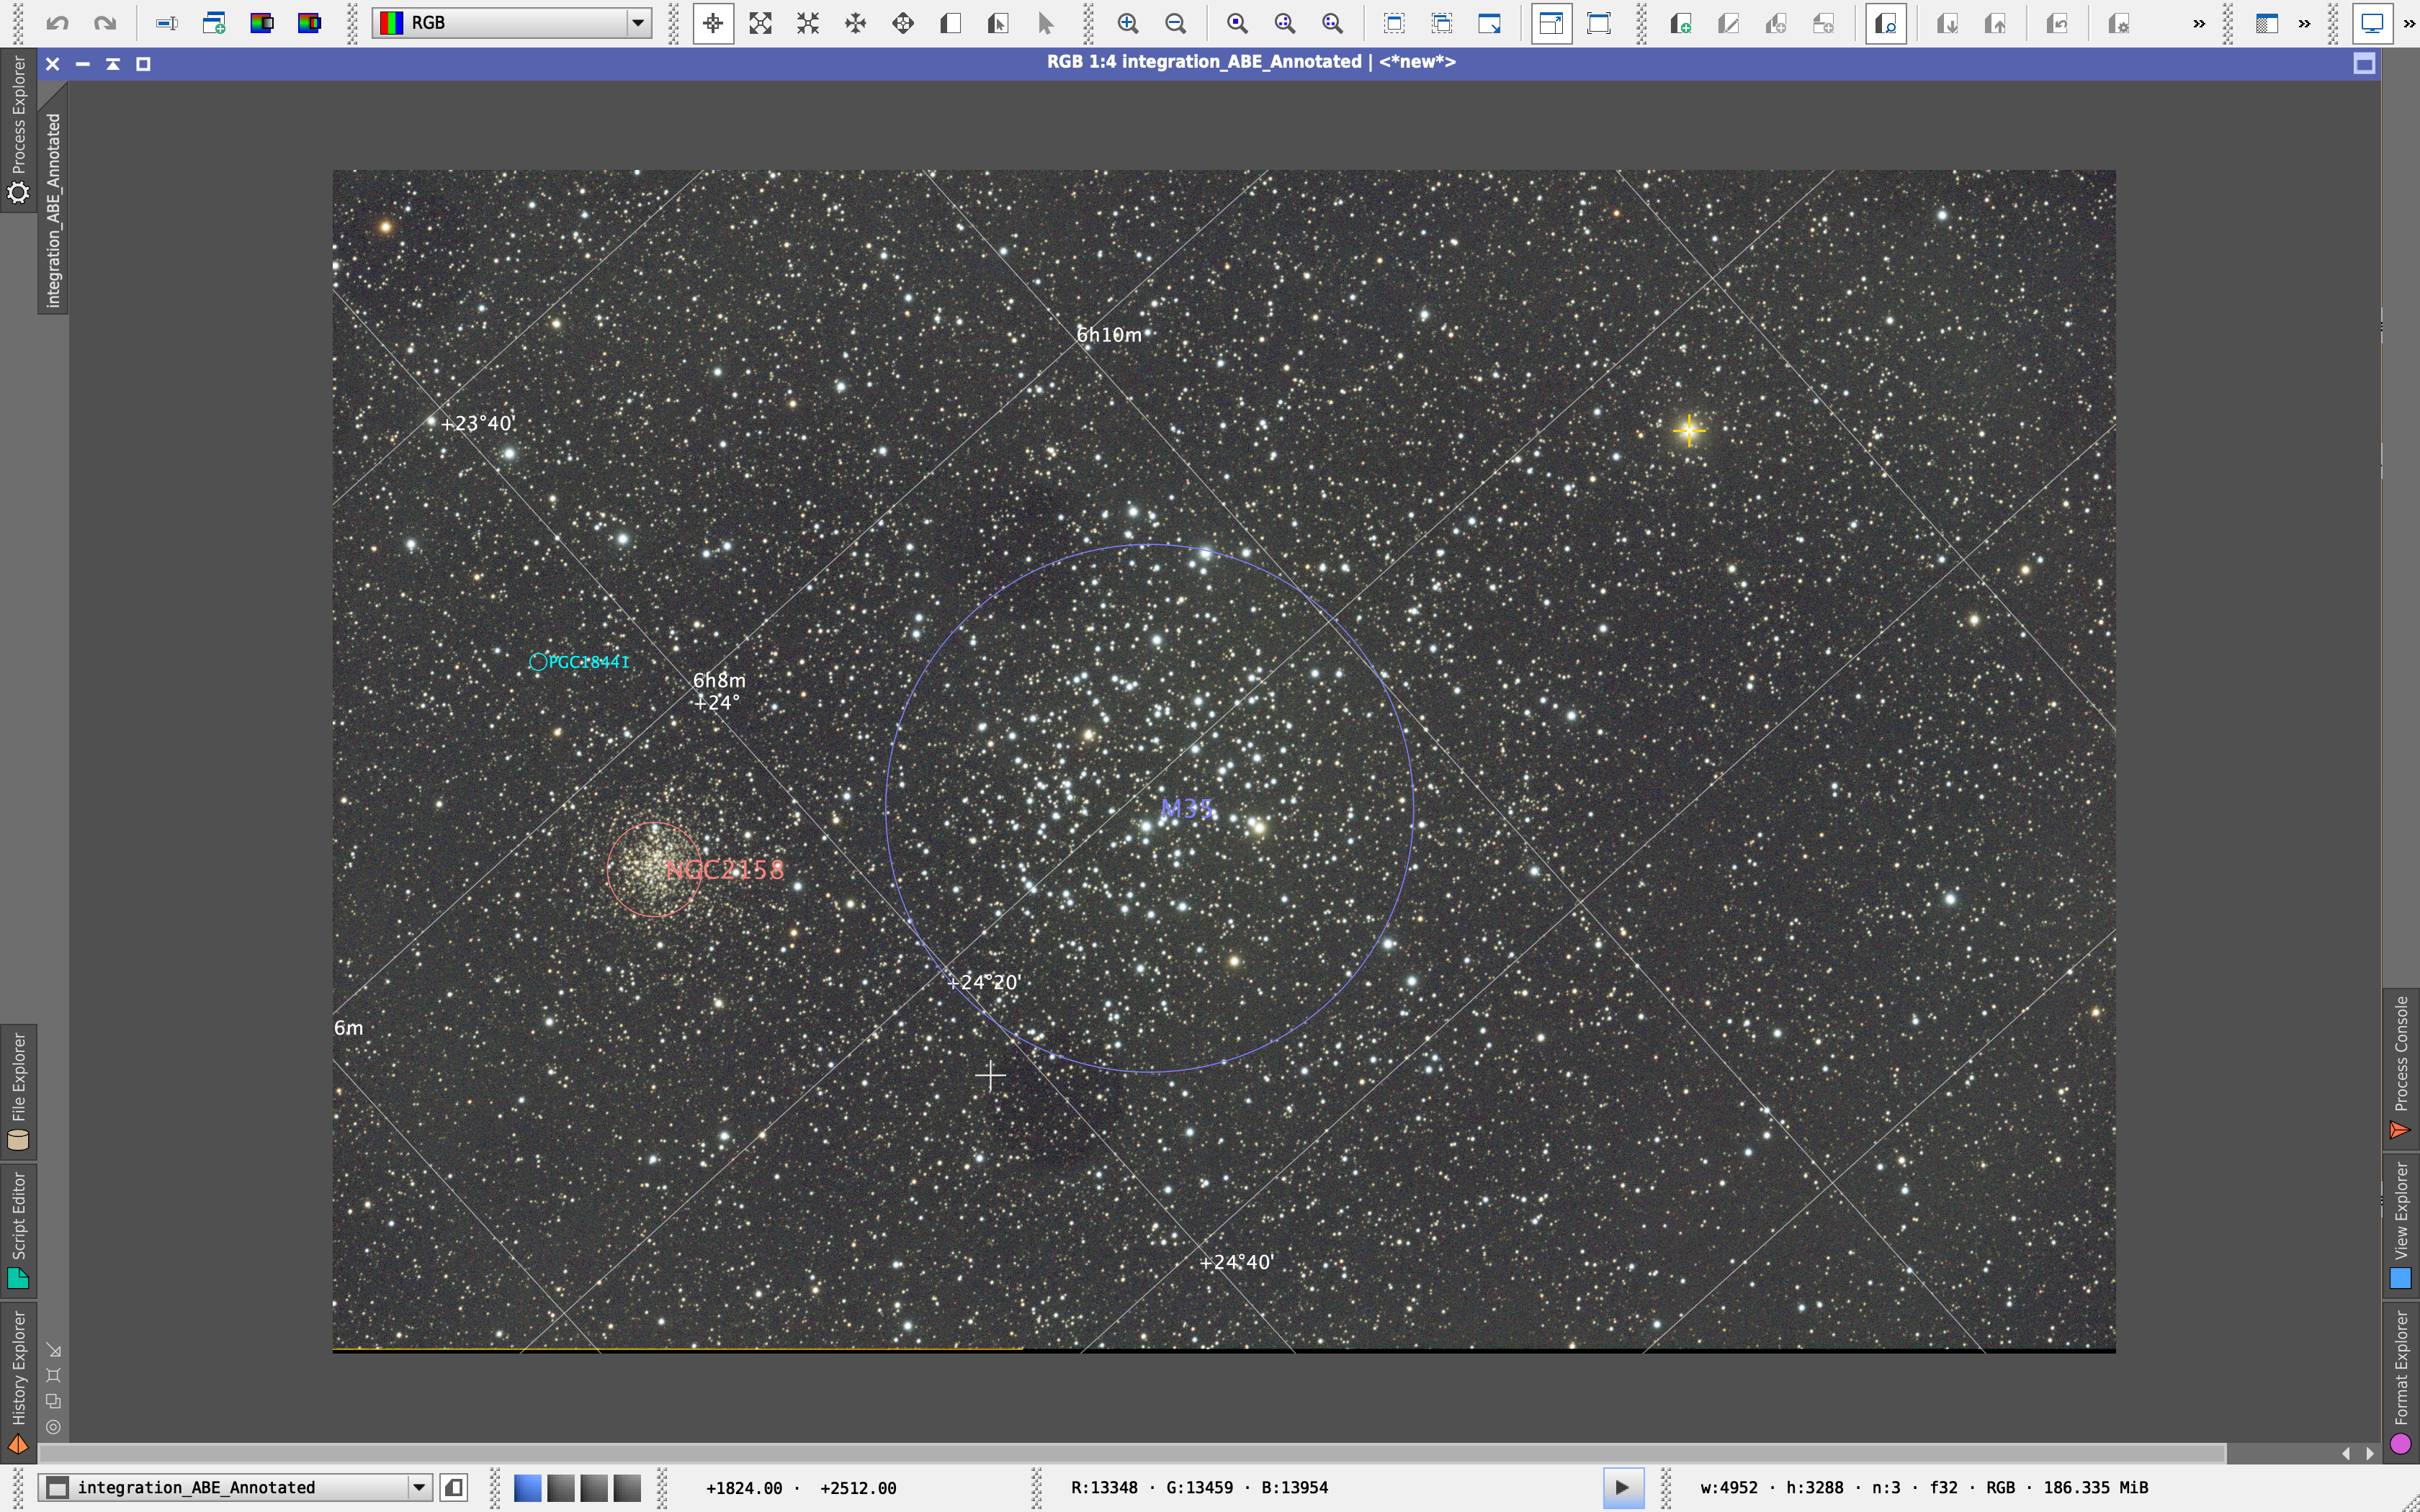
@21:20 I had started gathering 5min exposures of M35
Quick stack and stretch and plate solve and annotation of M35
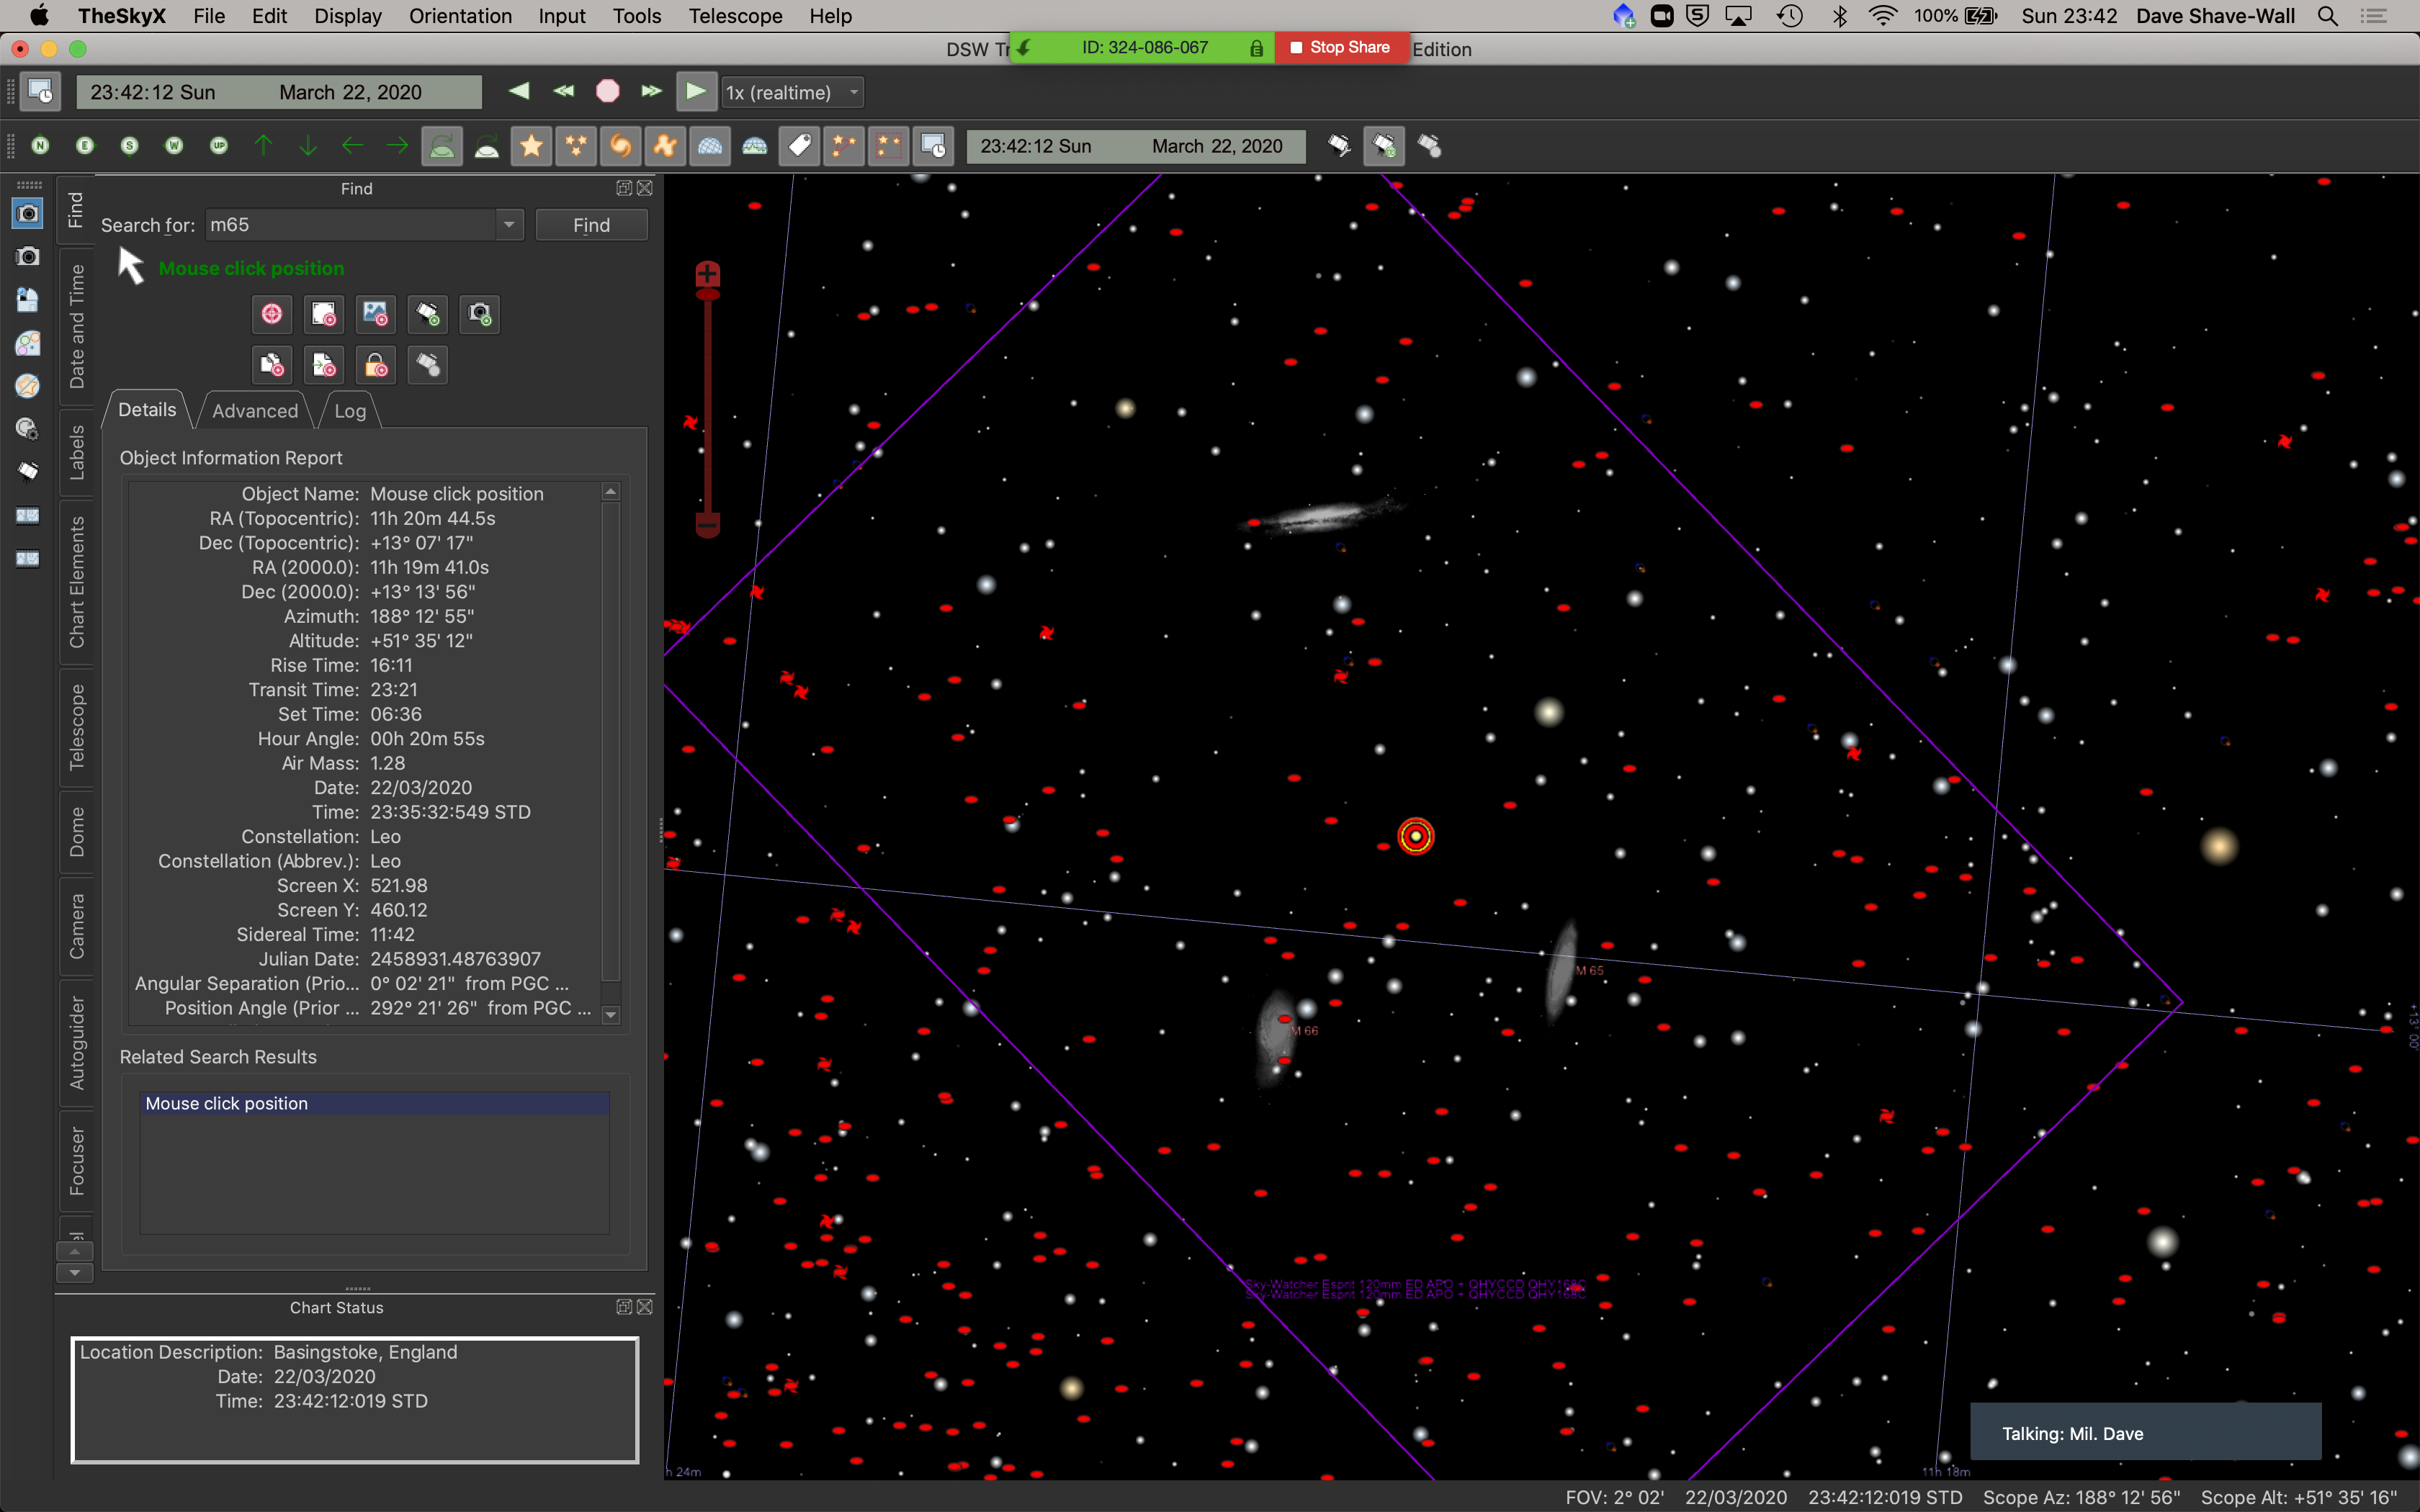
@23:00 finished capturing M35 now waiting for M65 Trio in Leo to go across the meridian
The SkyX Trio in Leo
@23:46 started imaging Trio in Leo although there is some high level cloud
Back out again tonight for a short period to look at guiding again. So with everything setup and a longer USB 2 cable in use I am now sitting in the warm Orangery. I will try again with the PHD2 software to guide and EzCap to acquire images from the QHY168C. I have set the Gain to 7 and Offset to 30 as previously used on my other QHY168C when used in Tenerife.
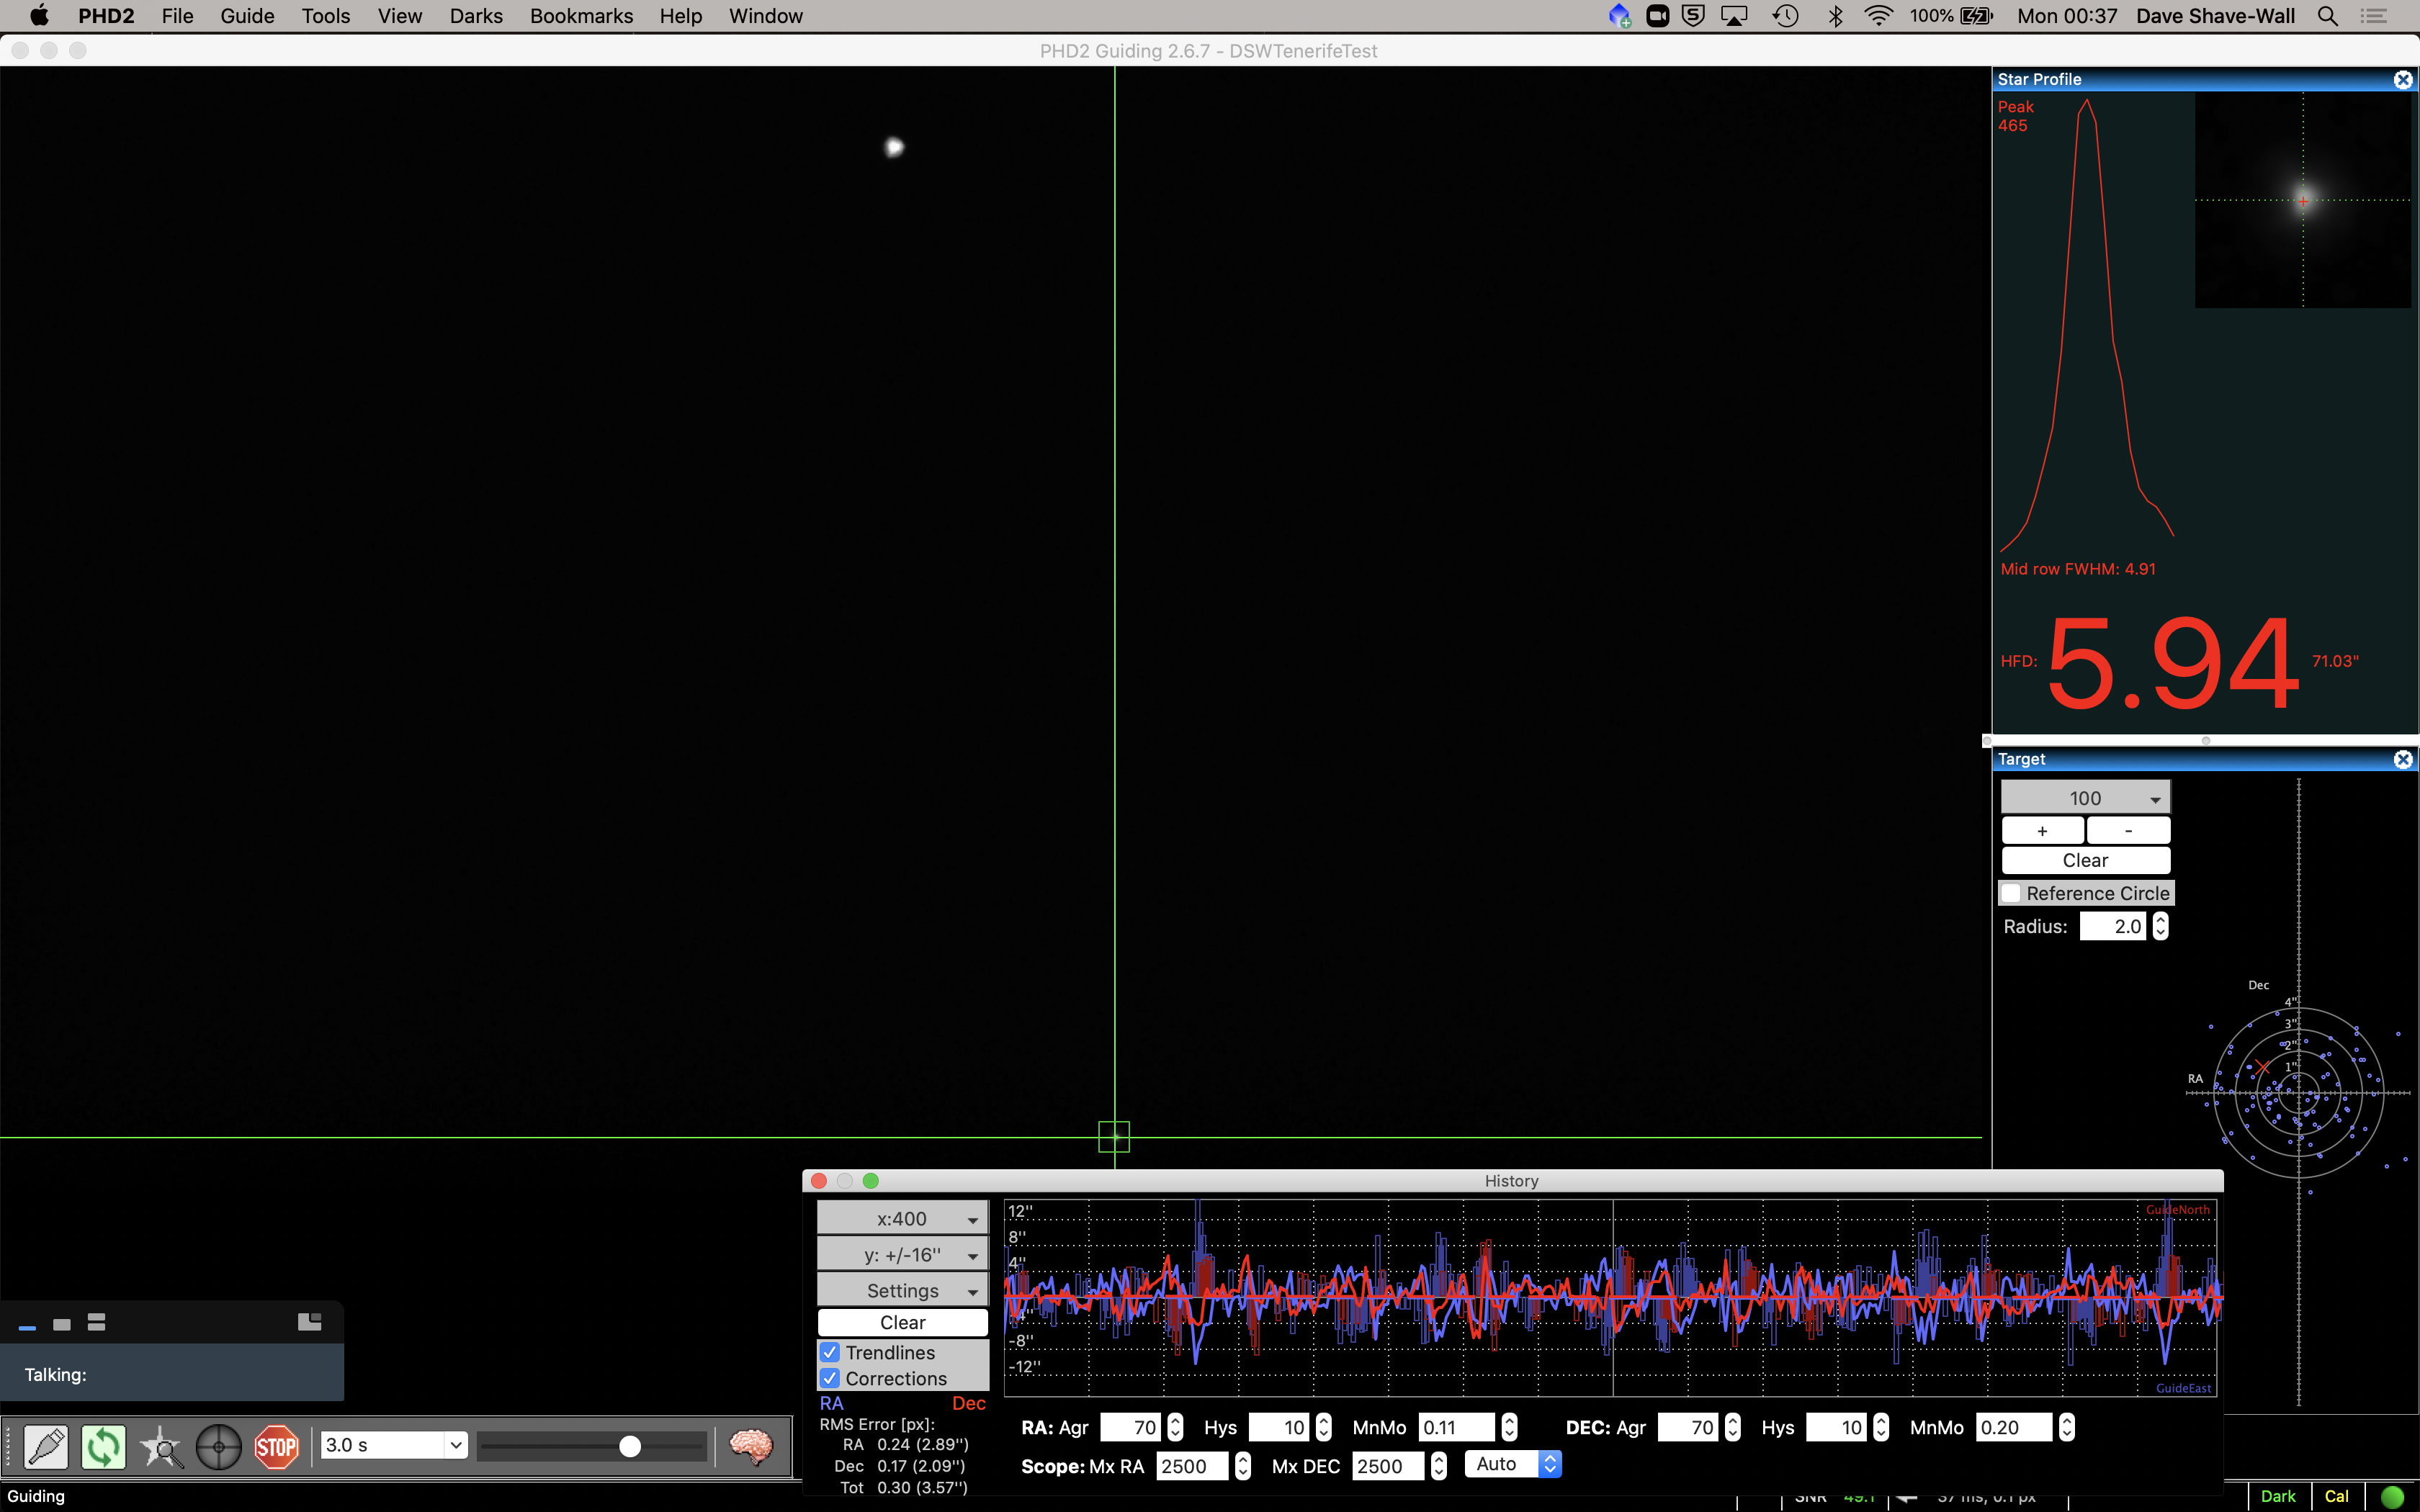
I polar aligned using PoleMaster. Then set about syncing the scope with Betelgeuse. It was only off slightly. The sync worked fine tonight. I then slewed to M35 and started the PHD2 guider software, selected a guide star and calibrated the guider. This worked well first time proving my new step size of 4 using a small ms time for the pulse worked.
Then I started guiding and very quickly realised the same problem as yesterday with DEC drift upwards. No amount of fiddling with the setting such as Hysteresis or Aggressiveness changes the constant upwards drift. I then remembered that I could calibrate the settings as the other night under Guider Assistant. I ran this made the changes but still the upward drift.
I then remembered that on the Paramount MEII in the dome I had to drift align with PHD2 to get it properly polar aligned and that PoleMaster was only good enough for short exposures or rough guiding. So I set about drift aligning.
PHD2 Drift Alignment
The first thing to note is that the polar alignment was out by a fair bit to get the accuracy I require in both azimuth and altitude. I have now adjusted both and the graph seems a lot smoother.
So in all it took me around 1 hour to drift align and just as I was about to test the clouds rolled in!
There were two things I wanted to do tonight, one was to get first light with GingerGeek through the Skywatcher Esprit 120ED, the other was to setup my Esprit 120 on the MyT in the garden and grab a photo of the Moon to celebrate 50 years since Neil and Buzz stepped out onto the lunar surface. As a bonus I wanted to to get the guiding working on the MyT too.
As GingerGeek opened the dome on the IMT3 I setup the portable gear on the patio. I connected the setup to a 12V car battery to see how well it did at running the Mount and the camera. The initial voltage of the battery was 13.1v when I started. I connected the camera to EZCap and the Mount to TheSkyX (TSX).
Meanwhile GingerGeek opened the dome, connected the mount, opened the very geeky but cool Flip Flap covering the Esprit 120 and slewed to a bright star for deterring the focus and the position relative to the 12″ main scope.
Remarkably the focus was fairly near and after a few iterations GingerGeek managed to get the V curve sorted for good focus. Before this was done he setup the Luminance filter on the filter wheel control with SGPro that had not been configured. I then looked at the resulting image and determined the FoV within TSX. The field almost fits the 12″ and so the position is fairly close, close enough for solving and being in the right area for imaging. There was an error by SGPro complaining about 800px difference with what was to be expected, the problem being the difference in the angle of the Esprit 120 vs where the mount knows it is pointing as shown through the 12″.
Despite that we managed to take an image and then move on to see if we could guide with the 12″ off-axis guider for the Esprit. This worked a little but the guider graph was way off at various points, I believe this is potentially either a setup issue on the guider and/or the fact that we are too frequently taking too many images to correct and thus chasing the seeing. I will look at this next time are out.
Back on the portable setup, I managed to very quickly connect, perform polar alignment using the PoleMaster and the new bracket I fitted. I then slewed to a star which was not quite in the FoV so I need to spend more time on this next time I am out. No problems though, I nudged the scope and found the star. Performing a sync on this solved any further slewing problems.
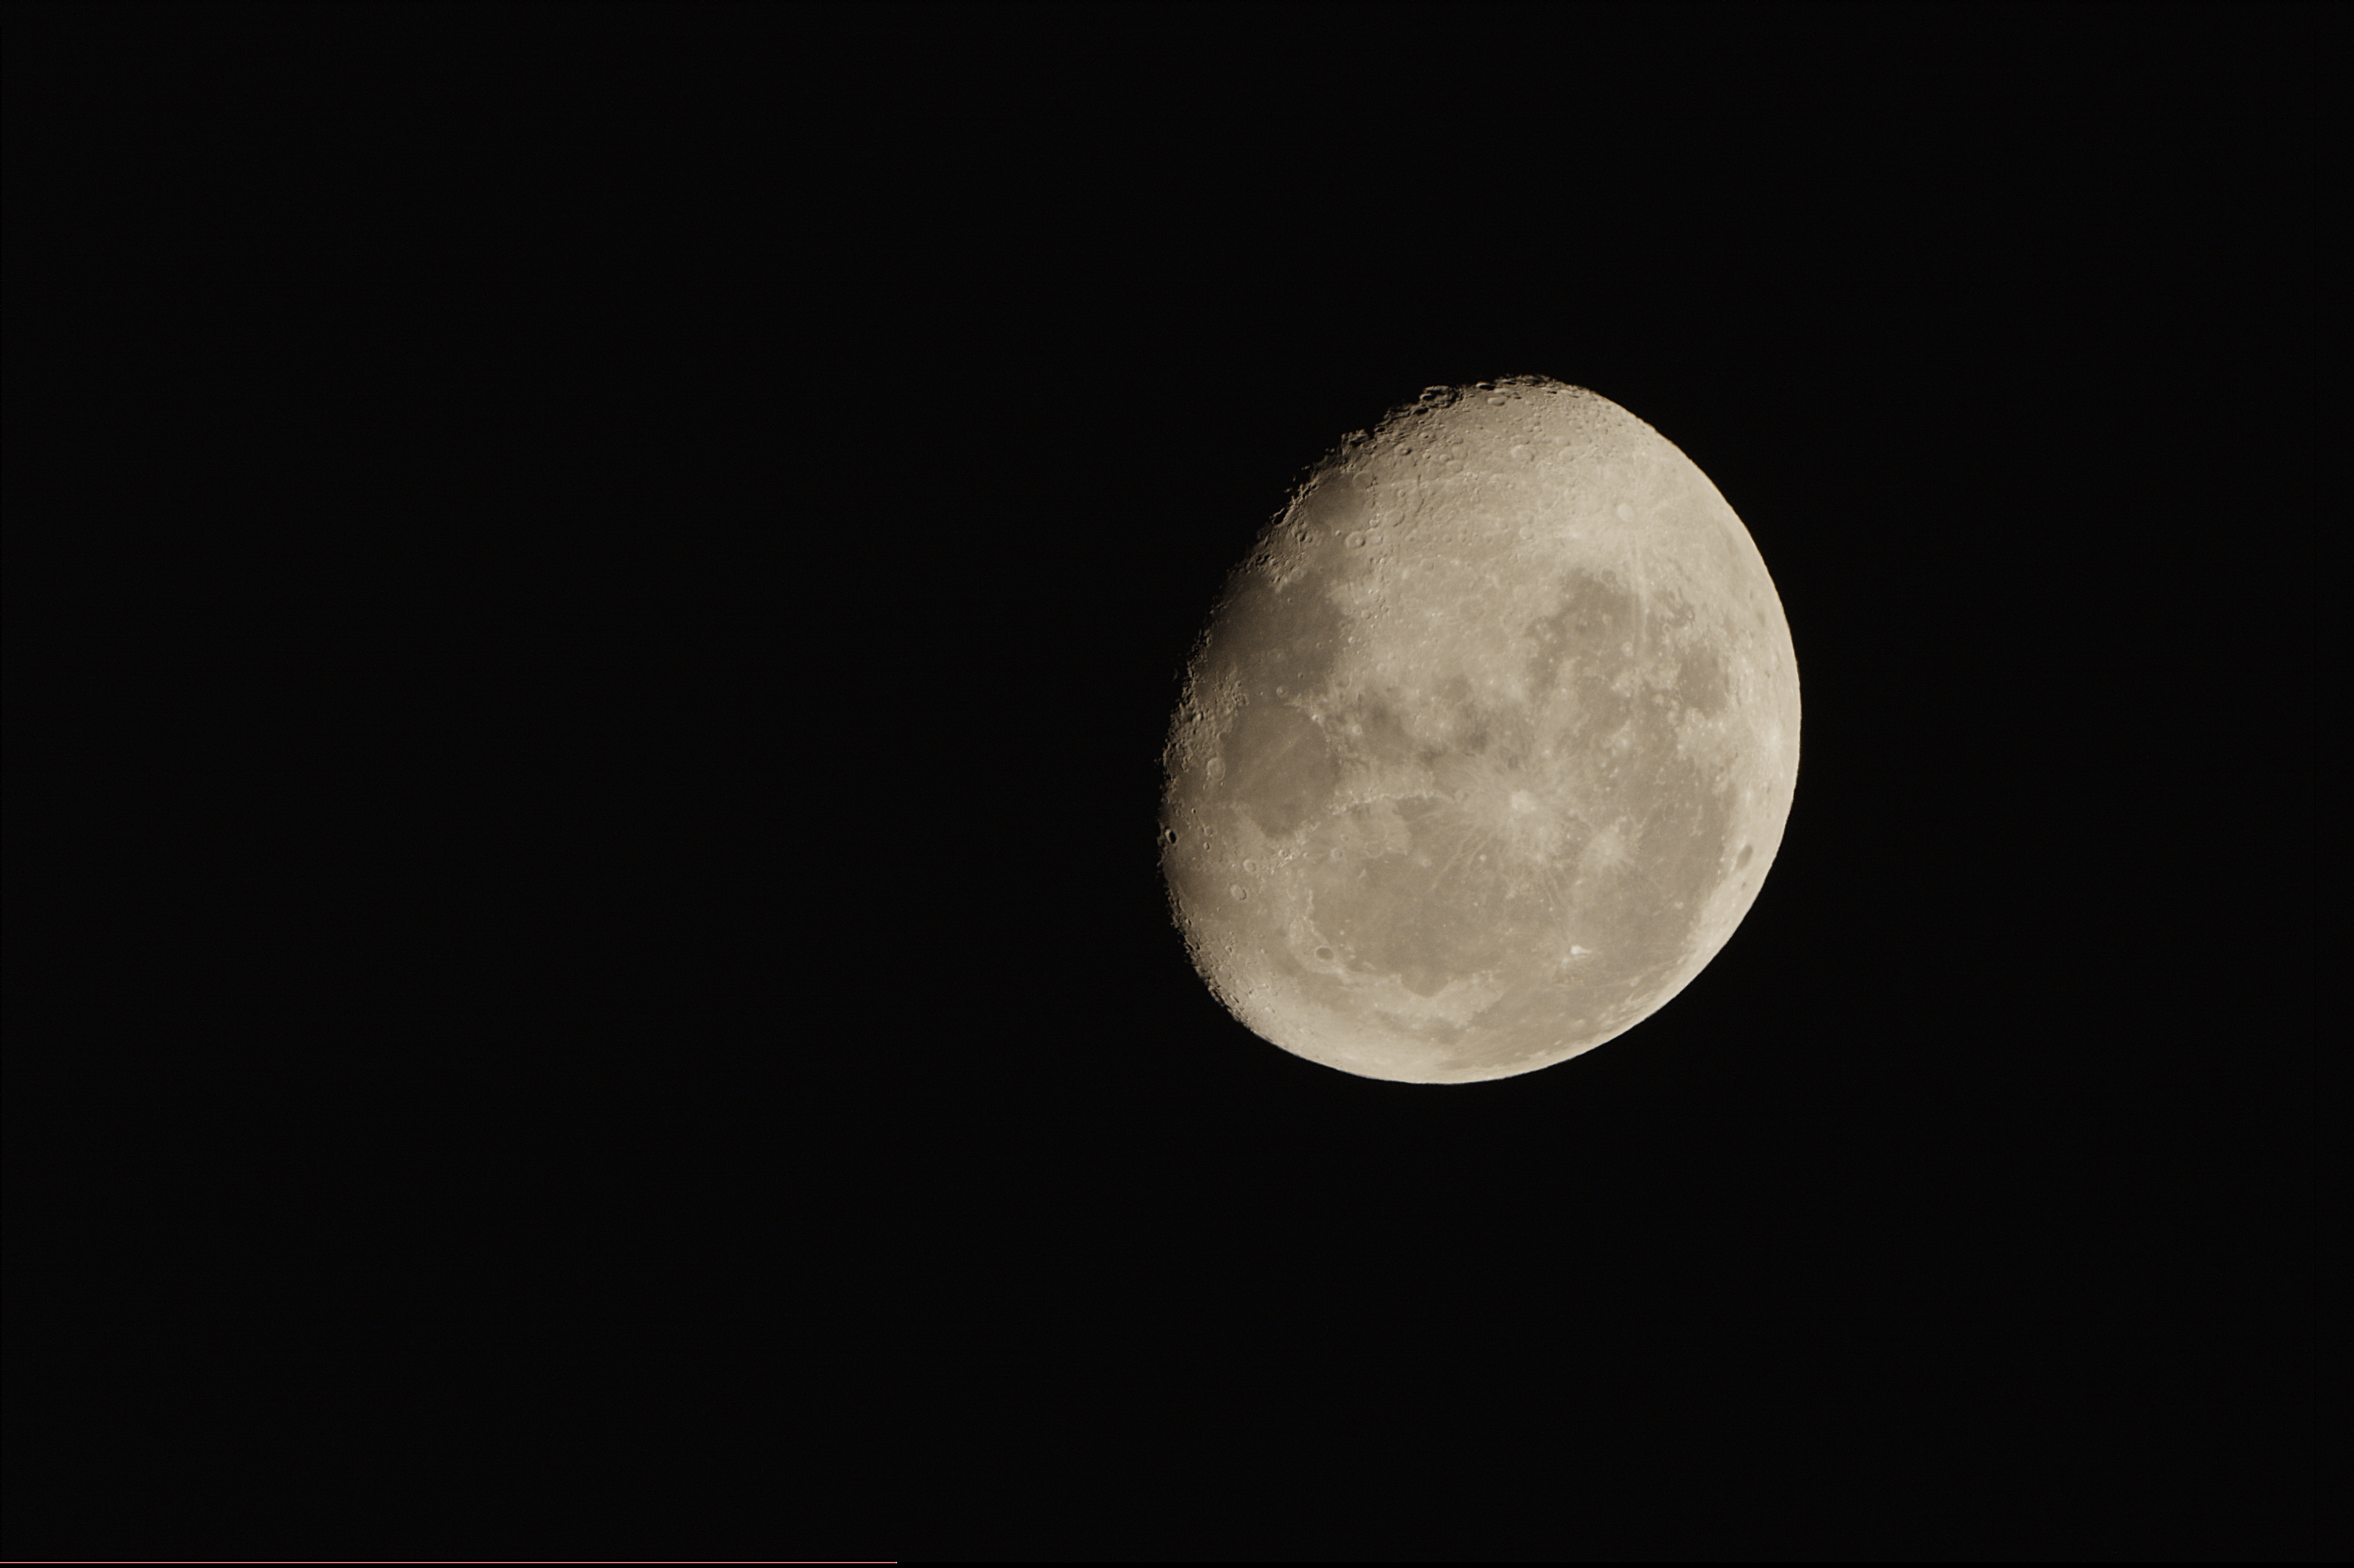
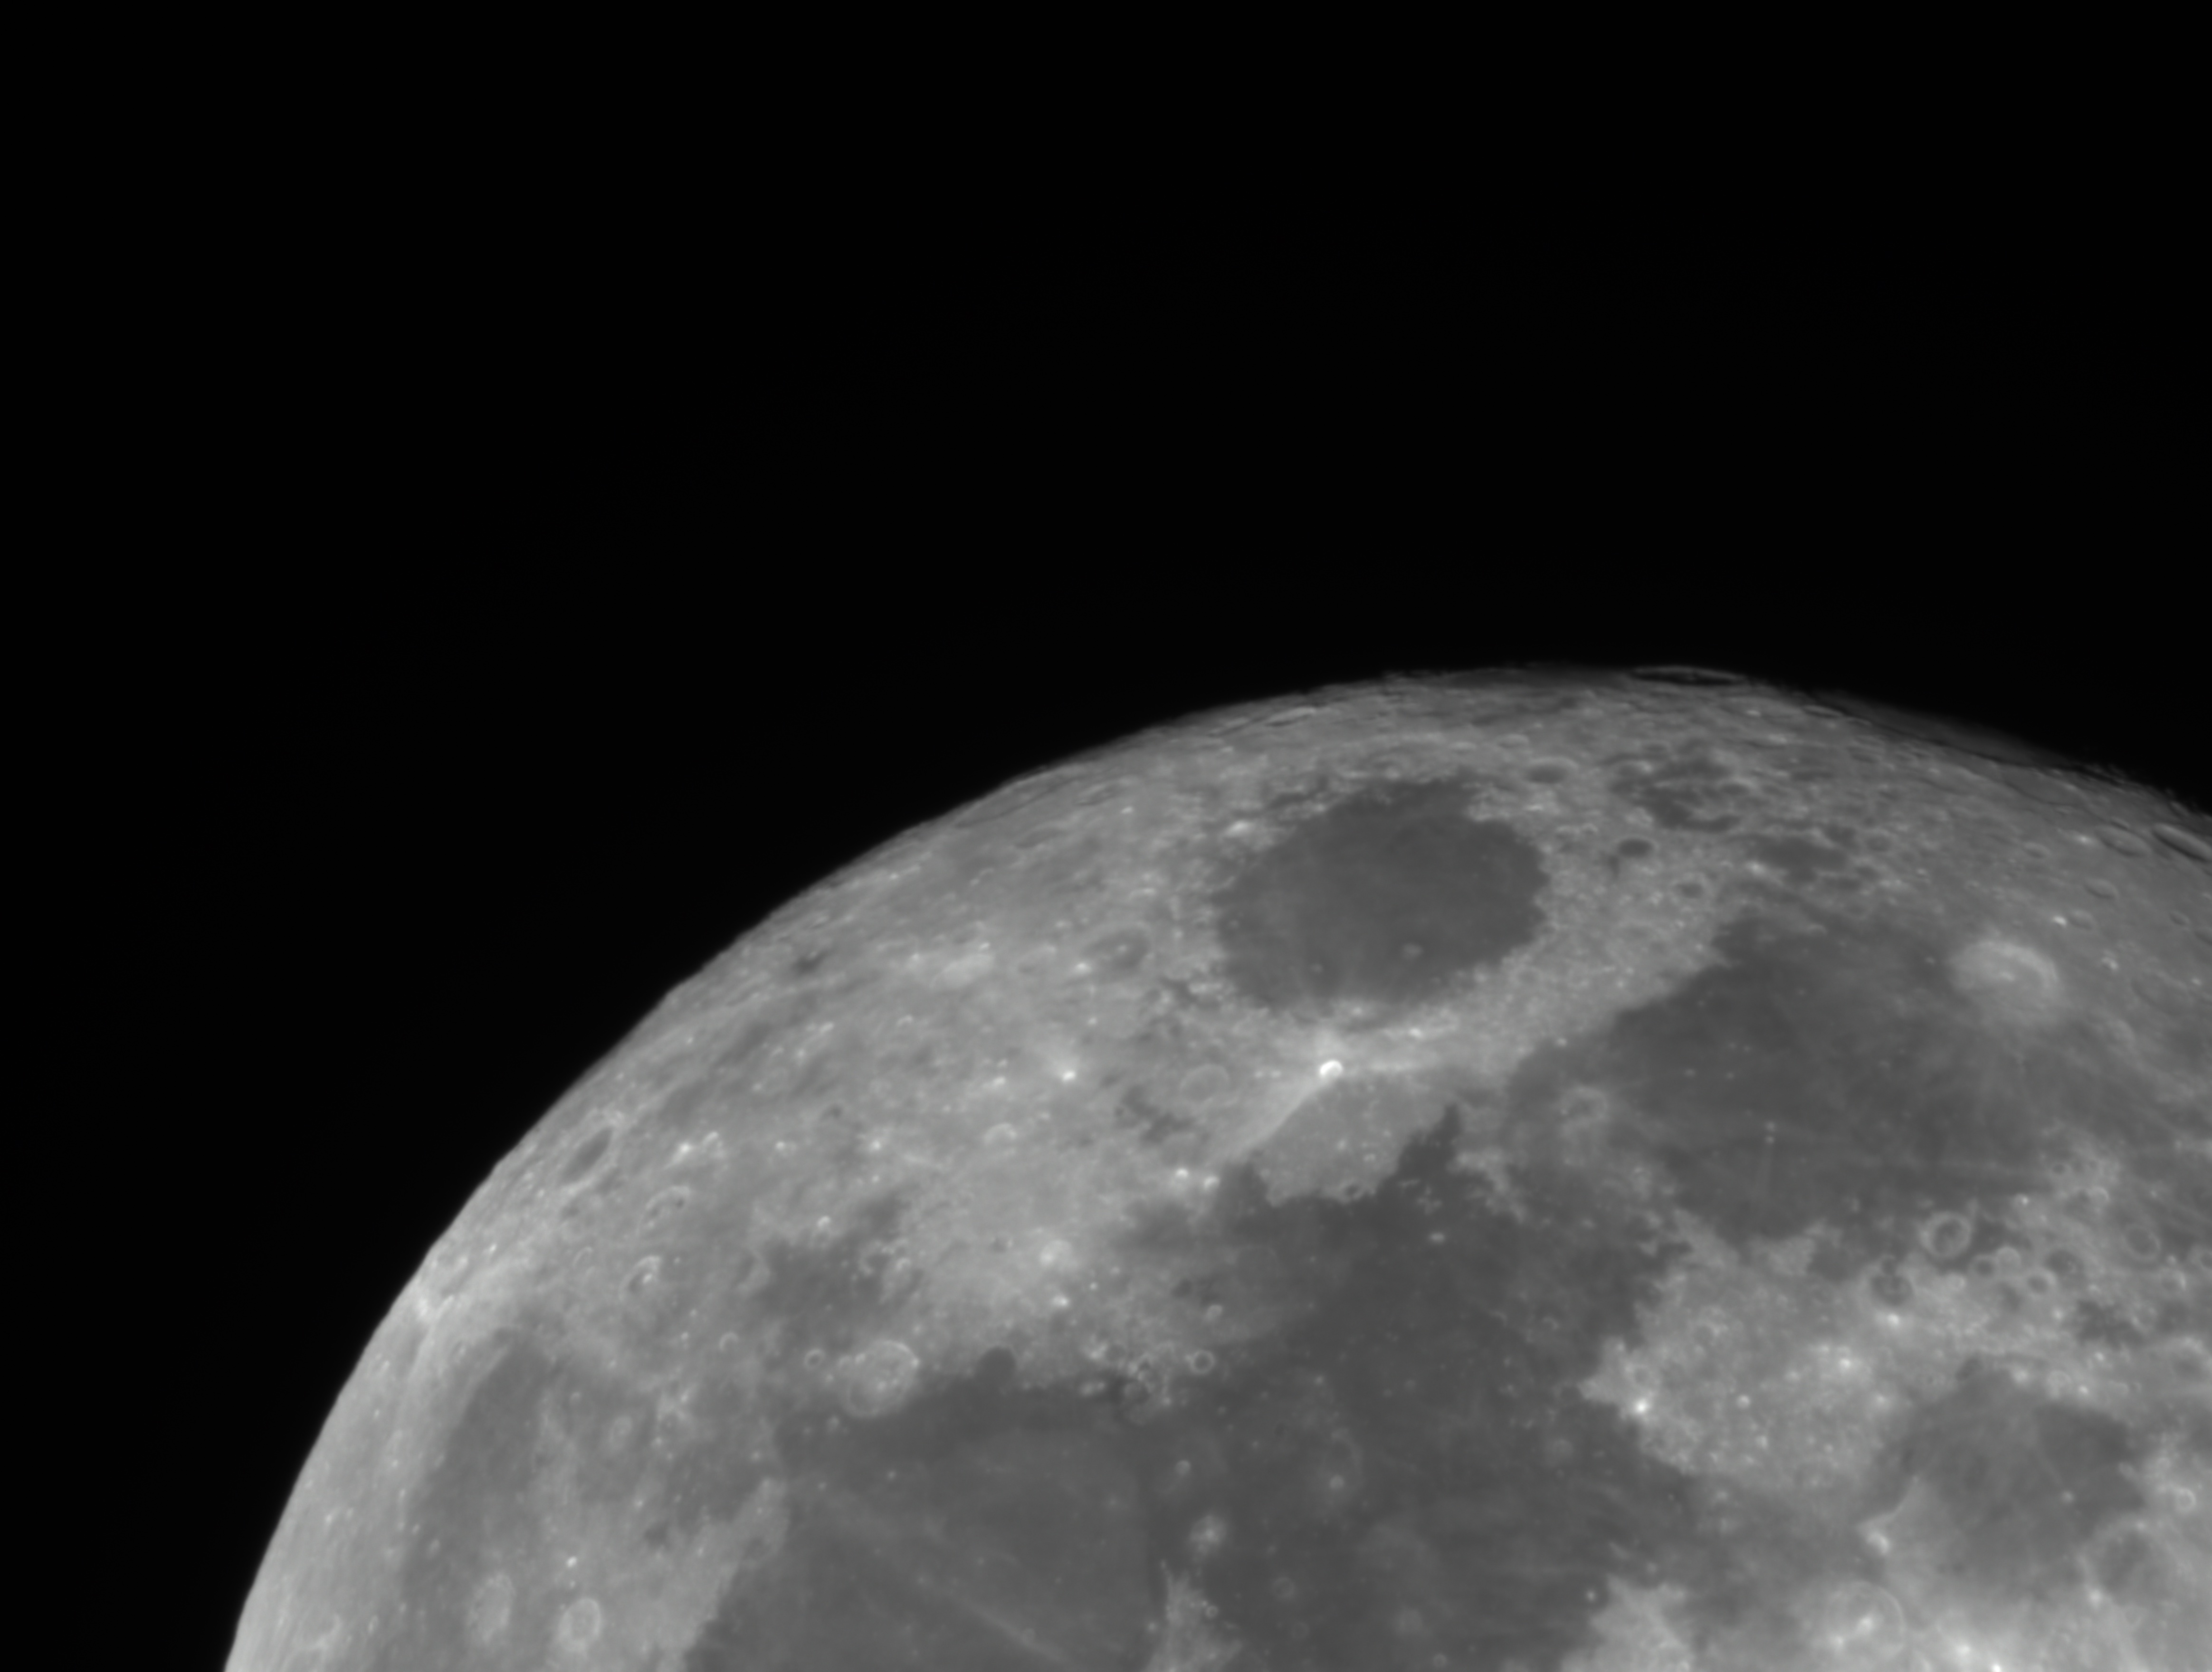
I then waited for the Moon to come up over the roof tops which was unfortunately not until 2am of the 21st thus slightly missing the landing date of 20th by 2 hours (Eagle landed at 9:17pm BST) but non the less still obtaining an image of the Moon to celebrate the 50th anniversary of the first lunar landing at the time Neil put that famous foot on the Moon at 1:56am BST on the 21st July 1969 🙂
Apollo 11 50th Anniversary
GingerGeek managed to get a few images but nothing much was showing on them especially the Elephant Trunk nebula he was imaging, I suspect, but am not sure, the wrong filter was selected so probably OIII rather than Ha as a previous Frame and Focus command through SGPro for 15 seconds showed the Elephant Trunk, at this point we were taking 10 minute exposures so it should have easily been visible. Again another problem to sort next time we are out.
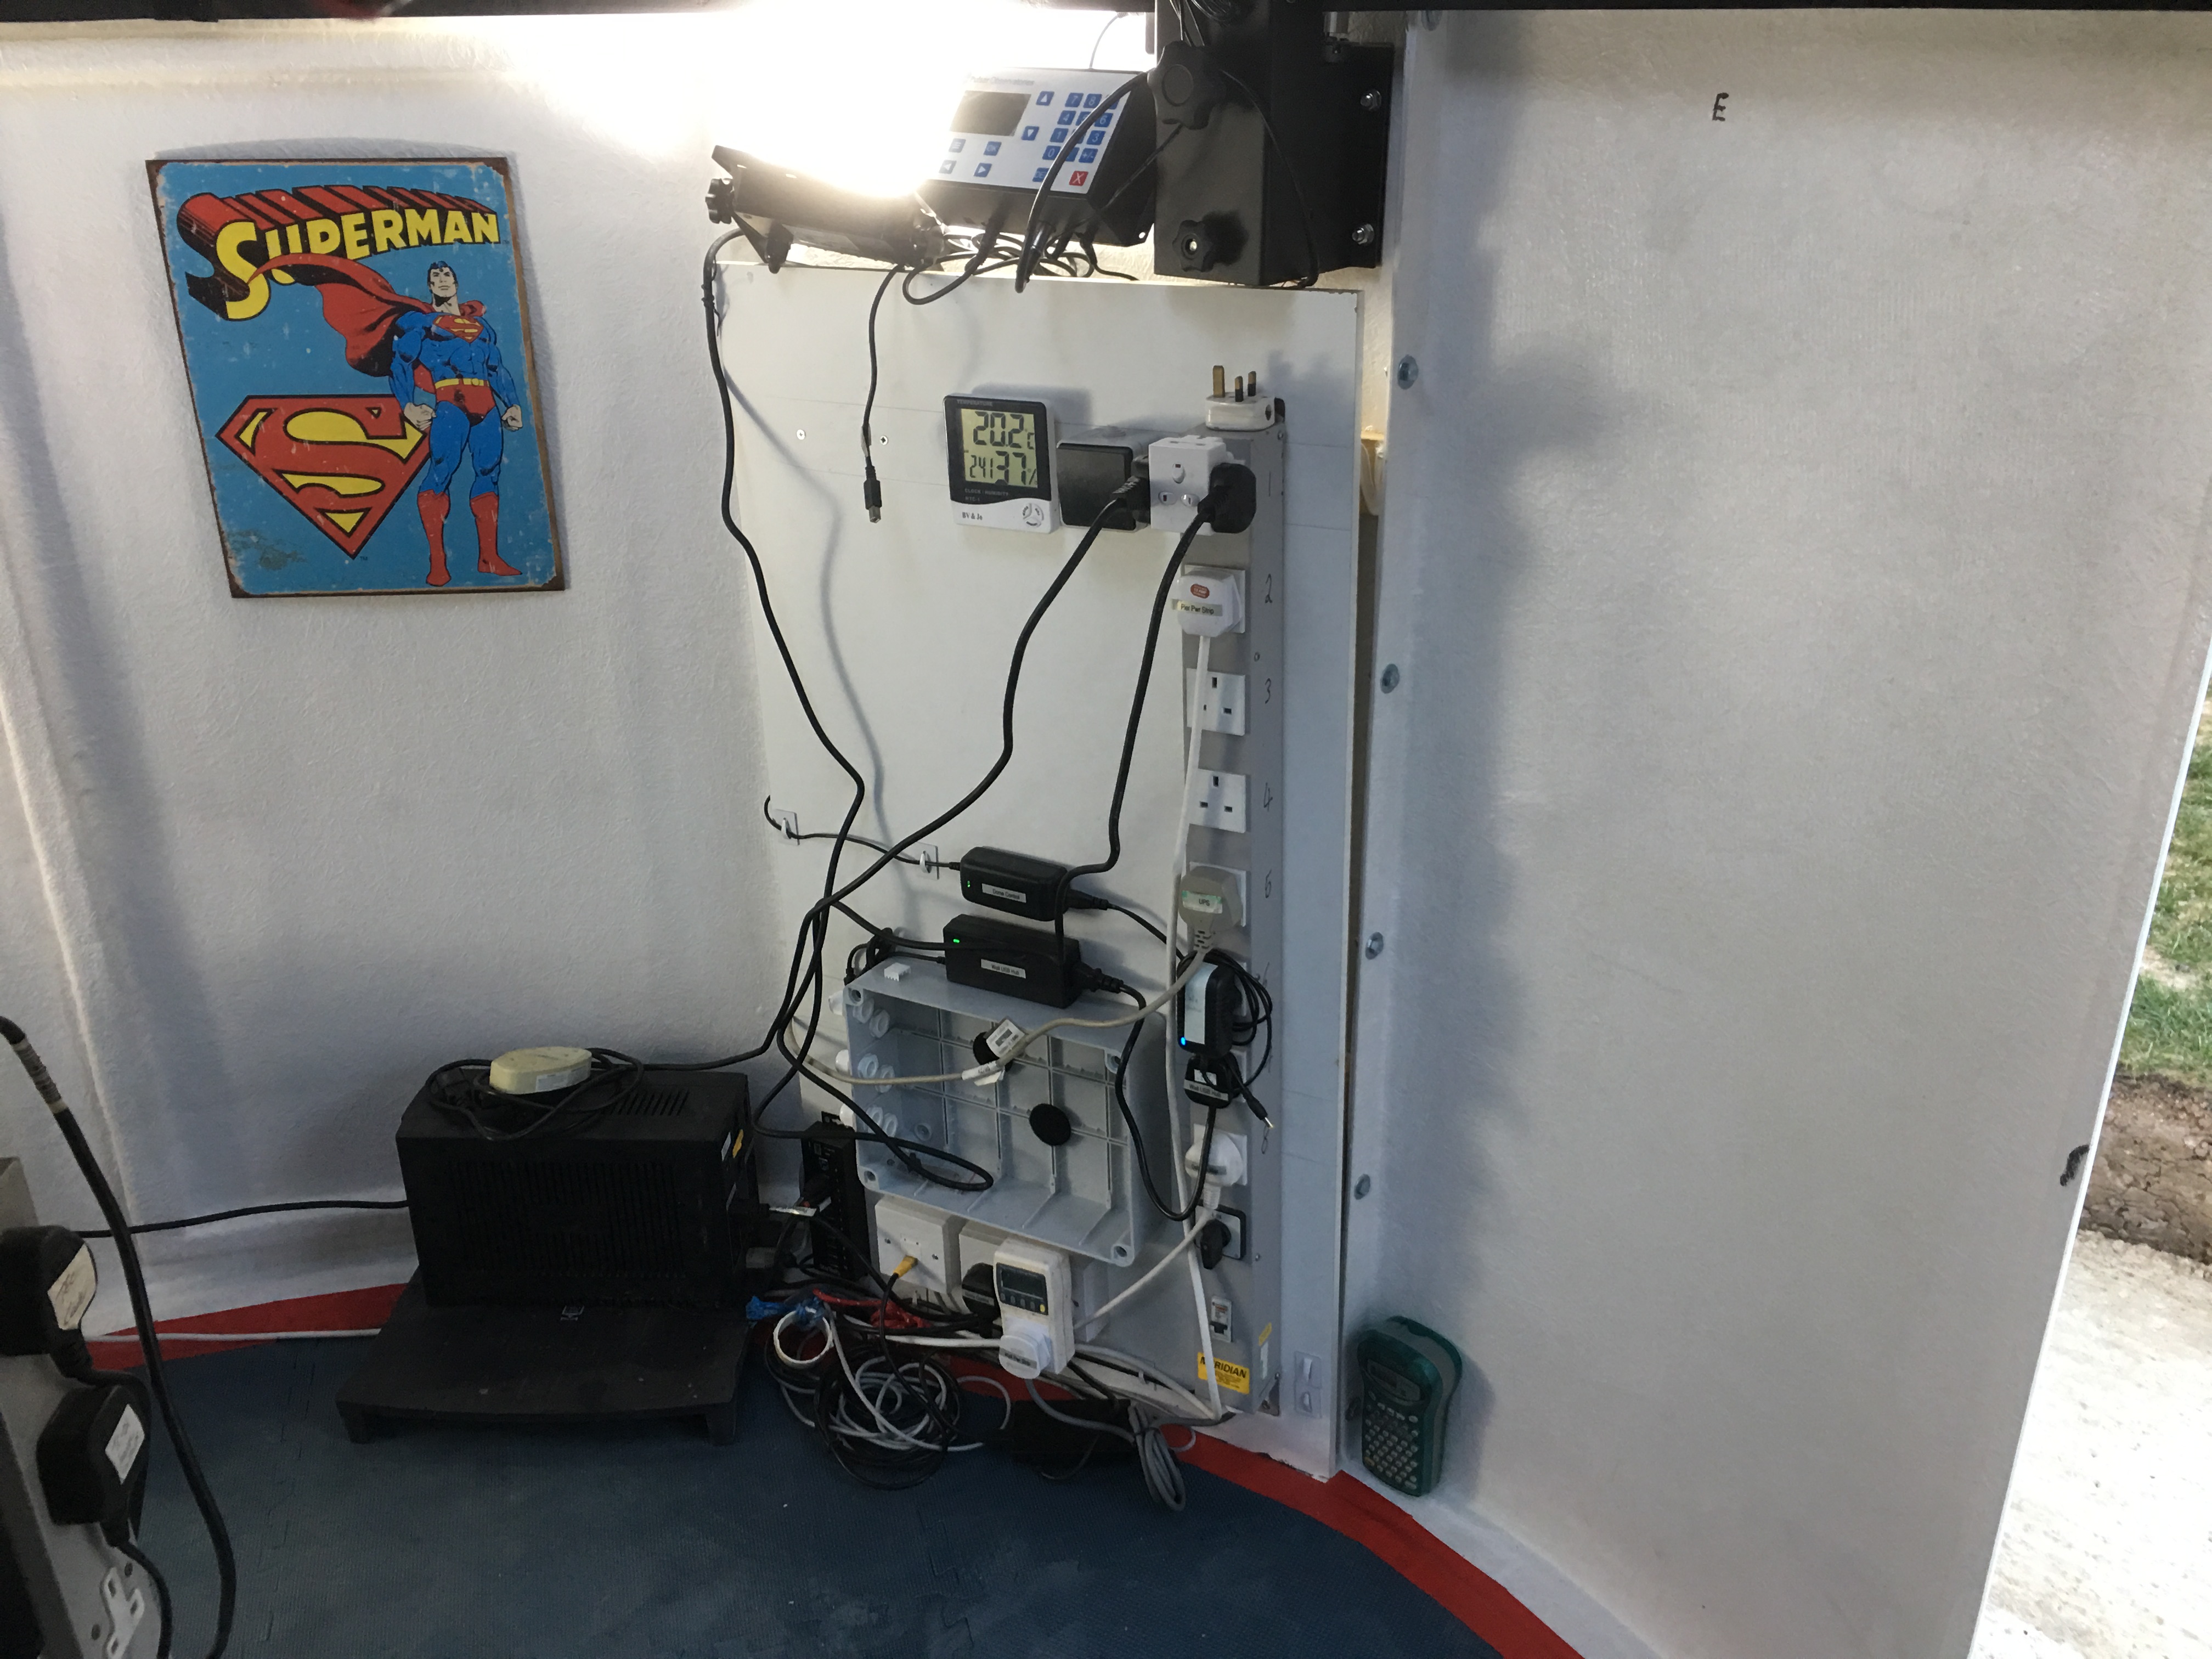
As the first phase of the build completes for the IMT3 observatory but before the commissioning stage begins, a few other additions need to be completed. We started with adding a UPS for the Intel NUC. The dome itself for the shutter at least runs on a battery backup in case of power failure, the dome automatically shuts. What we wanted to avoid was loosing power to the house and not being able to shut the PC down gracefully until power returned. The UPS also comes with software so that we can sense the power going and then ask the PC to shutdown if needed.
UPS installed
Temporary LED lighting has been fitted but needs properly fixing and connecting into the master switch and the soft switch for turning on and off remotely. The cables meanwhile to the first of many USB hubs starts to fill up.
Rats nest of USB cables
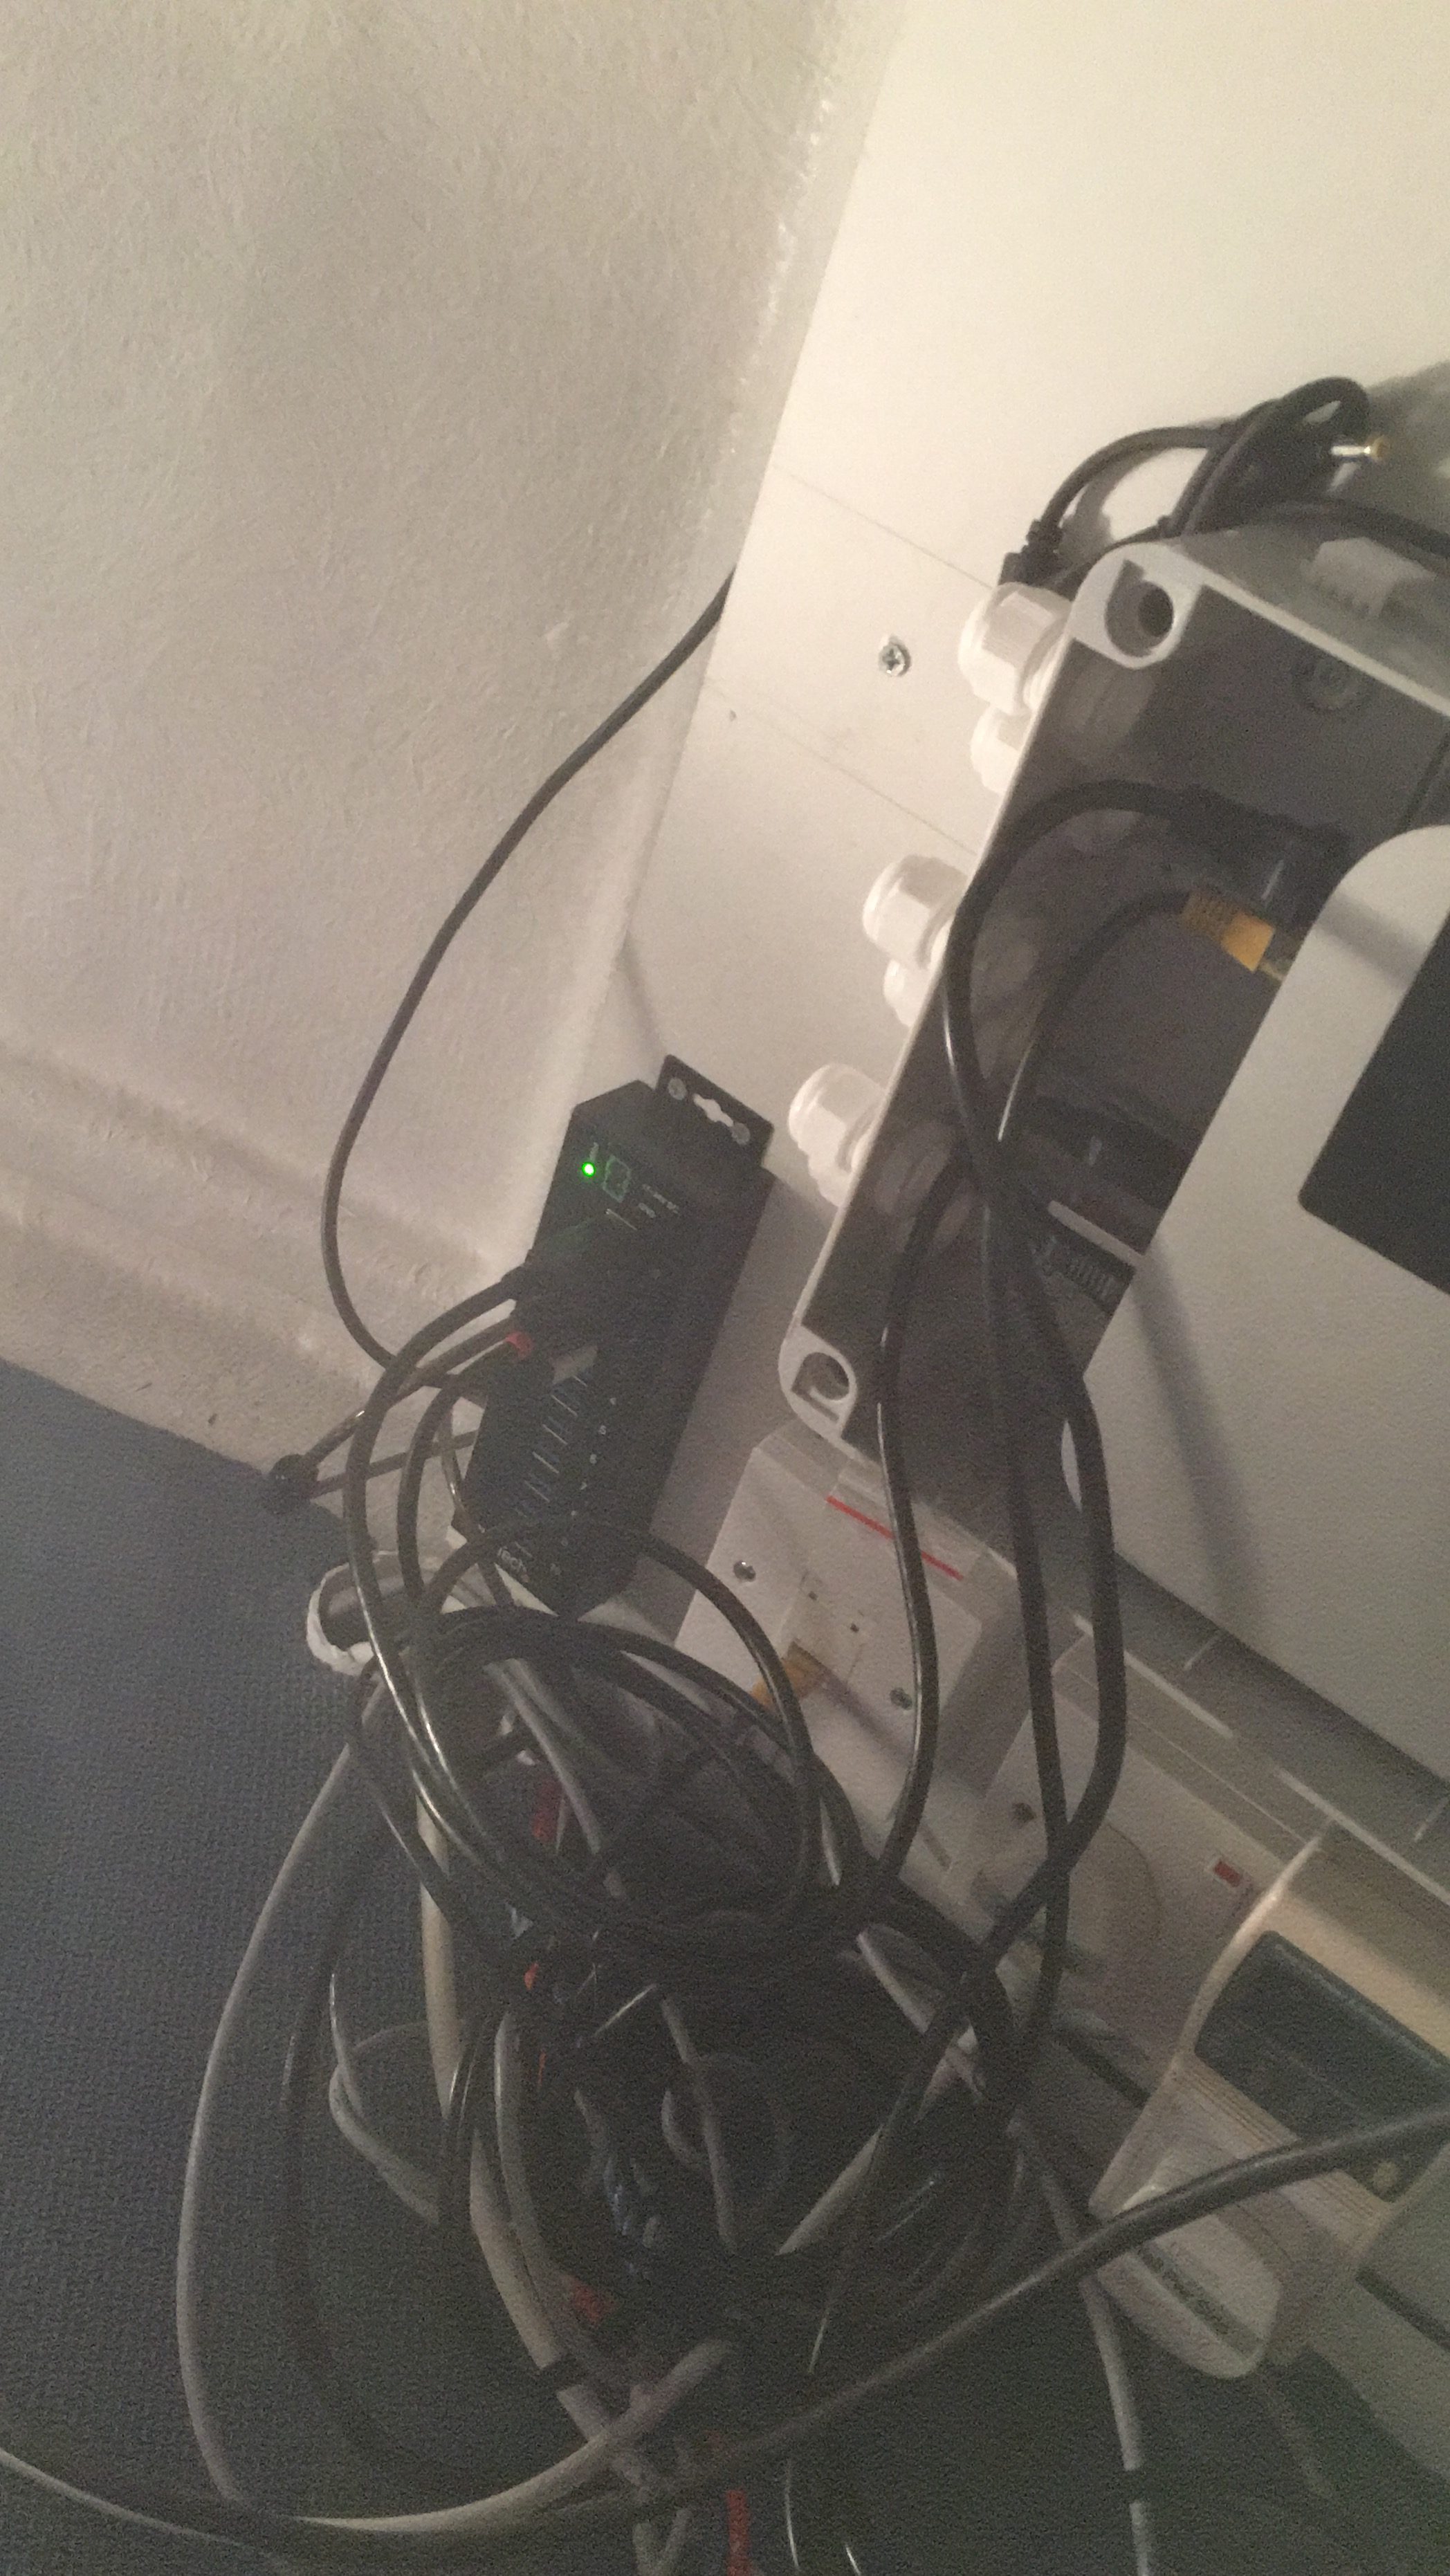
An adapter station is fixed to the wall for the copious adapters one needs for astronomy
More adapters
Shortly followed by another due the copious adapters needed for astronomy……….
Adapter heaven
Hat hooks are added due to a few unfortunate instance with a head and the mount which concluded in a hospital trip and some superglue.
Hat hooks
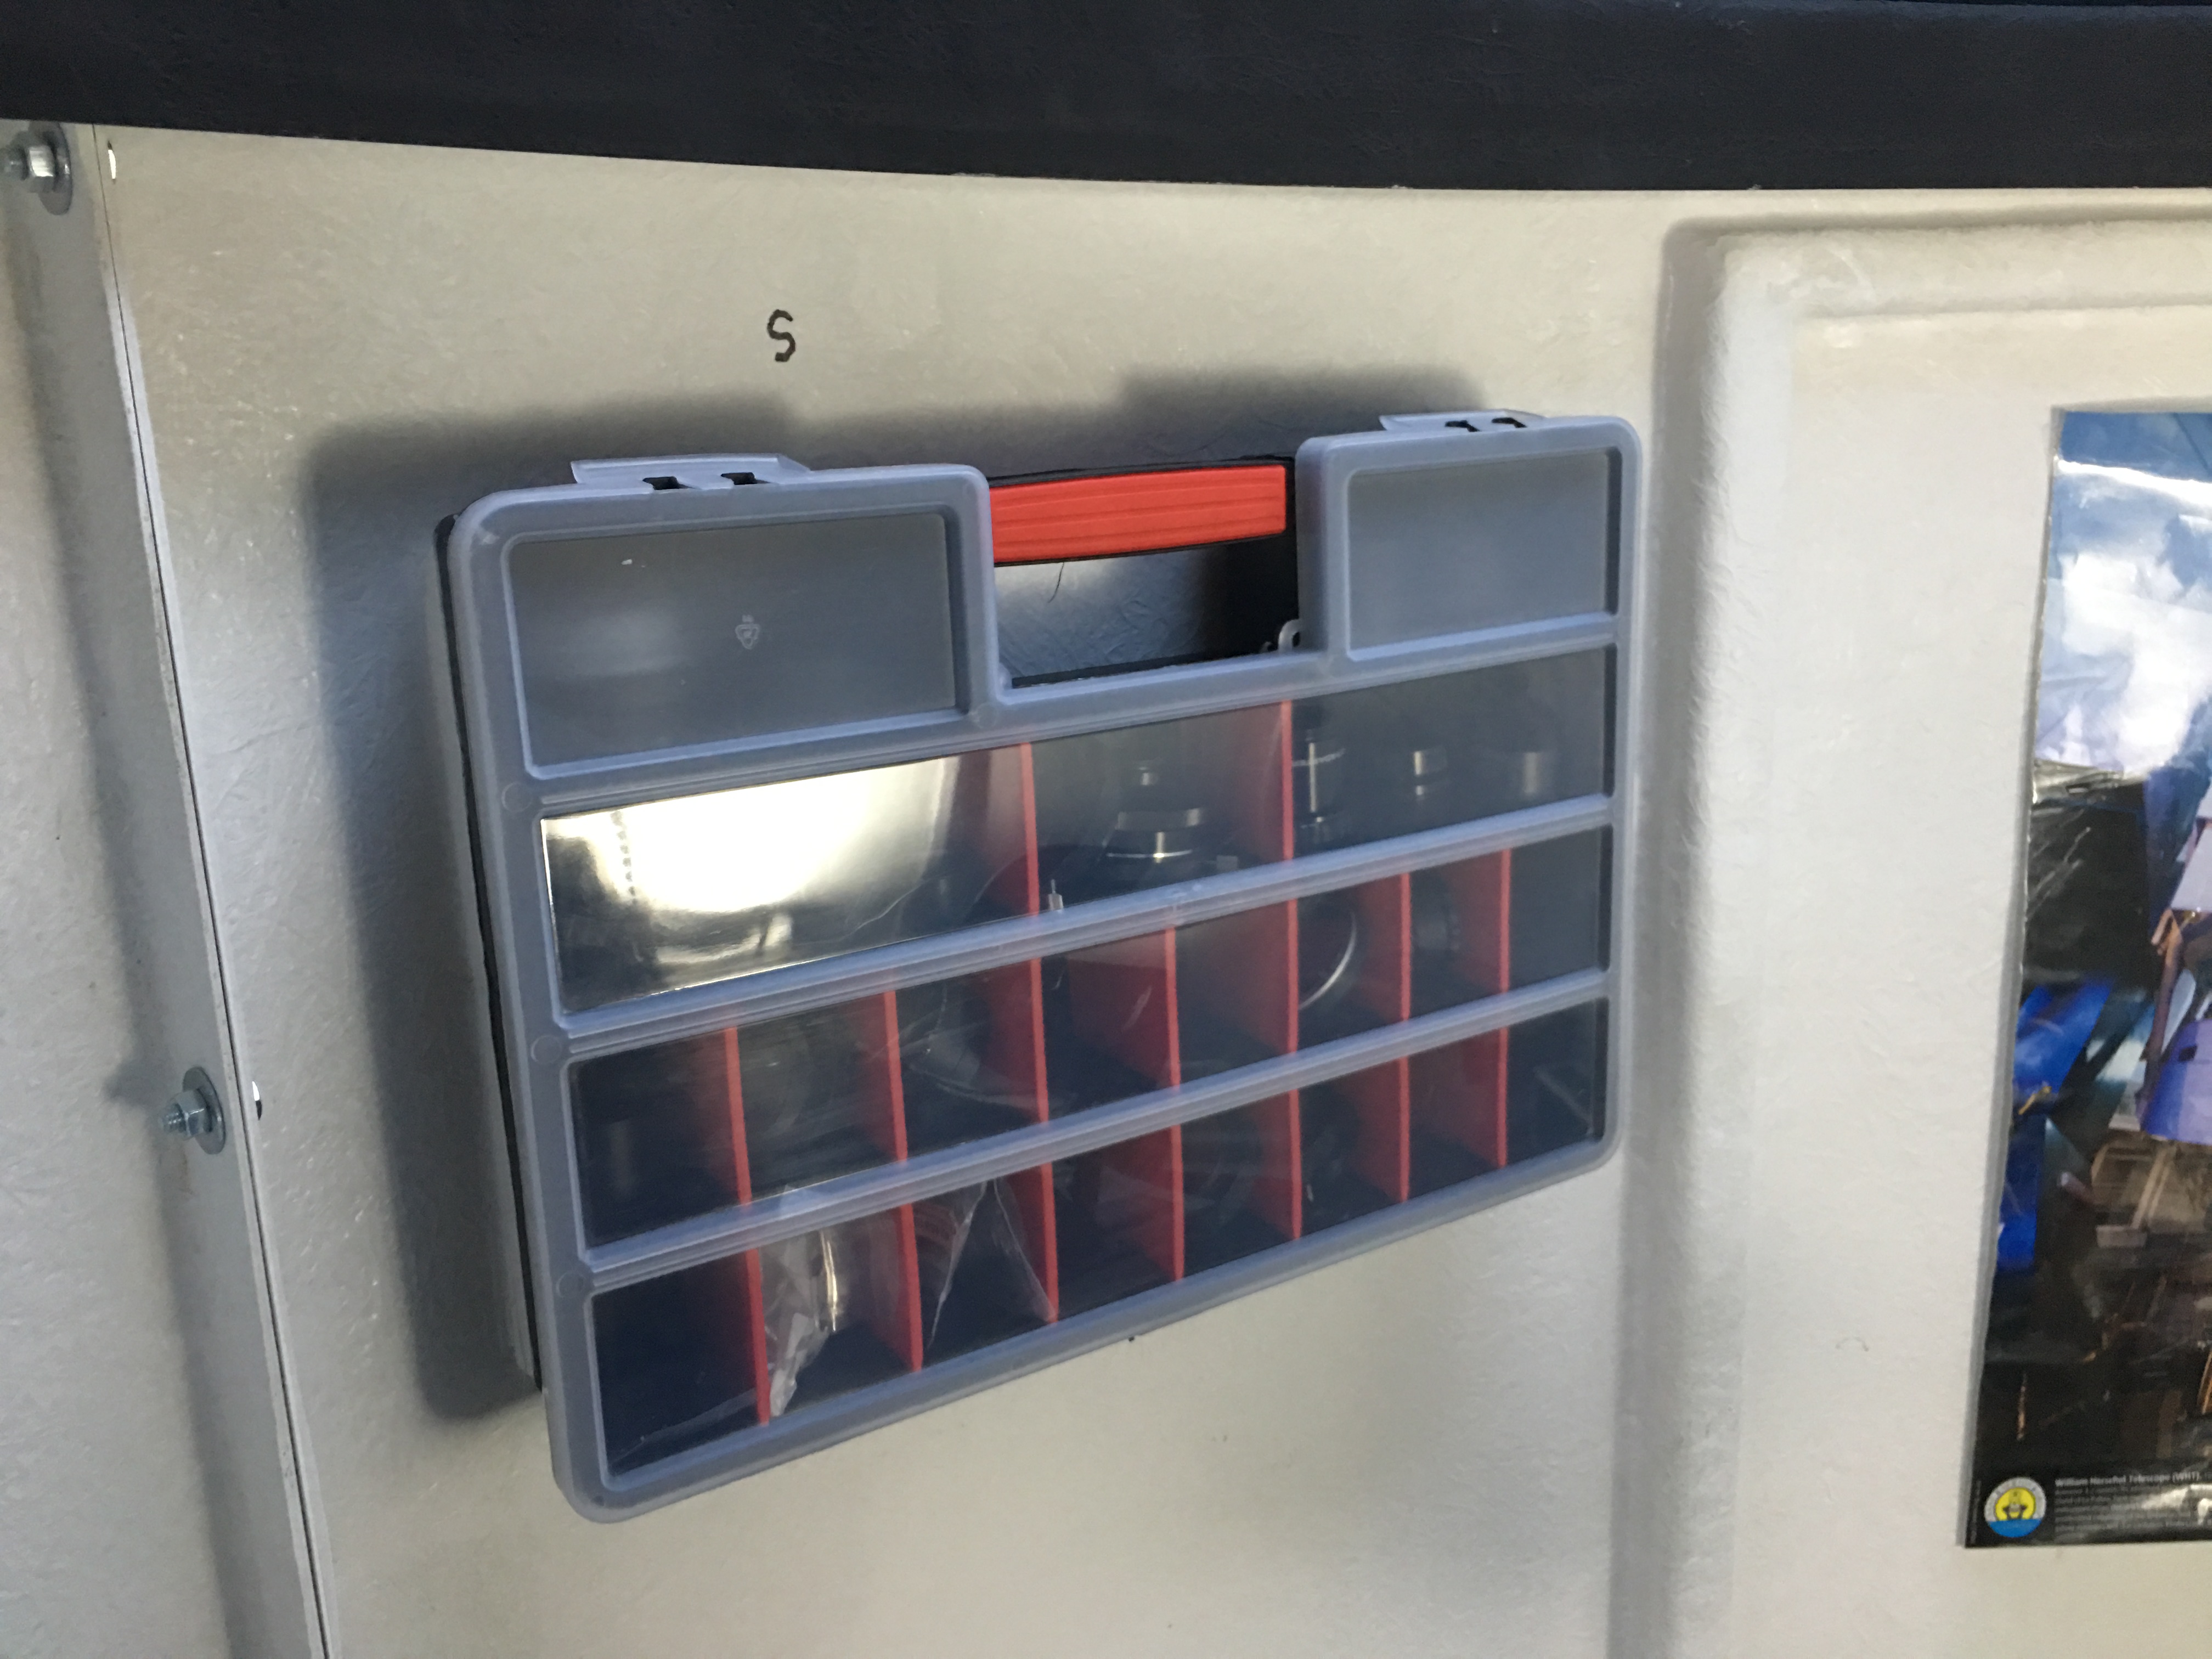
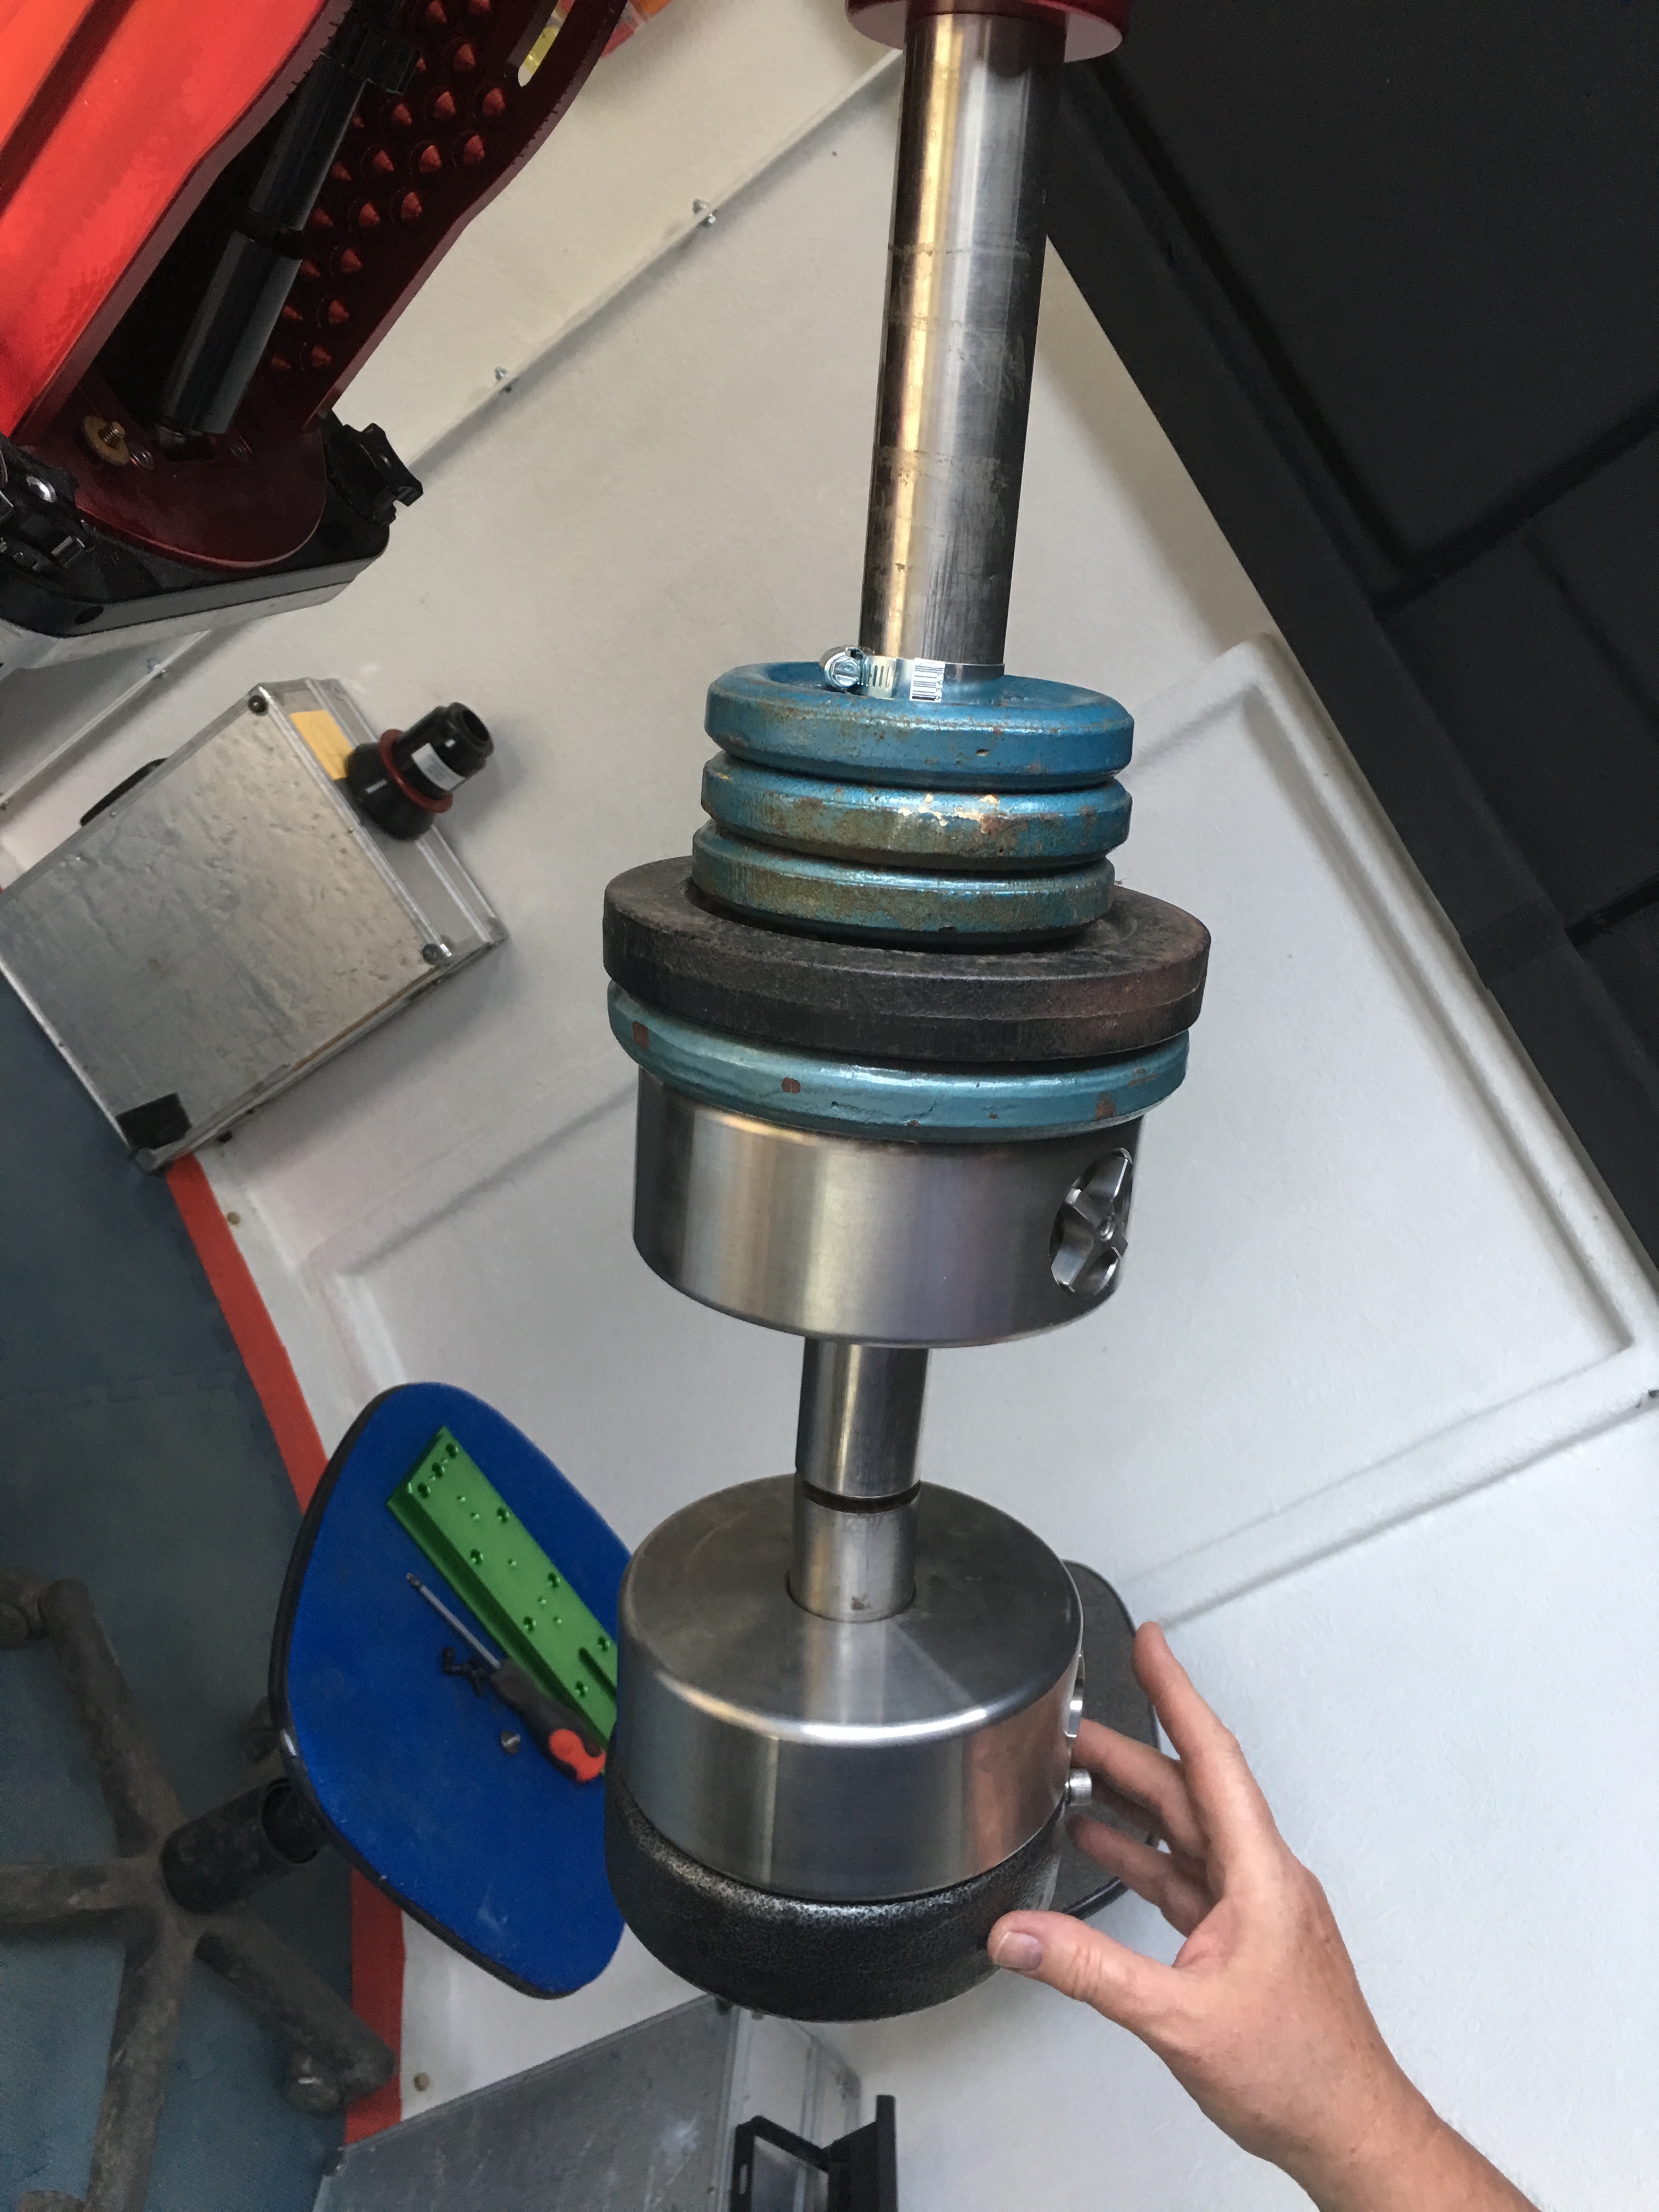
Multiple weights can be seen supporting the large amount of the wieght at the business end of the mount
Weights
Whilst there is still much more to add including the imaging trains for the other OTAs and the focusers for each of them being added (Lakeside) I managed to go out one evening and get first light with the 12″ OTA on the Moon.
First light of the 12″ for focus
I started the first run of polar alignment with the PoleMaster for which I dedicated an entire blog entry to it here.
as it’s more complicated than one might think. This is the initial polar alignment through hard work and measuring twice always!
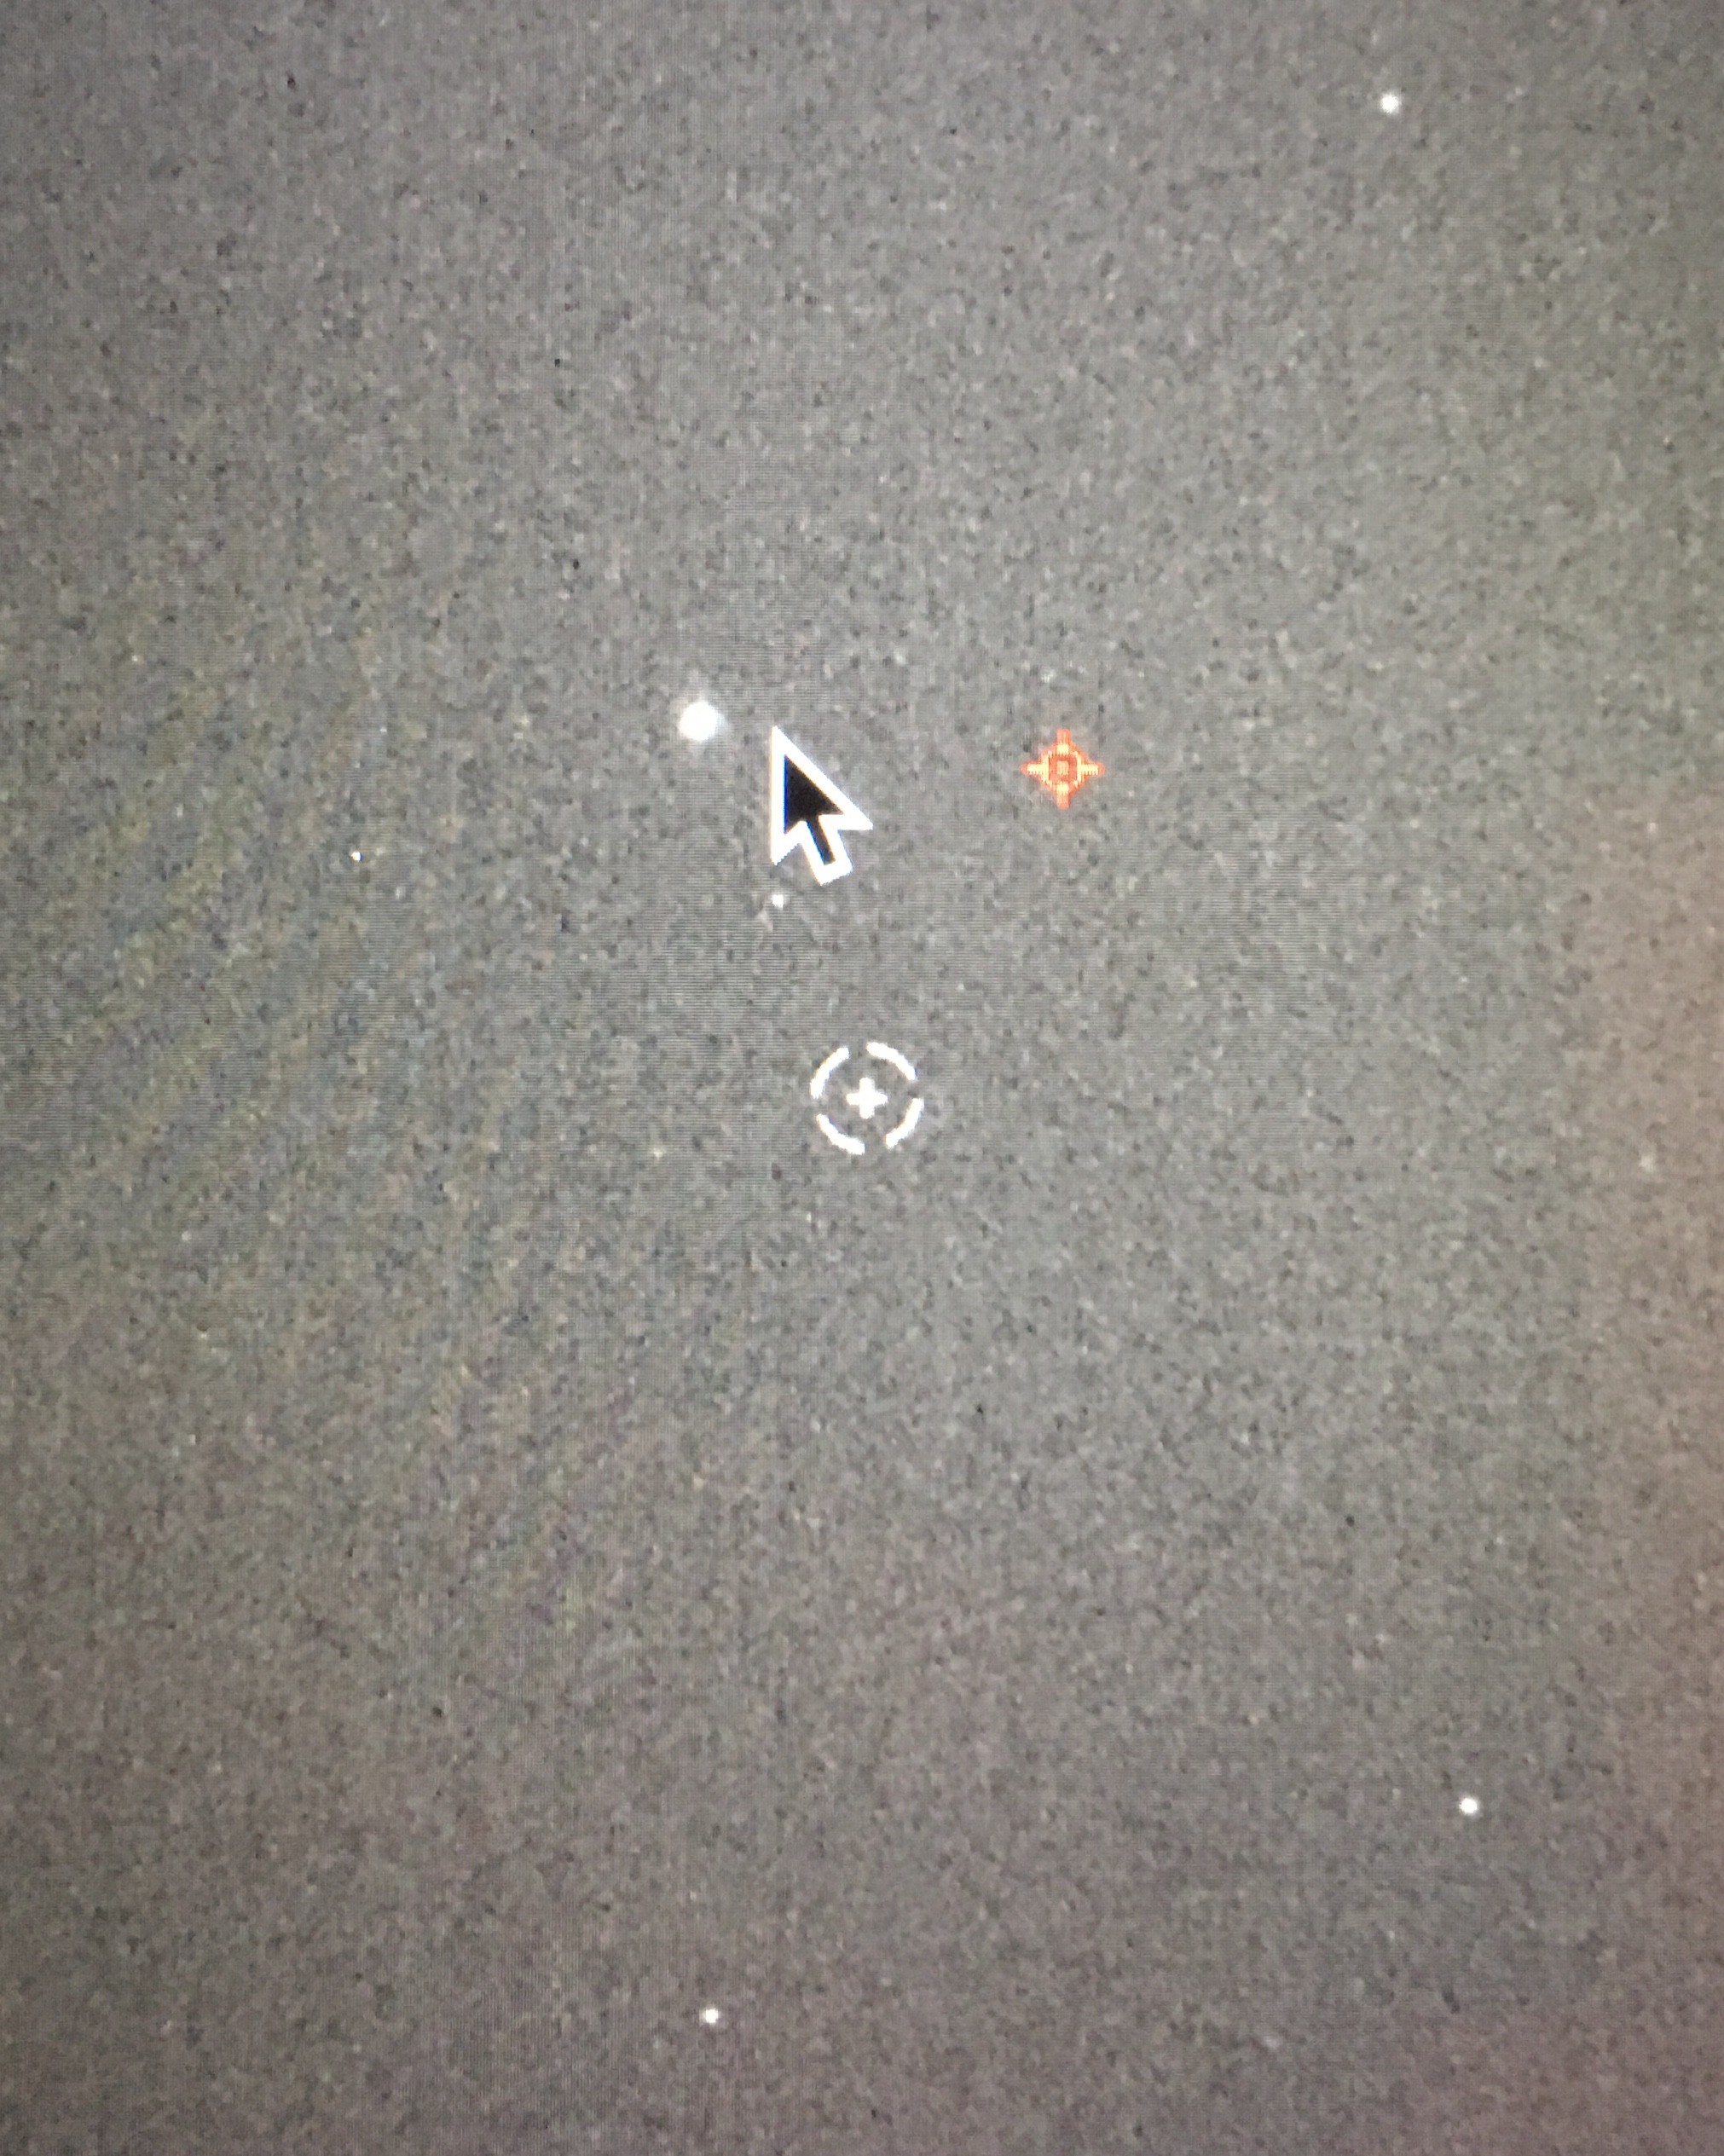
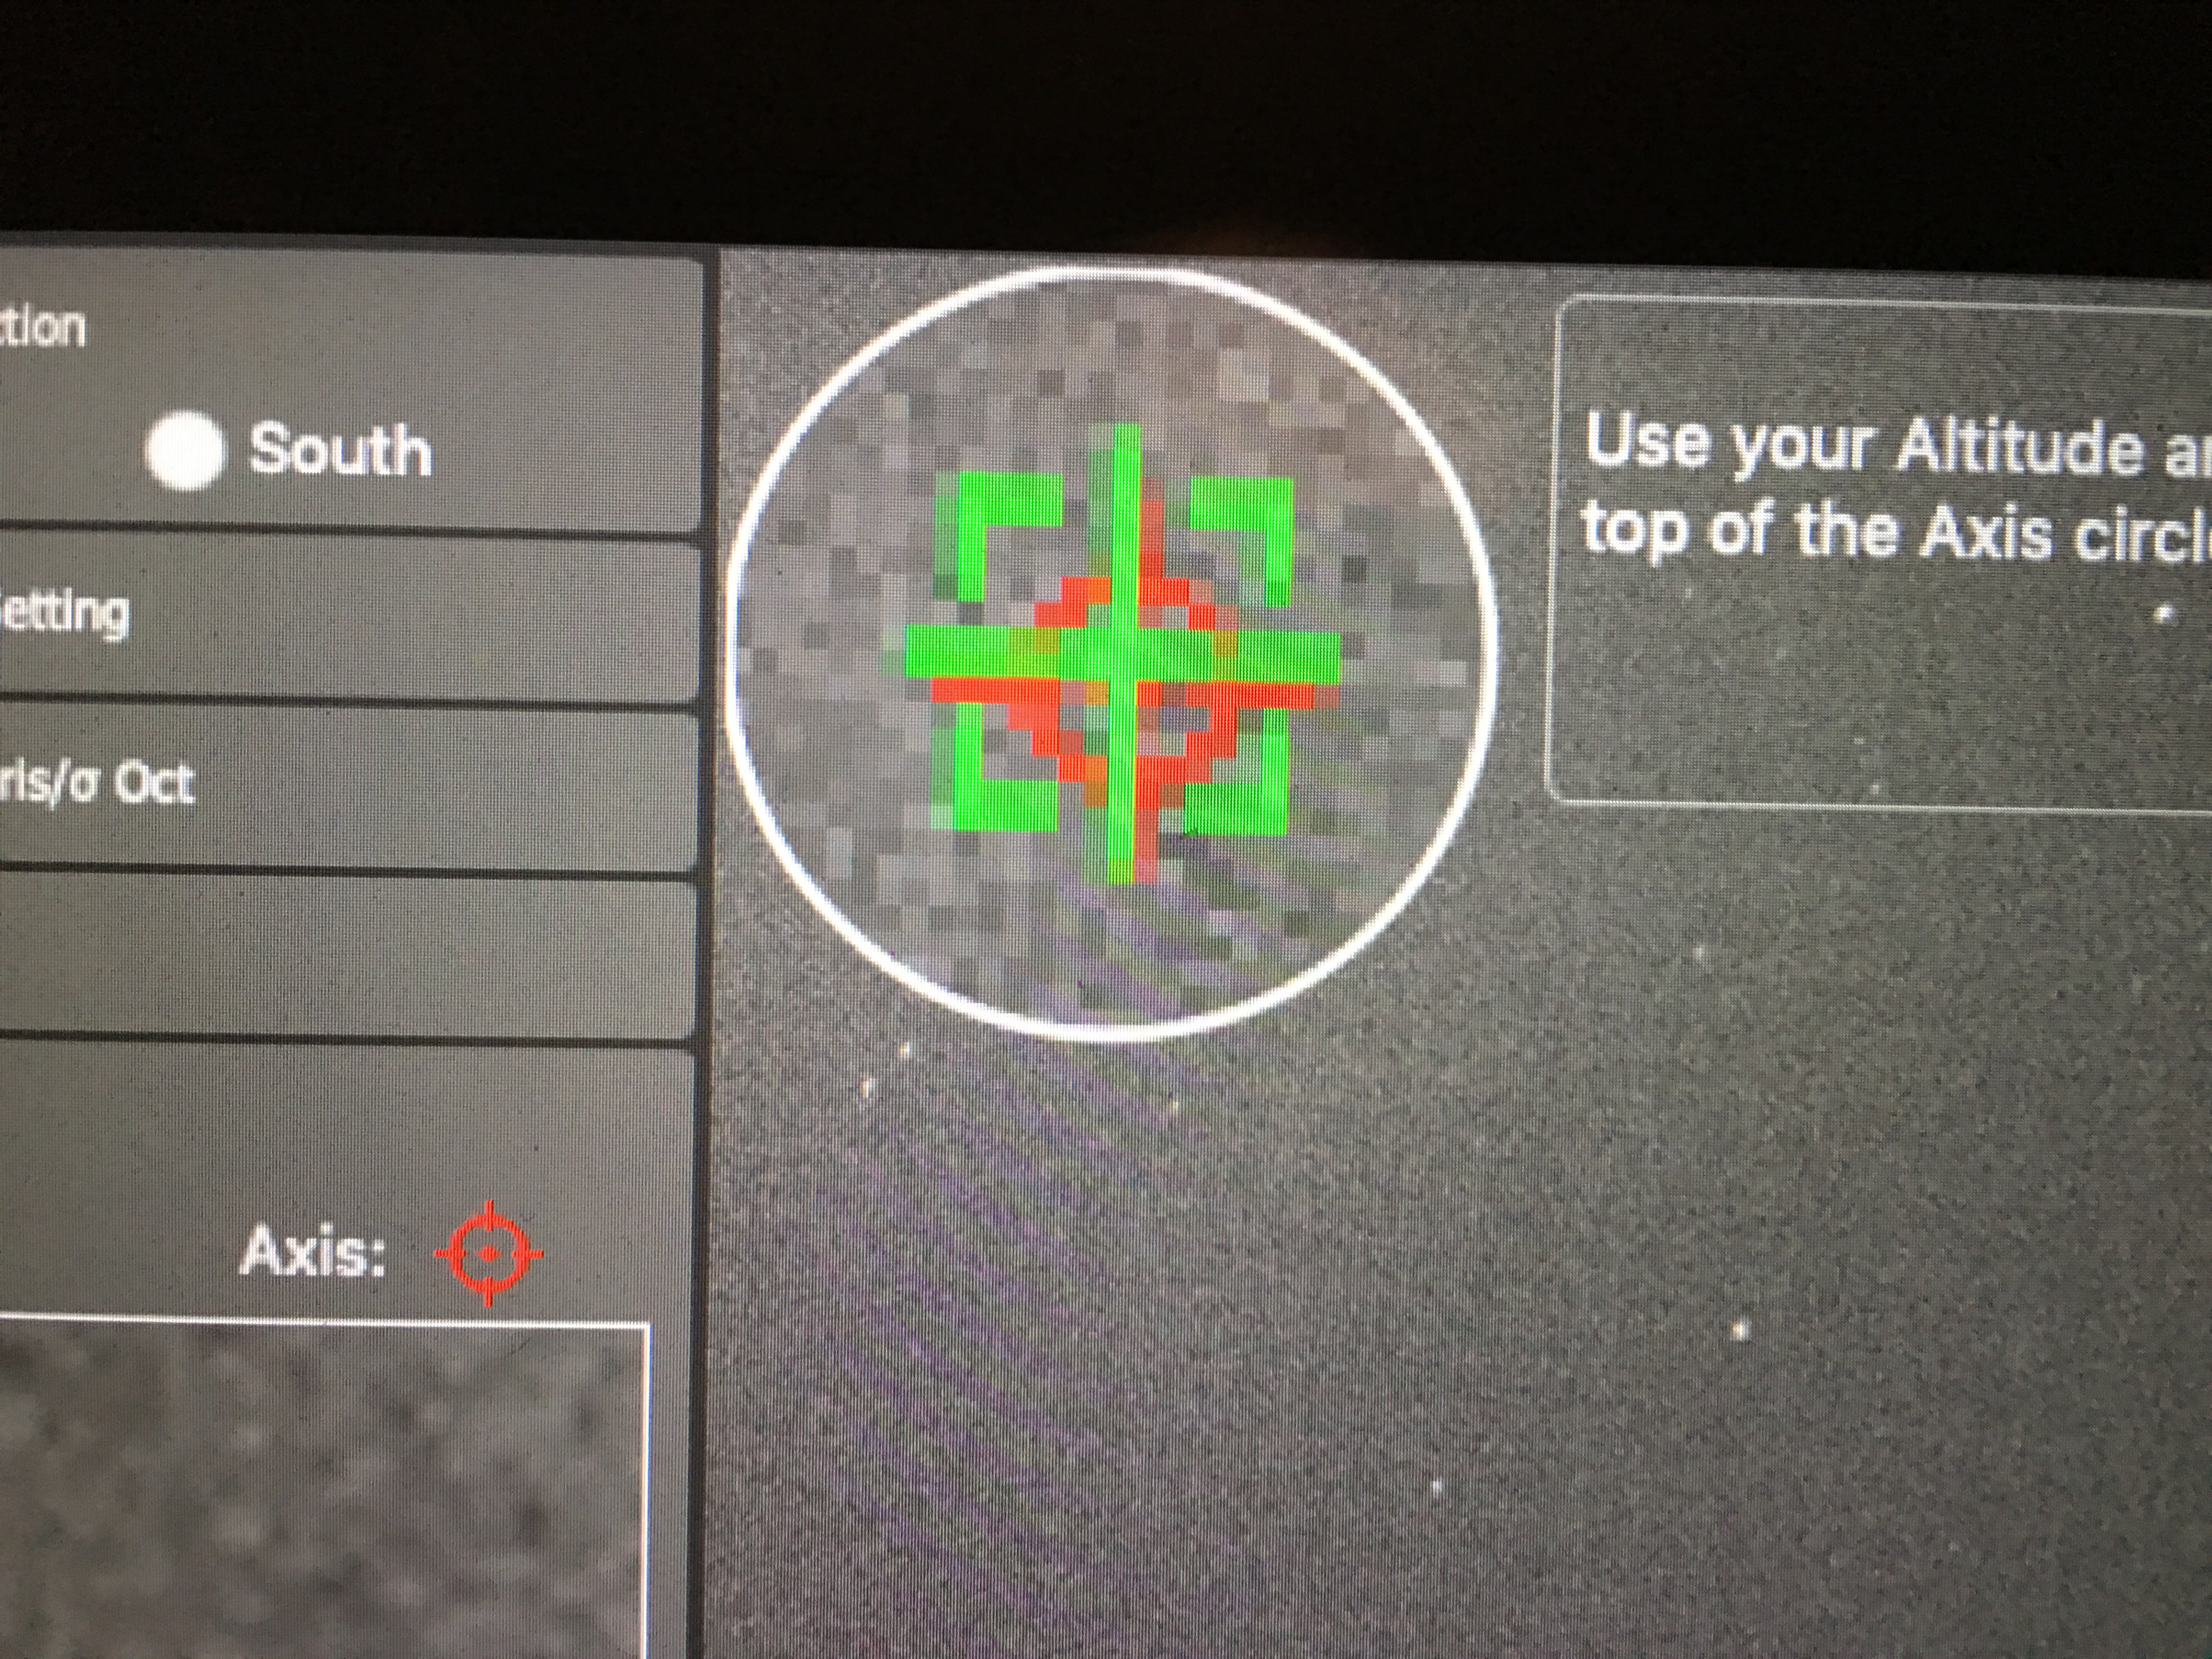
How close was our polar alignment?
Polaris is the bright star and needs to be in the white circle. Not bad for a rough alignment. I then proceeded to adjust the alignment based on this first result until the green and red square/crosses aligned. It should be noted that the accuracy for the Polemaster is ok for short focal length OTAs but for long focal length you need to use a combination of approaches which include on the Paramount using TPoint followed by drift aligning using PHD2.
Perfect polar alignment……..
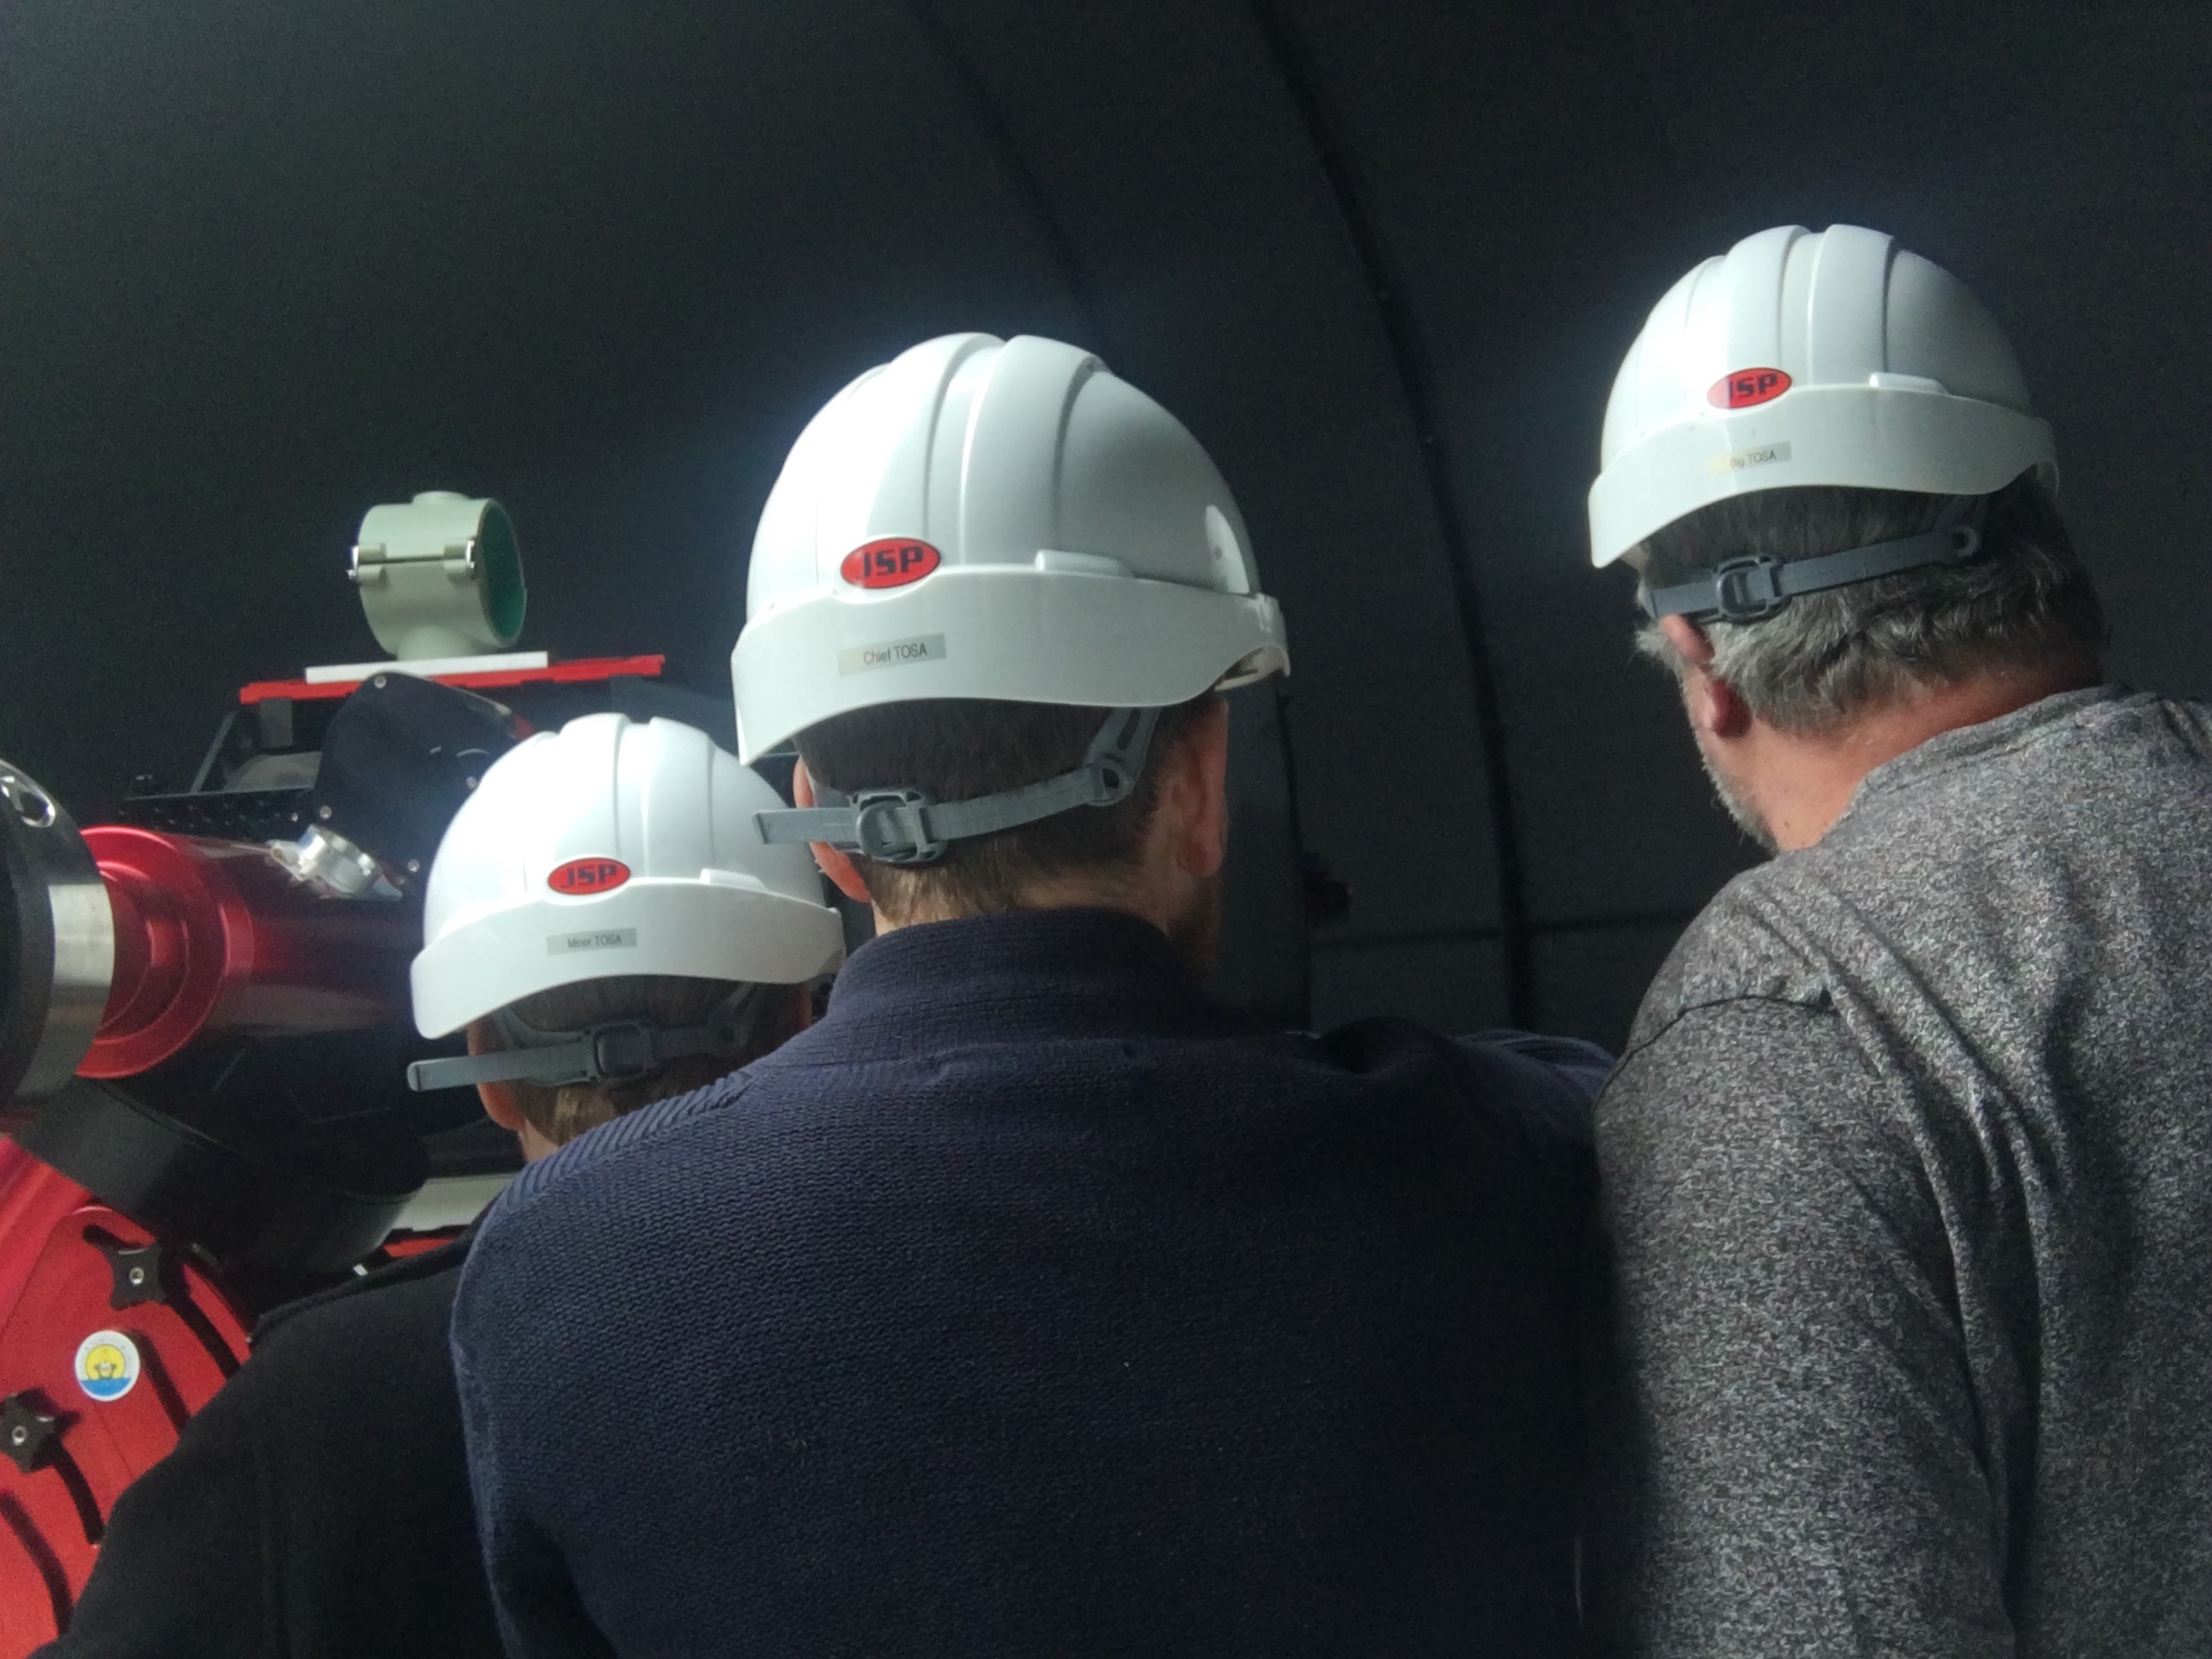
So after many days building out the IMT3 the 3 geeks with their hard hats relax and have another beer.
TOSAs
And the business end of the scope starts to look more useful and beautiful to the trained eye.
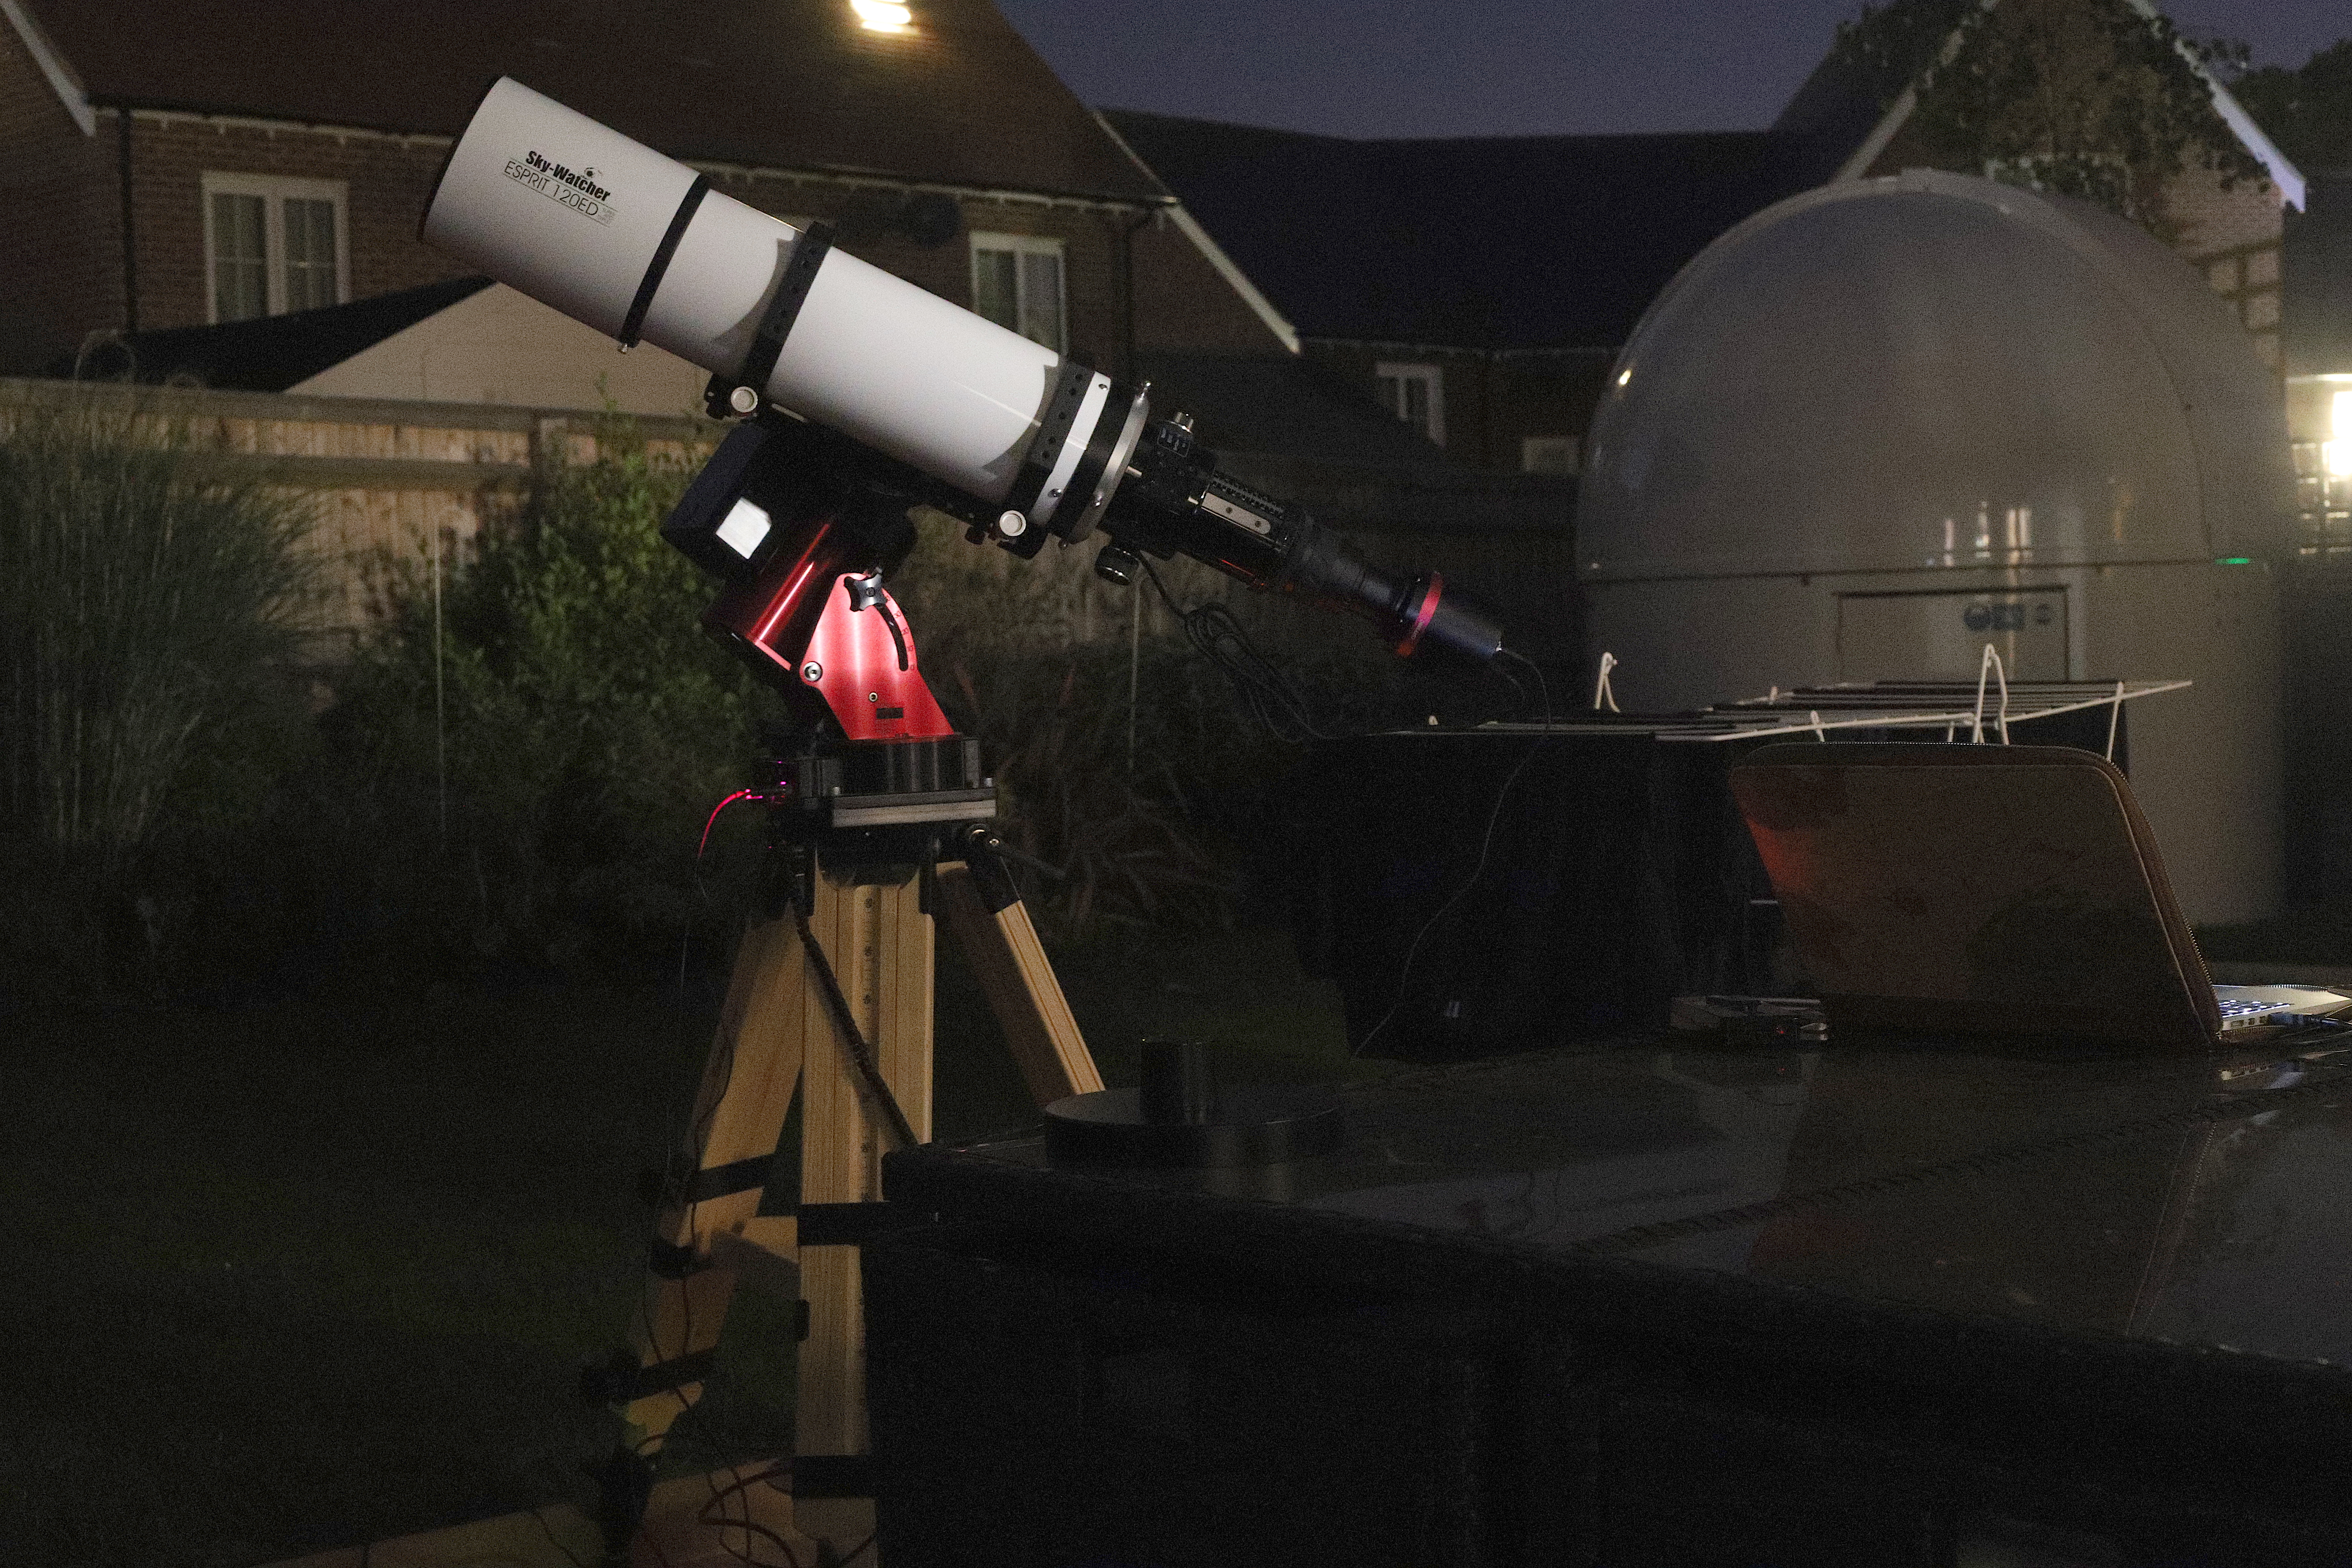
Tonight Bob will be learning how to control the observatory and using the Tak FS102 to trying imaging. Meanwhile I will be setting up my new Paramount MyT on its Berlebach tripod and with a new Sky-Watcher Esprit 120 mounted on top. The business end has my new QHY168C, yes I purchased a 2nd one, they are that good.
Travel setup and IMT3 dome
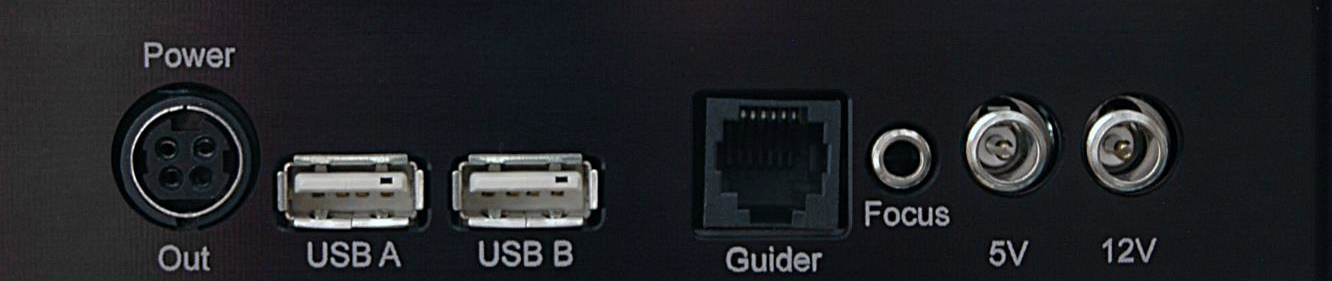
Whilst Bob played, I setup the travel kit on the new patio. I realised I could connect the camera through the USB on the MyT to one cable that won’t get snagged. I will however need to connect a power for the camera as that is currently trailing. There is a power connector on the back of the mount but I believe it is only rated to 1amp. There is however another power out which is rated at 7.5 amps so I will buy a Tycoon KPPX-4P 4 pin couple of connectors and makeup a cable so I can plug into that directly.
Connectors on the MyT mount
So I connected to TheSkyX with the mount and slewed to Arcturus. I could not connect the QHY camera to TheSkyX as I seem to be missing a driver. I will take a further look tomorrow to see if there is one. Instead I used the EzCap software they provide and connected the camera to that.
I focused manually as I have not motor focus to keep things simple, and soon had stars in view. I then did a manual spiral search until I found Arcturus and then synced on it. I could then slew around the sky with ease.
For polar alignment I have ordered (my friend GingerGeek has ordered) a PoleMaster mounting plate that I can use, this will make it easy to align. Tonight I just plonked the mount down without any polar alignment, thus anything more than 10 seconds produced trailing.
I tested cooling the camera, slewing and parking, although I need to see the park position 180 degrees from the current position to allow the scope rings to be in the right place for removing the OTA.
The scope and the mount and the camera make a great travel setup, each component is not too heavy to move by itself, the connection and setup is fairly straightforwards and I really do look forward to testing this out in October in Tenerife. I do need to test running from a car battery to see how long things last. I have my car battery I use for astronomy on charge and will test next time.
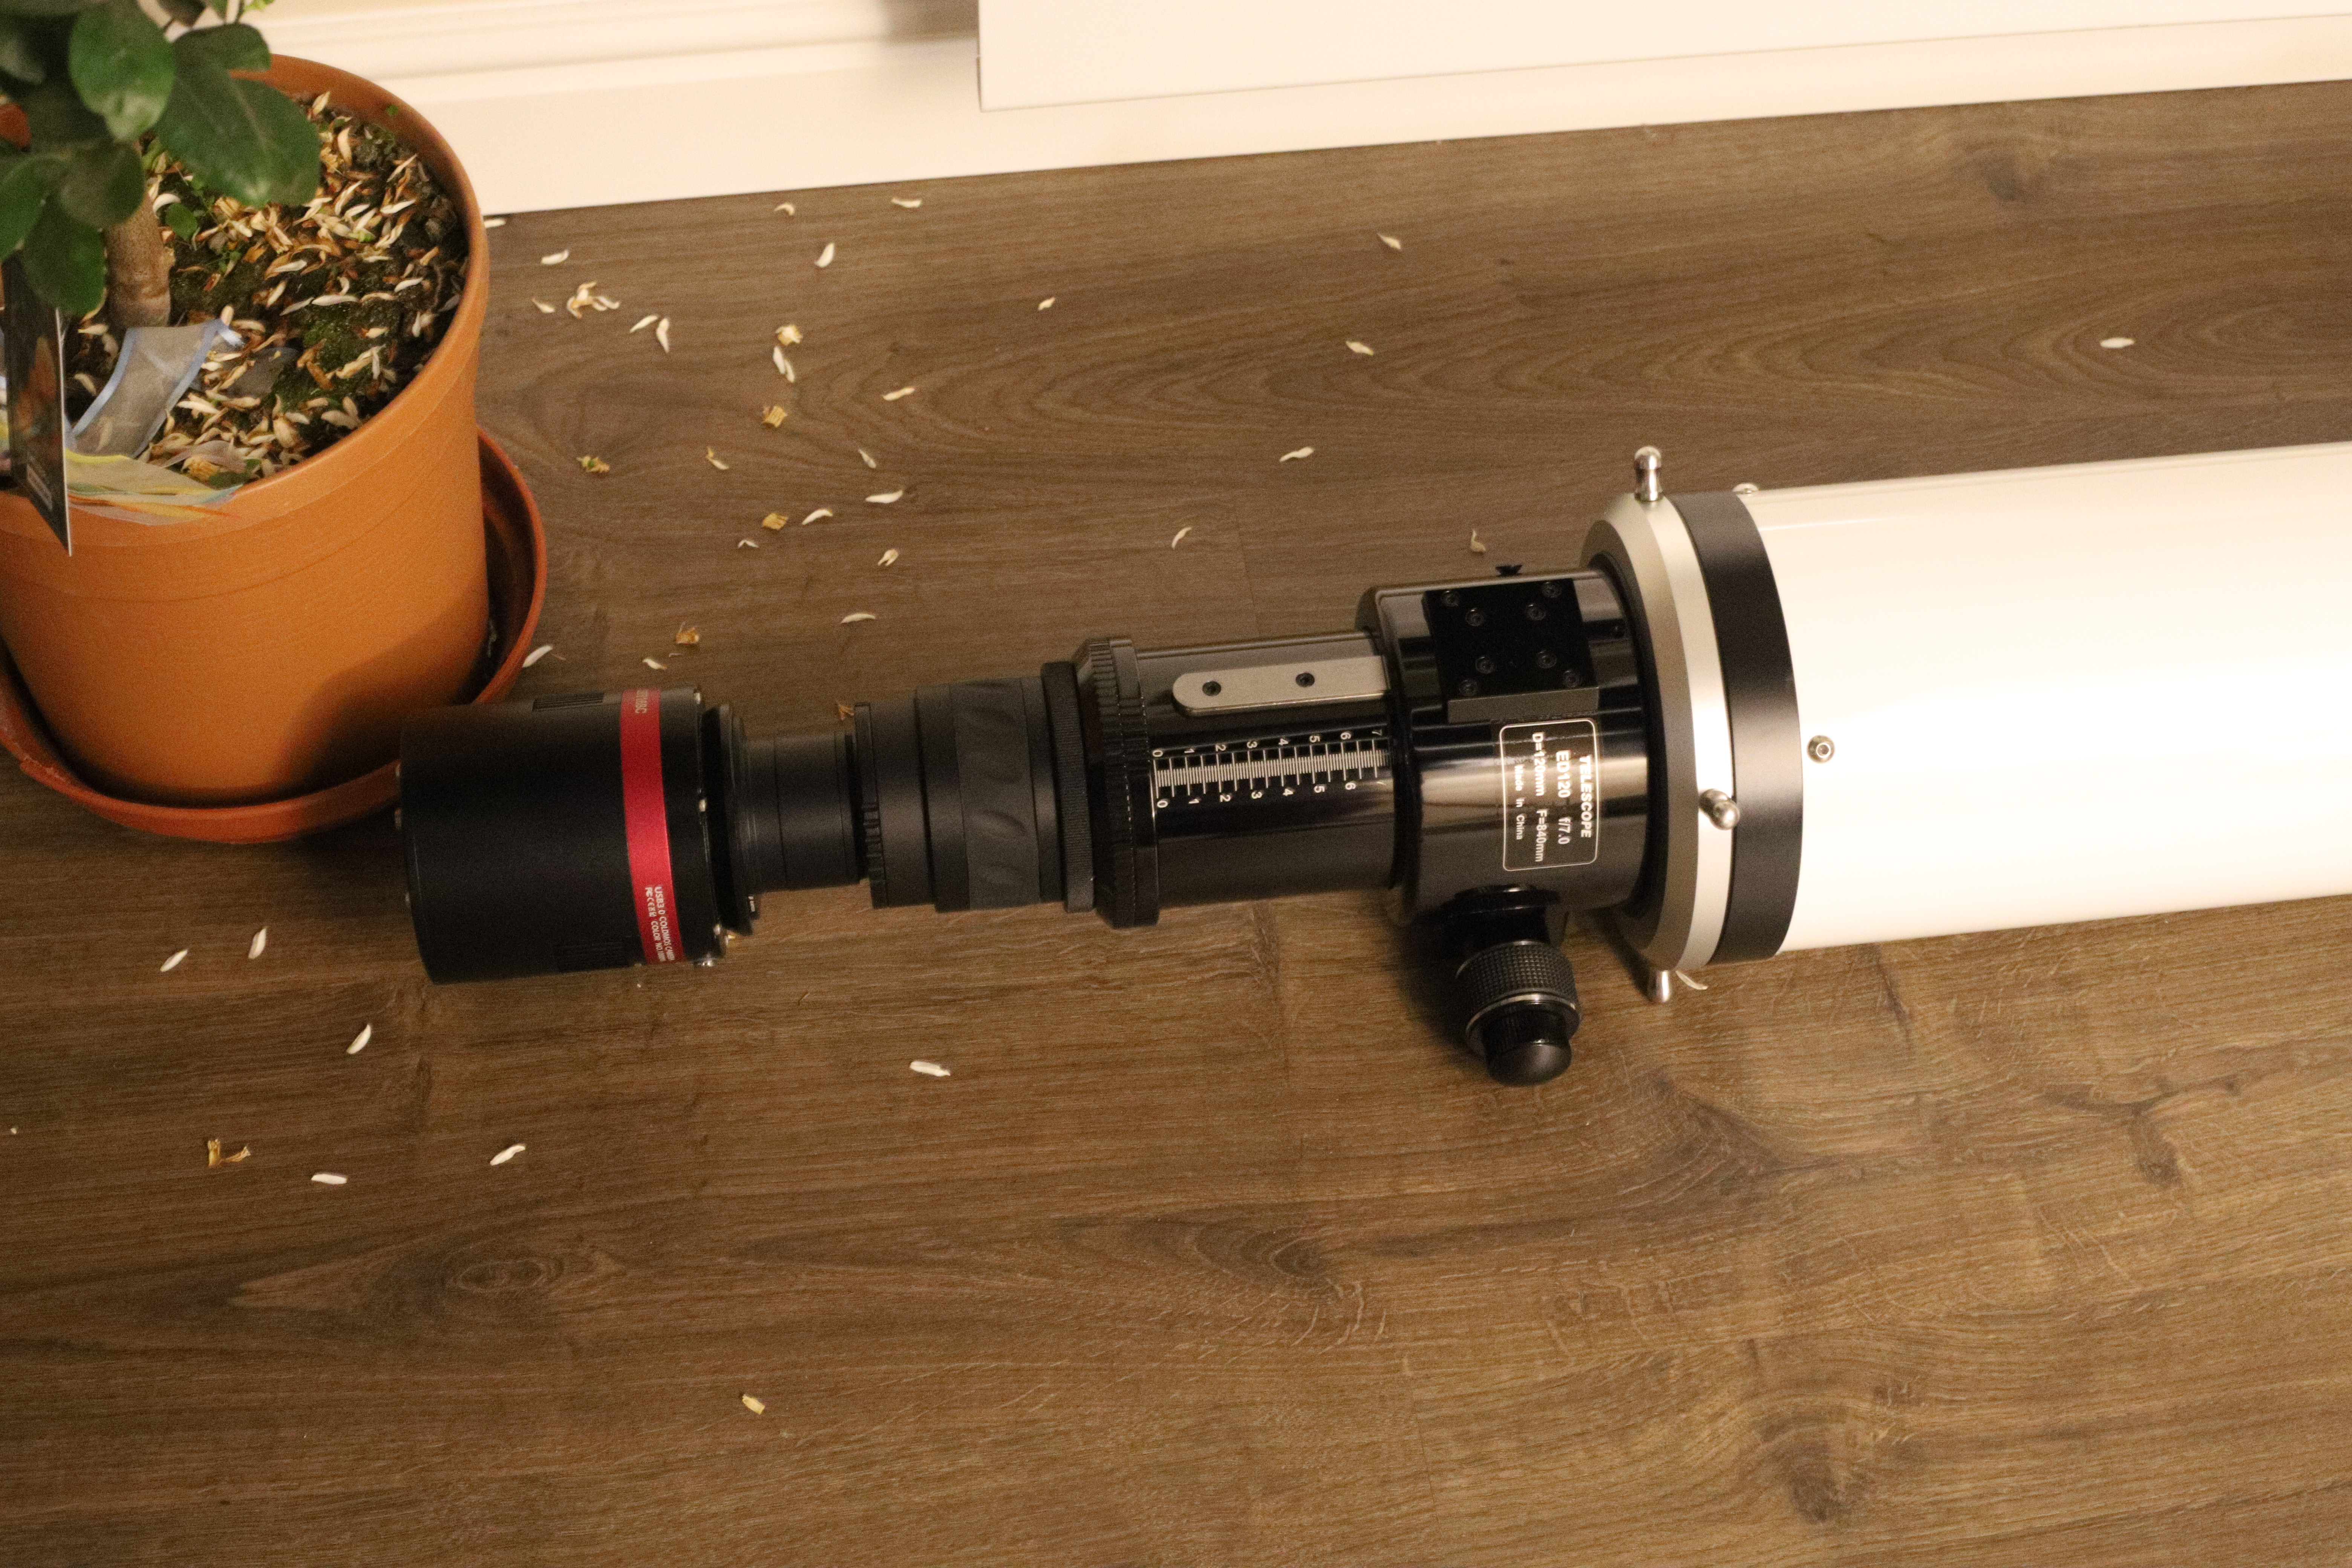
The connection of the camera to the flattener is a push fit and is missing the luminance filter. I will order the right adapters from Modern Astronomy so that I can fit later.
So I still have a few things to make, buy, test and do before October but good progress tonight on the travel setup front.
Meanwhile Bob has been making good progress with the Tak FS 102 in the IMT3. Imaging Arcturus and testing lengths of exposure on different objects such as M13. Some pieces of the sky Bob was imaging at 5 minutes unguided and others such as M13 only 3 minutes. I need to look at why this is given I now think the polar alignment from last night is excellent.
Imaging through IMT3
I reset the FoV indicator for the Tak FS102 in relation to the main 12″ scope. I need to find a way of slewing to given object for the offset scopes. I also need to be shown how you use SGPro to slew too, rather than using TheSkyX, so a slew, plate solve and then final adjustment.