So in my last post I left you with the pier being fitted, this is just the start of the journey to be able to place the mount and telescope OTA’s Optical Tube Assembly on top. All of that would require power! And to fix all the power to the pier I needed a piece of wood which I had handy in the garage.

Once fitted this became one of two panels within the dome. We really wanted to keep the power and data and associated cables to two places. This would have a the MEII power supply at the top, a power strip to the right, the master power coming in from below and to a 2-way switch, there would be additions to this later.
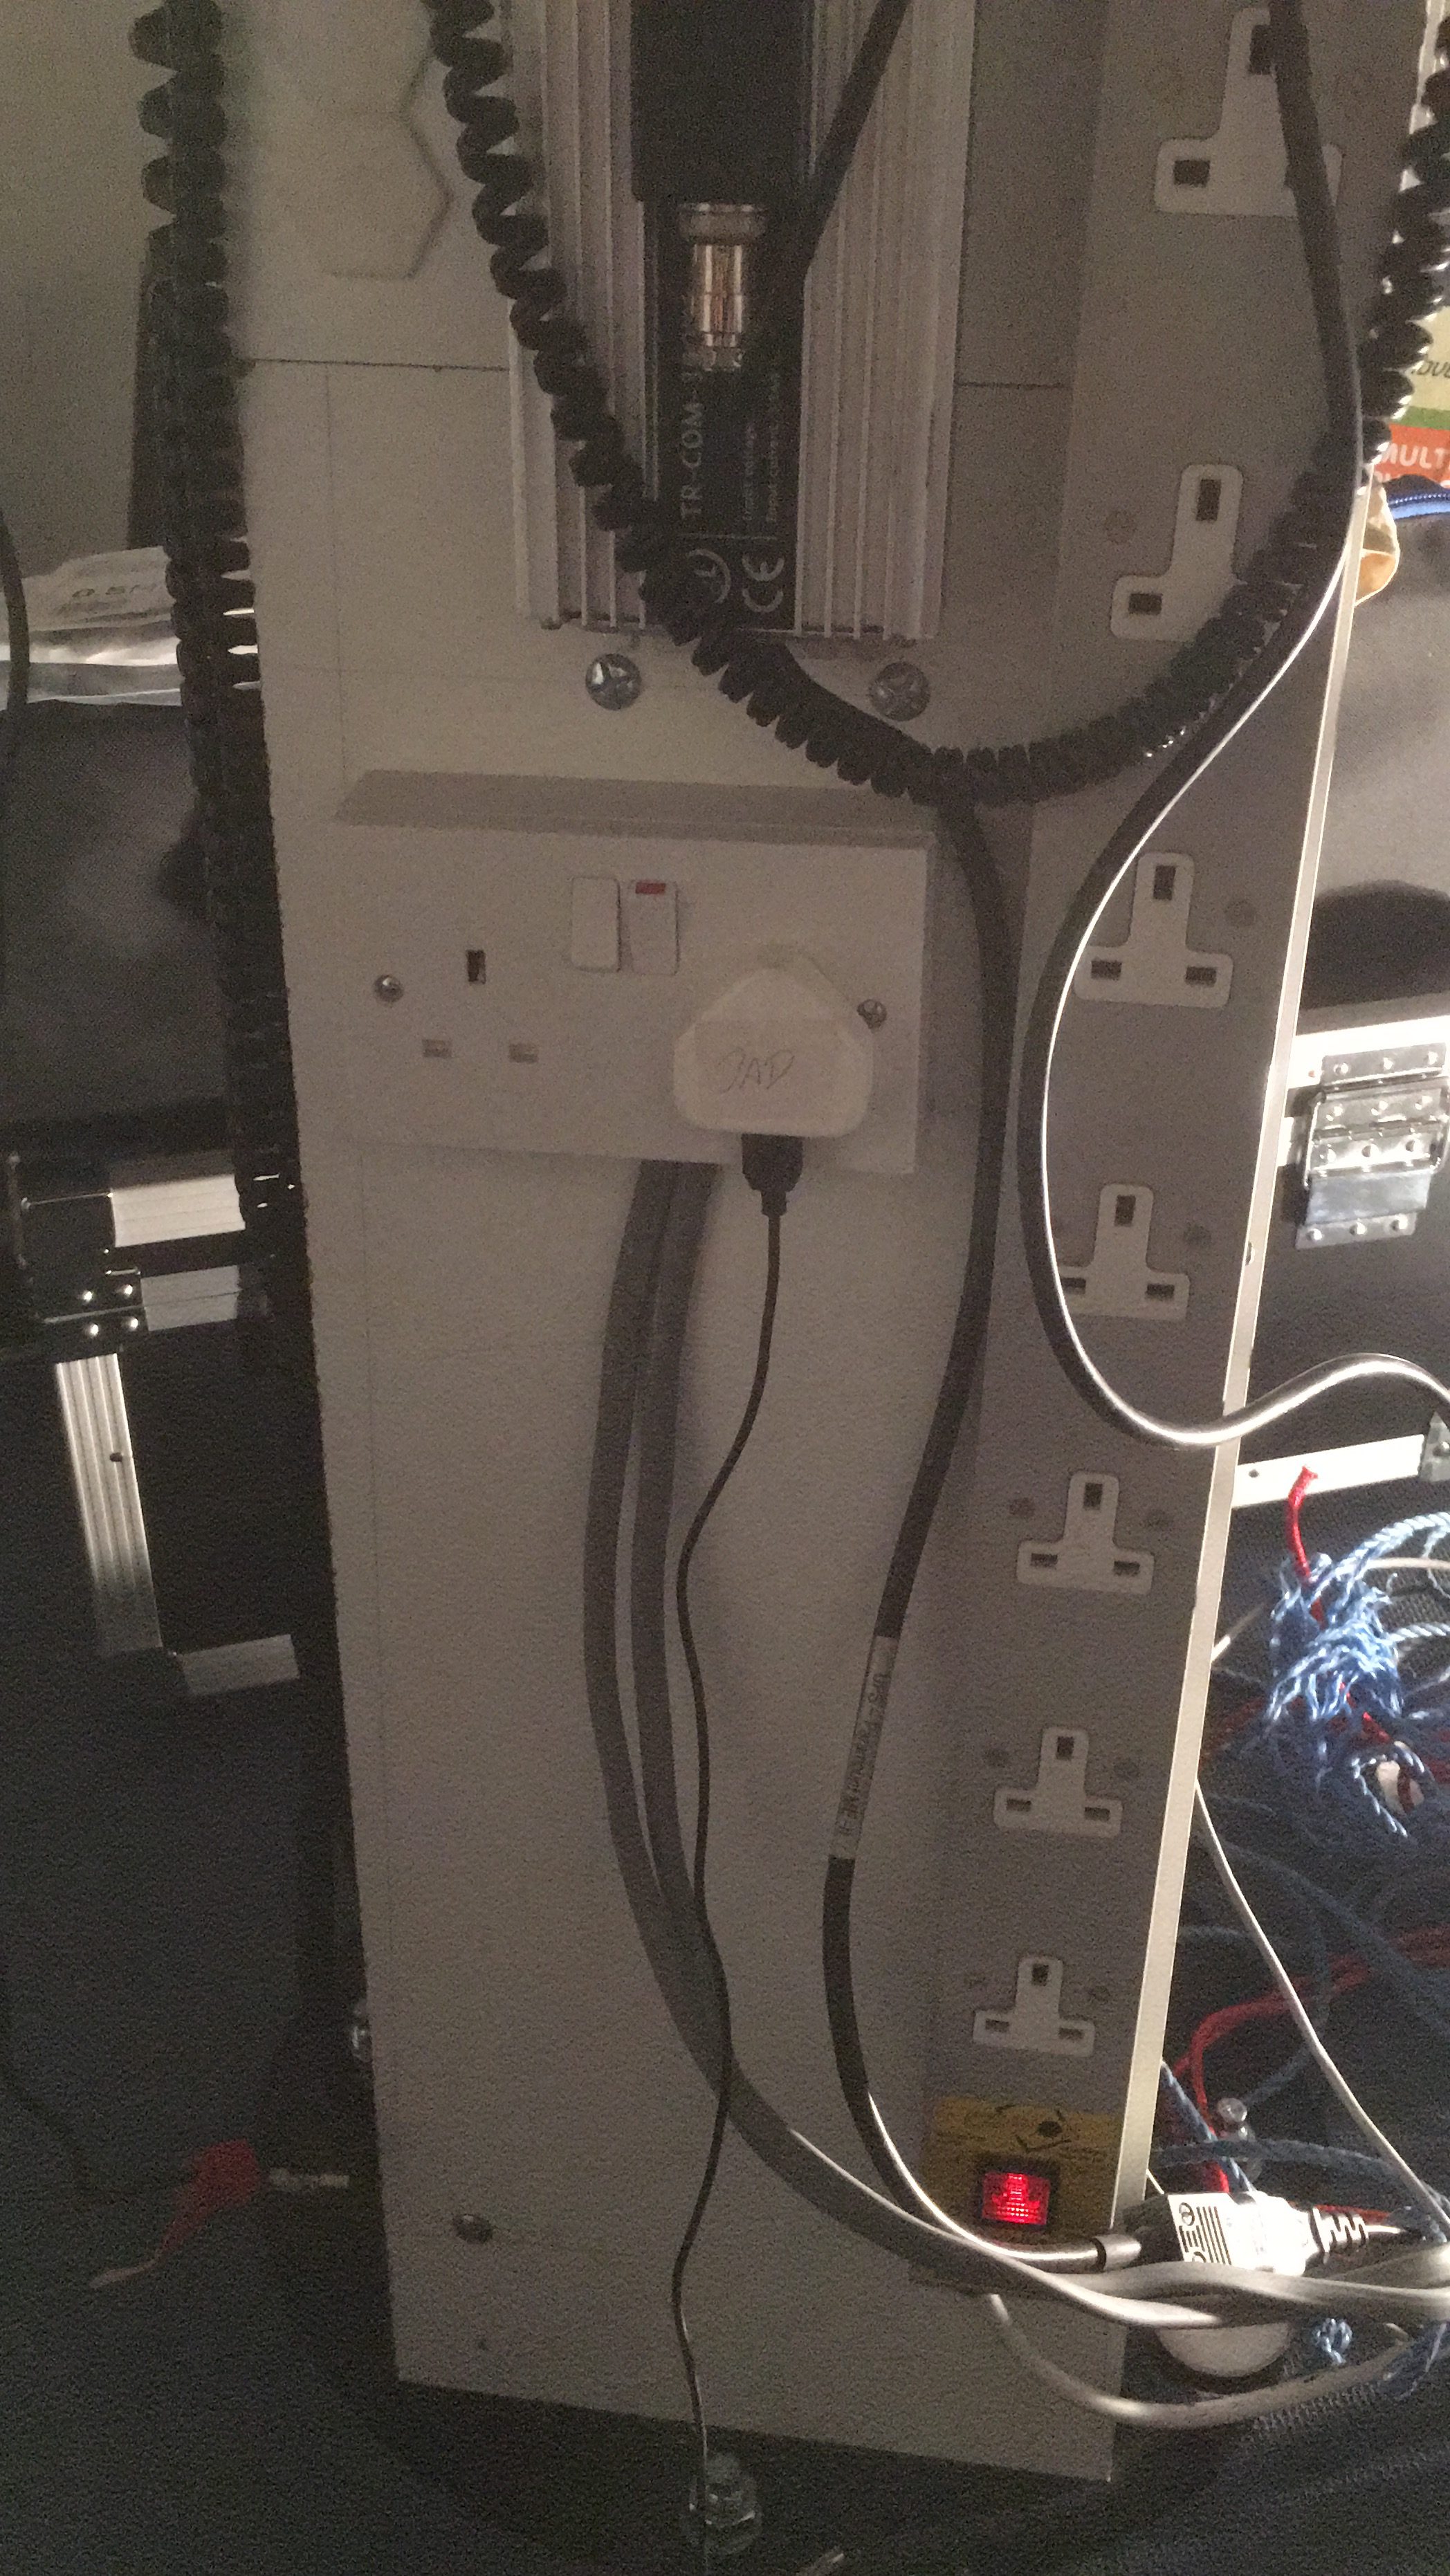
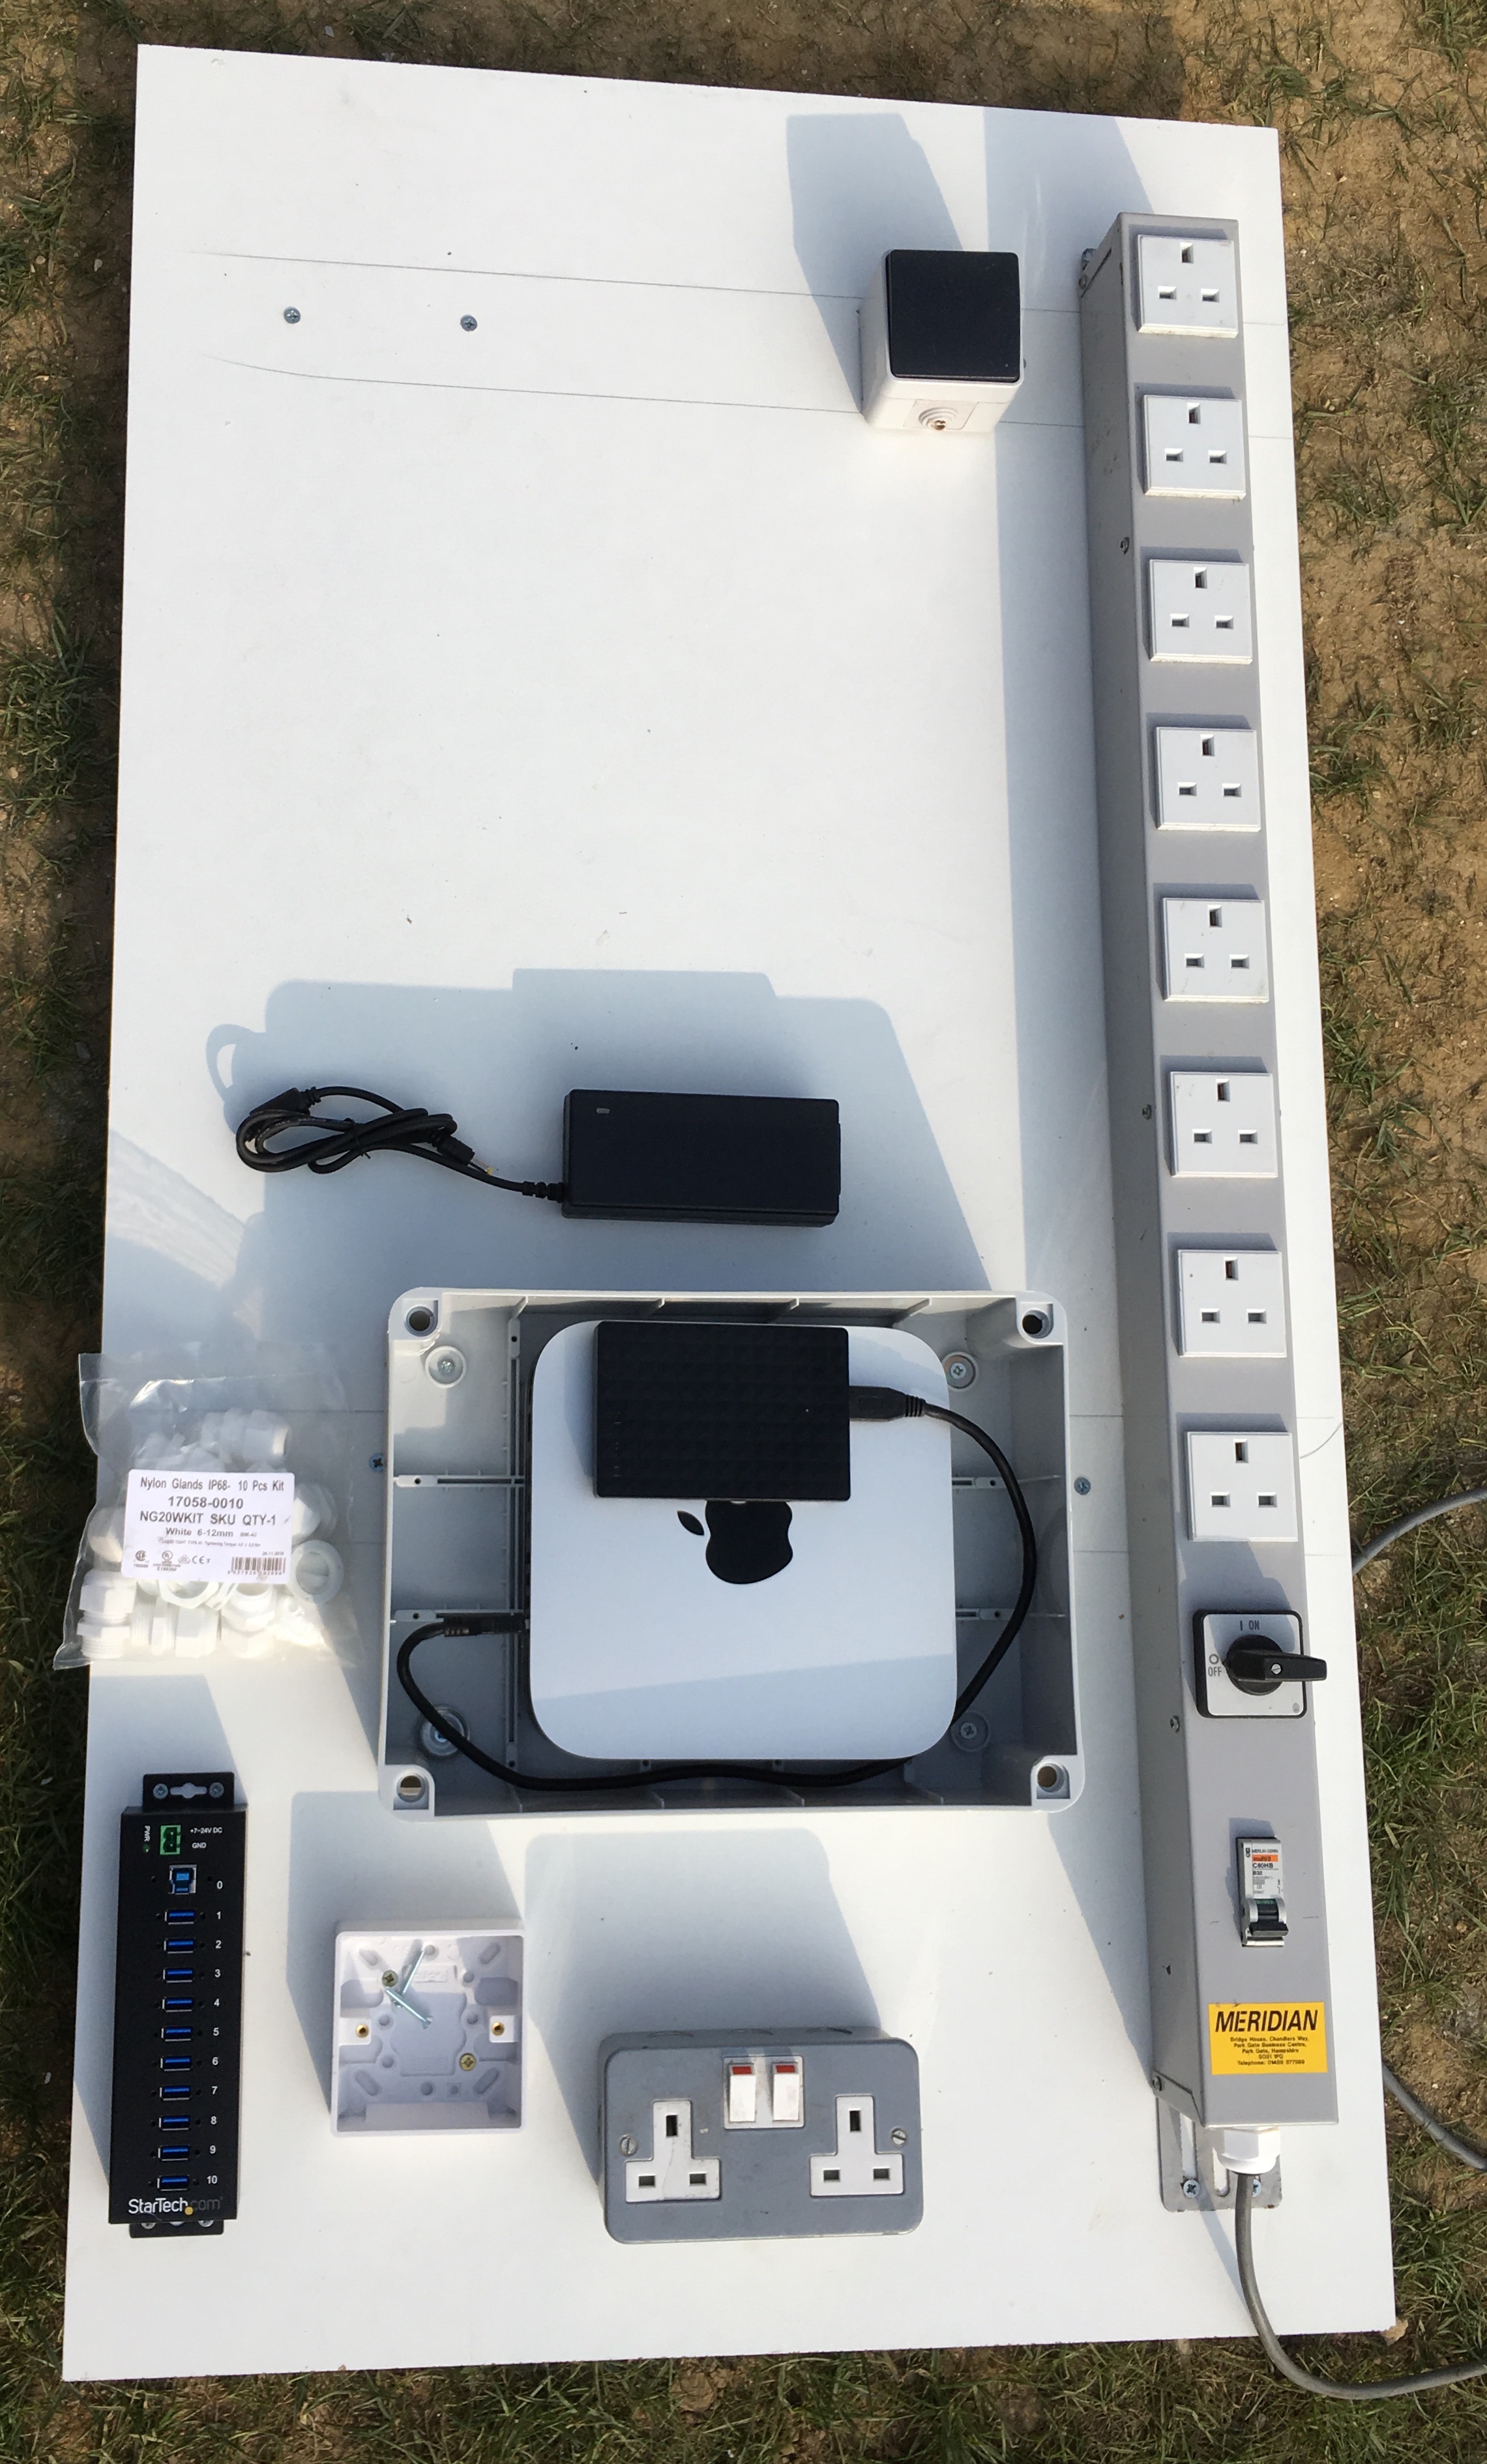
The other board would sit by the incoming power and data supplies near the edge and Eastern side of the dome. A master switch for the lights, another power strip, a waterproof box for the MacMini, later to be changed to an Intel NuC due to software issues that we later realised we could fix 🙁 A 10 port USB hub (one of many), master Ethernet port for the incoming network connection from the house and providing 330MB into the dome and finally the master double socket for the electric.
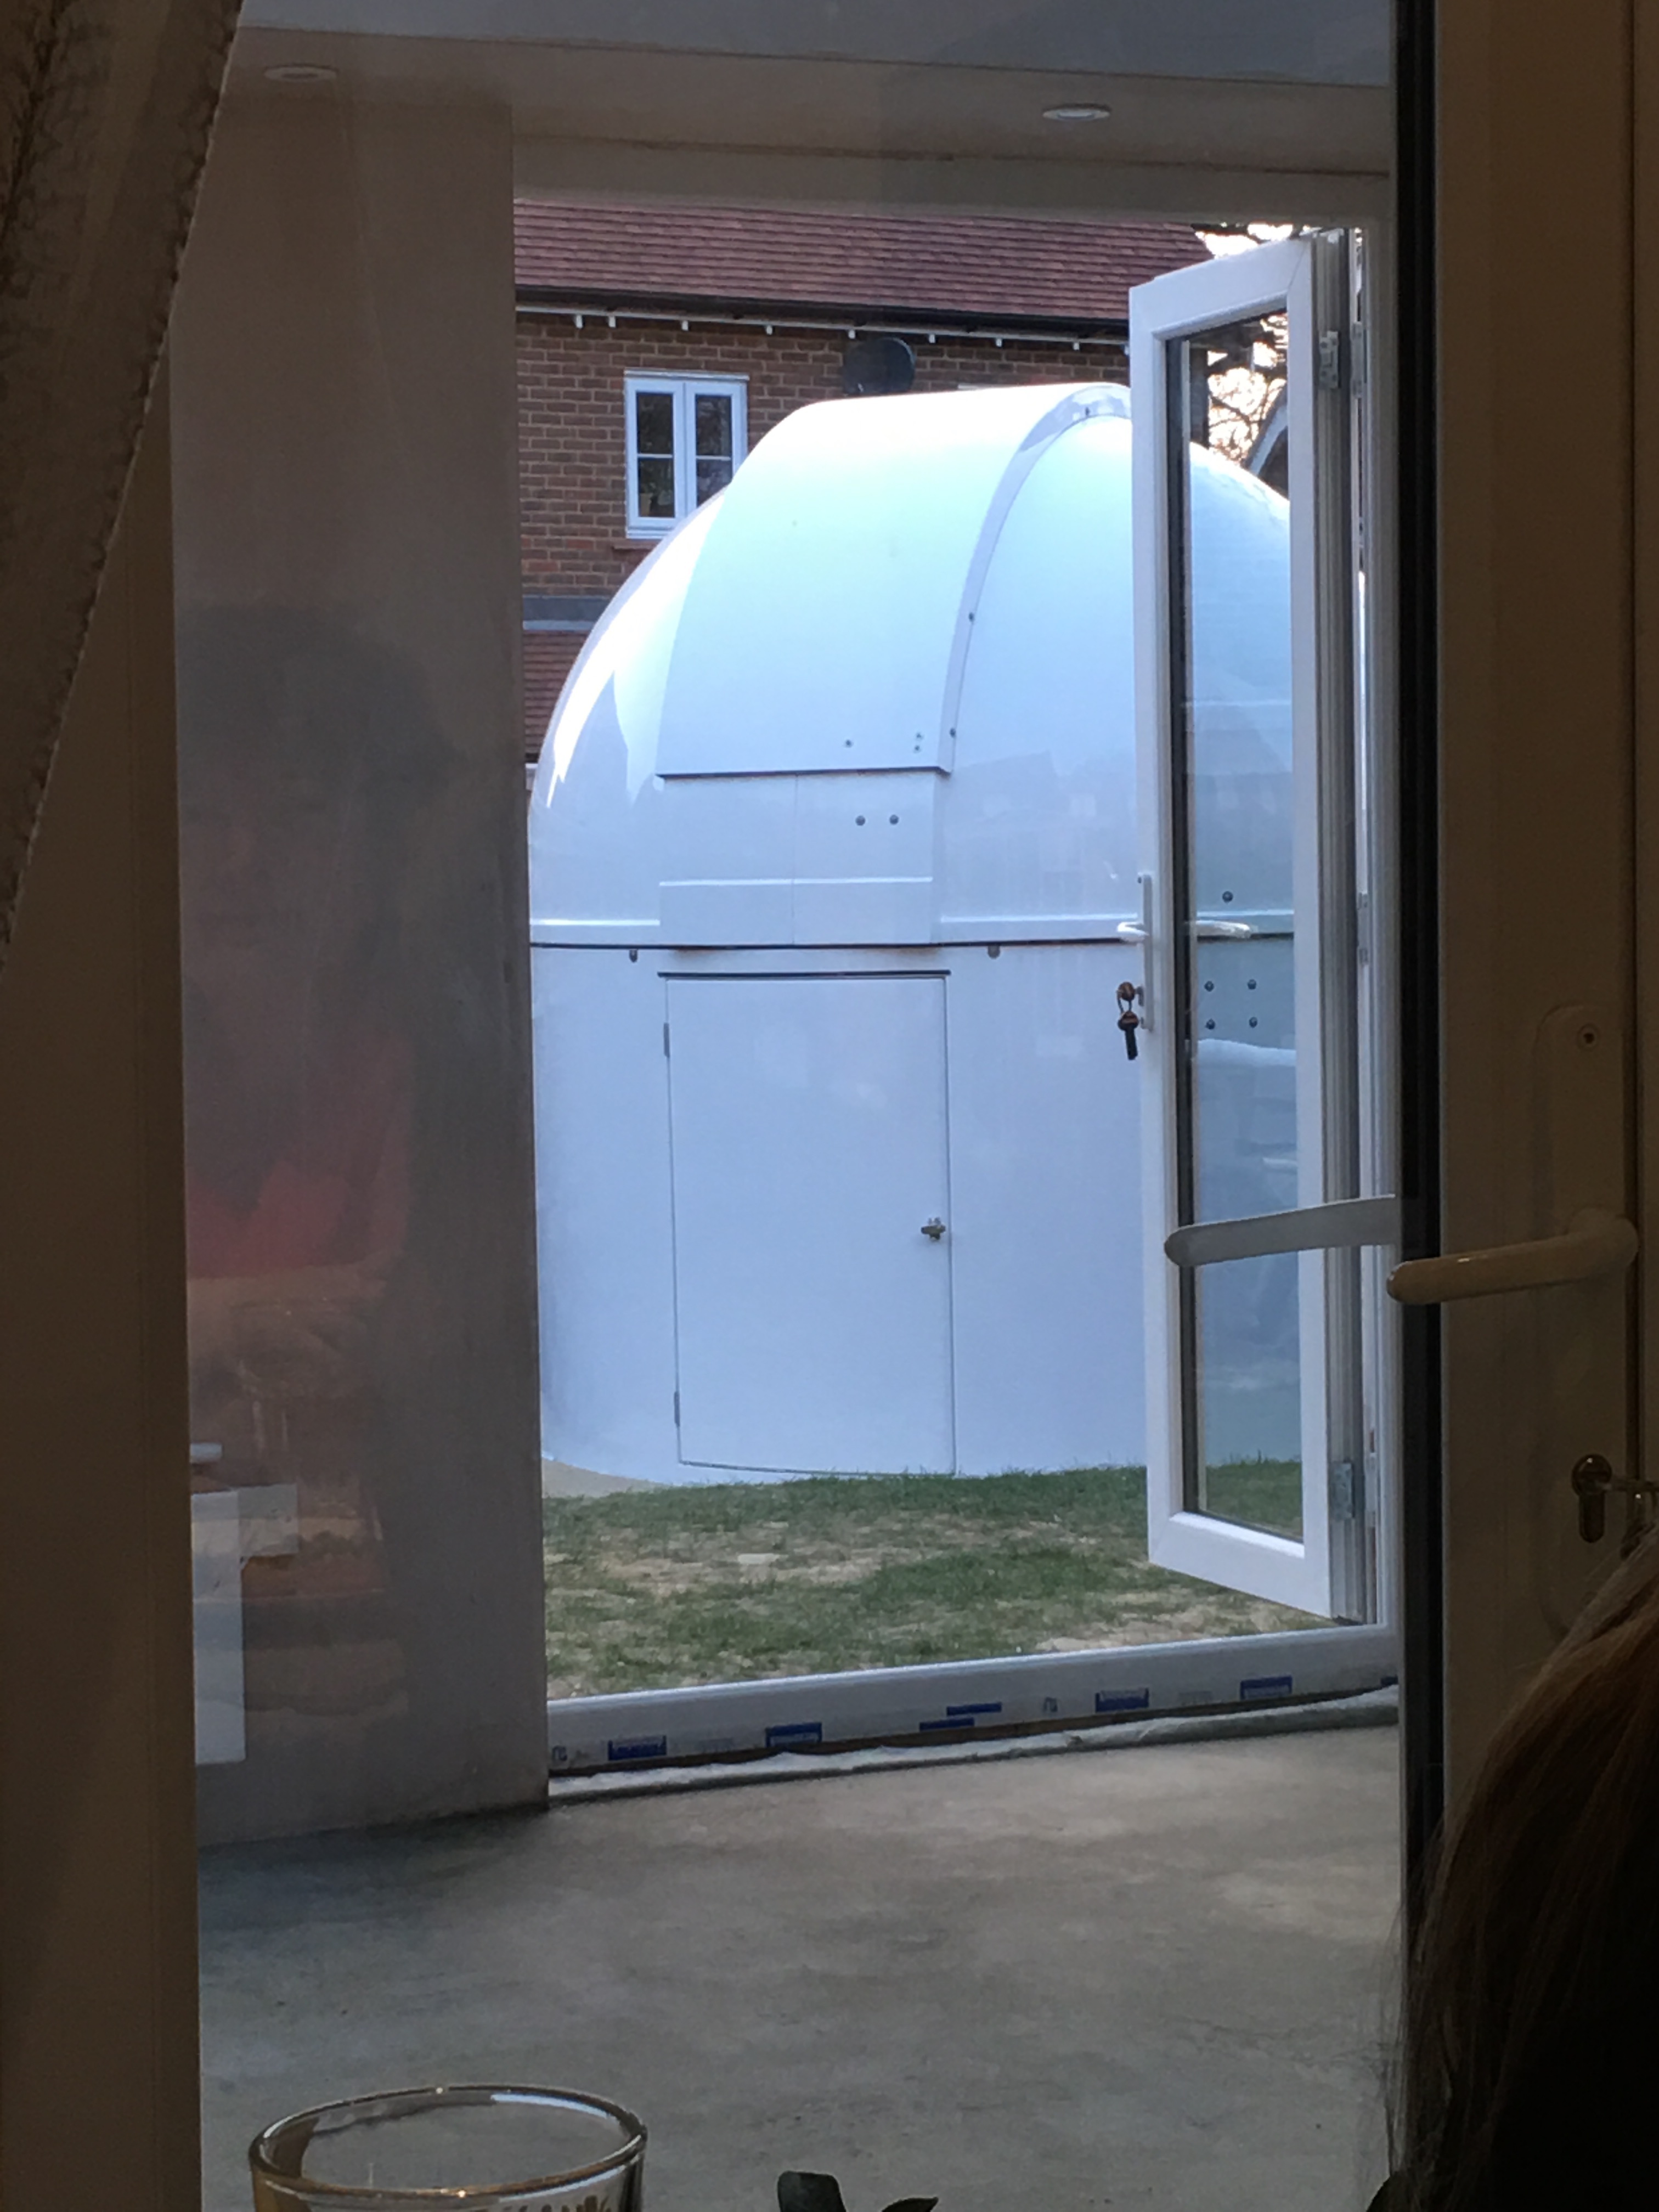
Meanwhile the view from the Orangery was great, with the dome taking shape, although the plan is to have fencing and planting to soften the view for others.
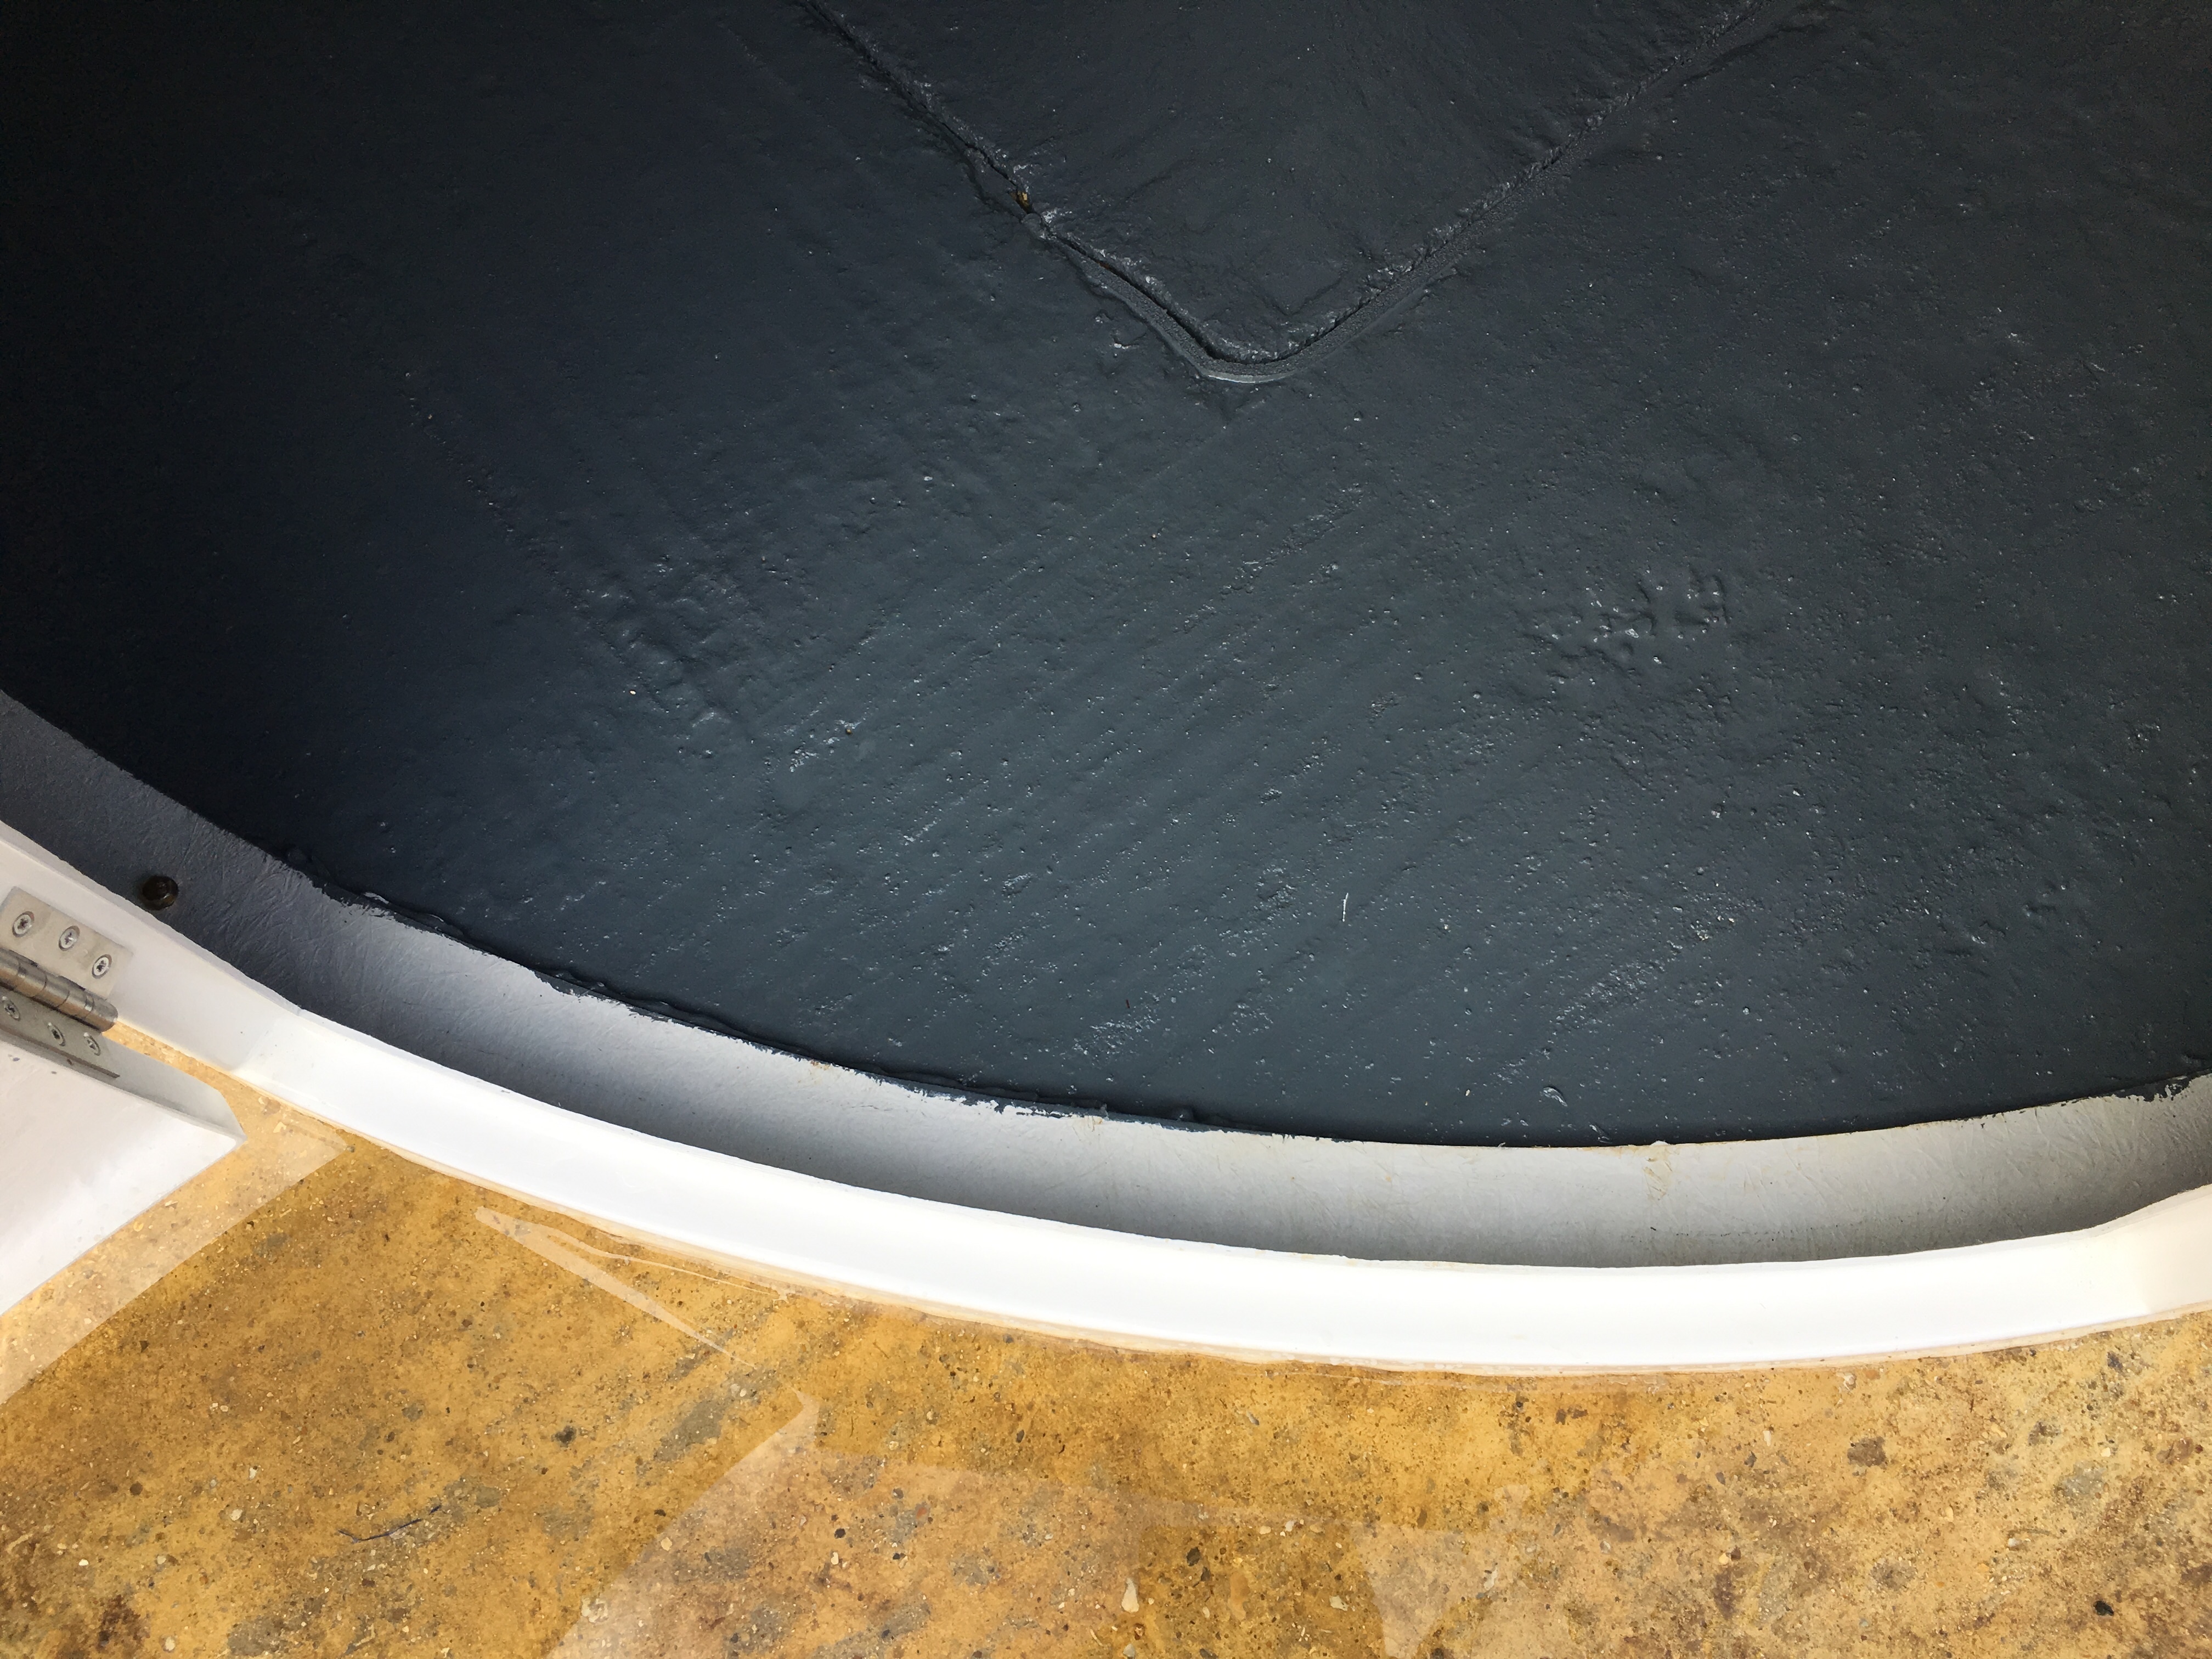
The floor of the dome was painted with garage floor paint to seal in the concrete. It would transpire that the rubber matting I would later fit would need a DPC membrane under it to stop the build up of condensation caused by the cold concrete against the warmer rubber.
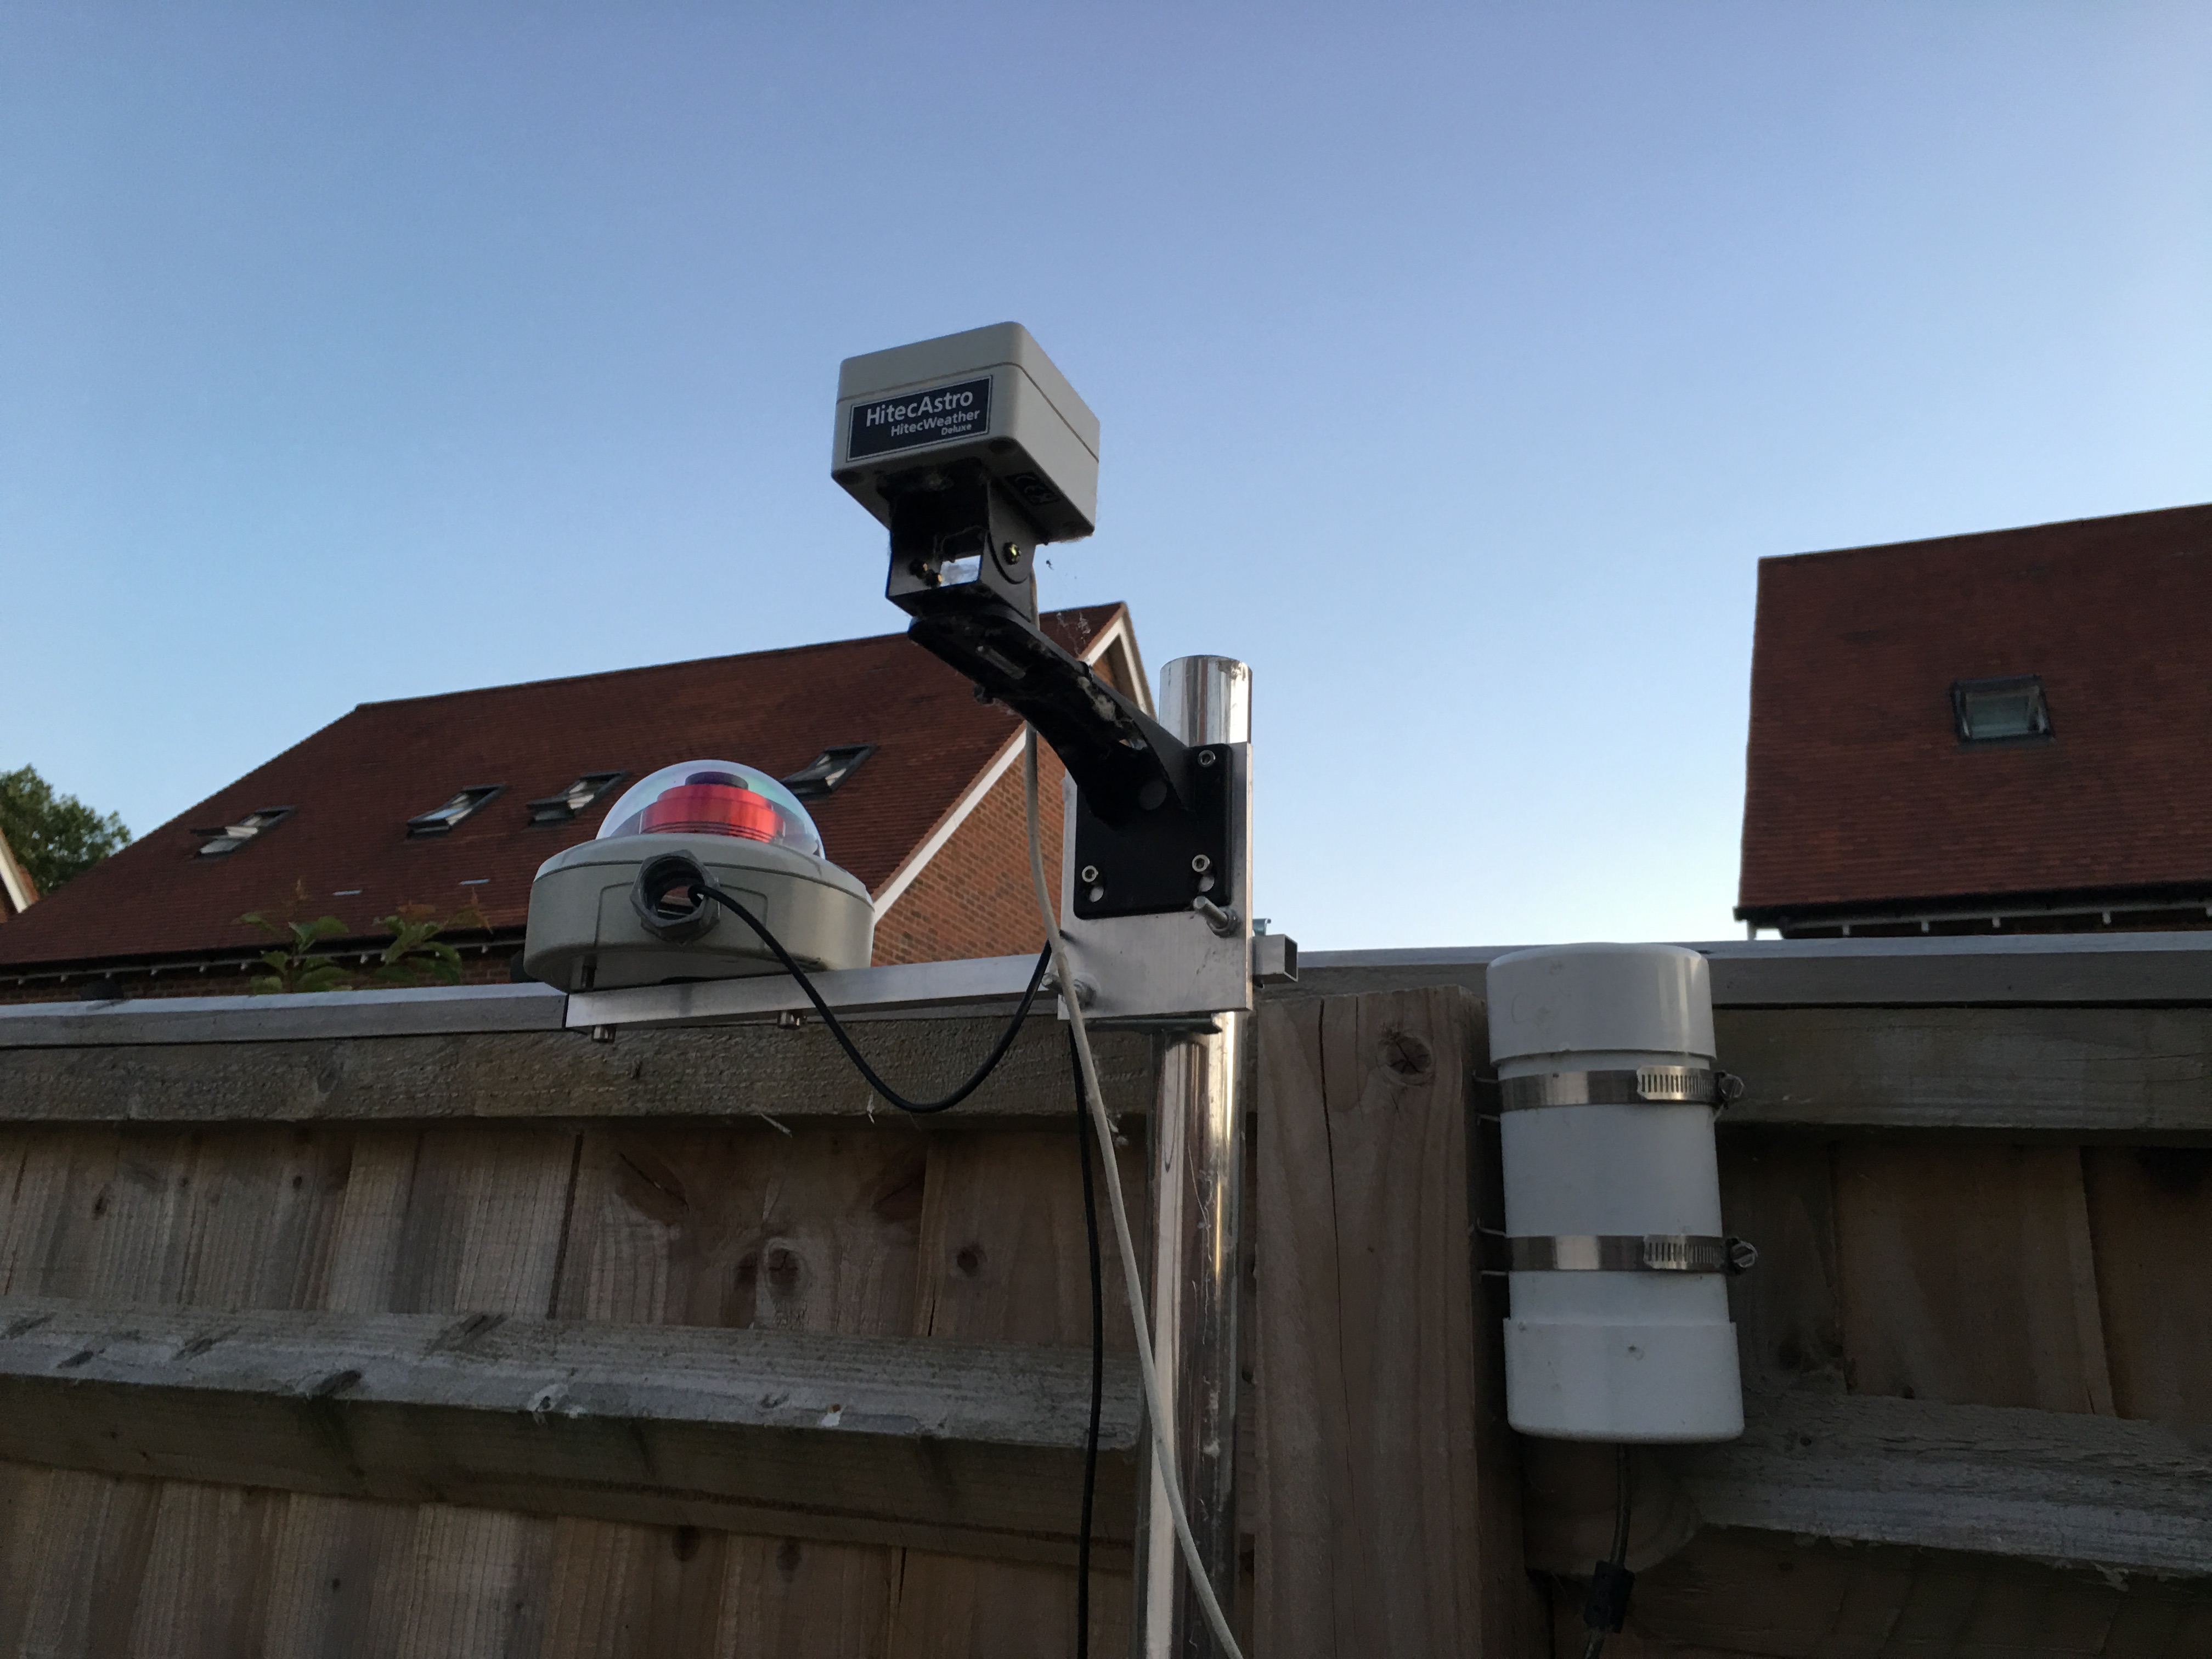
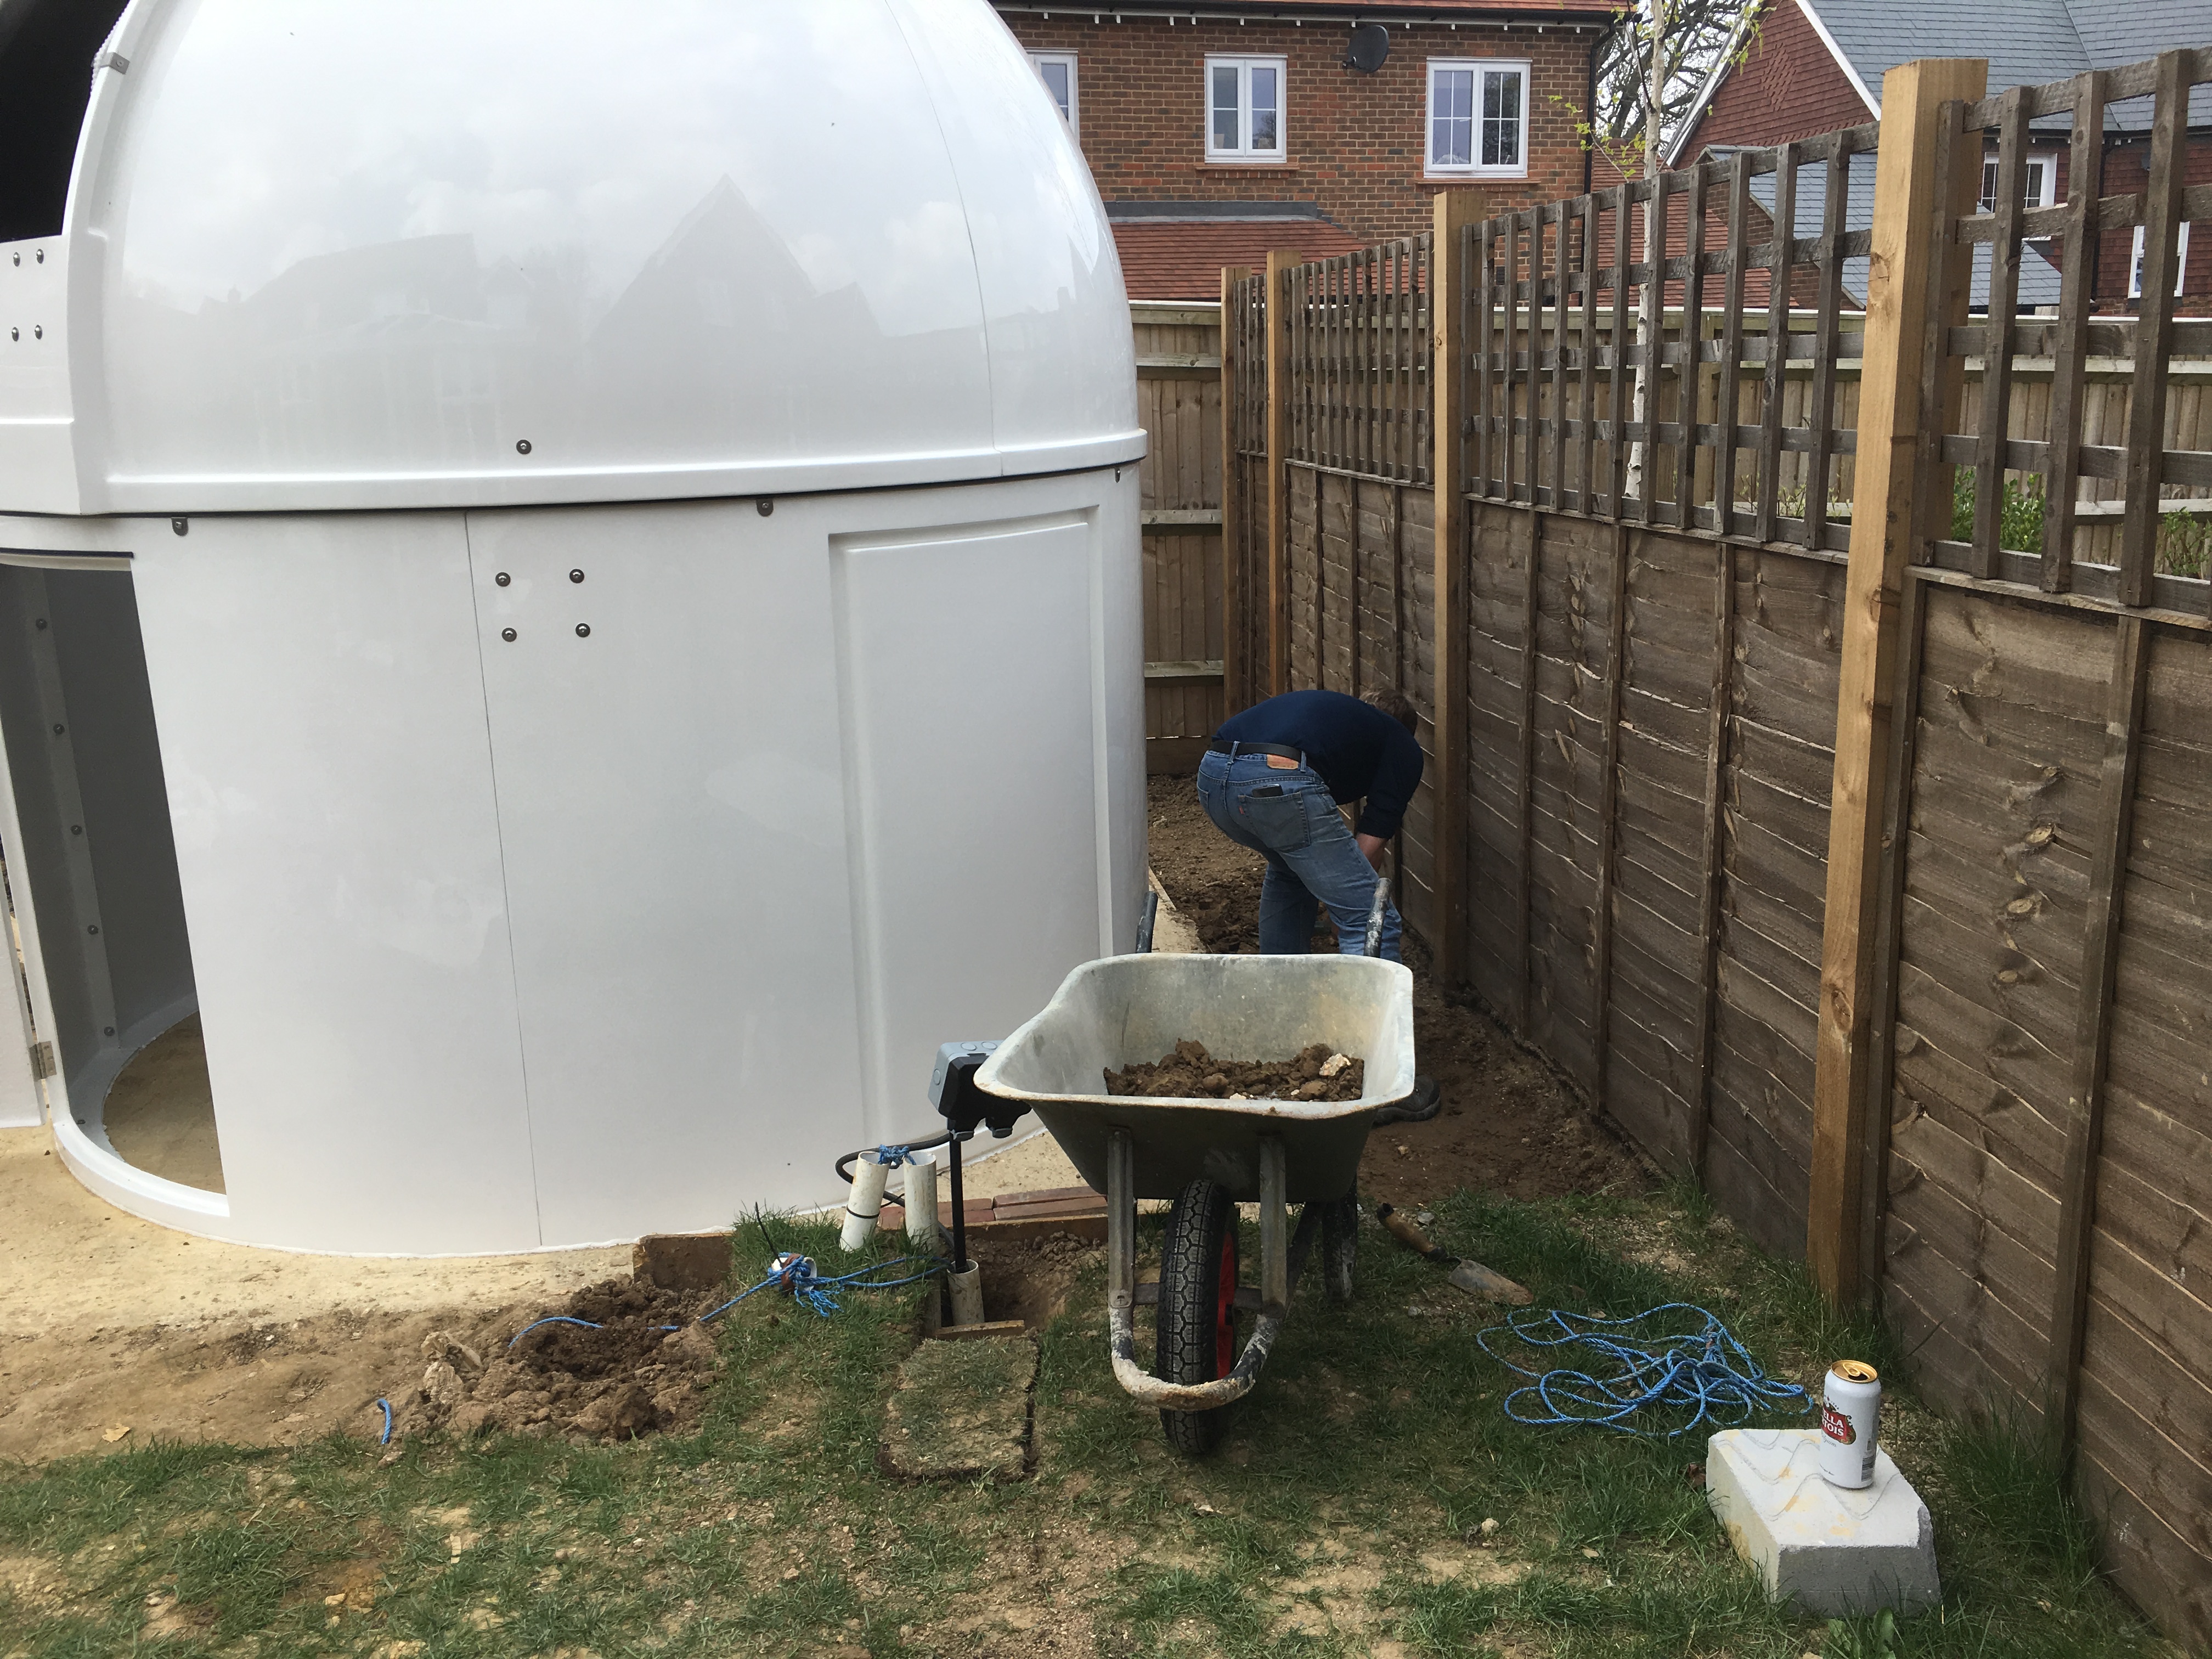
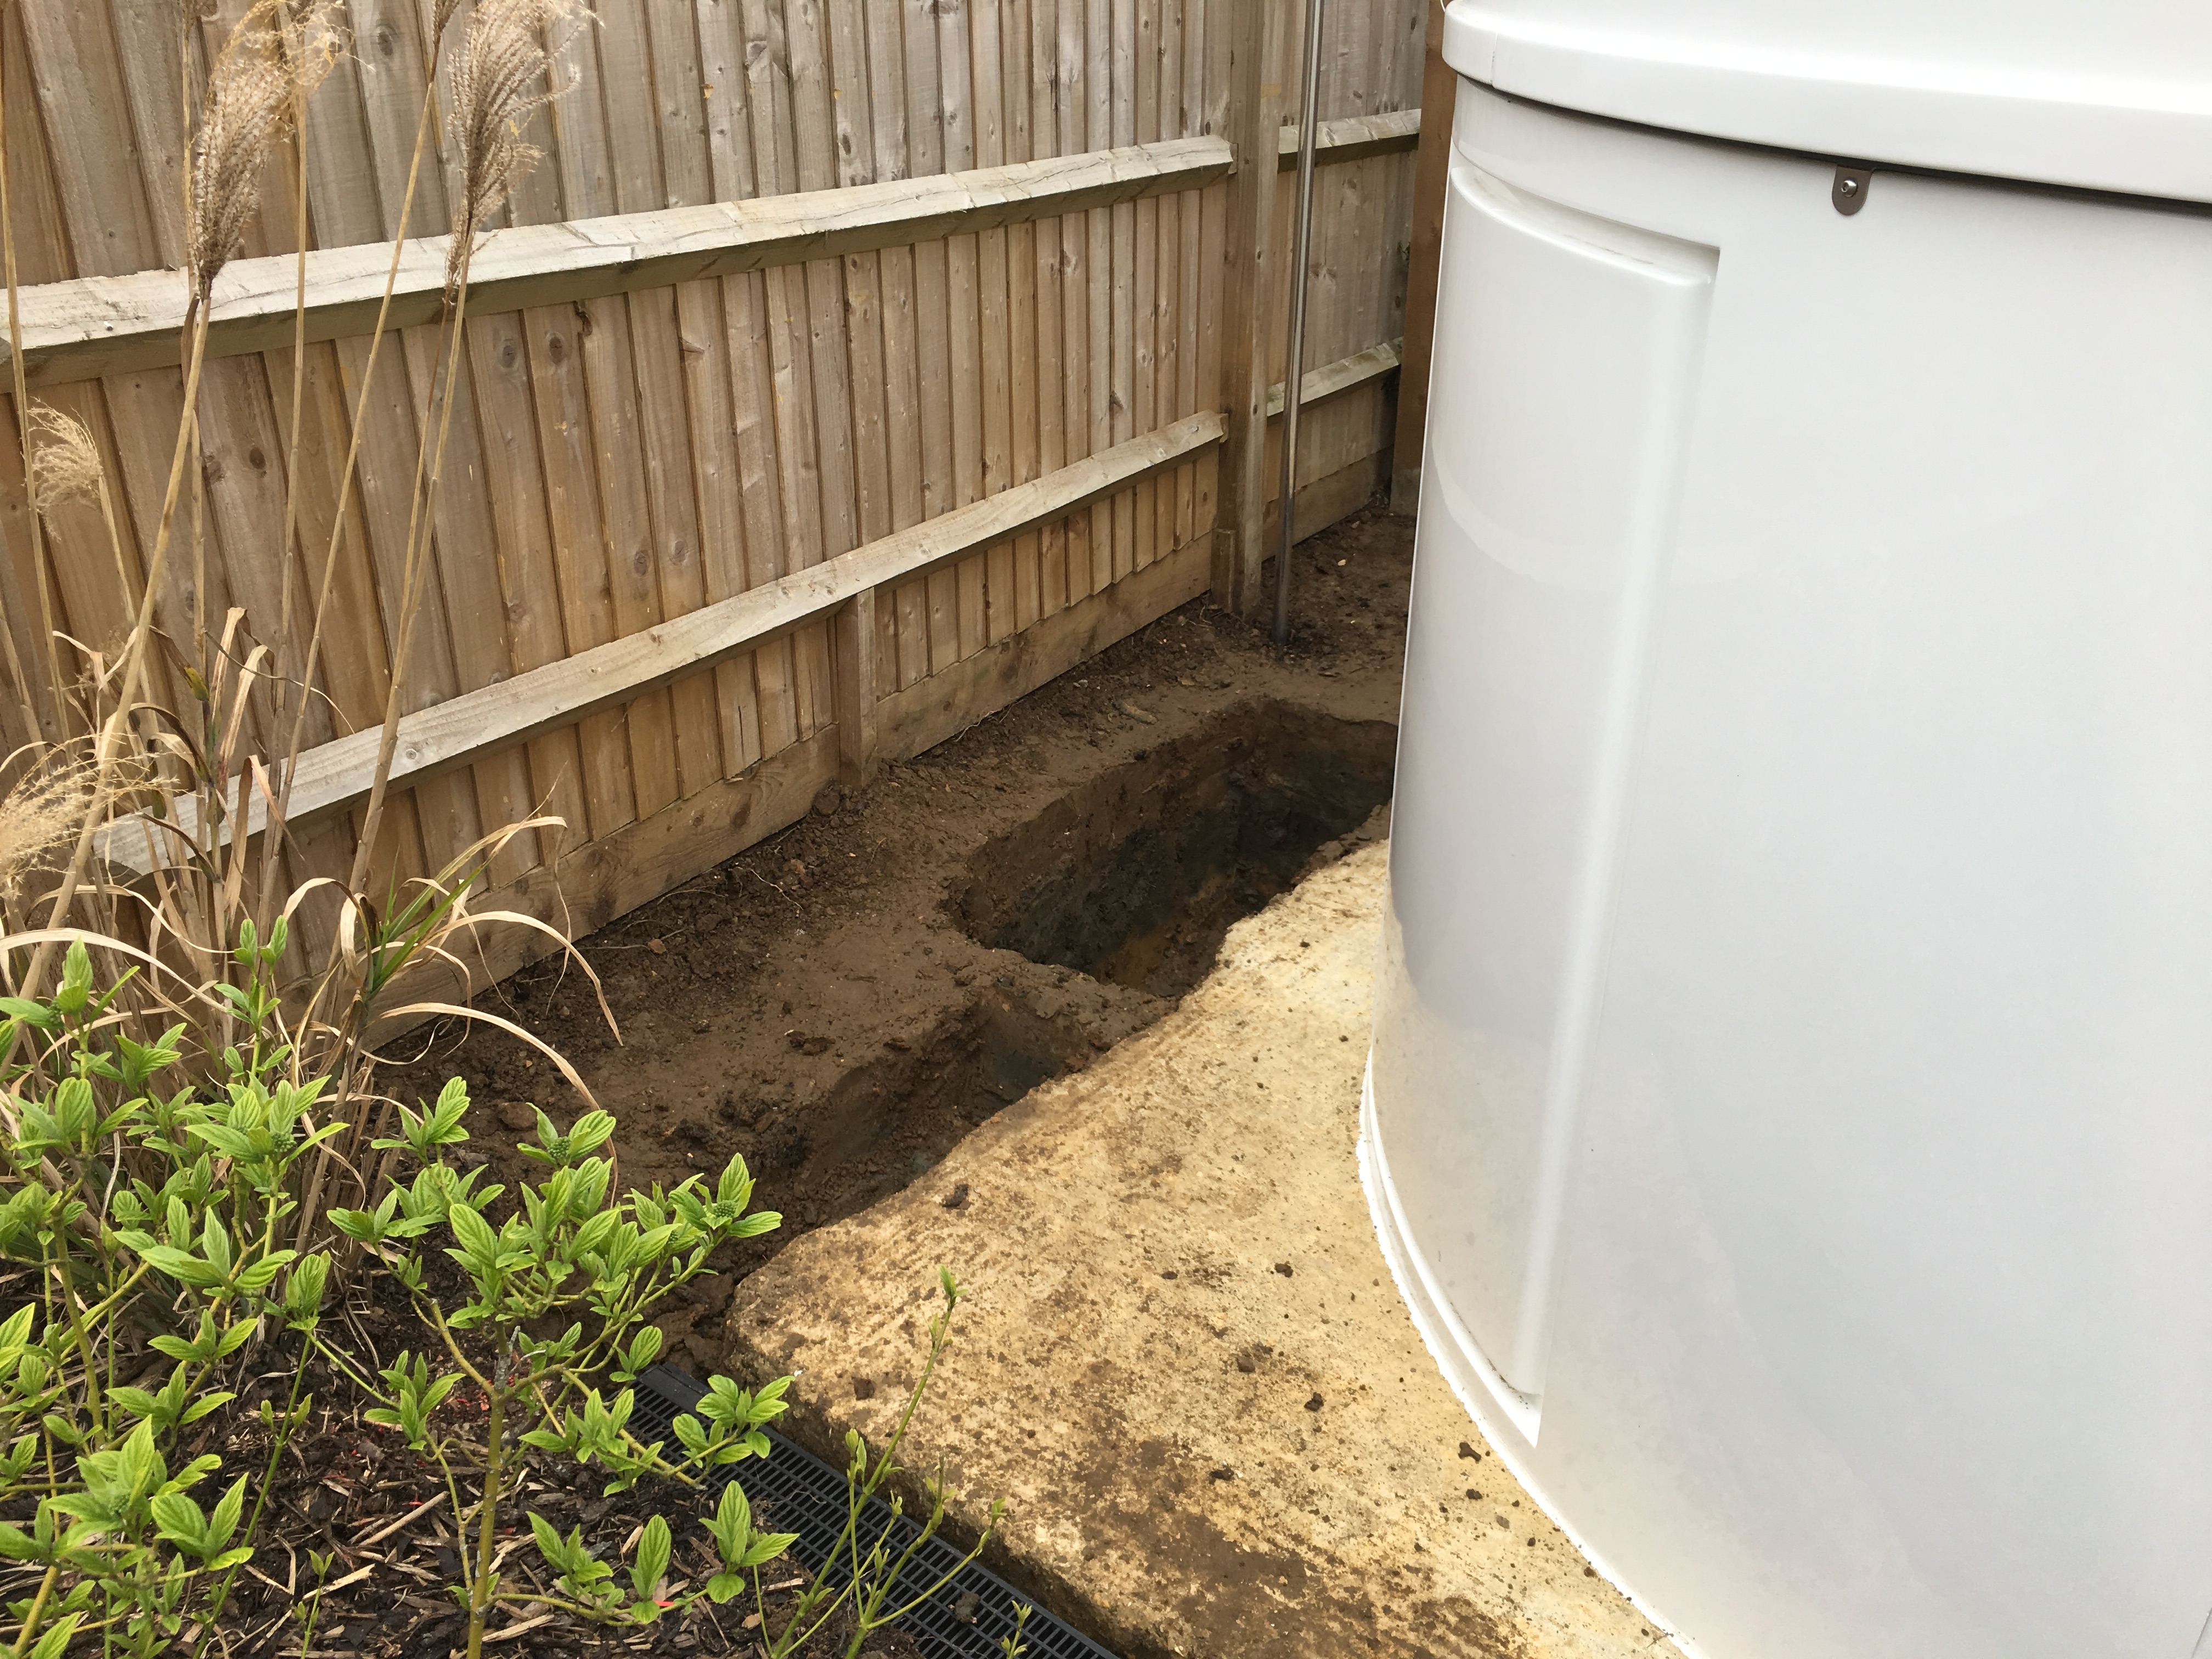
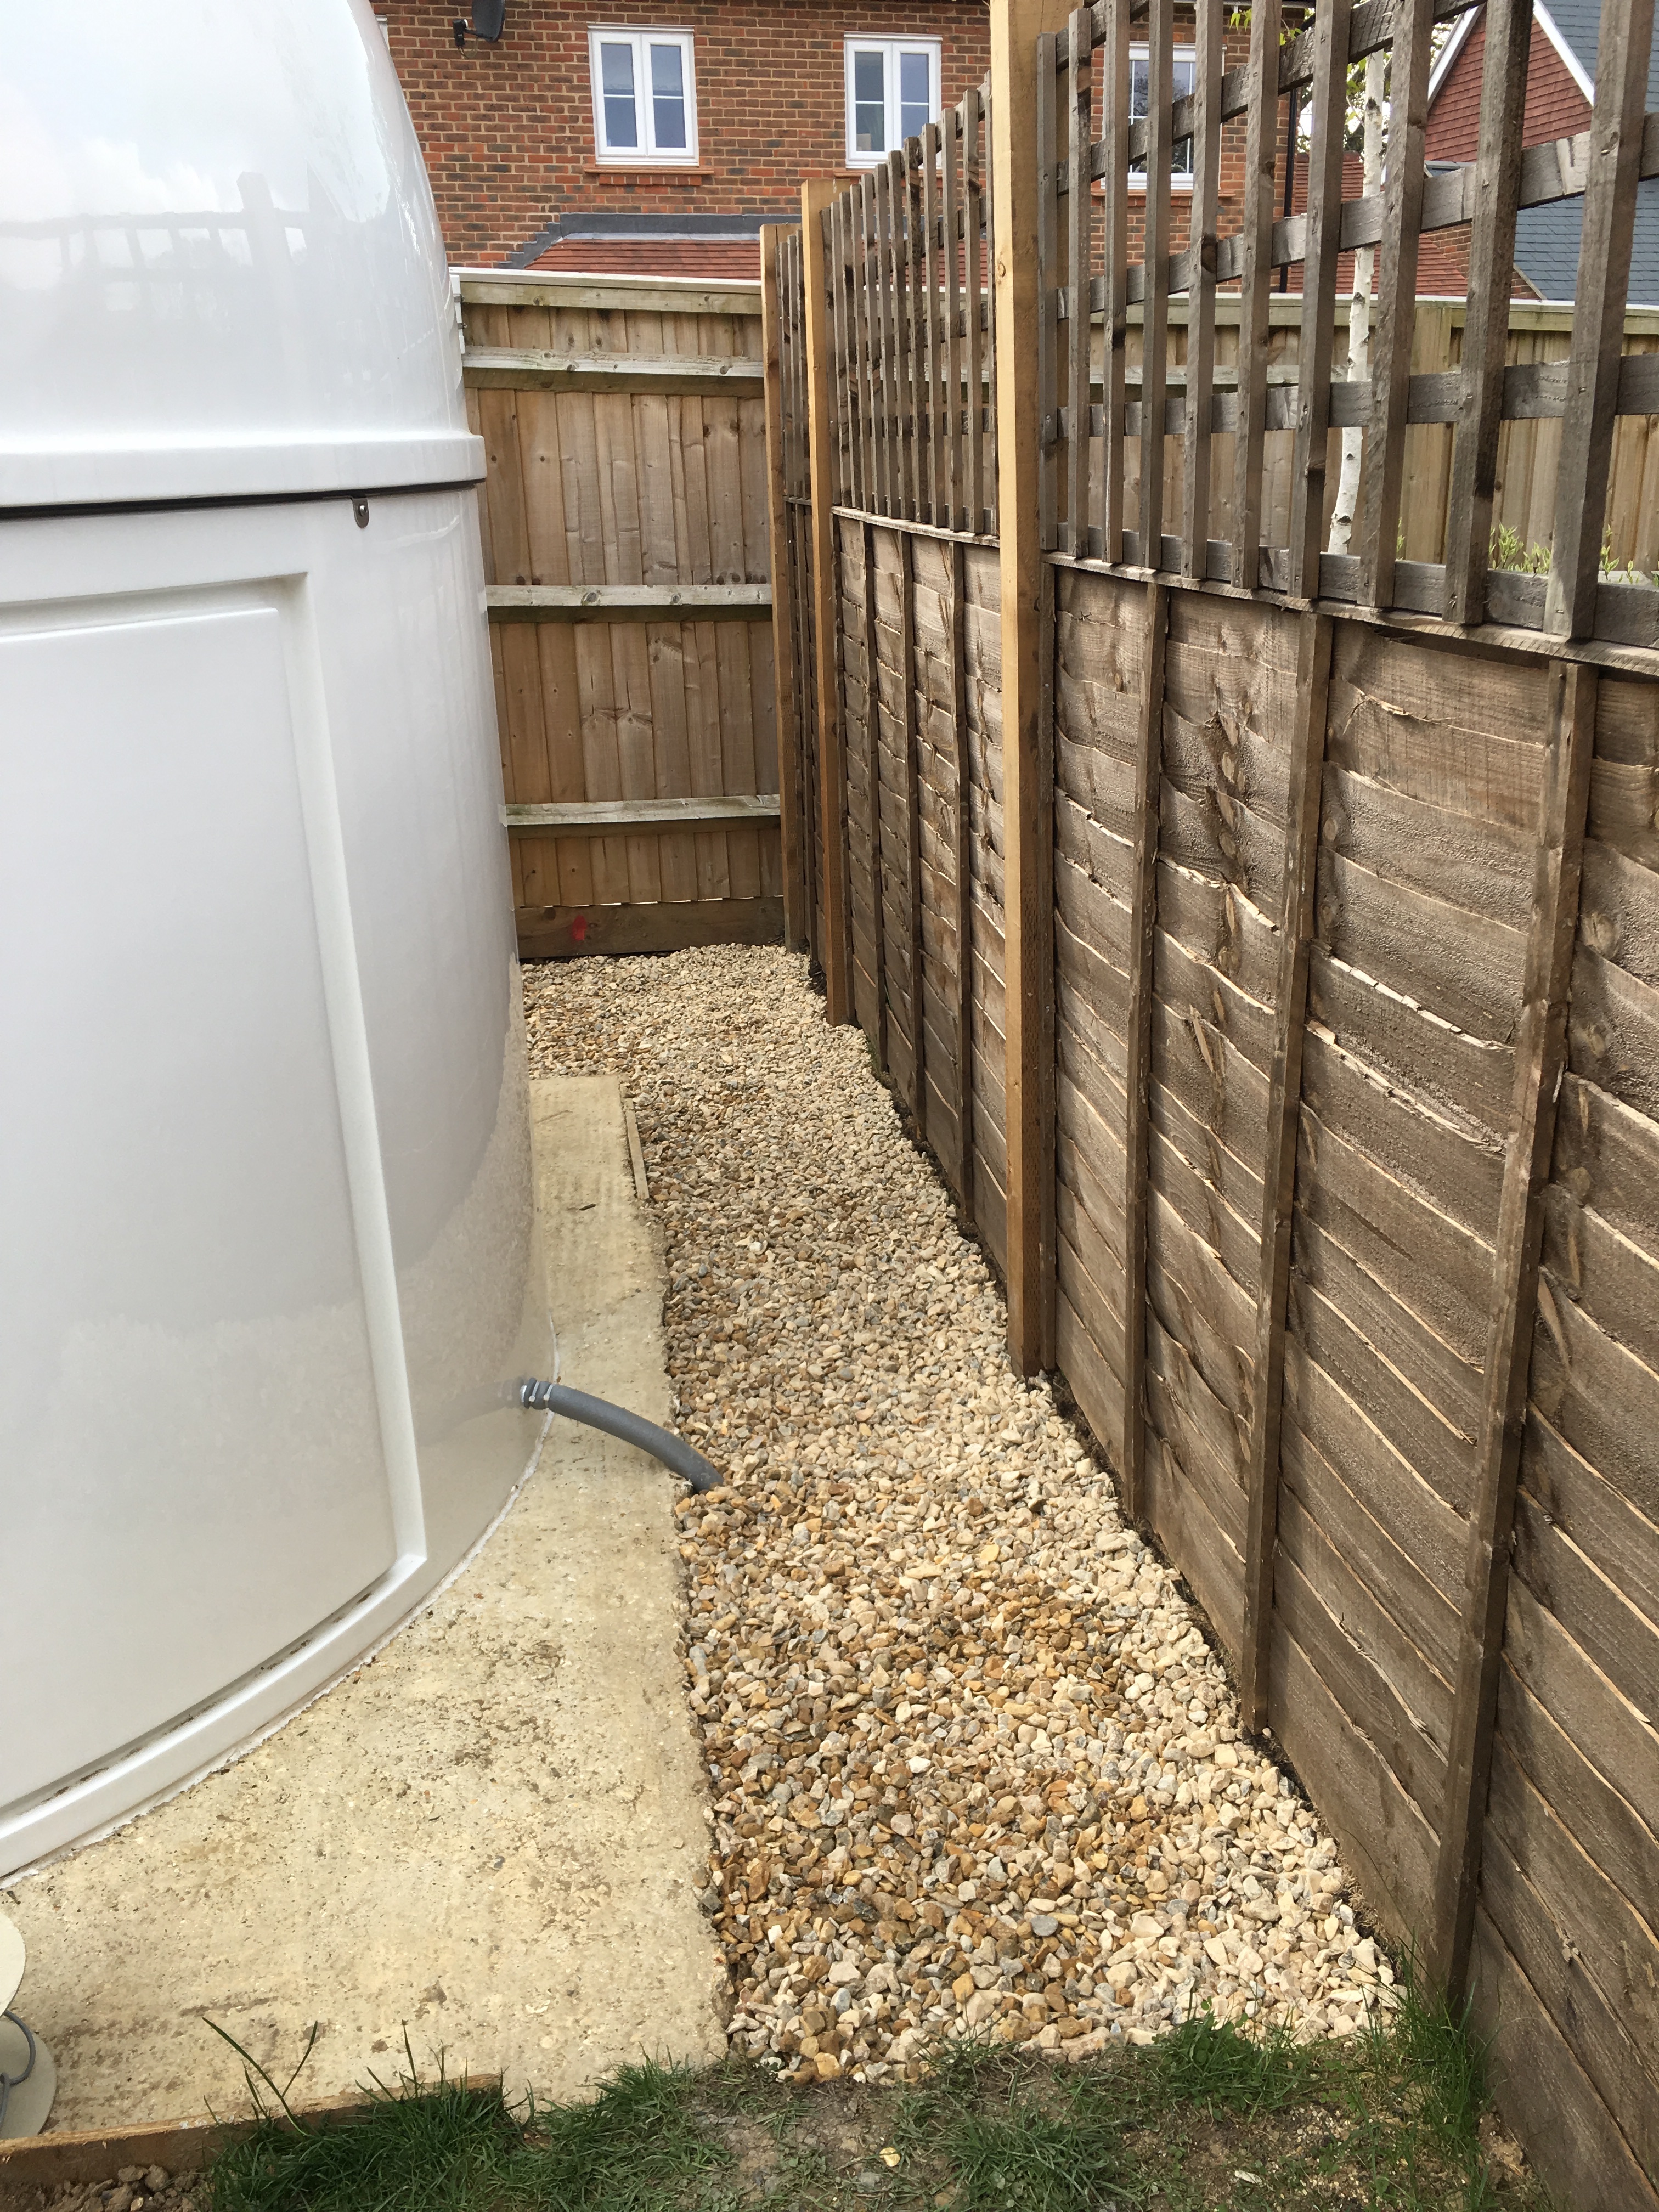
Meanwhile, we continued outside with building the supporting infrastructure, including a master soak-away and putting in the weather station pole and associated instruments. GingerGeek spent time helping dig the soak-away, we dug down either side of the concrete to the North and West which would be backfired with 20mm shingle.
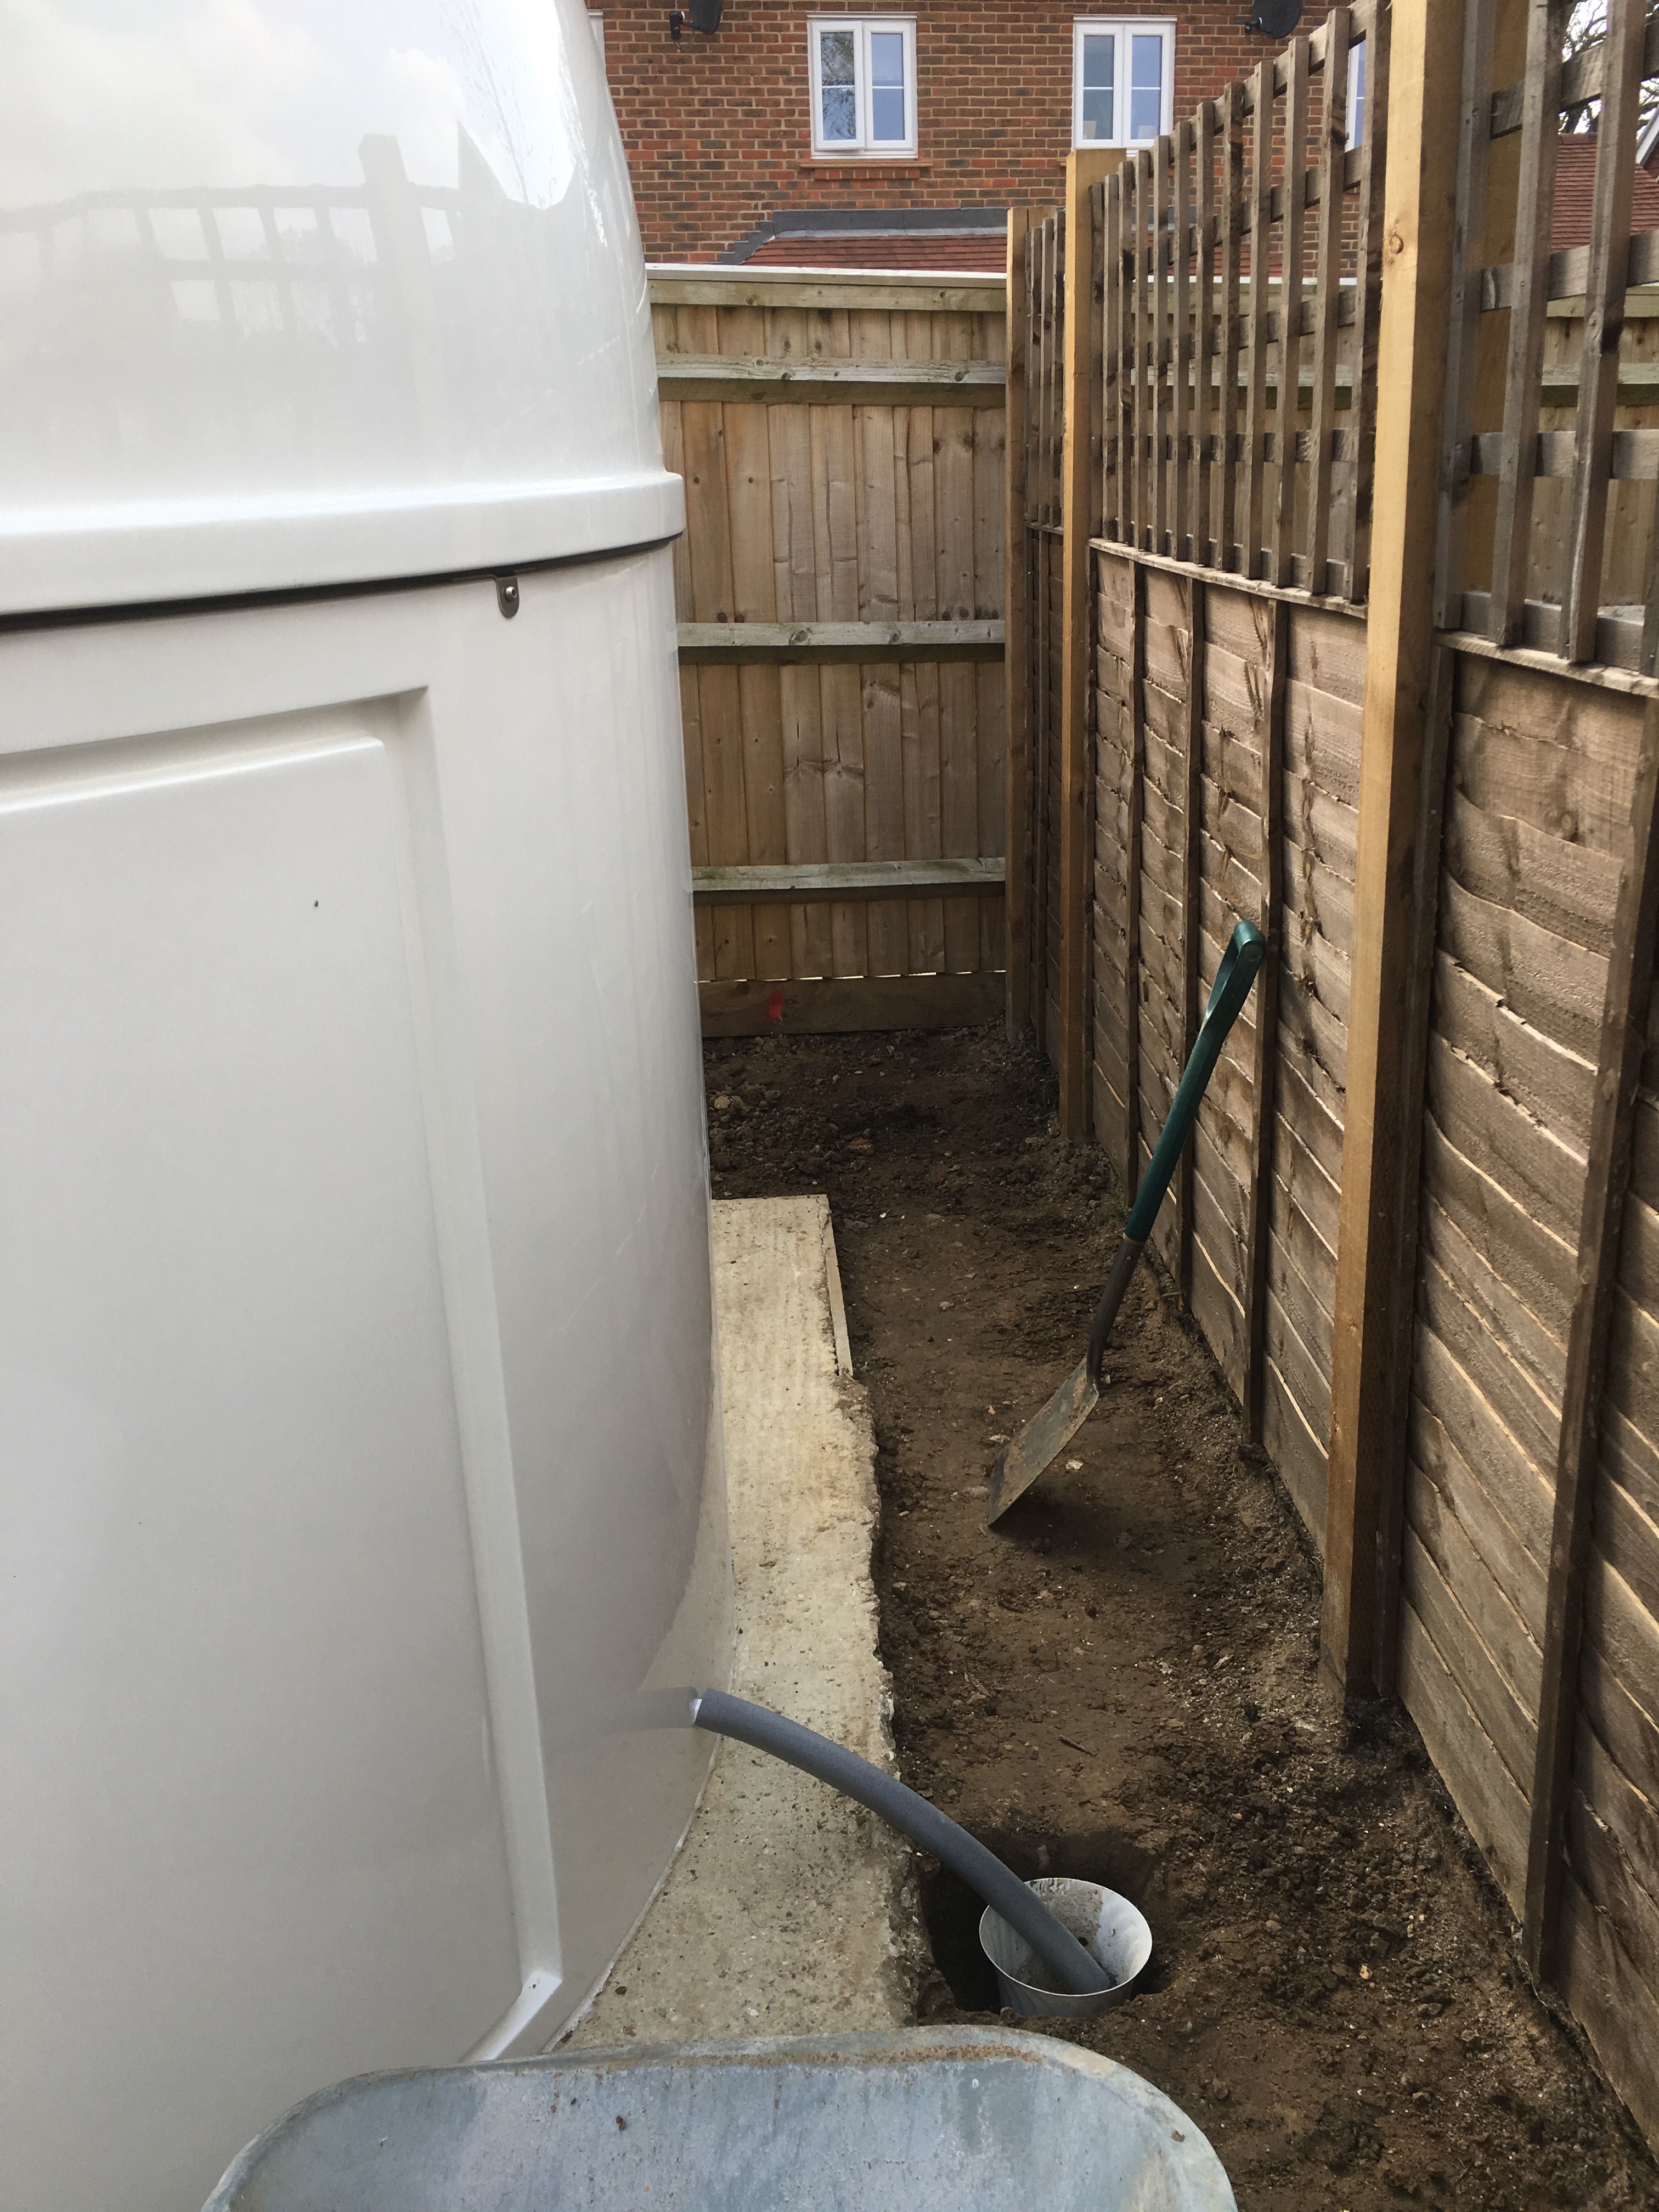
A hole was then dug for the drainage for the dehumidifier, a must for any observatory. The plant pot has holes drilled in and was then filled with shingle to stop any soil from backfilling over time.
Round to the West of the dome we started to dig out the section for the soak-away.
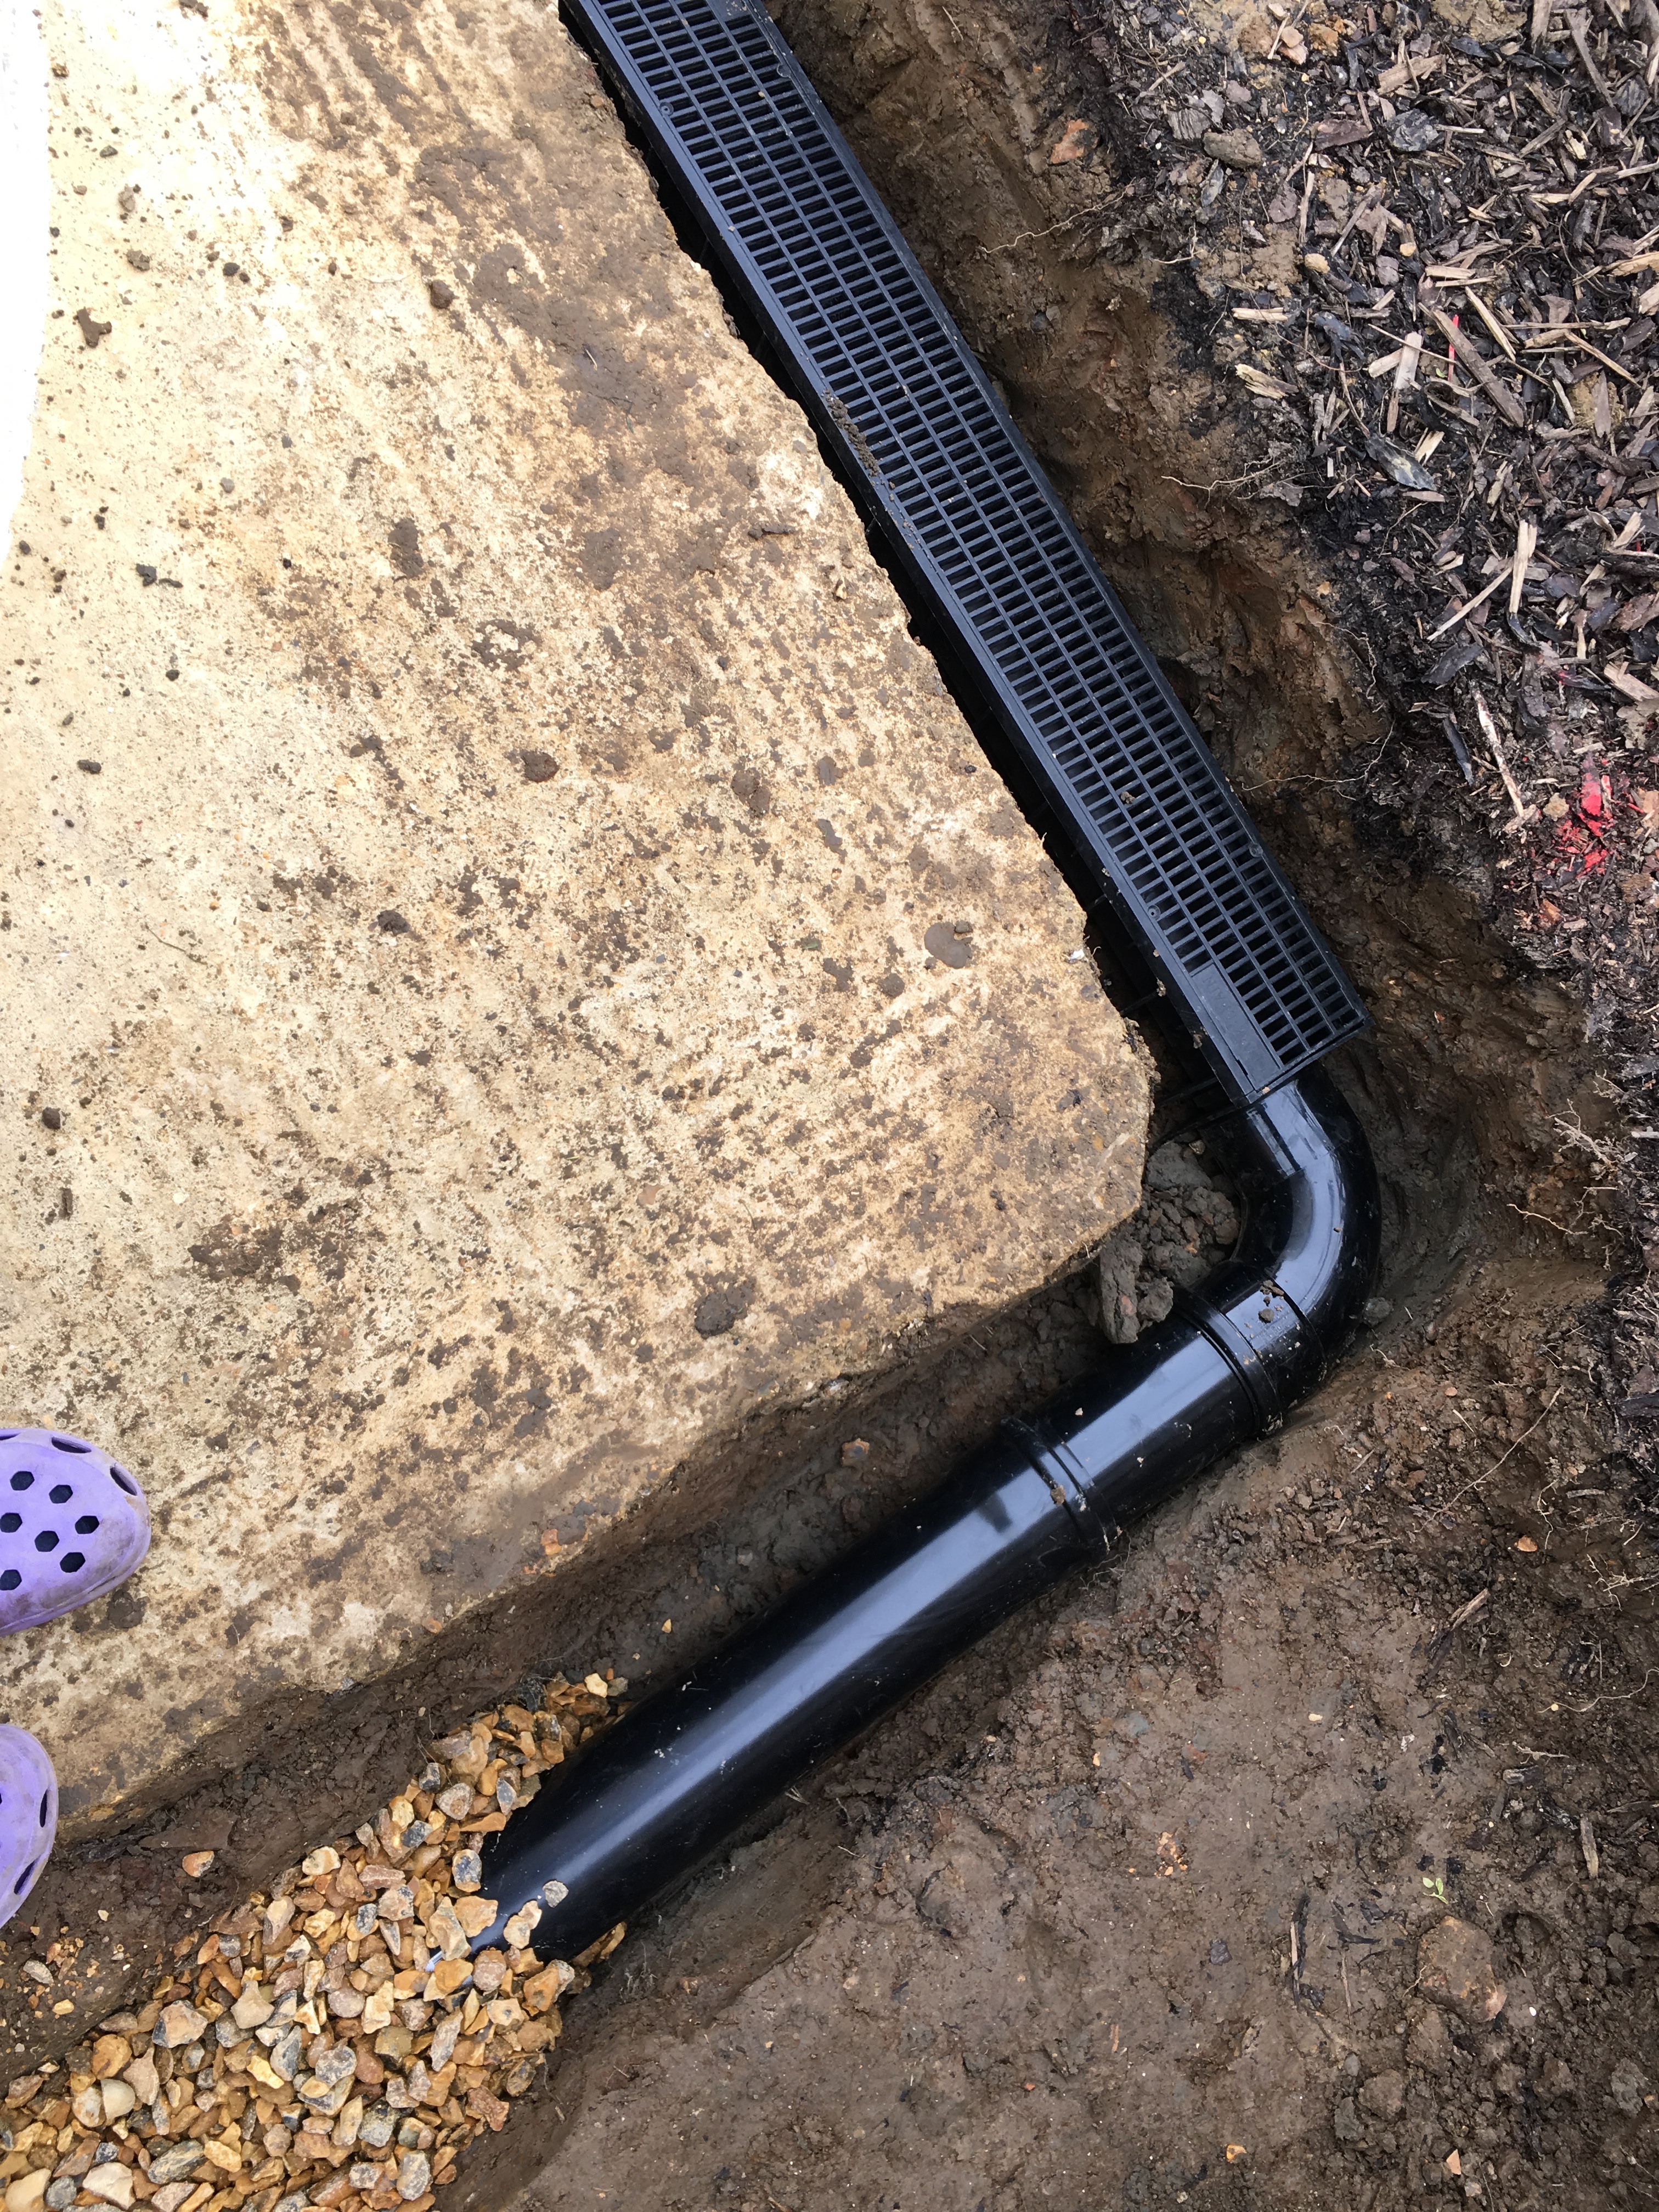
I had purchased a sturdy large plastic container (I could stand on it without it flexing) and then drilled a fair amount of holes in it. It was then buried in the ground, connected to a standard large drainage pipe typically found taking waster from the house and connected that into it, completing the connection with several guns of mastic.
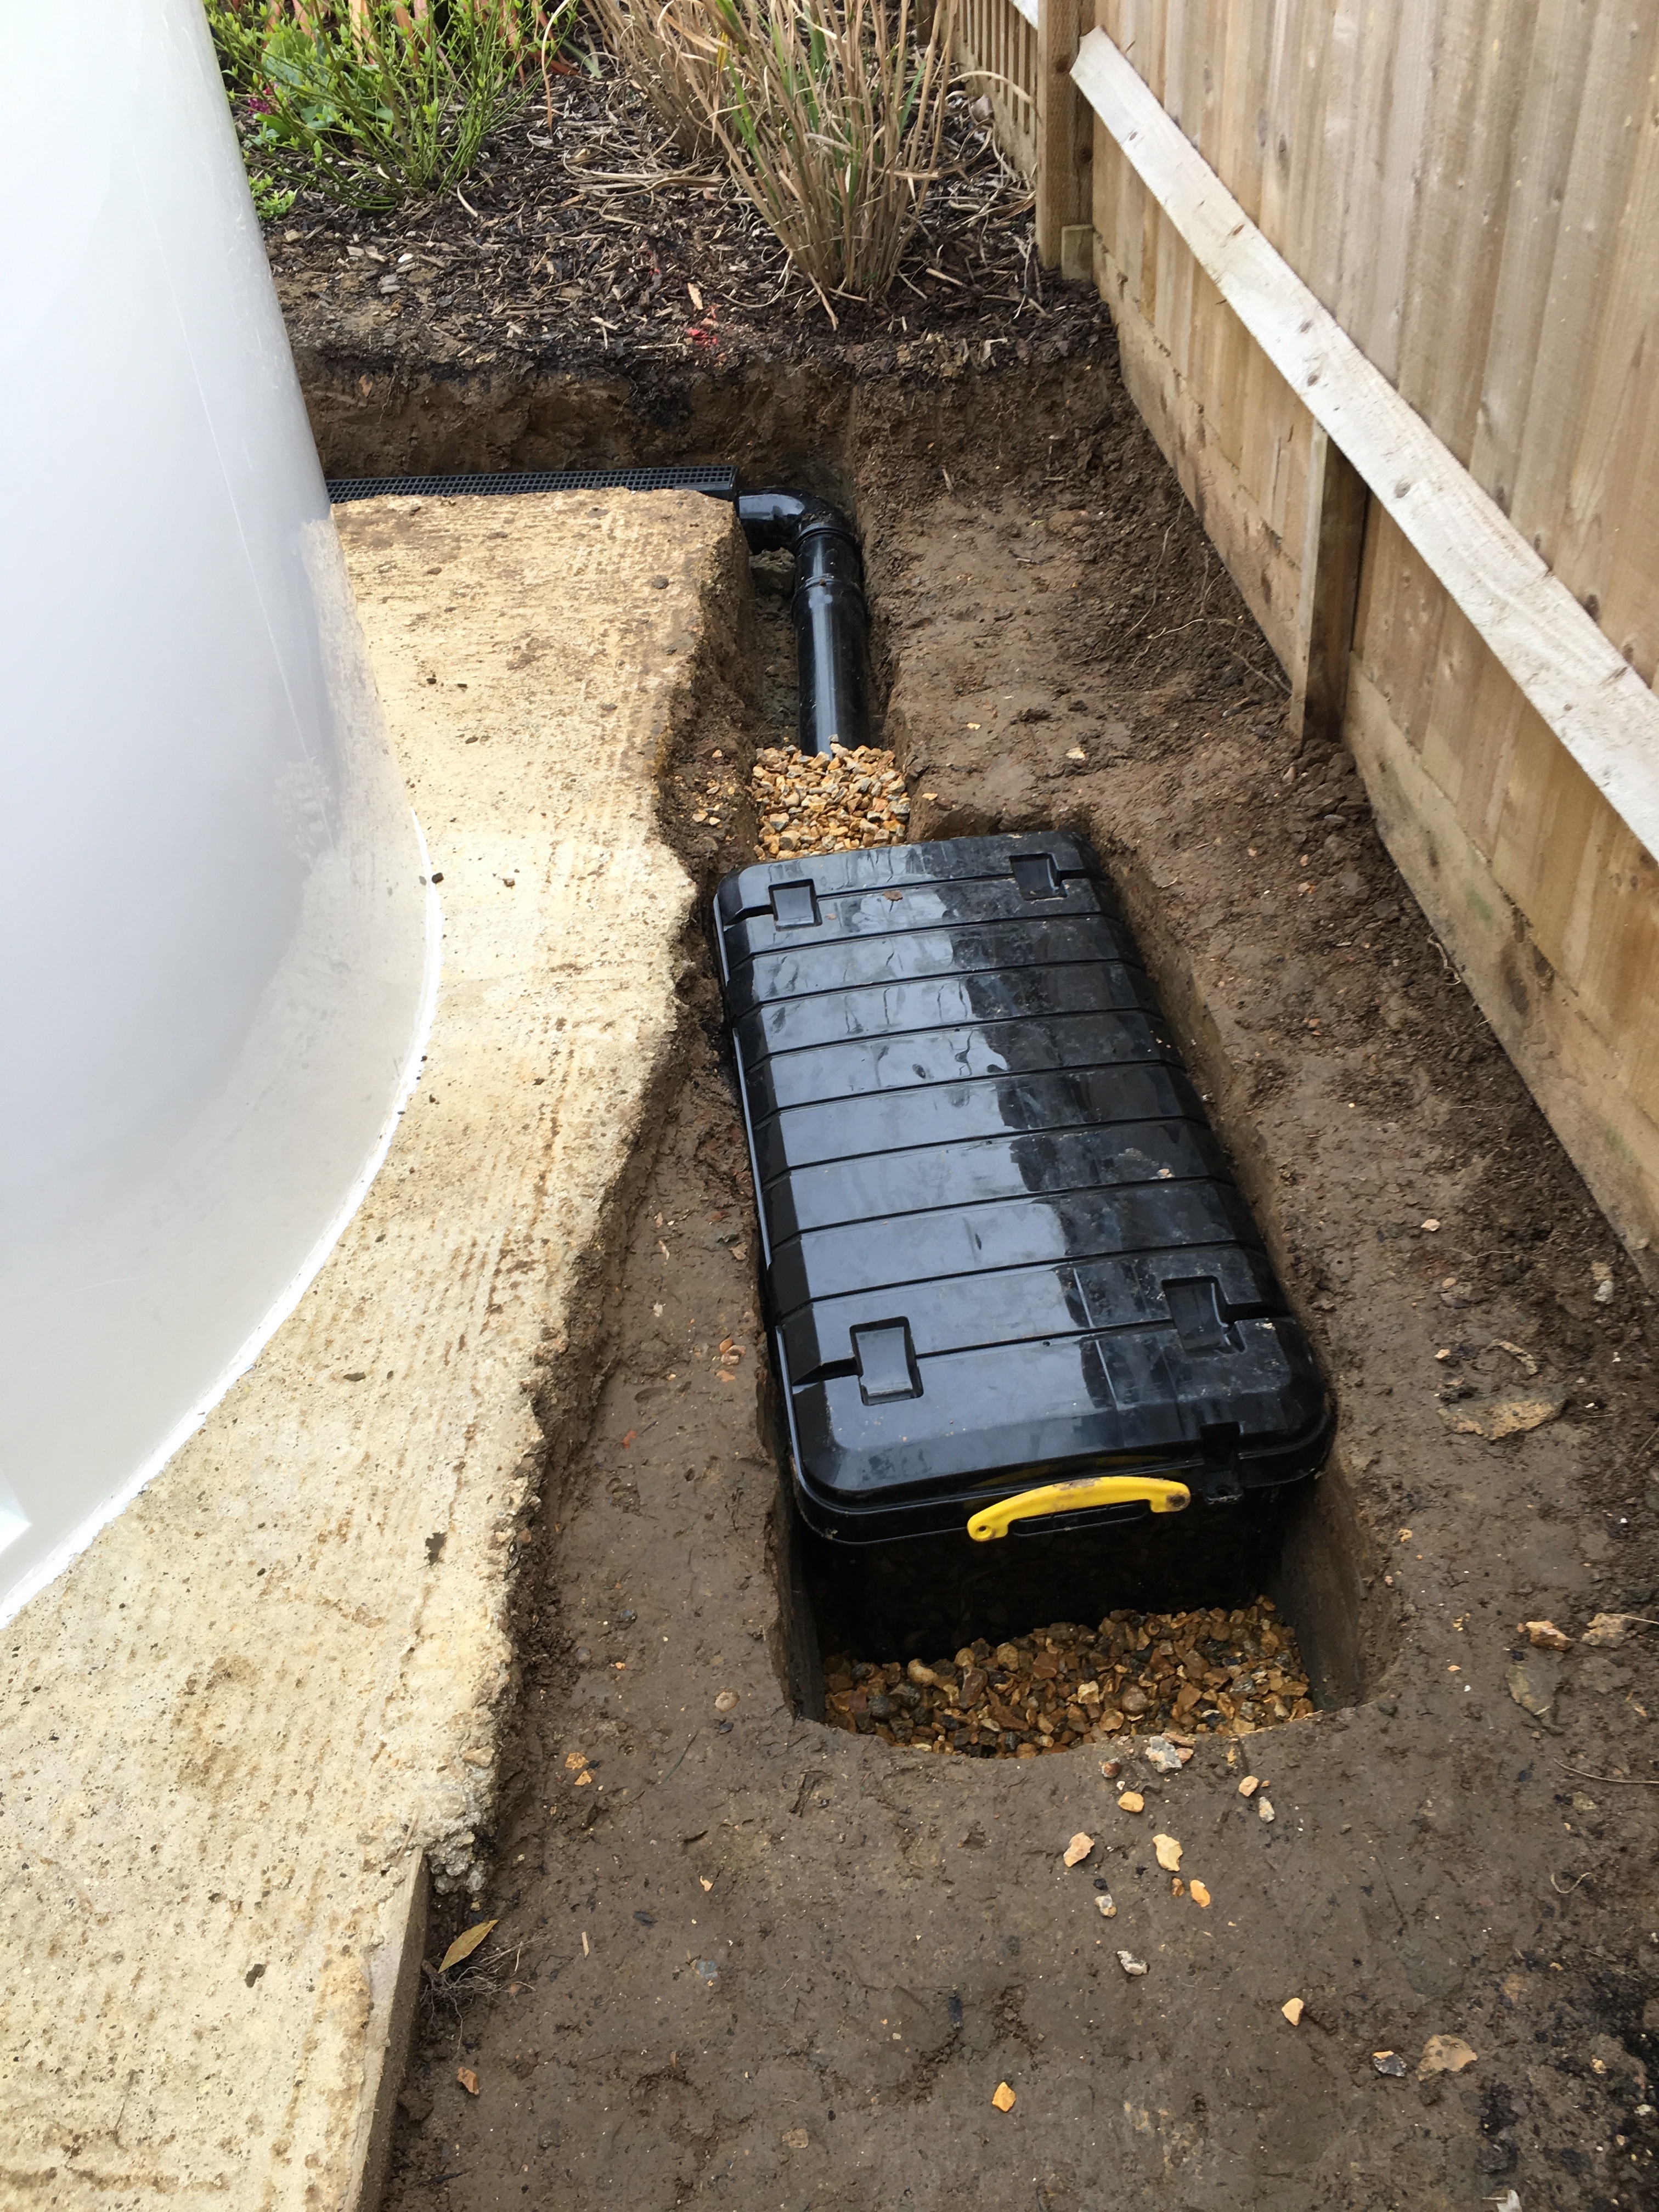
This was then connected to the plastic french drain we had previously dug out for and fitted.
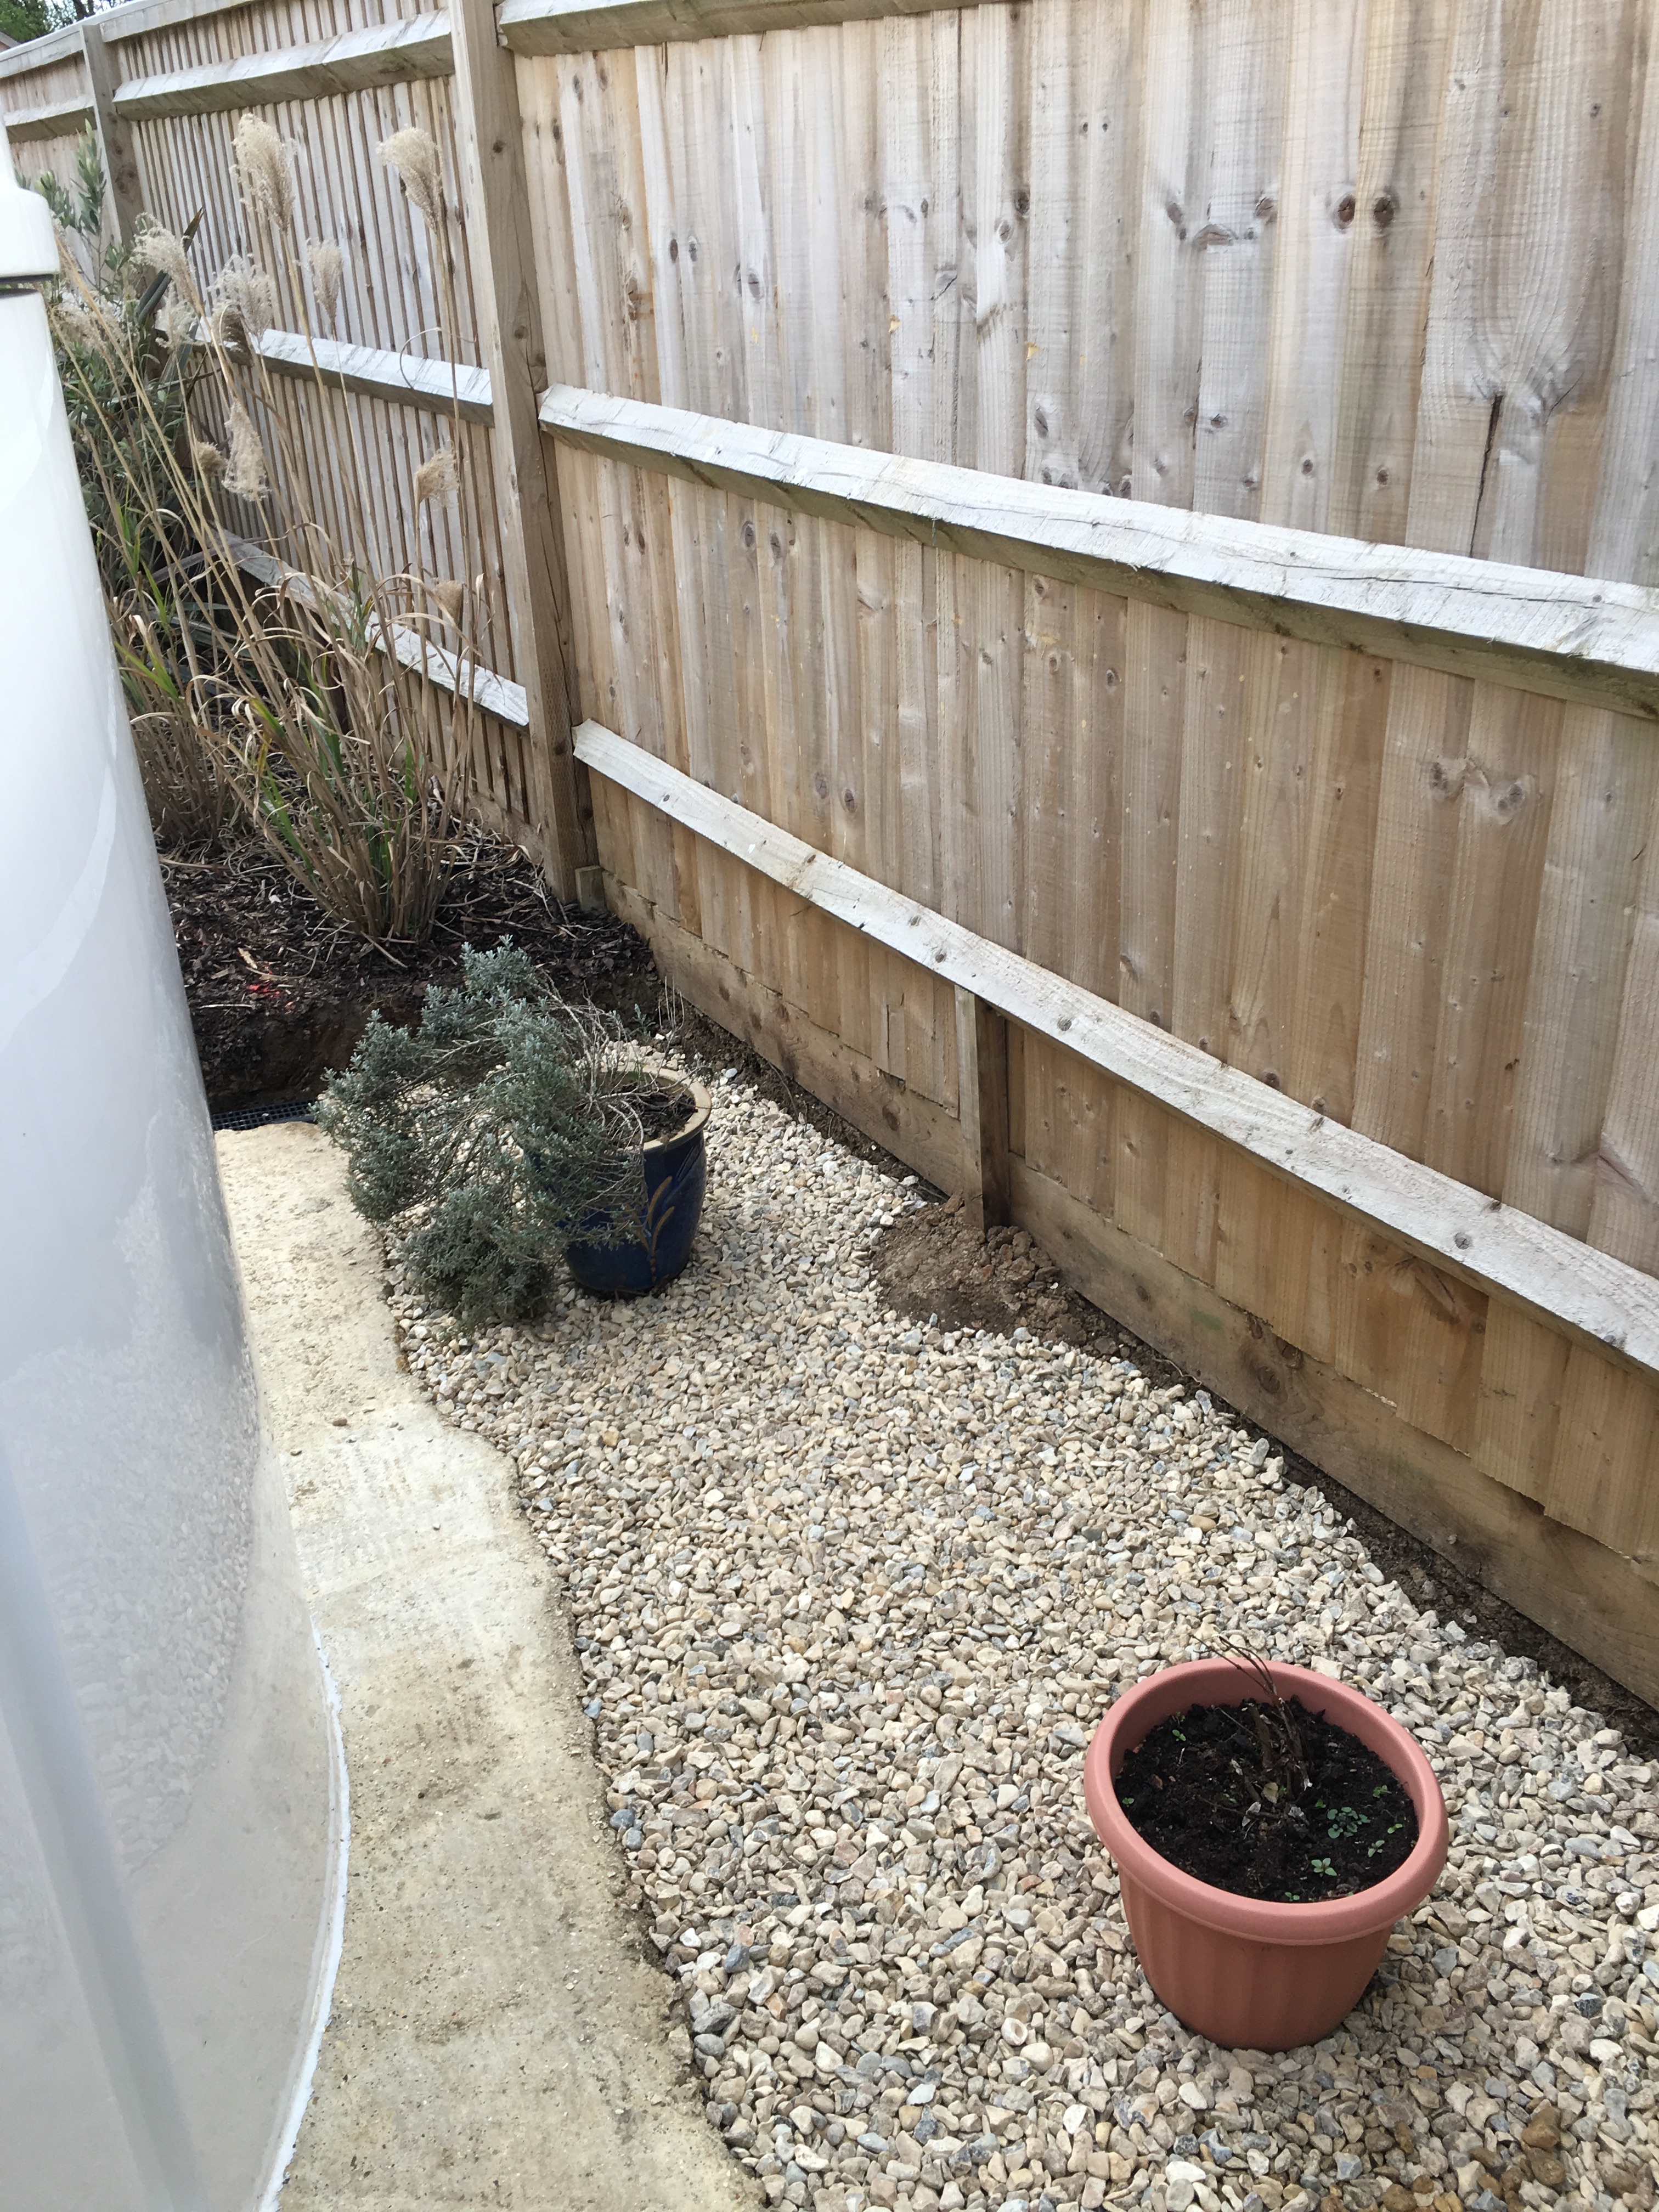
Once this was done we laid the 20mm gravel to the entire North and West of the dome to cover, the plant pots as a reminder of where the soak-away was.
The pipe for the dehumidifier was covered with a standard plumbing pipe insulating cover to protect it from frost
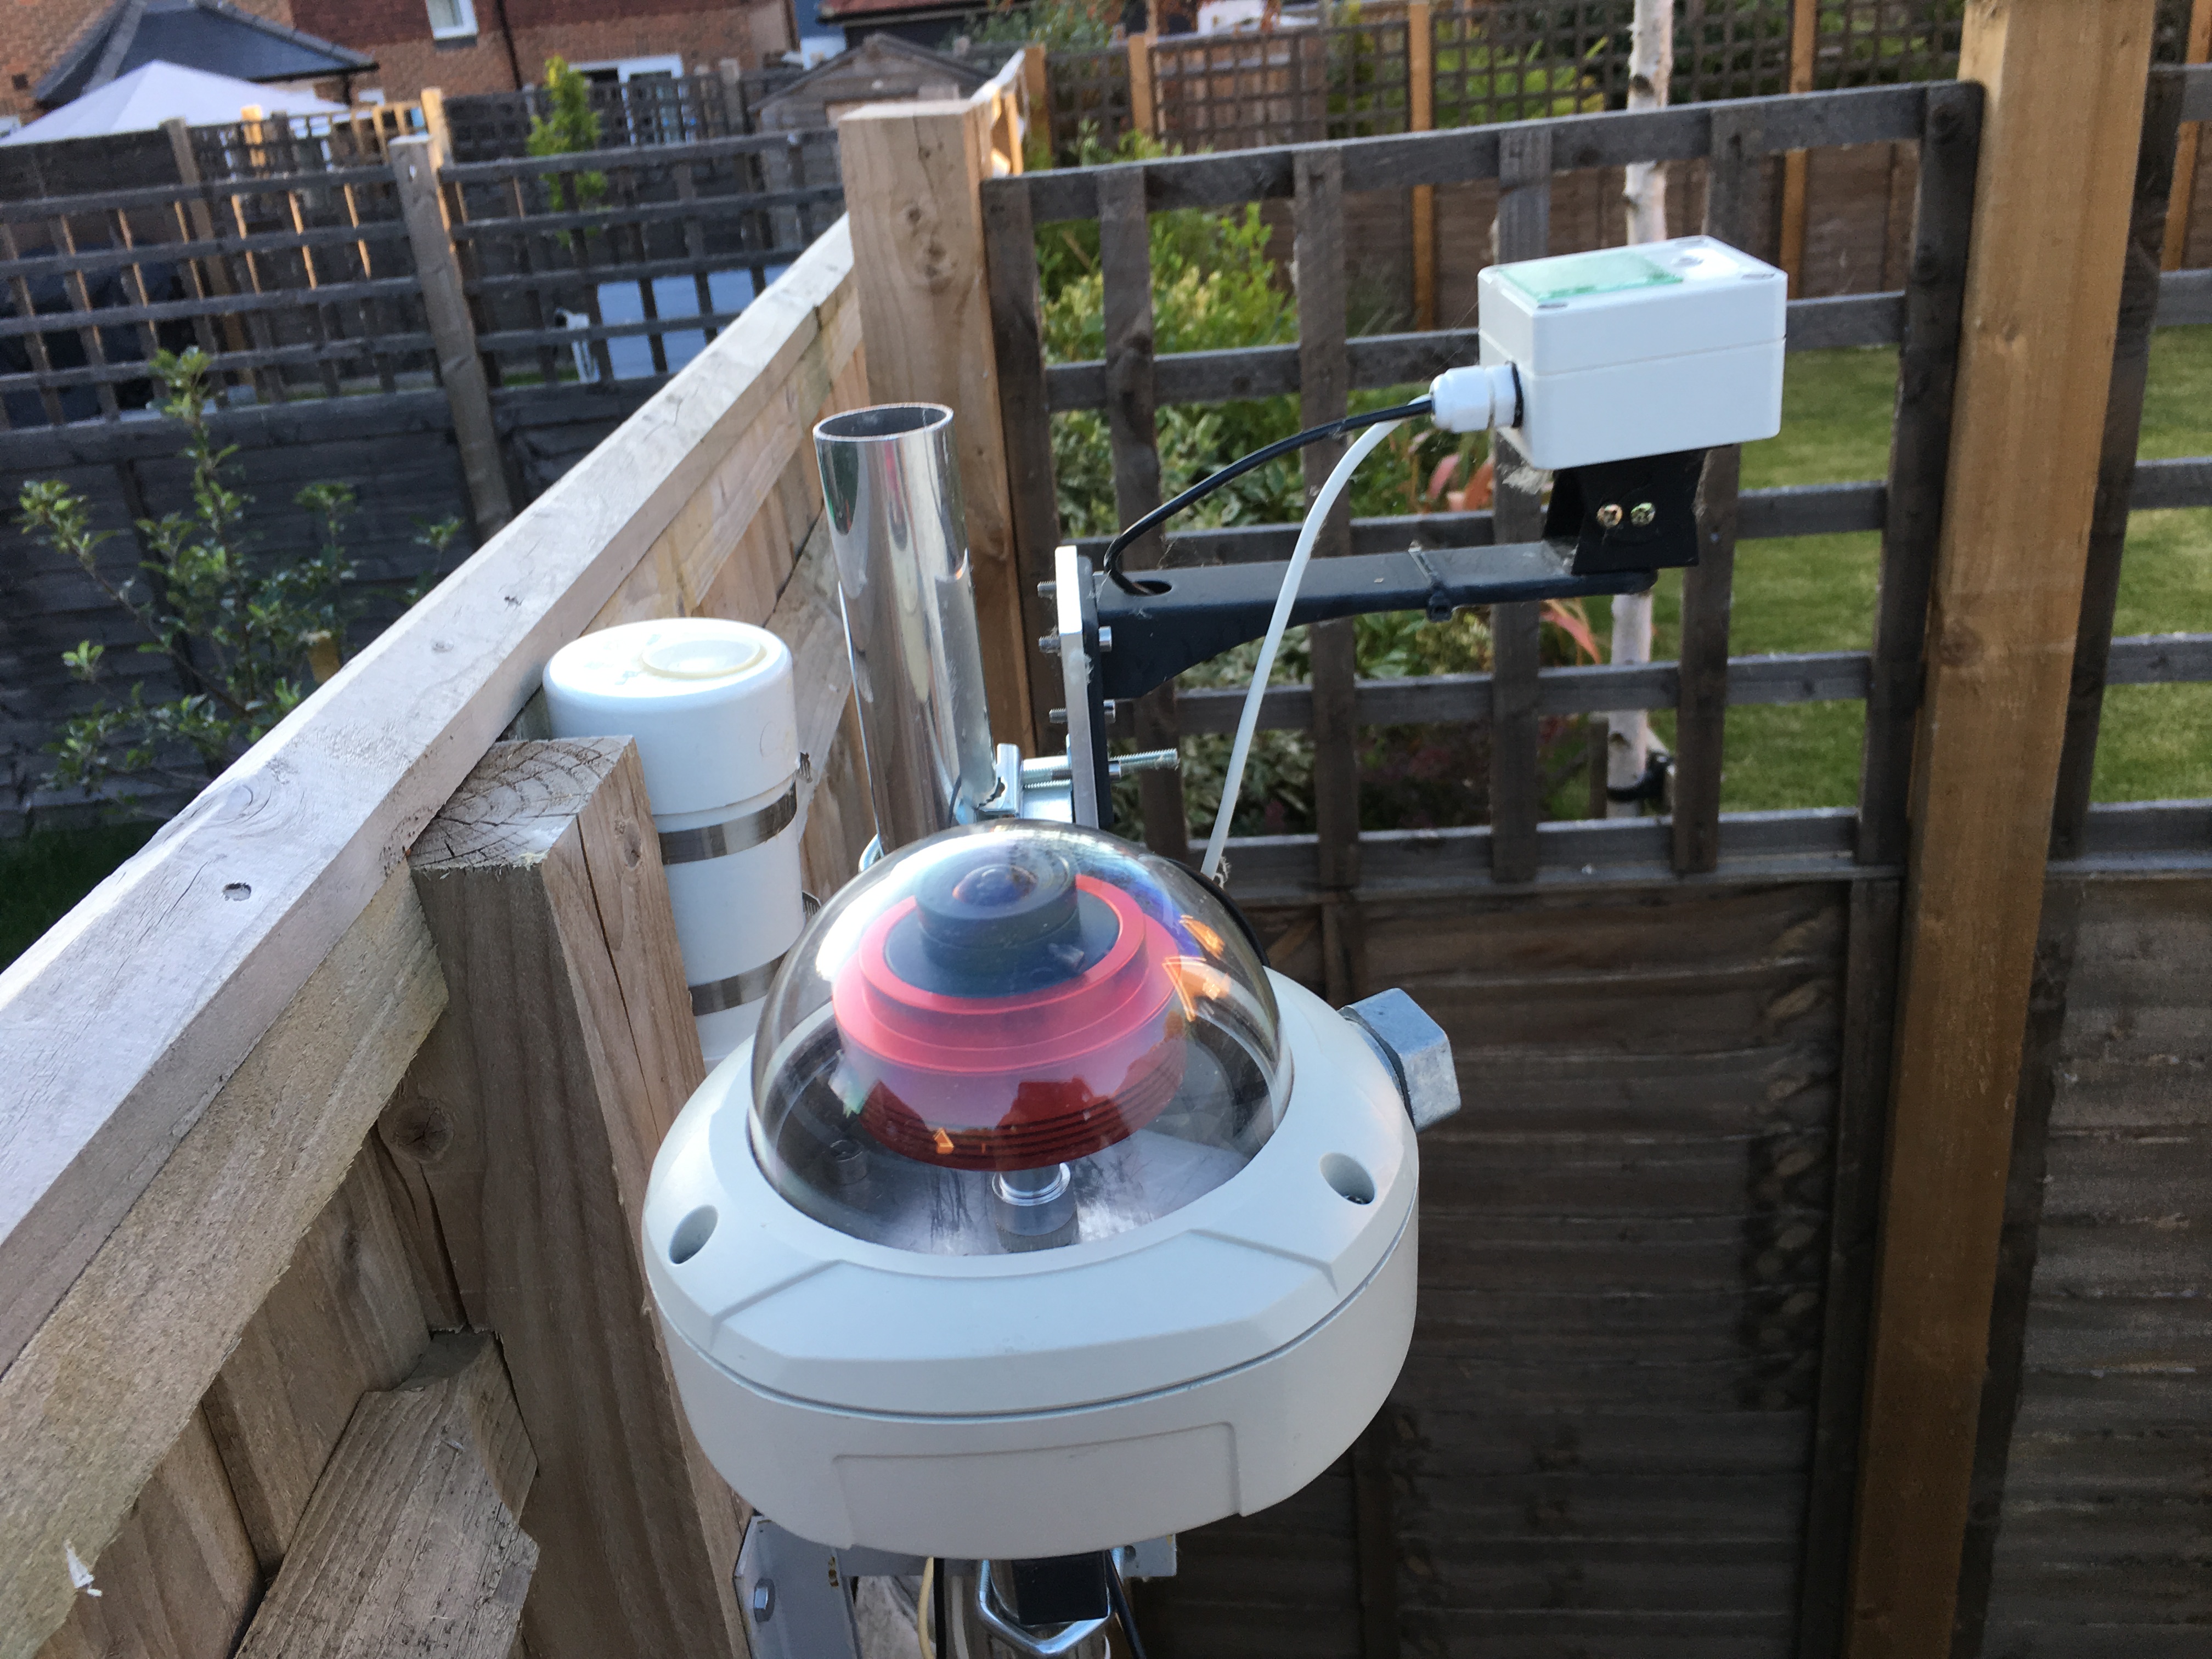
The weather station fitting was a pole Bob had purchased and found brackets to fit to the fence to the West. The top instrument is a cloud monitor and rain detector from HiTech Astro and works well. We have it connected to the dome through a relay Bob put together so once cloud is detected or rain the dome closes and will not open unless you override in the software. The instrument to the right is the Sky Quality Meter provided by GingerGeek and is fantastic and telling you how dark it is and when my neighbours put their lights on or God forbid don’t turn them off all night …….. A further instrument was added later for an All Sky Camera which is a ZWO ASI120MC that Bob placed inside a dome and then connected through