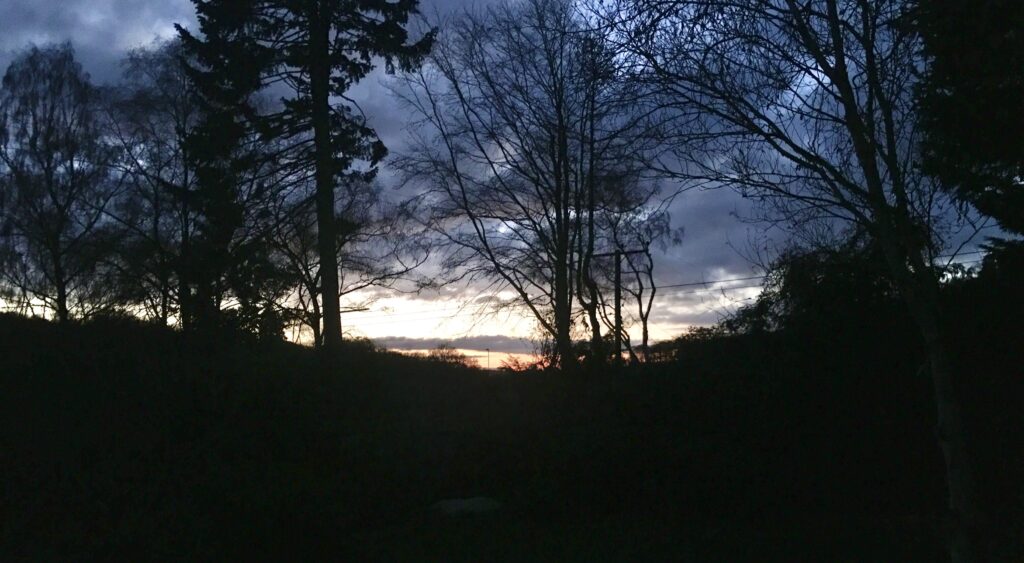
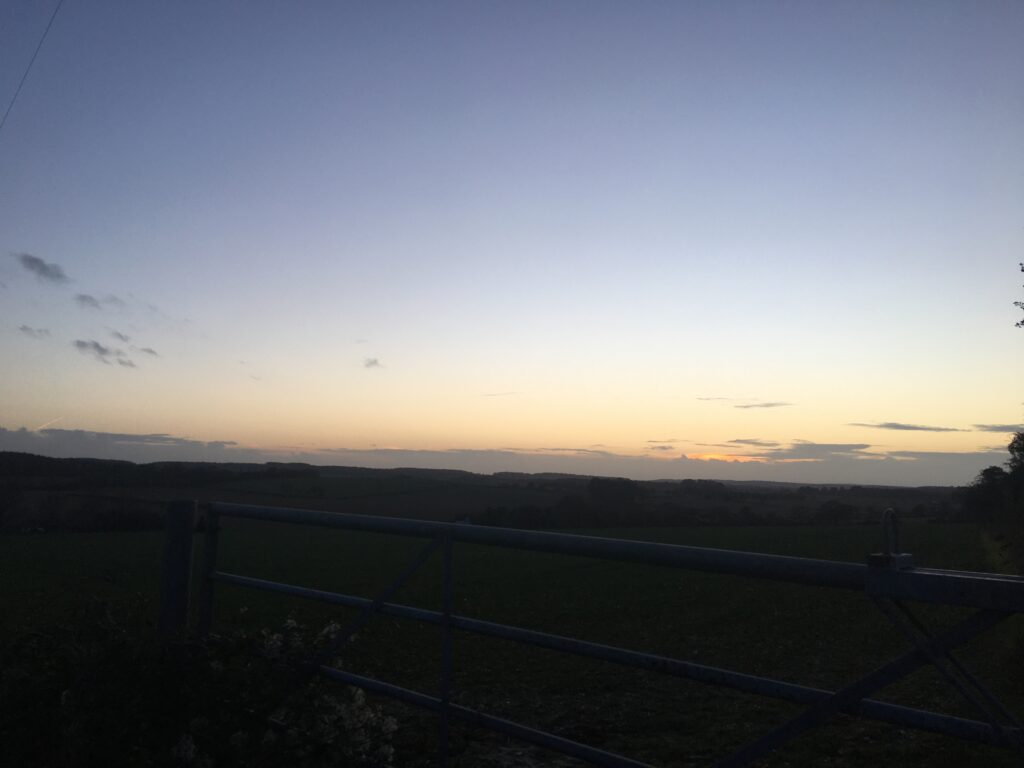
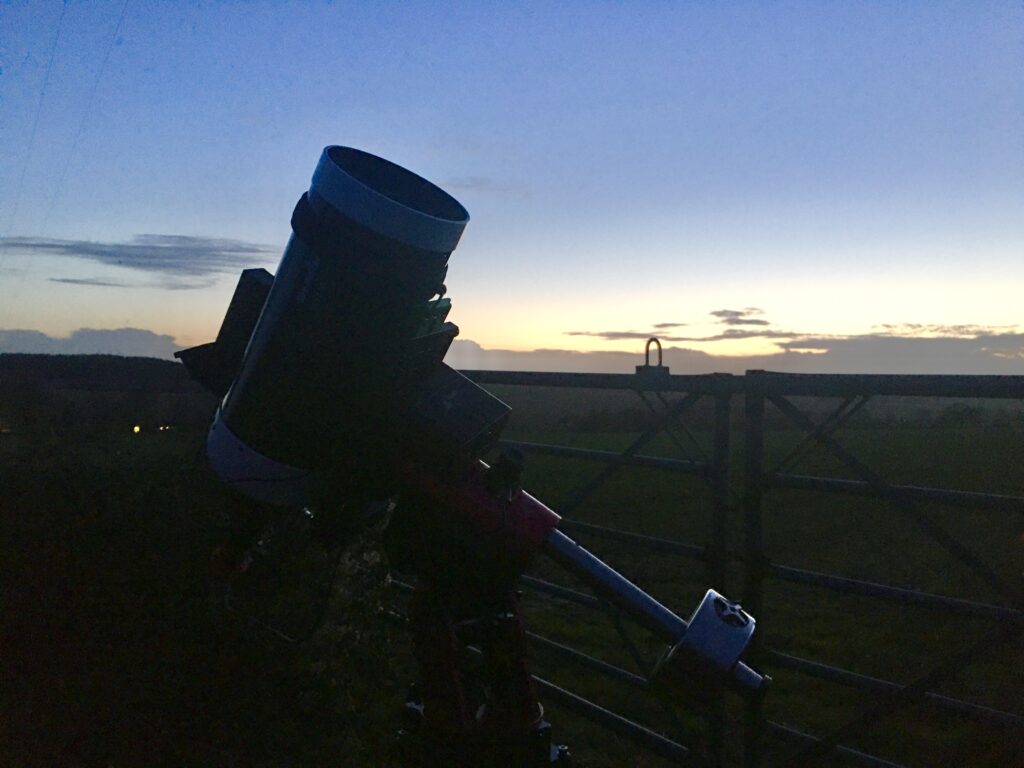
23:38 – 00:18
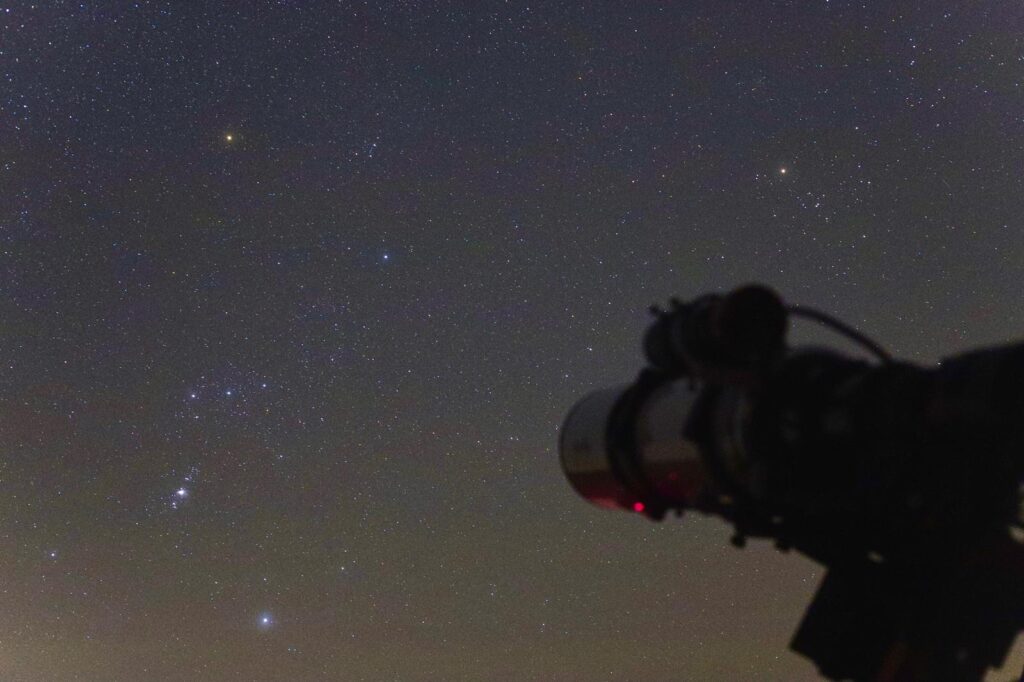
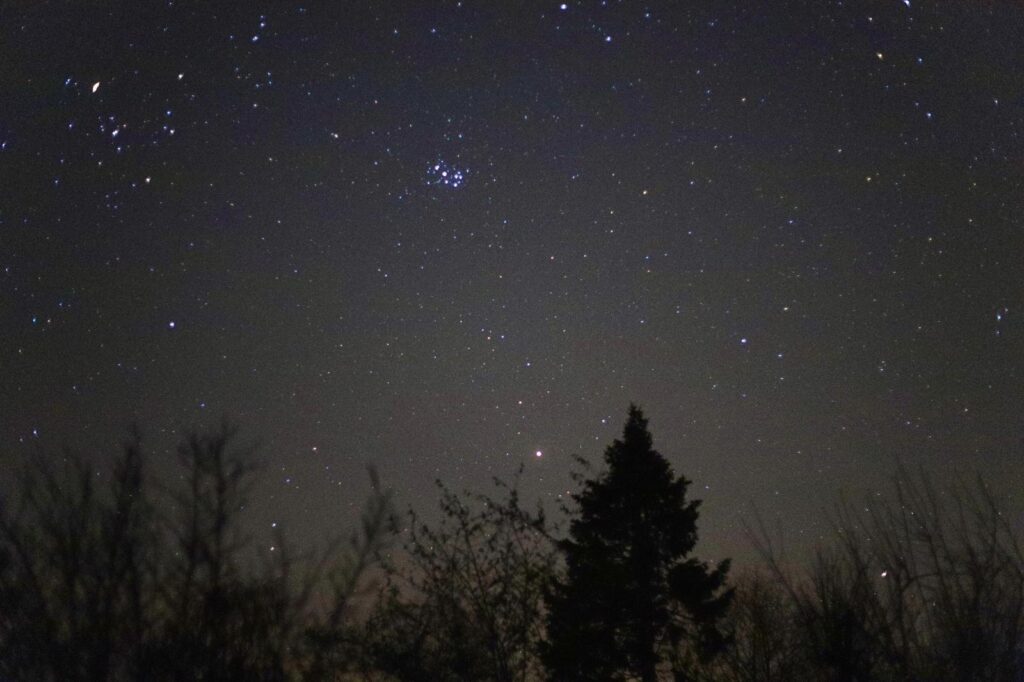
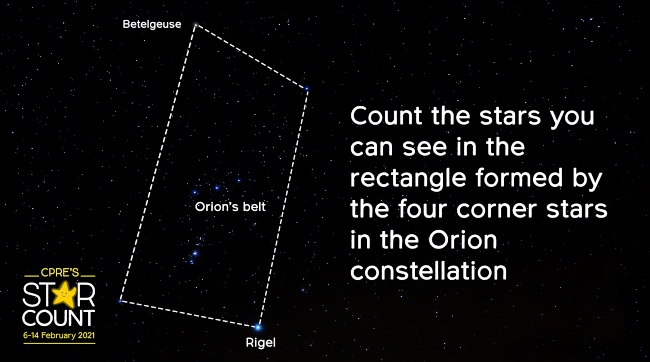
A short trip out tonight and only with the binoculars. I wanted to start my journey through Orion star hopping using the Night Sky Obervers Guide as my bible.
With the tagging of objects as follows I setup the binos and went about looking up
Sp – Showpiece
Bs – Binocular Sky
Bo – Binocular Objects
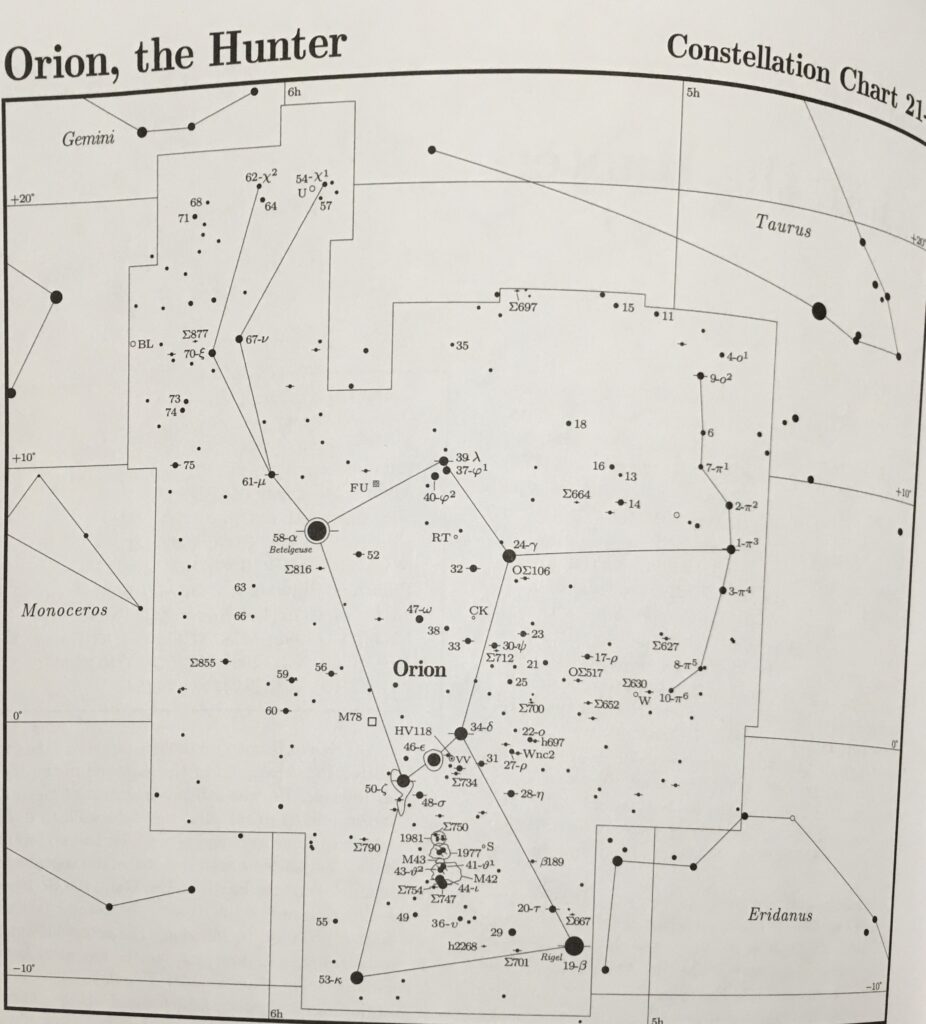
34 Delta Ori (Bo) – The first object for tonight. Given the time I started and taking Orion’s belt as a reference, the middle star called Alnilam or 46 Epsilon Orionis was at an altitude of +09 vs if I had gone out earlier at say 7pm of +37 so this was a challenge before I started.
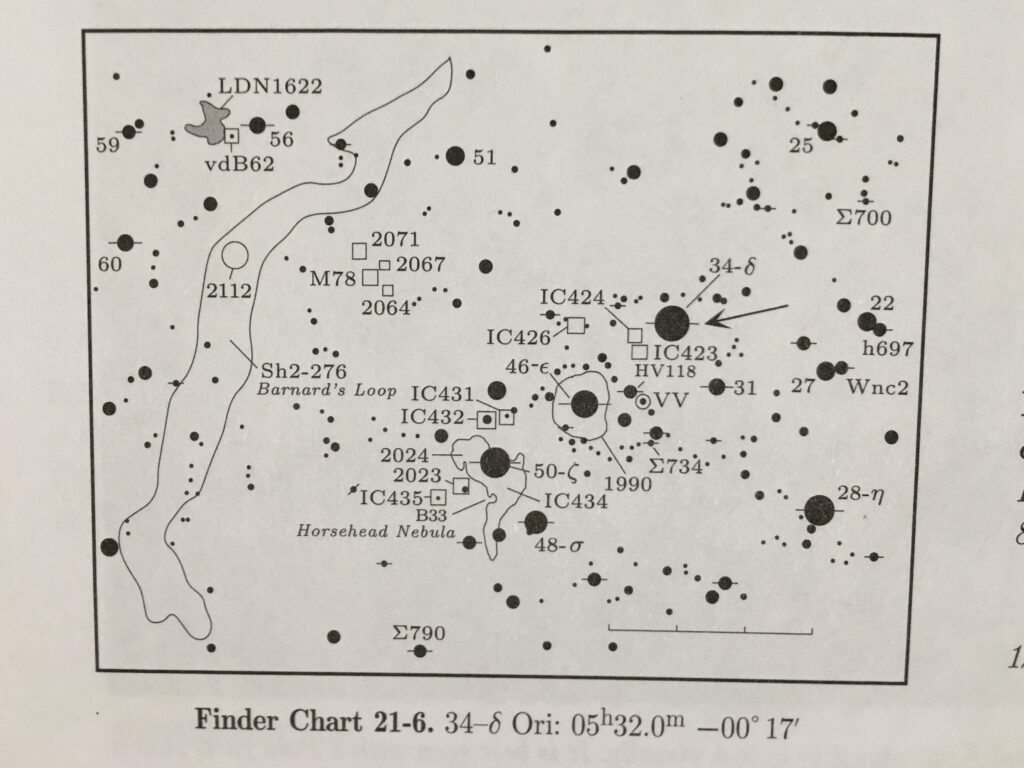
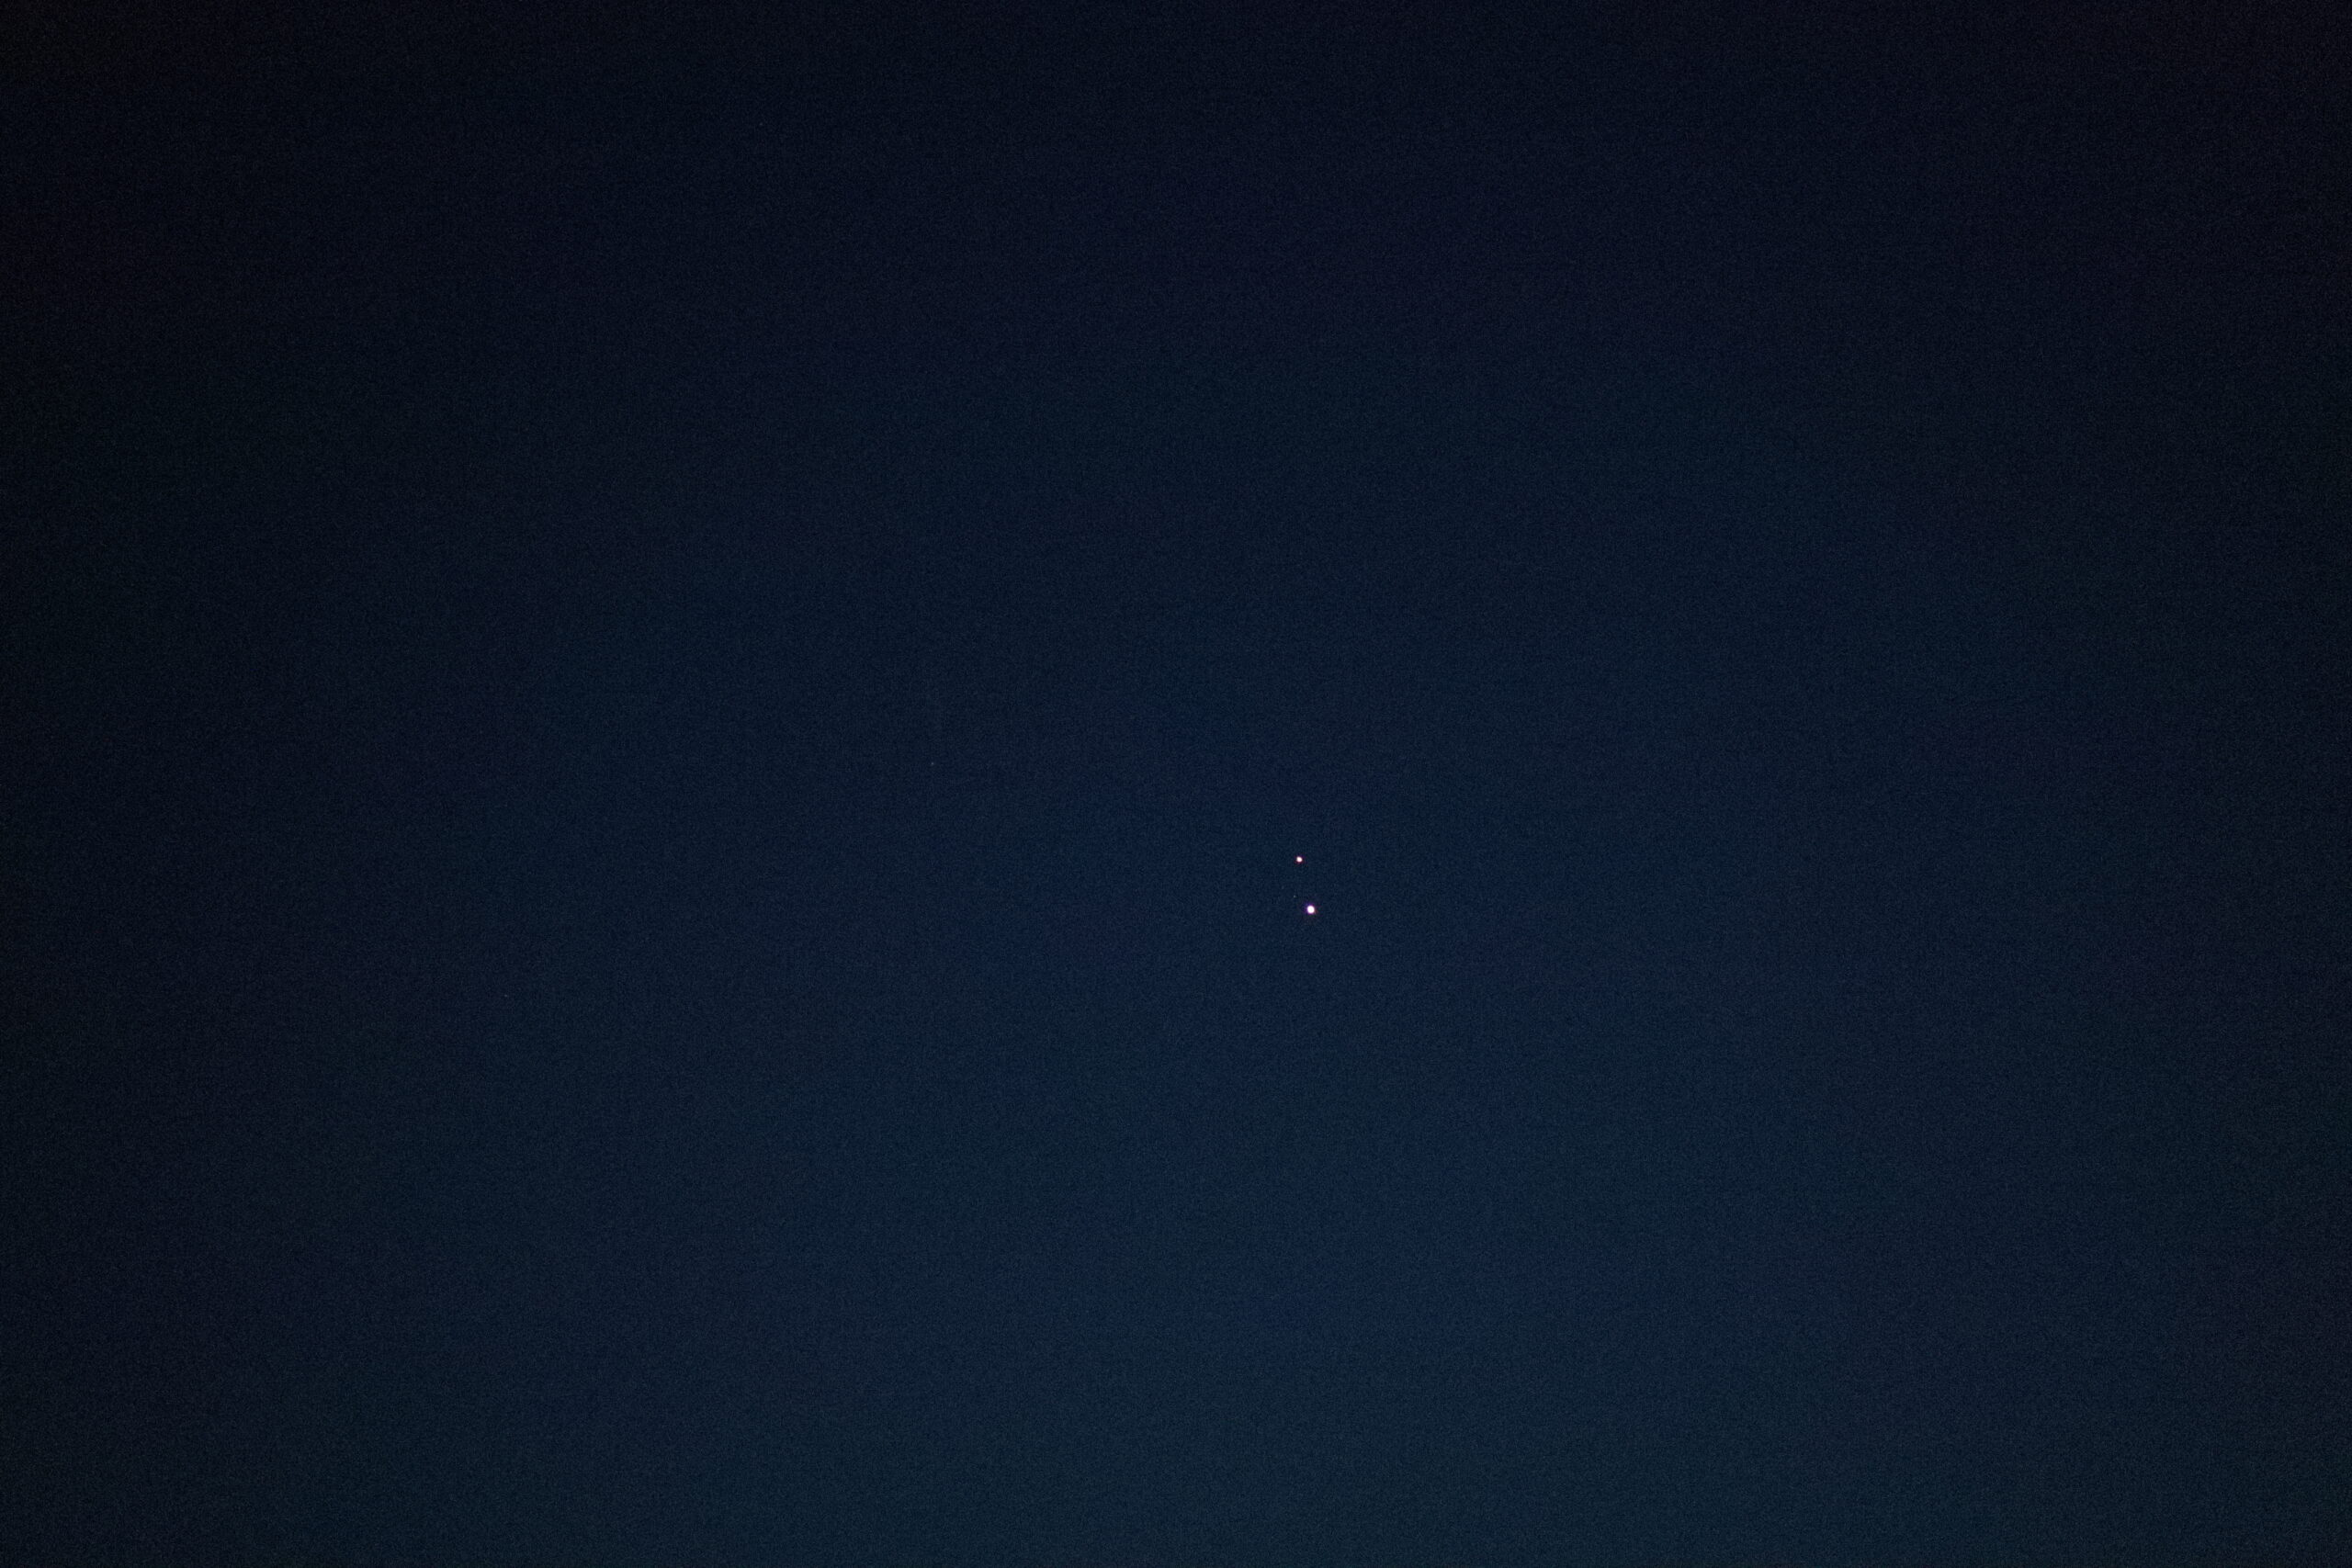
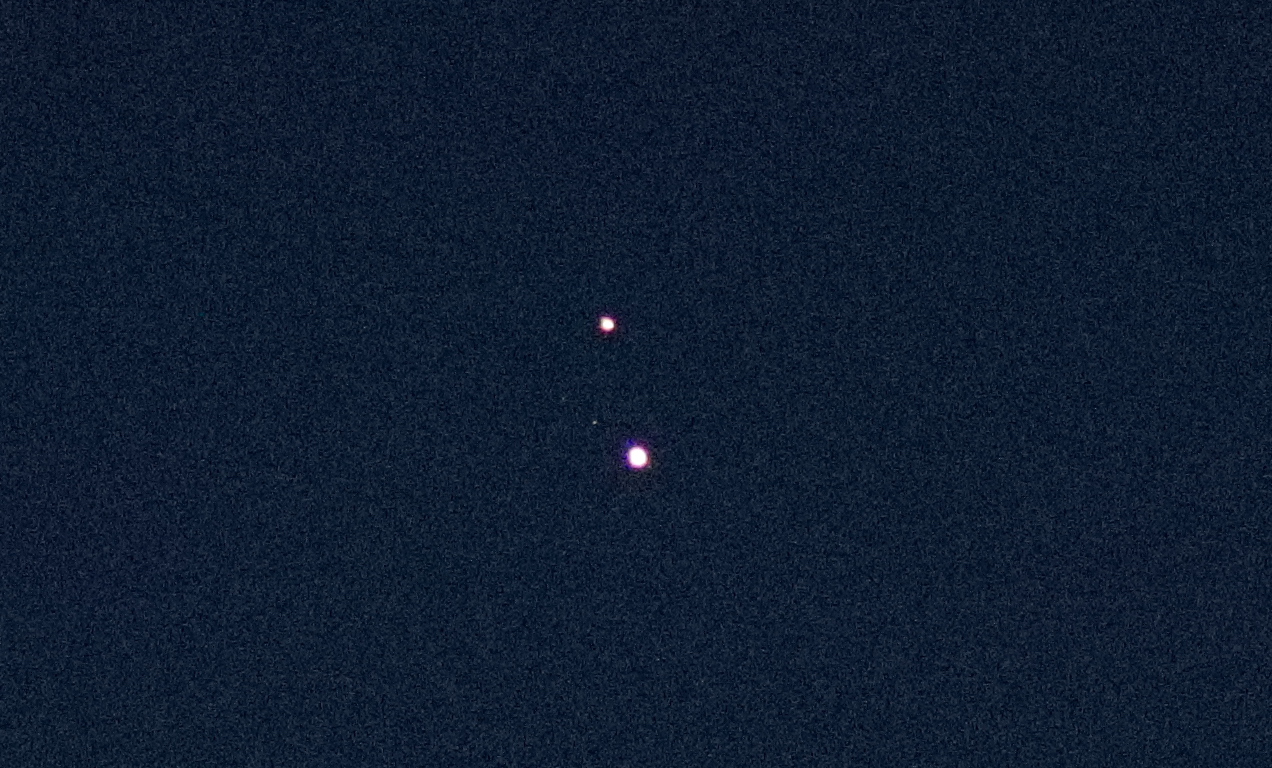
I did however see 34 Delta Ori (Mintaka) at Mag 2.2 and instantly knew it was right as I could see its double star companion around 1’oclock shining at Mag 6.8. It was a lovely sight seeing this visually tiny companion next to this larger and brighter star. Was very pleased I had started observing visually again.
41 Theta Ori (Bo) – Not seen as set
42 Theta Ori (Bo) – Not seen as set
43 Theta Ori (Bo) – Not seen as set
41 Iota Ori (Sp) – Not seen as set
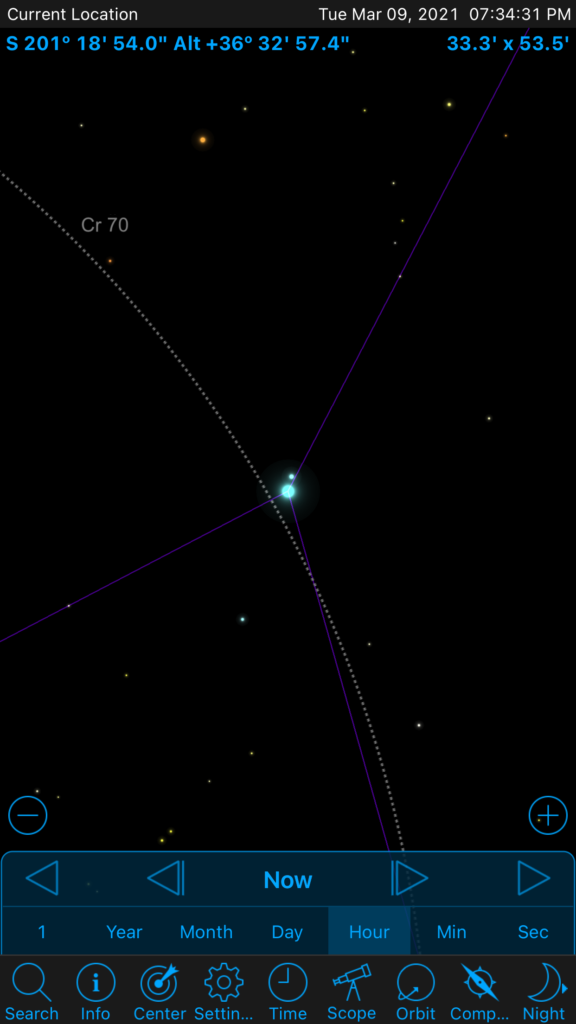
48 Sigma Ori (Bs) – Another lovely little double star, just South West of the first of the belt stars from the left, Alnitak, 48 Sigma Orionis is a Mag 3.8 star and I could clearly make out the Mag 6.7 at around 10 o’clock.
B 35 – Not seen as expected due to lack of aperture
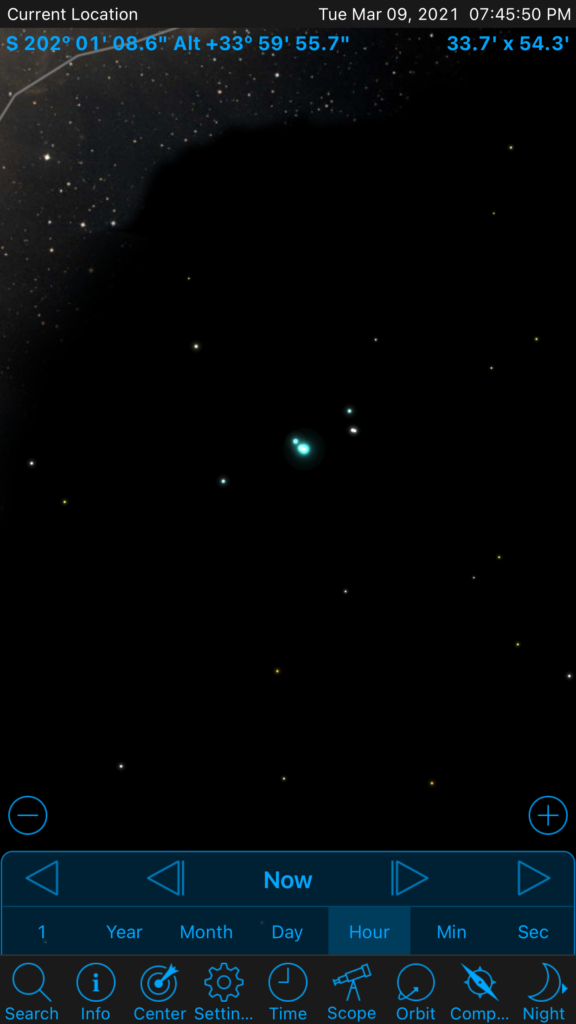
Basel 11B – This is a really tiny open cluster of stars, I knew it was there as I star hopped from Mu Gemini that I could see clearly at Mag 2.9. I could see Chi1 Orionis and Chi2 Orionis that form the upper stars in Orion’s club but it was easier to star hop from Mu Gem.

Basel 11B sits just North West of the club and reportedly has 12 stars, I could only see it with averted vision due to the aperture of the 100mm binos, however I would say 3-4 were visible, given they are Mag 10+ so pretty faint for this instrument.
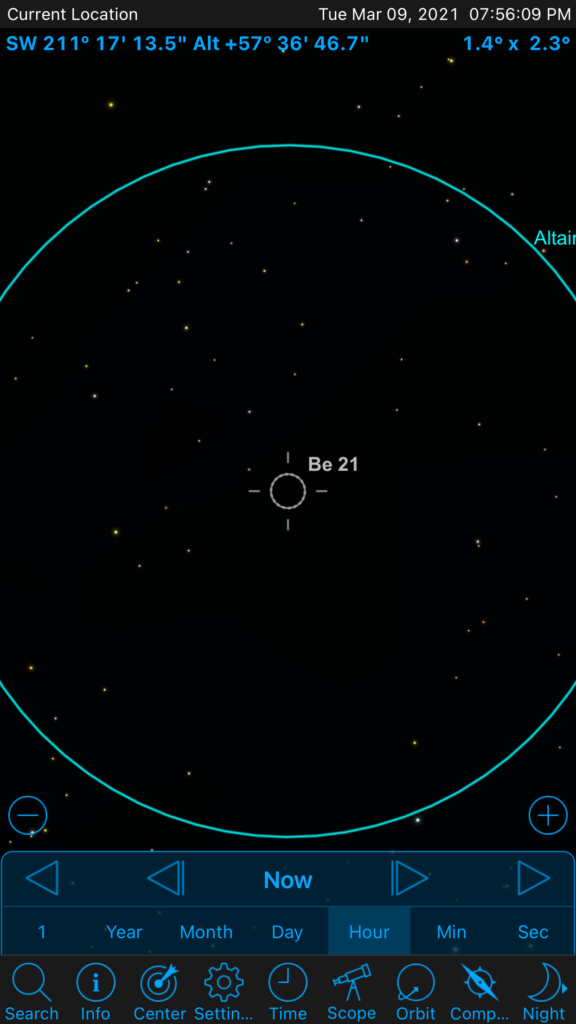
Berkeley 21 – I was really not sure if I could see this, even with averted vision. The cluster is about Mag 11 so right on the limit of my instrument. I kept going back and forth, I was in the right area as it is fairly next door to Basel 11B. I jiggled the binos about but I could not be certain. I will have another go when Orion is higher earlier in the night.
So that was it for me, Orion was setting so it was time for bed.ß