FSQ85 Flattener & QHY286C CMOS

I’ve taken the plunge and dipped my toe into the CMOS world. Since I didn’t have any OSC experience I chatted with DSW (has a QHY186c) and decided on the QHY286C. This I purchased from Bern at ModernAstronomy who has always provided excellent service.

The issue with APS-C sensors when coupled with the Takahashi FSQ85 is that the edges start to show signs of star elongation, I already see this on my Atik460. This can be corrected with the FSQ-85 flattener (ordered from FirstLightOptics) which has the effect of slightly increasing the focal length but also reduces the back focus from the native 197.5mm to 56mm.

Effective Focal Length455mm (f/5.4)
Image Circle Diameter44mm
Metal Back Focus56mm
FSQ-85 EDX with Flattener 1.01x

This means that I can’t use my existing Atik OAG->Atik EFW2 and Atik460 because it’s total distance is 59mm (22mm+24mm+13mm) so it’s out by 2mm even once you include the filter effect on the back focus. Note – This is also true for my Starlight Xpress configuration.

I do not understand why Atik could not have got to within the 55-56mm range by shaving off a mm here and there 🙁 I may need to replace all Atik gear when I convert to mono CMOS or replace the OAG with a guide scope.

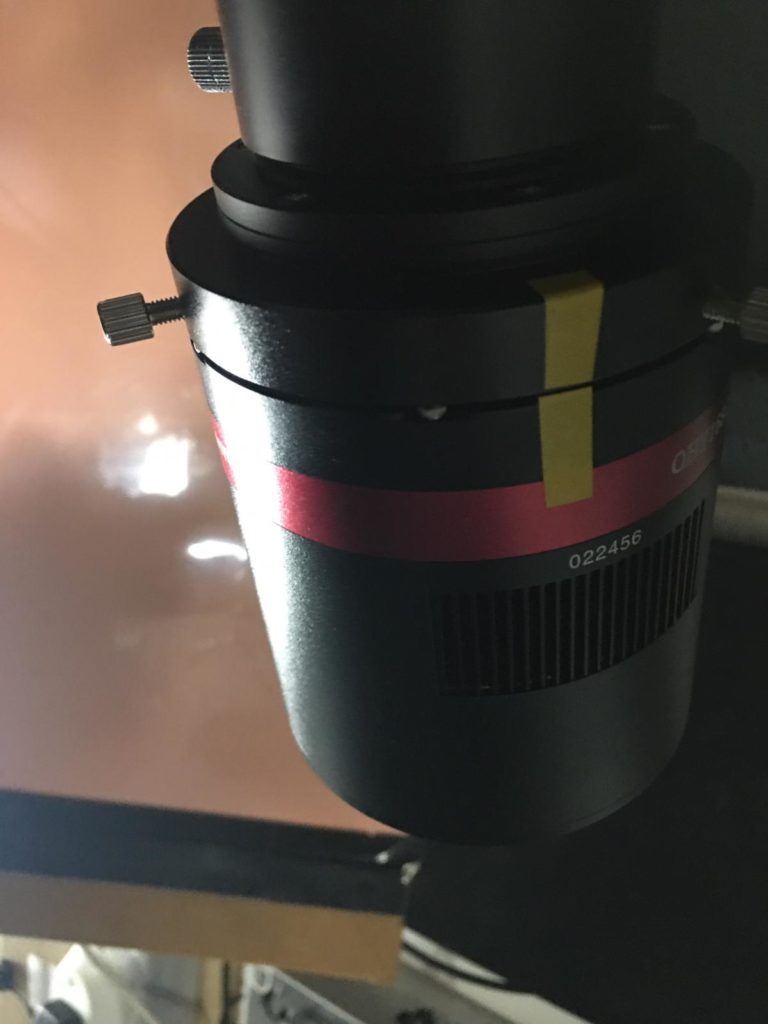
So onto the QHY268C, the OSC CMOS unfortunately has a CAA tilt adapter instead of a direct thread connection. This wastes 11mm of precious back focus giving a total distance of 23.5mm whereas the recently released QHY286M CMOS has a 12.5mm back focus !!!!

Also the QHY268C does not have an IR/UV cut filter in place so you need to buy an additional filter and holder and add that to the cost and factor in the adapter and distance needed …. I’m starting to regret this purchase more and more !

Source – QHYCCD.com

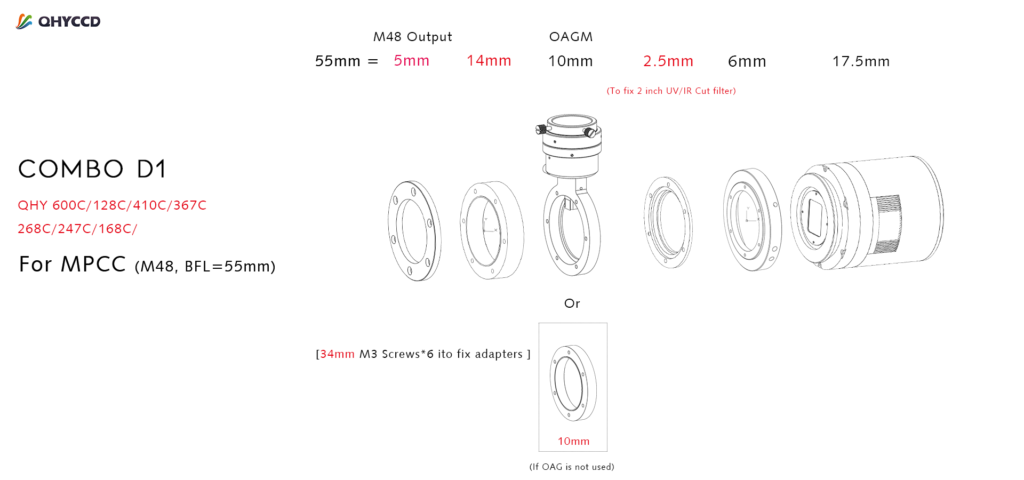
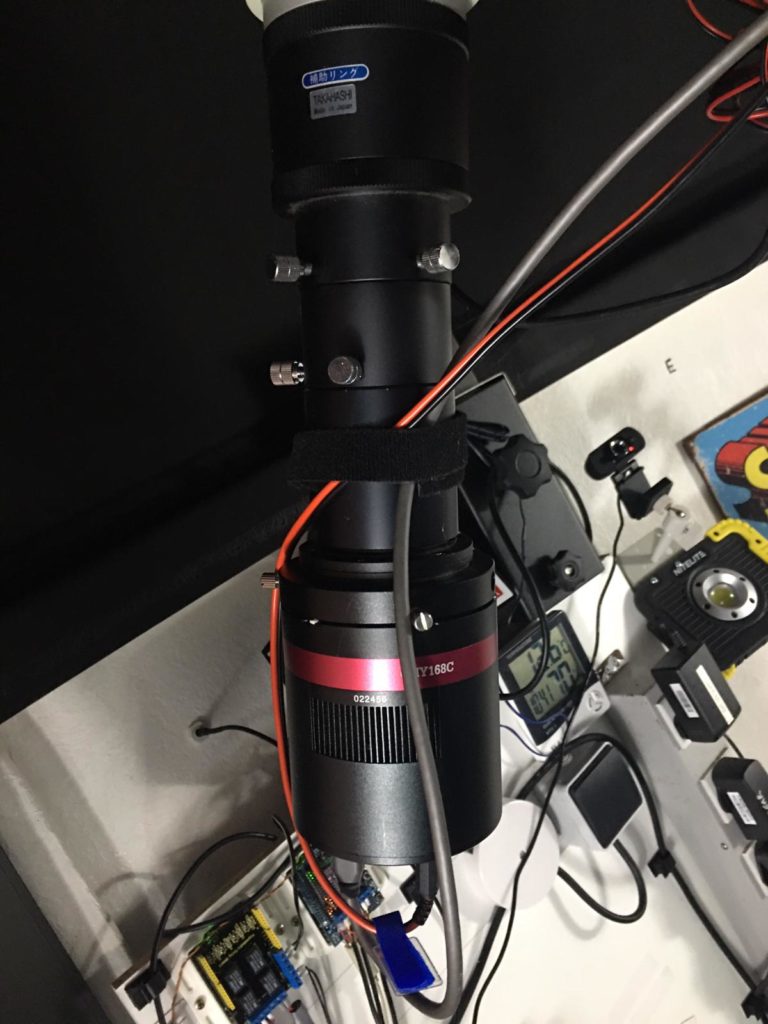
Back to the Takahashi Flattener (TKA37852), the back focus is 56.2mm but we add on the filter thickness as it changes the light path (2mm/3=0.66mm) so ~57mm (56.9mm), the imaging train is as follows :


Adapter
Distance (mm)Accumulated Distance (mm)Connector
OU03122M54(M) -> M54(M)
QHY 02077046M54(F)
QHY Spacers14.420.4screw
QHY OAG-M1030.4screw
QHY 0200552.532.9screw
inc filter0.633.5
QHY CAA adapter639.5screw
QHY268C CMOS17.557screw
FSQ85 Flattener to QHY268C imaging train

The combined weight is 1365g so I may need to adjust the balance of the scope a little as it heavier than my Atik460/EFW2/OAG setup at 1080g.

Completed – Imaging train ready for first light

I may have to adjust the spacers a little but I won’t know until I have received a 2-inch Optolong L-Pro light pollution filter which is currently on back order from FLO.

Transmission chart for Optolong L-Pro

QHY268M

The recently released mono version of the QHY268 looks like it has a proper screw face plate with a more acceptable back focus of 12.5mm. This is more reasonable and would allow me to couple a filter wheel and OAG as well not requiring a IR/UV cut filter.

Like SyedT on StarGazersLounge I could go back to using a guide scope and ditch the OAG and then the imaging train could incorporate a rotator :

ComponentDistance (mm)
QHY268M CMOS12.5
QHYCFW3M-US17.5
M54 (M) to M54 (M) adapter2
Pegasus Falcon Rotator18
M54 extension ring5
M54 (M) to M54 (M)2
Total57
FSQ85 Flattener/QHY268M Imaging Train – Credit SyedT

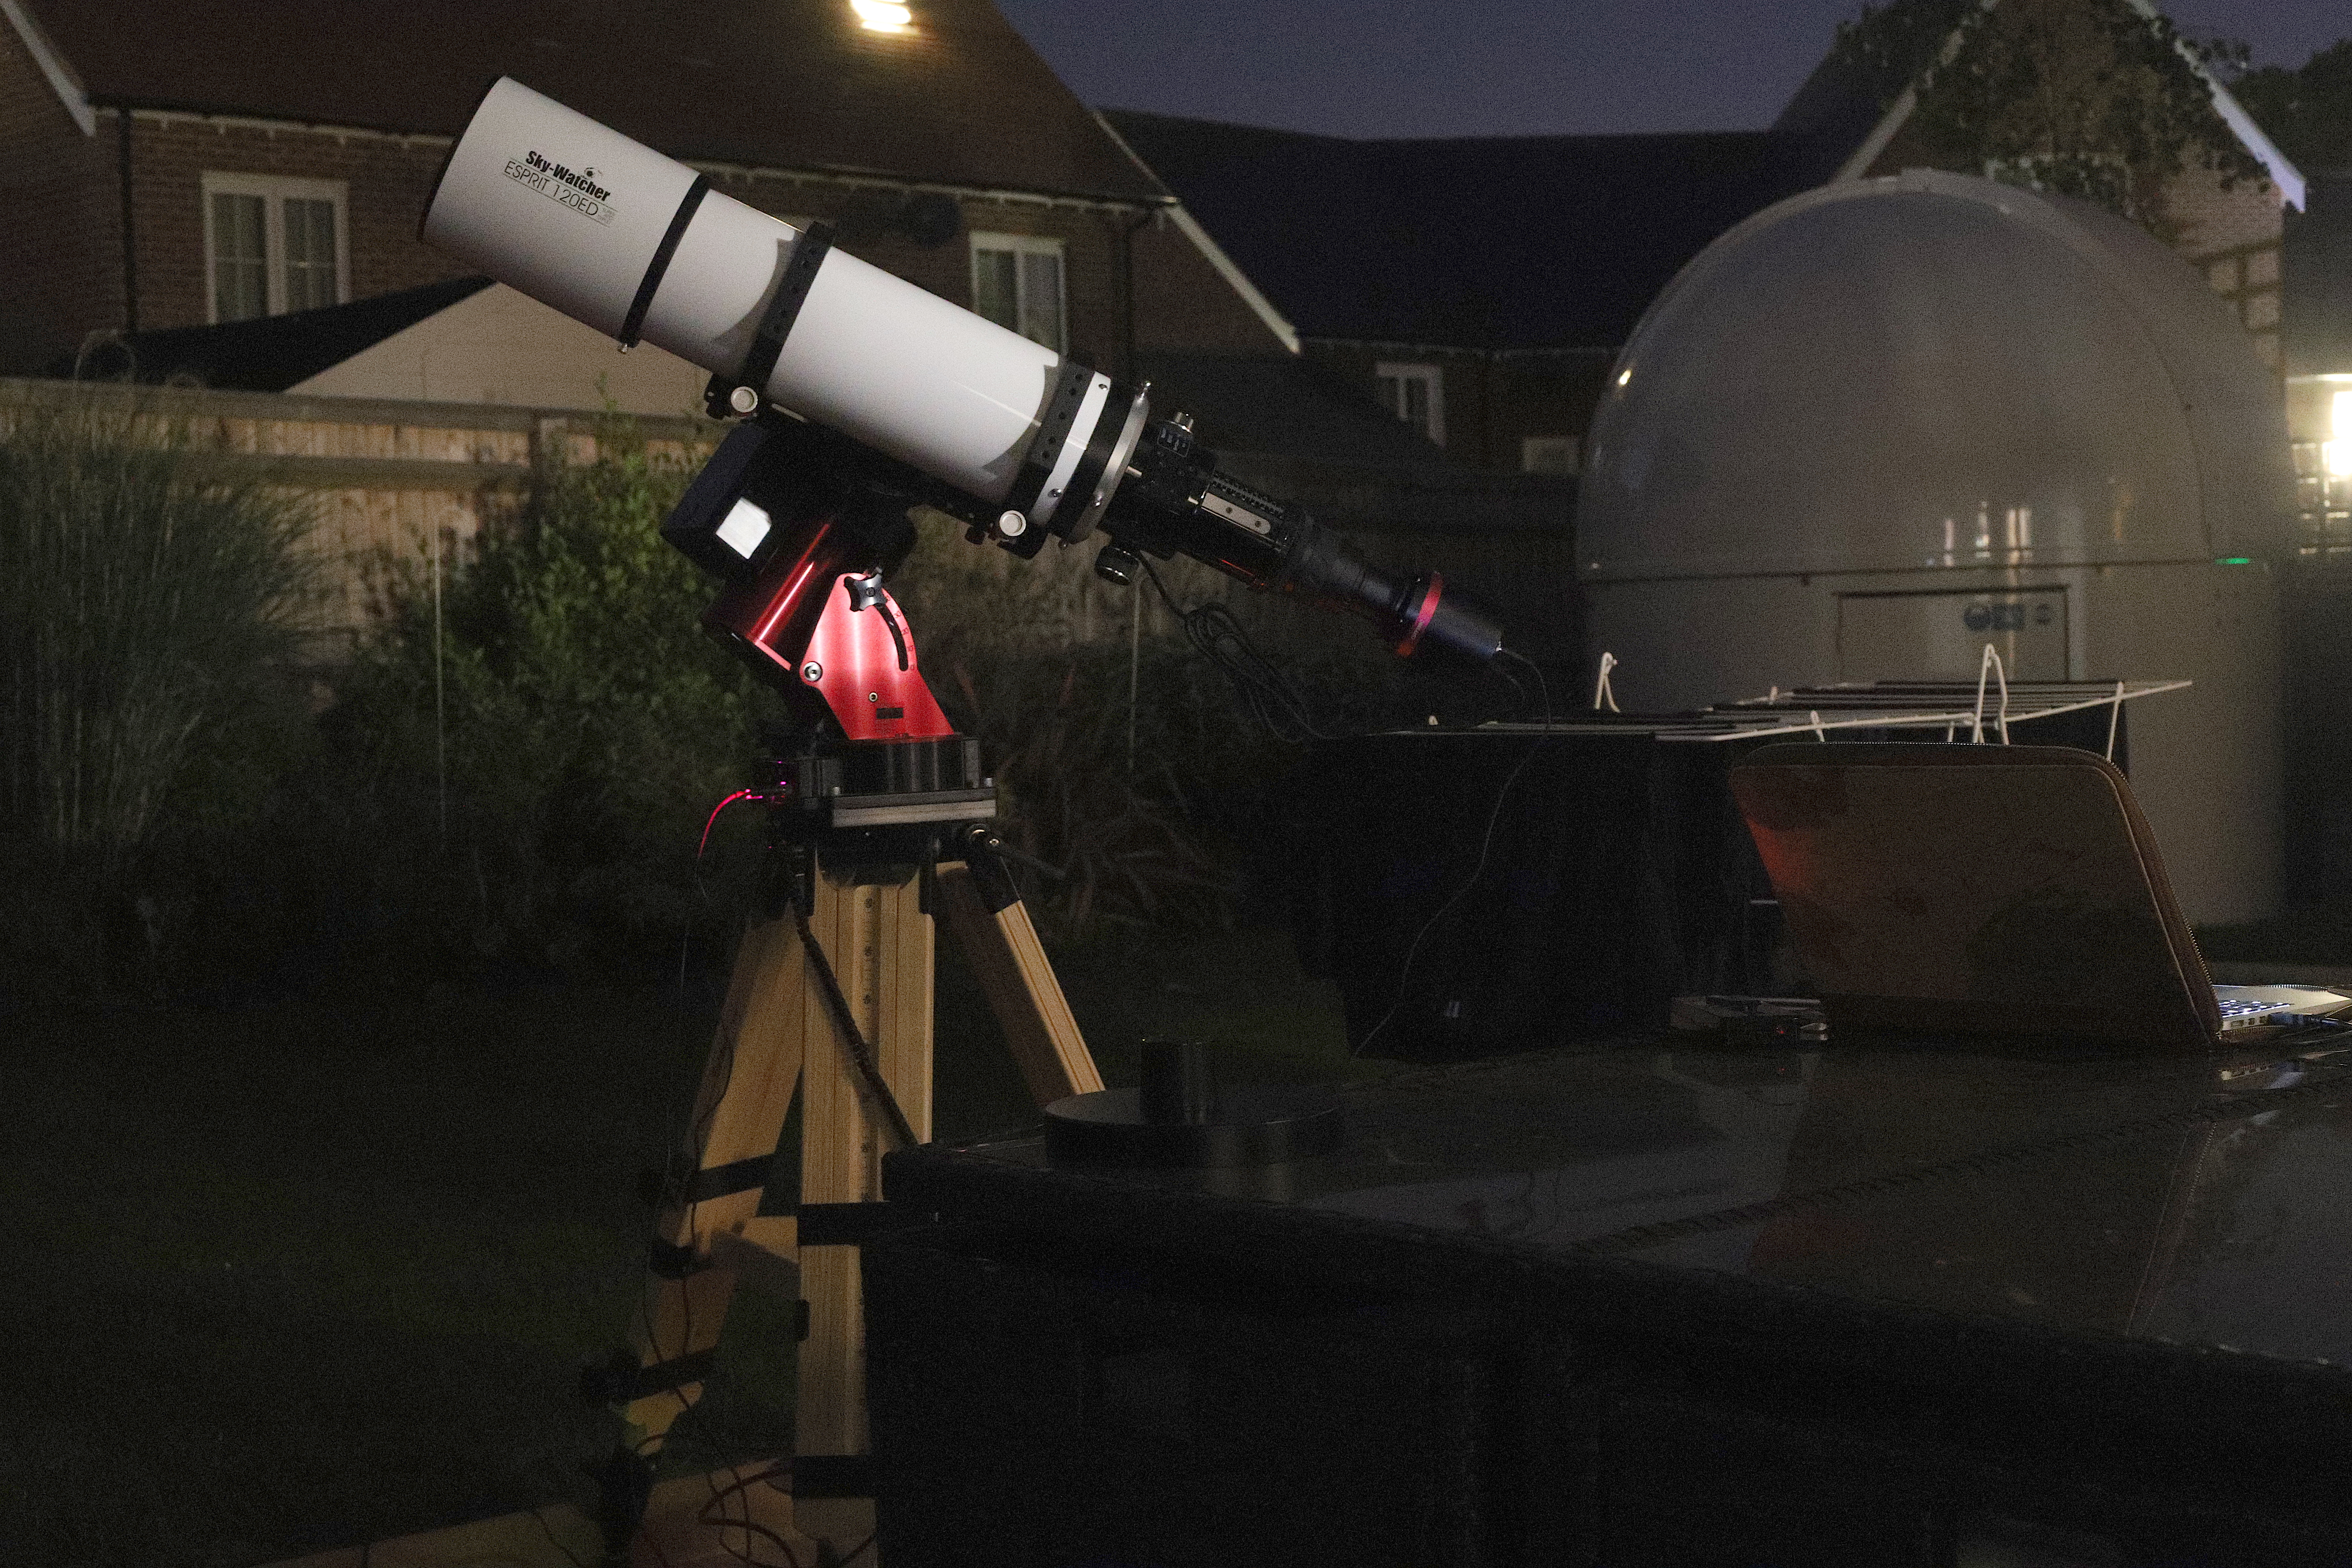
I was thinking of a rotator for the remote Esprit120 which has a generous back focus of 76mm so I should have no problems there but that will be another adventure for the future !

IMT3 Tak QHY Camera Clean

Bob had noticed a lot of dirt on or near the sensor on the QHY168C camera that forms part of the imaging train on the Tak FS102. Today I took the camera off for a little spring clean.

The first thing was to mark the rotation angle of the camera so that it goes back on exactly. 21 degrees is the rotation angle as measured through an actual image.

Taping up position angle on QHY camera

Next I took the camera off loosing the 3 screws holding it in position and then took a look at the CMOS chop glass cover for dirt.

Inspecting QHY168C for dirt on glass cover

There was really only a couple of pieces of dirt on the cover so I removed them with the blower.

Rocket blower

Next I took off the extension tube with which has the glass UV lens inside. At this point I forgot to mark up the position angle when I took the extension tube off. So when I reattached I look at the image train photo to adjust. Hopefully it will be very close and will only require minor adjustment.

Tak FS102 QHY168C imaging train

Looking at the UV filter it was instantly visible that there was plenty of dirt and dirt on the glass lens, however it transpired to be on the inside of the lens toward the OTA. O removed the filter to clean with the rocket blower.

UV glass filter dirt and dust

I then reattached the filter, the camera and reset the angle. I followed up by feeling for any play in the Tak OTA bracket that piggy backs it on the OS12″ OTA. I could not feel any. I was checking due to a shift on the FoV when Bob was recently imaging. Again the next time out we will need to readjust.

Tak FS 102 piggy back bracket

Viewing Report 29th/30th June 2019 – IMT3 Observatory & Travel Scope

Viewing time period – 22:01 – 03:18

Tonight Bob will be learning how to control the observatory and using the Tak FS102 to trying imaging. Meanwhile I will be setting up my new Paramount MyT on its Berlebach tripod and with a new Sky-Watcher Esprit 120 mounted on top. The business end has my new QHY168C, yes I purchased a 2nd one, they are that good.

Travel setup and IMT3 dome

Whilst Bob played, I setup the travel kit on the new patio. I realised I could connect the camera through the USB on the MyT to one cable that won’t get snagged. I will however need to connect a power for the camera as that is currently trailing. There is a power connector on the back of the mount but I believe it is only rated to 1amp. There is however another power out which is rated at 7.5 amps so I will buy a Tycoon KPPX-4P 4 pin couple of connectors and makeup a cable so I can plug into that directly.

Connectors on the MyT mount

So I connected to TheSkyX with the mount and slewed to Arcturus. I could not connect the QHY camera to TheSkyX as I seem to be missing a driver. I will take a further look tomorrow to see if there is one. Instead I used the EzCap software they provide and connected the camera to that.

I focused manually as I have not motor focus to keep things simple, and soon had stars in view. I then did a manual spiral search until I found Arcturus and then synced on it. I could then slew around the sky with ease.

For polar alignment I have ordered (my friend GingerGeek has ordered) a PoleMaster mounting plate that I can use, this will make it easy to align. Tonight I just plonked the mount down without any polar alignment, thus anything more than 10 seconds produced trailing.

I tested cooling the camera, slewing and parking, although I need to see the park position 180 degrees from the current position to allow the scope rings to be in the right place for removing the OTA.

The scope and the mount and the camera make a great travel setup, each component is not too heavy to move by itself, the connection and setup is fairly straightforwards and I really do look forward to testing this out in October in Tenerife. I do need to test running from a car battery to see how long things last. I have my car battery I use for astronomy on charge and will test next time.

The connection of the camera to the flattener is a push fit and is missing the luminance filter. I will order the right adapters from Modern Astronomy so that I can fit later.

So I still have a few things to make, buy, test and do before October but good progress tonight on the travel setup front.

Meanwhile Bob has been making good progress with the Tak FS 102 in the IMT3. Imaging Arcturus and testing lengths of exposure on different objects such as M13. Some pieces of the sky Bob was imaging at 5 minutes unguided and others such as M13 only 3 minutes. I need to look at why this is given I now think the polar alignment from last night is excellent.

Imaging through IMT3

I reset the FoV indicator for the Tak FS102 in relation to the main 12″ scope. I need to find a way of slewing to given object for the offset scopes. I also need to be shown how you use SGPro to slew too, rather than using TheSkyX, so a slew, plate solve and then final adjustment.