FSQ85 Flattener & QHY286C CMOS

I’ve taken the plunge and dipped my toe into the CMOS world. Since I didn’t have any OSC experience I chatted with DSW (has a QHY186c) and decided on the QHY286C. This I purchased from Bern at ModernAstronomy who has always provided excellent service.

The issue with APS-C sensors when coupled with the Takahashi FSQ85 is that the edges start to show signs of star elongation, I already see this on my Atik460. This can be corrected with the FSQ-85 flattener (ordered from FirstLightOptics) which has the effect of slightly increasing the focal length but also reduces the back focus from the native 197.5mm to 56mm.

Effective Focal Length455mm (f/5.4)
Image Circle Diameter44mm
Metal Back Focus56mm
FSQ-85 EDX with Flattener 1.01x

This means that I can’t use my existing Atik OAG->Atik EFW2 and Atik460 because it’s total distance is 59mm (22mm+24mm+13mm) so it’s out by 2mm even once you include the filter effect on the back focus. Note – This is also true for my Starlight Xpress configuration.

I do not understand why Atik could not have got to within the 55-56mm range by shaving off a mm here and there πŸ™ I may need to replace all Atik gear when I convert to mono CMOS or replace the OAG with a guide scope.

So onto the QHY268C, the OSC CMOS unfortunately has a CAA tilt adapter instead of a direct thread connection. This wastes 11mm of precious back focus giving a total distance of 23.5mm whereas the recently released QHY286M CMOS has a 12.5mm back focus !!!!

Also the QHY268C does not have an IR/UV cut filter in place so you need to buy an additional filter and holder and add that to the cost and factor in the adapter and distance needed …. I’m starting to regret this purchase more and more !
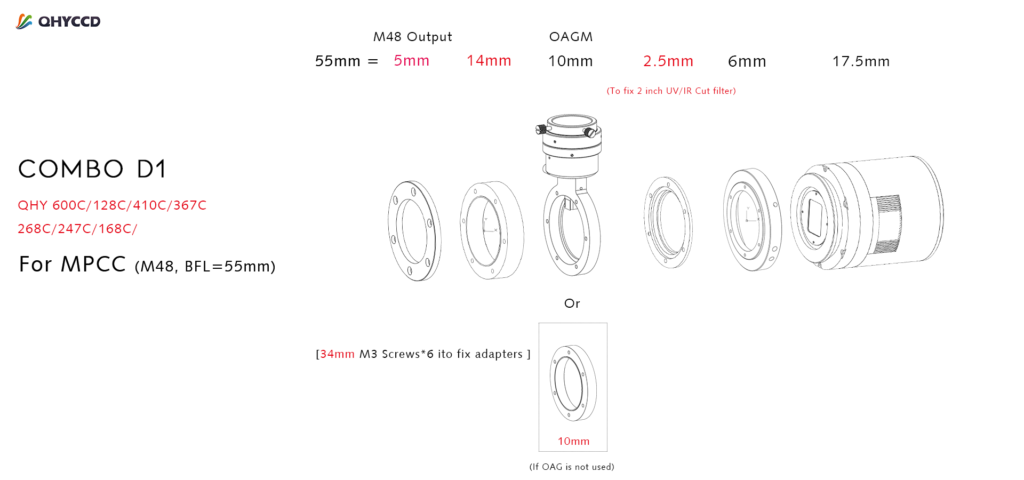
Source – QHYCCD.com

Back to the Takahashi Flattener (TKA37852), the back focus is 56.2mm but we add on the filter thickness as it changes the light path (2mm/3=0.66mm) so ~57mm (56.9mm), the imaging train is as follows :


Adapter
Distance (mm)Accumulated Distance (mm)Connector
OU03122M54(M) -> M54(M)
QHY 02077046M54(F)
QHY Spacers14.420.4screw
QHY OAG-M1030.4screw
QHY 0200552.532.9screw
inc filter0.633.5
QHY CAA adapter639.5screw
QHY268C CMOS17.557screw
FSQ85 Flattener to QHY268C imaging train

The combined weight is 1365g so I may need to adjust the balance of the scope a little as it heavier than my Atik460/EFW2/OAG setup at 1080g.
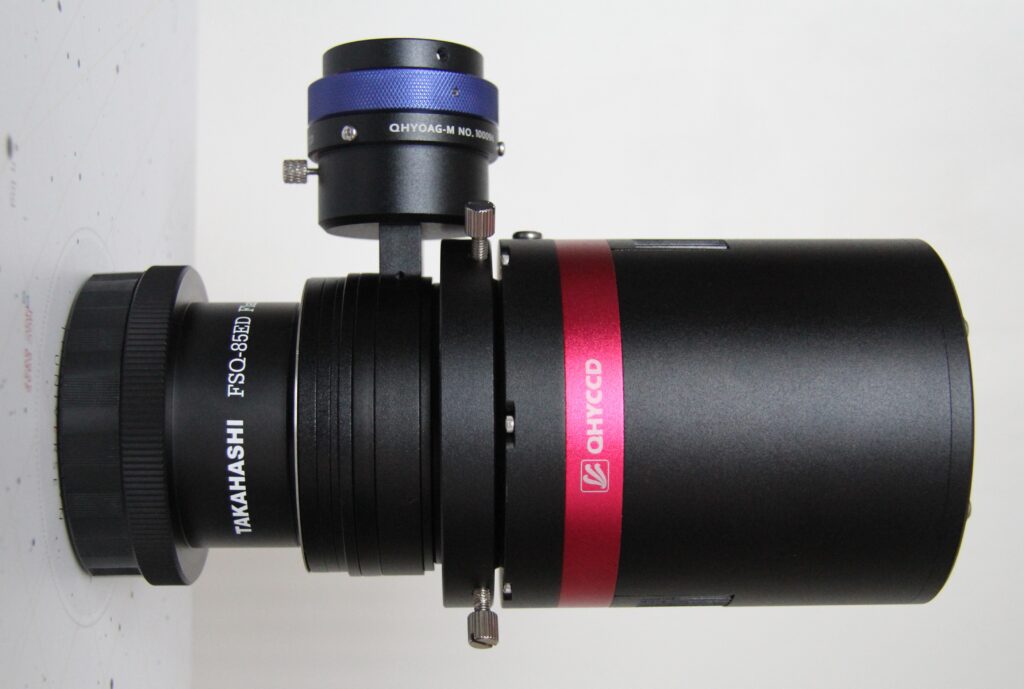
Completed – Imaging train ready for first light

I may have to adjust the spacers a little but I won’t know until I have received a 2-inch Optolong L-Pro light pollution filter which is currently on back order from FLO.
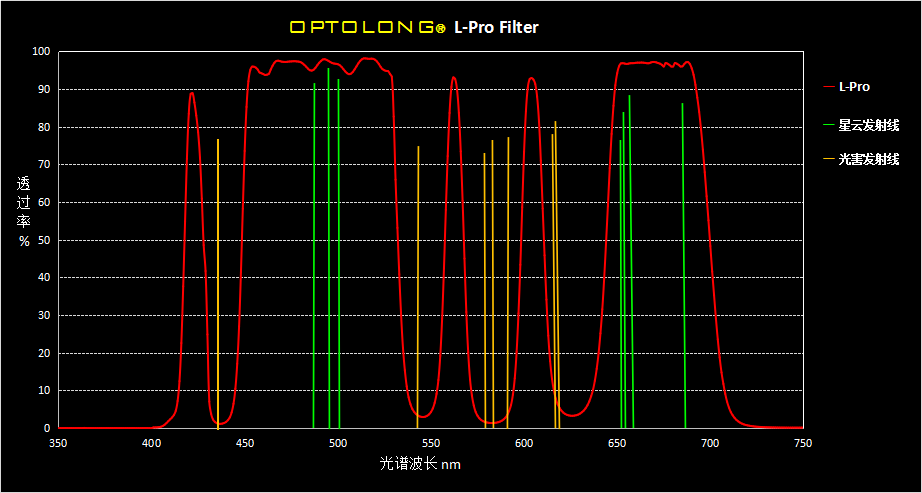
Transmission chart for Optolong L-Pro

QHY268M

The recently released mono version of the QHY268 looks like it has a proper screw face plate with a more acceptable back focus of 12.5mm. This is more reasonable and would allow me to couple a filter wheel and OAG as well not requiring a IR/UV cut filter.

Like SyedT on StarGazersLounge I could go back to using a guide scope and ditch the OAG and then the imaging train could incorporate a rotator :

ComponentDistance (mm)
QHY268M CMOS12.5
QHYCFW3M-US17.5
M54 (M) to M54 (M) adapter2
Pegasus Falcon Rotator18
M54 extension ring5
M54 (M) to M54 (M)2
Total57
FSQ85 Flattener/QHY268M Imaging Train – Credit SyedT

I was thinking of a rotator for the remote Esprit120 which has a generous back focus of 76mm so I should have no problems there but that will be another adventure for the future !
Jupiter/Saturn Conjunction Eve – 20th December 2020

GingerGeeks Viewing

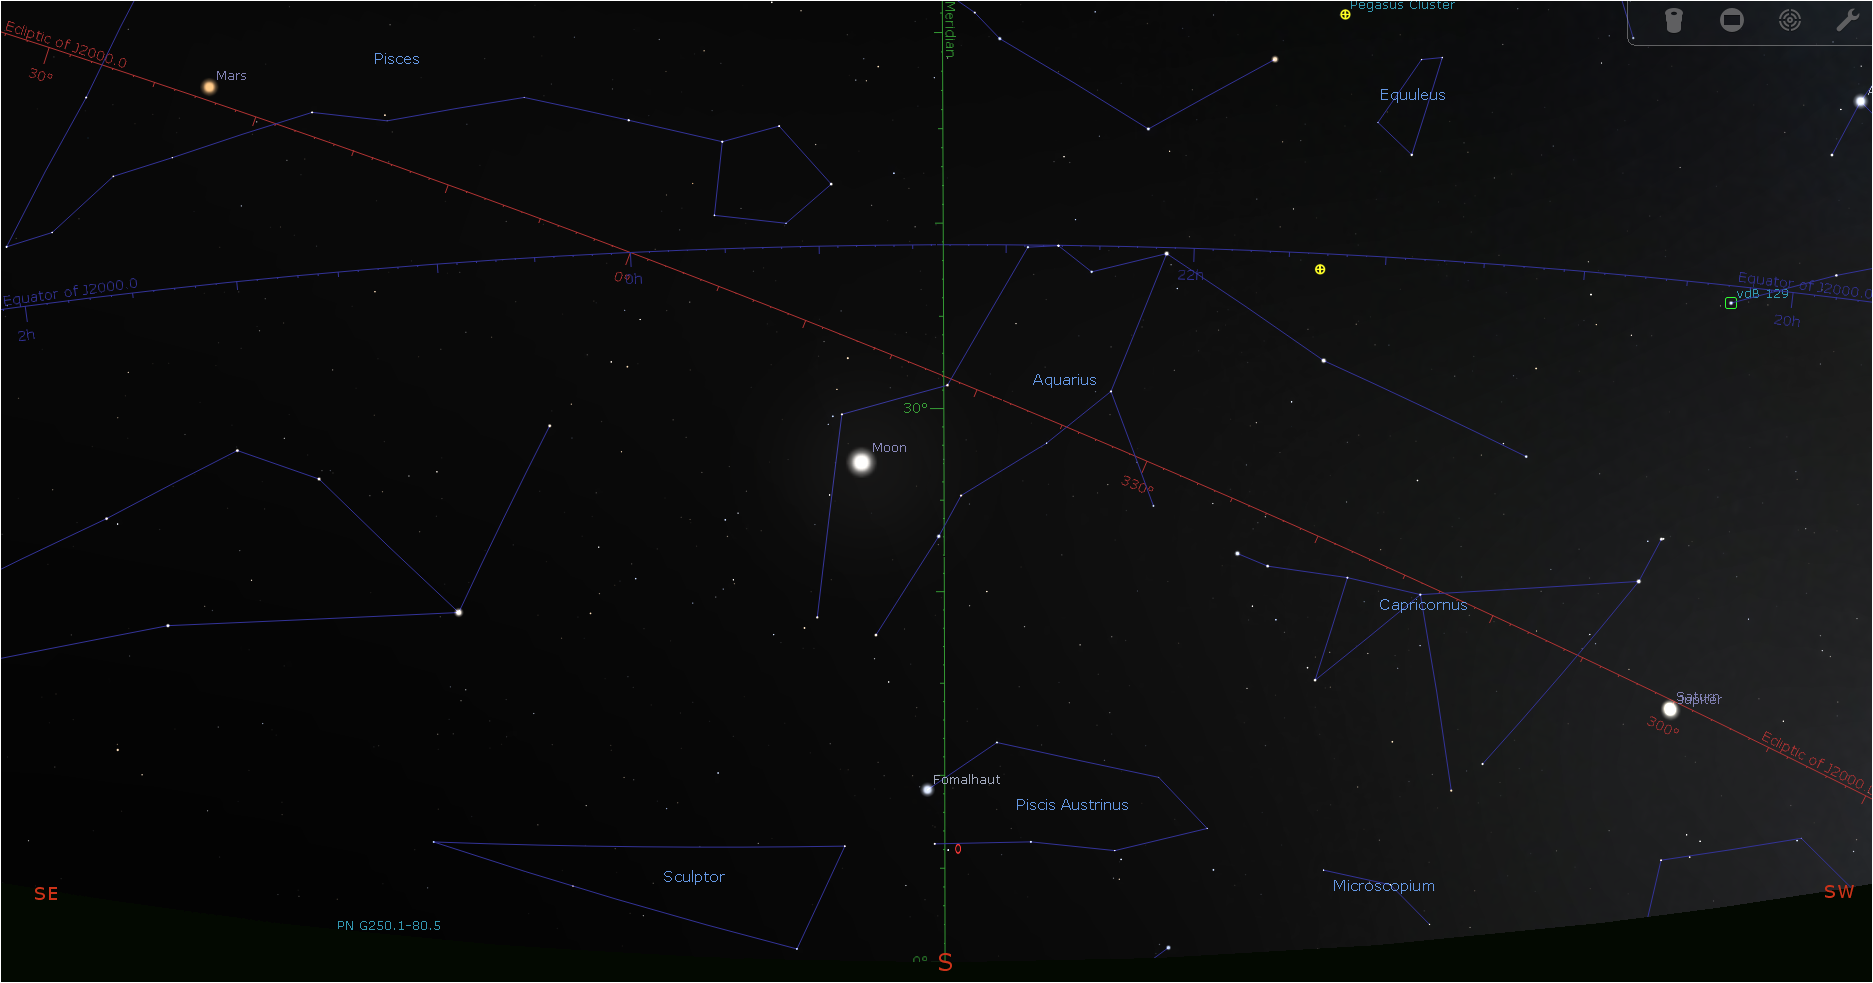
The weather forecast suggested that this was the only clear night for some time and the planets were low in the sky. So GeekGirl and I wondered if Jupiter/Saturn were visible from the front of the house to the South-West or if we were going to have to traipse over to the muddy farm fields to view the conjunction.

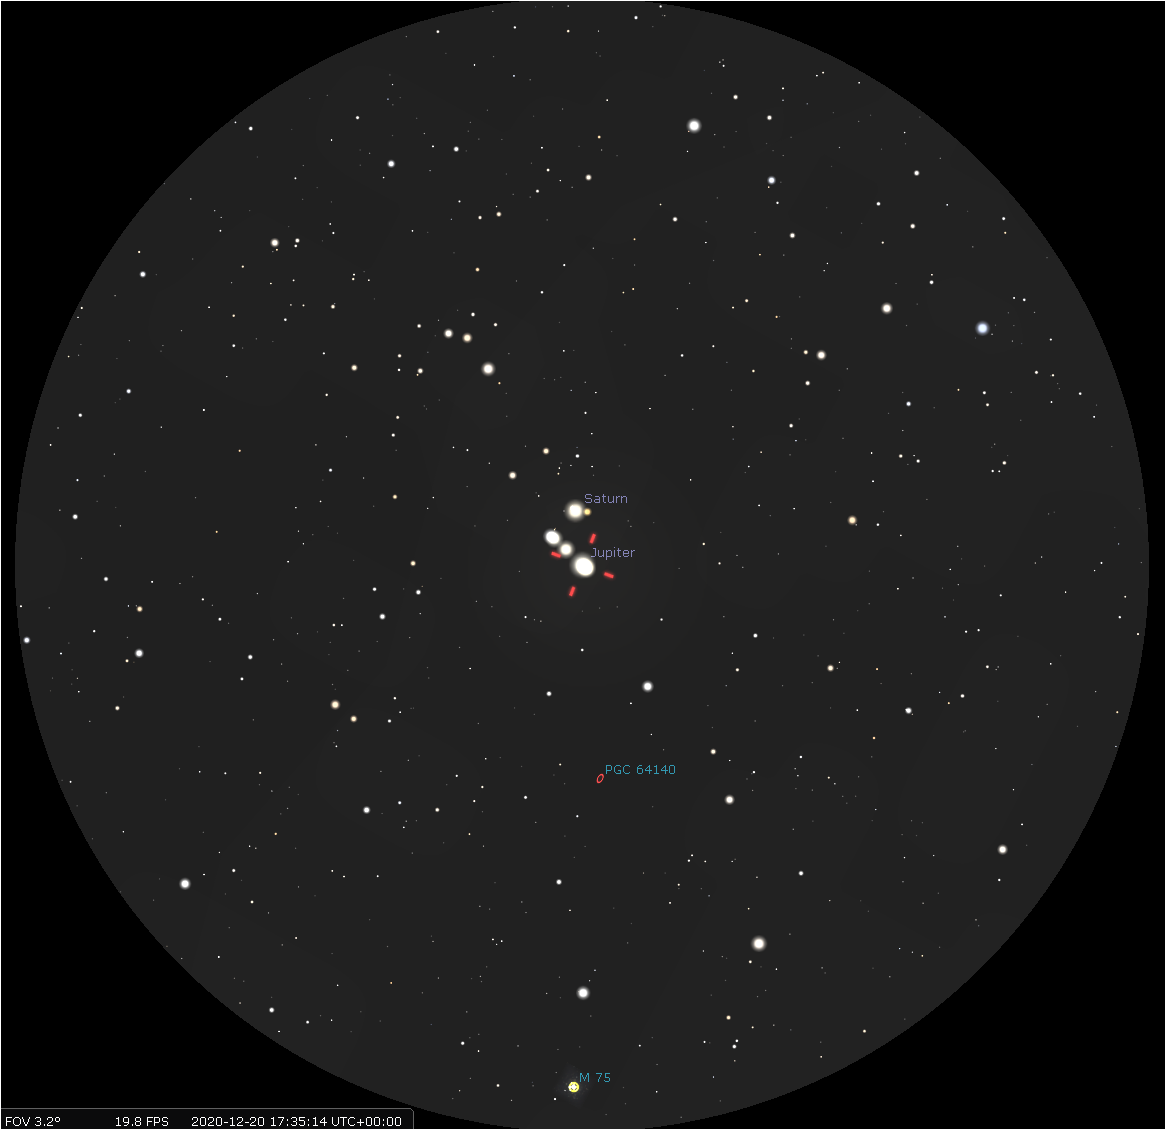
Conjunction View Facing South – Credit stellarium.org

Luckily for us even though they were less than 10ΒΊ altitude we could see them both between two houses from the front drive. We quickly got some warm gear on and setup the binoculars and the kiddy scope (Sky-Watcher Heritage 150P Dobsonian) on a camping table.

We quickly got Jupiter/Saturn in GeekGirl’s binoculars (Celestron 20×80 SkyMaster). The pairing although not as close as they would be on the 21st still looked nice. The rings of Saturn were discernible and the four Galilean moons were visible in this modest setup and I’m sure the view would be have been better in Dave’s monster binoculars due to the aperature.

Approximate view through 20×80 Binoculars – Credit stellarium.org

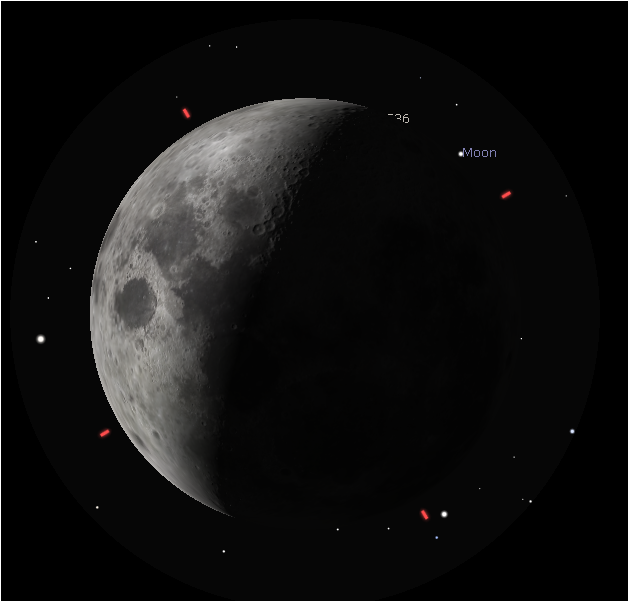
In order to get the focus for the planets I used the Heritage 150P on the near half Moon (47%). The views of the craters on the terminator along with the shadows were amazing, we could see the centre peaks of many of the craters.

View via Heritage150P/Super10 eyepiece – Credit stellarium.org

I wonder what they looked like in Dave’s Sky-Watcher SkyMax 180 Pro ?

Our next-door neighbour popped out and we invited him to view the planets and the Moon. I think he was impressed but everyone reacts differently to the experience.

Once we had both wondered over the Moon, checking out the mountain ranges and the changing shades of grey for the Mares we turned to viewing the conjunction in the 150P using the standard eyepieces (SW Super25 & Super10) that came with the scope.

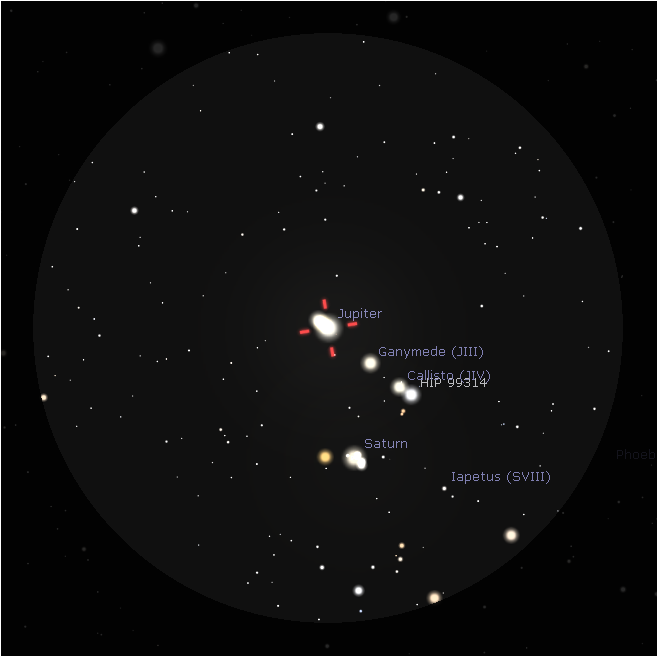
View of Conjunction through Heritage150P – Credit stellarium.org

We could see all four Galilean moons with Io being placed close to Jupiter’s limb. The division in Saturn rings was visible and GeekGirl could glimpse Titan so she was happy. All in all a pleasant experience, which is rare in the current human malware situation. I finished off the evening with a Brewdog IPA ….. bliss !

Dave Shave-Wall viewing

Start time 3pm – End time 6pm

After deciding that I could not get the conjunction of Saturn and Jupiter at the new house, I spent the best part of 40 minutes packing up the travel scope to travel locally to view the conjunction. I set off to view about 1 mile away across a field with allow horizon. I took my Mak180 without the Barlow and the ZWO290MC on the Paramount MyT with the Berlebach tripod. On arriving at the side of the road on the narrow country lane in North Hampshire, I was just about to setup when I realised not only had I forgot the travel car battery, but also the laptop. After a few expletives and a good old English, “I cannot possibly believe I did this, oh well carry on”, I jumped back on the Landrover and set off back home to retrieve the important parts. On arriving back home I ran up the garden to the shed for the battery, grabbed the laptop and jumped back in the car as time was against me for capturing the pairing before they set below the local horizon about 6pm. It was not 4pm.

I arrived back at the field and quickly set about fitting together the mobile setup for the 2nd time!

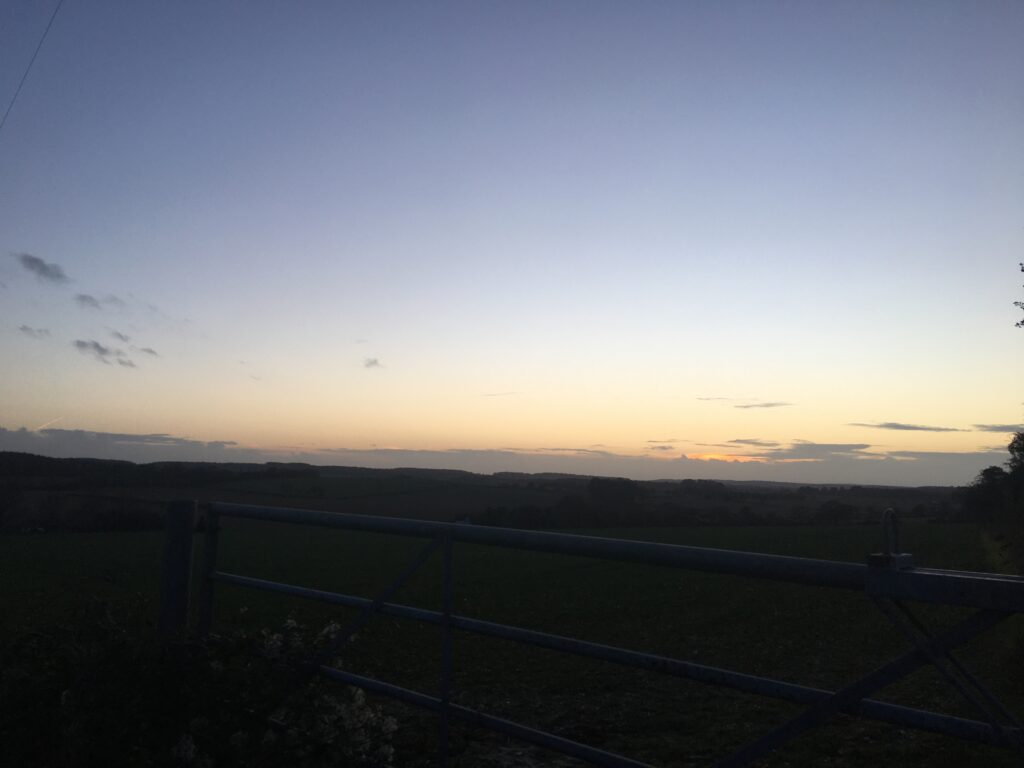
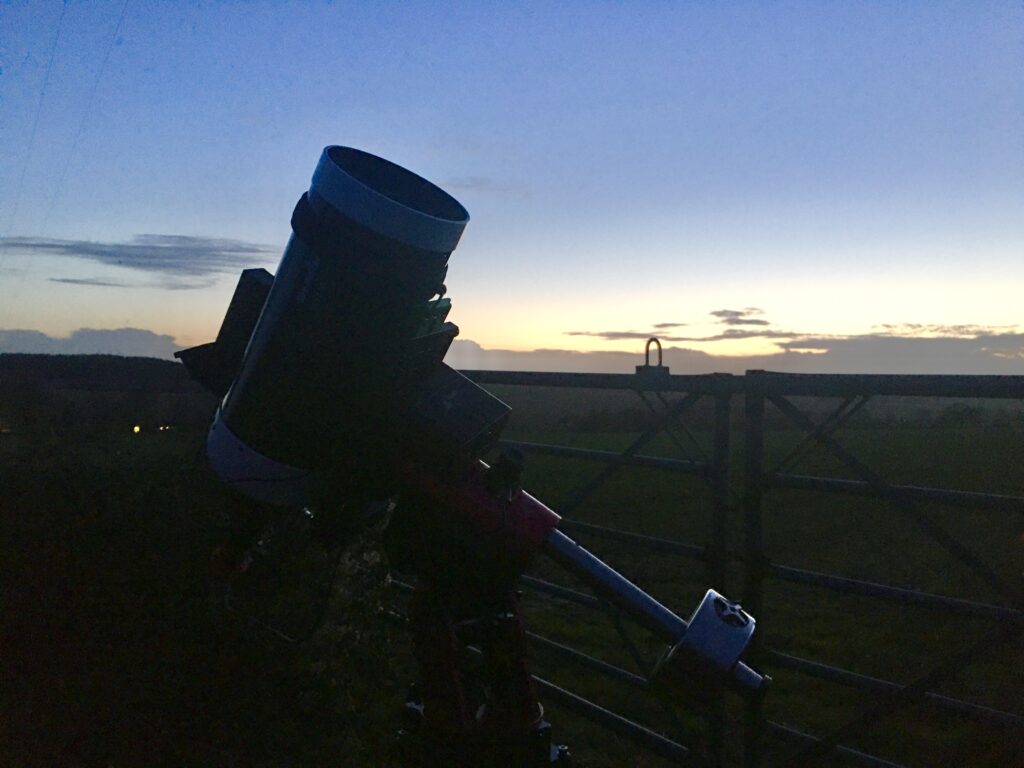
Field with a view

This time I settled the tripod and mount up in quick time, slide the Mak180 with its imaging train into the Losmandy Versa plate and connected the Mac. I manually aligned on Jupiter which by this time I could see with my naked eye, synced the scope and started the imaging software. After a few back fourths I found Jupiter, however Saturn was nowhere to be seen. It soon became apparent that my field of view FoV indicator on Sky Safari 4 was not accurate and indeed both planes on this particular day would not fit in! So rather than waste the occasion I shot some view of Jupiter and then slewed to Saturn for the same.

Mak180 ready to slew

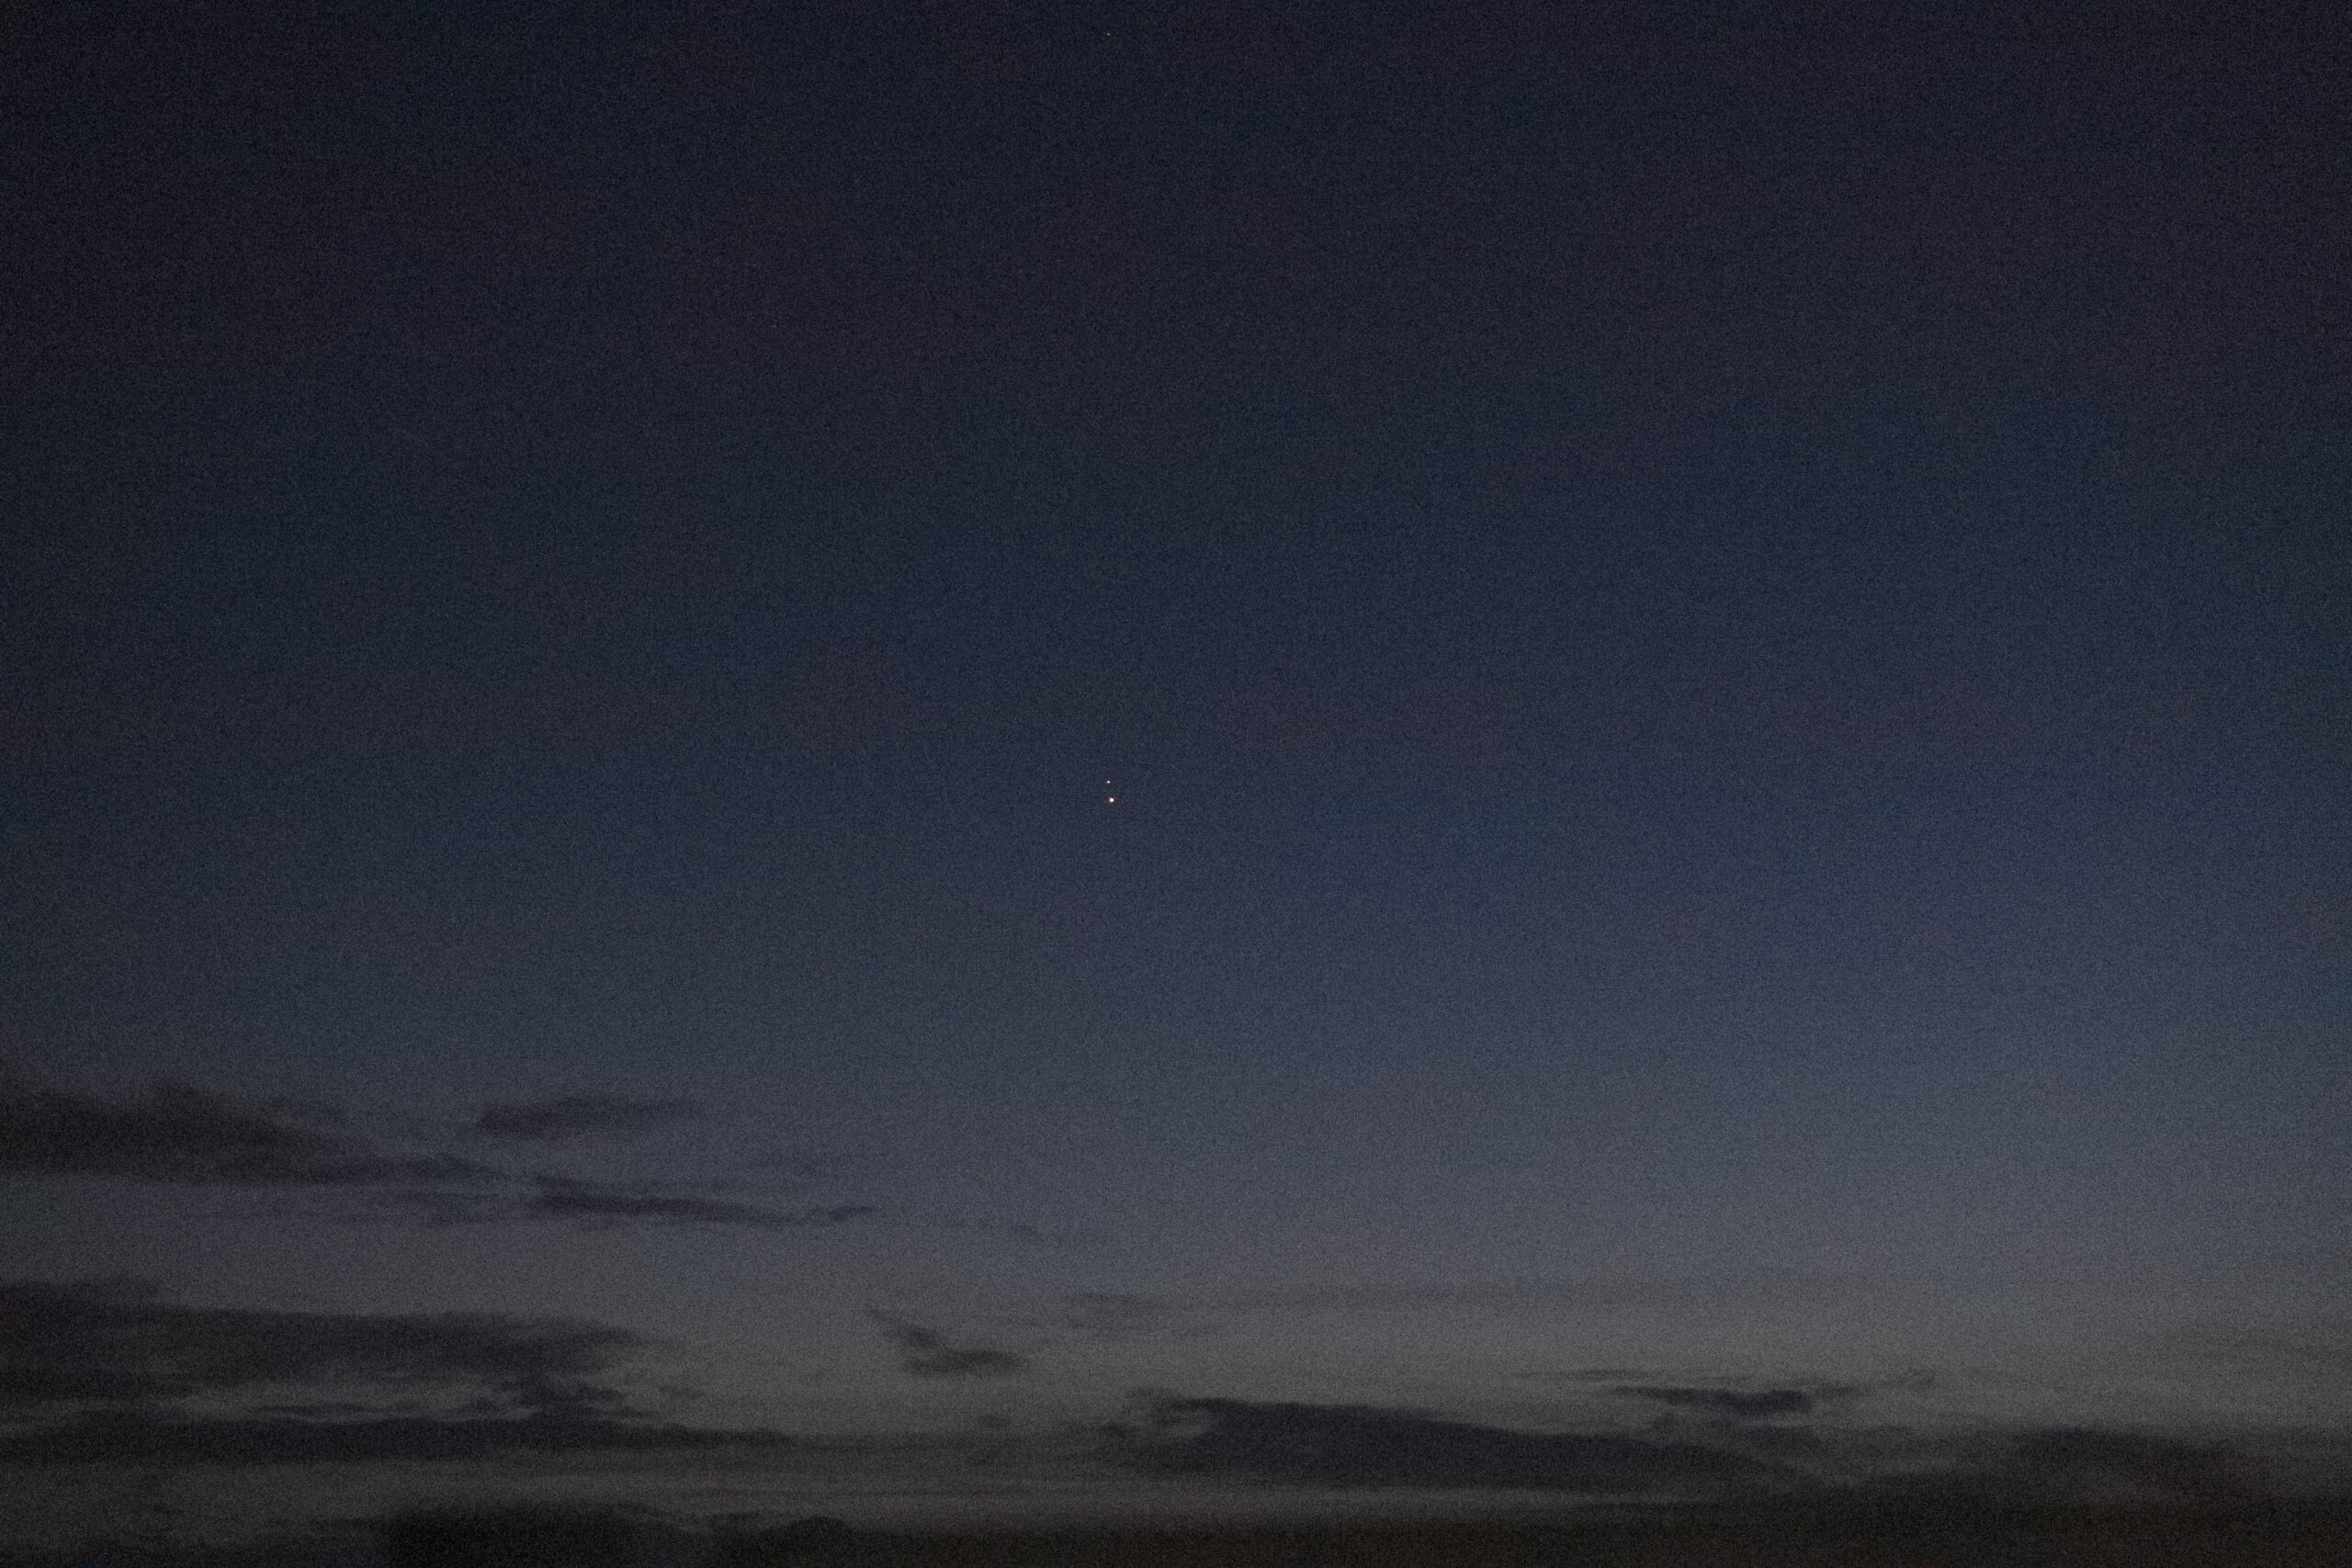
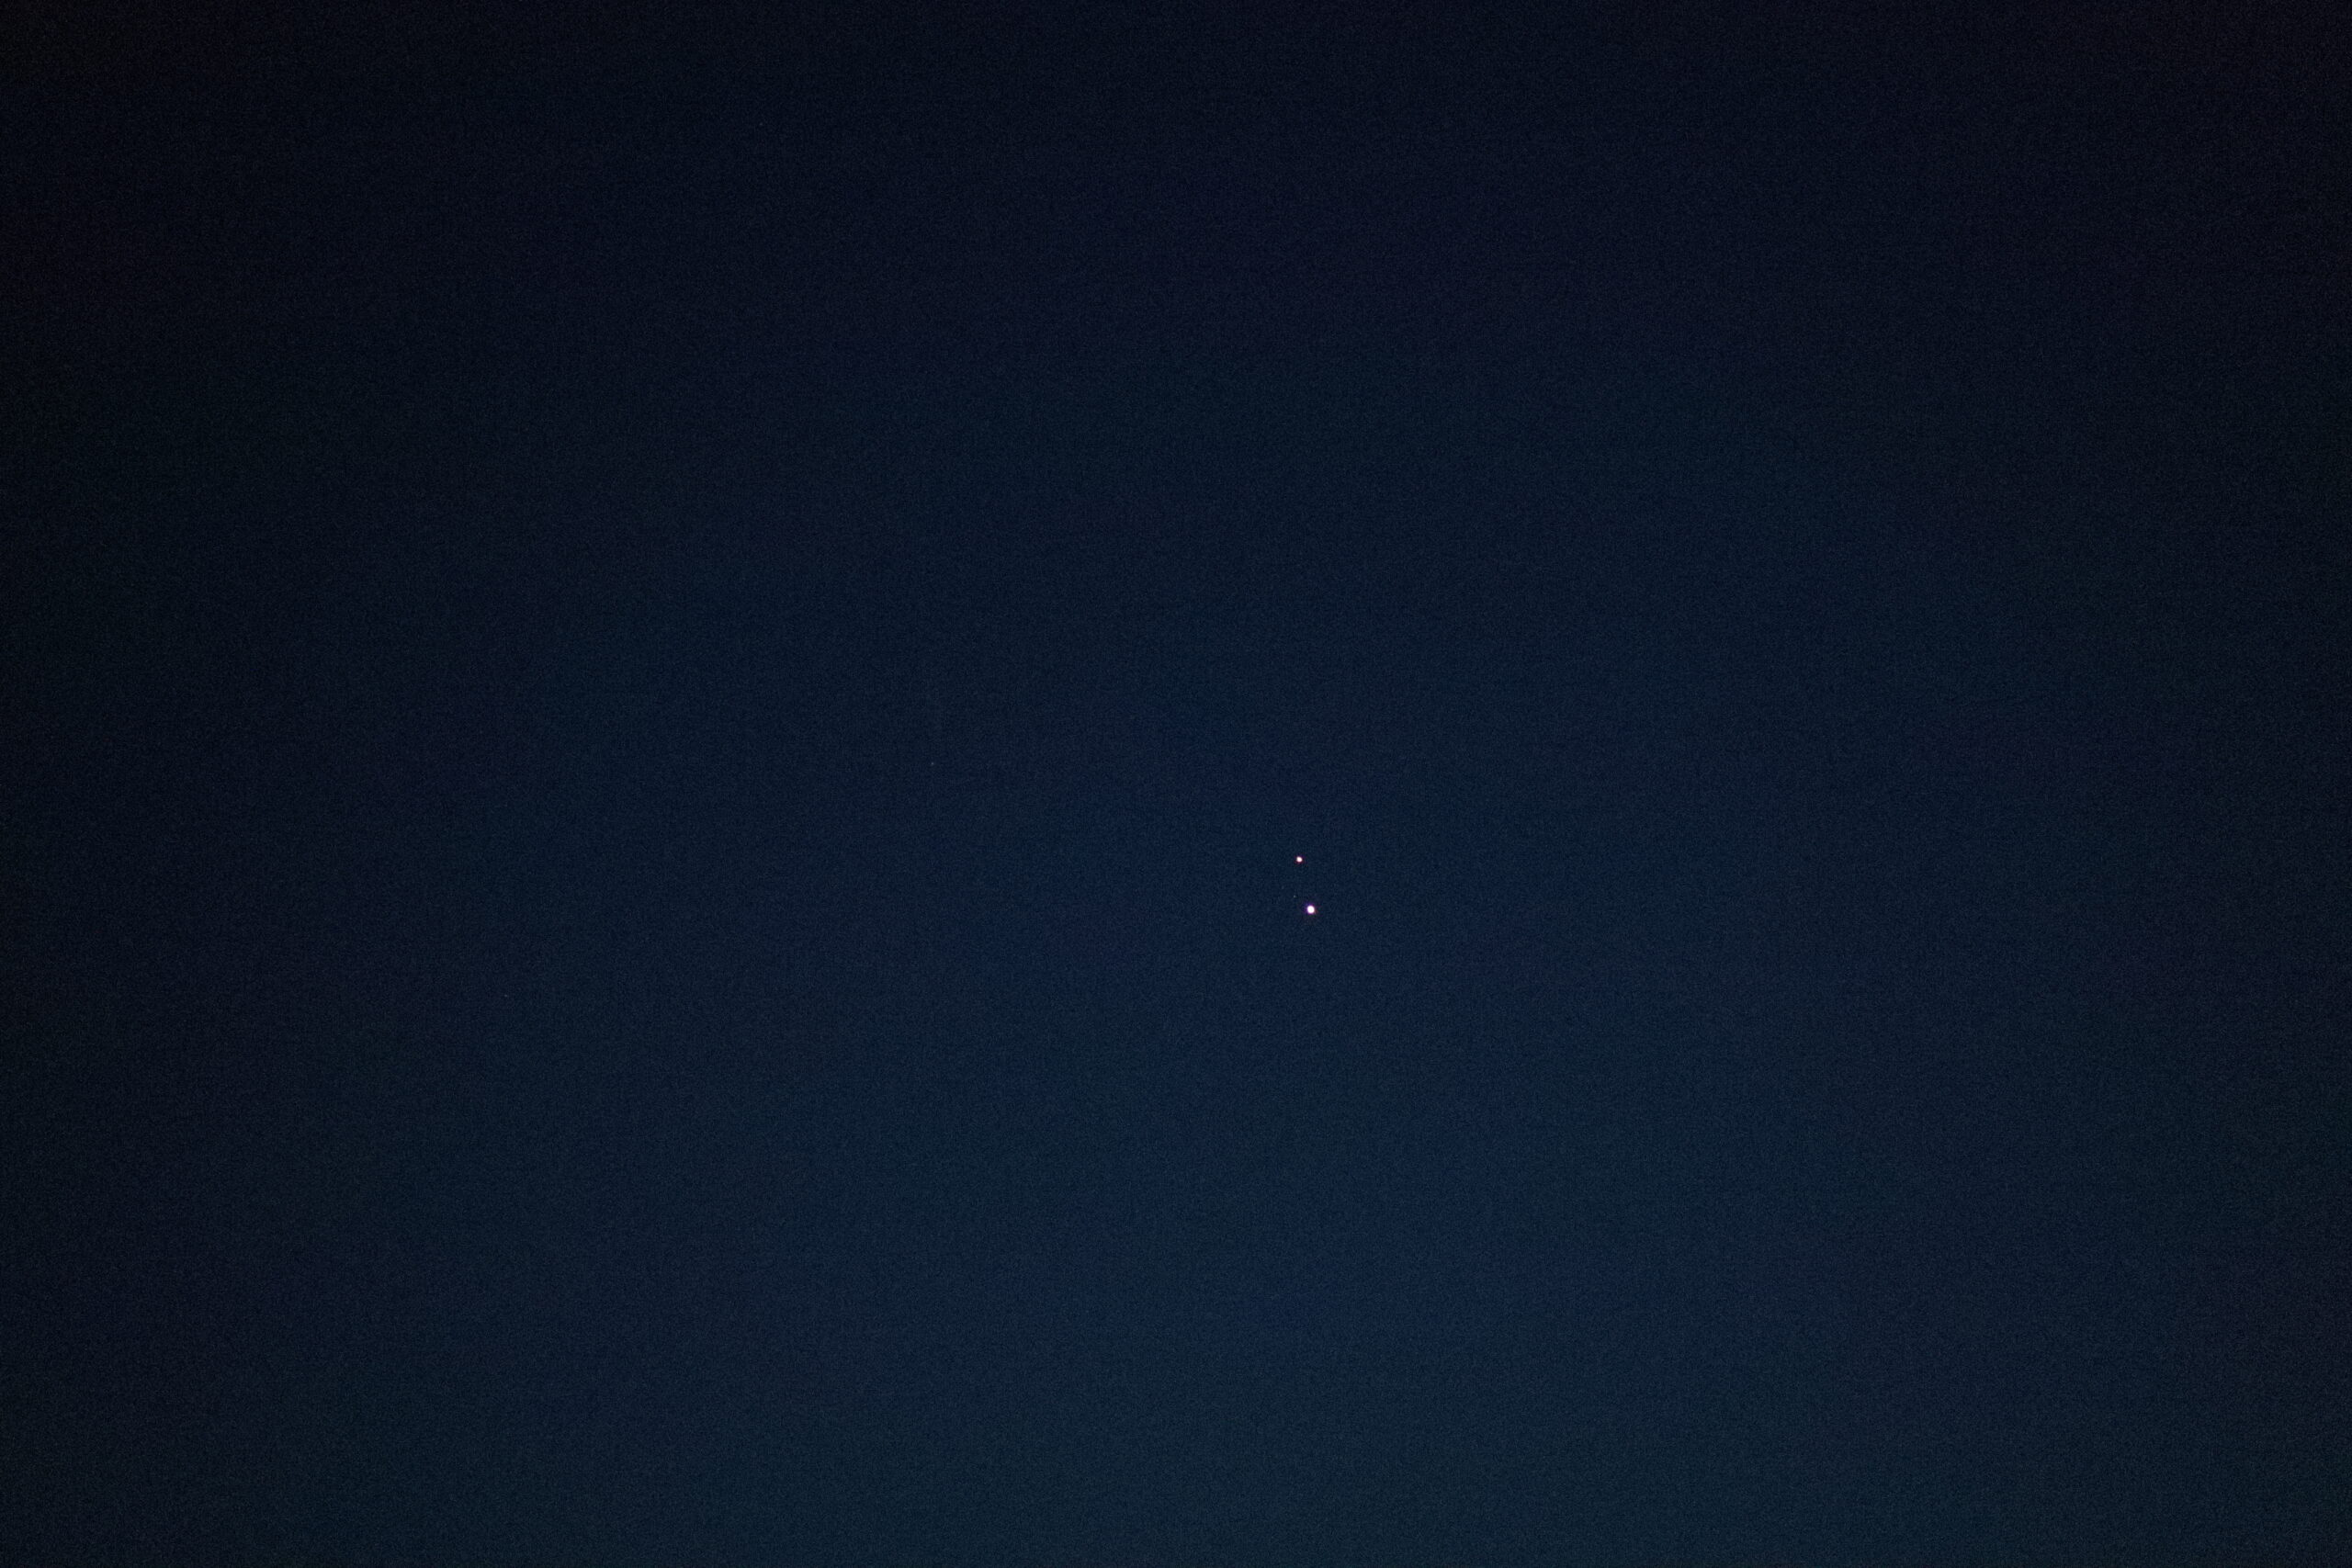
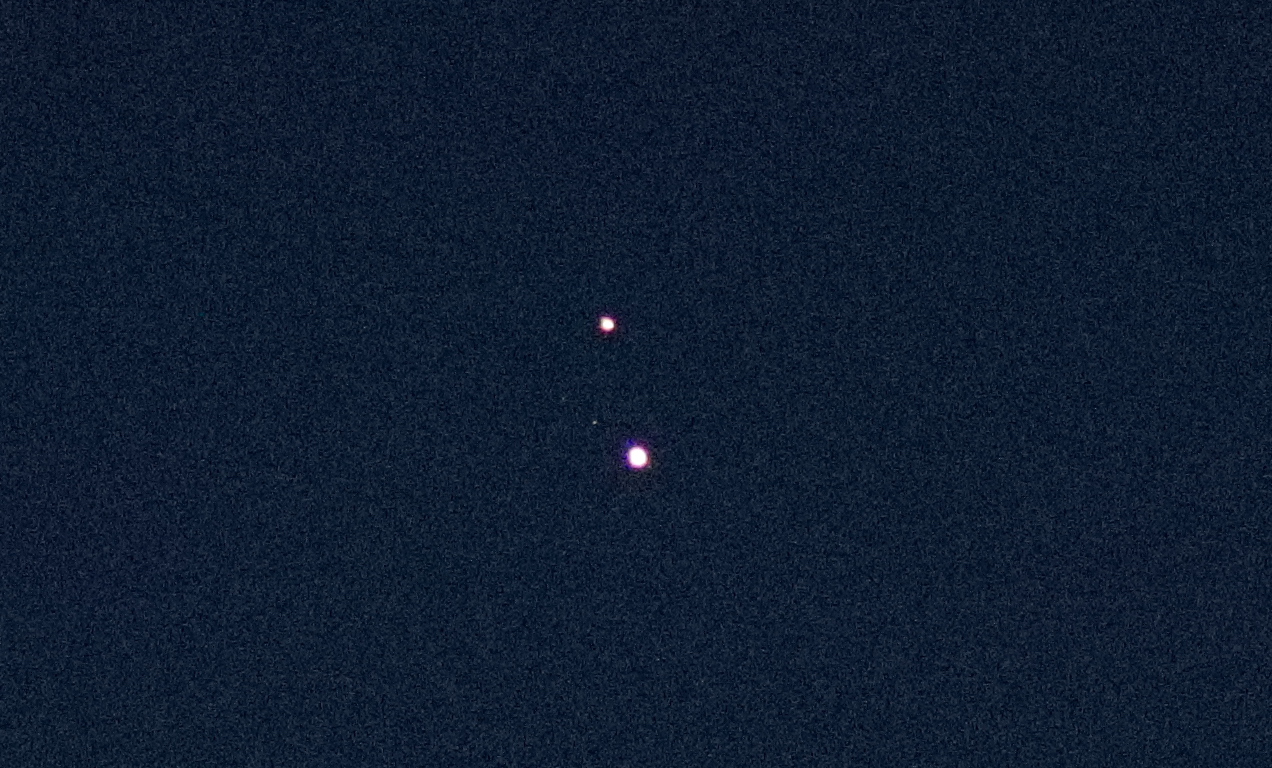
I then packed the setup away, but before heading off grabbed the Canon 6D with the 100-300mm lens and grabbed a few exposures. My first attempts were not good, having not used the camera for some time and forgetting how to set the correct exposure. After a while I grabbed a single good frame, over exposed to see the Galilean satellites.

Jupiter and Saturn near conjunction Canon 6D 100mm
Jupiter and Saturn near conjunction Canon 6D 300mm
Jupiter and Saturn near conjunction Canon 6D 300mm Cropped

I would attempt another go with the larger FoV Esprit 120 a few nights later.