
22nd December 2020
So with the site prepared I had one last check of the levels as the ground slopes away to the right thus meaning I needed to adjust the former for the central block. The dome segments can be seen resting in the background. I also used a large bag of stones to hold the former in place.
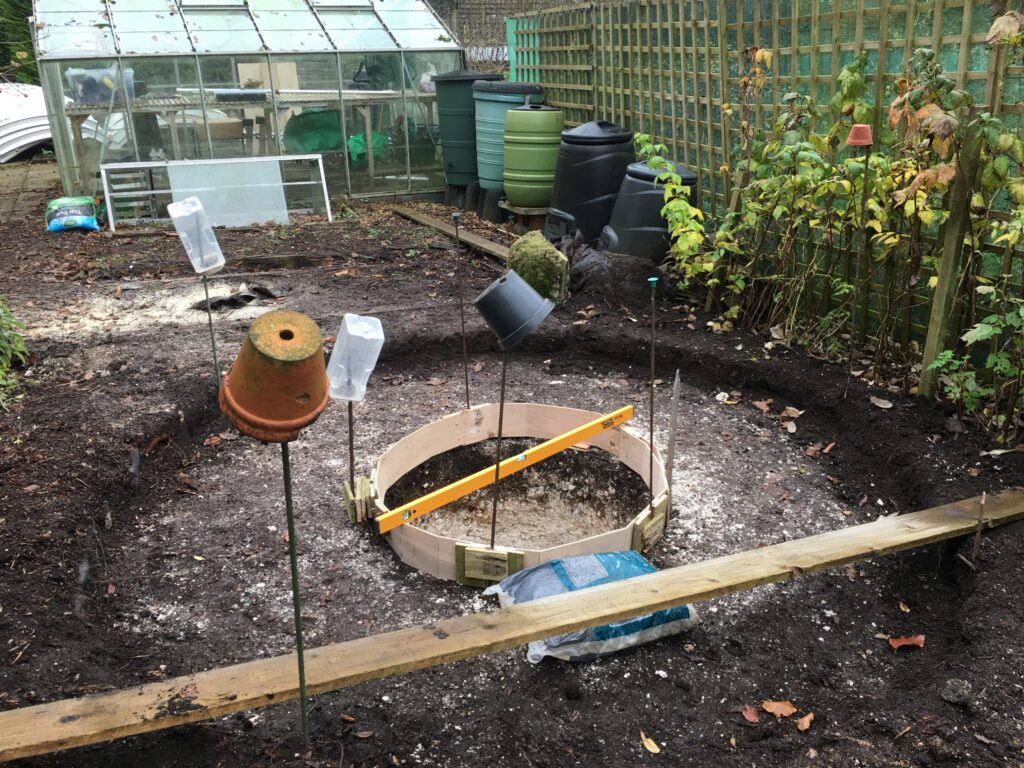
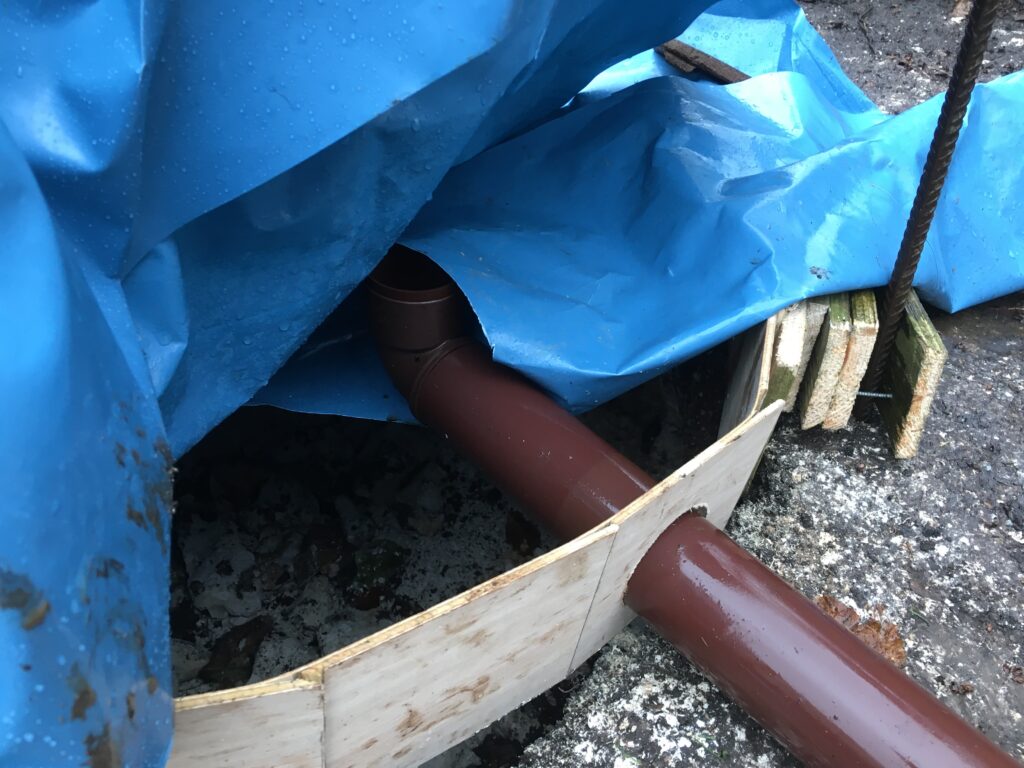
Next I cut a hole in the former for the pipework that will take the electric cable and ethernet from the house. I used some old downpipes and kitchen waste pipe I found lying around in the garden.
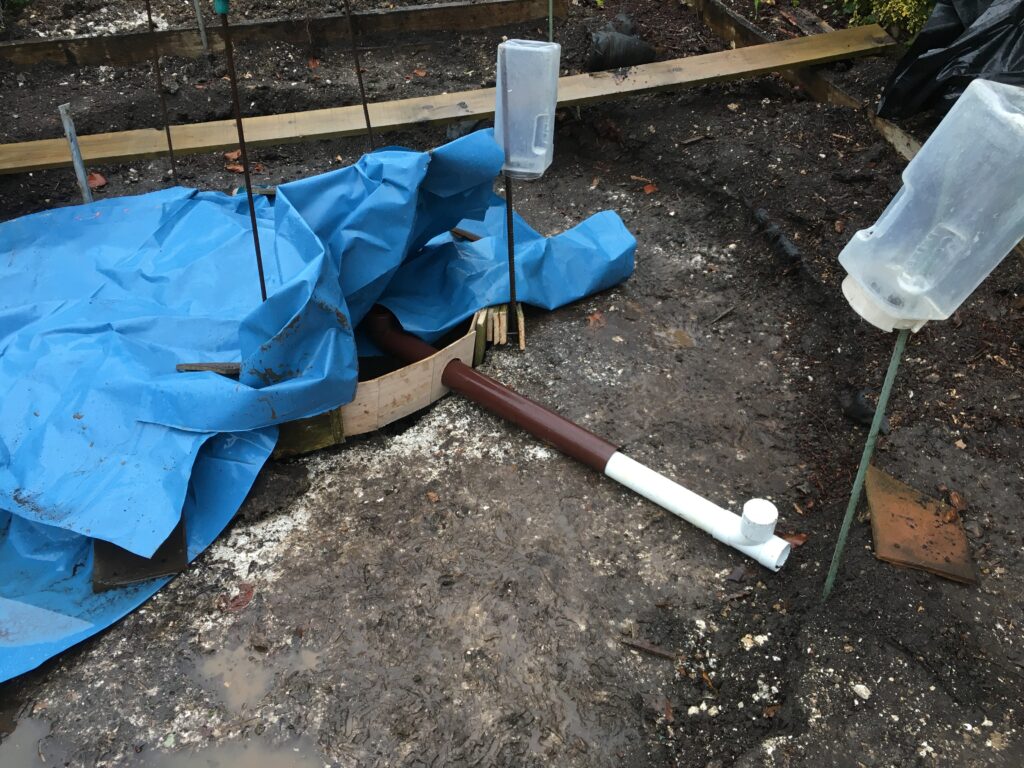
Here is a closer shot of the pipework that shows a 90 degree angle that all be flush with the finished floor.
Now I had to prepare a trench for the cable running from the observatory to one of the sheds across the garden. So GingerGeek and I set about digging 6″ down where the cables would lay, eventually to be covered by a slabbed path. The digging took hours, hitting rubble including glass in the ground and offending chunks of flint.
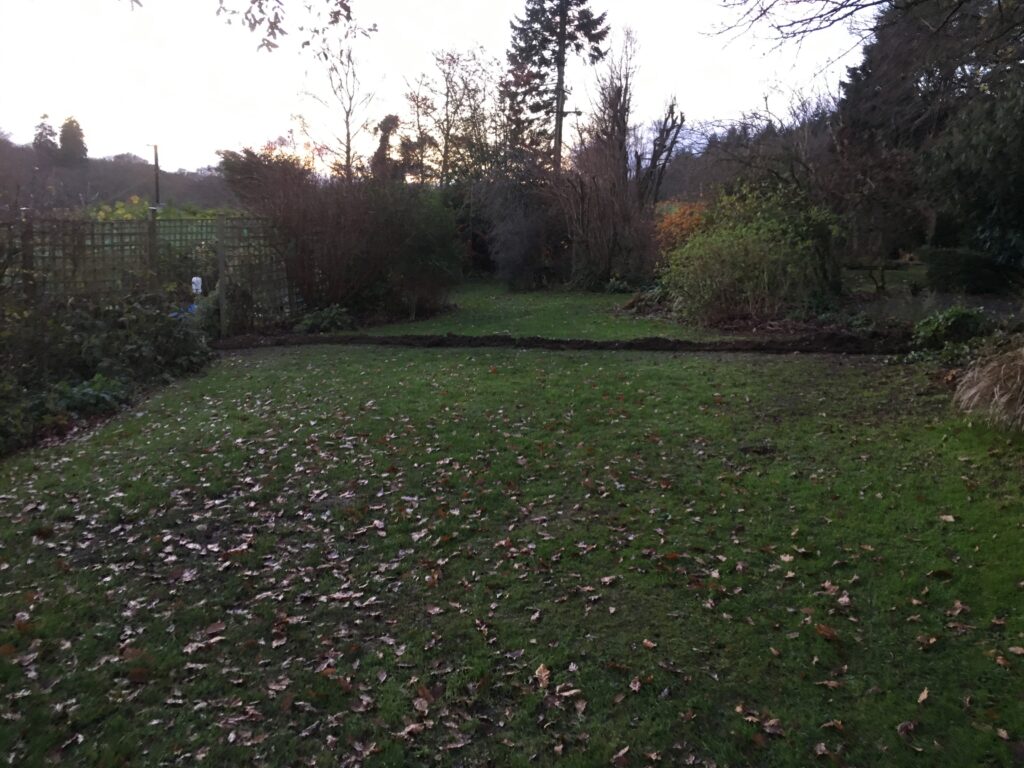
Down to the left as the ground slopes away and towards the observatory location, we dug the trench round the corner. The cable would have to run under large rotes and as we found out a large sleeper buried in the ground across the opening to the vegetable patch.
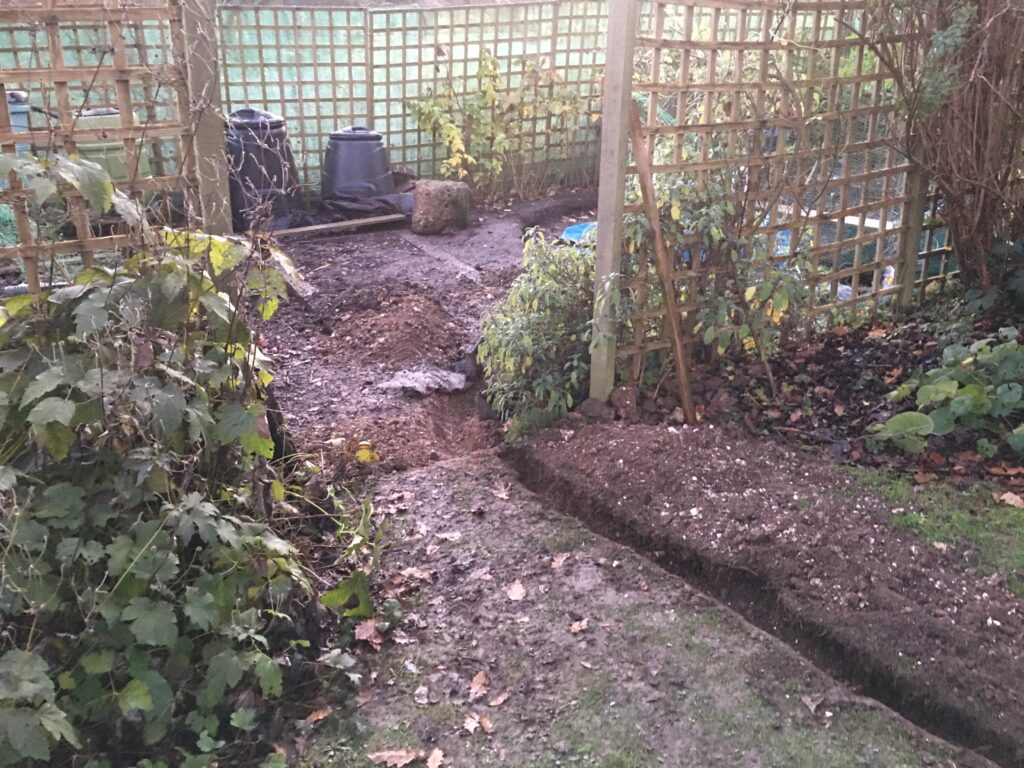
Turning around standing with your back to the vegetable patch where the observatory will be sited, you can see the trench running off towards some outbuildings/sheds and a planted area that I would have to tackle next as GingerGeek had to go do some chores at home.
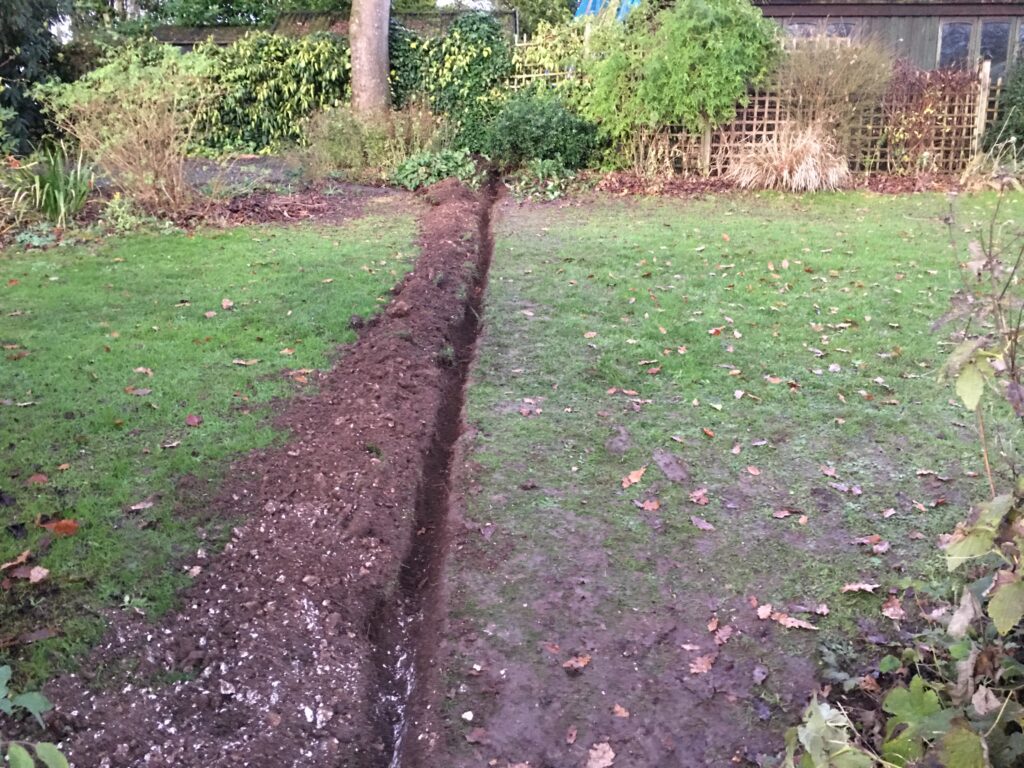
So it took almost as much time digging this section out as it did getting across the expanse of lawn. Routes from the Sycamore (left) and countless plants made this hard work. I then managed to get to the trellis separating the planting from the 3 sheds on this side of the garden, which I would need to go under.
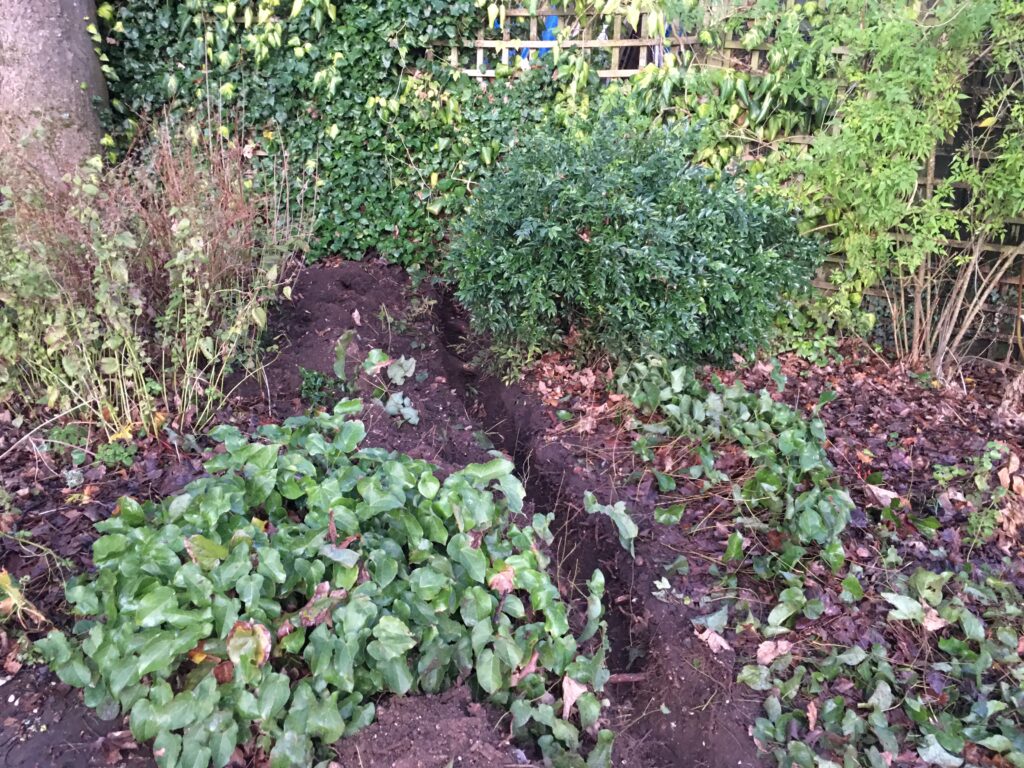
Around the other side of the trellis it was very cosy to work in the tight space, old wood still awaiting collection by the previous owner meant digging was difficult, also the land raises up quite a bit this side so I had to dig the trench deeper. The hole I managed to create is shown by the red arrow. Again lots of building rubble had to be removed and I landed up on my hands and knees in the trench digging with a trowel.

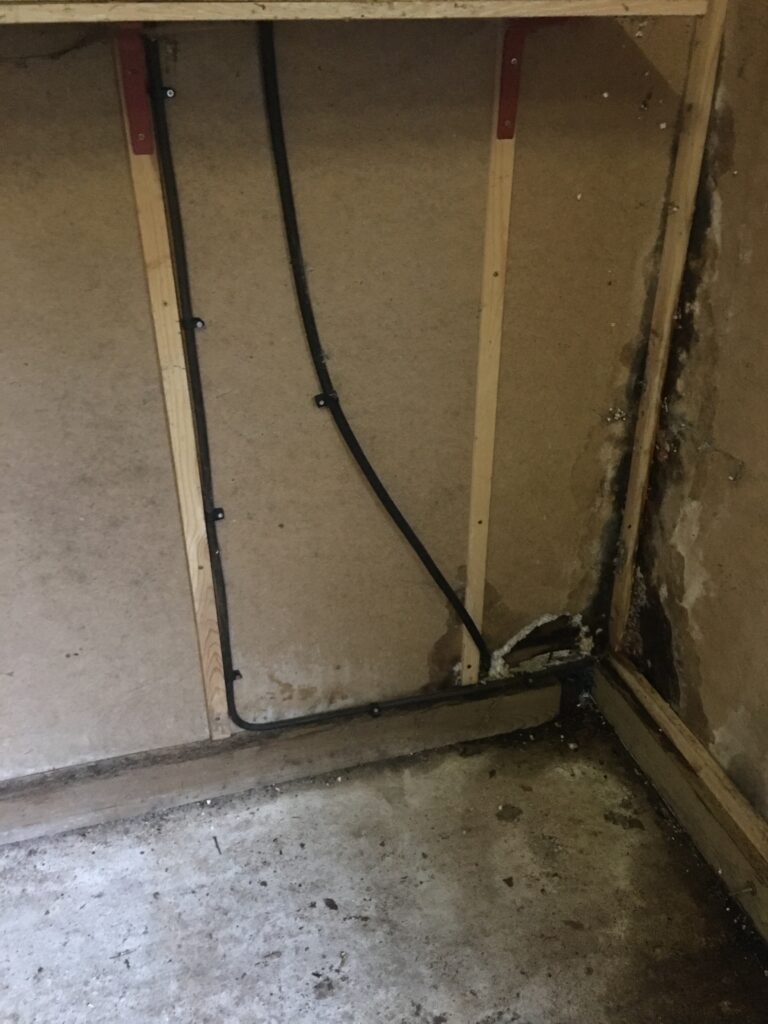
So I had made it to the shed. Now it was dark and I had to wait another month before Steve the electrician would be able to fit me in. When he arrived and the armoured cable was laid and fed under all the roots, he made the connection in the existing fusebox in the shed.
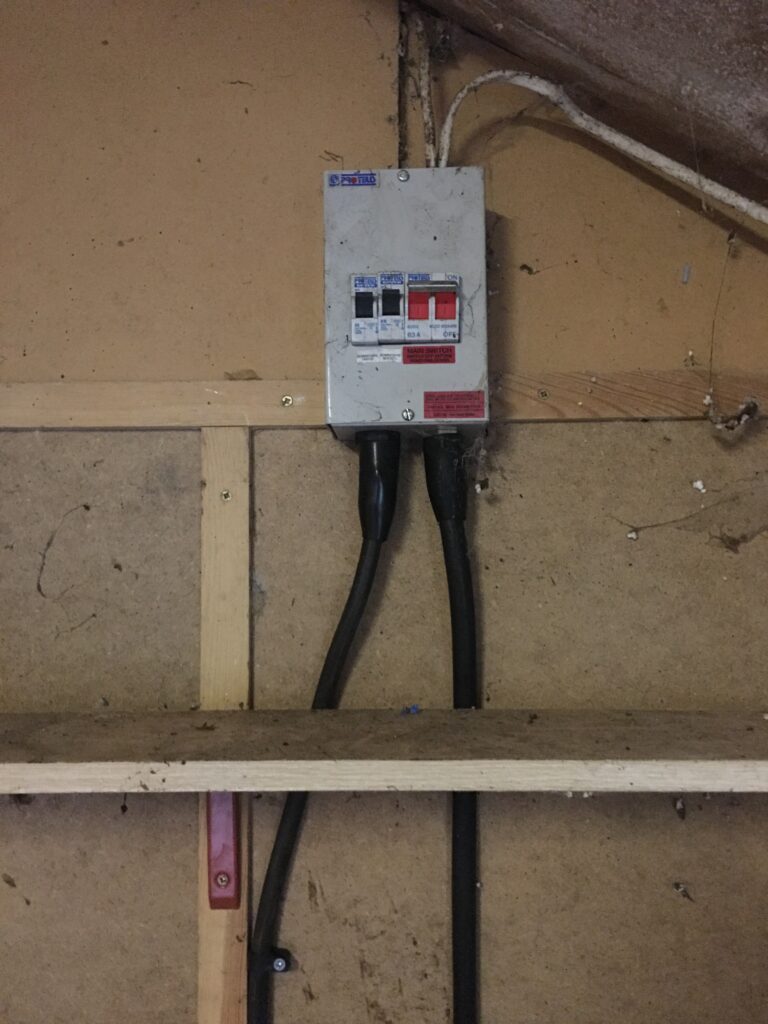
Then it ran down the wall and out through a hole that was serving the existing power feed from the workshop. The woodshed is in a dire state and needs replacing, but will serve as a hub for equipment until such time I get around to it.
Next I will share where the power and ethernet cable runs and how I installed.