Viewing Report 29th/30th June 2019 – IMT3 Observatory & Travel Scope

Viewing time period – 22:01 – 03:18

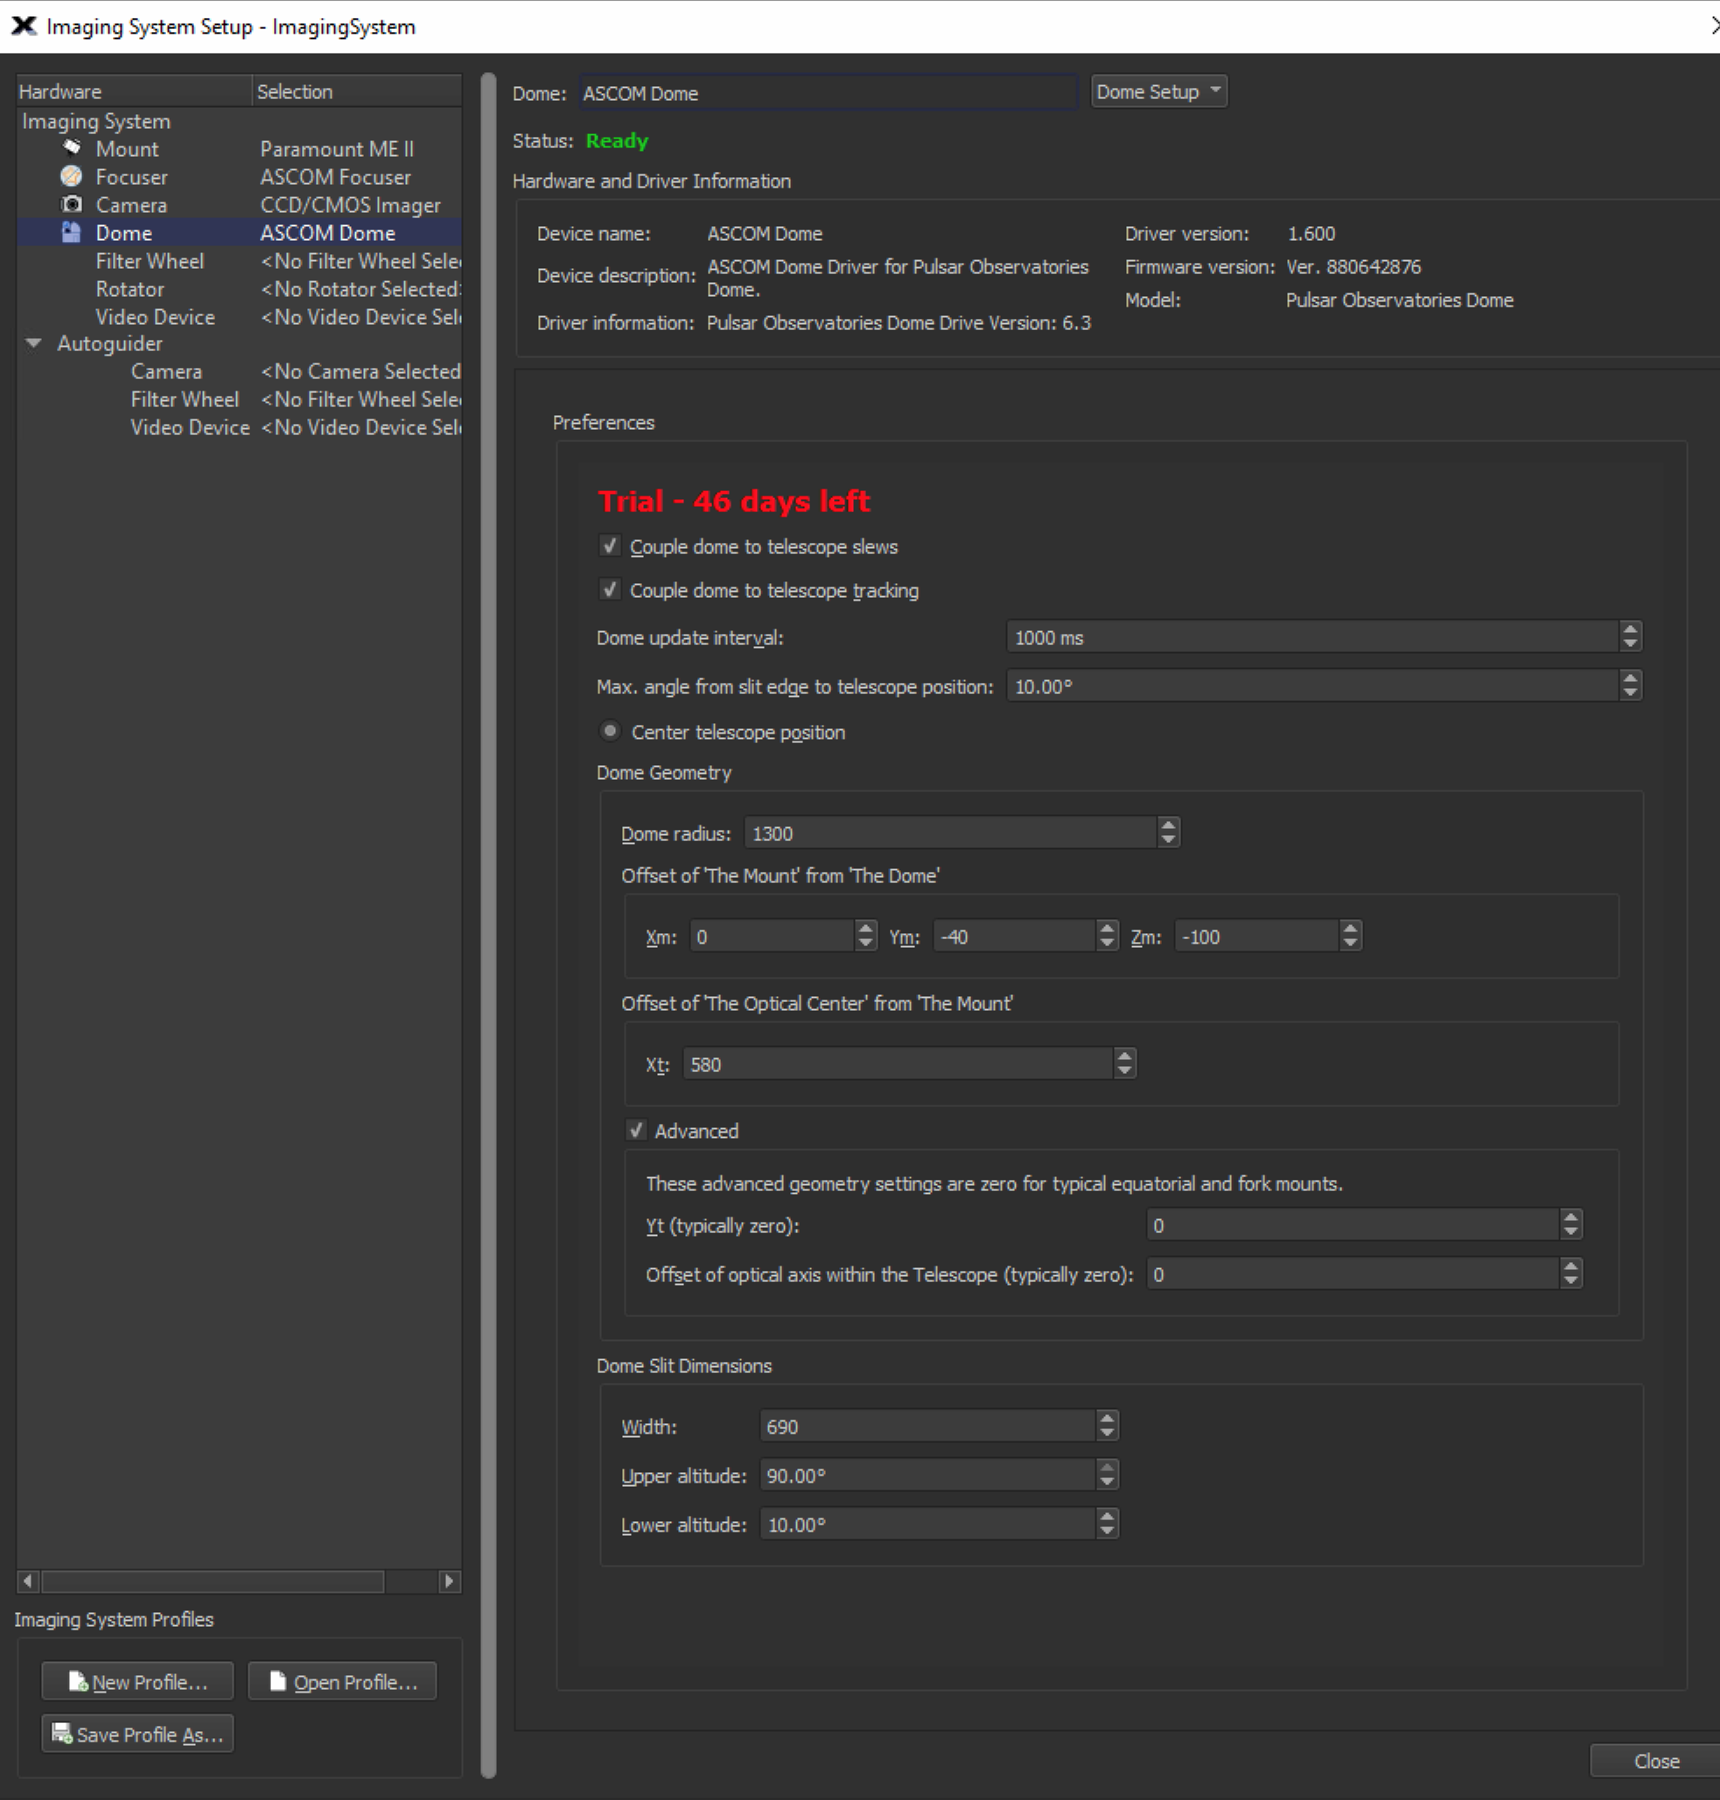
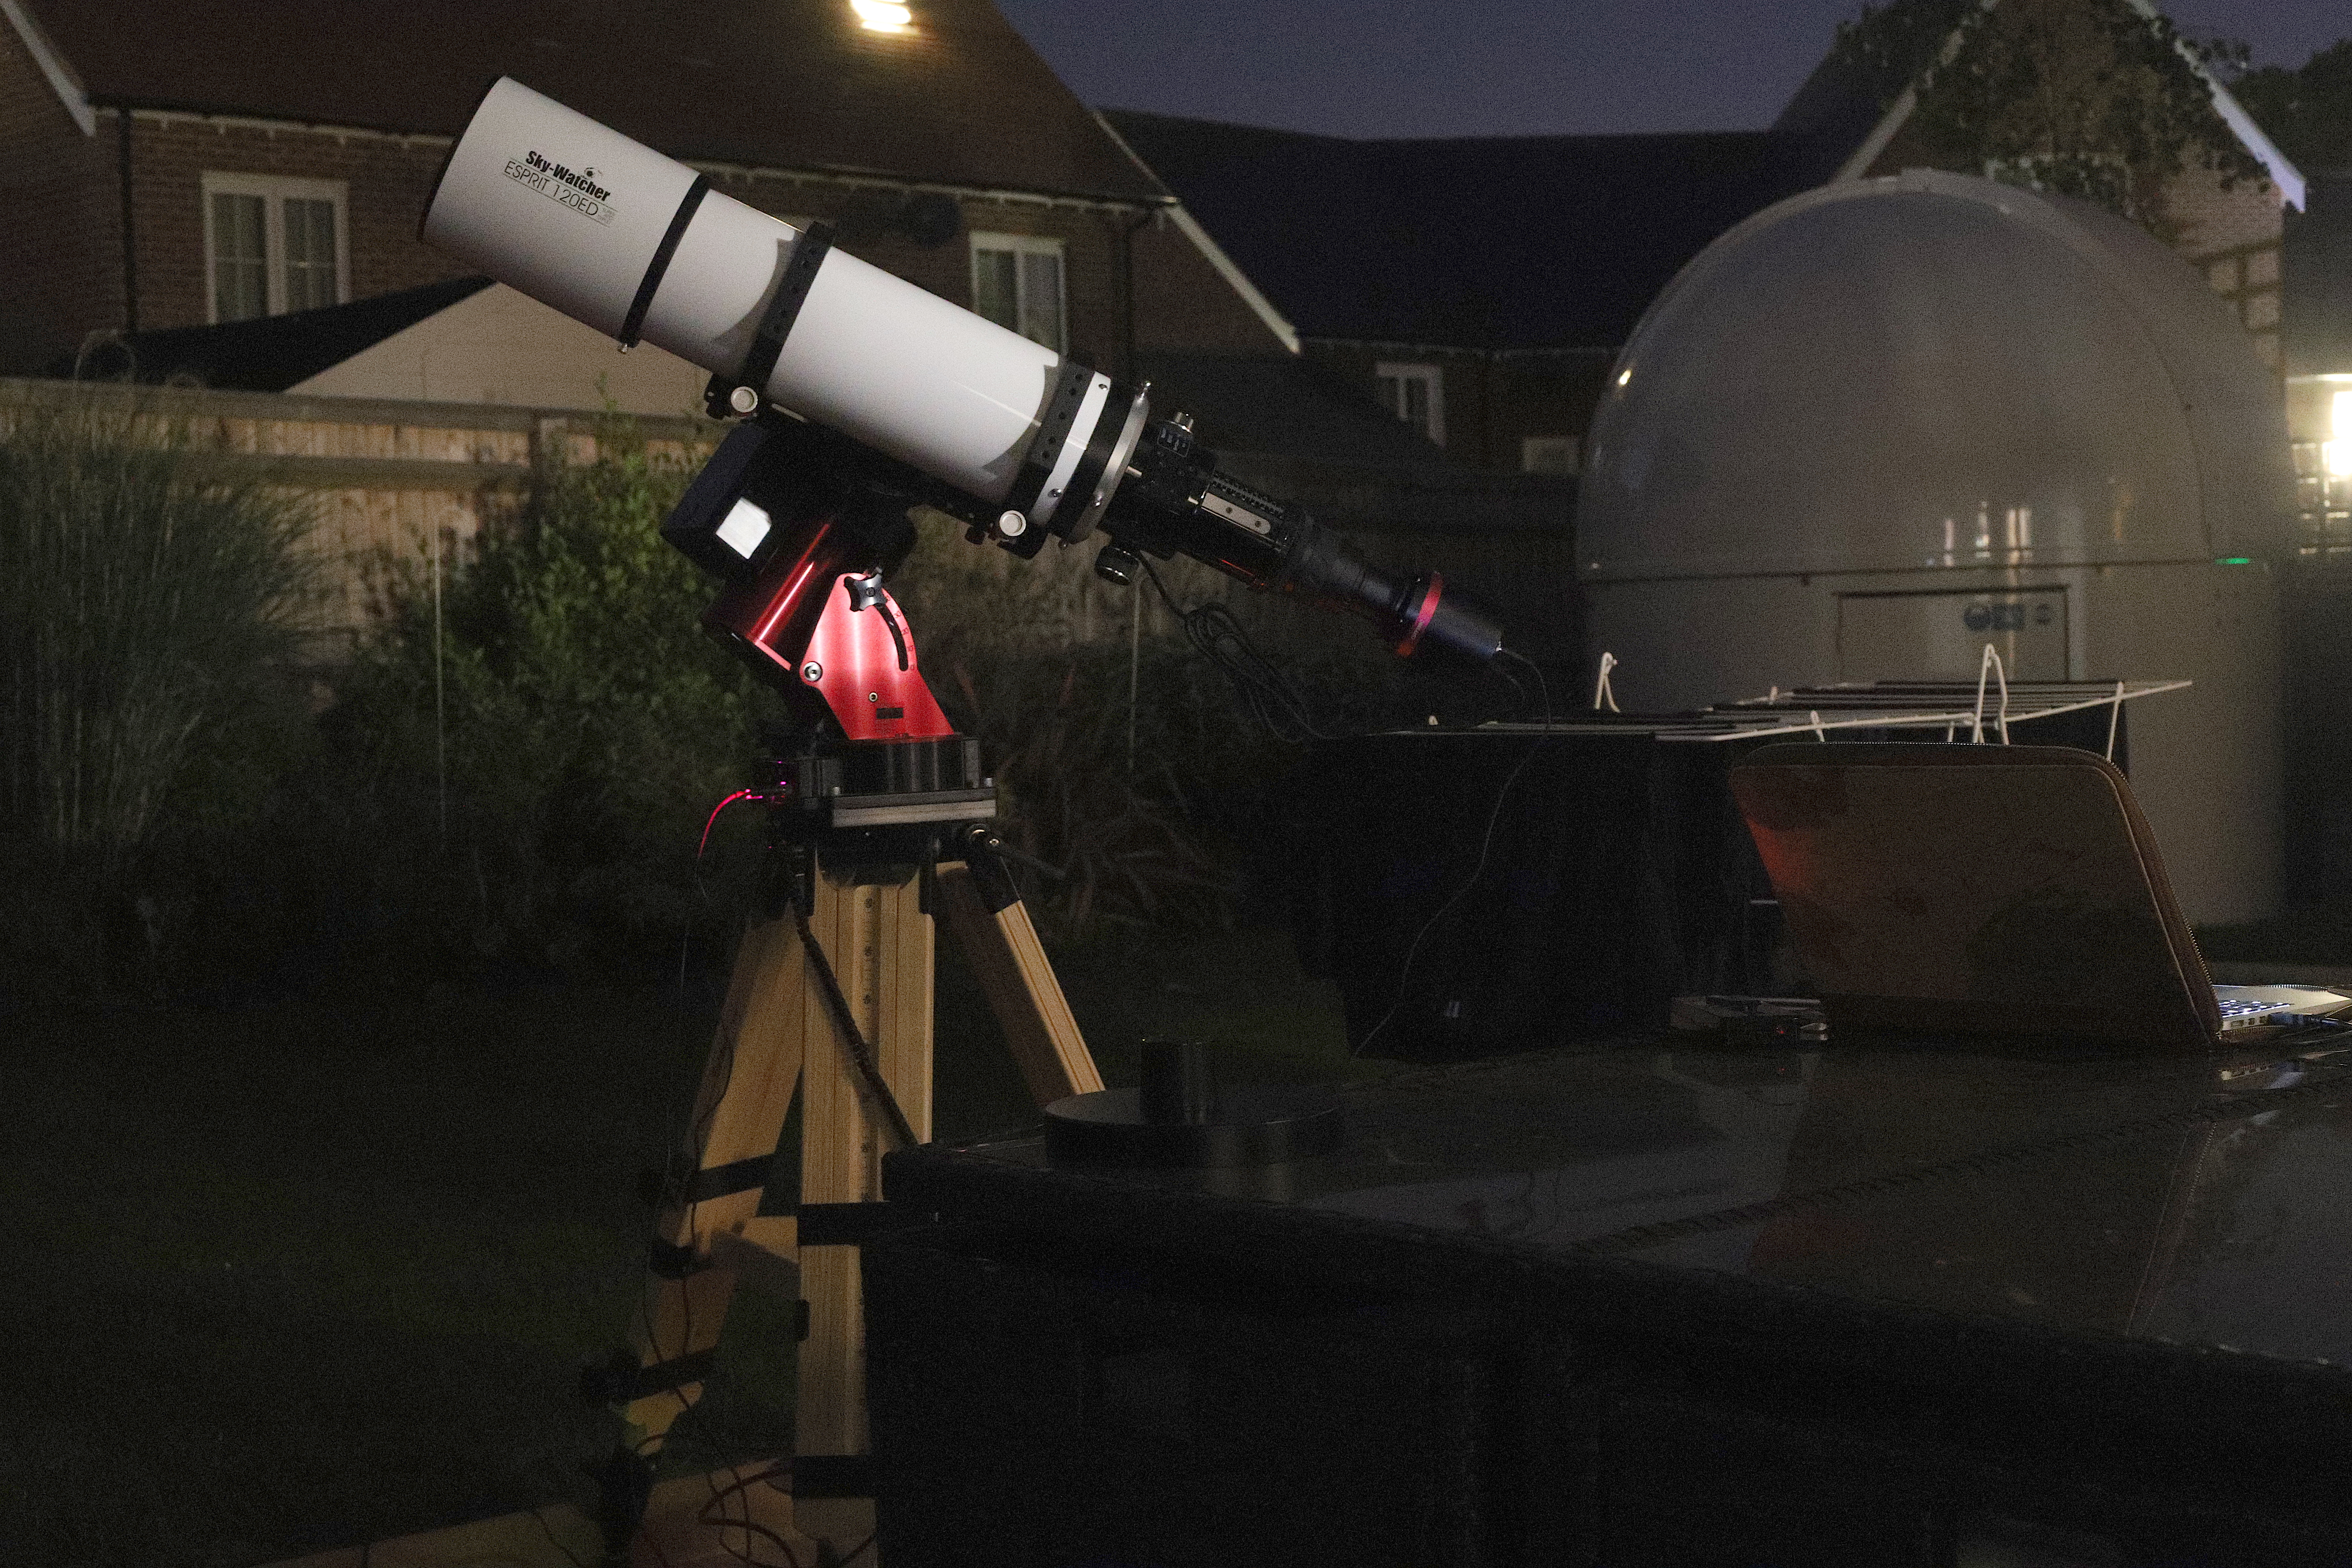
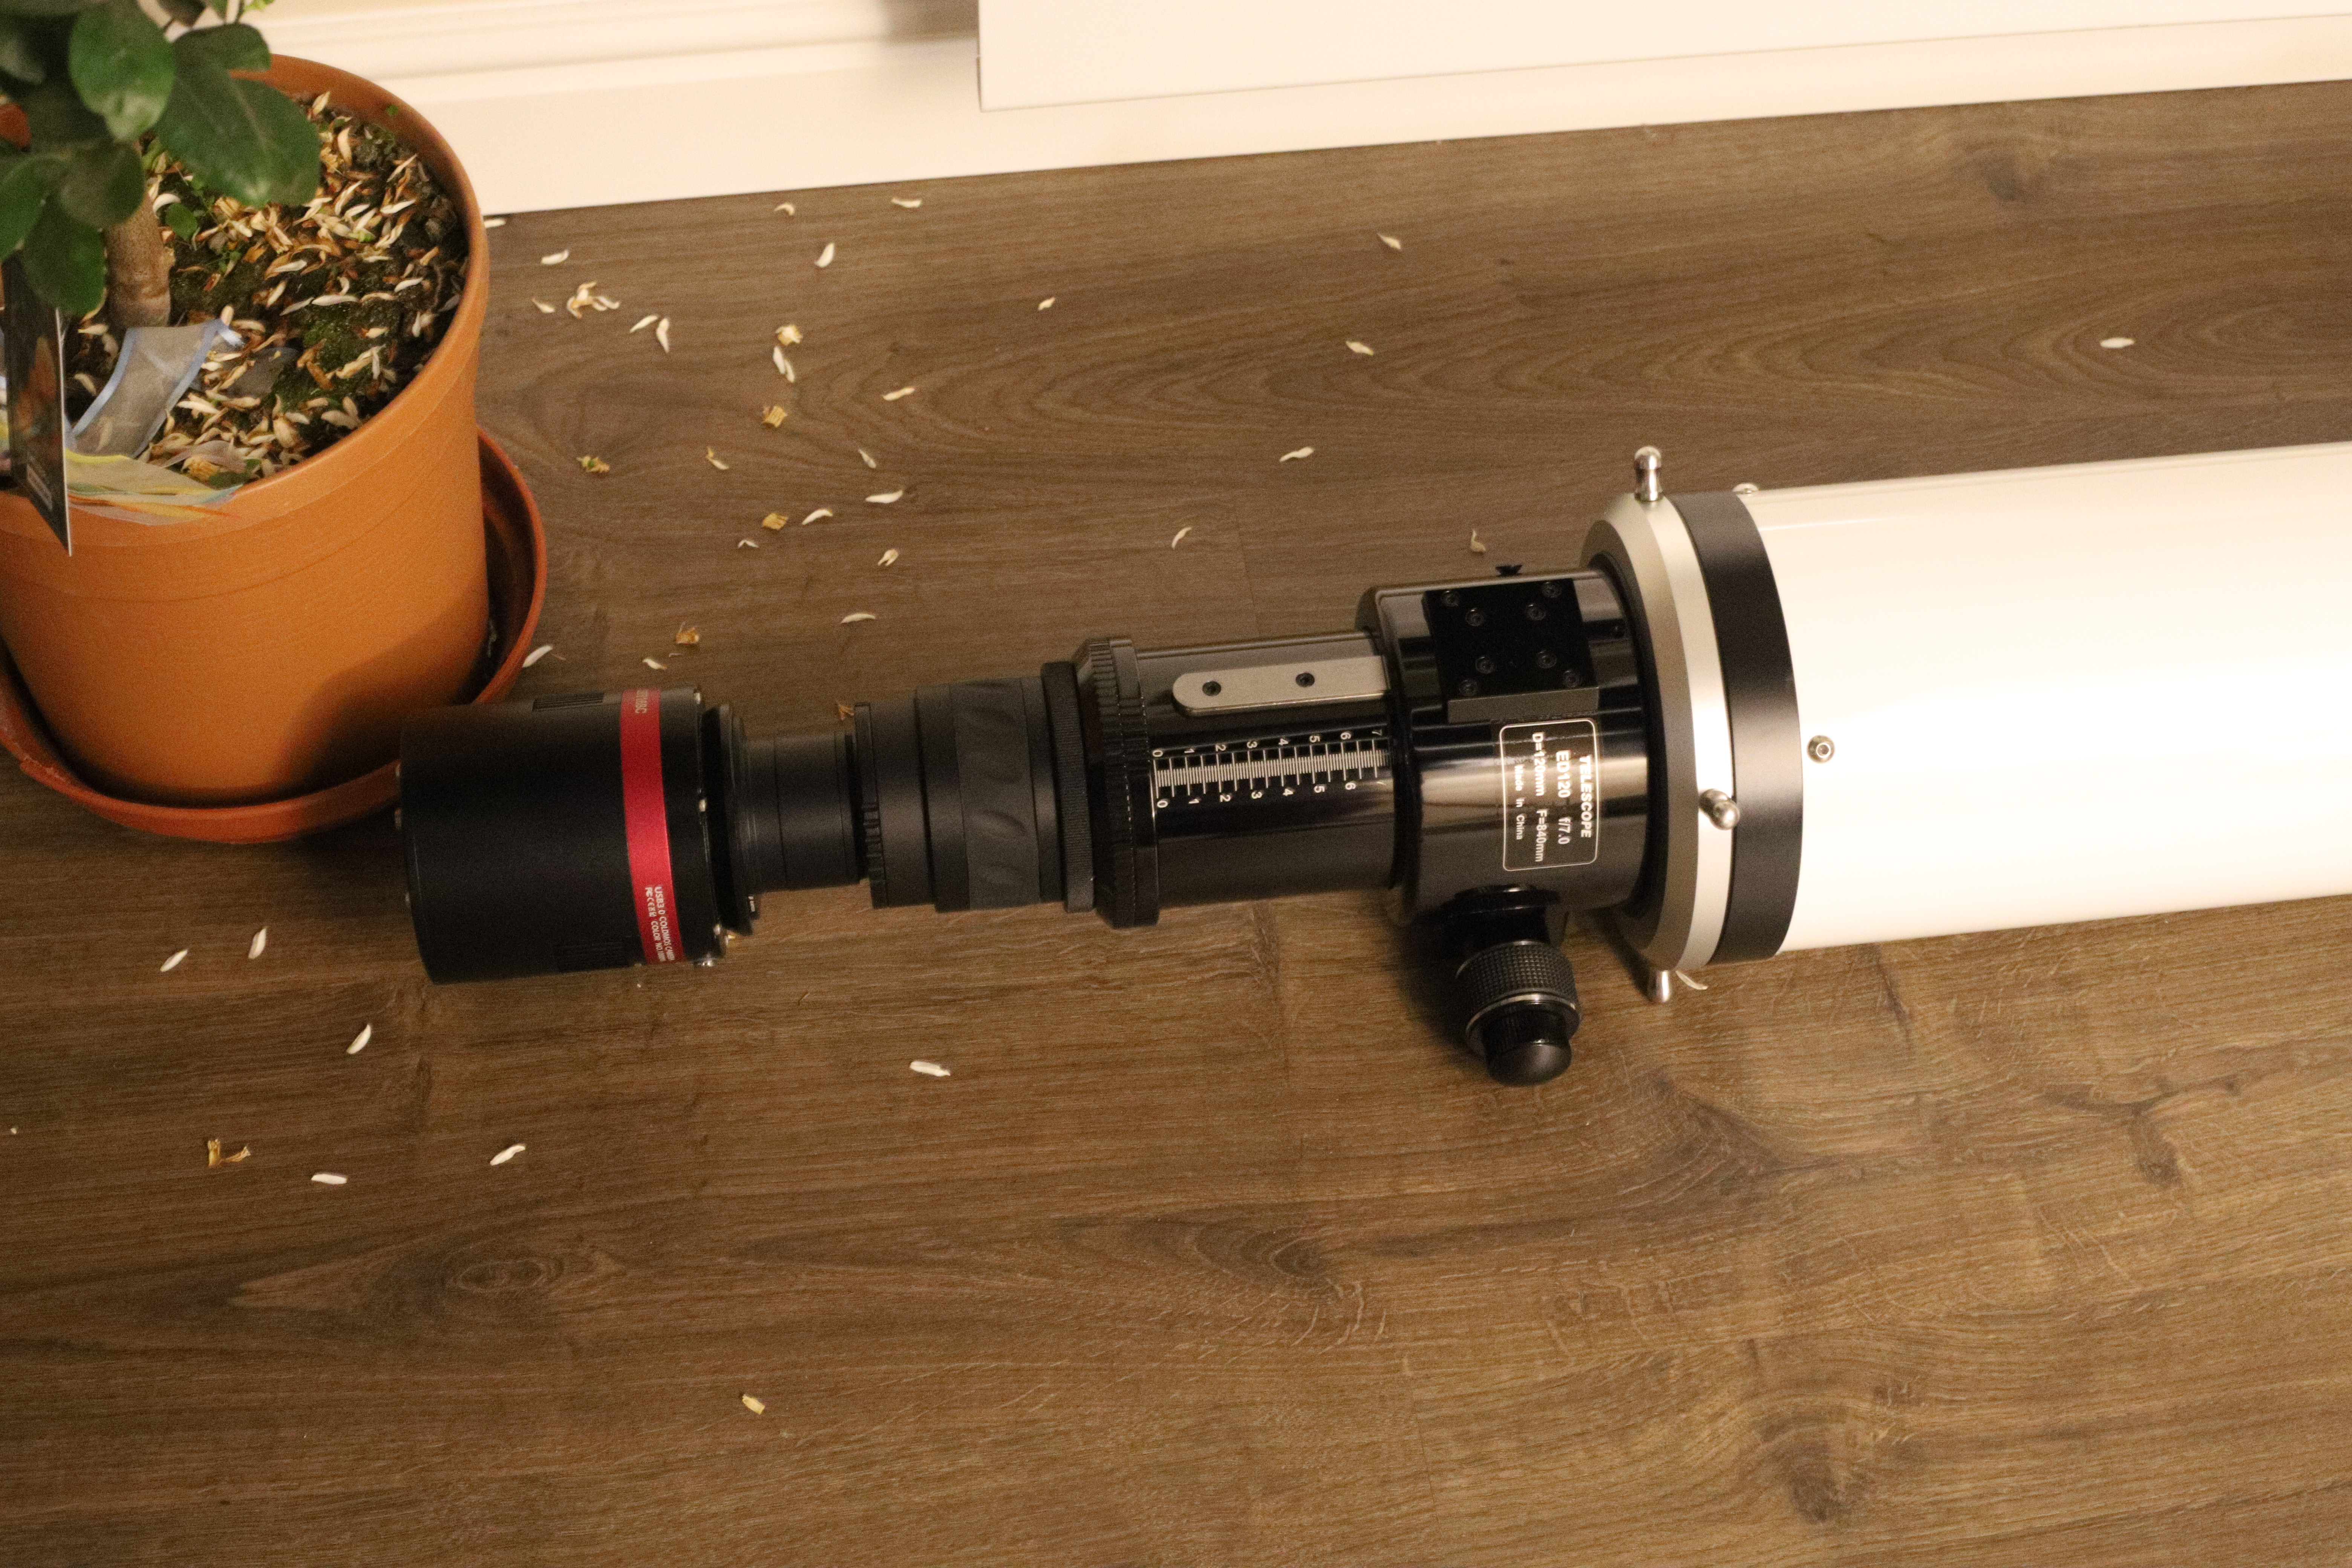
Tonight Bob will be learning how to control the observatory and using the Tak FS102 to trying imaging. Meanwhile I will be setting up my new Paramount MyT on its Berlebach tripod and with a new Sky-Watcher Esprit 120 mounted on top. The business end has my new QHY168C, yes I purchased a 2nd one, they are that good.

Travel setup and IMT3 dome

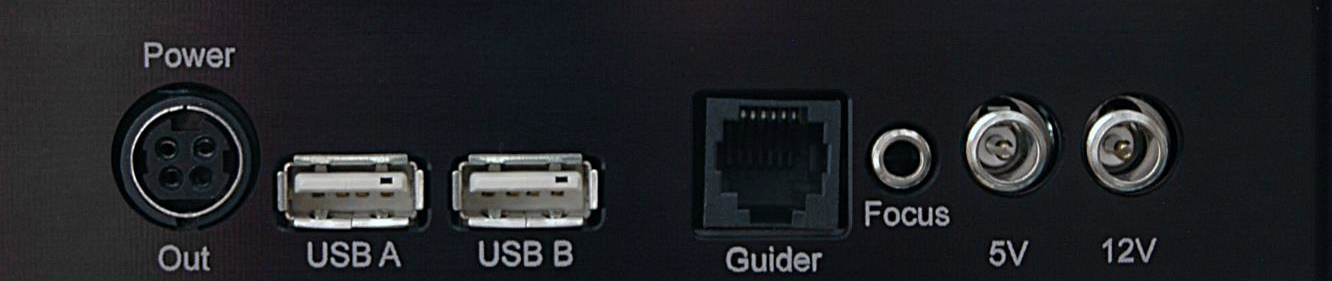
Whilst Bob played, I setup the travel kit on the new patio. I realised I could connect the camera through the USB on the MyT to one cable that won’t get snagged. I will however need to connect a power for the camera as that is currently trailing. There is a power connector on the back of the mount but I believe it is only rated to 1amp. There is however another power out which is rated at 7.5 amps so I will buy a Tycoon KPPX-4P 4 pin couple of connectors and makeup a cable so I can plug into that directly.

Connectors on the MyT mount

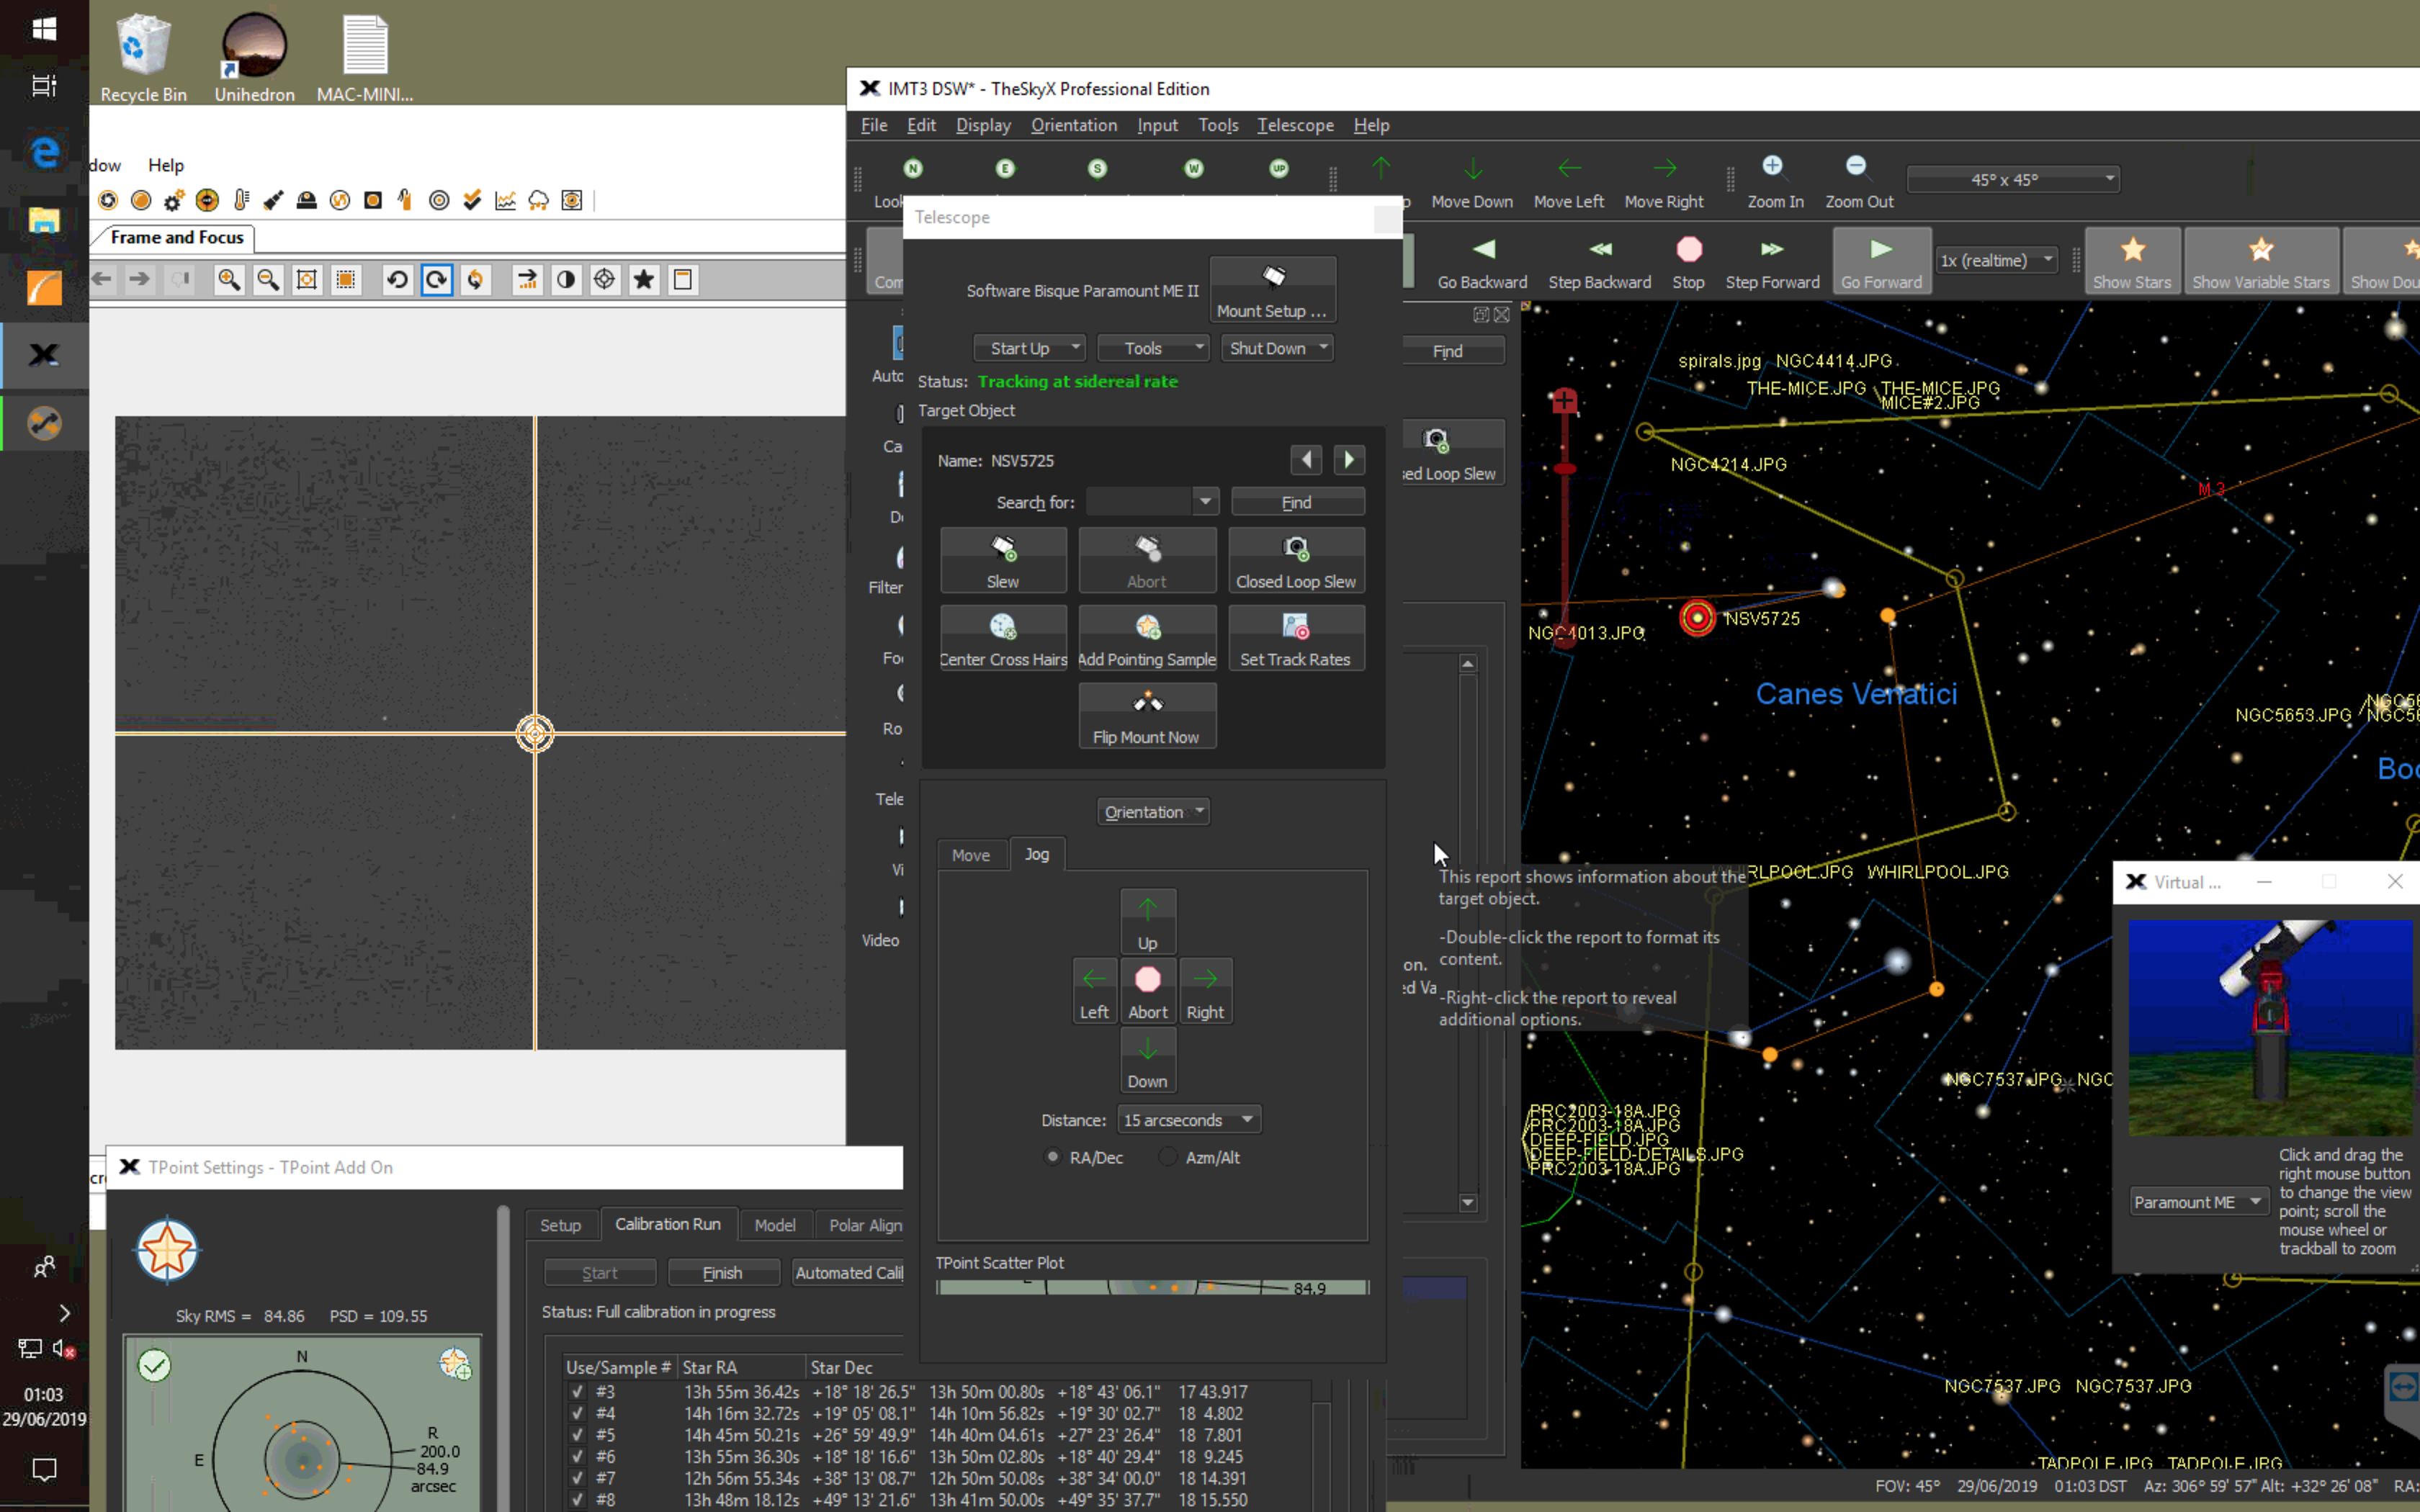
So I connected to TheSkyX with the mount and slewed to Arcturus. I could not connect the QHY camera to TheSkyX as I seem to be missing a driver. I will take a further look tomorrow to see if there is one. Instead I used the EzCap software they provide and connected the camera to that.

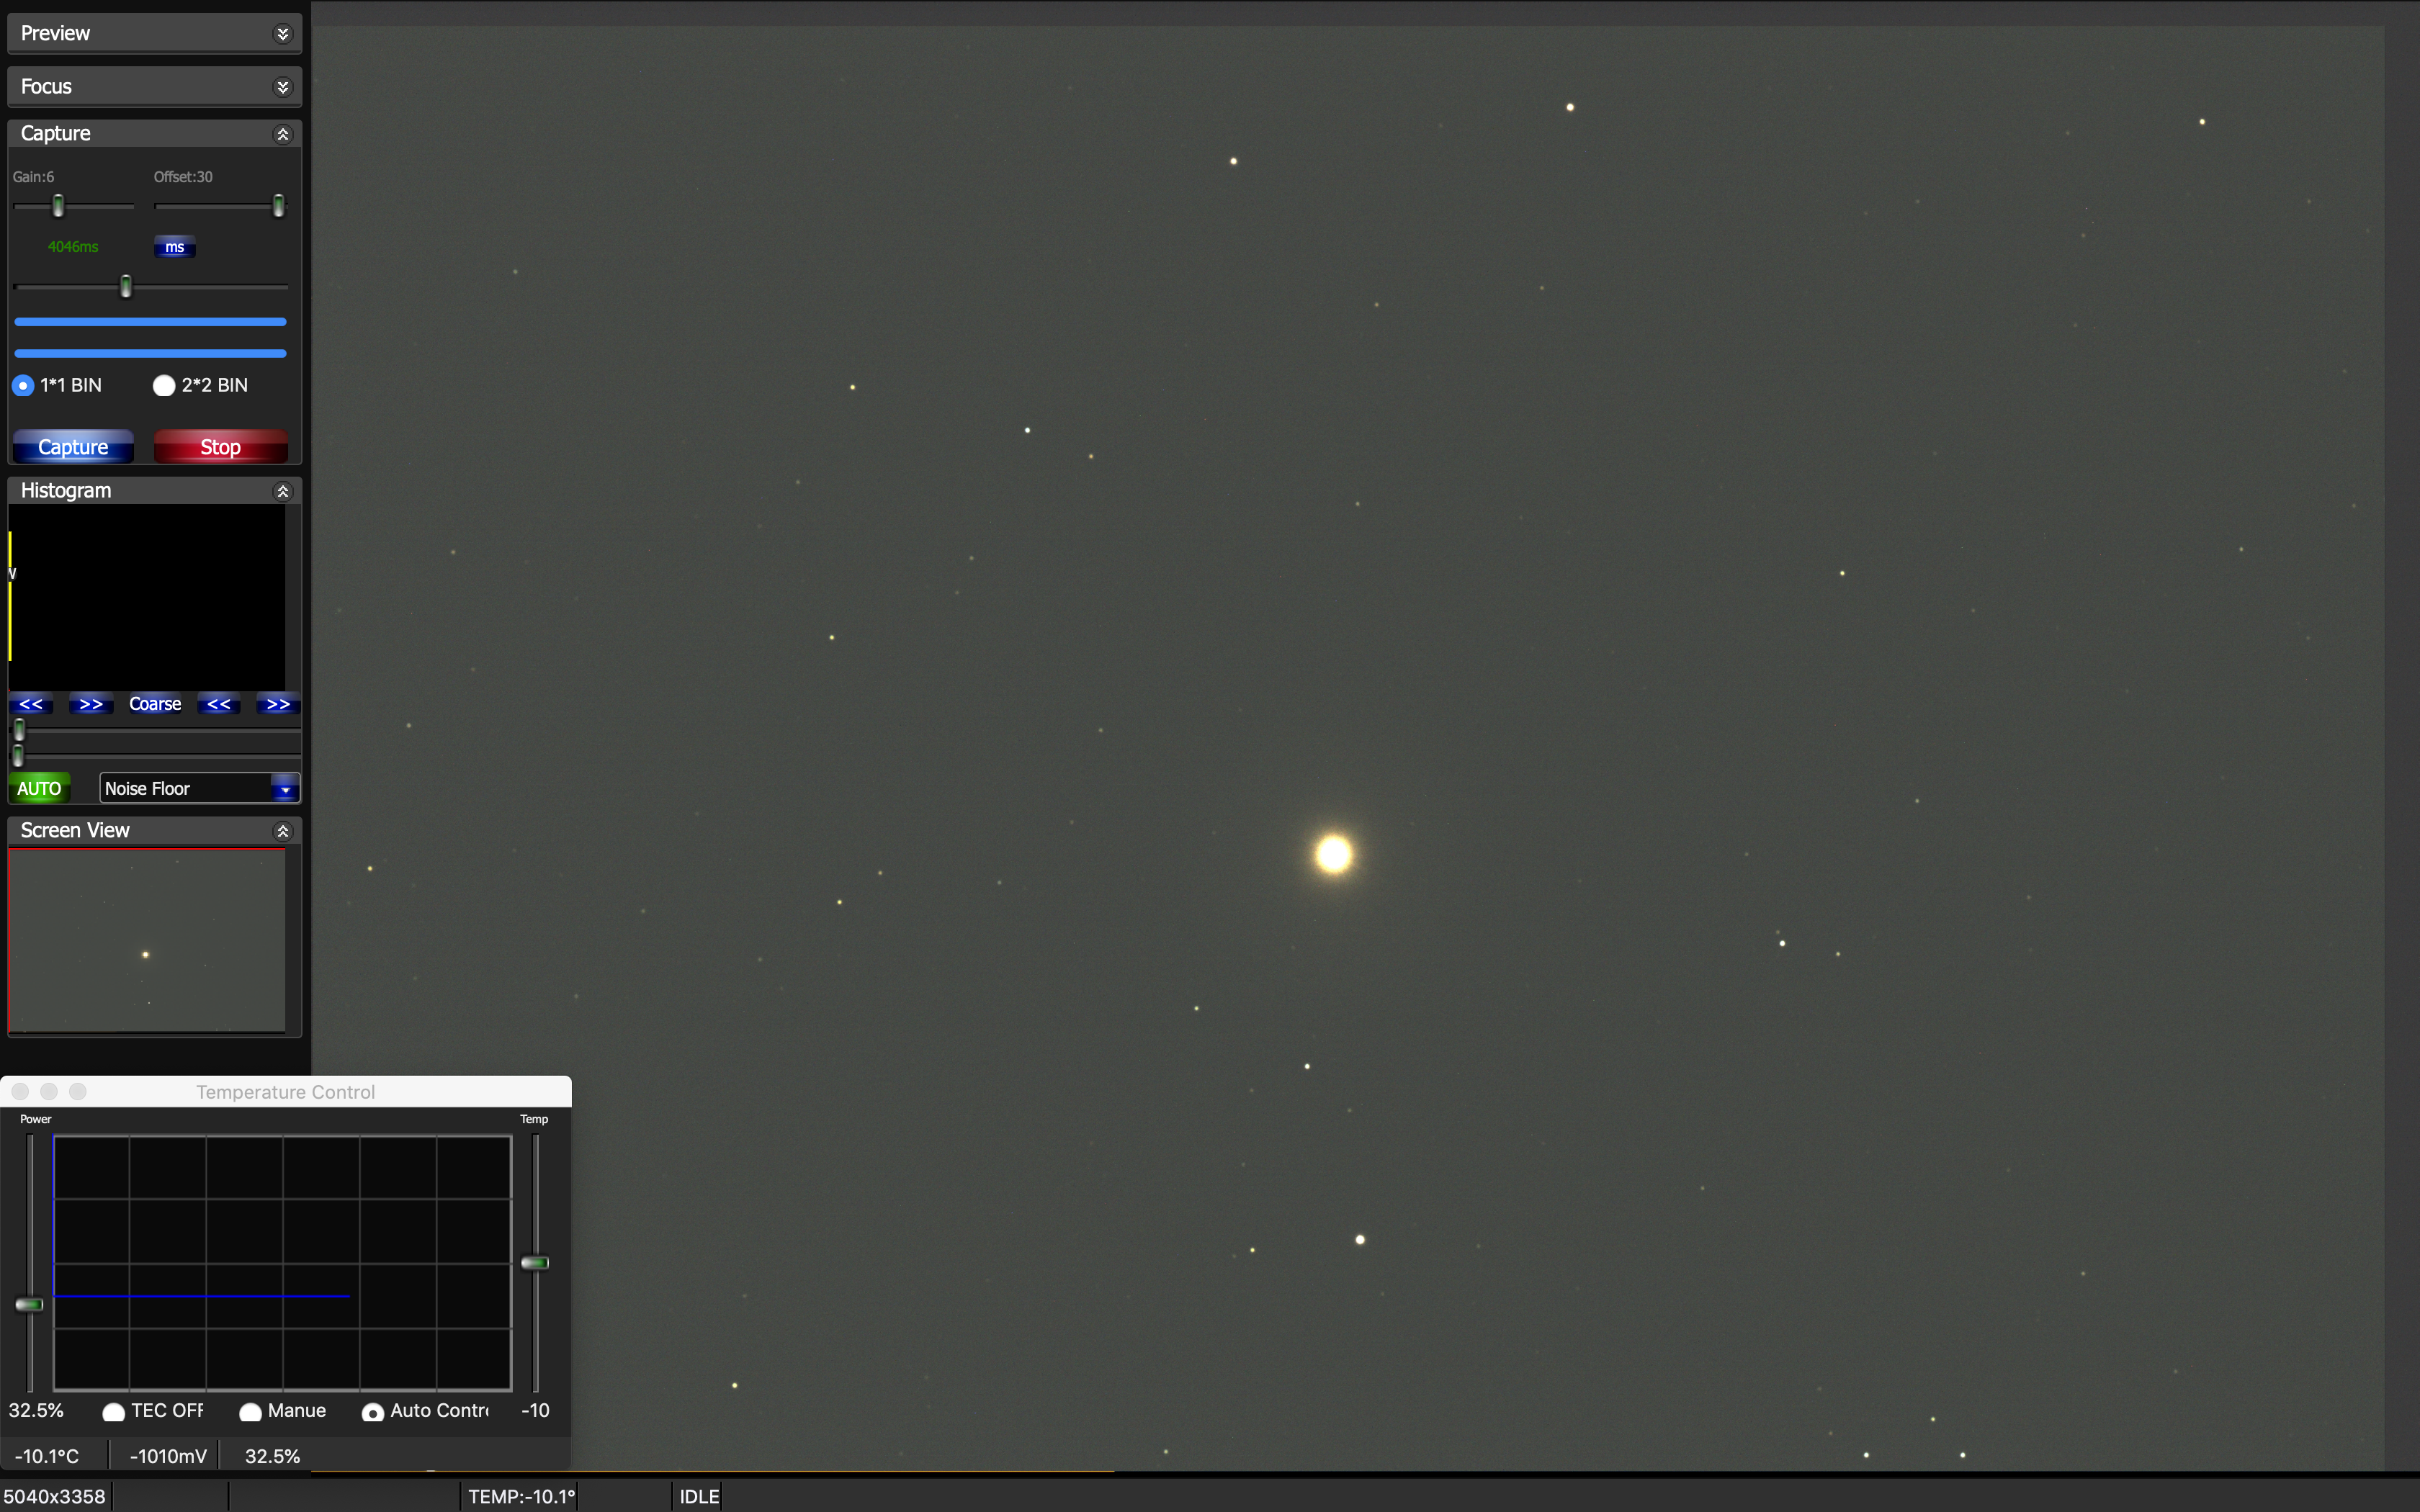
I focused manually as I have not motor focus to keep things simple, and soon had stars in view. I then did a manual spiral search until I found Arcturus and then synced on it. I could then slew around the sky with ease.

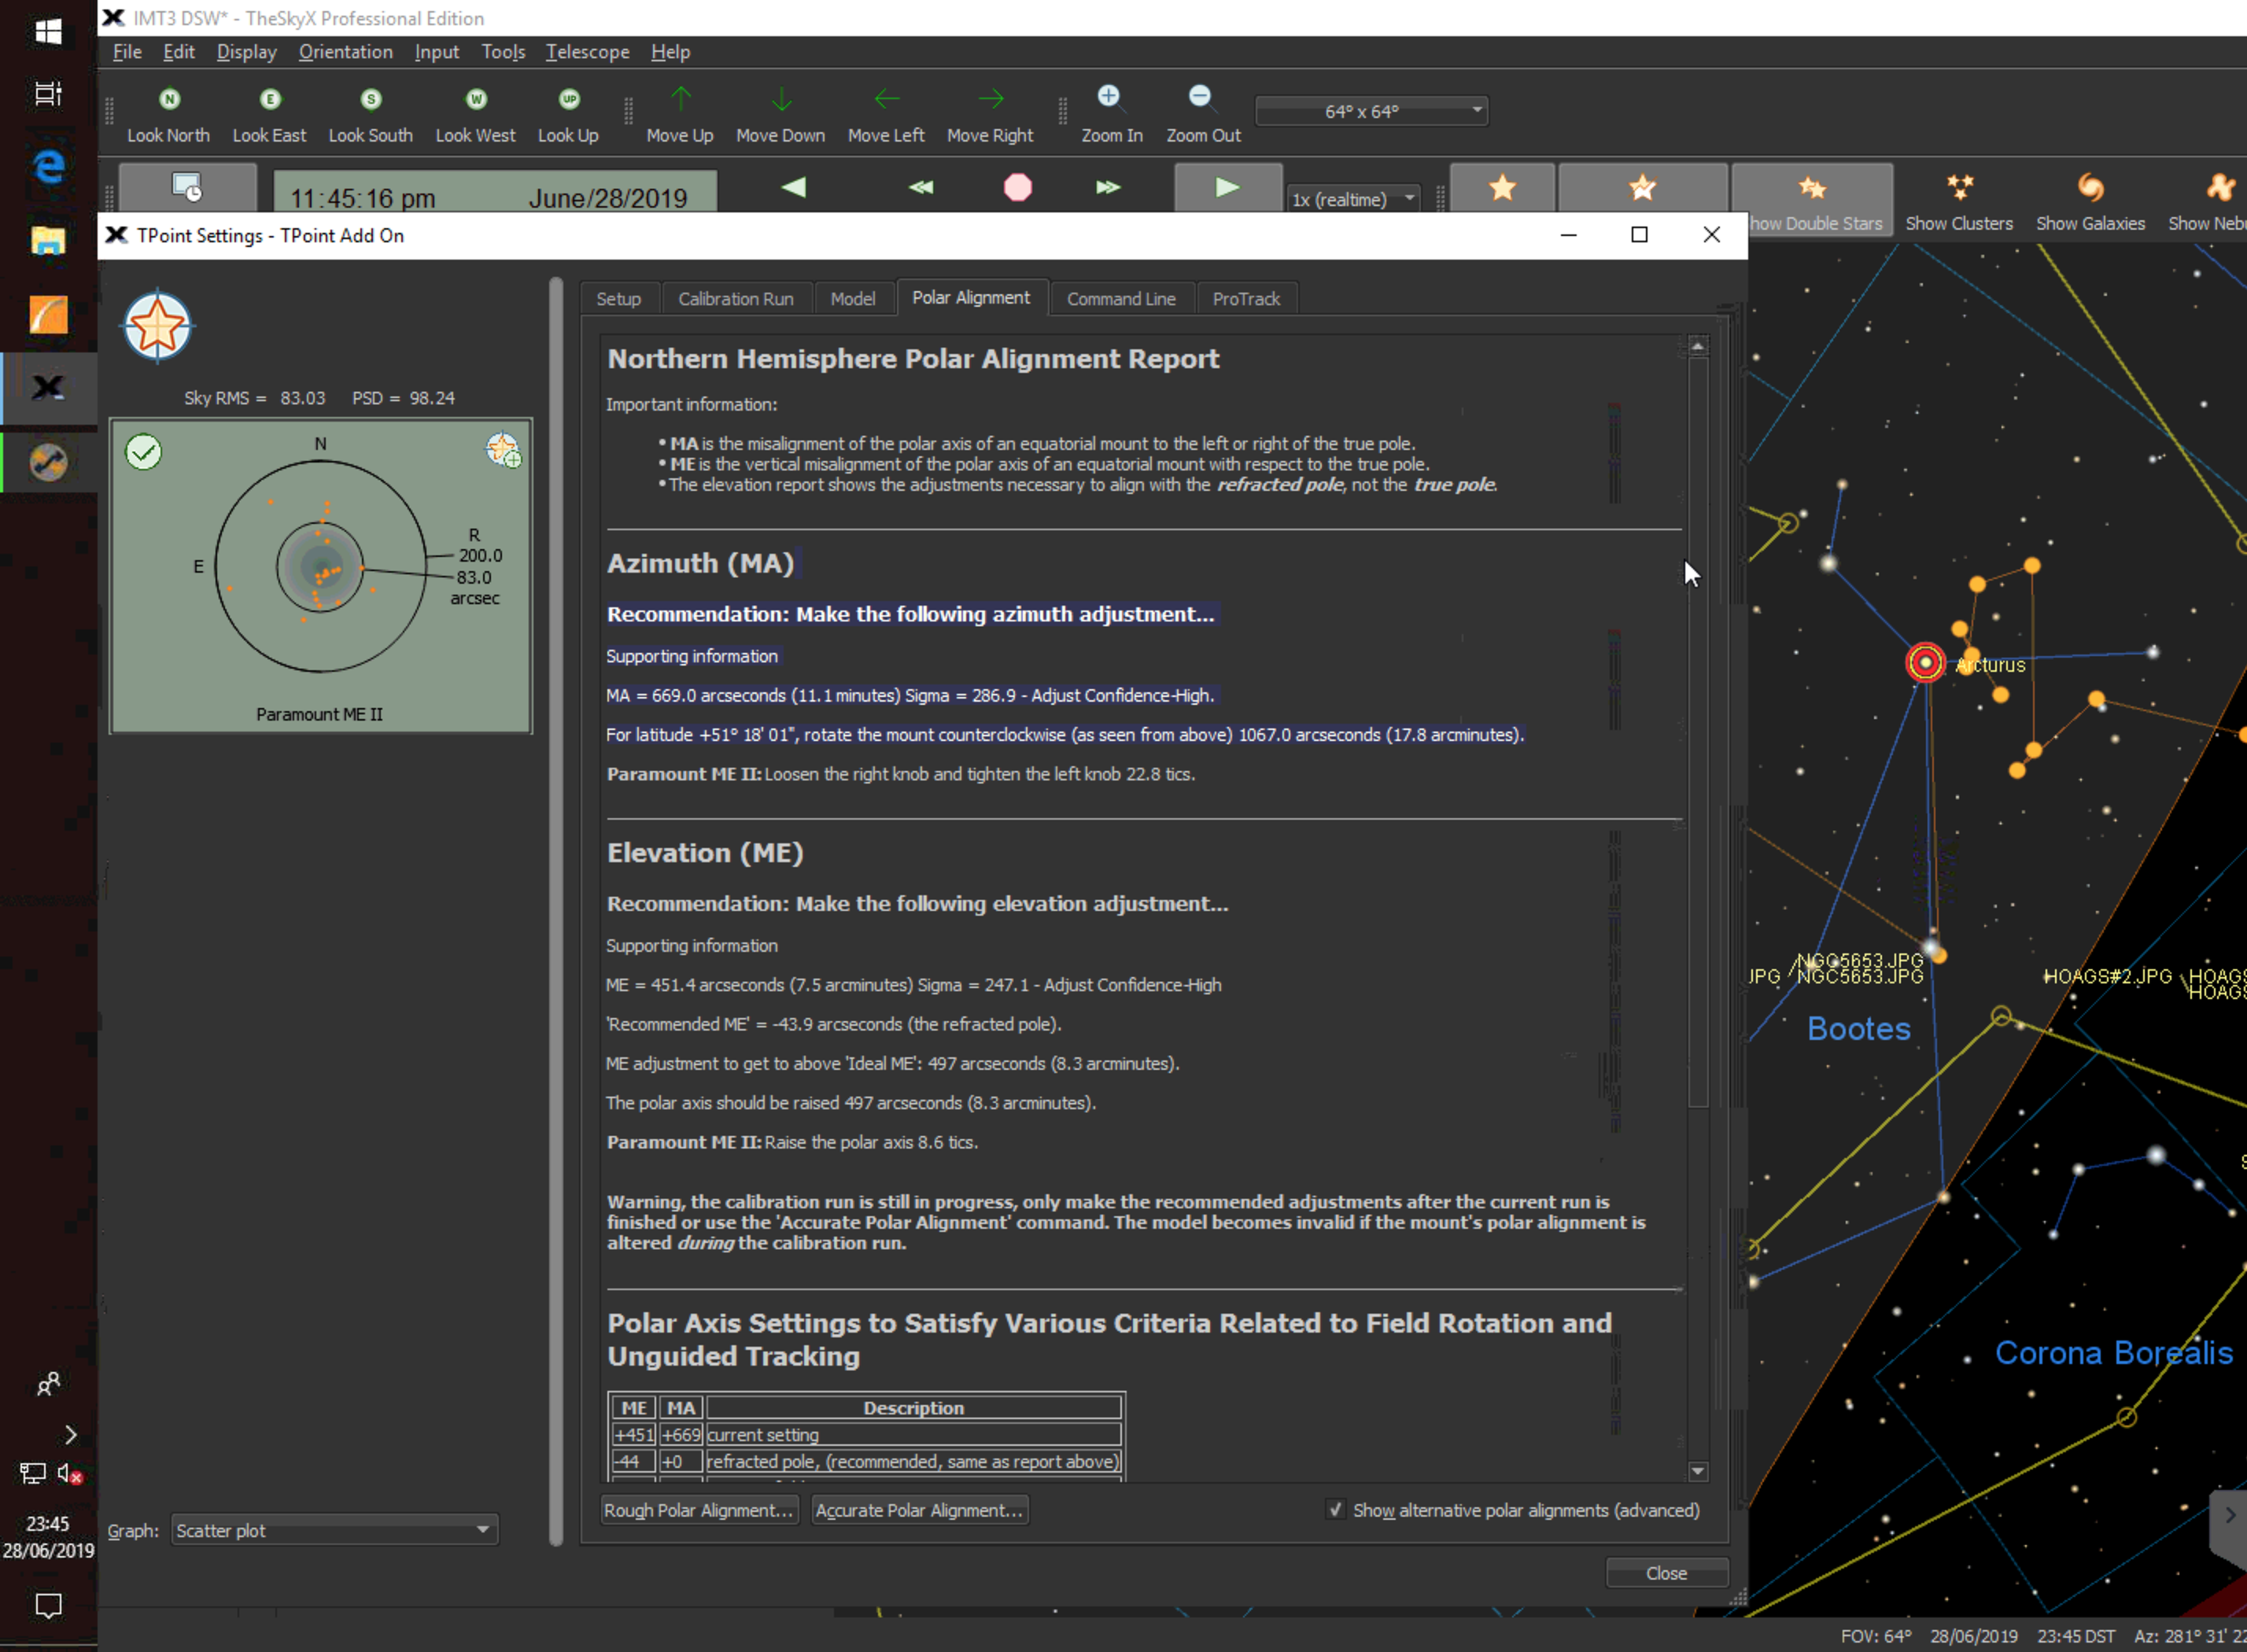
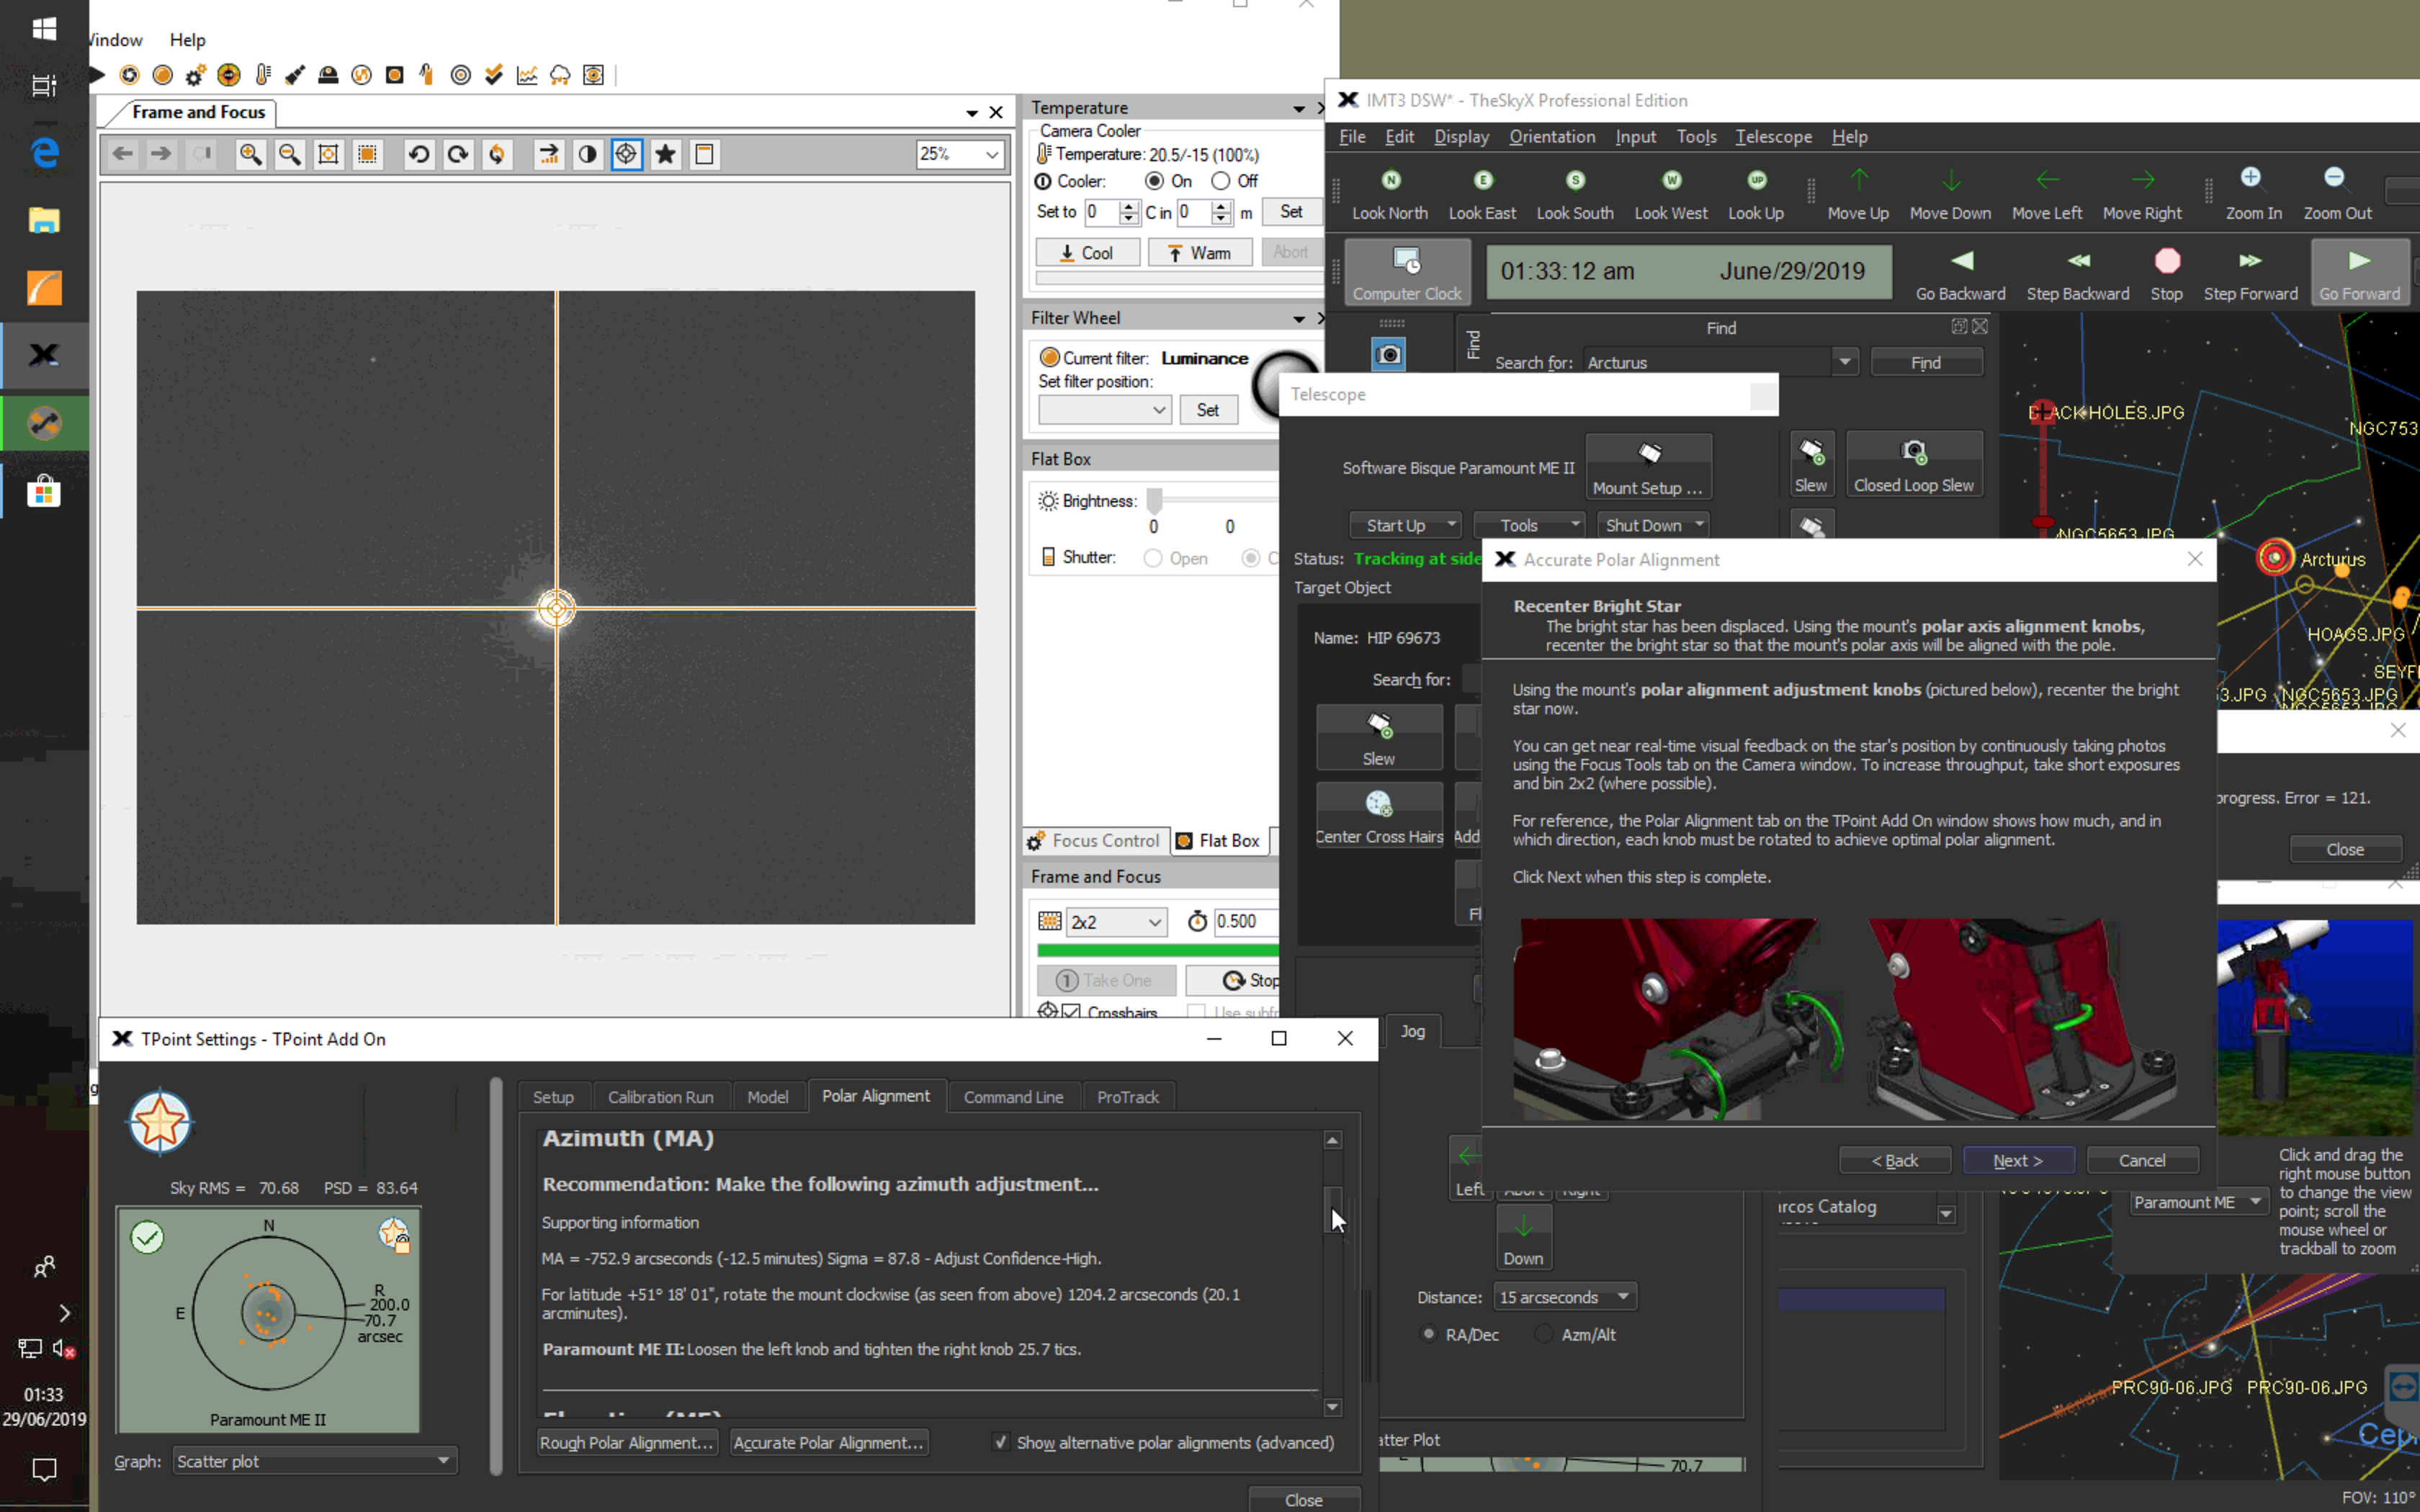
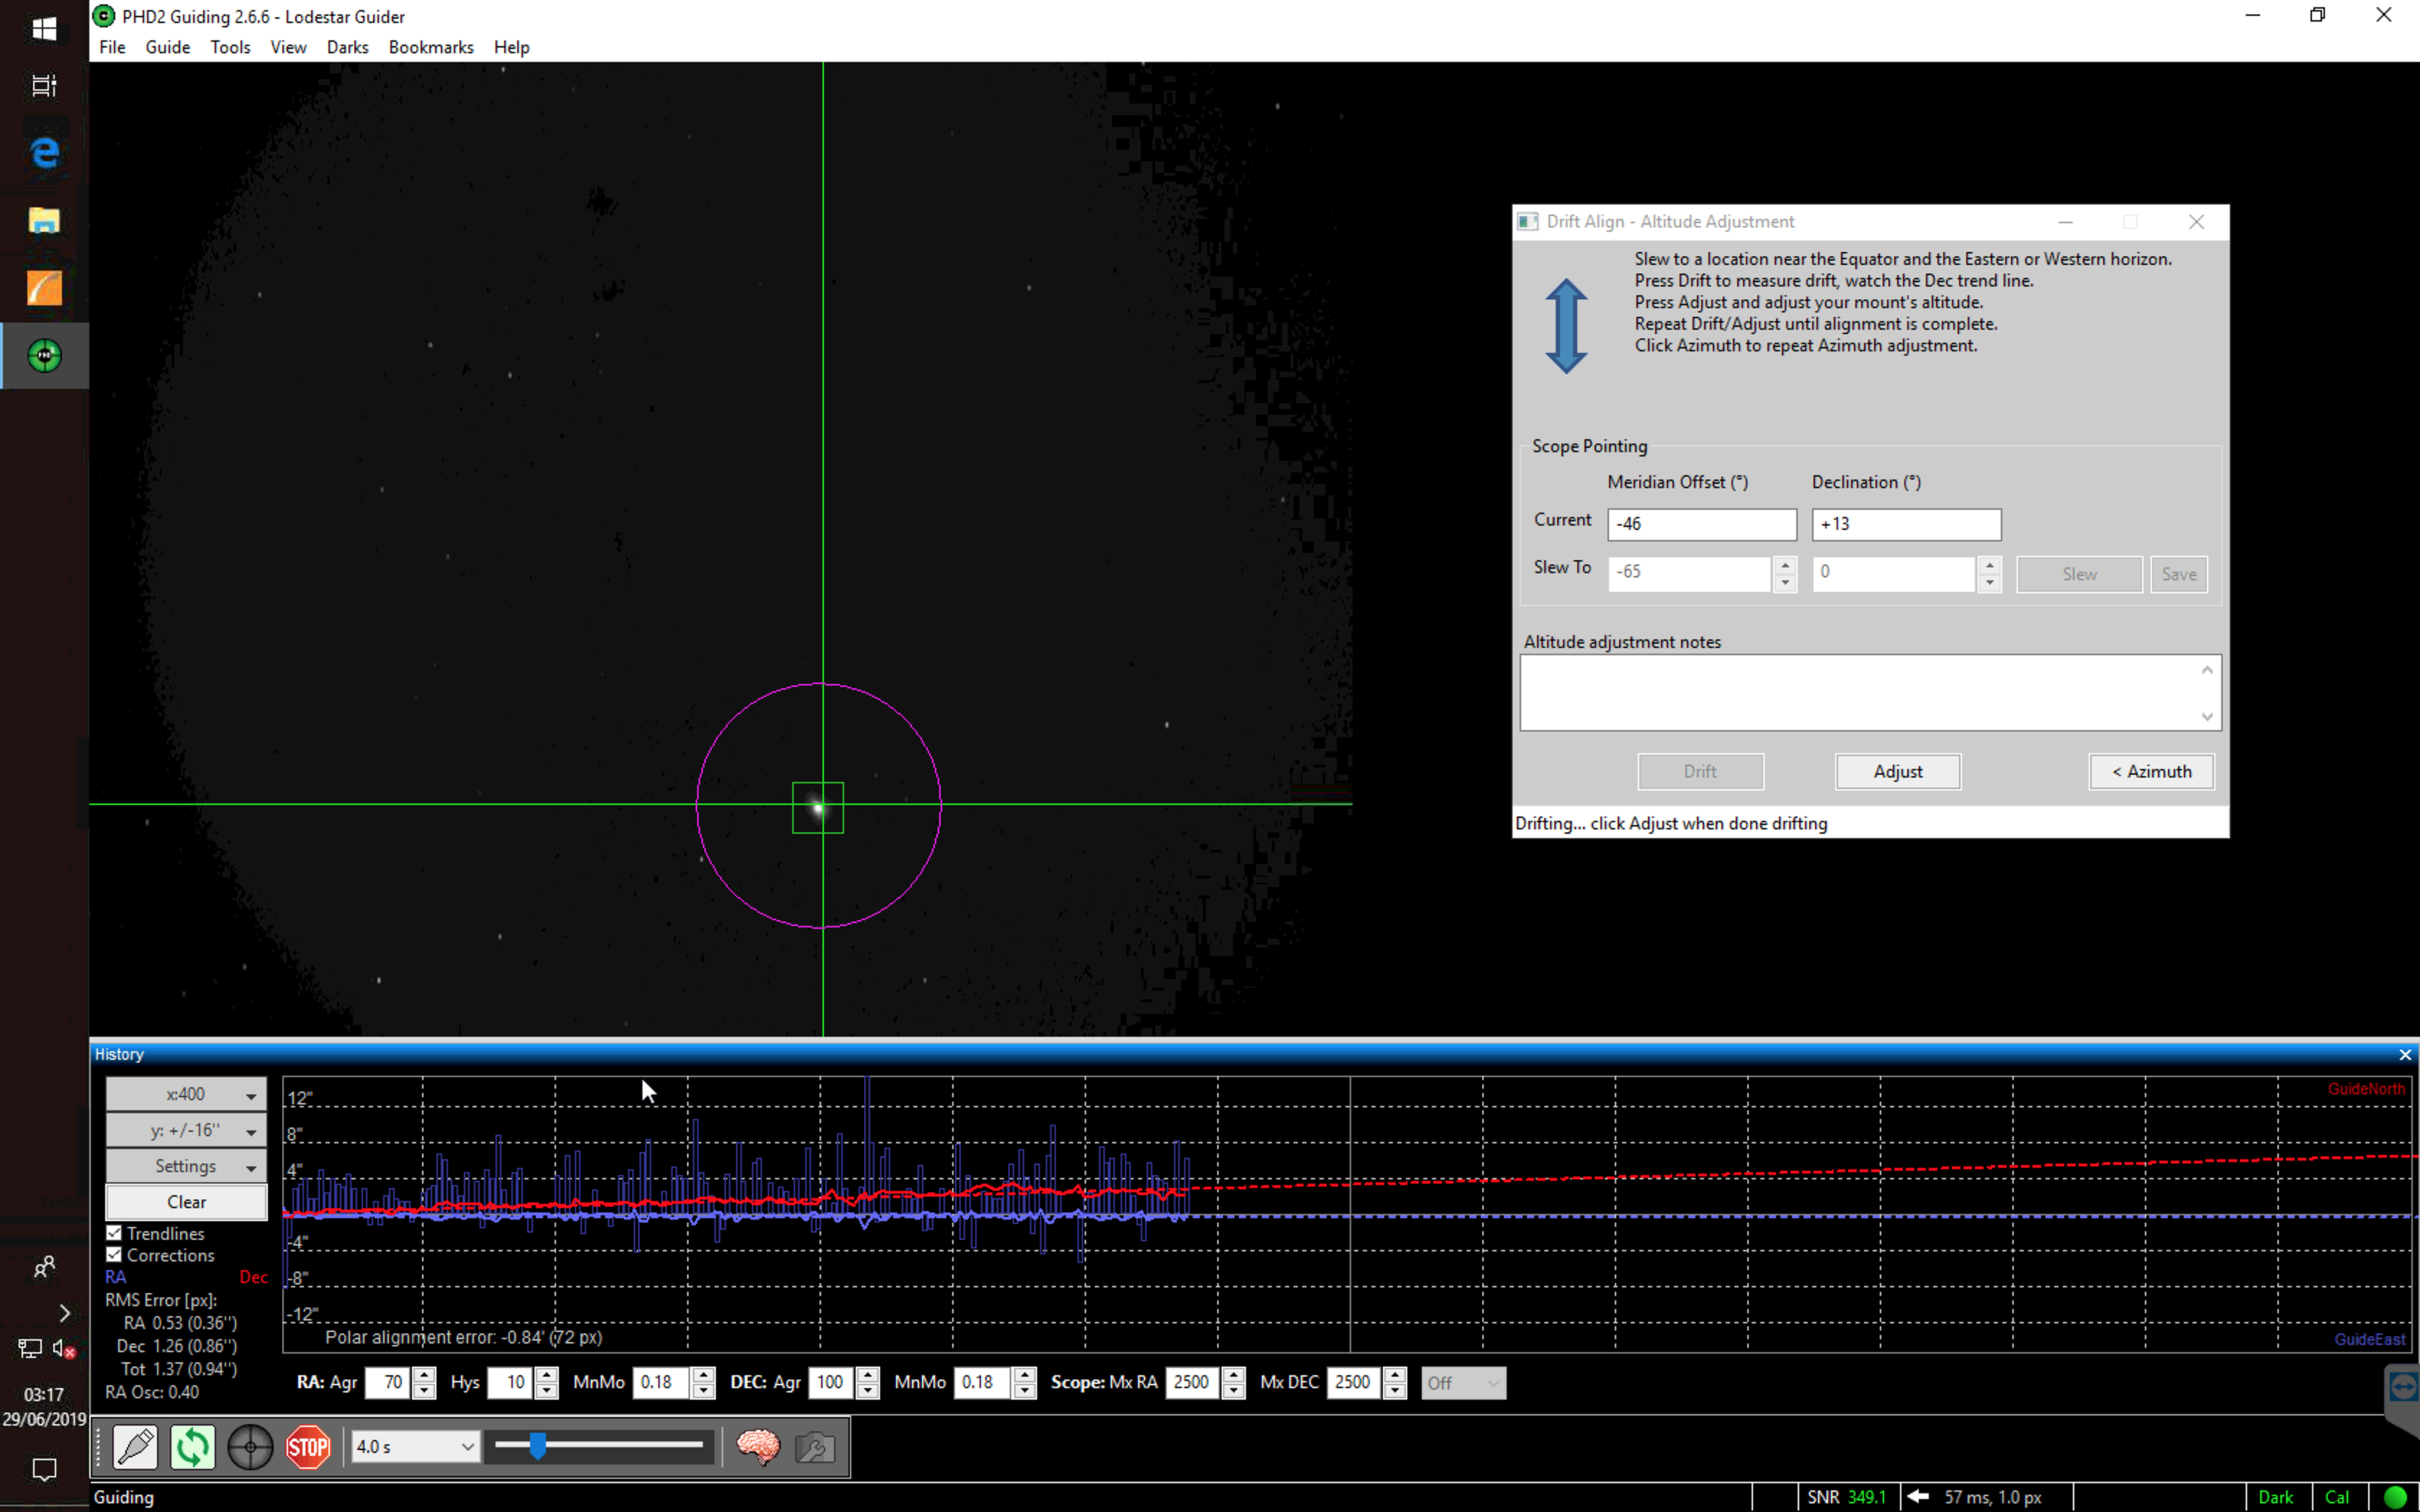
For polar alignment I have ordered (my friend GingerGeek has ordered) a PoleMaster mounting plate that I can use, this will make it easy to align. Tonight I just plonked the mount down without any polar alignment, thus anything more than 10 seconds produced trailing.

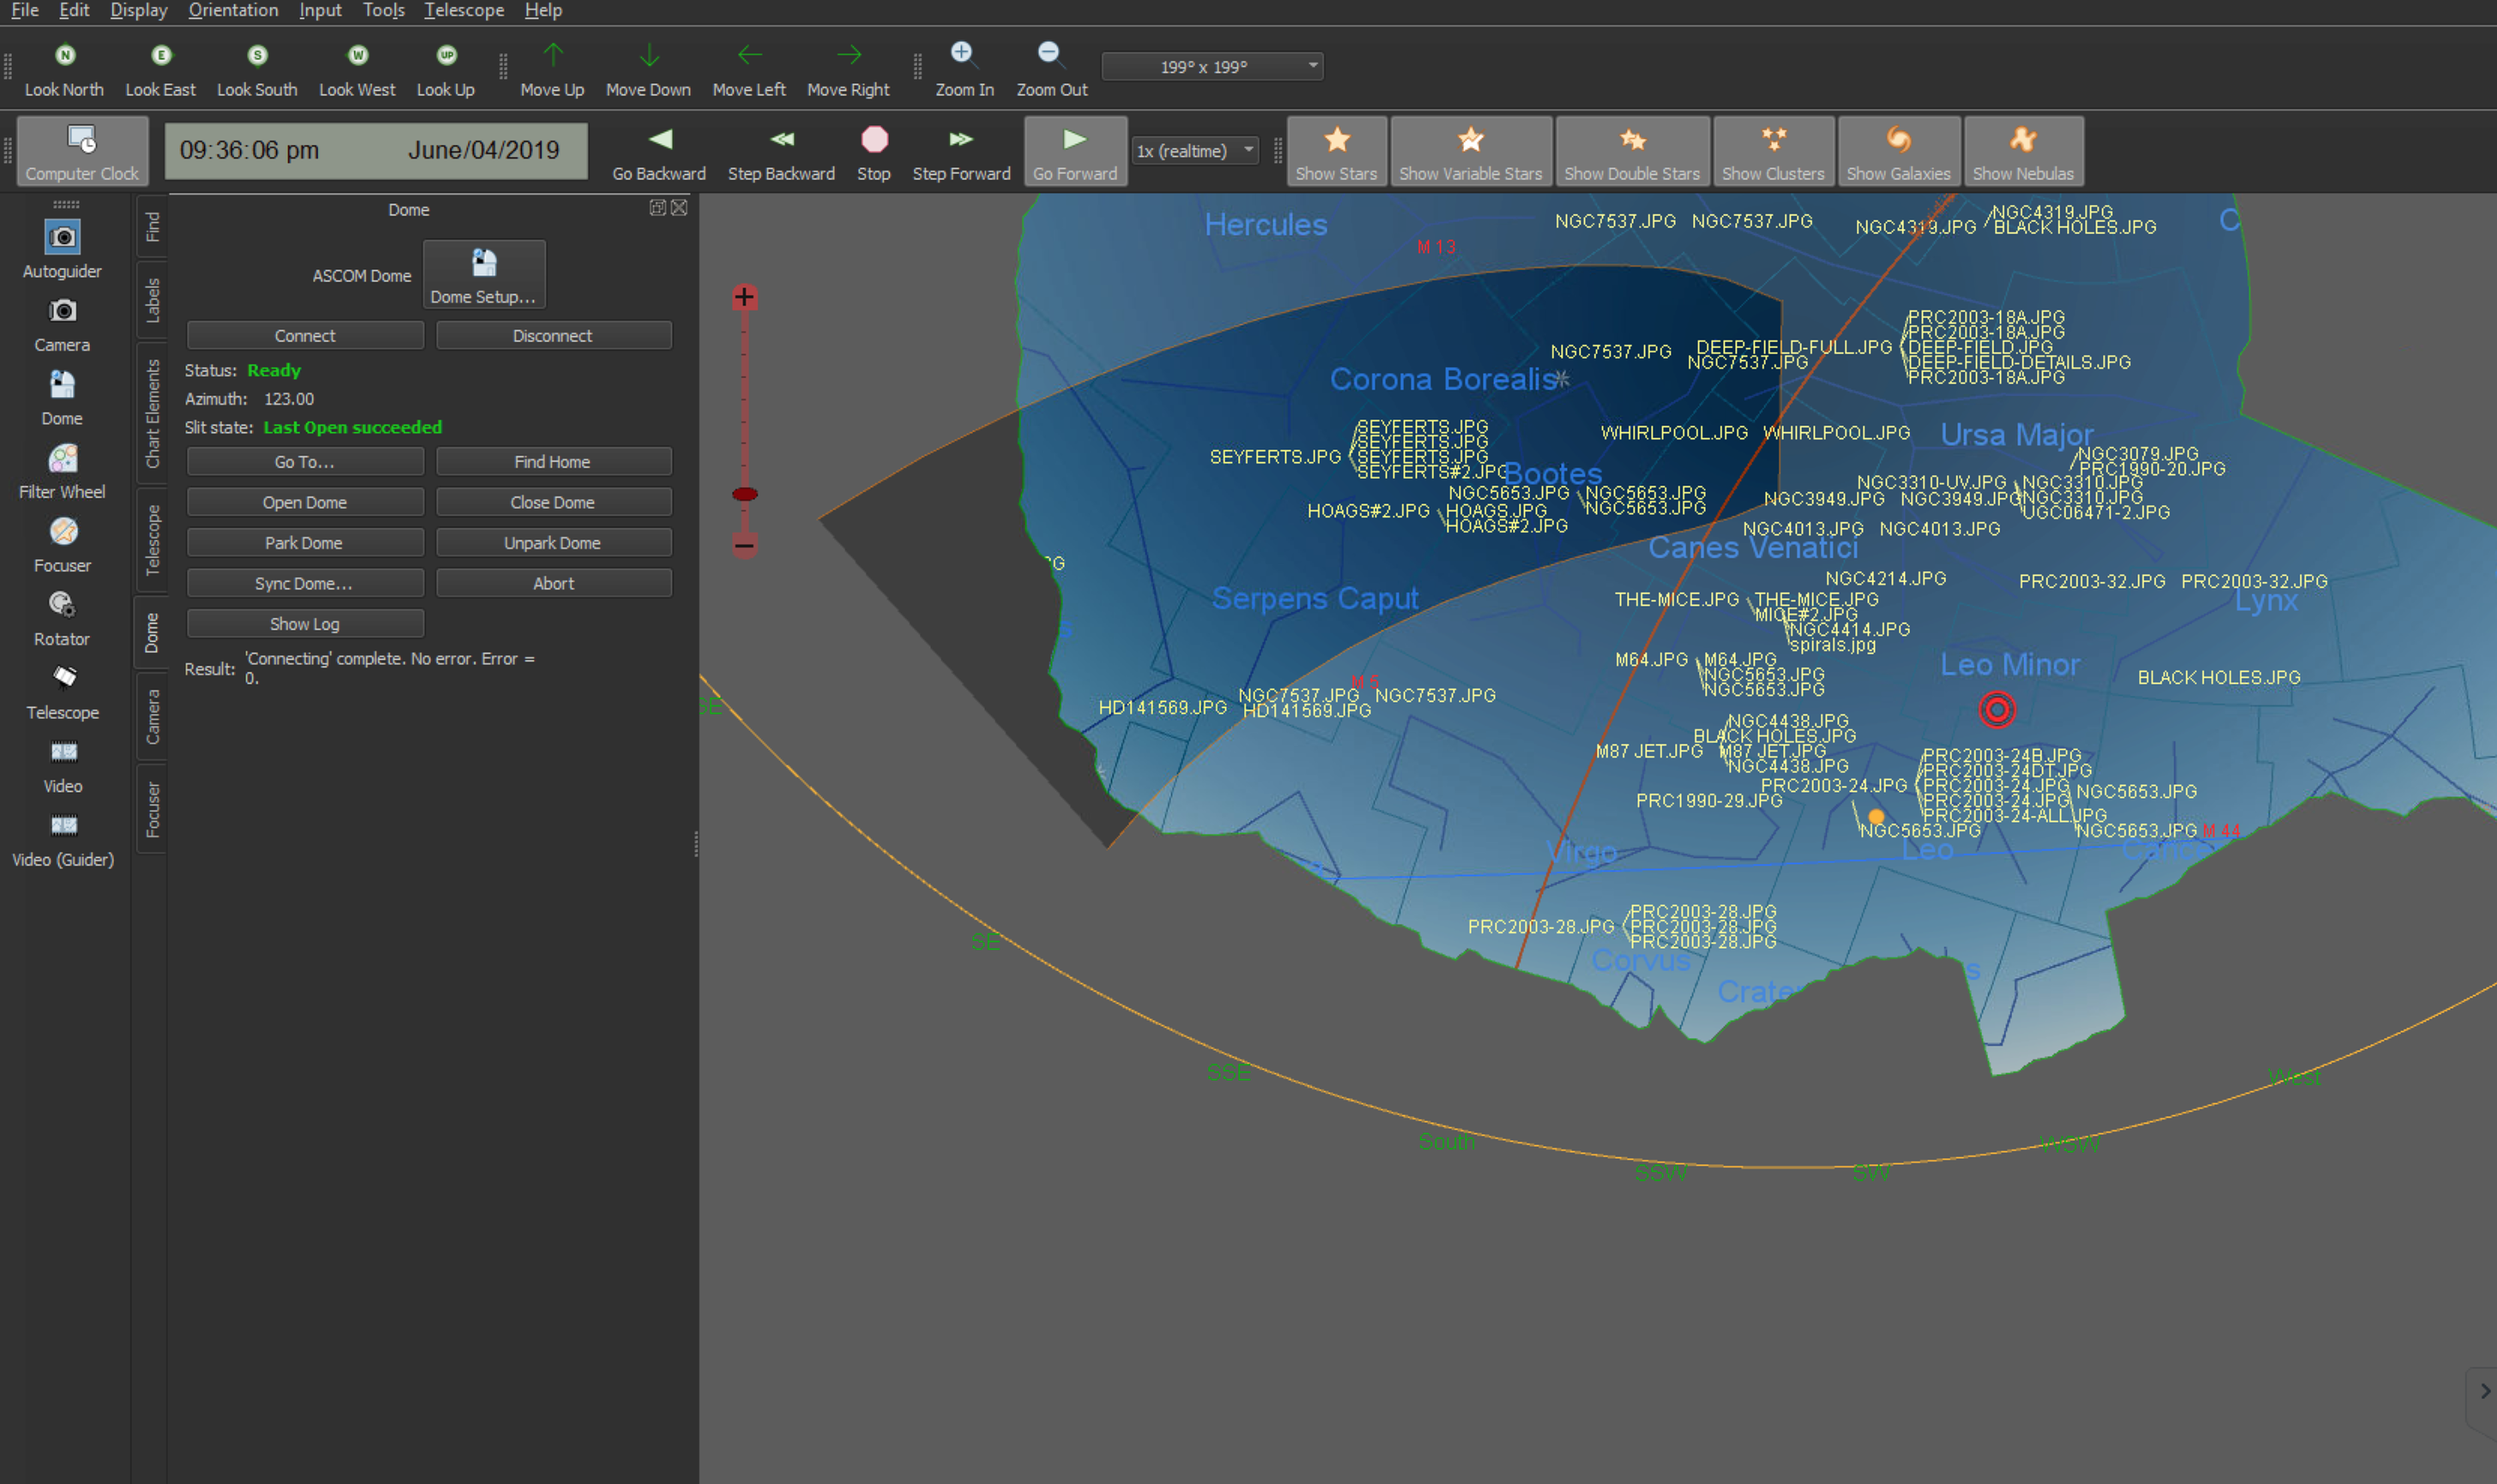
I tested cooling the camera, slewing and parking, although I need to see the park position 180 degrees from the current position to allow the scope rings to be in the right place for removing the OTA.

The scope and the mount and the camera make a great travel setup, each component is not too heavy to move by itself, the connection and setup is fairly straightforwards and I really do look forward to testing this out in October in Tenerife. I do need to test running from a car battery to see how long things last. I have my car battery I use for astronomy on charge and will test next time.

The connection of the camera to the flattener is a push fit and is missing the luminance filter. I will order the right adapters from Modern Astronomy so that I can fit later.

So I still have a few things to make, buy, test and do before October but good progress tonight on the travel setup front.

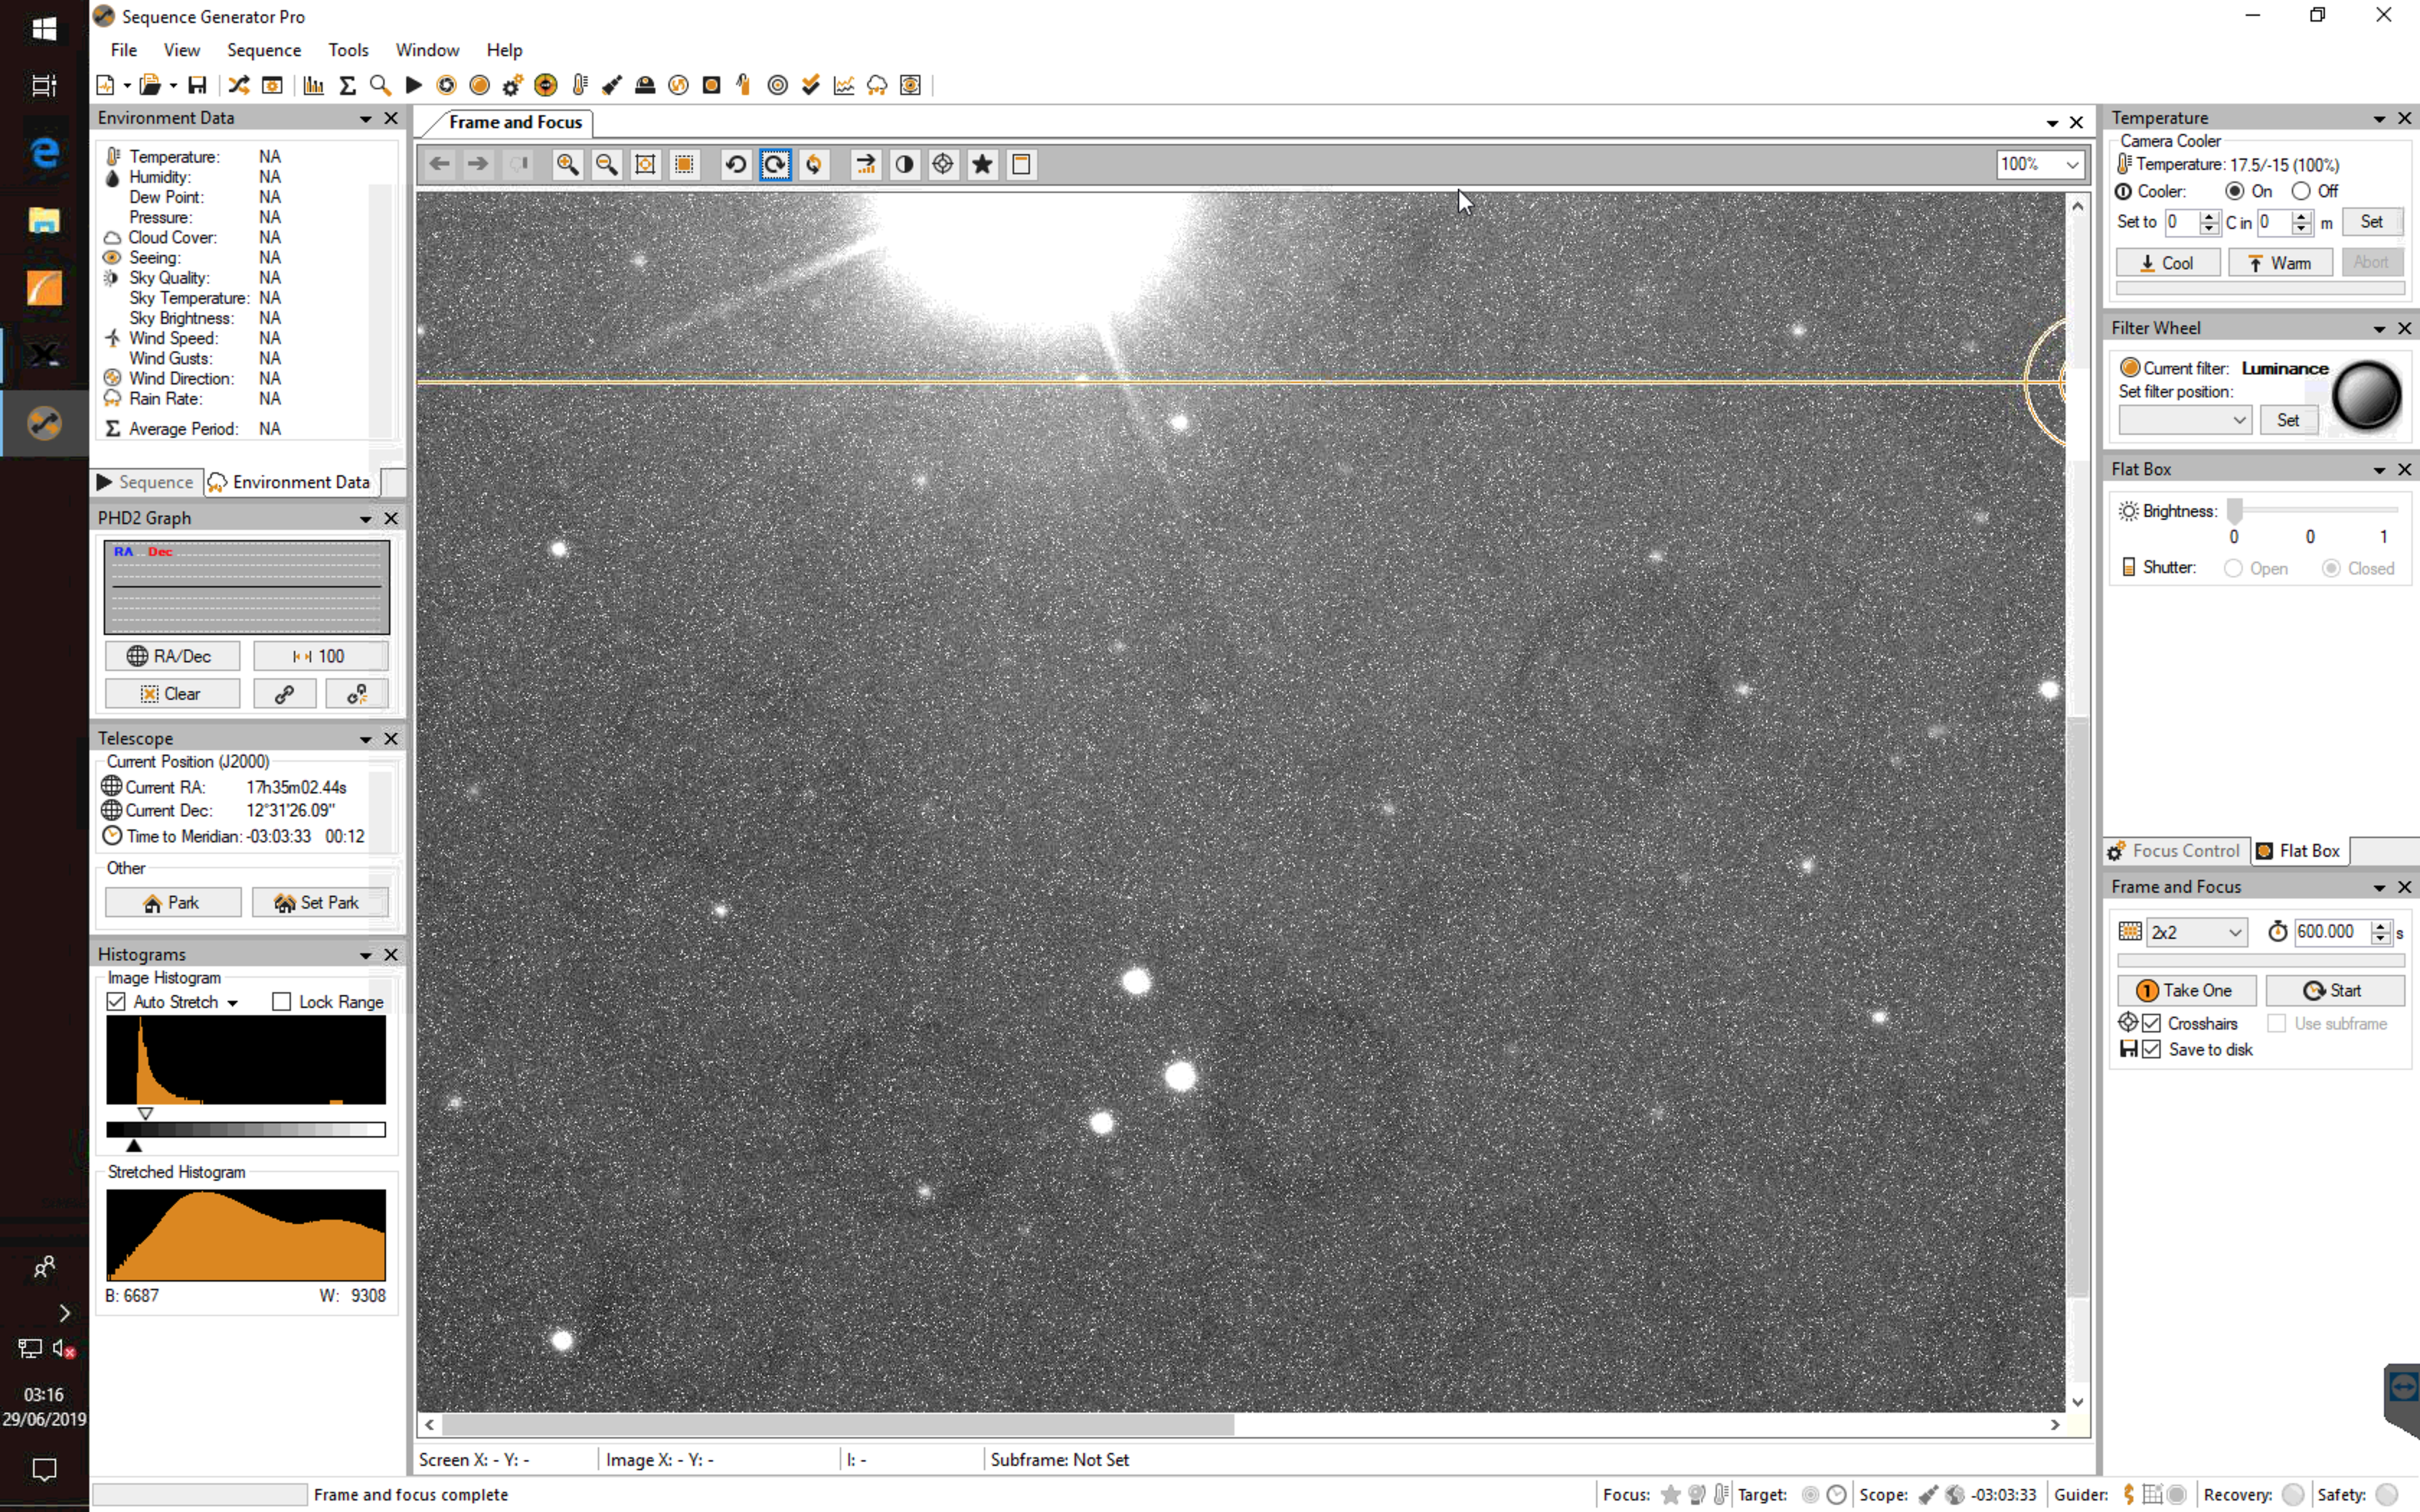
Meanwhile Bob has been making good progress with the Tak FS 102 in the IMT3. Imaging Arcturus and testing lengths of exposure on different objects such as M13. Some pieces of the sky Bob was imaging at 5 minutes unguided and others such as M13 only 3 minutes. I need to look at why this is given I now think the polar alignment from last night is excellent.

Imaging through IMT3

I reset the FoV indicator for the Tak FS102 in relation to the main 12″ scope. I need to find a way of slewing to given object for the offset scopes. I also need to be shown how you use SGPro to slew too, rather than using TheSkyX, so a slew, plate solve and then final adjustment.

Viewing Report 28th/29th June 2019 – IMT3 Observatory

Viewing time period – 22:34 – 03:52

Point Run within TheSkyX

Well it was time again to perform another TPoint run and adjust the polar alignment. Tonight was all about refining the previous alignment using the Point software which then measures the error once you have 20 points and reports back how many ‘tic’ marks on the mount you have to adjust.

The first run produced an error of +17.8 arc minutes for the azimuth so I had to a adjust the mount counterclockwise 22.8 tics. The error in dec was 8.3 arc minutes so I had a smaller adjustment of 8.6 tics on the altitude.

justing the mount using ‘Tics’

I then ran a second Tpoint model, again just over 20 points and this time the error was reduced to 12 arcmins for the azimuth but 12 for the altitude so dec. Instead of adjusting by tics now was the time to start drift aligning using PHD2.

I brought up the program, found a start near the Meridian and near the celestial equator and quickly found a guide star since my FoV indicators within TheSkyX now line up. The error in the drift align matched very well the error within the Point model so I adjusted by the number of Tics suggested in TheSkyX. Once done I performed a third Point model of 20 stars.

Example FoV Indicators

By this time it was already 1:34am and I had been refining this for 3 hours, the new model told me that I was only 4.2 arcseconds out in azimuth and -2.9 arc mins out in dec. Once again I went back to PHD2 and from then on just drift aligned to refine the error.

PHD2 Drift Alignment small error

This took until 3am when the error was a mere 0.8 arc seconds for the altitude so Dec and 0.1 arc seconds for the azimuth so RA. This was then good enough to take a quick 10min unguided image through the 12″ which is 2.5m focal length. Very impressive.

10 min unguided exposure – note the doughnuts due to it getting light

I then quickly finished off by performing another 20 point TPoint run so I had a model to use tomorrow night so that both Bob and GingerGeek can further commission the two refractors. I will perform a further longer Point run for turning on ProTrack in a few months.

For now it is light, the birds are singing and I ought to go to bed 🙂

Viewing Report 22nd/23rd June 2019 – IMT3 Observatory

Viewing time period – 22:00 – 02:31

Tonight Bob and GingerGeek came over to progress with commissioning the observatory. The task for tonight was to get the Esprit 120 focused and given first light. As the evening progressed there was slight frustration of how long it was taking to sync on a star, in terms of finding it and then being able to sync so we could go back to it. This is because I had been the night before messing with the polar alignment and we have yet to perform a Point run.

Out of focus Esprit 120

It also took some time to get focused on the Esprit due to us setting the maximum extent to the focuser tube incorrectly, falling short of the distance needed at the back focus to get good focus. We then had to go into the observatory and modify the maximum out figure for the Lakeside focuser.

Once this was done focus was achieved and GingerGeek used autofocus within SGPro to get good focus.

In focus Esprit 120

A single image was taken to prove it.

Next we need to refine the polar alignment with a TPoint run and then perform a longer Point run to finish the commissioning of the Paramount MEII.

Slaving the Dome (Part 1)

It has been interesting to see if we can automate the Pulsar Dome through ASCOM to slave it to the movement of the Paramount MEII and the 3 OTAs that reside on top.

We originally tried using SGPro and a complicated spreadsheet from Pulsar to record and then model the spherical trigonometry that is needed to make this work. After a number of days we gave up as it simply was not aligning the slit of the dome with the main OTA let alone the other 2 that are piggybacked.

So we are now trying to resolve using TheSkyX Dome Add-On, an expensive piece of software from Bisque that if it works, despite the cost is worth every penny.

TheSkyX Dome Slit visibility

Well after putting in some simple figures as stated in TheySkyX user manual over a few pages, we have managed to slave the dome slit to the main scope with ease. It was really very simple and after the mucking about with SGPro and the model information from Pulsar spreadsheet, it just works. I then took a look at the 2 other OTAs and have changed various figures that I will share once all work flawlessly. These figures are to do with offsets for the OTAs from the optical centre of the main OTA. I have asked Bisque to confirm I am changing the right figures and asked how I save them to a profile or alike so that I do not have to re-enter them every time we want to swap scopes to image from. I have also asked for clarity around moving the dome at sidereal using the distance of the OTA to the dome slit figure.

Dome Add-On setting page for configuring the scope offset

At the moment whilst I await their return on the questions, the mount is able to slew around the sky and the main OTA is always within the centre of the dome. The 2 other OTAs if I change the figures in the fields for the offsets also are in the main through the slit, just near the meridian there is a slight overlap but I have guessed some fo the figures so they may be wrong.

More to update later once I have the clarity from Software Bisque I hope.