10th April
A lot of progress since my last blog. I have gone from an empty shell of a dome to an observatory able to take a first light photo!
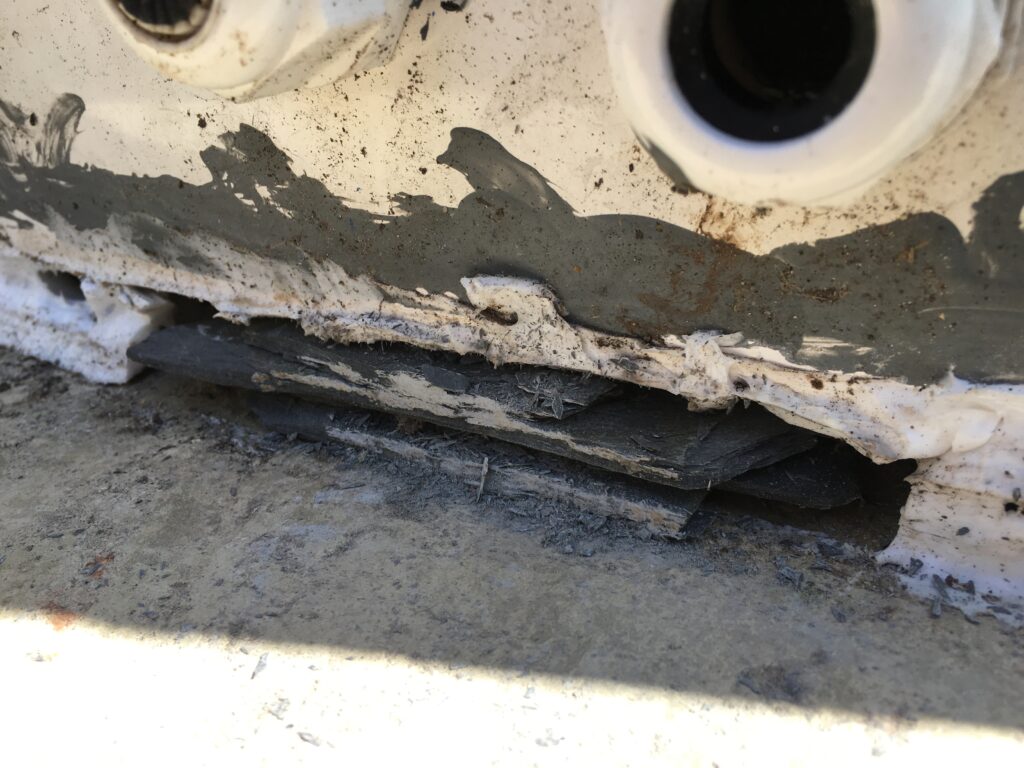
The first challenge was the dome rotation. It was binding. I quickly found out, with the help and advice of Dave Boddington, that in fact the dome was not circular and in fact it was oval in one axis by around 2cm. This was enough to pull the walls in causing the dome to bind. So a quick look around and I found the culprit. Where the concrete on one part of the dome base had settled unevenly there was a 1cm drop and as I had tightened the dome bolts to it, it pulled the walls inwards.
To resolve I unbolted the walls, put my foot on the offending side pushing it back in by 2cm and had Luke drill and bolt new holes. We then found some slate shims and shimmed up the part of the dome where the gap was. This fixed the problem and I now have a round rather than oval dome 😎
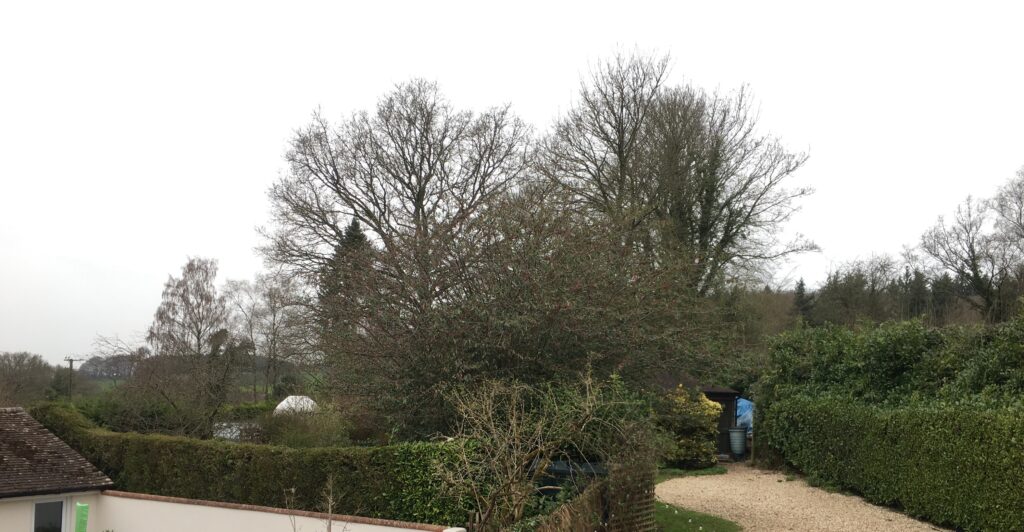
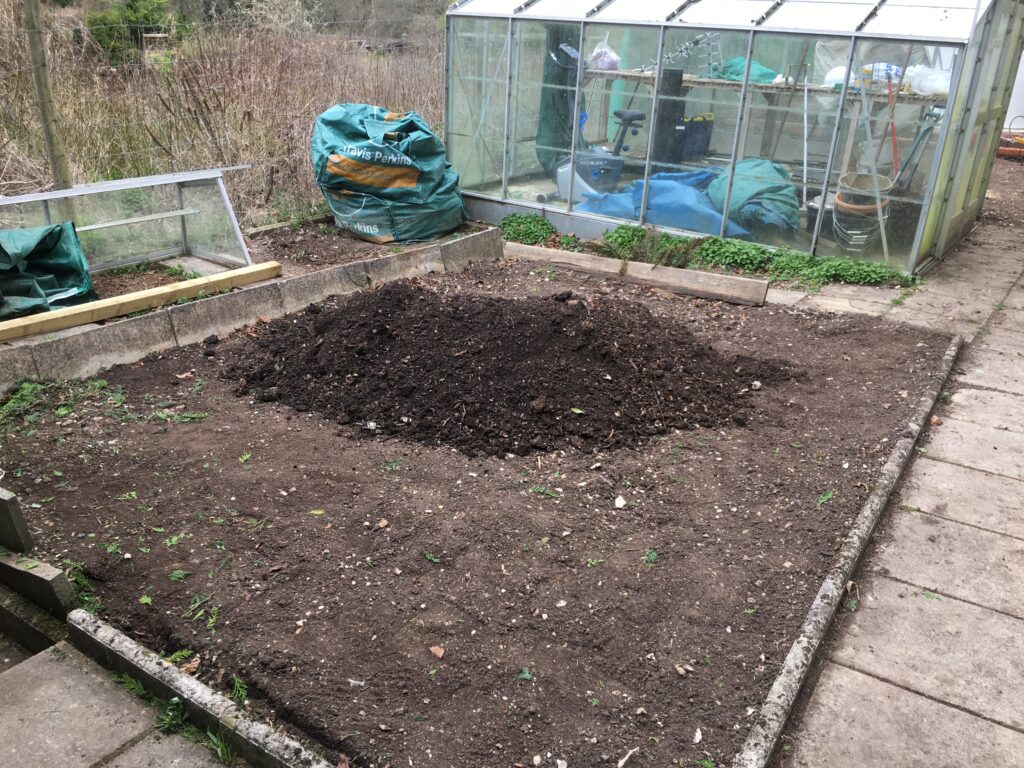
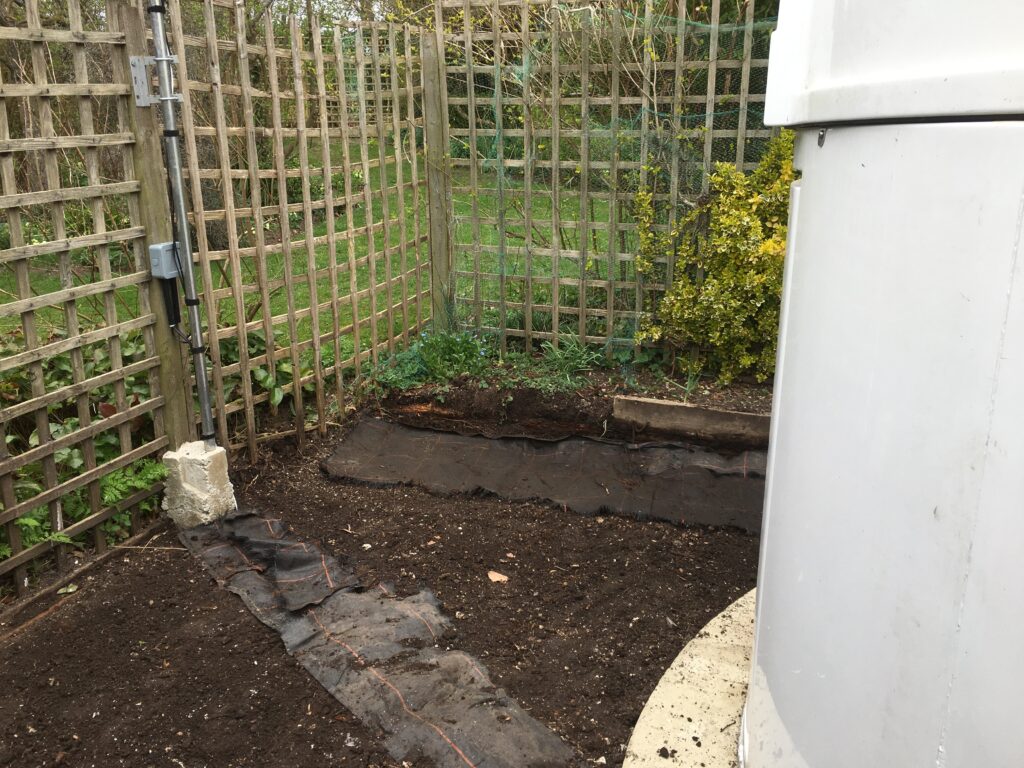
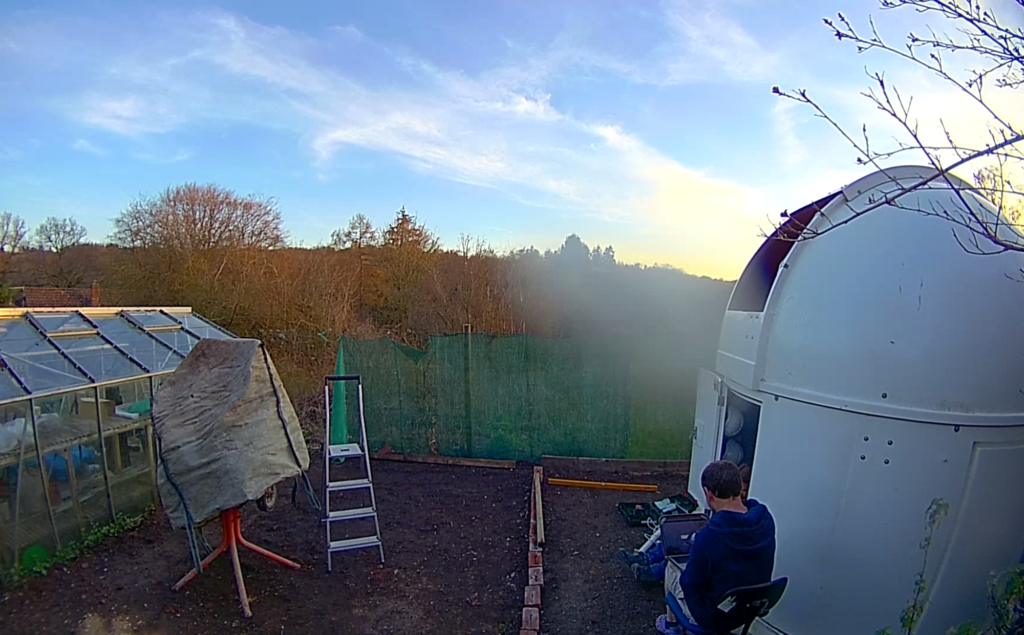
Next up was digging out the surrounding ground around the dome, as you can see here, the ground level on one side is around 4″ higher than the other. This would take some serious digging and many, many wheelbarrow loads of soil to moved.
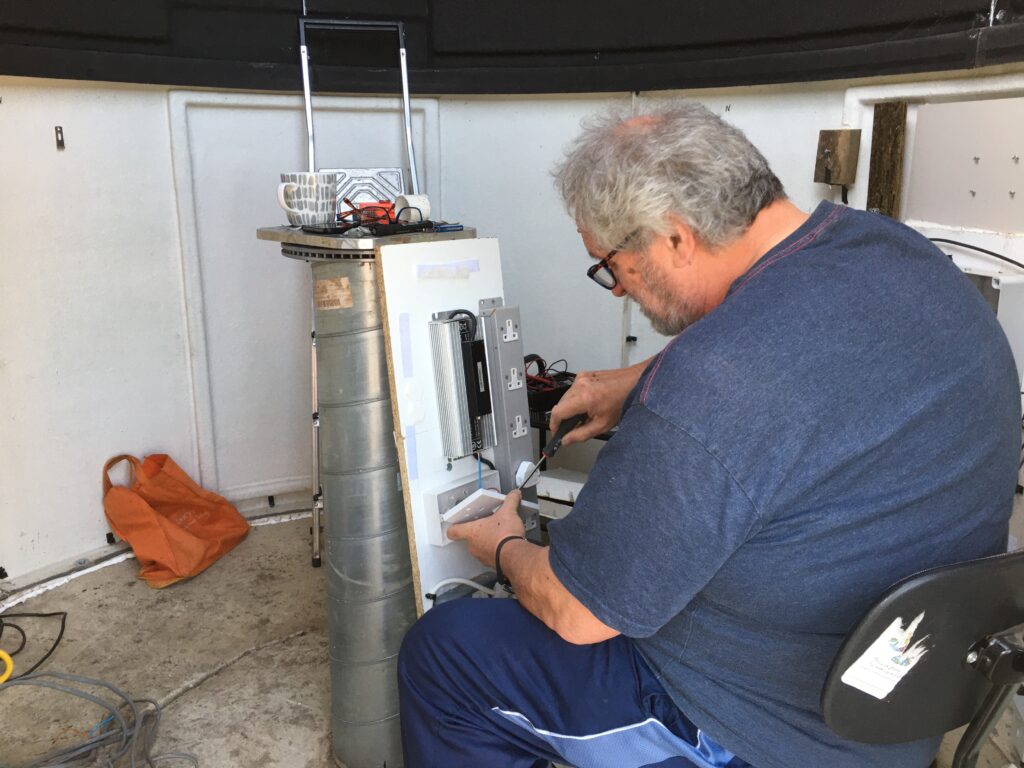
Now was there time for rebuilding inside the dome. I found the control wood board and fitted it back in place. We fed through the electrical wire from outside to both the inside wall and the pier.

Bob then came round and did the honours of wiring the switches up, thanks Bob!
Now it was mount fitting time. 🥳
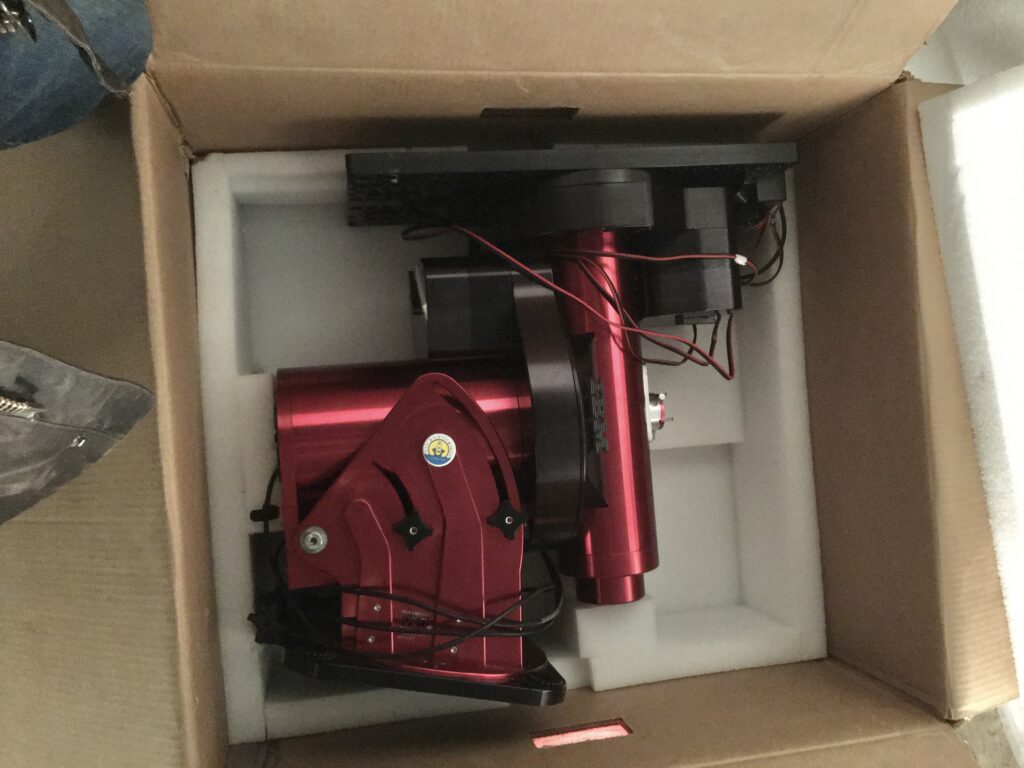
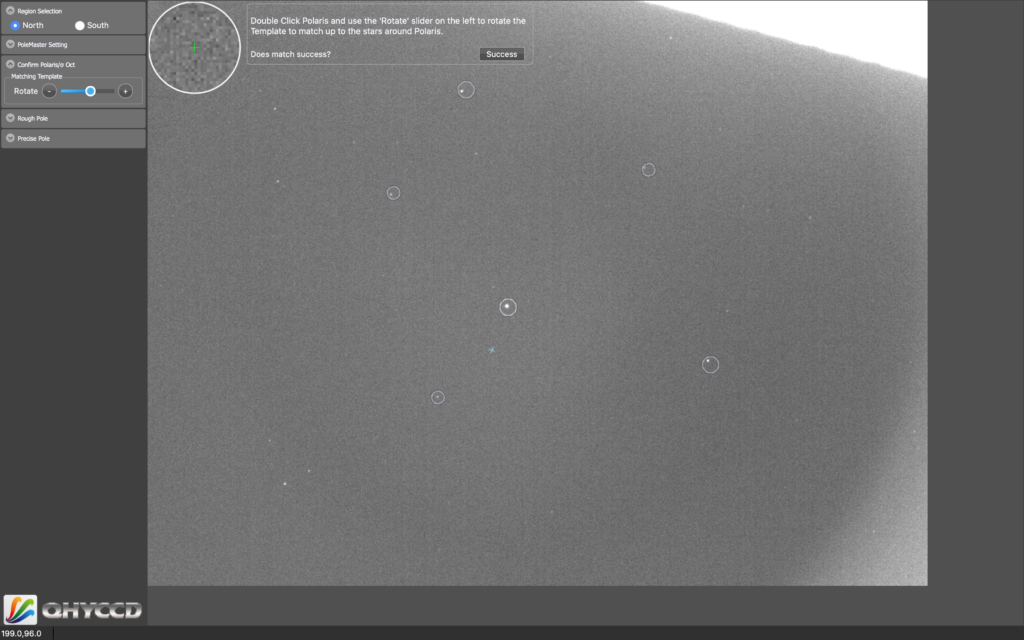
A few days later Luke and I performed the first fit, then I realised we had put it round the wrong way just as my friend Lawerence had done the day before at his 😳 so off it came again and we lifted it back on the right way round. That night was the test of how aligned were we to Polaris. Well it turned out not well enough. 🥺 I was off by about a degree. The MEII was at the end of its travel so I would have to redrill the mounting plate.
Another day, another task. The mounting plate came off, Bob and I drilled and tapped new holes to match where it needed to be and then refitted to the disc brake on the pier. We then hefted the mount into place and bolted down. That evening a quick test at night and the mount was roughly aligned very easily👍
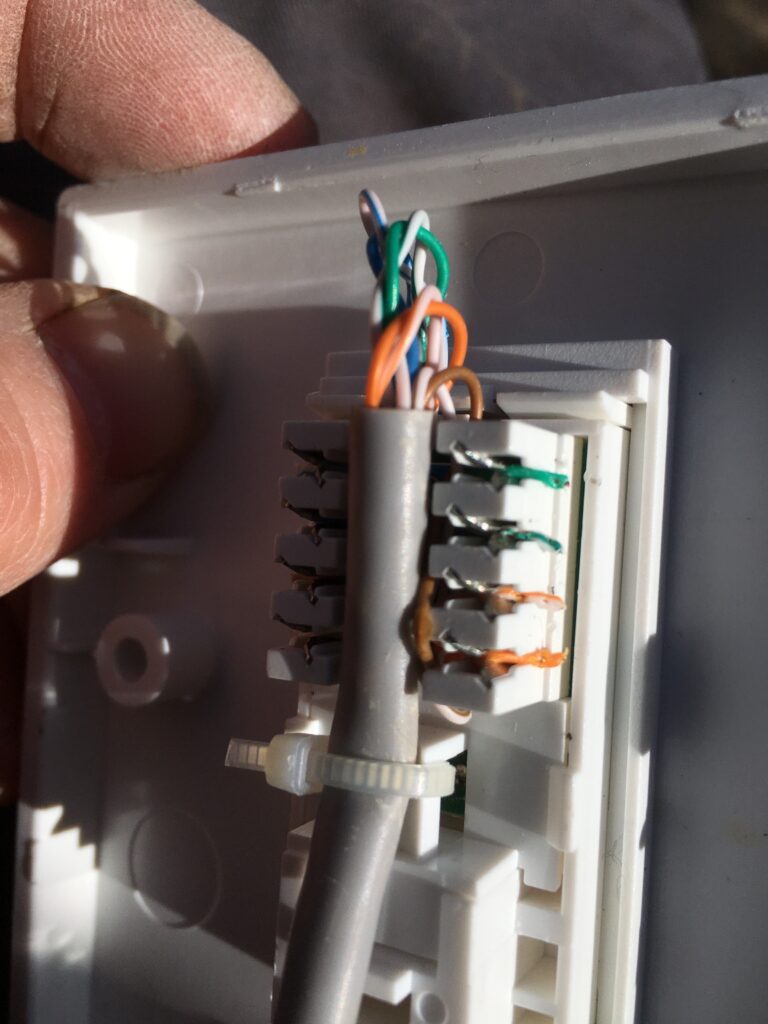
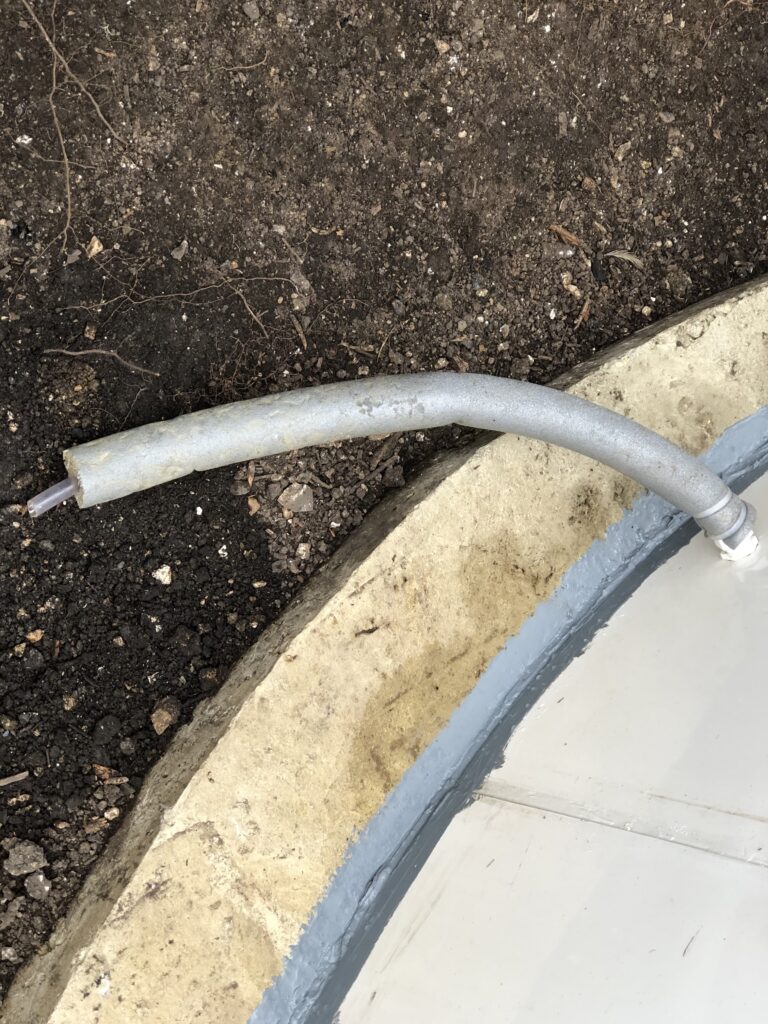
Meanwhile I brought the ethernet cable in from outside through the conduit in the floor and fitted to the internal ethernet plate on the wall.
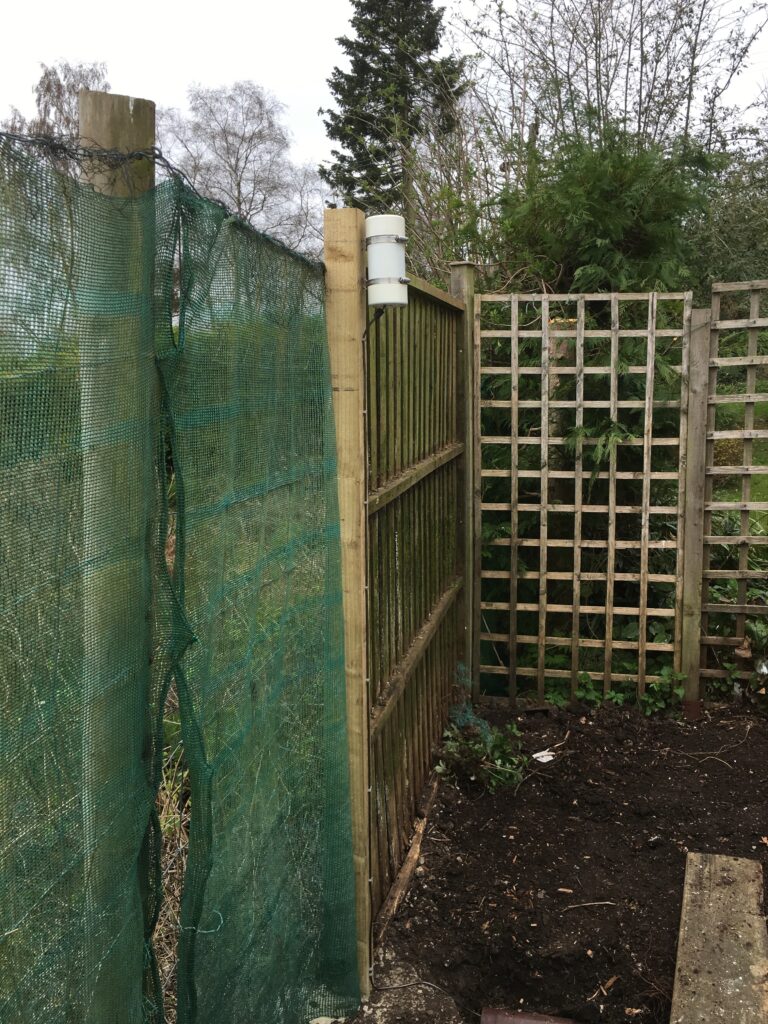
Next we fitted the SQM to the new fence post previously installed.
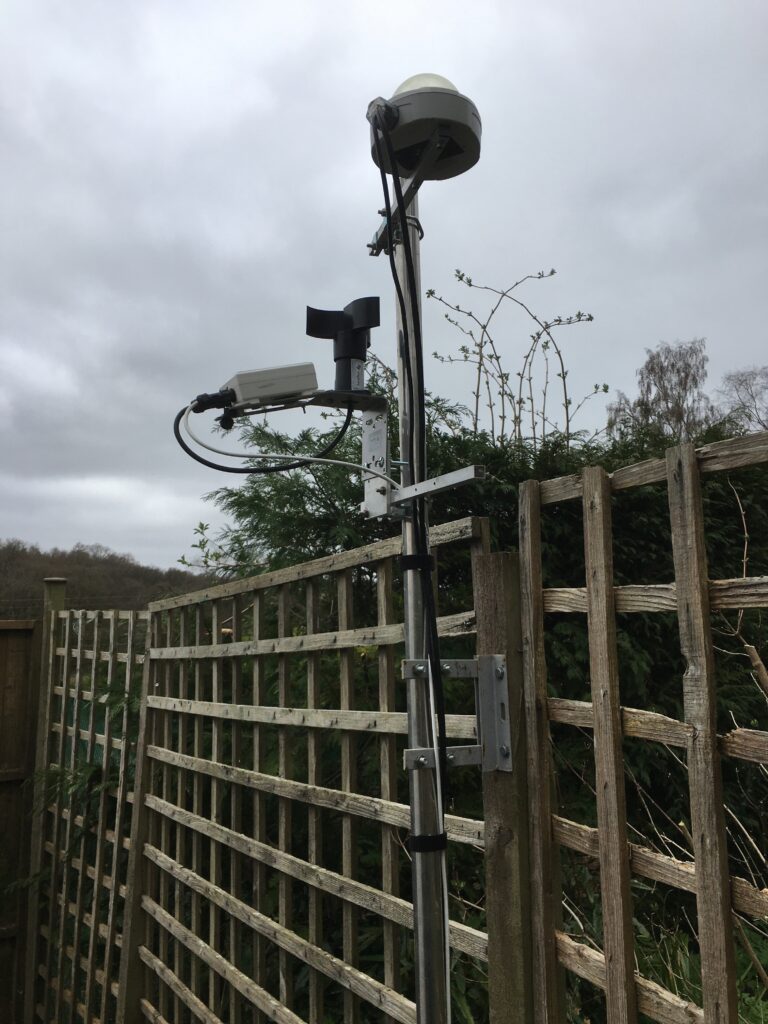
Followed by the All Sky Camera (ASC) and the weather station (AAG).
We then dug trenches for the cables and used some spare guttering to cover and backfilled with shingle overlaid with weed matting. Later we will place further weed matting down and add more shingle.
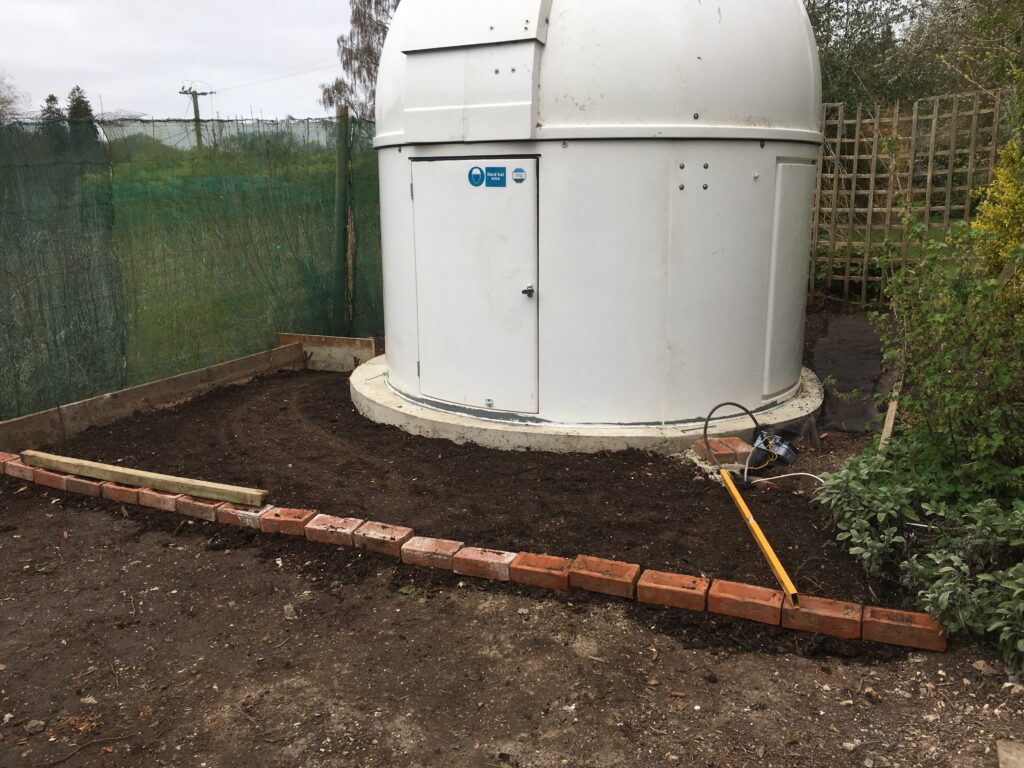
We then dug out some more of the soil to the side of the observatory and placed it at the front with a line of bricks to show where the step for the new patio would go.
The following day we brought in the 12″ OTA ready for fitting.
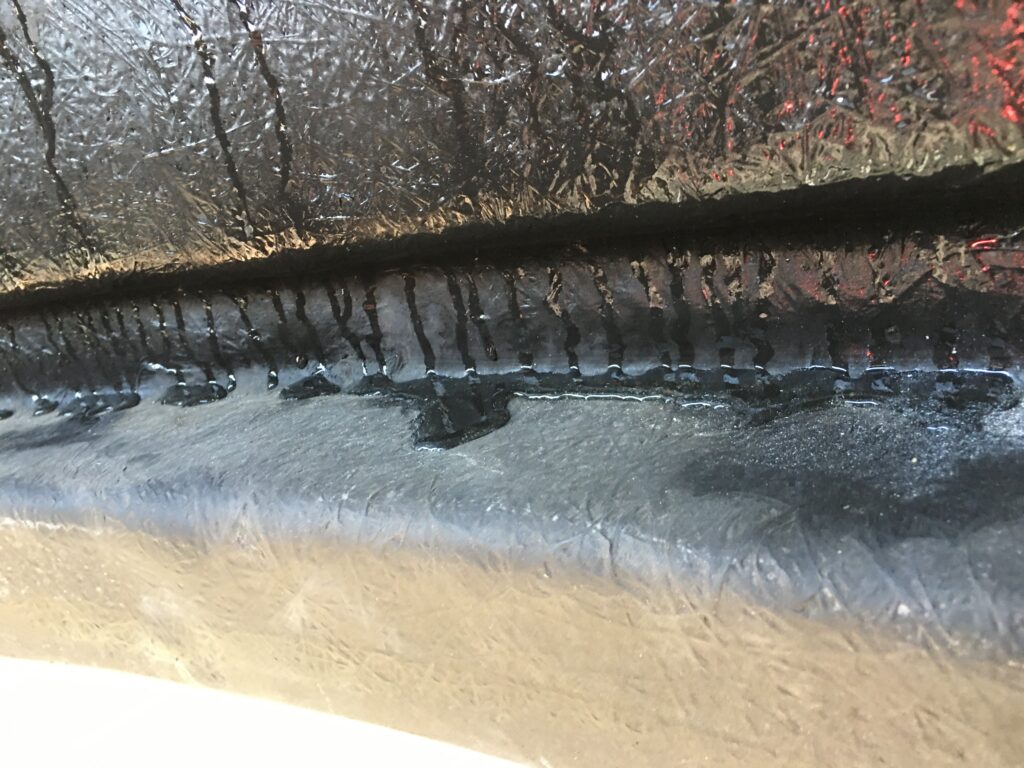
It was the next day after bringing this in that we noticed the water pouring off the inside of the dome and poling on the dome edge. The MEII was stoked and the OTA 😱
The dehumidifier was retired from the IMT3b cupboard in the workshop and installed! I also put a small heater supplied by Bob in the dome to keep the dew point down. Luke then helped me fit the OTA.
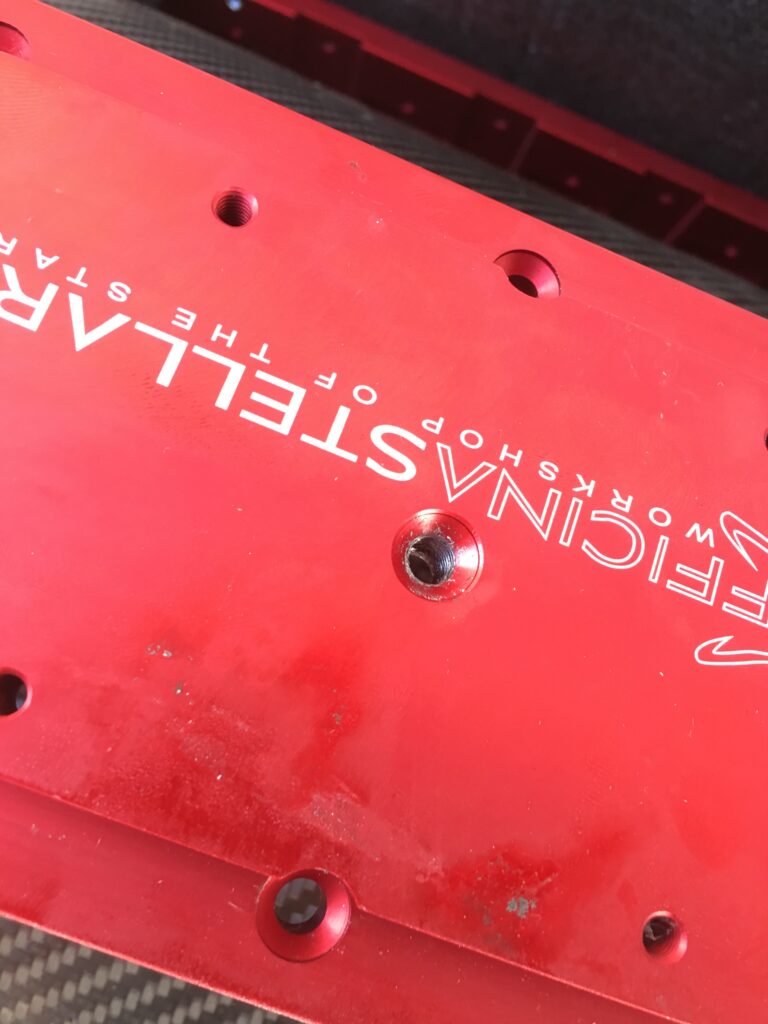
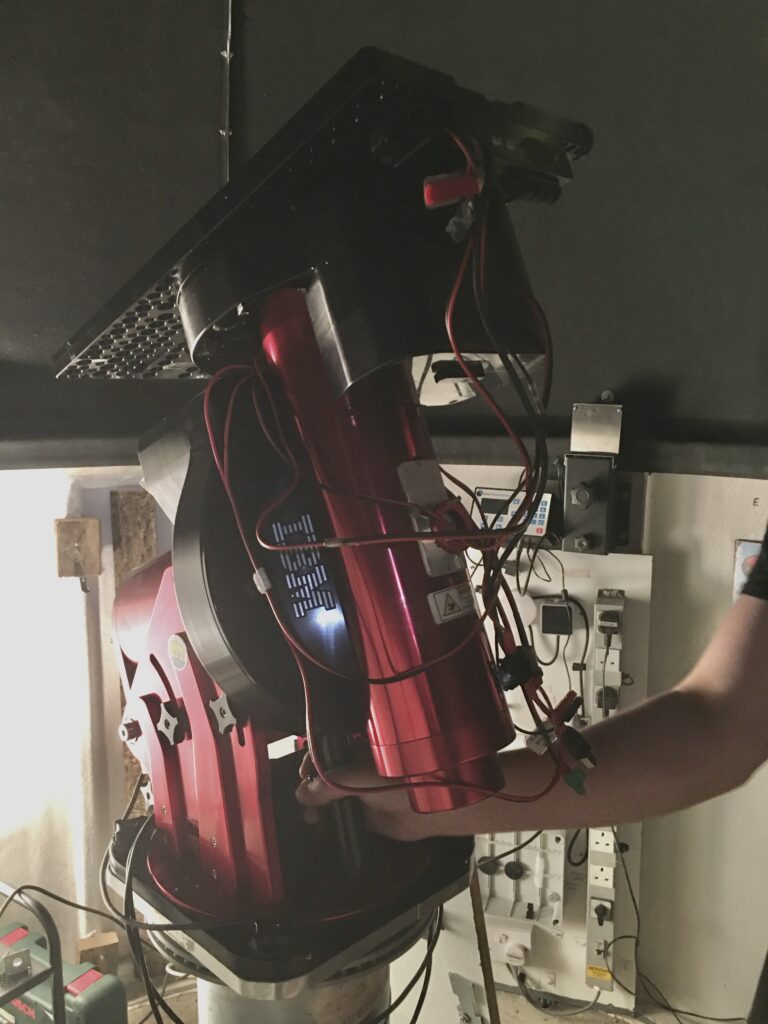
Like with all things the first fitting was wrong, I had forgot to reinstate the long 16″ Meade losmandy plate to allow the OTA to be gripped by all 4 thruster pins on the MEII Versa plate, so off it came again and then we had to find the bag of screws that fitted the taped holes.
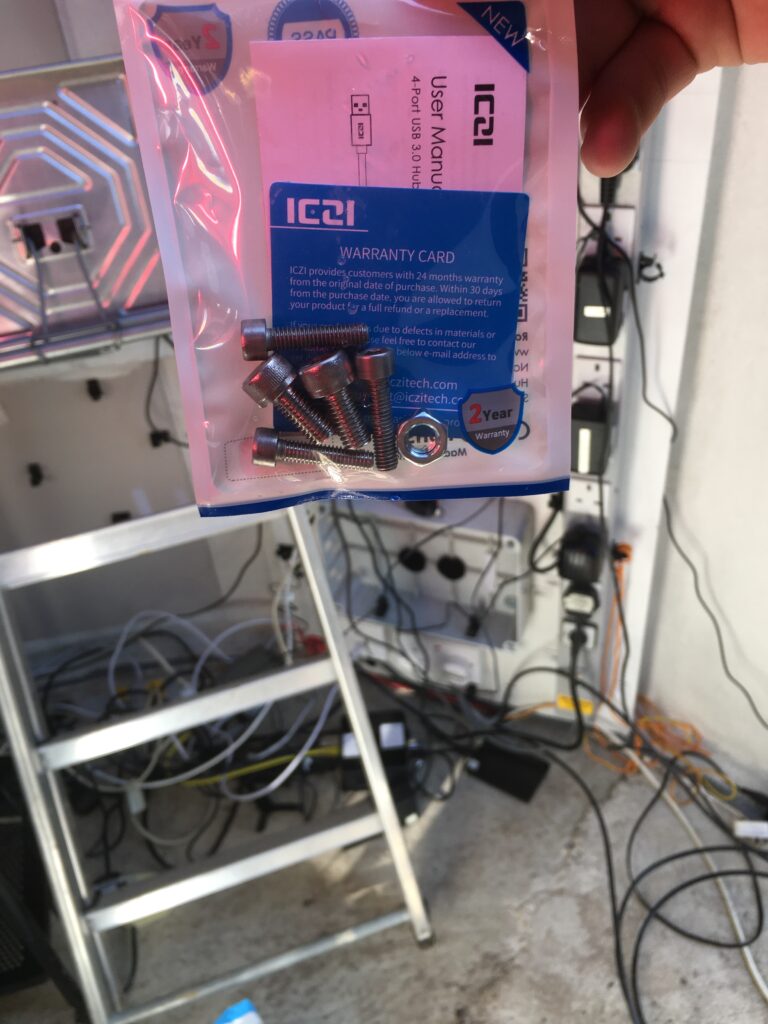
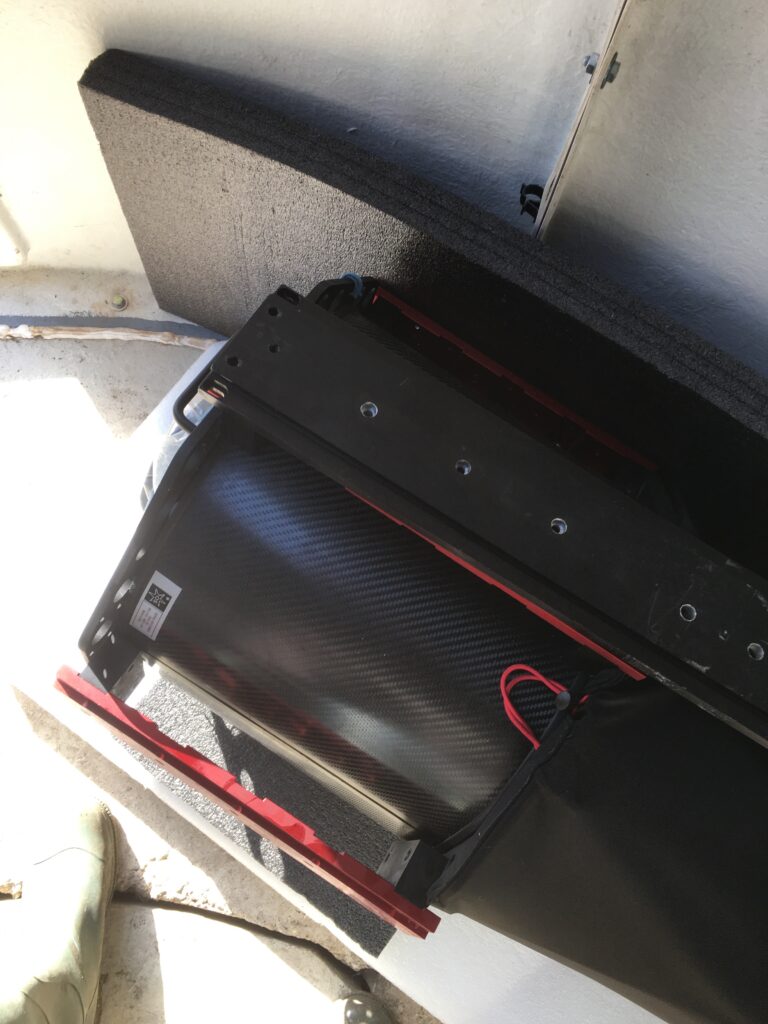
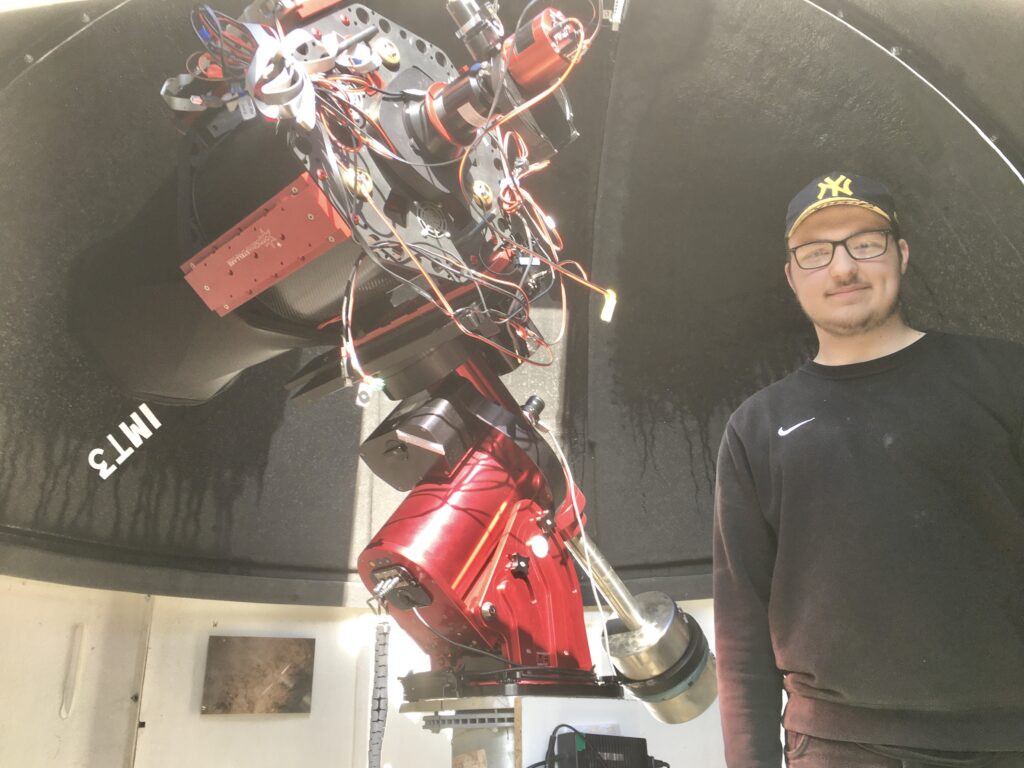
Once found we refitted the OTA, placed the imaging train on, installed the Officina Stellare TC-04 controller for the OTA, fitted the Hi-Tec astro hub and balanced the scope. 28KG of weights were added and the telescope was installed.
Another day past and my other friend came over and helped install the Nuc, Mac, Raspberry Pi and the Intel Windows PC all to control the dome, telescope and various cameras and weather station devices.
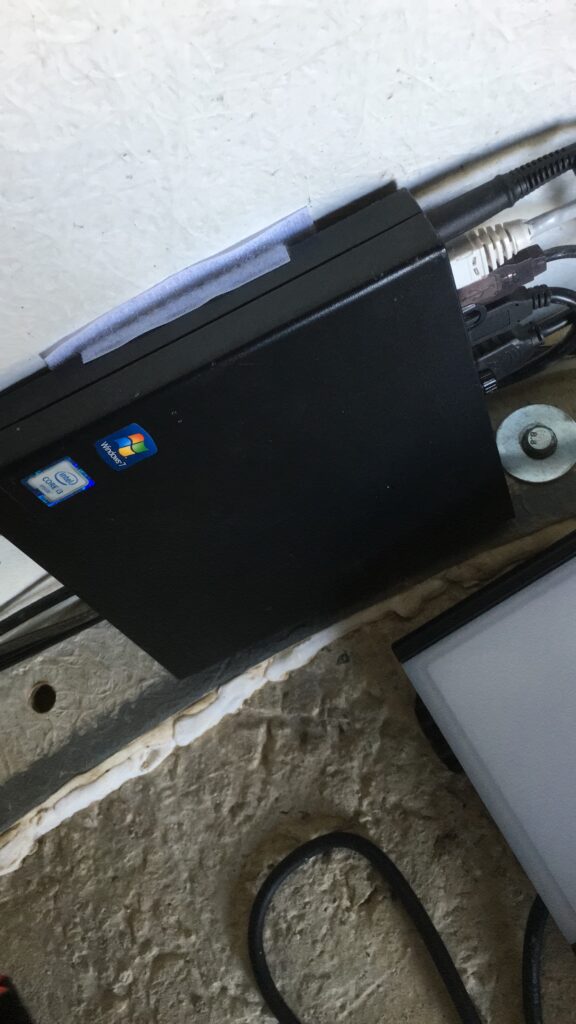
Now the dome could be remotely controlled from outside 😉
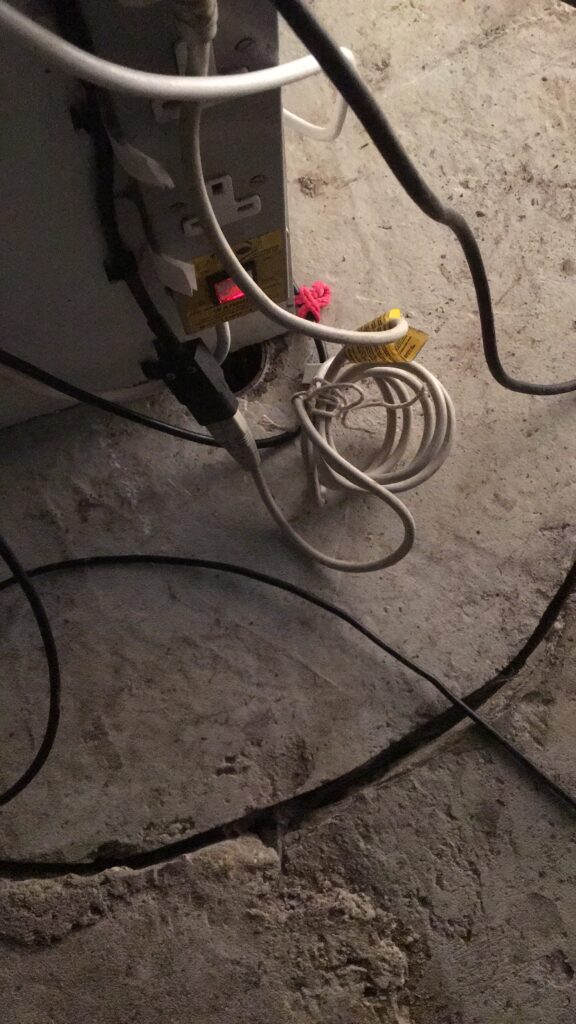
Last but not least I installed the power for the mount after heading indoors to find the mount was not connecting.
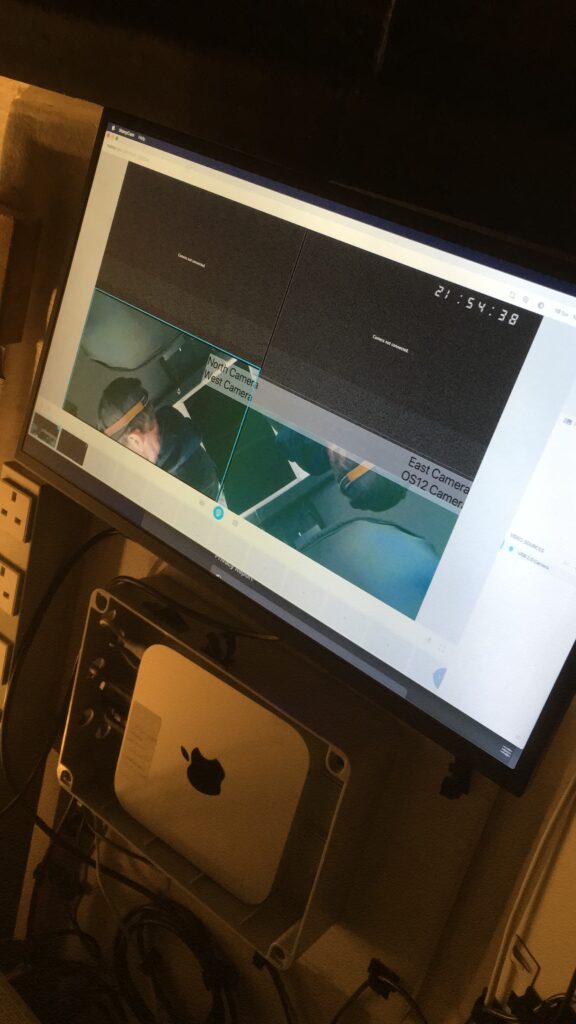
I also installed the cameras for the North East and West positions in the dome to view the OTA in action and one on the end of the 12″ OTA to see where the slit is.
Then this morning I painted around the edge of the dome with fibreglass sealant.

I also noted the dehumidifier was working and nicely draining the water outside the dome.
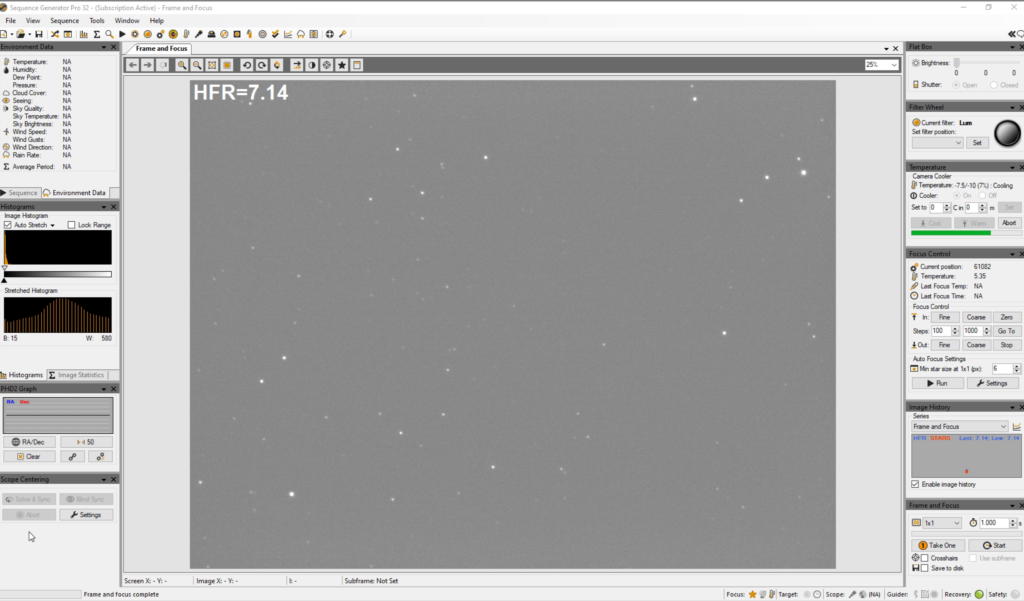
Next up is commissioning the scope to get a T-Point, but here is my very blurry, not entirely correctly pointing first light image of an area of sky in Orion.