IMT3b – Build Part XI

27th March 2021

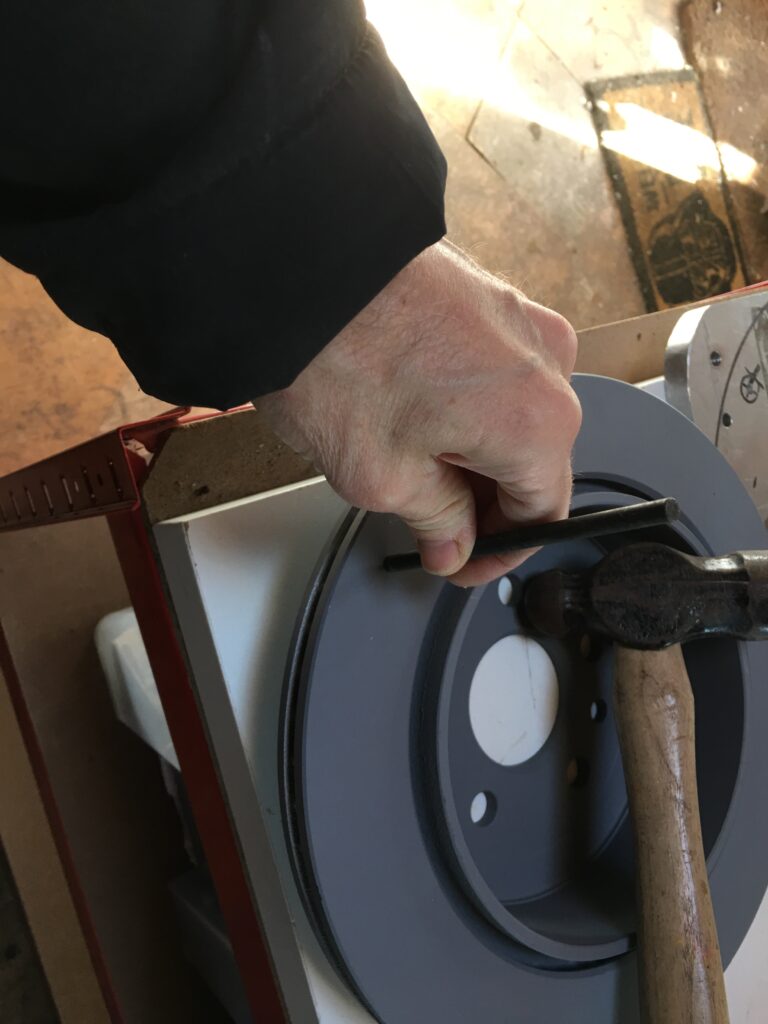
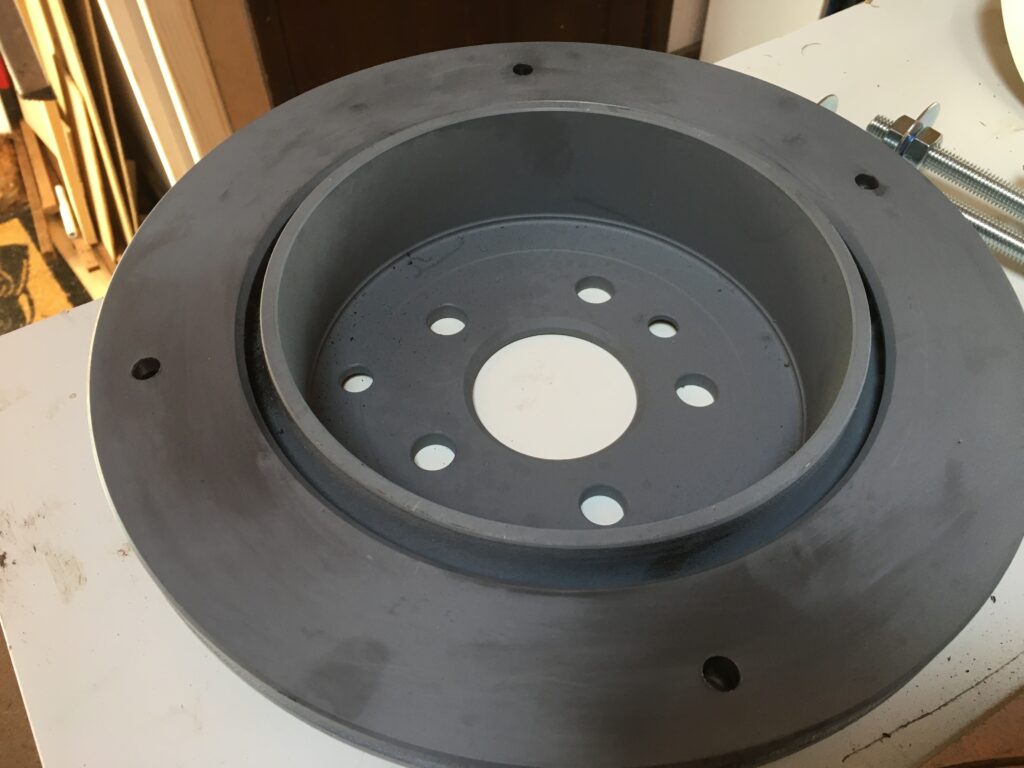
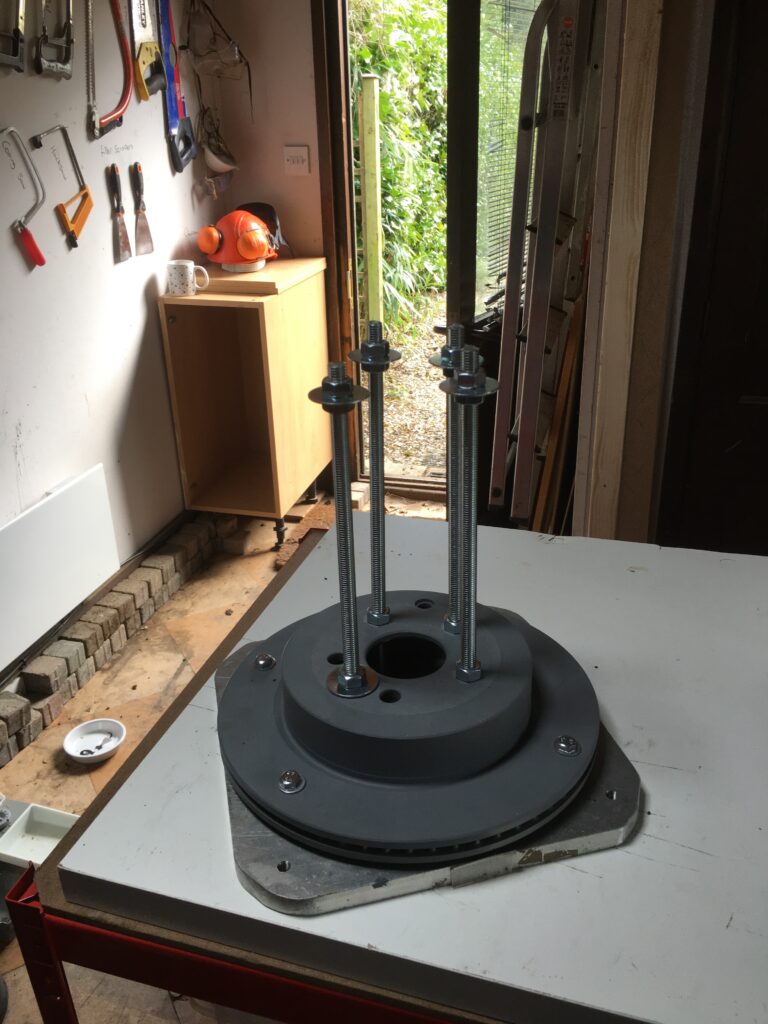
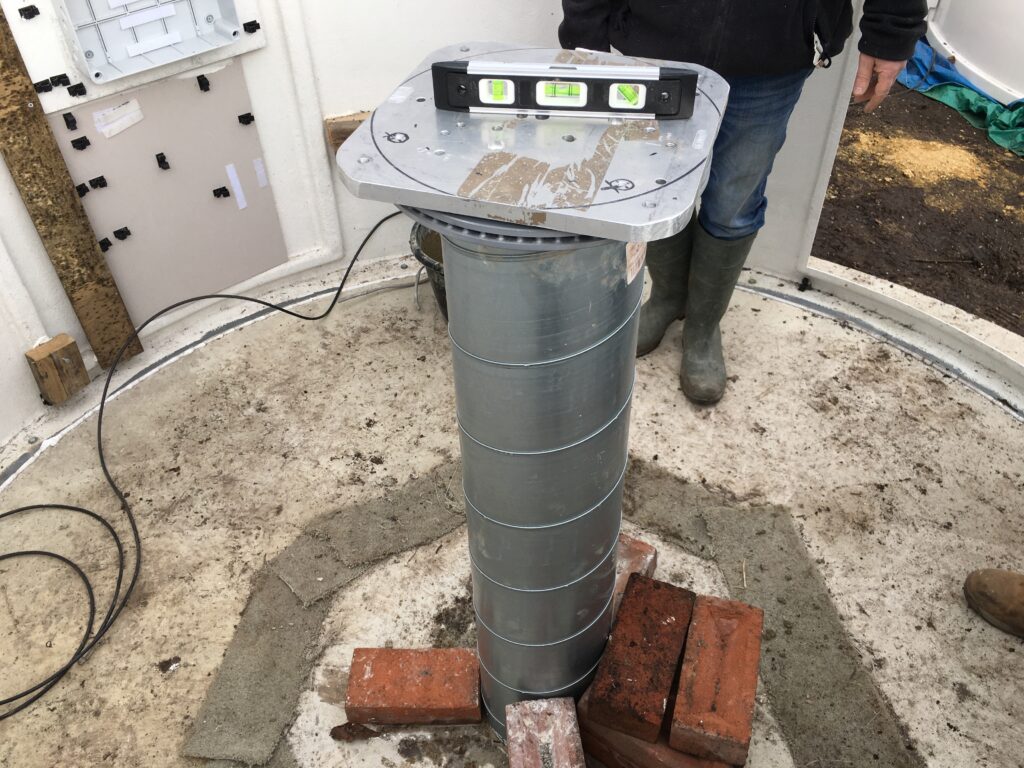
Today was a big day. Not only was the plan to finish the concreting within the dome, in this case the pier, but also to bolt together the dome itself and get it fitted. The first port of call however, was to grab the newly purchased Land Rover disc brake that had been sprayed with 4 coats of primer by Luke and cut and fit threaded bar to it with washers and nuts to hold it in place inside the concrete pier.

Marking the holes on the disc brake
Drilled and ready for bars

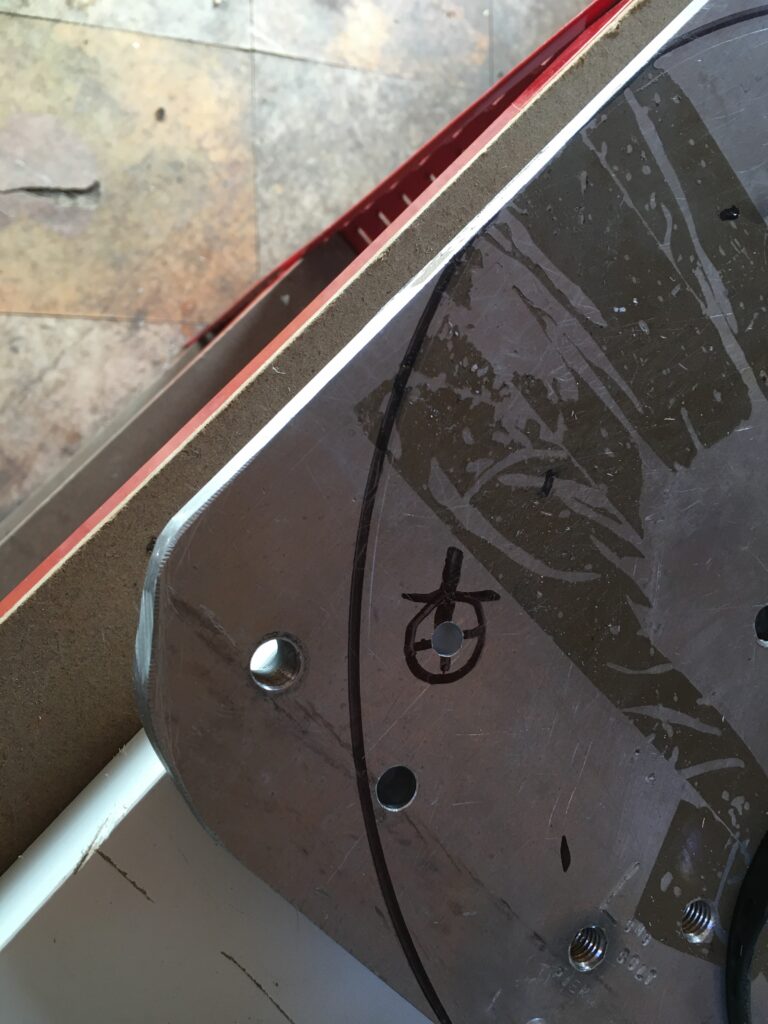
We then drilled and taped holes in the MEII adapter plate that had served mew well sine 2008 when it was installed for the original ME.

Drilling and taping MEII plate
Completed

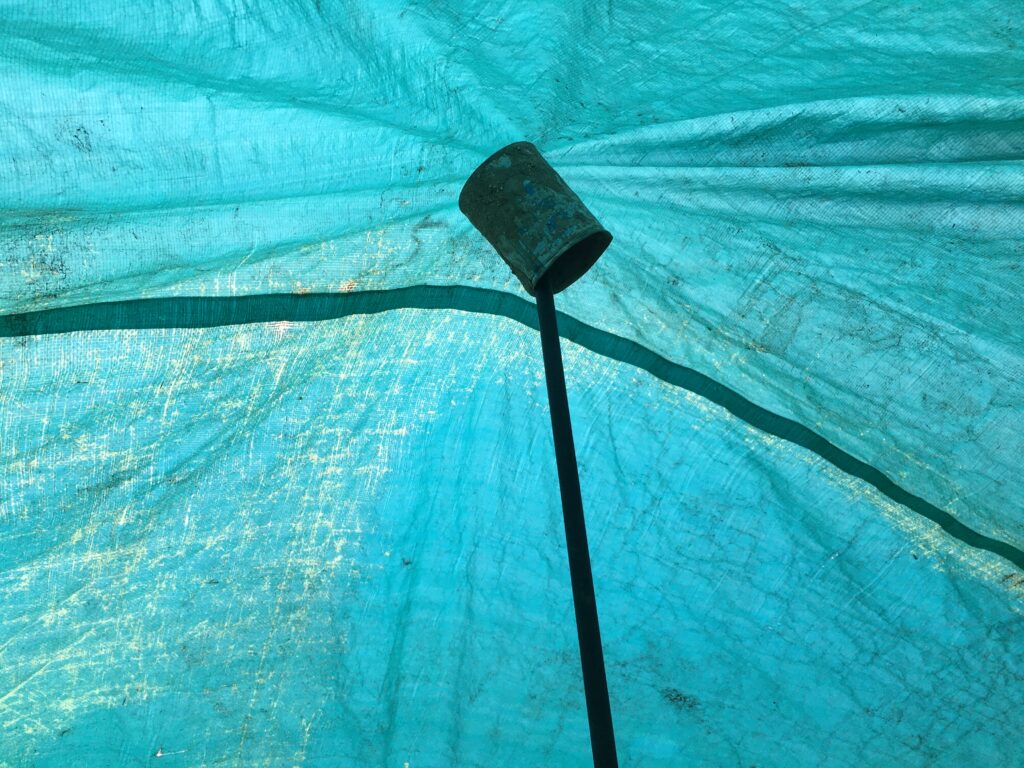
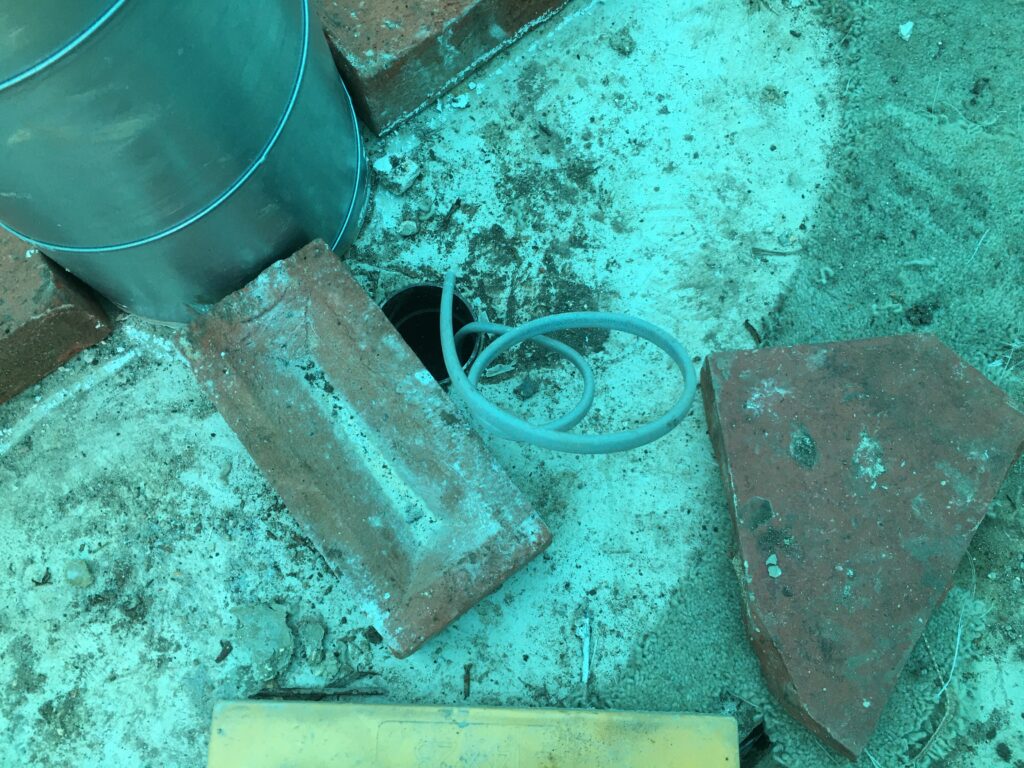
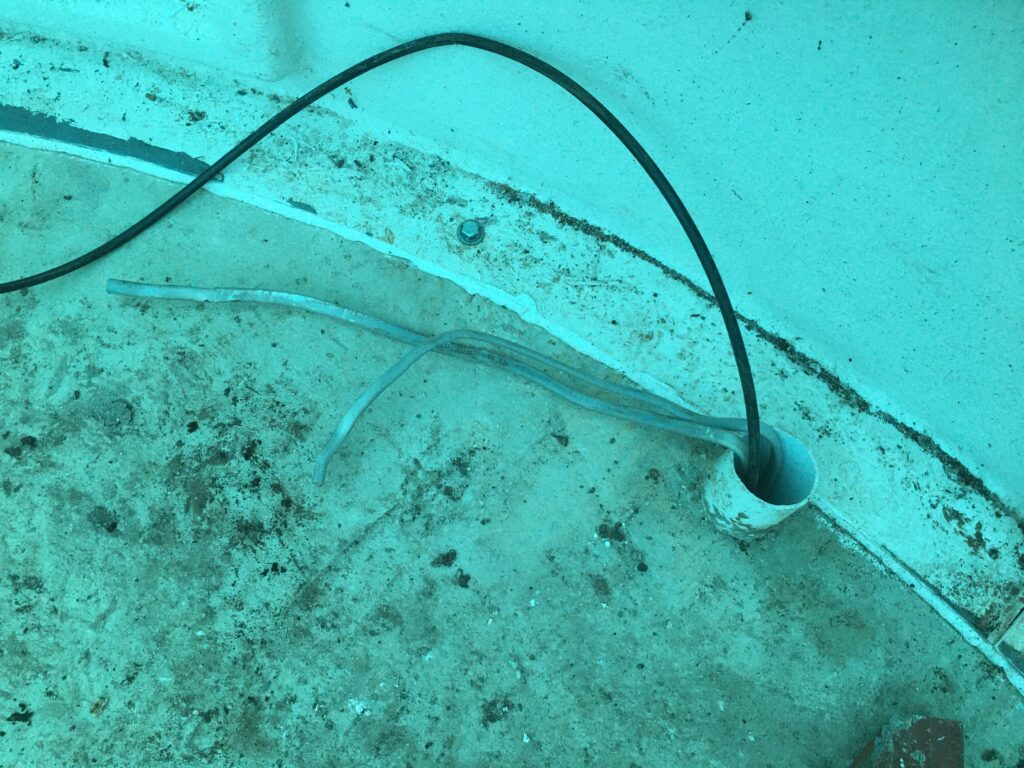
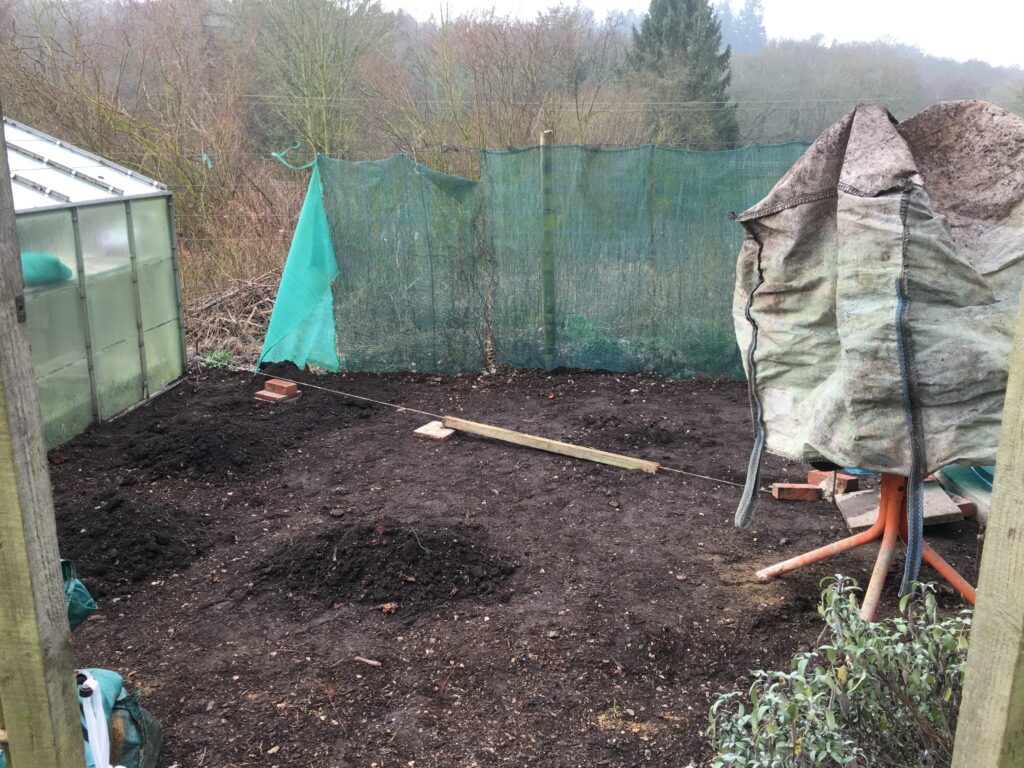
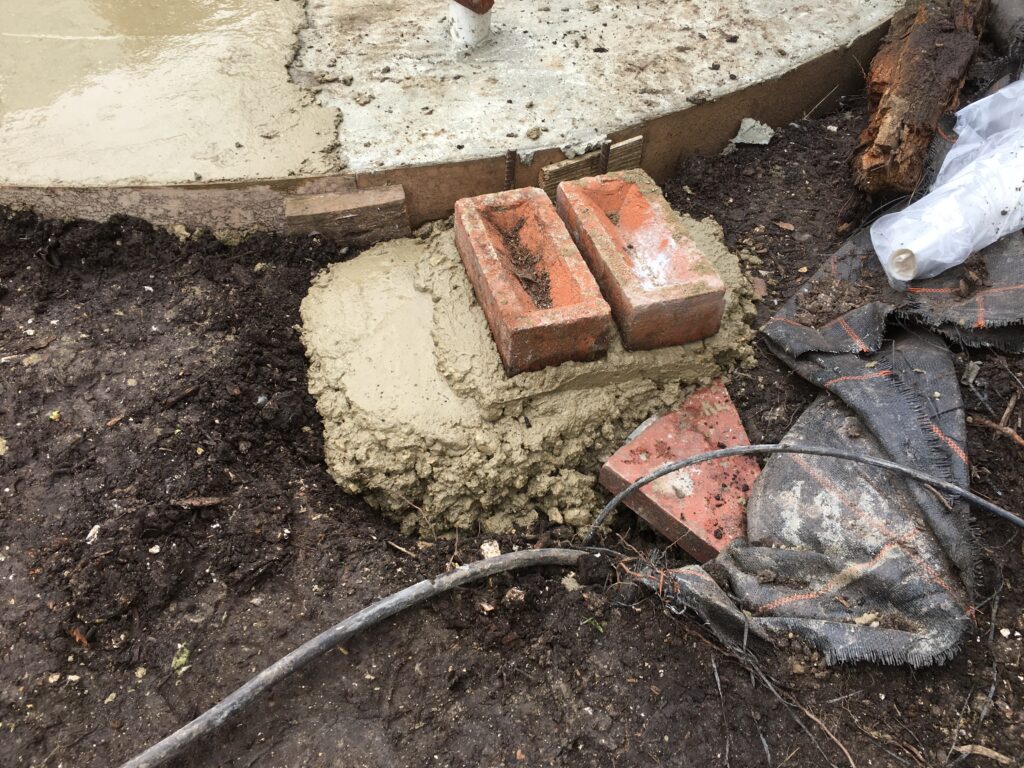
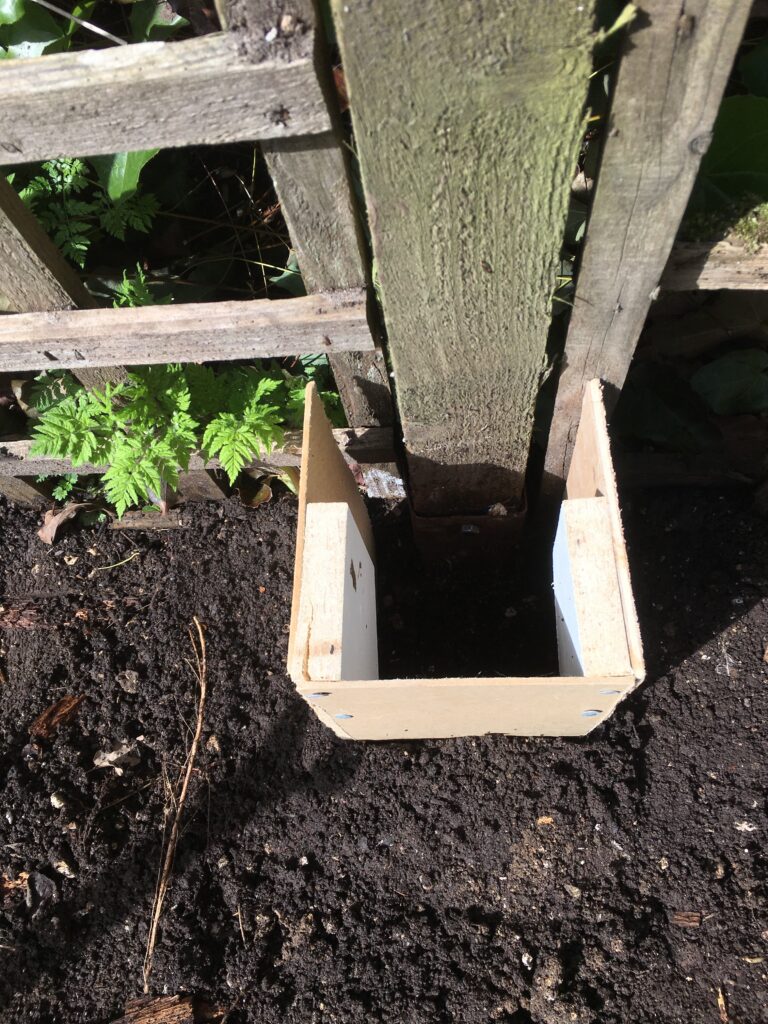
Next we created a former for the slightly wobbly post next to the observatory where the weather station pole was to be installed..

repairing the fence post for the weather station

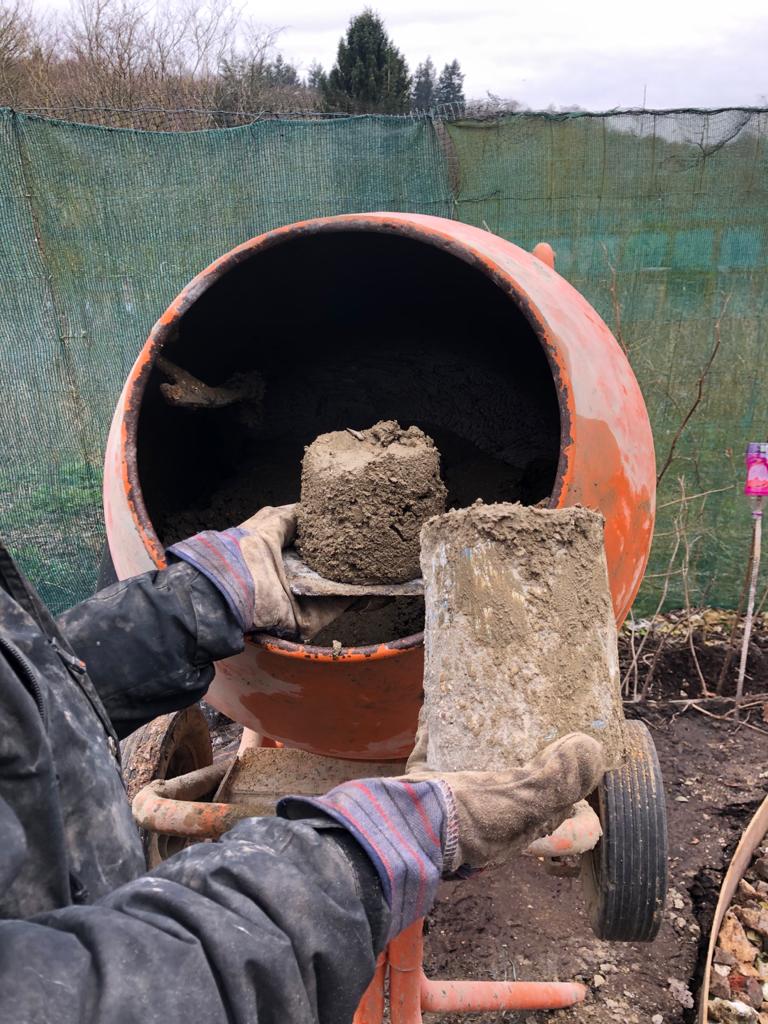
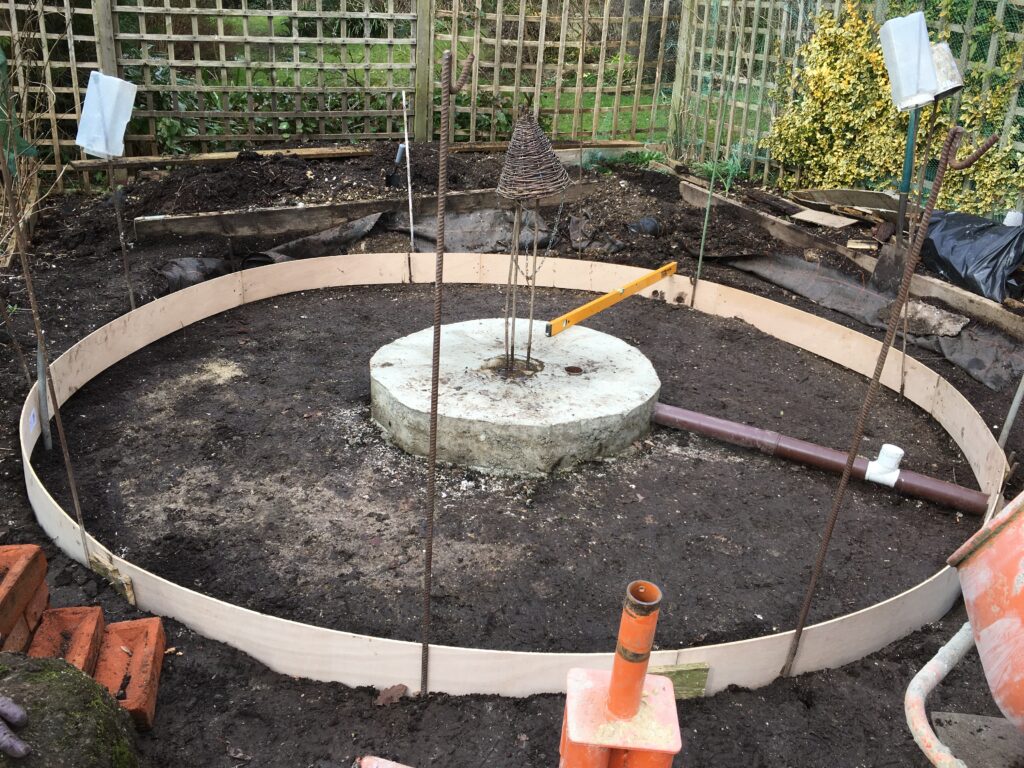
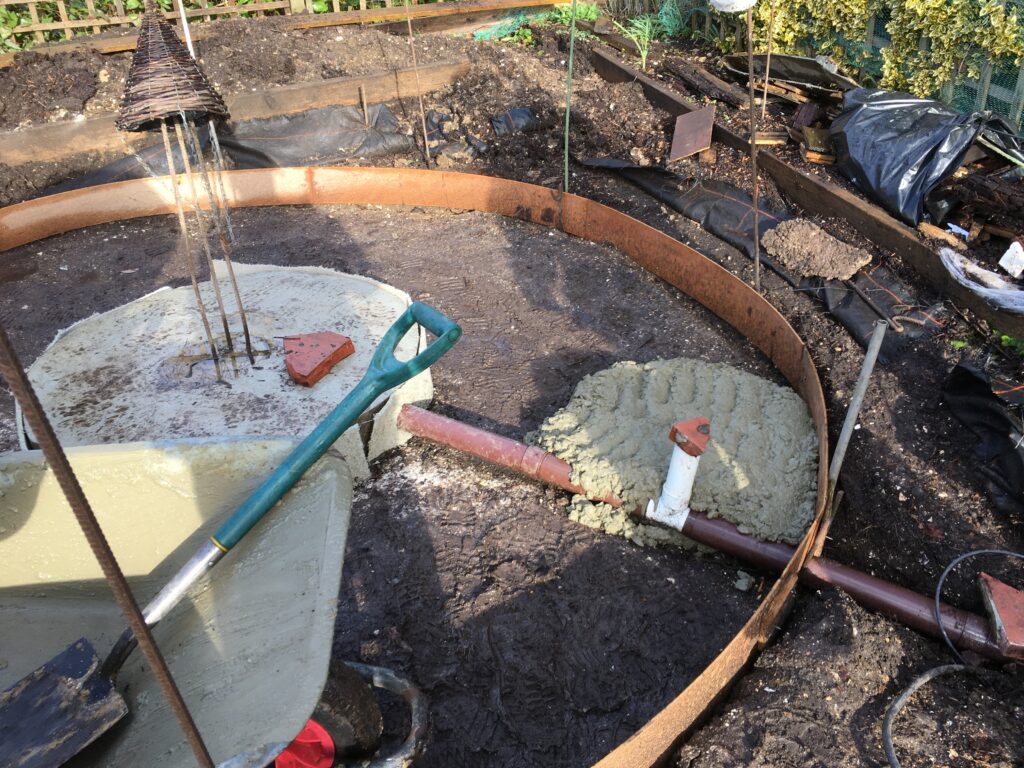
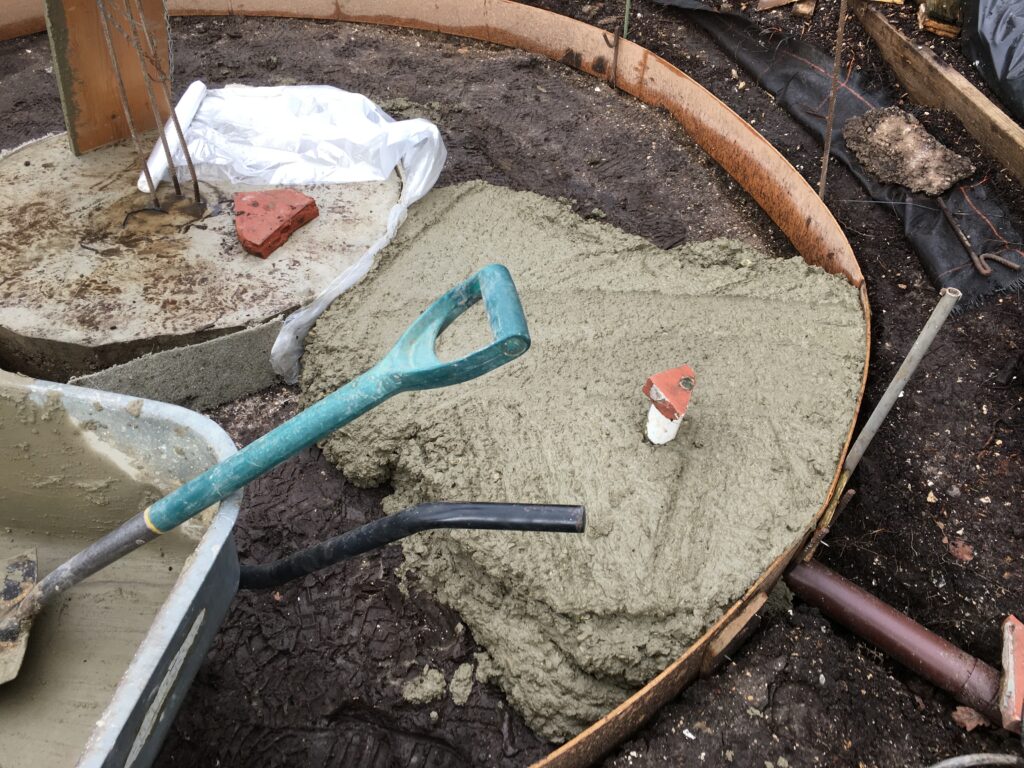
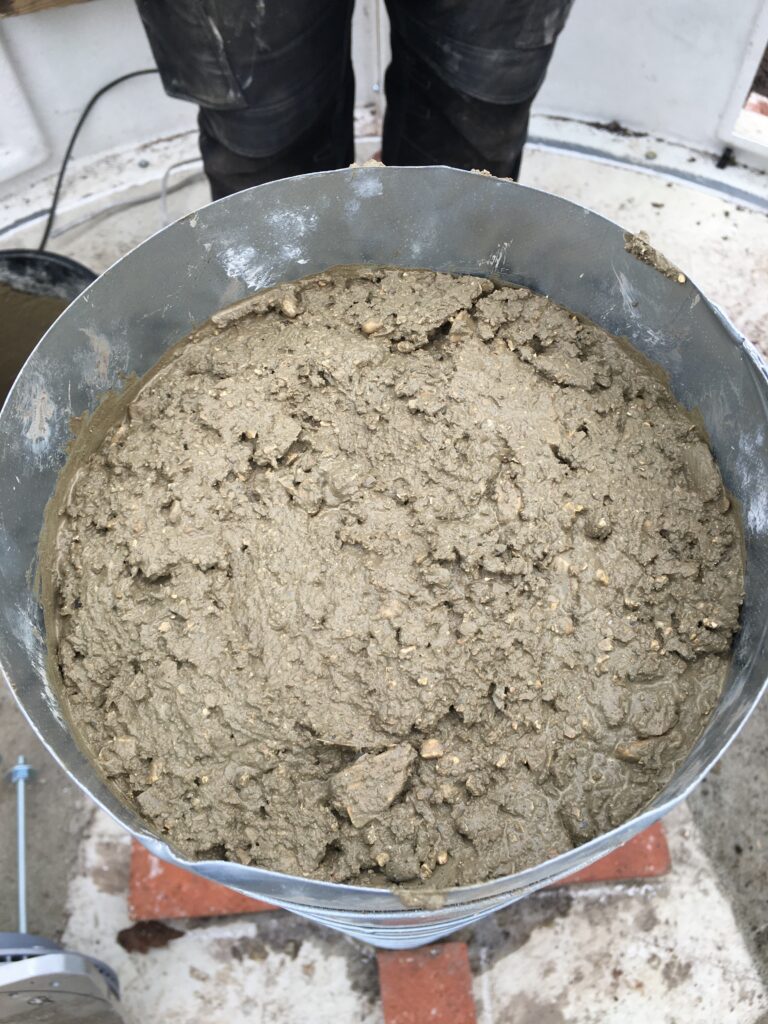
Then we started to concrete the pier. After 1 load the pier was looking a little more full.

1st load

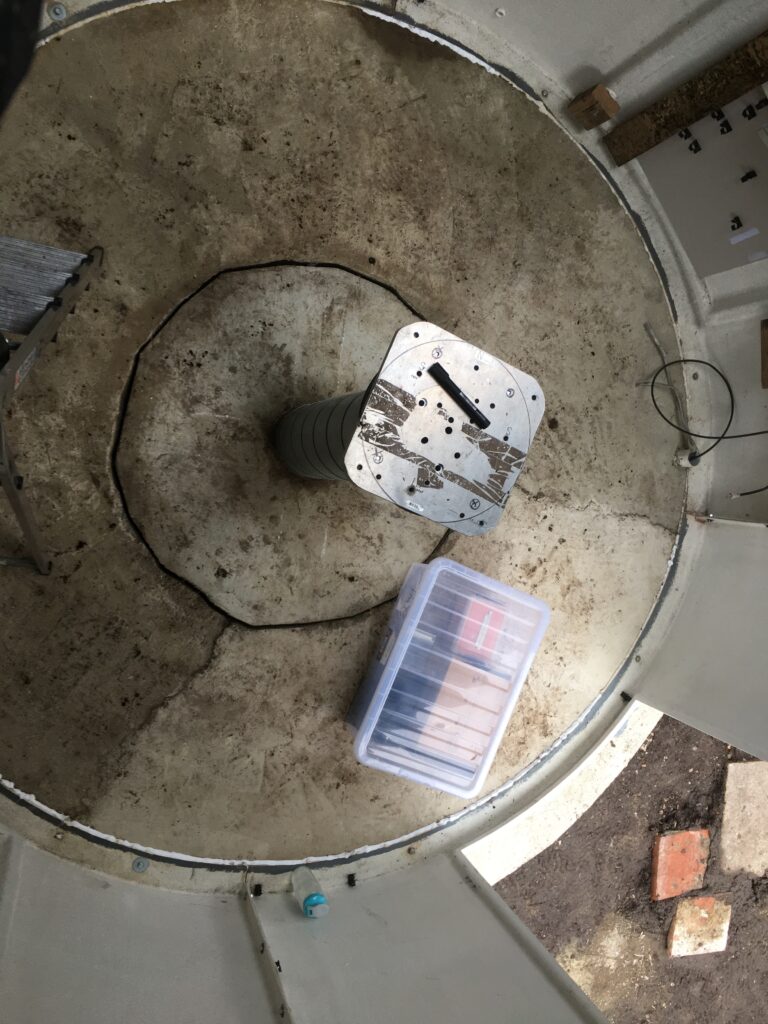
Then after 2 loads it was nearly there. With 1 more bucket of concrete it was ready for the disc brake to be fitted with the MEII adapter plate.

Filled to the top

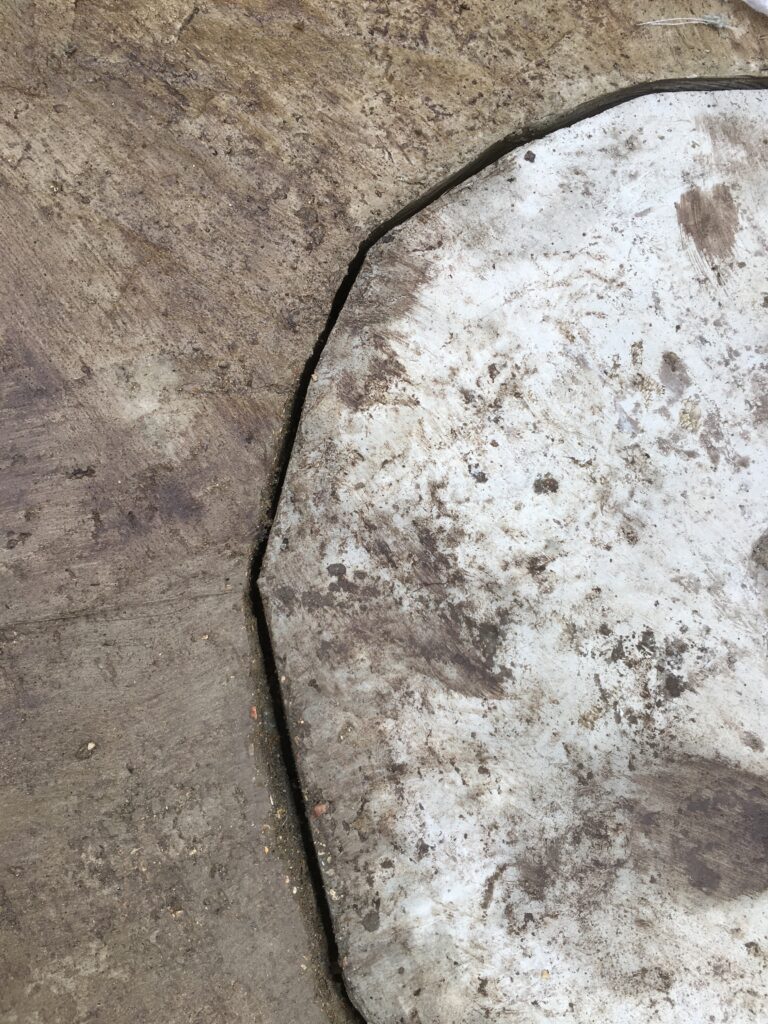
It sunk in very nicely and we aligned just West of North to account for Polaris. We moved the pier slightly to make sure the top plate was level.

MEII plate level on new pier

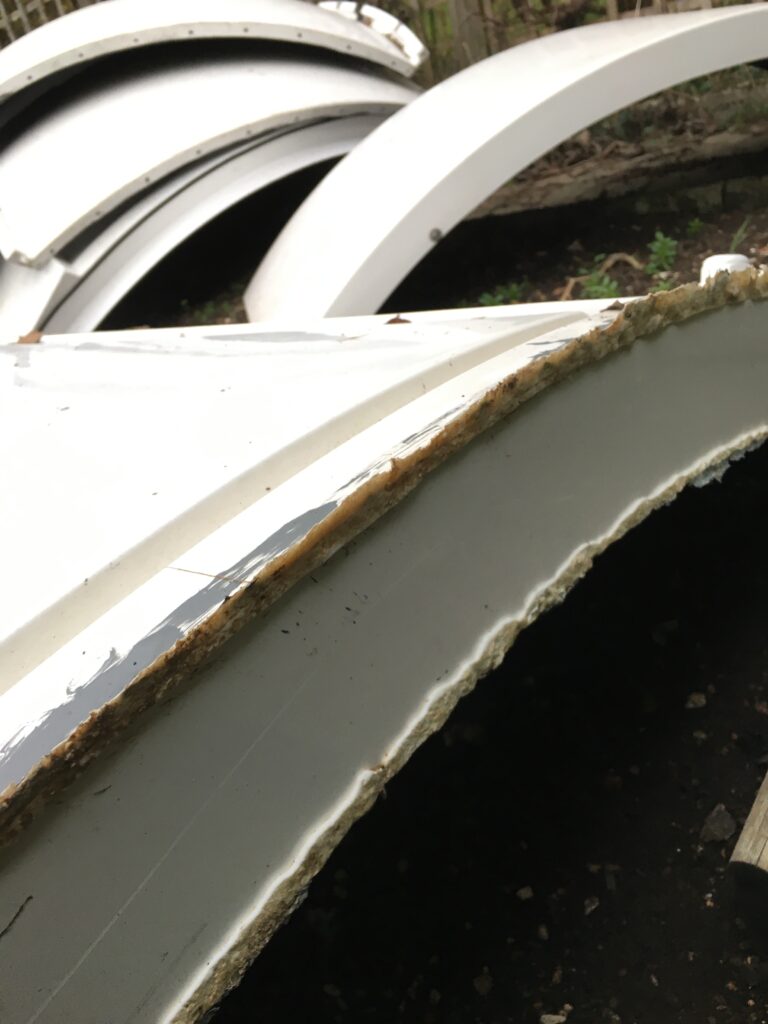
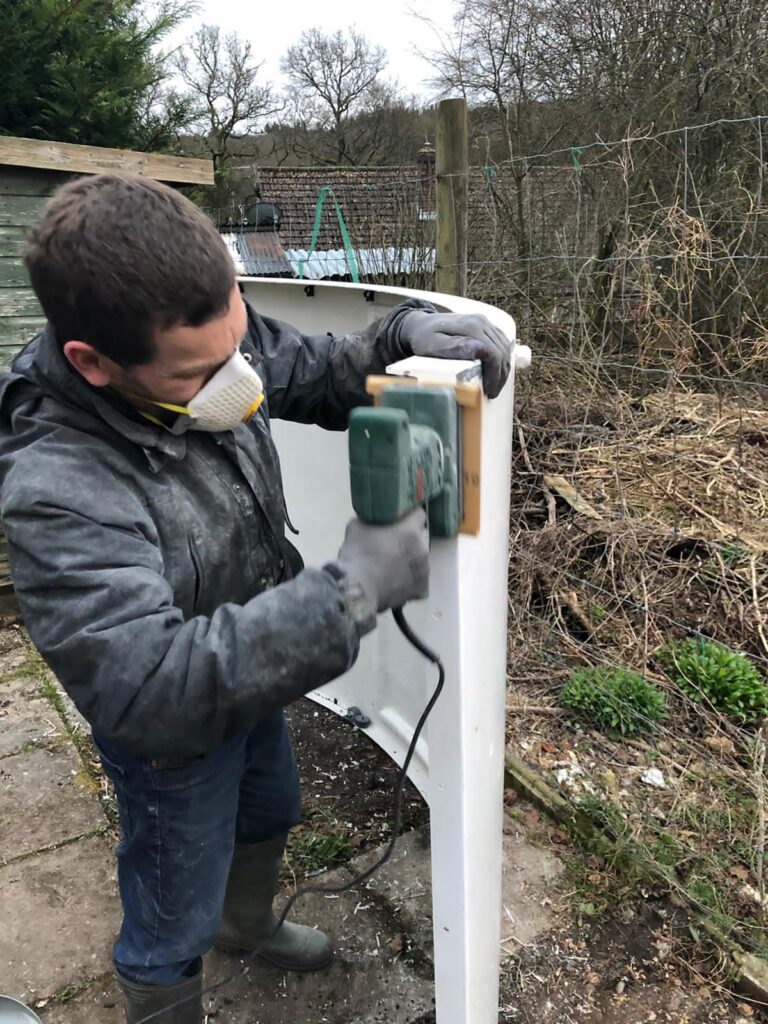
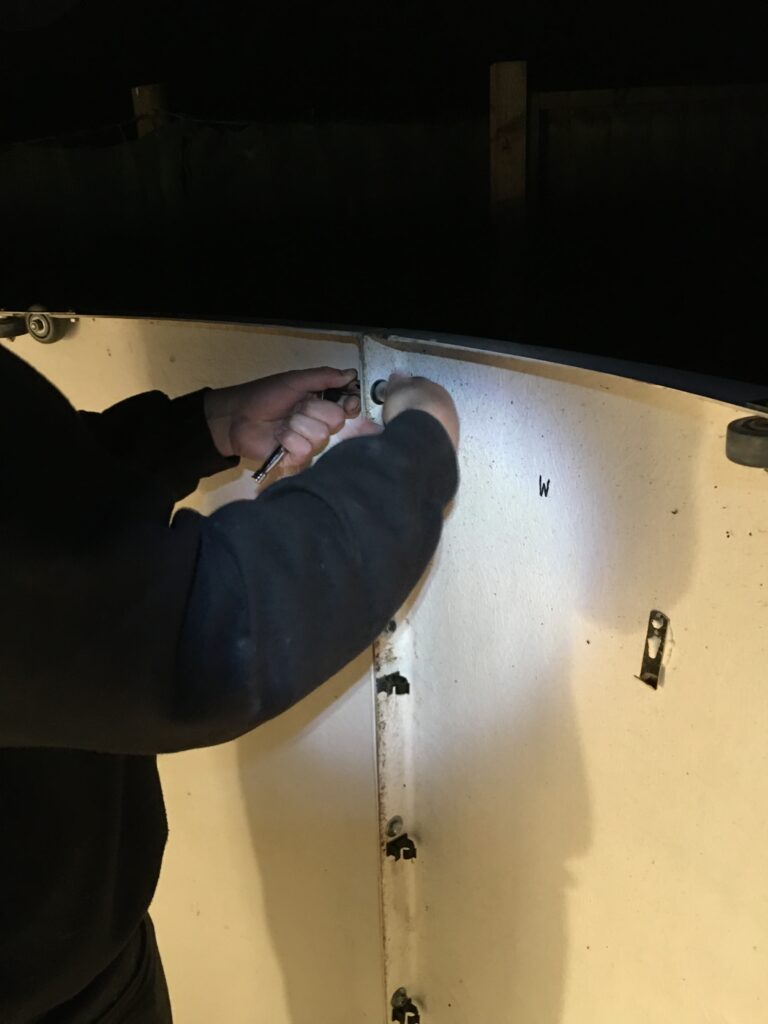
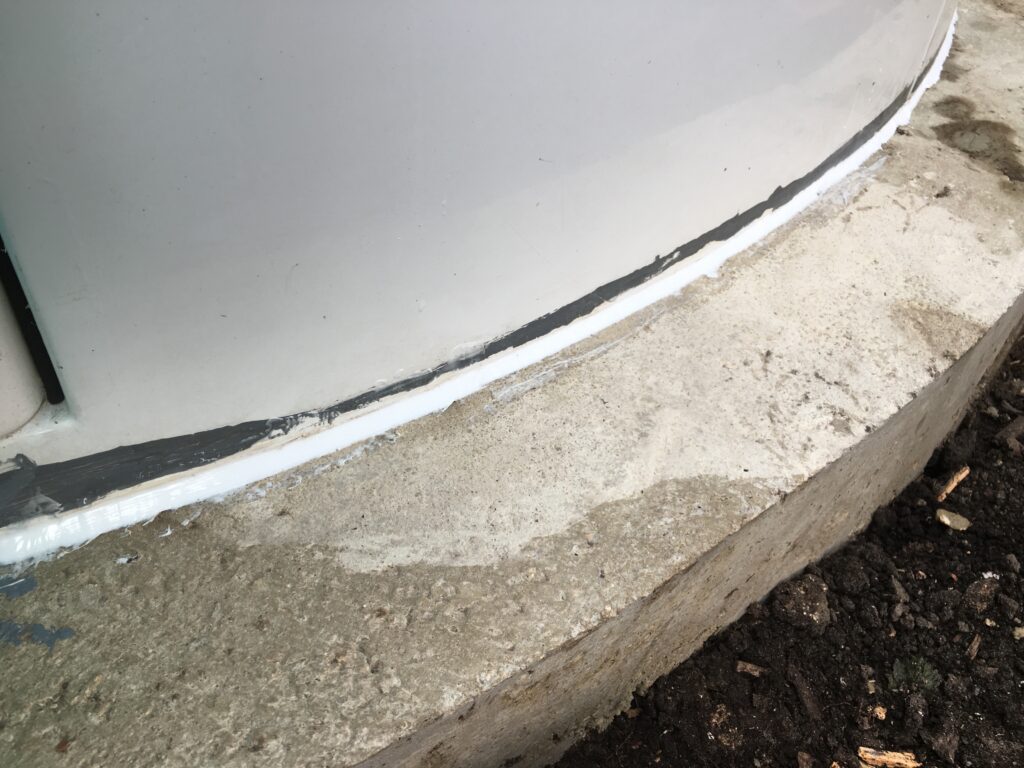
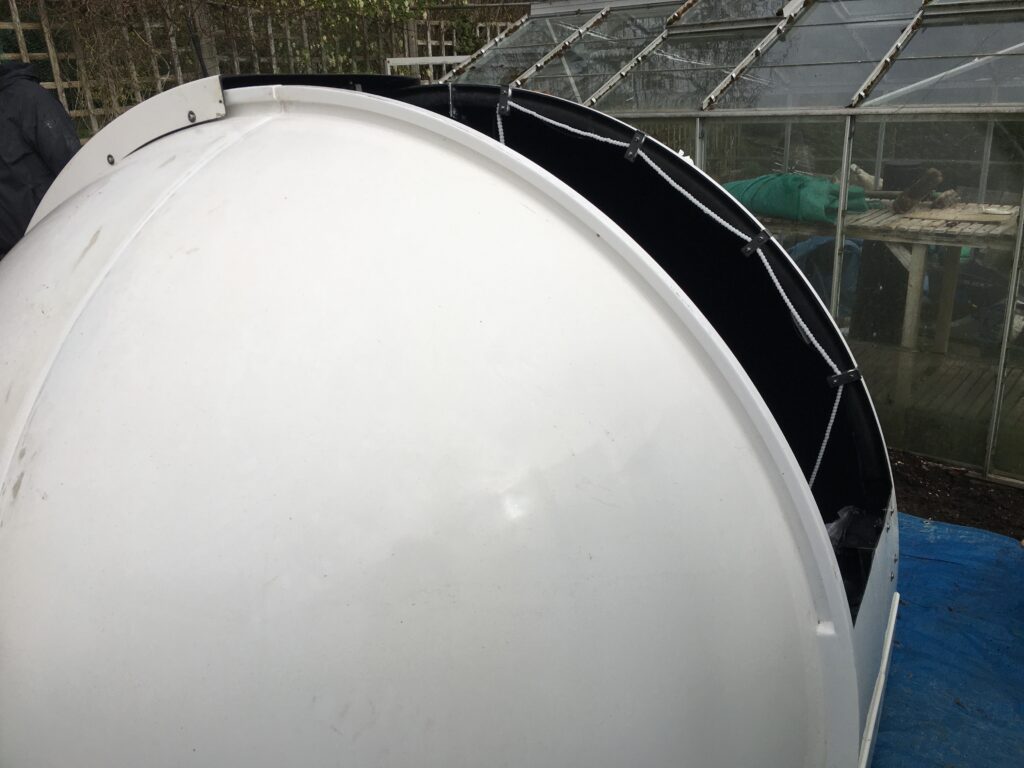
Next the dome segments were prepared in the same fashion as the walls with electric sanding and then using mastic and bolting together.

dome prepared

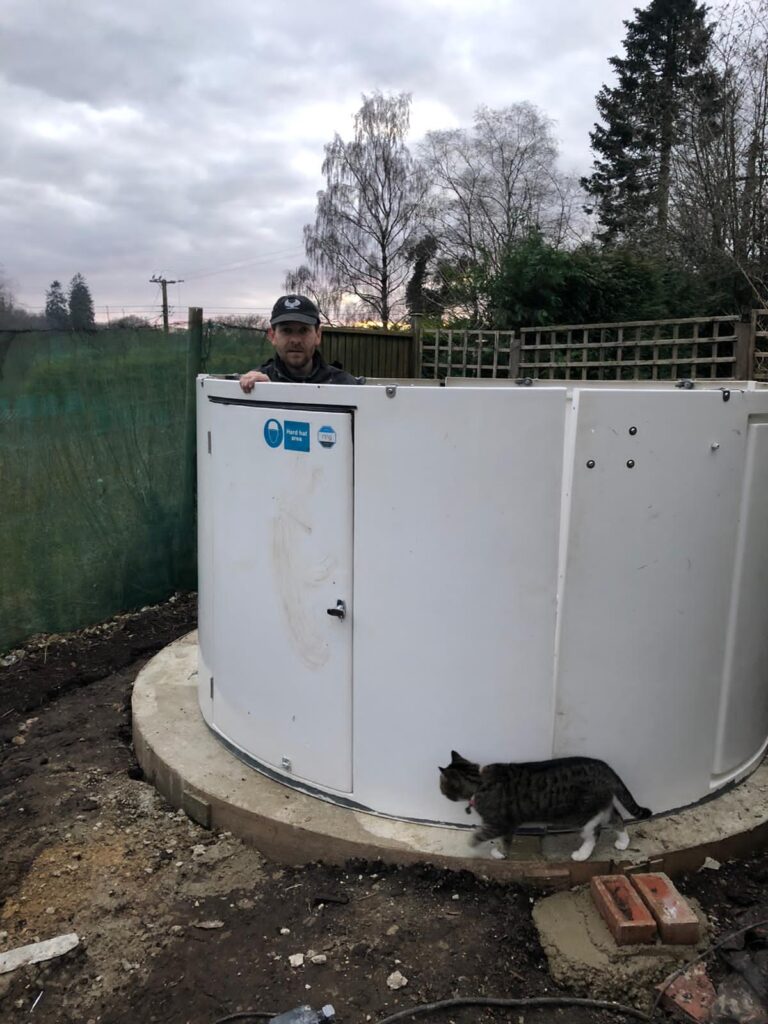
Next Helen, Luke, Ezri and I lifted the dome onto the observatory base. Job complete!

IMT3b 😎

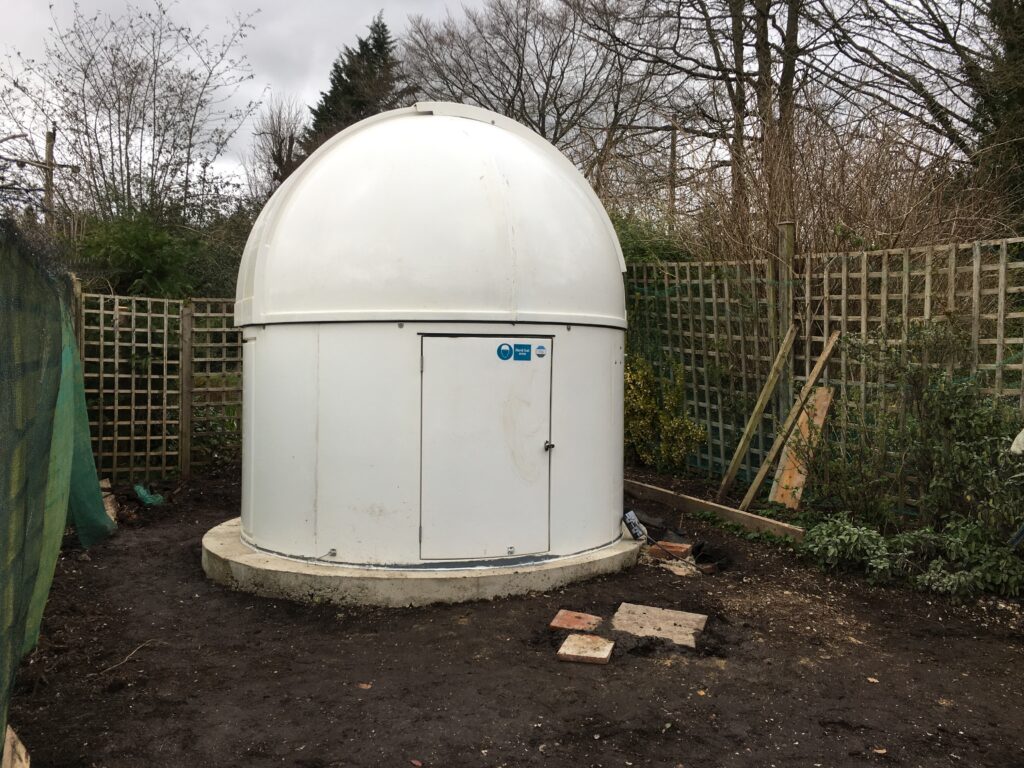
Well almost, well not at all, there is still loads to do. Not only does the dome not rotate fully, due to the walls not being perfectly round (I need to resolve) but also the shutter drive needs fitting and the dome rotation drive and all the electrics and……. well you get the picture 🙂

view from above

IMT3b – Build Part X

24th March 2021

With some wet weather coming in I decided to put a tarpaulin over observatory walls as we had not fitted the dome yet. I used an old pole from a bird feeder not currently in use and the pot used for checking the concrete mix with the slump test.

I then fitted the electric cable that would be connected to the outside socket once the dwarf wall was built. I had forgot to run a rope or string through the plastic down pipe but still managed to get it through with a bit of pushing, including the run for the pier and the main outside wall.

IMT3b – Build Part IX

22nd March 2021

Lots of old mastic

Time to prepare the observatory walls to be fixed to the observatory concrete base. Because this observatory had been in place at my last house, we cut the mastic to separate the panels. This left large amounts of mastic on each of the dome segments and on the observatory wall panels. With the use of Stanley knives and an electric sander the job was much quicker than using sandpaper by hand. It still too several hours though.

Sanding down

Then it was a case of placing the wall segments down and biting each pair together running a bead of mastic down each. Now with 2 pairs done, we lined the dome up so that it was at best equidistant from the pier. I then drew a chalk line around the edge, drilled pilot holder where the dome walls would attach to the concrete and then we unbolted and moved the dome walls again.

Dome segments in place

Luke then had the fun of using the SRS drill which is the only drill to get through concrete to the depth needed for the long M8 bolts. Once all were drilled and the anchor bolt sheaths were hammered in, we ran another bead of mastic around the base and then placed the dom walls in their final positions. We then bolted them to the floor and the 2 pairs back to each other with more mastic here too.

Bolting walls together int he dark

By this time it was a getting fairly dark so we tightened up the final set of bolts and called it a night. Luke then spent some time raking the mounds of soil from around the sides and rear of the observatory that use to make up the vegetable patch. The lay of the land means we need to build up one end of the observatory land surrounding the dome by about 6 inches to allow for a flat patio later in the summer.

Levelling the ground for a patio

Finally the day after this I came out early in the morning and ran 2 tubes of silicon mastic around the outside of the observatory so that when I pain on the Rust-Oleum fibreglass Fillcoat waterproofing sealer that it would smoothly go over and not disappear in some of the larger gaps caused by less than professional concrete laying.

Mastic around the dome floor
Hide and Cat 🙂

IMT3b – Build Part VIII

20th March 2021

Another weekend, another day of concreting. Once done, there are 3 patios to fit, another observatory, rolloff, a Summerhouse and a workshop! That’s a lot of concrete and cement mixing!!! So you guessed it, more ballast!

More ballast!

Similar time as before 8:41 am and Luke and I removed the carpet from the old concreting which separated the block from the observatory base. This was carpet and plastic. We worked out that removing it was hard so the next time we would remove after 4-8 hours, time for the concrete to set and not slump but not so hard you have to use a cold chisel and lump hammer to remove.

Mind the gap!

Given the depth of the South side of the observatory base, we decided to place a lot of flint material on the base, this again would reduce the need for so much concrete. Another slump test and another successful mix.

Slump test

By 10:40, some 2 hours later we were done. The join was a bit rough but we could chisel that down later if needed.

Finished observatory base

The spare cement was used to concrete in a manhole cover that was not concerted in by my house, also I used some to start the base of the small brick pillar nicknames Fraggle Rock by Gingergeek and 2 bricks for the electric to be fixed onto later.

Fraggle Rock

Just before evening set in I went to inspect the concrete and cover before it got cold, I noticed a bird had clearly walked across it, that will now be some heavy bird I guess 🙂

Heavy bird 🤔

IMT3b – Build Part VII

17th March 2021

ASC & Weather Station plus cameras

During the week whilst waiting for the ballast to arrive for completing the observatory base, I took the opportunity to unpack the weather station, all sky camera (ASC) and Ring camera that would go on the aluminium pole in the garden.

Pole needing some modifications

I’d forgot how many wires there were for all of this given the ASC has a due heater built in, another set of wires and we had a secondary rain sensor connected. This was never commissioned at the IMT3 location so we removed from the setup and simplified the wiring, I must remember to give it back to Bob who kindly provided it.

Some of the cables

The USB connection was in a waterproof box, this was for the ASC and the heater connections were here too. Gingergeek and I cleared out the spiders that had nested in there, filled the holes where they got in and did the same inside the ASC itself.

USB and heating element connections

The Unihedron SQM was also unpacked and we have decided this would go on a separate post.

SQM

Meanwhile we unpacked the anemometer and repositioned it on the pole and allowed the ASC to positioned at the top to give an unobstructed view.

New arrangement ready to go!

All set and ready for installation.

IMT3b – Build Part VI

13th March 2021

So continuing my writeup of progress on the dome build. With the pier block complete, now it was time to make the former for the base and start the concreting. The former was made from 5mm ply that I purchased from Homebase as they cut large sheets on site which is very hand for transport. When home I then cut the material further and then secured the strips together with some scrap wood I found.

Wood former in place

With some rebar stakes found in the flow borders I kept the wood former in place. Again I cut a hole in the wood seen to the right of the photo above for the electrical pipe. The height of the block above the ground can be clearly seen.

With the ability to meet 1 person outside, one of my friends came over to help. I had already prepared some days earlier the wood former which was looking good. I noticed that to get the depth required the height of the observatory base to the North was significantly less than to the South due to the slope of my land. So I needed more ballast.

Well reversed 👍

Travis Perkins was the cheapest for ballast locally and had delivered before. The driveway is rather tight at the property, however the drive did his usual finesse and reversed up first time. He then set about manipulating the fantastically well engineered crane are to move the bag to the rear of the vehicle without hitting my lamppost 🙂 Well done Mr TP Driver.

Don’t you just love big toys 😎

In hindsight I should have made the overall depth much less including that of the pier. I could drive a car on the base or build a house it was so thick, This in part was because we decided not to dig any further into the chalk for the pier block and instead have the block higher to make sure it was still thick enough.

First pour

Again the level of the wood was checked across the former to the pier block to make sure the level was correct. By 8:40am we had poured our first load and the long process began.

Many pours later

It was clear after around 5 pours that this was going to take some time and a lot of ballast! After 2 hours it was obvious that we did not have enough ballast and the empty bag stopped us progressing any further. It would be another week before we would have another opportunity to complete the base.

Later that night I found some rebar in the garden and Luke and I hammered it into the concrete to give the next pour in a weeks time something to anchor too Carpet and plastic was used to separate the pier block from the observatory slab.

Viewing Report 5th March 2021 – Travel Setup

23:38 – 00:18

Orion NSOG Finder Chart

A short trip out tonight and only with the binoculars. I wanted to start my journey through Orion star hopping using the Night Sky Obervers Guide as my bible.

With the tagging of objects as follows I setup the binos and went about looking up

Sp – Showpiece

Bs – Binocular Sky

Bo – Binocular Objects

34 Delta Ori (Bo) – The first object for tonight. Given the time I started and taking Orion’s belt as a reference, the middle star called Alnilam or 46 Epsilon Orionis was at an altitude of +09 vs if I had gone out earlier at say 7pm of +37 so this was a challenge before I started.

Belt stars Finder Chart from NSOG

I did however see 34 Delta Ori (Mintaka) at Mag 2.2 and instantly knew it was right as I could see its double star companion around 1’oclock shining at Mag 6.8. It was a lovely sight seeing this visually tiny companion next to this larger and brighter star. Was very pleased I had started observing visually again.

34 Delta Orionis

41 Theta Ori (Bo) – Not seen as set

42 Theta Ori (Bo) – Not seen as set

43 Theta Ori (Bo) – Not seen as set

41 Iota Ori (Sp) – Not seen as set

48 Sigma Ori (Bs) – Another lovely little double star, just South West of the first of the belt stars from the left, Alnitak, 48 Sigma Orionis is a Mag 3.8 star and I could clearly make out the Mag 6.7 at around 10 o’clock.

48 Sigma Orionis

B 35 – Not seen as expected due to lack of aperture

Basel 11B – This is a really tiny open cluster of stars, I knew it was there as I star hopped from Mu Gemini that I could see clearly at Mag 2.9. I could see Chi1 Orionis and Chi2 Orionis that form the upper stars in Orion’s club but it was easier to star hop from Mu Gem.

Finder chart for just North of Orion

Basel 11B sits just North West of the club and reportedly has 12 stars, I could only see it with averted vision due to the aperture of the 100mm binos, however I would say 3-4 were visible, given they are Mag 10+ so pretty faint for this instrument.

Basel 11B

Berkeley 21 – I was really not sure if I could see this, even with averted vision. The cluster is about Mag 11 so right on the limit of my instrument. I kept going back and forth, I was in the right area as it is fairly next door to Basel 11B. I jiggled the binos about but I could not be certain. I will have another go when Orion is higher earlier in the night.

Berkerly 21

So that was it for me, Orion was setting so it was time for bed.ß

Viewing Report 27th February 2021 – Travel Setup

20:00 – 21:25

Out this evening to find MEV-2 and Intelsat 10-02. Whilst some of the society is providing images to DSTL (MOD) within the UK on the MEV2 satellite, I thought I would have a quick go and capturing. Unfortunately due to the small chip the FoV was not large enough to capture useful images so instead I thought I would capture a movie. Gingergeek joined me by Zoom.

MEV-2 and Intelsat 10-02

So after polar aligning I slewed to Intelsat 10-02 and with a small nudge of the mount the 2 satellites popped into view. The above image shows The Sky X I used to track the satellites on the left and on the right the capture software, firecap, of the individual frames.

I captured a fair amount and will publish a video from it shortly. Gingergeek and I then slewed to the Moon and took a leisurely stroll around the surface. It did to be fair, take us a while to work out the FoV indicator in The Sky X and set it correctly so we could then move to the areas of the Moon we wanted.

Viewing Report 26th February 2021 – Travel Setup

20:57 – 21:53

I pulled out the Mak180 tonight to see if I could image the Moon. After setting up I did not bother with polar alignment due to it really only being the planets which are less picky about tracking. However pointing is another matter.

I have decided I really must get a decent flip mirror. At the moment with the polar alignment not being completed and the chip on the ZWO ASI290MC being so small, I have to take the camera out to then eyeball the planet before putting the camera back in so that its light lands on the chip. Now with the Moon that is not a problem so tonight I did not have to worry.

View from the bridge

Given the short imaging session this evening and the realisation that I had not gotten rid of all the dust from last years dust intrusion I took a single video run of a yet to be identified piece of the Moon.

Raw video footage

I then moved decided to take some video footage of various parts of the Moon to also discover how much dust I had and how much of a problem it was going to be. Also I just like roving around the surface of the Moon.

Raw video of Clavius

I must also buy another ASI290MC as the one I have had its chip cover fall off and I have been unable to remove the dust from Coombe Gibit, so for guiding this is not an issue but for Moon and planets it is. Given I currently take the camera off the Skywatcher Esprit setup where it is used as a guider I might as well have another and then I won’t ever get dust in the new one which I would use on the Mak. As I’ve said before and will say again, Brendan would say it is cheaper to burn £50 notes than get into astronomy! How true indeed.