We recently decided to replace our existing weather station with one that had better ASCOM integration. I had previously looked at the AAG CloudWatcher but at the time felt it offered more than we need but that turned out to not be the correct choice.
We ordered the AAG with an internal humidity sensor, the optional anemometer, mounting kit and 10 meter communications cable. Due to the ongoing human malware situation it took two weeks for it to arrive from Spain and was delivered to the IMT3 chief TOSA.
Once the new PSU arrived the Chief TOSA then set about removing the existing weather station and installing the AAG cloudwatcher.

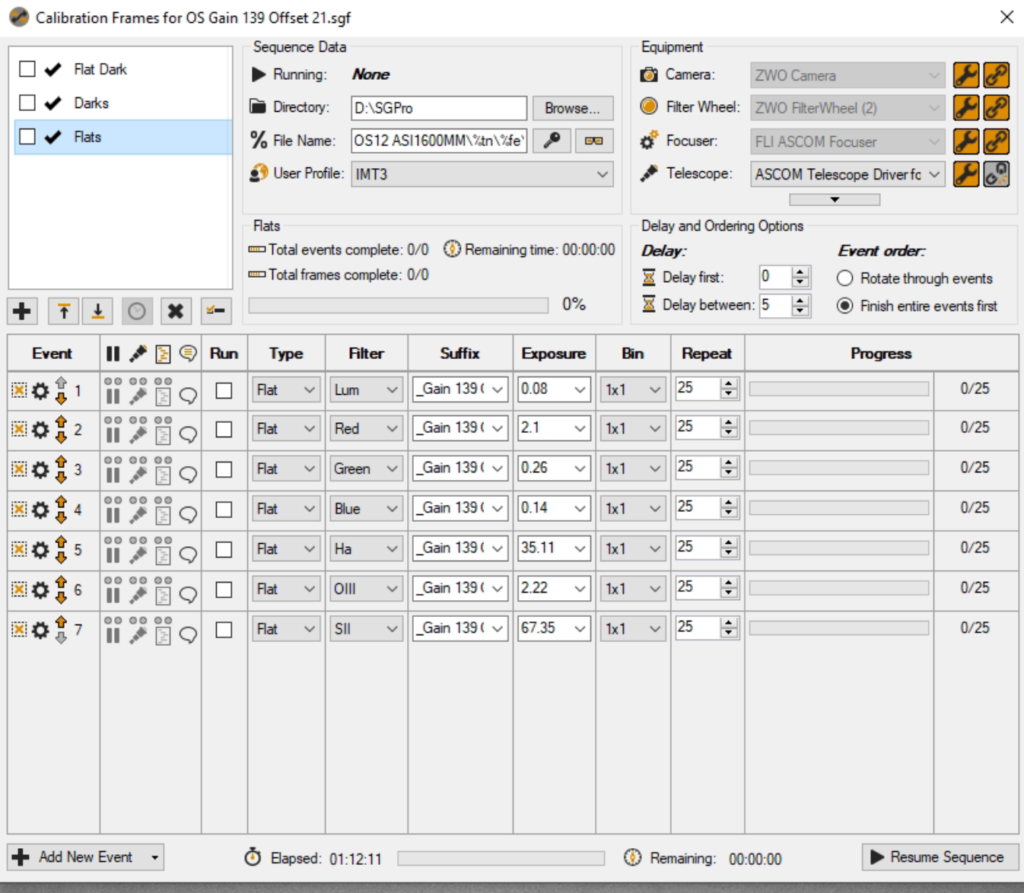
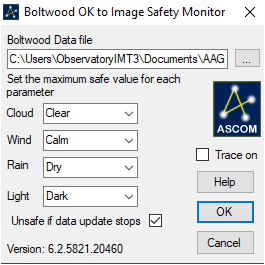
This also meant connecting the safety relay circuit wires to the Pulsar Dome, installing the AAG software, downloading the ASCOM boltwood driver and configuring SGPro. Within SGPro we have set the safety status set to be “OK to image” where the required conditions are more stringent than the conditions for the dome to open. The reason being that we want the dome to open as the light begins fade and allow the scopes to cool down but not be okay to image until it is dark.
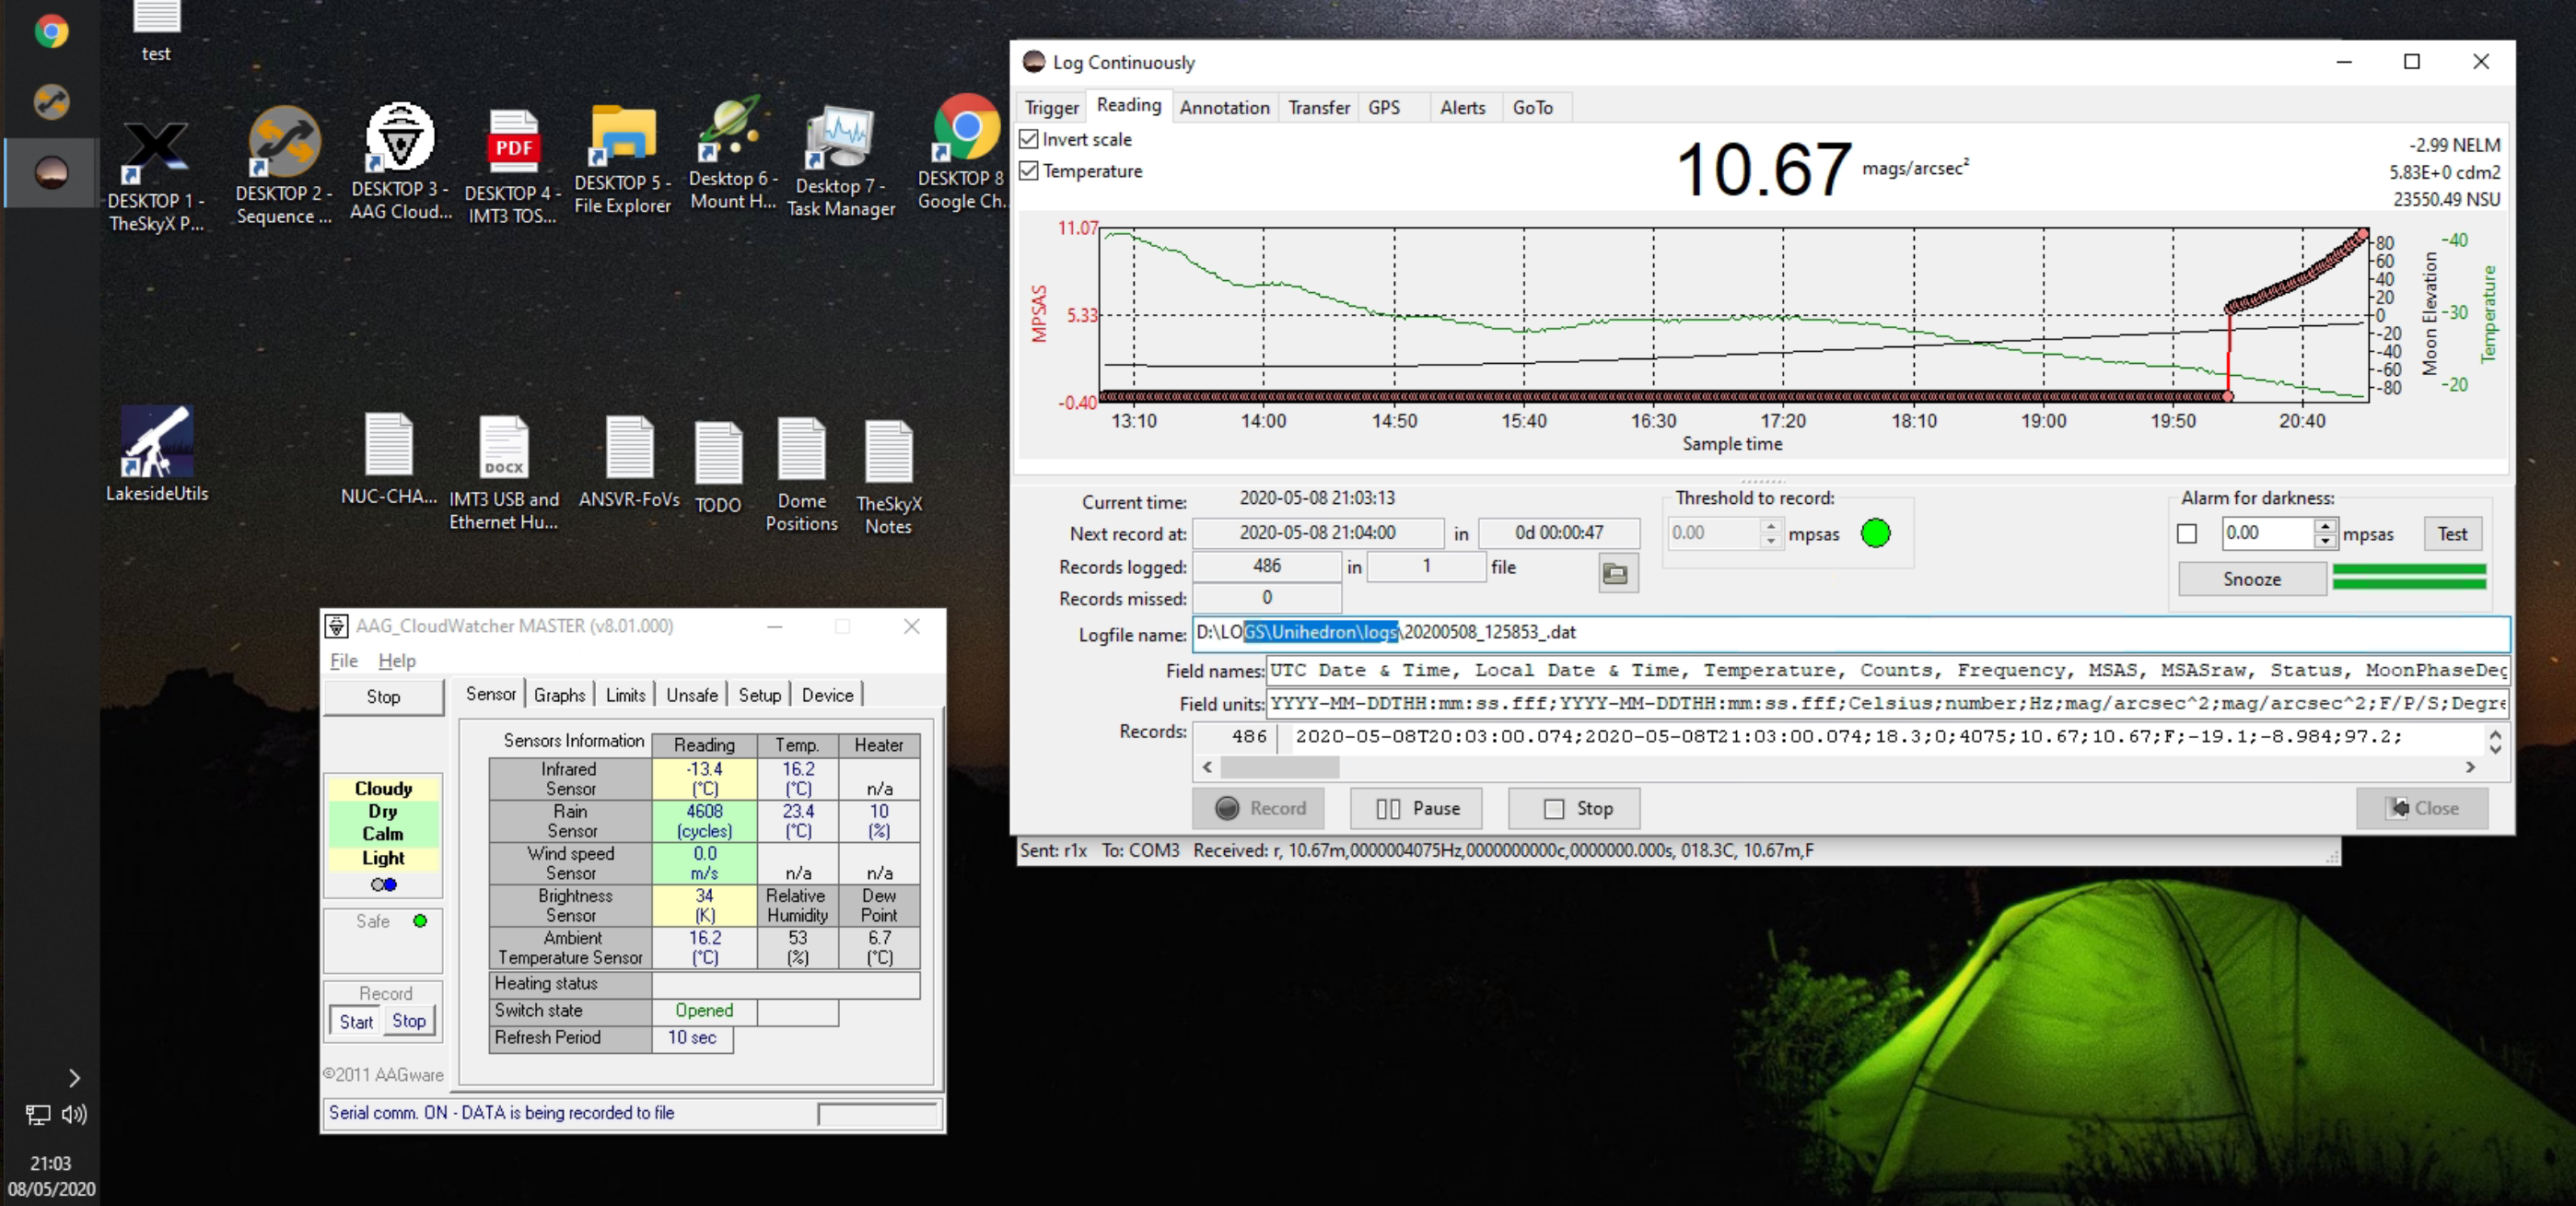
On the first night of operation we ran into a problem. Unlike the other sensor readings and graphs we would see the temperature and cloud readings have an expected shape but the sky brightness sensors kept going up and down at a regular interval then gave the graph a saw-tooth shape.
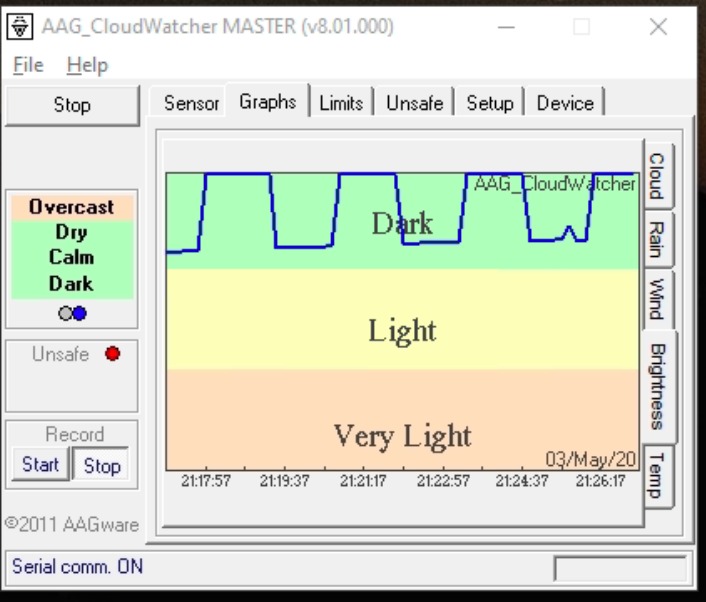
Unfortunately this resulted in the safety status going on and off until we overrode it. We sent a quick email to Lunatico reporting the symptoms and asking for advice. It didn’t take long for Jaime to reply informing us that another customer reported the same issue and asked for a few days to investigate.
Good to his word we received an email from Jaime explaining the issue and asking if we could perform a firmware upgrade. Now due to the current lockdown restrictions this meant that I had to co-ordinate over the phone with the resident Chief TOSA to physically disconnect and reconnect the power whilst I remotely set the firmware update. The initial issues encountered were due to PEBCAK (Problem Exists Between Chair And Keyboard) as I had not read the documentation correctly !
That evening we watched and the Sky Brightness line graph was now as expected and not looking like a cog shaped wheel. Well done Jaime@Lunatico.es for the quick response and fix, Chief TOSA was a happy dome dwarf again and that’s what counts !
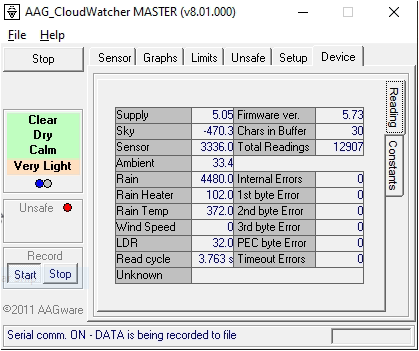
At the moment we are trying to get the cloud sensor to be more accurate to what we visually observe, this is an ongoing effort. We decided to record the AAG Sky Brightness sensor readings at various times and compare with our SQM readings :
| Event | SQM | AAG Brightness Value |
| Civil Darkness | 13.08 | 949 |
| Chief TOSA setting OK to open | 13.89 | 2100 |
| Nautical Darkness | 18.92 | 28588 |
| Astronomical Darkness | 19.03 | 28588 |
Using the above values it looks like we could reduce our chosen threshold level of 2100 to 1000 in order to allow the dome to open and the scopes to cool down. The Sky Brightness does not appear to change beyond Nautical Darkness. We are now investigating the correct value for the early morning from the AAG logs. This is so we know what the Sky Brightness value should be at which to stop imaging and close the dome in the early morning when unattended.
We still have at lot to configure and read up about using the AAG CloudWatcher but at the moment our initial experience is a positive one. Obviously we will be chatting to Lunatico about our level settings and make some suggestions regarding the software.