1st January 2021
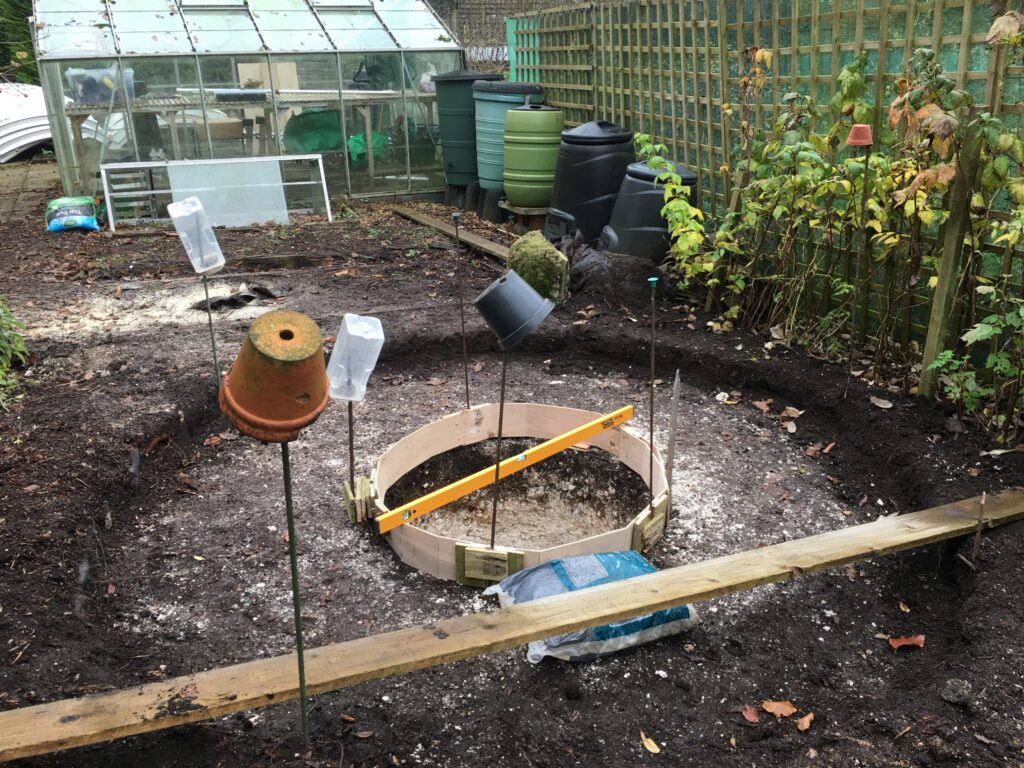
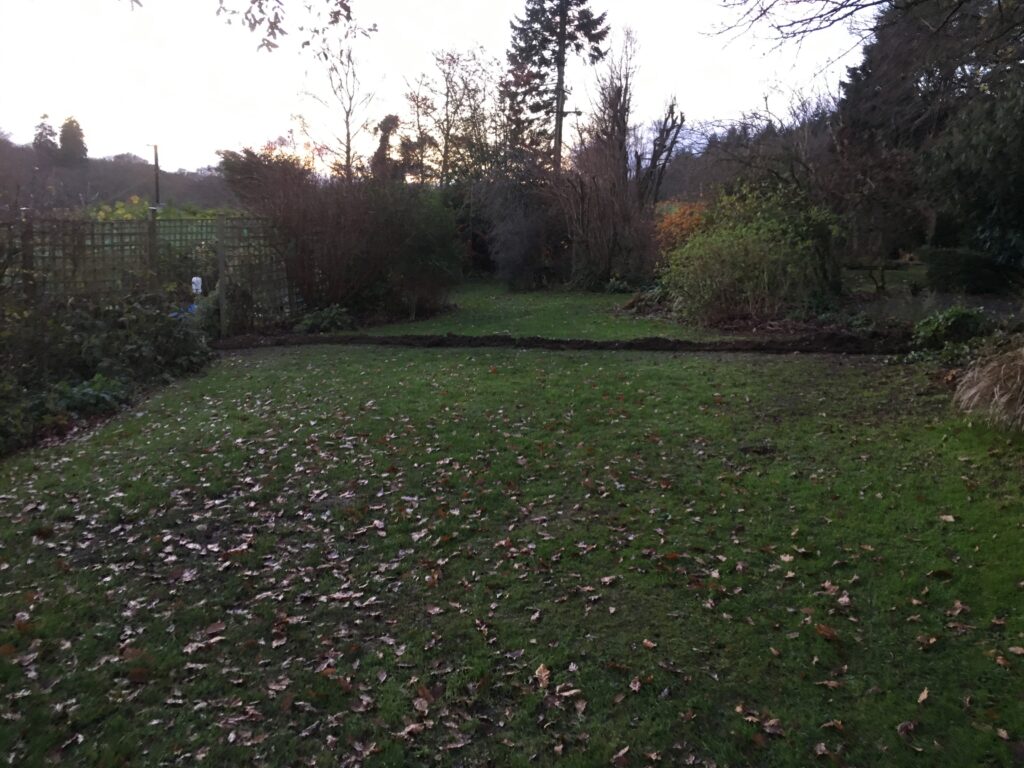
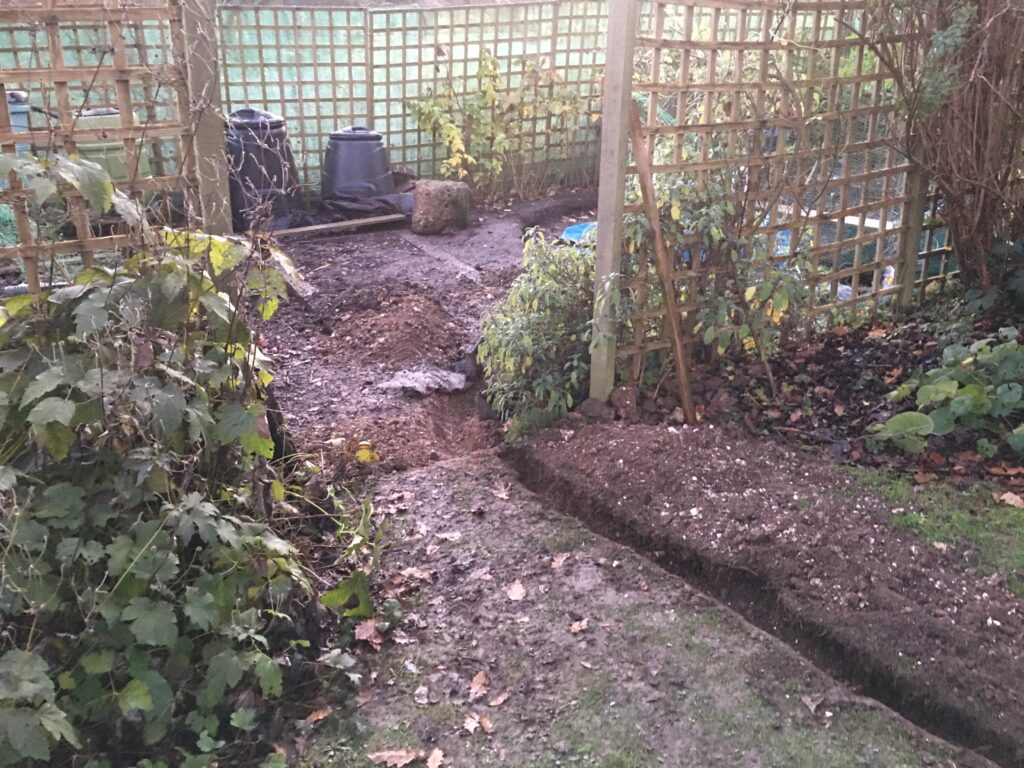
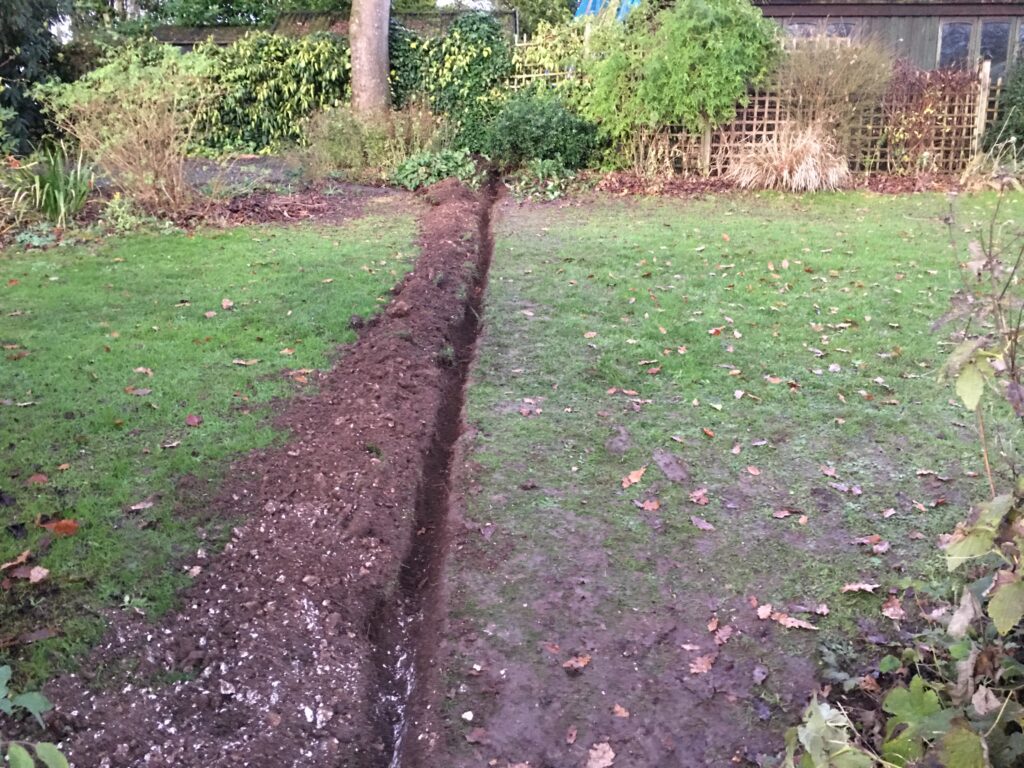
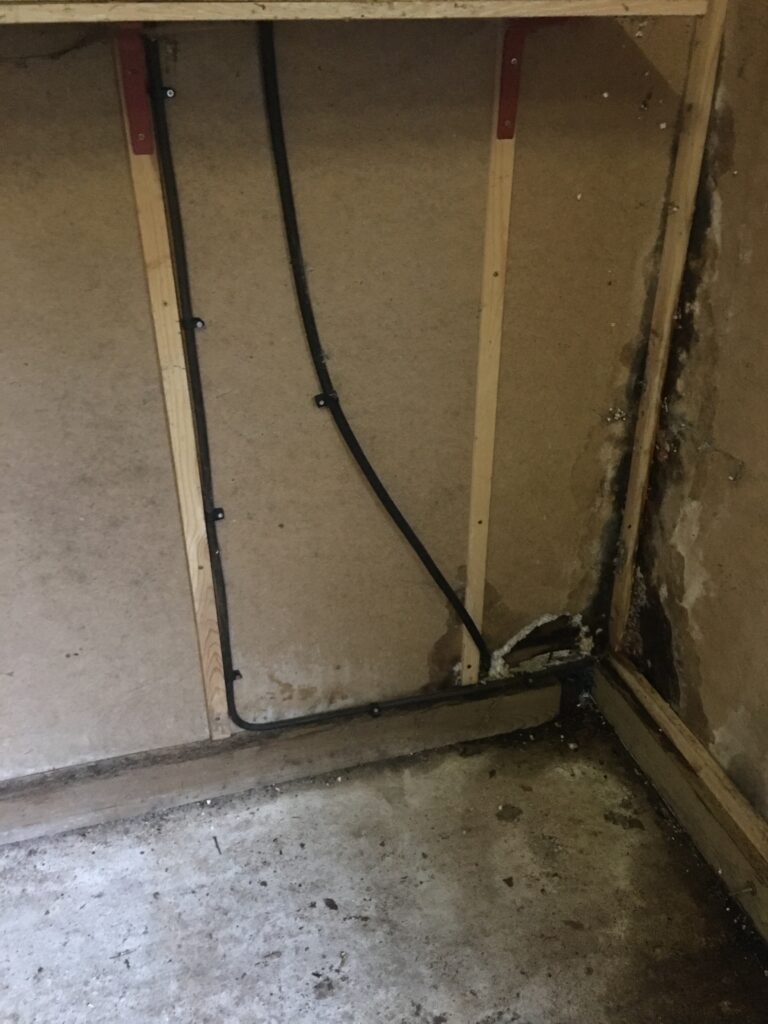
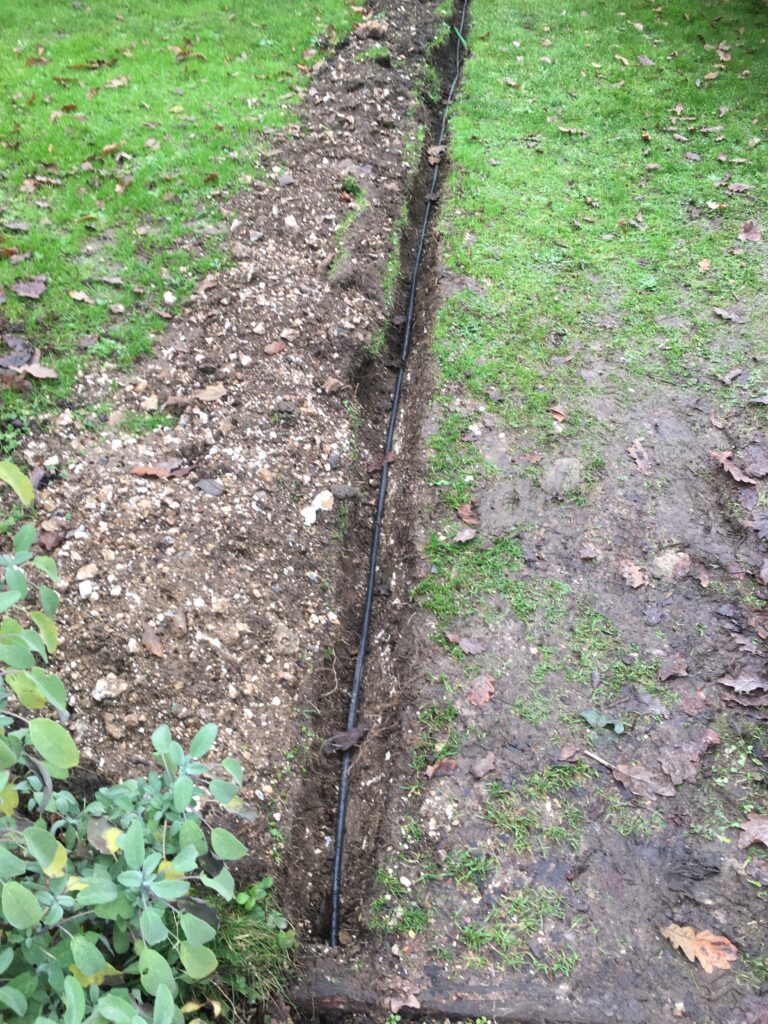
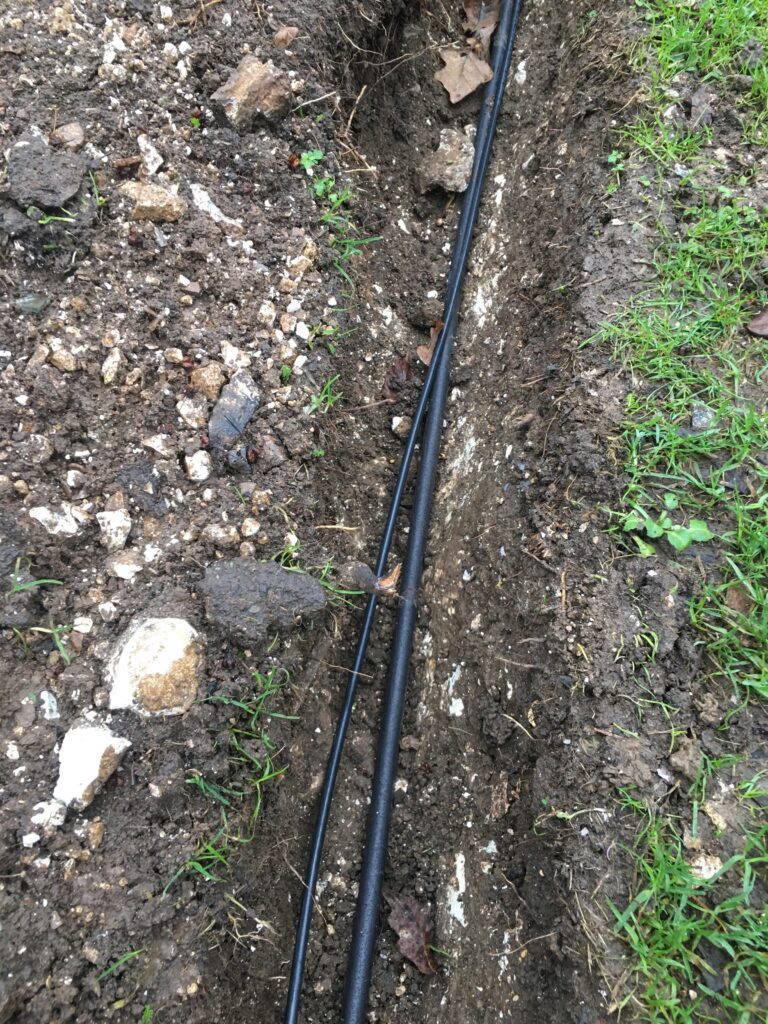
So the cable is installed in the trench visible here before I laid the ethernet.
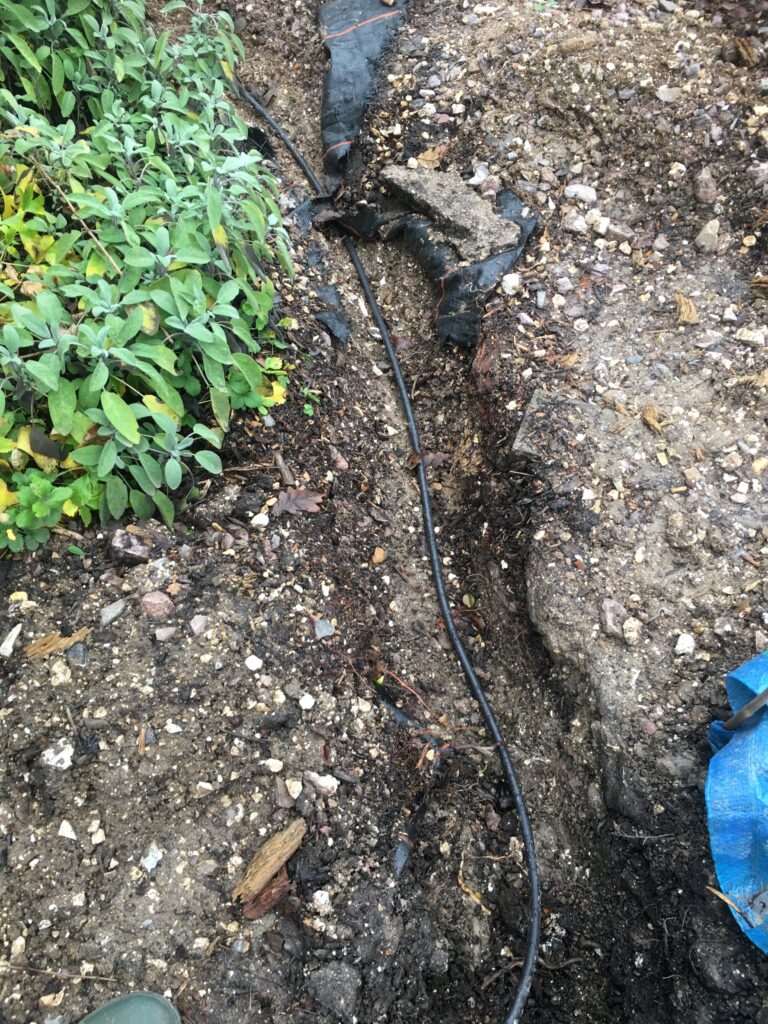
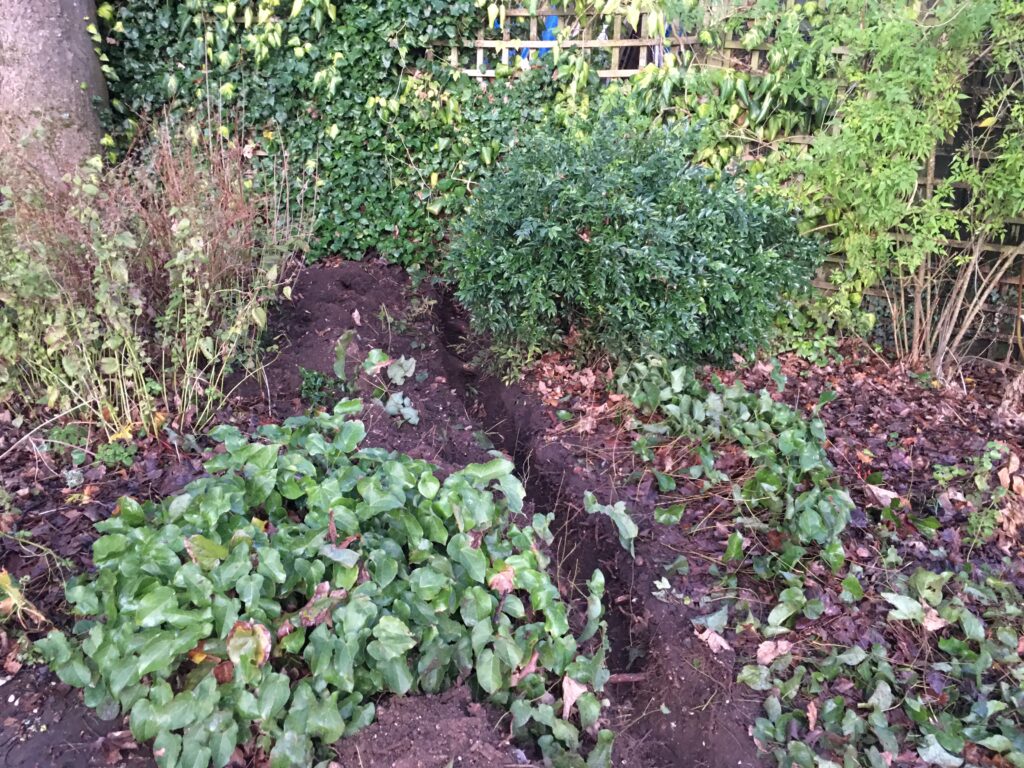
It runs all the way across the garden to the observatory very neatly.
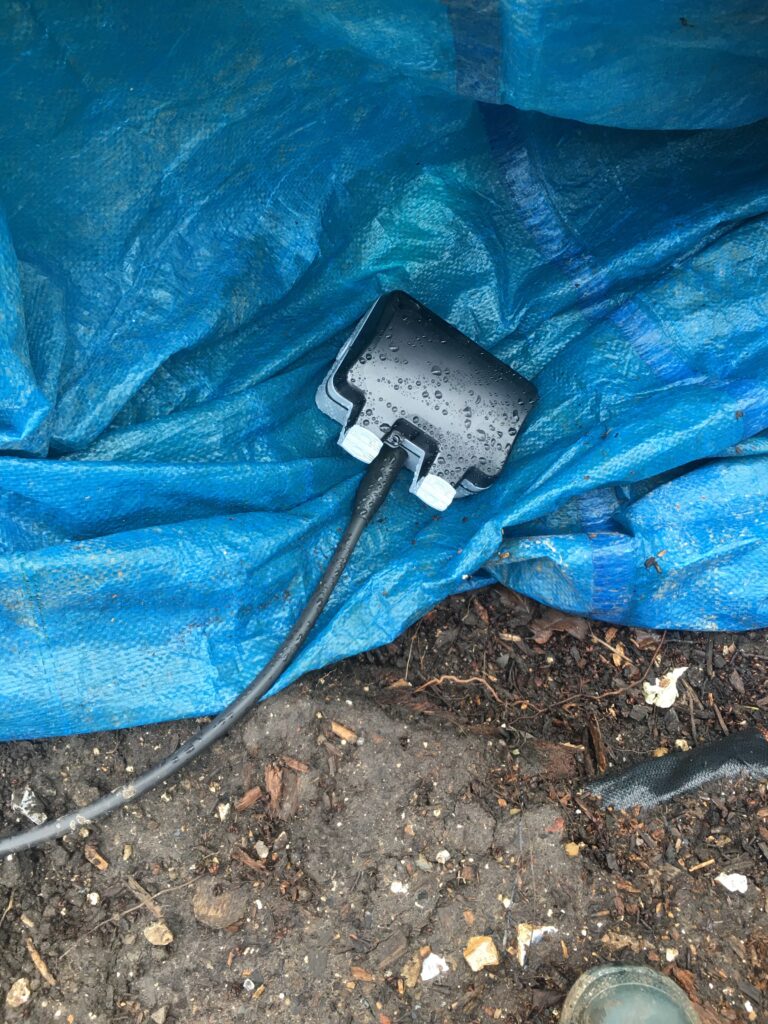
When it reaches the observatory, enough cable is left to feed through there pipe later and the end is terminated in an outside socket. This will be later daisy chained to several internal plug to the observatory and the outside power fixed to a new brick pier that I will build.
The next job was running the ethernet from the house. I purchased Cat6E as I also wanted to run cable to several places around the house that would require PoE (Power over Ethernet) which allows one to fix an access point without the need for an additional power supply. I started by preparing one end of the cable to be spliced and crimped given I had not done this for a few decades. I purchased the crimping and test equipment online and it seems to have worked well.
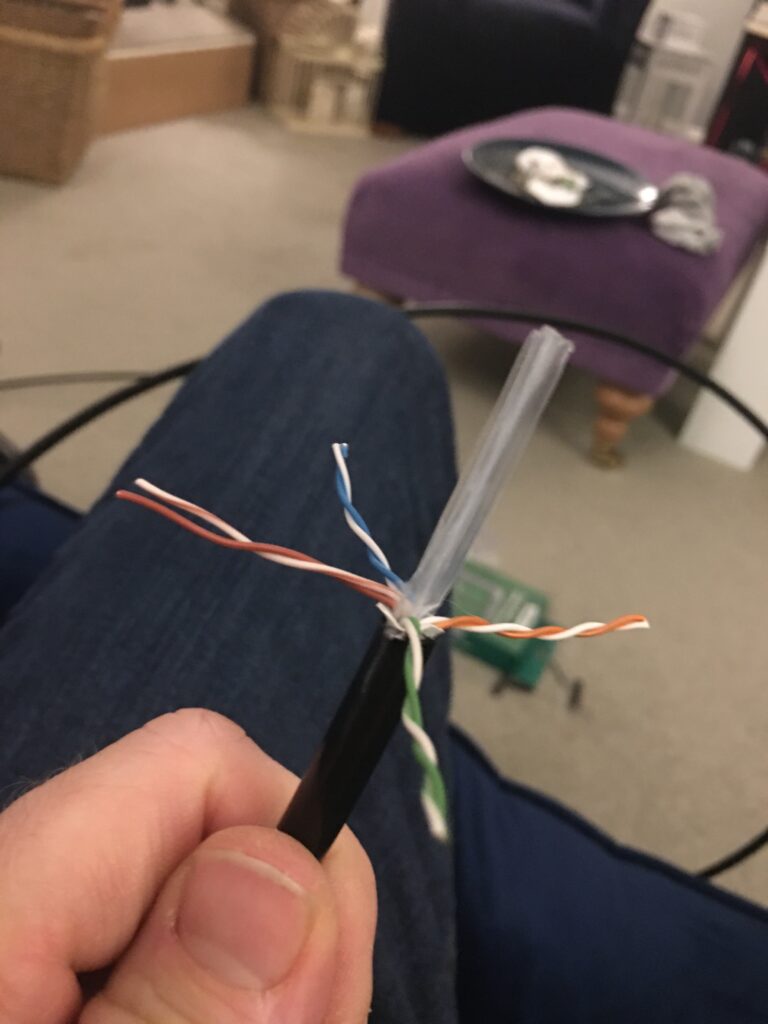
Then I laid out the wires in the correct colour format. The tricky part is getting all the wires to stay flat after twisting round each other to get them in the right order. Then to make matters worse you cut them short to much the connector on and the cables self align in slots.

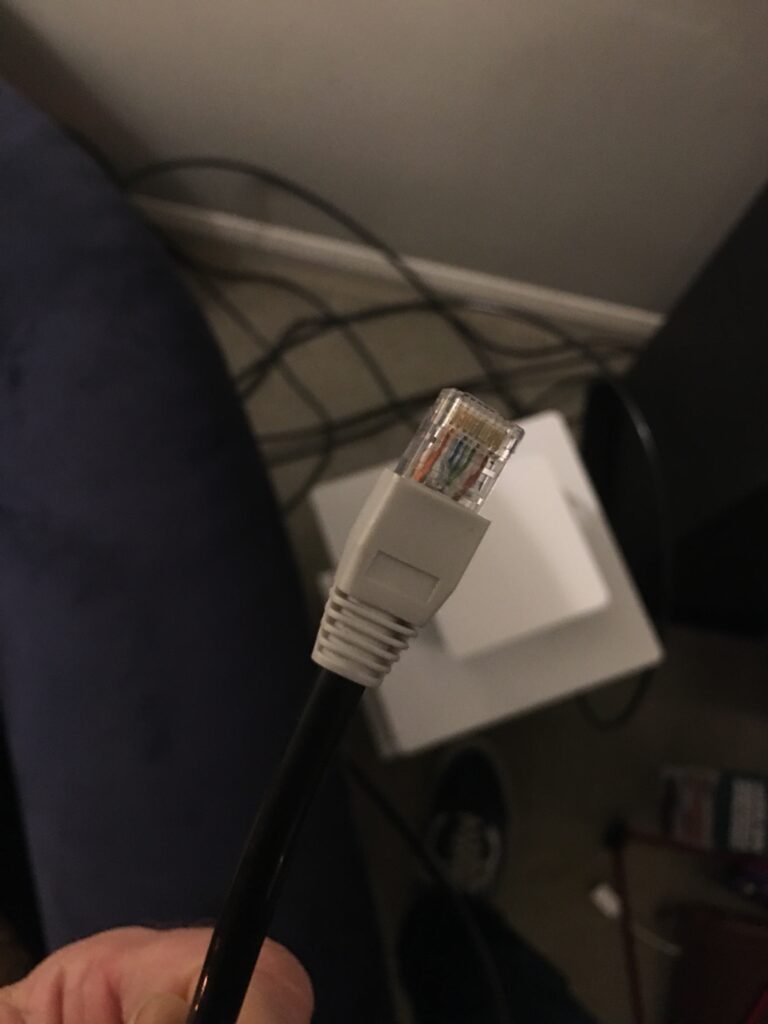
The final end looks like this.
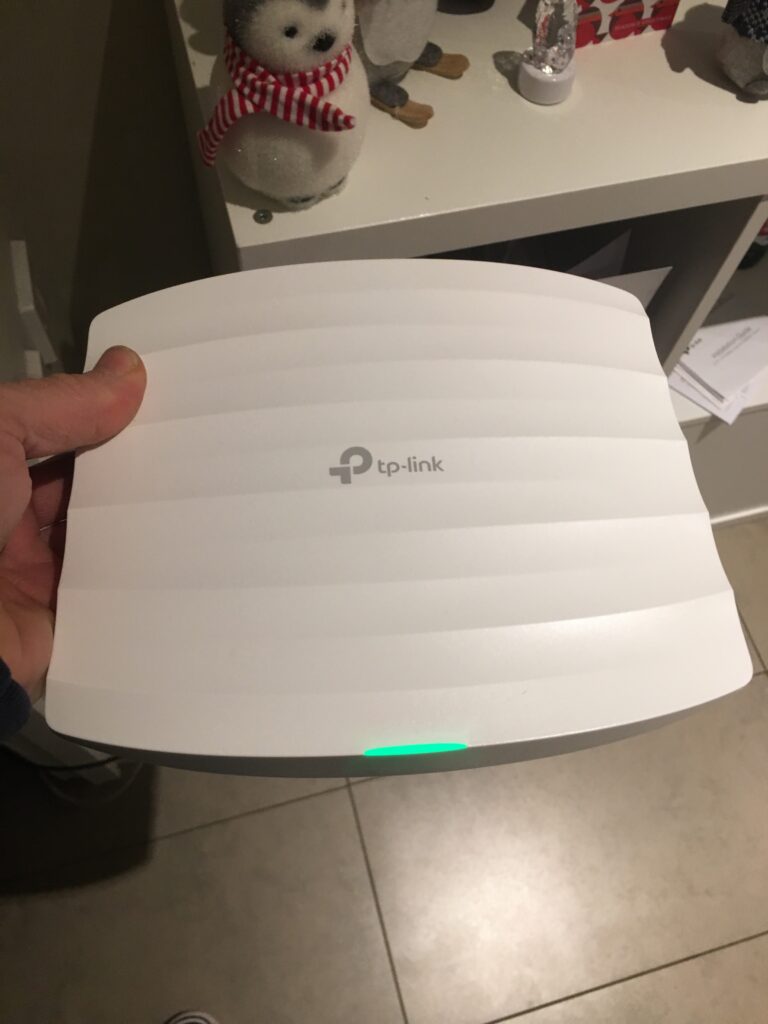
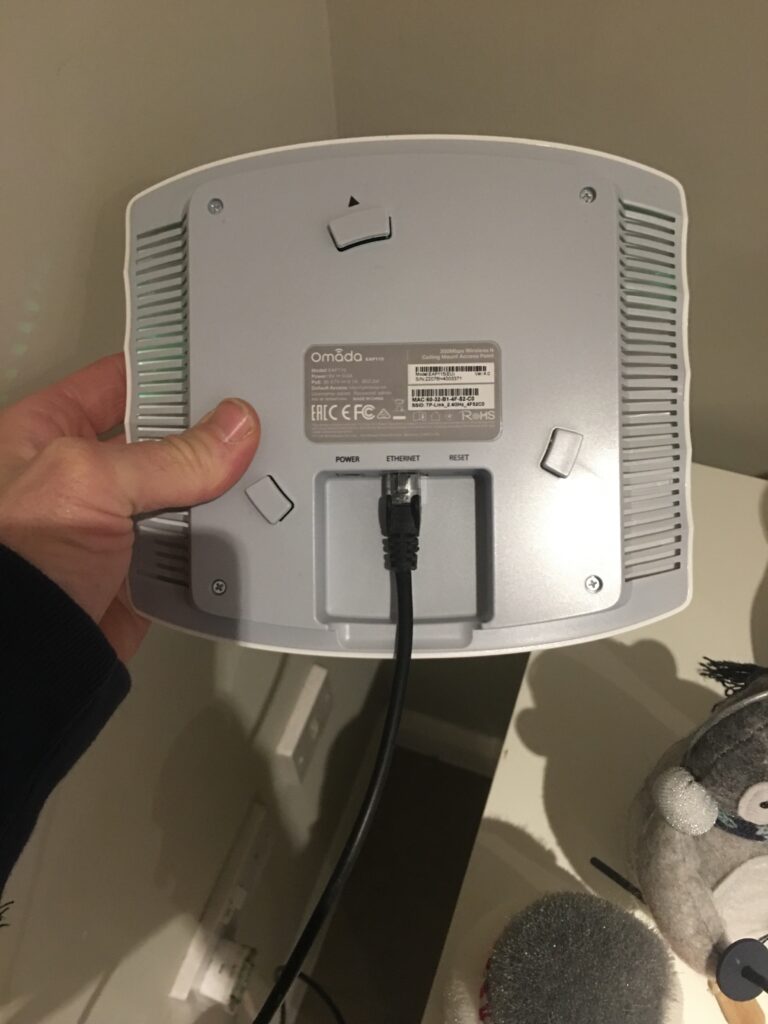
Out of interest I have posted here the access point I purchased that is PoE, I simply love it, although nothing to do with the observatory per say apart from going into the kitchen in this instance at the same time as running the cable to the observatory.
The AP does require a switch or hub or router that supports PoE, unfortunately none of the hubs that come from the major broadband suppliers ship any so I purchased the TP-Link switch that does.
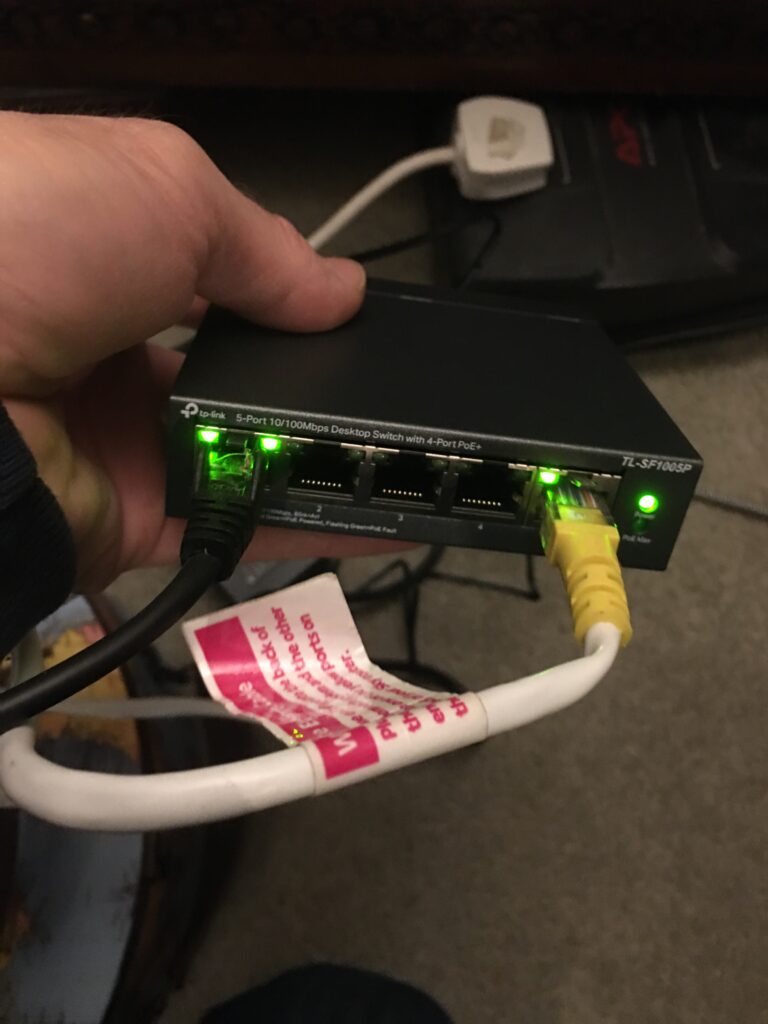
To conclude this part here is the single Cat6E cable going into the AP.
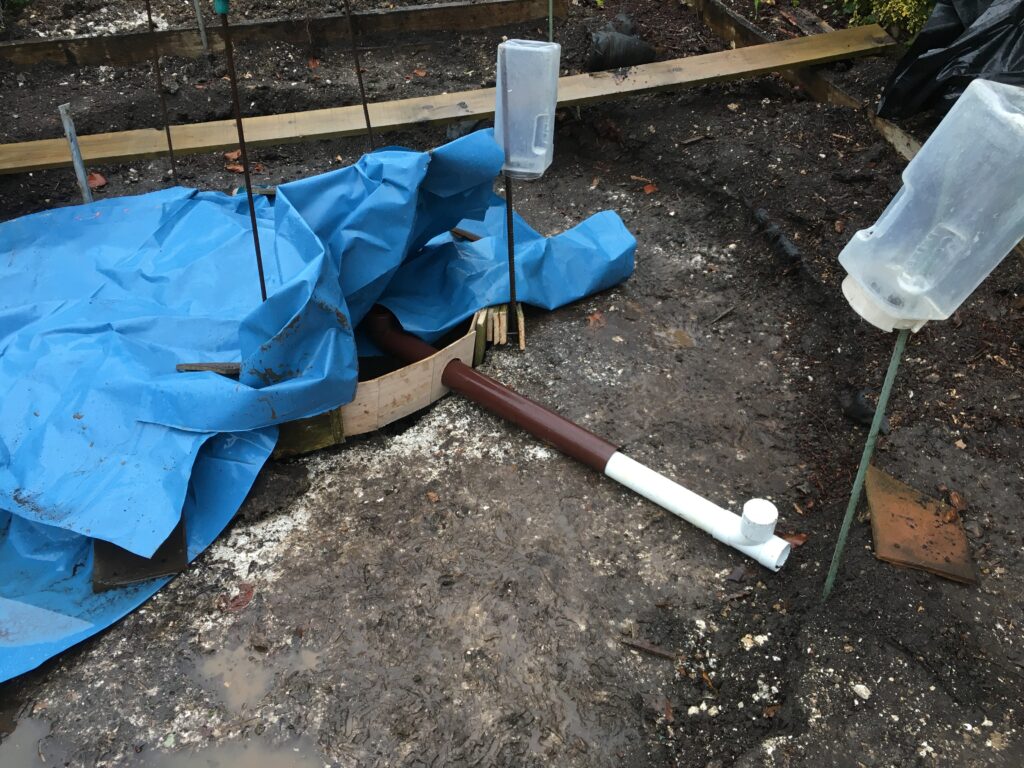
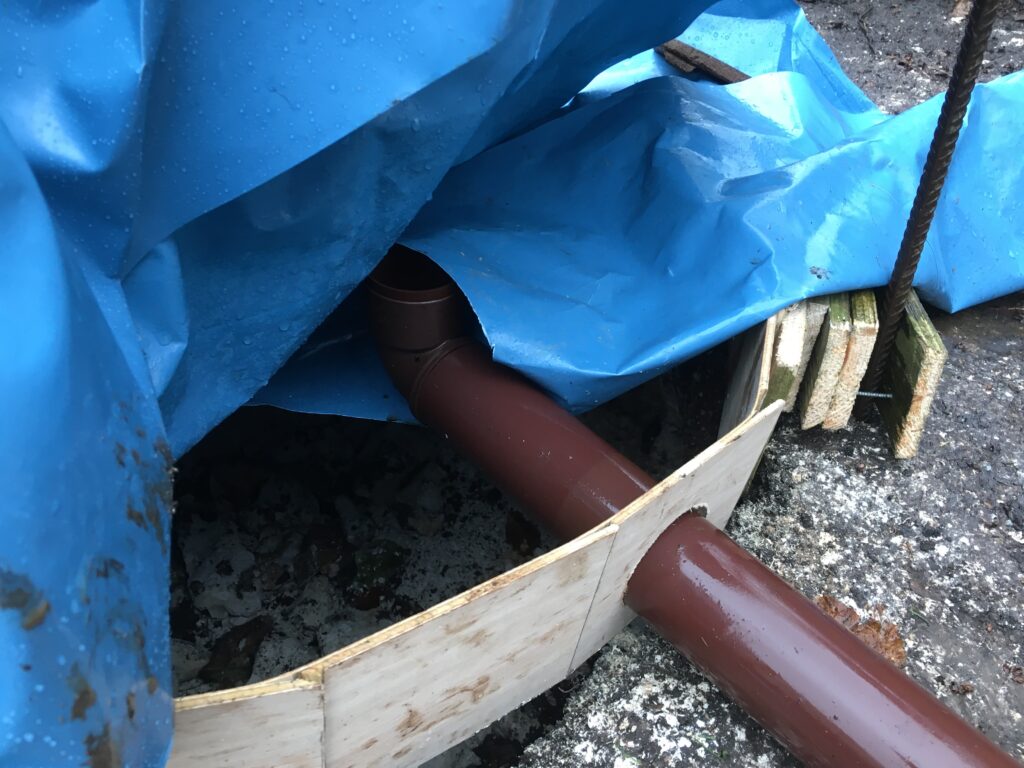
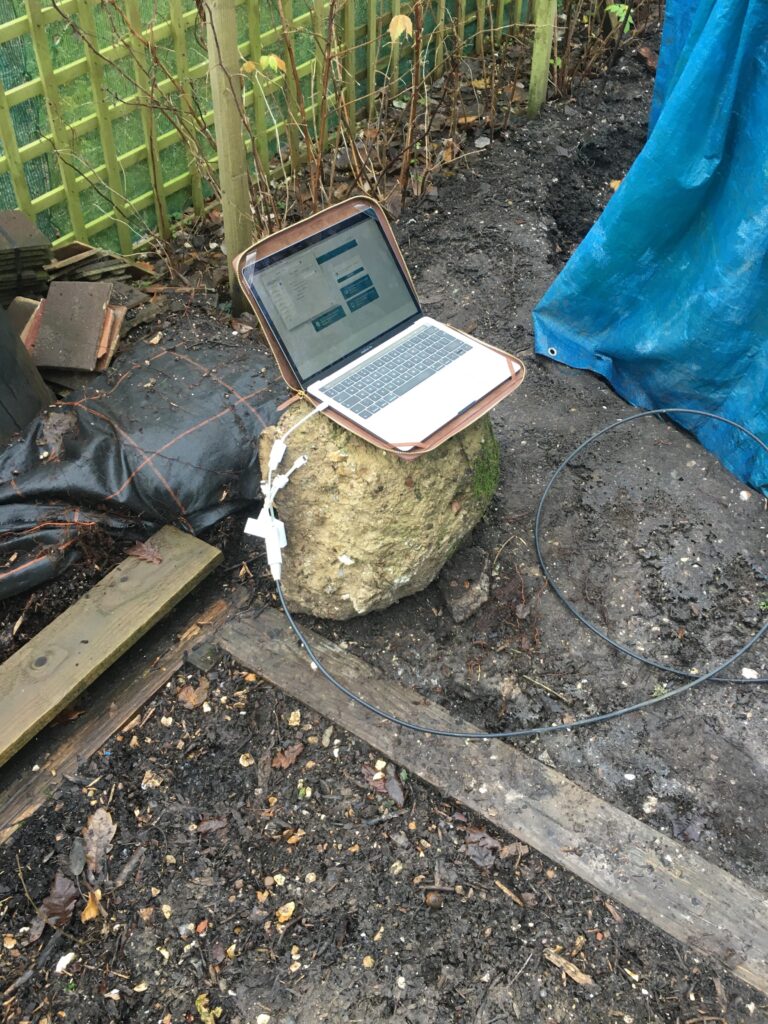
So then I set about running the cable from the observatory site across the garden with an RJ45 connector ready and waiting under the tarpaulin at the vegetable patch.
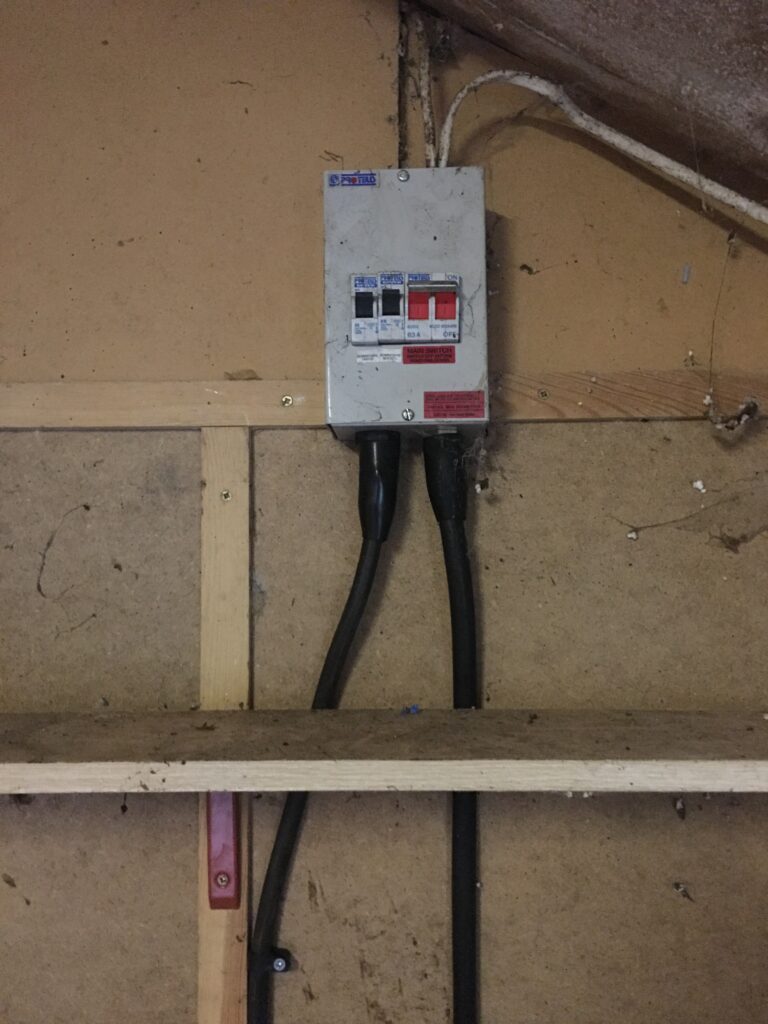
I then terminated the first leg of the cables journey in the woodshed where the power is connected (I plane to spur a connection to the planned Summerhouse from here in the Spring) and setup my laptop in the vegetable patch to test the connection which worked!
Before I get to the final piece of ethernet running from the woodshed to the workshop, I wanted to run the large length of cable from the workshop to the Snug. I am fortunate that a BT cable had been run back in the 90’s to the workshop when it was used as a business office. Given I had no need for a landline in the workshop I decided to use the BT cable to pull through the ethernet down the length of the underground pipe between the workshop and the house, again I am very lucky it was there!
I started to feed the cable through along with a new piece of rope I found in another duct! But I quickly found a break in the pipe located under the steps leading into the workshop.
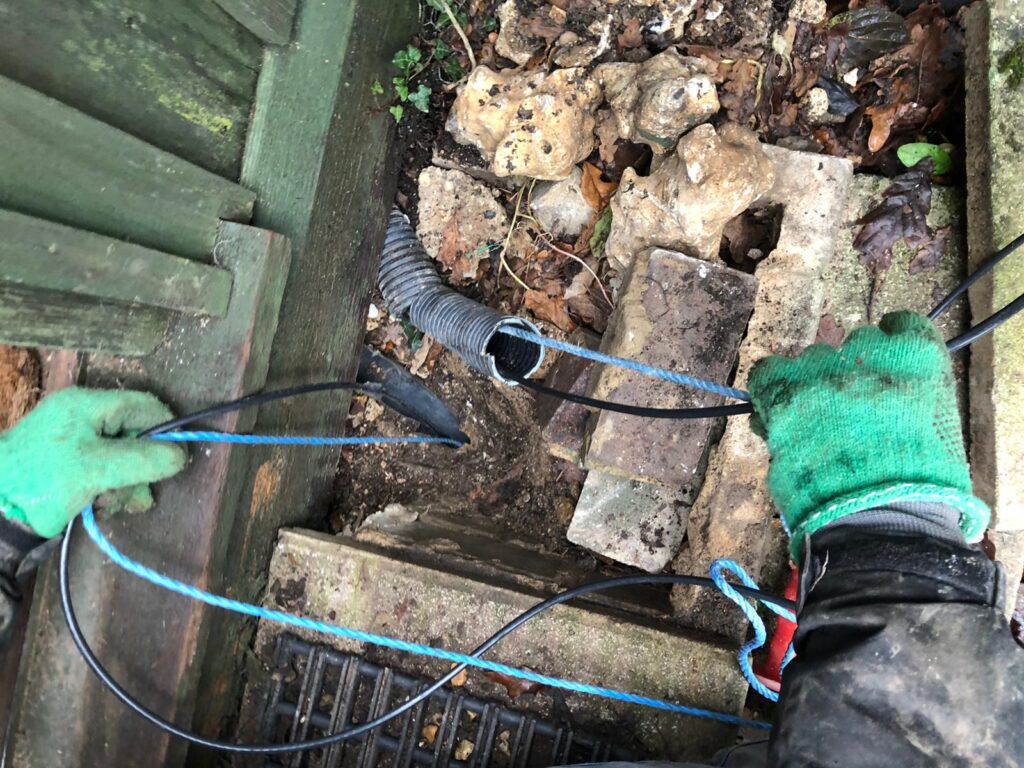
After hours of pulling and pulling back the other way, then more pulling, my daughters boyfriend Luke (small mercies for Lockdown he currently lives with us) retrieves the ethernet cable taped to the BT cable some 100ft away.

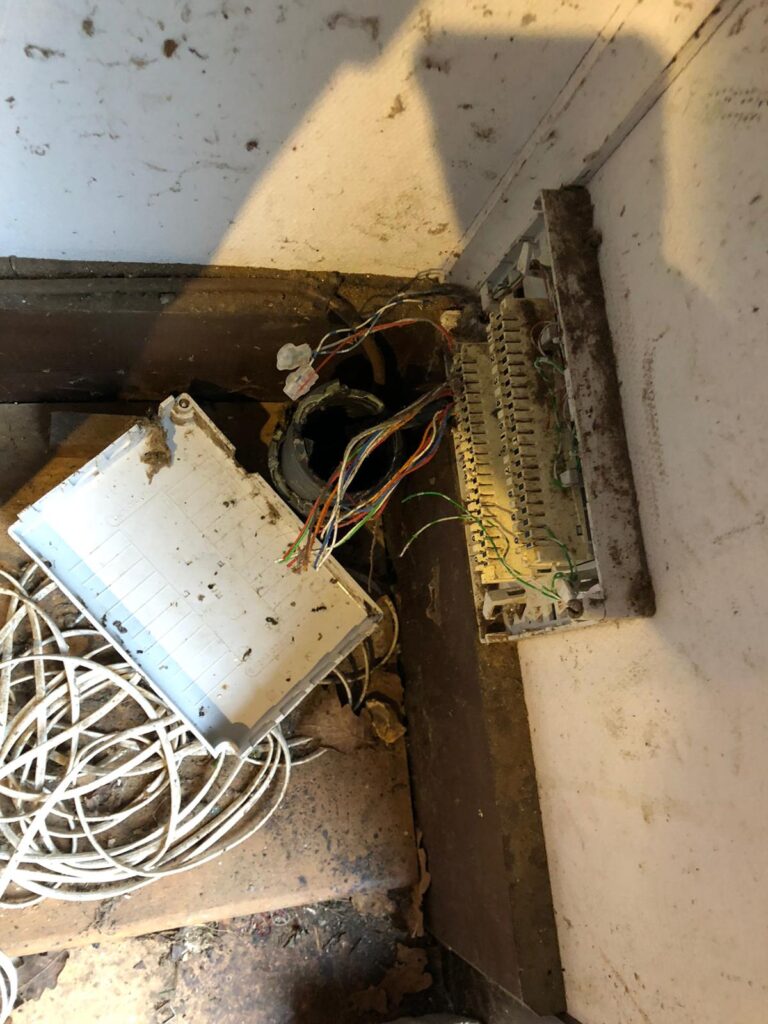
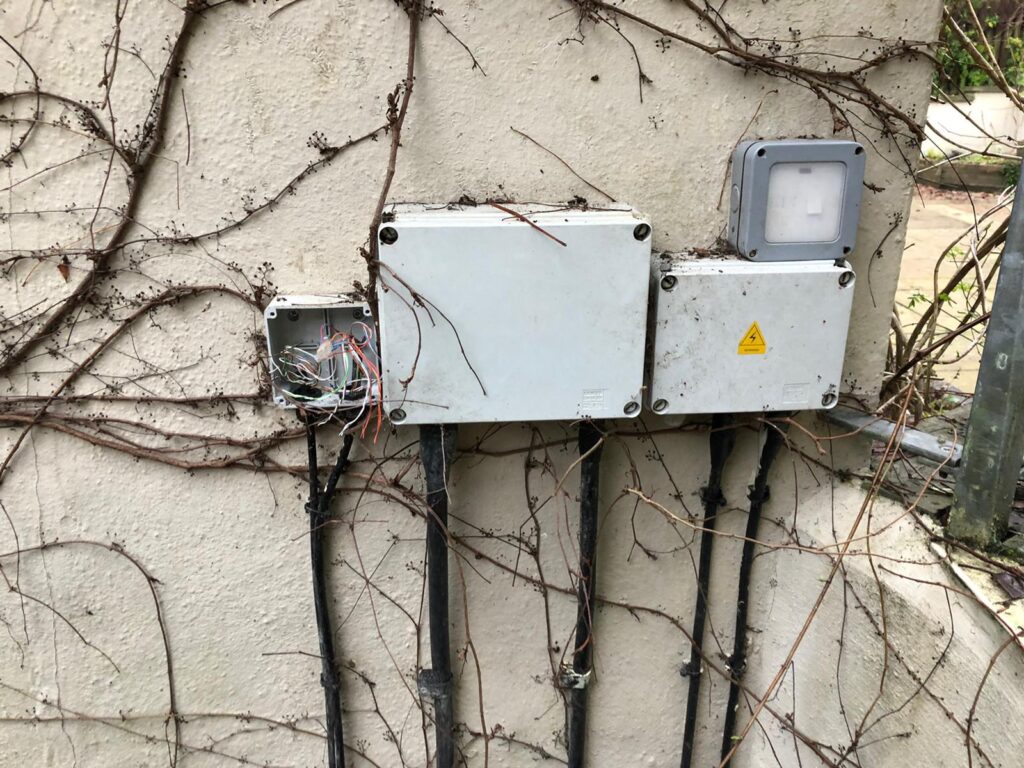
This is the BT connection rats nest at the back of the house who’s cable I repurposed then removed, next to a bunch of electric connection boxes for outside stuff!
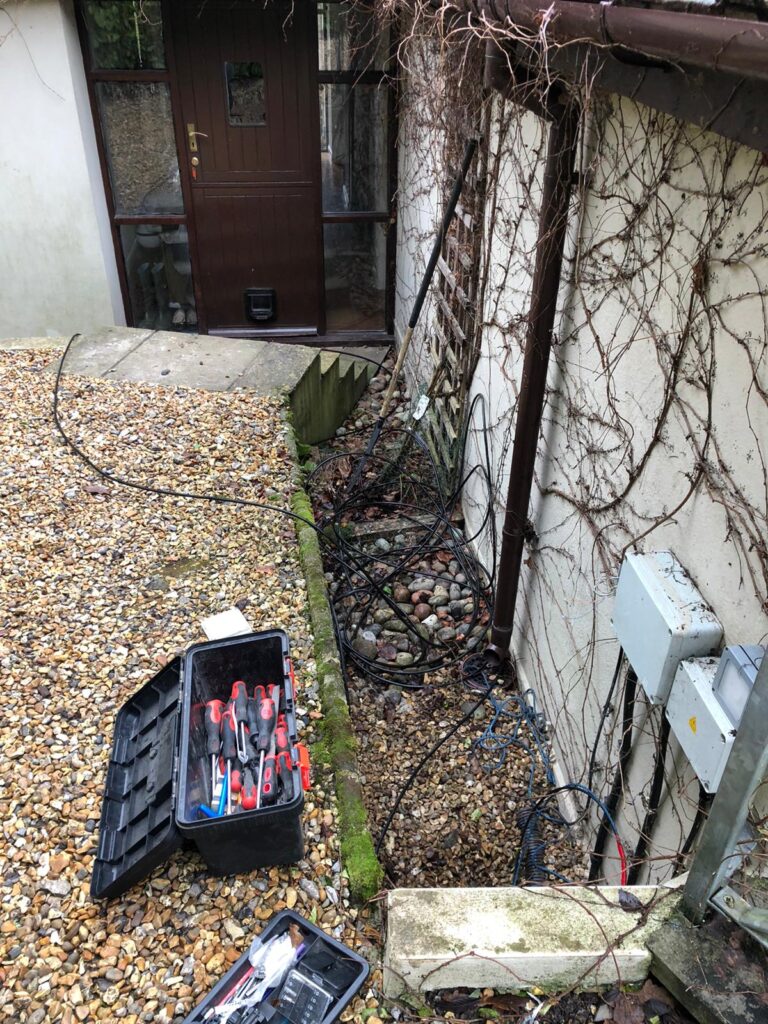
The saga for ethernet does not stop there, but nearly! We pulled through the rest of the cable and tacked it up the wall on the right and then along to the door where we spend hours drilling and hunting for the cable in the loft………..
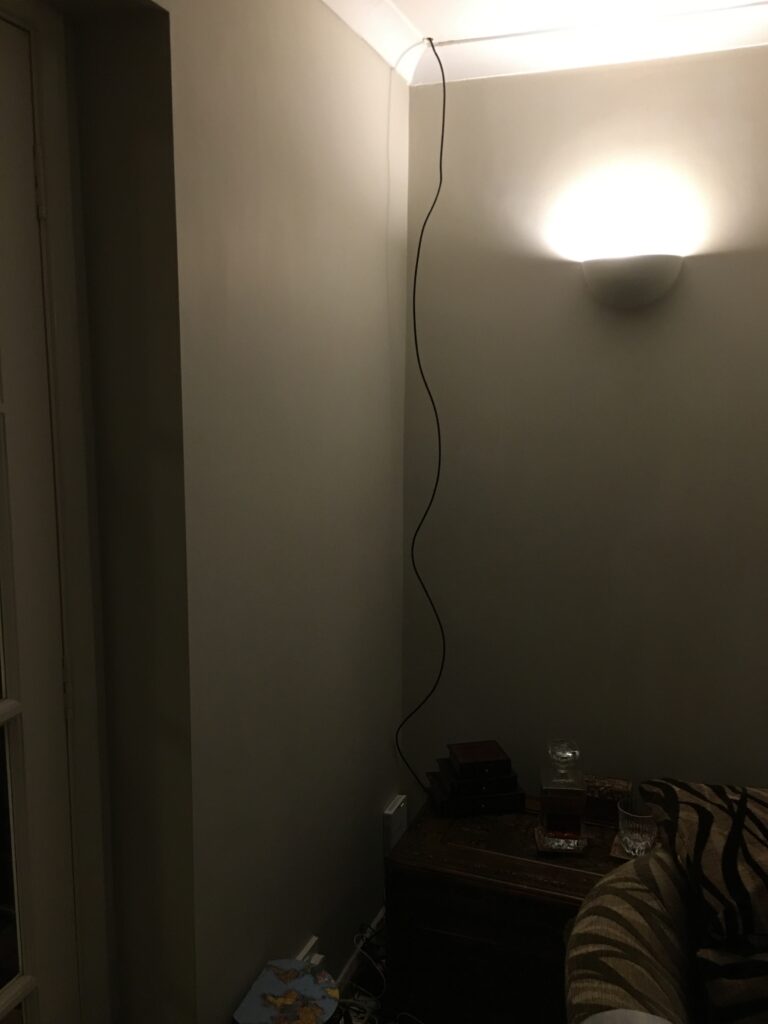
Darkness falls as we finally pull the cable through into the house and into the Snug.

Here is the tight loft space where the cable runs through.
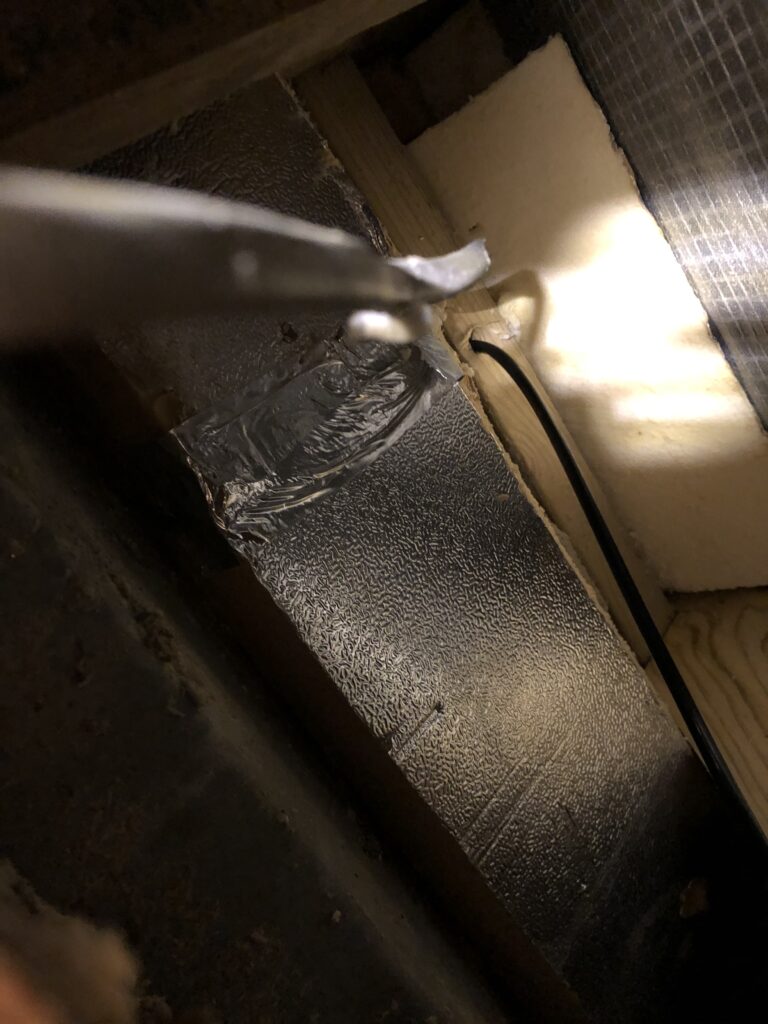
The final leg was dropping the cable into the Snug where the fibre terminates in the house from the loft. It snakes it’s way around the perimeter of the house inside the loft (I have a chalet bungalow) which took about 2 hours!
Fortunately I have the most understanding wife in the world who is very supportive to have her husband spend hours in the loft with a cable.