Blog

Viewing Report 25th April 2022

22:01 – 04:23

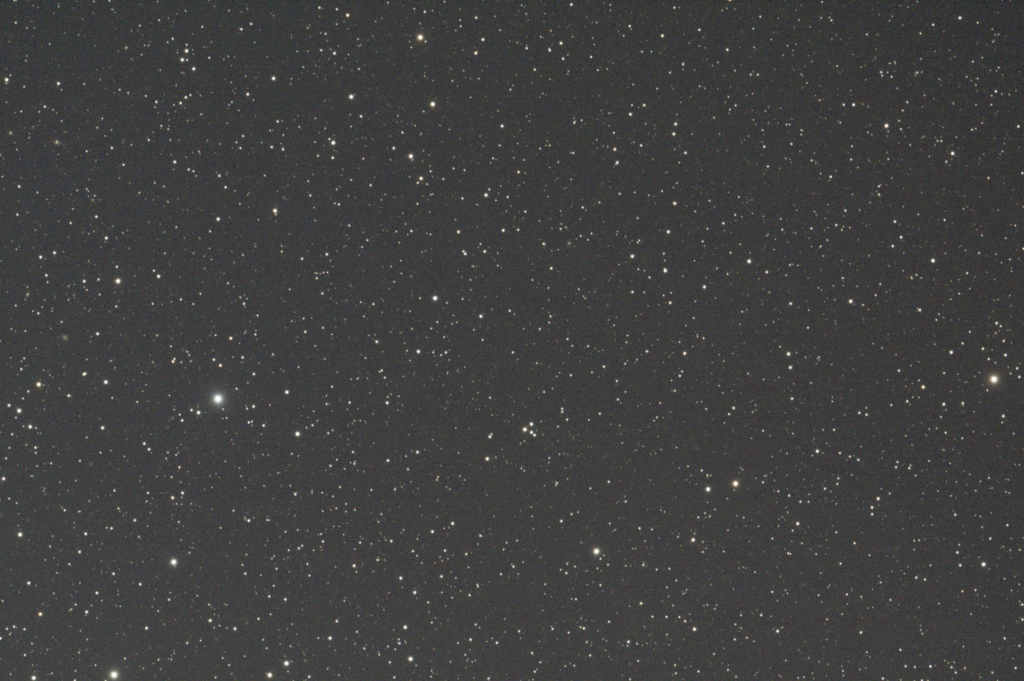
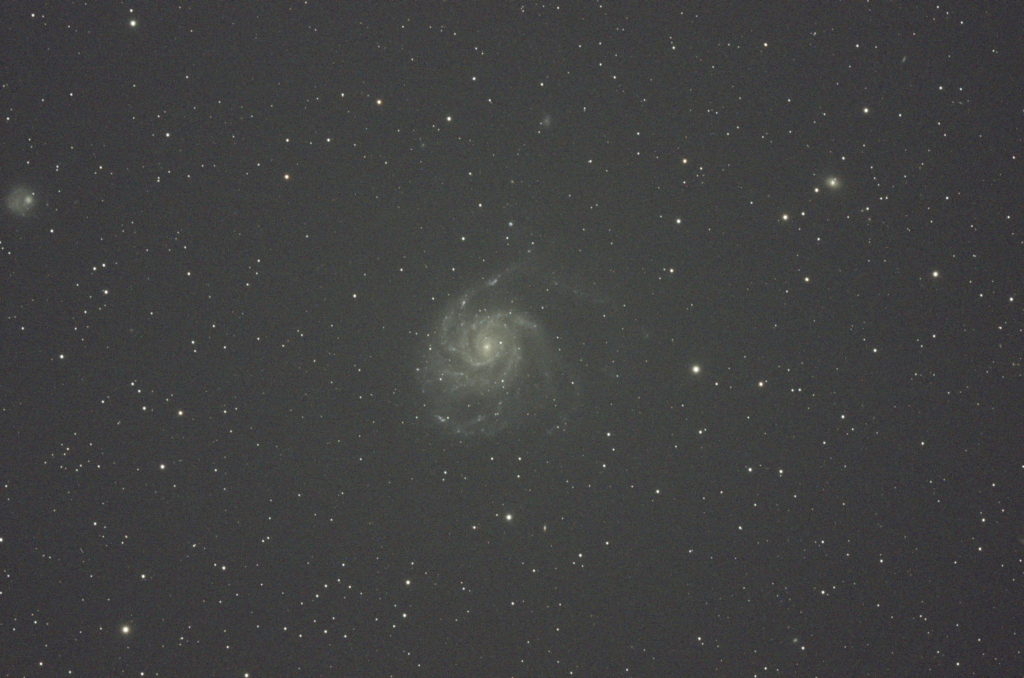
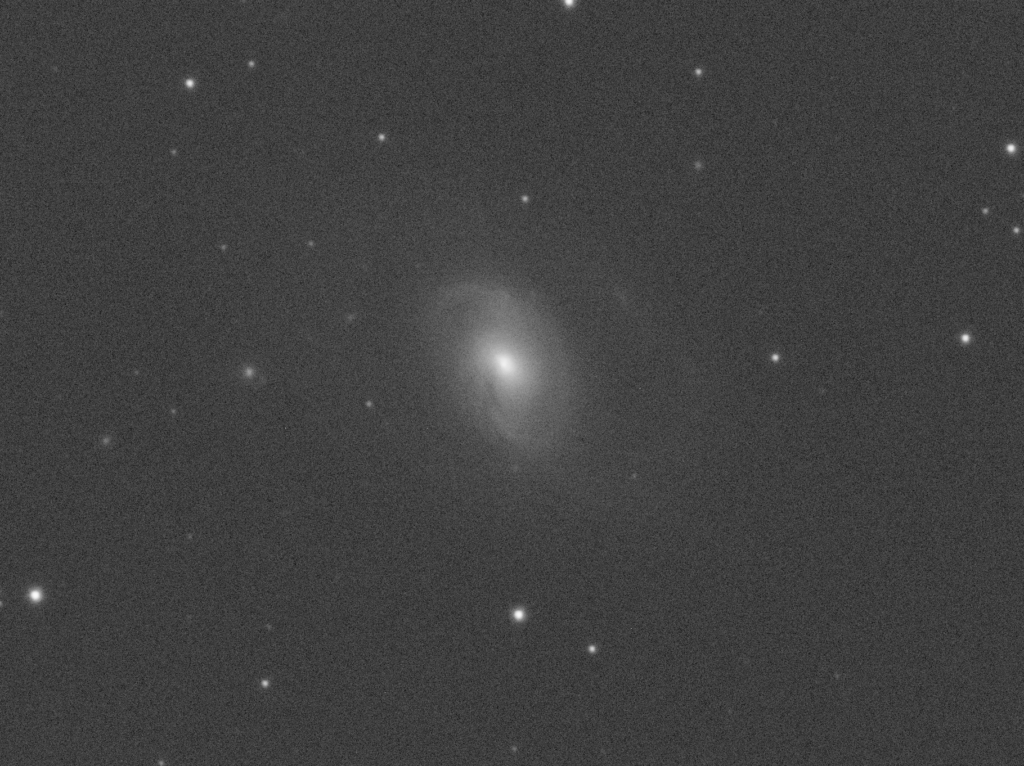
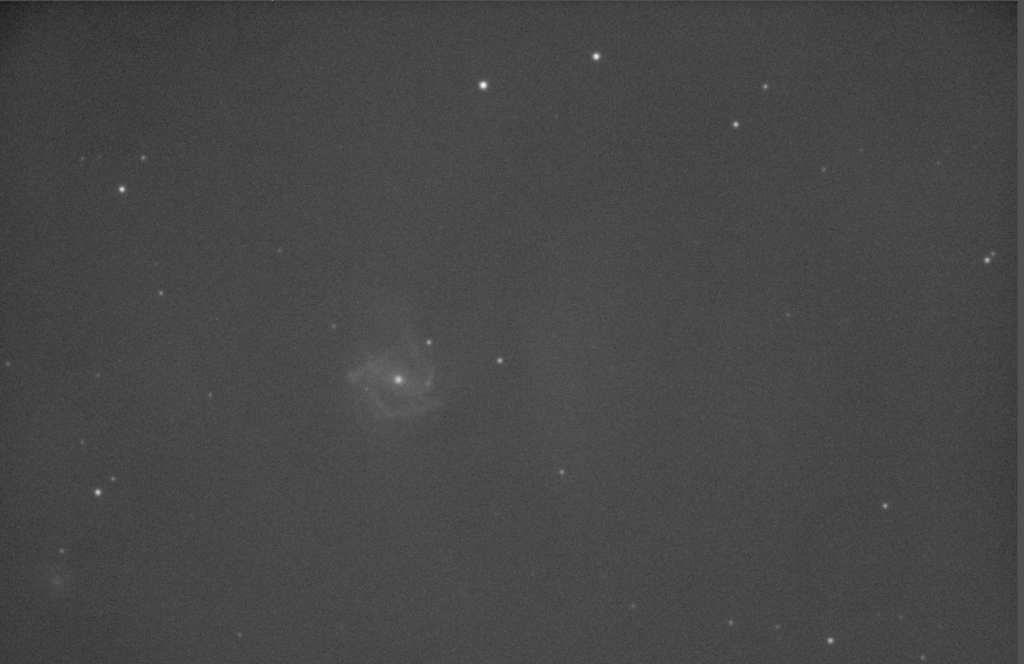
M96 galaxy in LRGB on the 12″. Focus position 20691. Started at 22:29. Set up for 4 hours before it disappears behind the trees on the West side of the Meridian. Looking to take 24 x Lum and 8 x RGB all at 300s. Left the dome running and off to bed.

M96 Luminance 300s

The next morning I reviewed the status of the dome and imaging run and it ran al night without a glitch which was great. However the focus drifted quite considerably so I will need to throw away some of the data. What I need to do is cool down the observatory and the mirror before hand which last night I did not due to the last minute decision to image. Also getting the temperature compensation working on the focuser would help, so maybe time to revisit.

I will do another run on M96 on the next clear night.

Exoplanet TOI-1789b (15/4/2022)

19:35 – 00:40

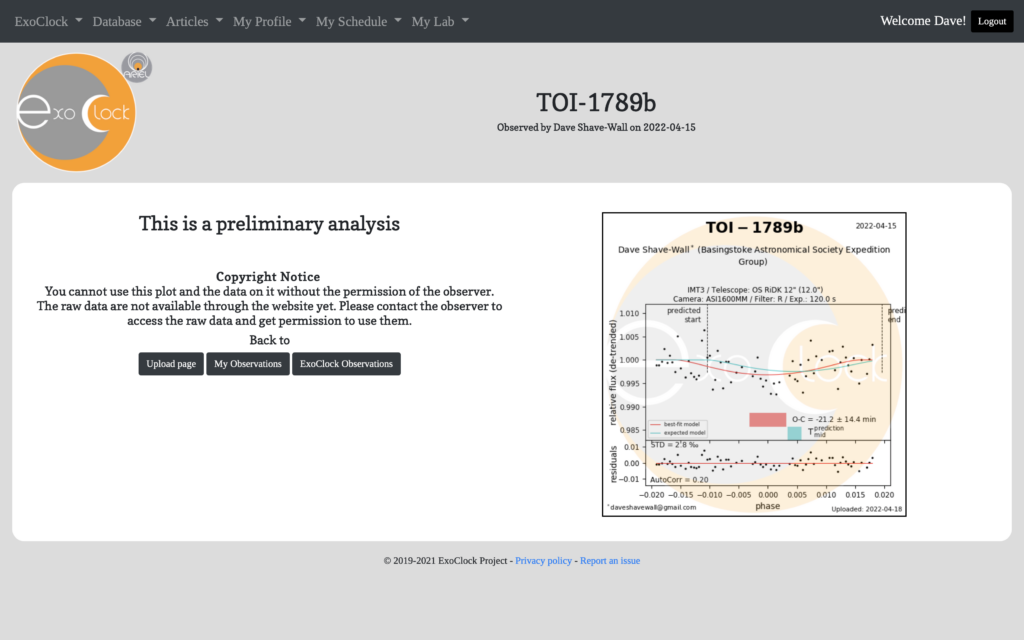
Tonight is a synchronous group observing campaign with Exoclock. We are going after an exoplanet around star Tycho 1962:0303 / HD 82139. I note that HD 82139 does not come up in TSX but the Tycho star in the right format does. I tried to install the 6GB USNO B database but it fails with an error that the files are not all in the directory. I will try to sort this out later.

Start of transit was 22:28 BST Mid transit 23:37 BST , End of Transit is 00:47 BST, 1 hour after transit is 01:47 BST

https://www.exoclock.space/database/planets/TOI-1789b/

I had an initial problem after starting the imaging run, the focuser went back to 14000 again which meant I was out of focus. I only noticed later and then restarted, fortunately before the start of the transit.

Reviewing the files the following evening I noted the dome closed around 00:40 so 7 mins before the end of Transit. I have no idea why the dome closed…….

Transit submitted

Viewing Report 27th March 2022

19:28 – 04:35

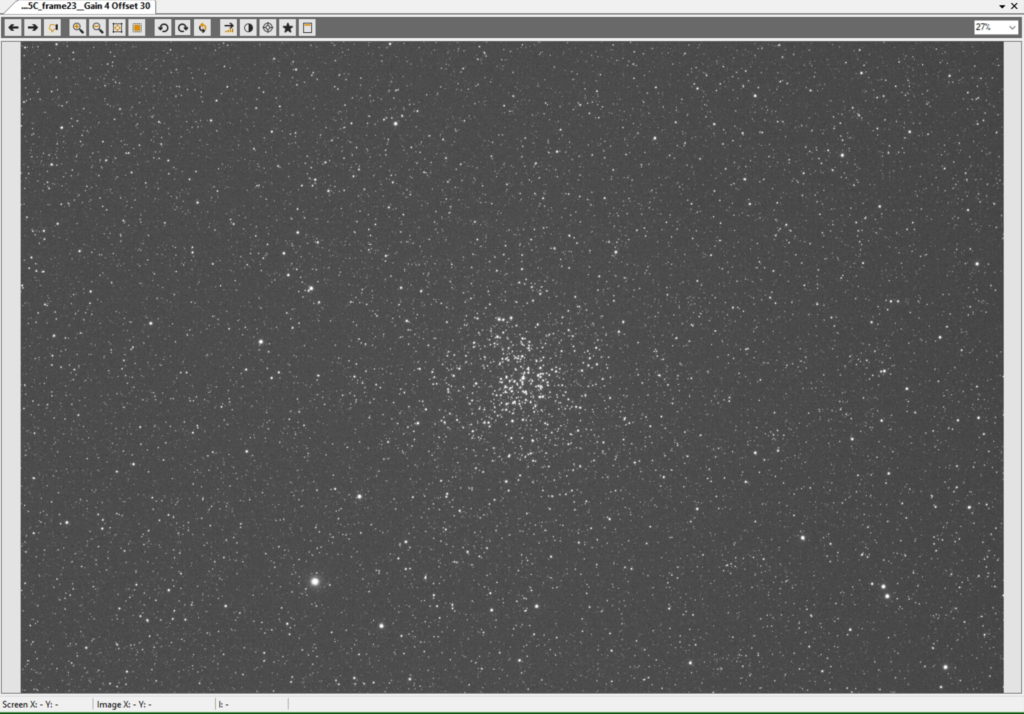
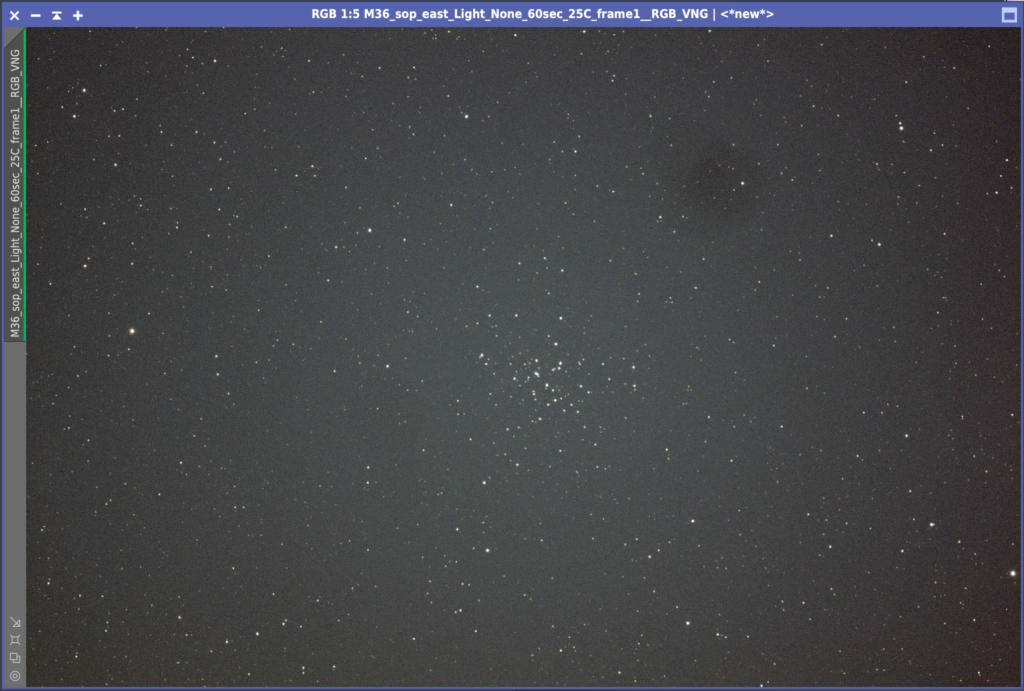
M36 with Esprit 120 from the dome until 23:45. I took 60 x 60s and 60 x 120s to try and reduce star satuaration.

M36 60s exposure

To guide on the 12″ tonight I realised the camera was not in focus, so I connected the focuser and moved from pos 14000 to pos 21000 which allowed me to get a much higher than 25-30 star signal to noise ratio SNR than before when it was sub 10 and this guided perfectly with perfect star profiles too.

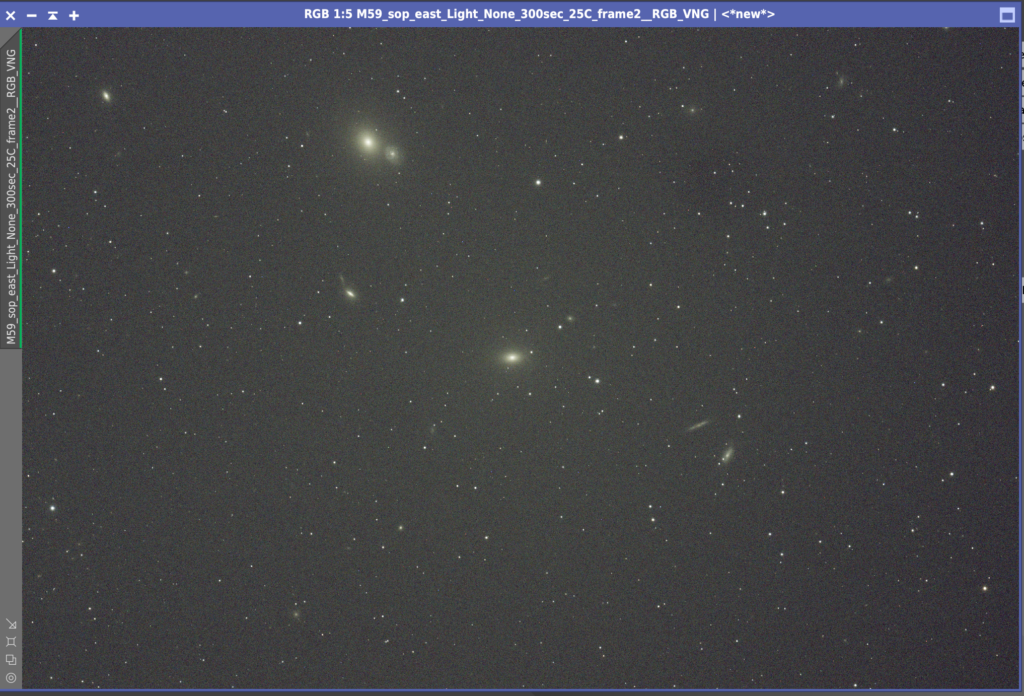
I then went to bed, awoke early at 1am and set the Esprit imaging M59 and took 36 x 300s before heading back to bed. The imaging stopped at 4:35am. Later in the morning when I awoke I took Flats as I had darks from the other night.

M59 300s exposure

Viewing Report 26th March 2022

19:47 – 03:00

Opened the dome and setup the 22″ Obsessions telescope for visual.

I have gone with a recommendation of Mark Radice this evening andI will both image and perform visual on M46 including the planetary nebula Herschel H39-4 that resides within it.

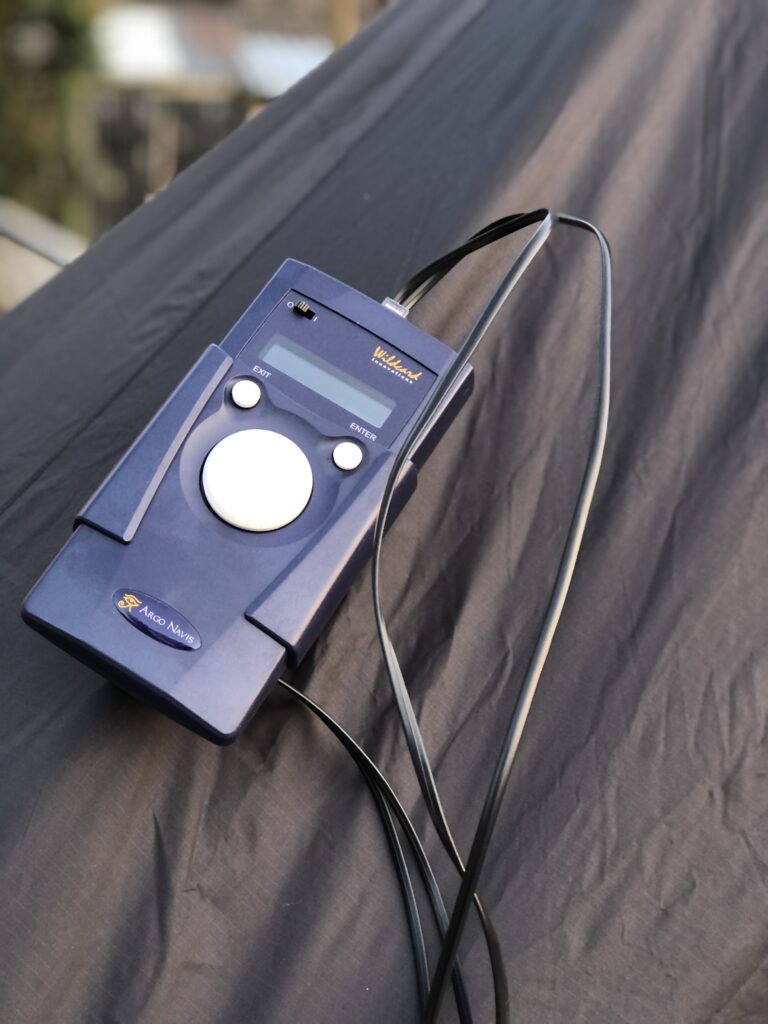
So with the 120 Esprit inside the dome imaging away on M46, now that it is to the East of the Meridian, I connected the Argo Navis to the 22″ and set about aligning the scope. After a few minutes and with the alignment complete, I pushed to M46.

M46 Observing Notes

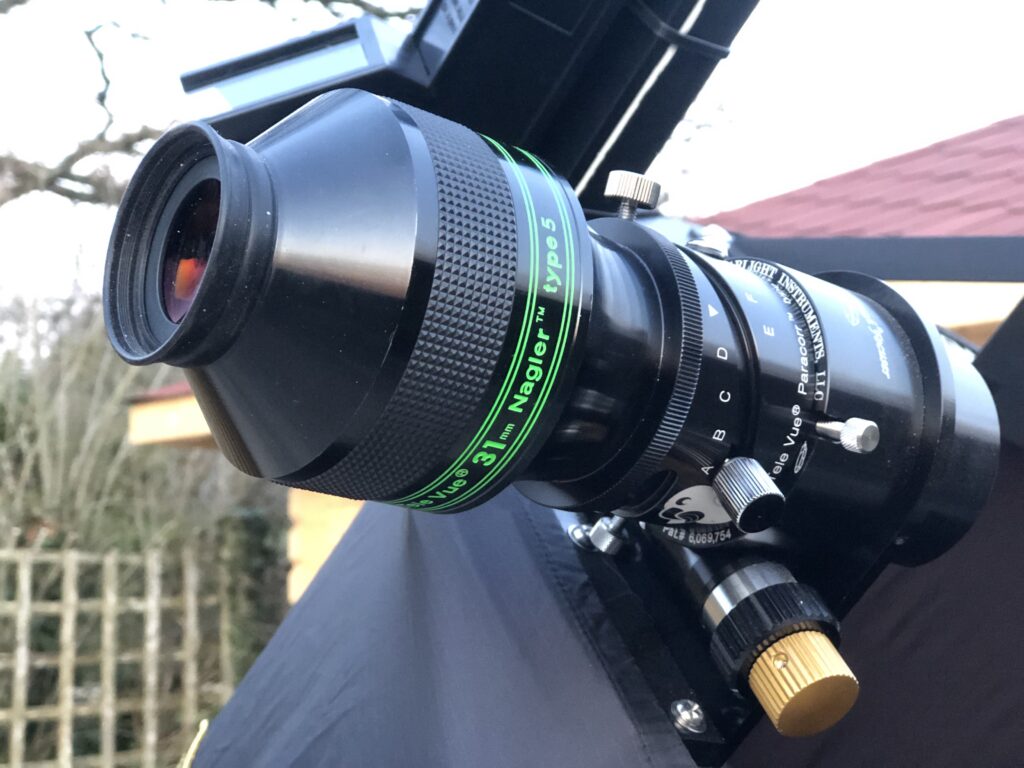
31mm Nagler 75x Mag. M46 Open Cluster fills the view. Apparent instantly is the planetary nebula Herschel H39-4 towards the 5 o’clock position. A small ring can be seen with direct vision and with averted vision the contrast increases. I am not using any filter yet.I can resolve many stars. With the 13mm Ethos 180 x Mag H39-4 becomes much larger and you can resolve easily the star within the centre of the ring. Now only several handfuls of stars can be resolved.

M42 Observing Notes

31mm Nagler 75 x Mag. M42 steller nursary and hydrogen nebula is very bright with the wings sweeping outward. The trapezium is clearly seen. With averted vision much more gas is forthcoming around the area within the FoV. Moving to the 13 Ethos 180 x Mag the trapezium is resolved pleasantly into a much wider set of 4 stars. The hydrogen gas now takes on structure and lingering on this one can make out dark features within it give the nebula a 3 dimensional feel. Now you experience a warm glow within the eyepiece that seems to draw your eye towards the gas in which the trapezium stars sit.

At this point I cam back into there Warmroom to write up my notes and review the images being taken in the observatory. I have now taken 21 x 300s of M46. Now switching to M48.

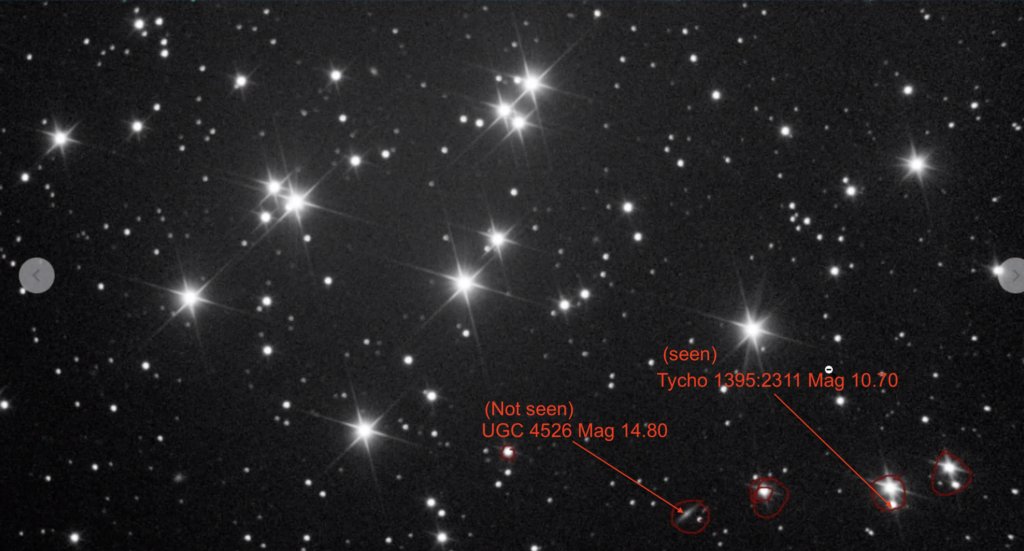
I then joined the BAS Zoom call to speak with Derek, Nigel, Bob and Mil Dave. We discussed M44 taken by Bob and suggested if I could see the UGC 4526 galaxy. So I went out to take a look.

M44 and UGC 4526 from Bob

M44 Observing Notes

Looking at M44 with Nagler 31mm at 75x Mag…..

I landed up finishing M48 at 23:47. I took 30 x 300s but then checked through the last few when the dome closed and I actually got 26, I might have lost the guide or the dome slewed incorrectly or shut, not sure which.

Addendum – It turned out to be loosing the guide star and because the camera wears not in focus, so connecting the focuser and moving from 14000 to 21000 position fixed it. The star profile was much better and SNR was 25-30 instead of 10.

Viewing Report 23rd March 2022

19:14 – 21:43

Another clear night, so many in a row and a lovely warm spring day of 18℃ I’m out again πŸ™‚

I’m grabbing some more M61 luminance tonight before I move onto RGB. Some teething problems made me start much later than desired, including a cable coming out the back of the mount for the power to the QHY168C, not sure why. So I did not get going until around 8:30pm.

I managed to grab 21 luminance frames at 300s until around 11:30pm when the the guider lost it’s stars. This is a setting problem as it was clear all night. I knew before I went to bed that there was an issue as I had seen the guider stop guiding. I will take a look at it and calibrate the guider using guider assistant after BAS tomorrow night.

Viewing Report 21st March 2022

19:00 – 21:17

A quick imaging run this evening, again for NGC 1999, this time LRGB, 5 frames of each at 300s then it was too low and my bed time on a school night πŸ˜‰

Before shutting down I made sure the Tak 102 profile for the dome was correct for the 120 Esprit as it is fixed on the same side of the 12″. I then slewed and it centred fine and the dome was in the right position. I tweaked the focus too in preparation for the Messier Marathon with Basingstoke Astronomical Society this Friday.

Viewing Report 20th March 2022

20:00 – 21:52

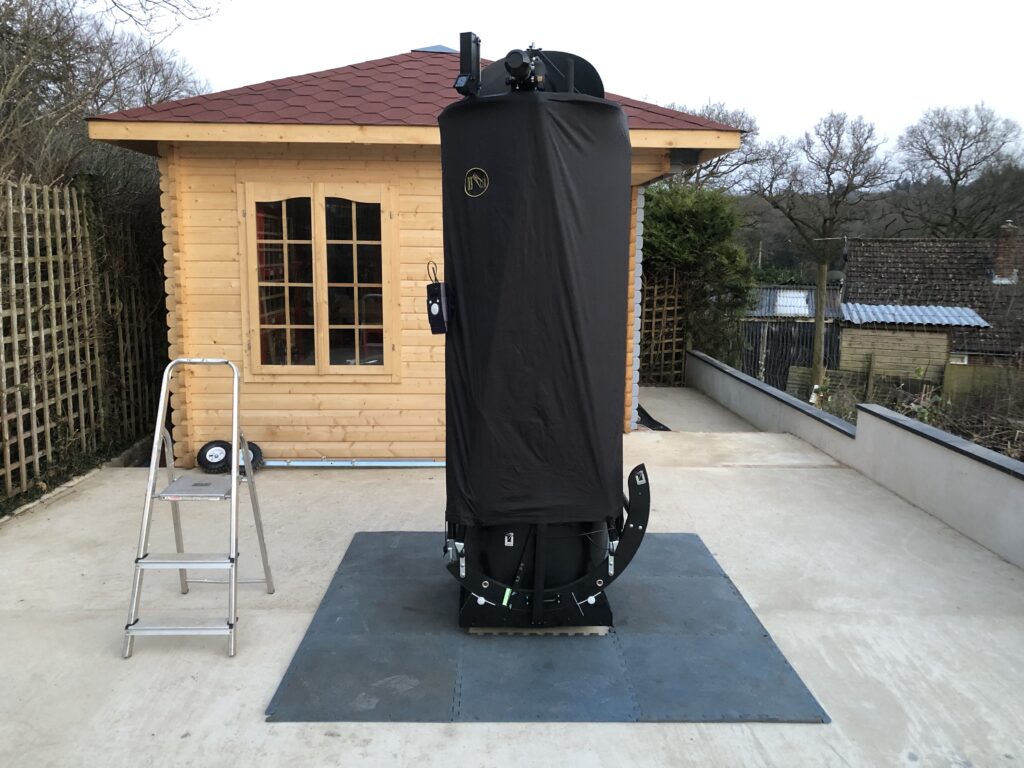
After a glorious sunny Sunday where I spent a lot of the day building the new decking for the Summerhouse for my wife, I planned on a short, sharp observing session until 9:30pm (turned out to be nearer to 10pm) starting after dinner at 7pm. In preparation for this I setup the 22″ dob on the observing patio and opened the dome for the 12″ to start to cool down whilst I ate with the family. My daughter and her boyfriend’s famous pasta dish was for dinner tonight which was great πŸ˜‹

22″ Obsession ready to go

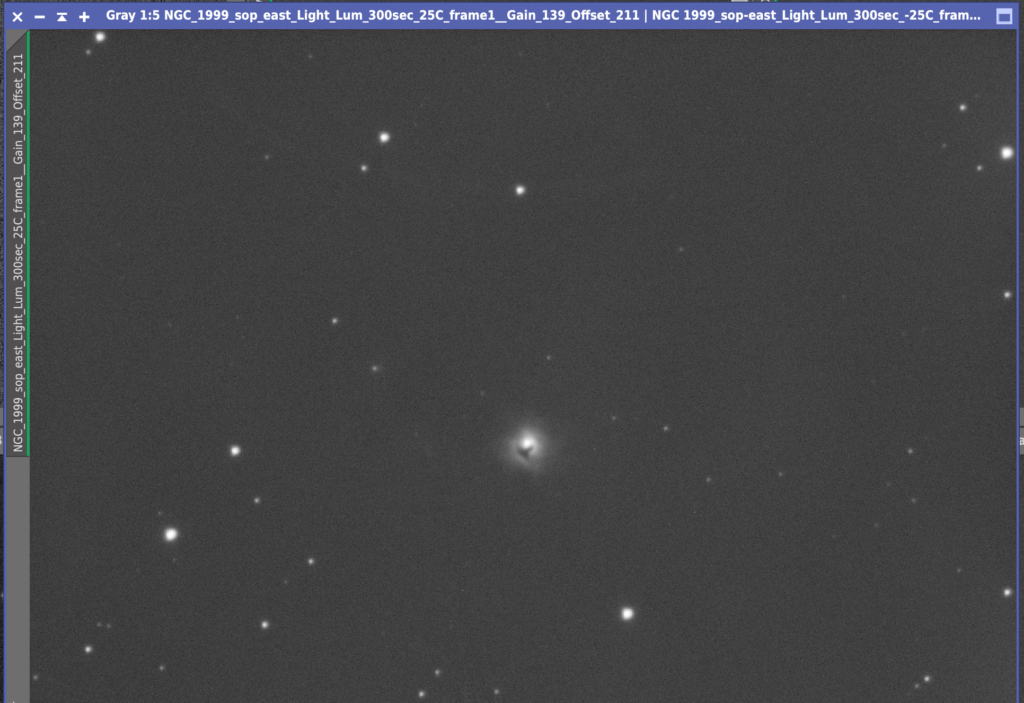
With dinner finished I headed to the sofa and set the 12″ running on NGC 1999 in Luminance so I could then go out and observer with the 22″. It took a while to do the usual, sync and centre on a star, get the focus right and set the imaging run up. But after 45 mins I was then able to wrap up warm and head outside.

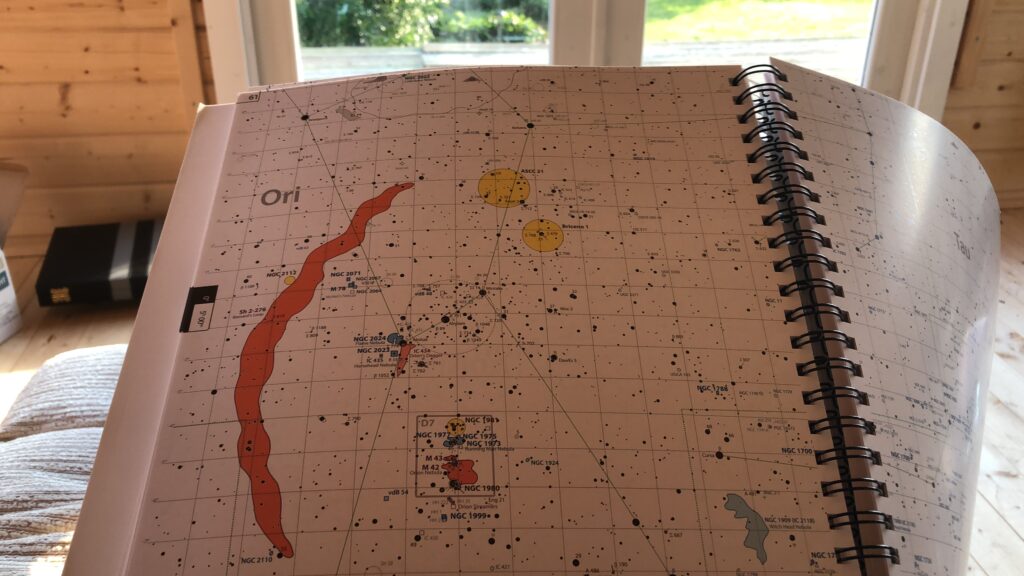
I have read an article in Sky and Telescope of visually observing NGC 1999. With that information I opened my newly acquired Interstellarum Deep Sky Atlas to look at the area where NGC 1999 resided. I then referred to the Deep Sky Guide to look at the photos and drawings of the objects in the vicinity including this reflection nebula.

Deep Sky Atlas

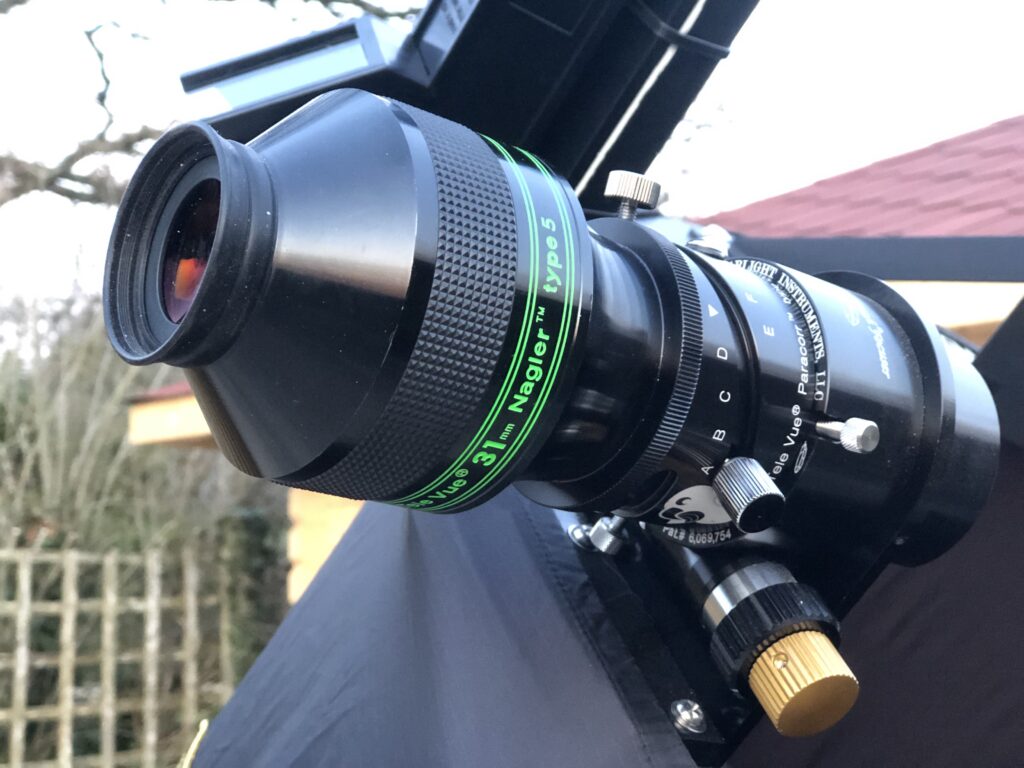
There was a potential to observe two Herbig-Haro (HH) objects but I was afraid the sky would be a little to bright given the Moon rising at 9pm, in order for me to see them. I placed the 31mm Nagler in the 22″ and then dialled in NGC 1999 into the handset and pushed the scope until the numbers for Azimuth and Altitude were as close to zero as possible and looked through the lens. Surprisingly I could see a small fuzzy object with a star embedded to one side just off centre in the eyepiece. I reviewed the star chart on my phone using Sky Safari 4 and confirmed this indeed was NGC 1999. I guess it was just off centre due to my alignment and next time out I will use the 13mm Nagler to centre and align the scope during the initial setup.

31mm Nagler

On looking at the reflection nebula I could tell there was something to one side of it due to the offset nature of the nebula to the star. I changed to the 13mm Nagler and set the Paracorr accordingly back to H from the A setting for the 31mm Nagler. I then recentred using the Argo Navis computer and too a peak through the eyepiece. I could now see a distinct whole in the nebula, but clearly not as good as the Hubble image I had looked at, however it was there. I ten went looking for the two HH objects but I must say I could not confirm them at all. There were two star like objects near by but again looking at my Sky Safari star chart I was not convinced. I would leave this for another night when the Moon was goner and I had cooled the mirror with the fan, that is still not connected to power yet.

For a laugh I then pushed to the Horse Head but could not see it, not surprised given you need a Ha filter. I will buy one.

I then had a quick look at M42 again which is a wonderful sight in the scope. Orion was now getting low with NGC 1999 and M42 at +18 degrees at about 9pm. I then started to pack away the scope to head in doors and look at the 12″ and see how it was doing.

NGC 1999

I reviewed the set of images for NGC 1999 on the 12″ and now due to the altitude I switched and set the scope running on M61 for Luminance and RGB as it is on my list for my Messier wall chart.

At 10pm I left the dome capturing M61 LRGB frames and hit the sack.

M61

Viewing Report 19th March 2022

20:00 – 23:00

So after a successful day at The Practical Astronomy show it was time to head on out to play with my new toys. In this case a new 31mm Nagler Type 5 2″ eyepiece that I purchased from Owen Brazzel.

31mm Nagler

The other aim tonight was to setup the Argo Navis computer to allow me to find objects in the night sky on the 22″. Owen had said to me at the show that this is a must else I would find it difficult to star hop from one object to another without it, which was proved out the last time Bob and I ventured out.

Argo Navis

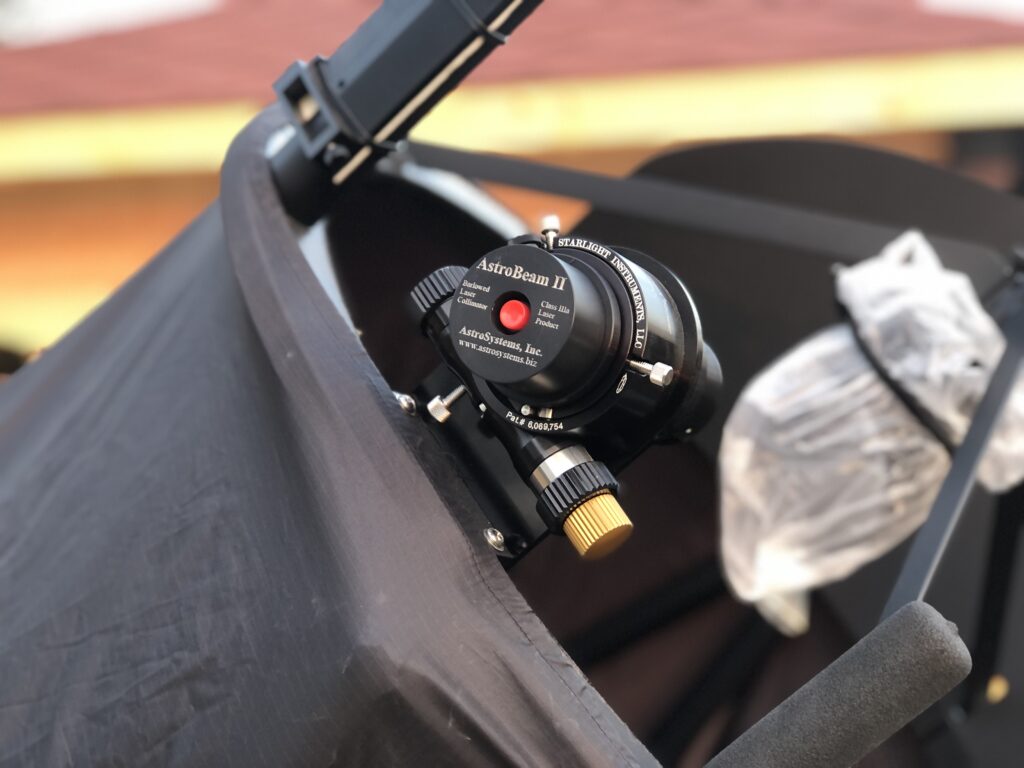
So I went to the Workshop where the Dob is stored and took it out onto the observing space and started to put it together. It only takes about 15-20 mins and then I set about collimating quickly with the laser collimator.

Laser colimator

Once done I fitted the Paracorr optical corrector followed by the 2″ eyepiece. I then set about putting the cables in for the Argo Navis computer and clipping it onto the side of the 22″.

It took me over an hour to finally setup the computer, in the main I did not RTFM and finally succumbed like all good blokes to reading the manual. It was them extremely straight forward. I had a good look through the menus to familiarise myself, but really the only thing to do was to identify 2 stars. The process for this must be followed for it to work correctly.

So I selected Mode Align Star option form the menu clicking the Enter key, then selected a star using the Dial, in this case BETELGEUSE came up. Now DO NOT PRESS ENTER!! Put the star in the centre of the eyepiece and then press the Enter button. Then WARP= +0.00 (1) should appear briefly meaning 1 star is aligned. Now using the Dial select another star (in this case SIRIUS) and repeat. Once you select ENTER then you see WARP= +0.00 (A) which means aligned. Now you are good to go and use the catalogue to tour the night sky.

I then selected some objects including M42, which looked lovely but low, the double double which really allowed the eyepiece quality to show off its abilities. I went round few other objects and Luke came out too, In fact to be fair he helped me get the computer working and then we shared the views in the scope. It was a good evening. We then between us took the scope apart and put it back in it’s home.
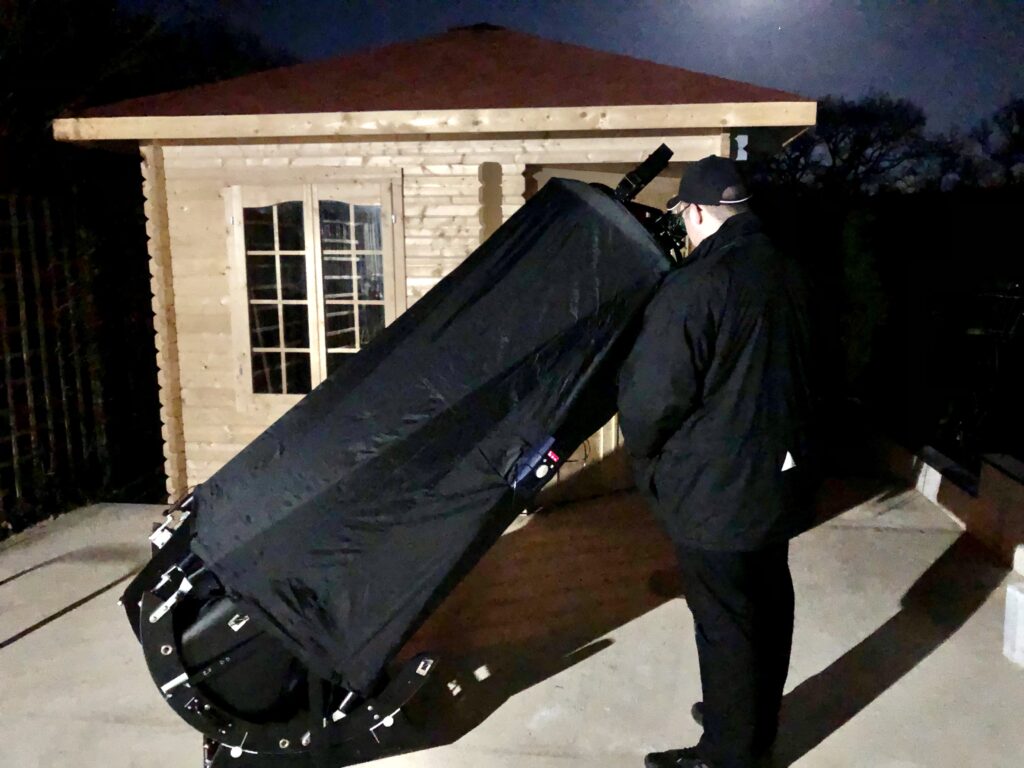
Obsession in use with the light on for the photo of course πŸ™‚

Exoplanet HAT-P-66b (25/2/2022) – IMT3Β + Visual with 22″ Dob!

21:24 – 03:00

So for the first time in a while the observatory is back up and running and it’s Friday and it’s clear! So Bob came over and we set about imaging an exoplanet and getting the 22″ Obsession dob out of the warmroom where it had been sitting since November, and moving it down to the observing plateau by the IMT3b observatory.

A few nights back, during the week I had managed to get the 12″ in the dome balanced with my original 2004, 5″ Skywatcher 130 reflector as a guide scope and the Skywatcher Esprit 120 ED on the other side. The 5″ now guides, however the QHY camera on the 120 is not currently connecting so I need to investigate. Also the MEII hand controller is sending erroneous signals to the mount so I needed to disconnect as it kept saying ‘joysticking’ and moving the mount. Unfortunately the 5″ was pointing at the dowel so I used off-axis guiding instead.

Blue 5″ scope pointing at the dome

I selected an exoplanet on the Exoclock website, and set about imaging. Unfortunately due to my profile on exoclock being set to UTC +1 and me not noticing I started 45 mins into the transit! I will now use this as a test run and process the data and submit.

Exoplanet schedule

So first up was moving the 22″ down to the plateau so it could cool down. I had planned on taking it back up to the Warmroom, however it is so heavy I have decided to keep it in the workshop. I will make sure I connect the electric up for the workshop this weekend thus allowing for the new dehumidifier to be switched on and operational.

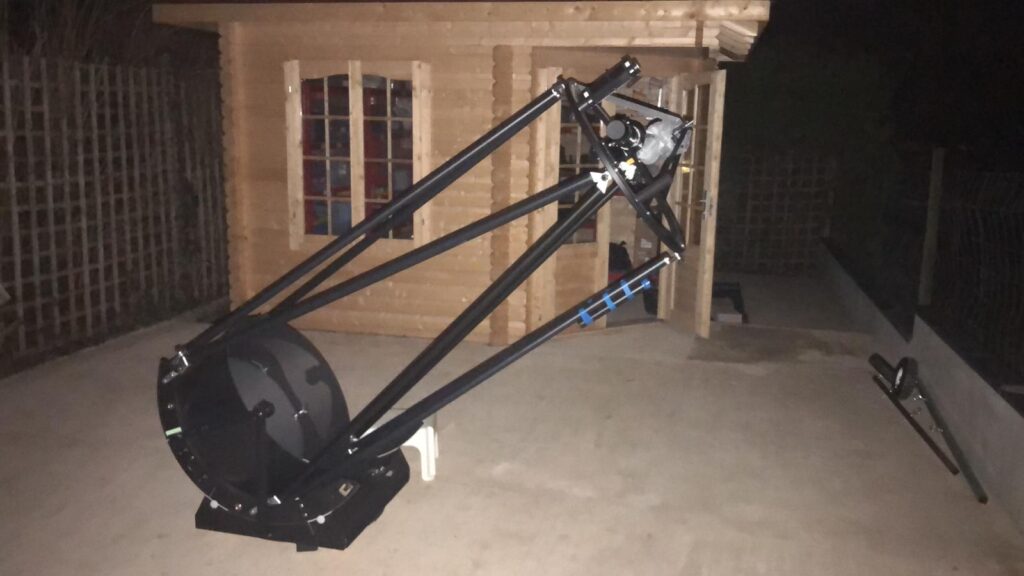
22″ UC Obsession telescope

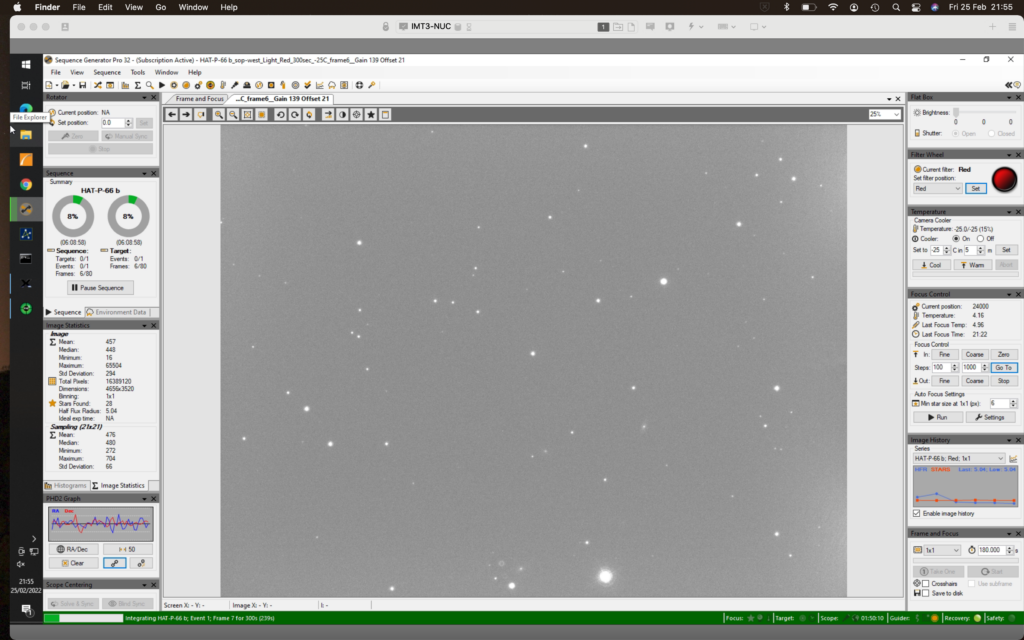
Whilst the 22″ cooled down, we went back indoors and setup the 12″ in the observatory to image the transit. The focus point was 25,000 and I made sure I selected the Red filter. I slewed and aligned on the exoplanets host star and then settled on a 5min exposure due to the low brightness. I started imaging at 9:24pm, the transit start was 8:45pm πŸ™

HAT-P-66 b

Whilst imaging continued we went outside and set about setting up the 22″. Things I learnt from this first public outing were;

  1. Remember to put the shroud on
  2. Remember to pub the secondary shield on
  3. Remember to collimate the secondary first
  4. Remember to fit the Telrad dew heater
  5. Remember to find a 40mm eyepiece
  6. Remember to download and print the Parracor chart
  7. Remember to set the Parracor to the correct setting
  8. Remember to buy a 12v battery powered hair dryer
  9. Remember to buy a secondary dew heater

We collimated the scope and then went on to look at M42 which with the 24mm Panoptic looked great. We then slewed to M45 the Pleiades but of course the open cluster is too wide for the for I was using. Then we tried find M81 and M82 but I found this difficult due to the lack of bright stars in the area. So instead we went to the Trio in Leo.

M65 and M66 looked fairly bright and you could make out the dark dust lane in M65. NGC 3628 was visible with direct vision, however with adverted vision it was much easier. It appeared very long and thin.

We had to use s hairdryer on the secondary a lot. The Telrad also dewed up as did the eyepiece. The primary mirror was fine, although with direct headtorch light looked like it was dewed, but upon inspection this was not the case.

At midnight it was time to pack up before I had to do a meridian flip. Bob helped my dismantle the 22″ dob and then place inside the workshop. I could not move it into the room without dismantling which was a shame. It is far too tall.

Once done, Bob headed off home for a well deserved rest and to warm up due to it being 0℃. I headed indoors and performed the meridian flip at 0:23am.

I then left the observatory running until 2:30am whilst I wrote this blog, had a glass of wine and ate an easter egg πŸ™‚ I also went back out to the workshop to tidy up the telescope eyepieces etc that I had not put away.

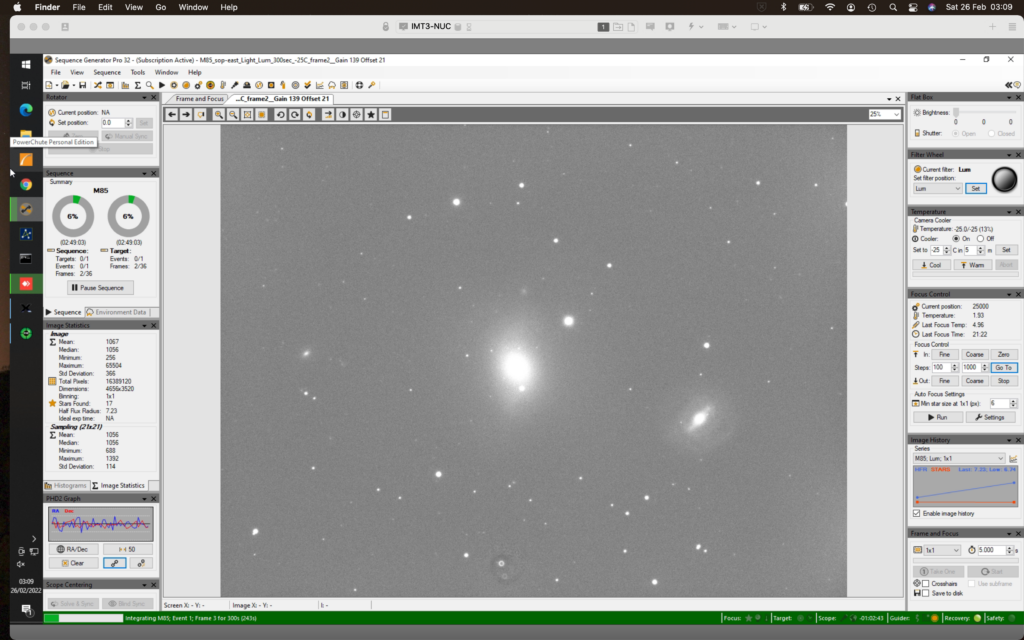
At 3pm I went on to take luminance for M85 that I needed to complement the RGB data I had processed. I let this running and went to bed.

M85 Lum 300s

I took flats and dark flats in the morning, although I had to increase the exposure to get the required level for the flats. This is strange as they should be the same. I am now concerned the camera my be playing up and causing an issue. I will investigate.

Viewing Report – Kielder Water (18-20/02/2022)

So with short notice a couple of my friends booked a cottage just outside the Kielder Water park boundary in Northumberland. This was booked for same weekend that Storm Eunice and Storm Dudley hammered the UK, the drive from the South of England to the North was very gusty and interesting at times.

Suffice to say that during my short stay in a farm cottage I saw more of Pubs such as the local warm, very friendly and welcoming Star Inn and comfortable cottage fireplaces than I did clear nights.

On the first evening it was broken fast moving cloud so we settled on taking in the various views of the 17 day old moon (94.2%). Although it was very bright being just after full moon, we scoured the edge of the disc looking at the shadowed craters. The first evening’s session was cut short by the cloud and rain, which seemed to set the mood for the week.

On the next few cloudy nights, I spent the time upgrading to ASCOM 6.6, the latest NINA beta and SGPro 64bit. Of course this required me to make sure I had the latest 64bit drivers installed. Once done, I began testing the various bits of hardware within the applications.

Very welcoming when it is wet, windy and foul outside

However on my final evening whilst nestling a Talisker Single Malt in front of the fire. I just happened to peer outside and it was clear, breezy and cold but clear. So since the weather report said it would cloud up I grabbed the Baby Dob (SkyWatcher Heritage 150) and headed outside for a quick sky tour.

With Laurence and Laura we finally saw why astronomers come to the Northumberland National Park. The Milky Way was so obvious stretching from Orion in the South, through Perseus and Cassiopeia and the sheer number of stars was breath taking.

We started looking in Orion, the Orion Nebula (M42) which the 150P does not do it justice and really a 200P and decent eyepiece would be needed to show the wispy cloud structures. We looked at the stars Betelgeuse and Sirius (Canis Major) just to show the colours of these giants before moving along to view the Pleiades (M45) and the star clusters in the constellation of Auriga.

The Double Cluster (NGC 889/NGC 884) in Perseus in the 25mm wide field eye-piece was beautiful. From the Perseus/Cassiopeia border we moved through the milky way and across to Canes Venatici hunting down The Whirlpool Galaxy (M51) which we saw as two misty patches, one smaller fainter patch and a larger patch with a faint core.

Moving southwards we hunted for the globular cluster M3 which was low on the horizon and effectively in the trees but we managed to locate it. Again it was a misty patch and looked like a comet. Switching to the 10mm eye-piece I tried to resolve the patch as stars but I was unable to, maybe due to it’s low altitude but Laura was able to do so with averted vision.

Of course I also forgot that objects I can see from The South Of England are higher up in the sky compared to The North Of England by almost 4 degrees altitude.

Not long after we headed in doors to warm up, the clouds rolled in, the wind picked and the snow started falling as a precursor to the incoming Storm Franklin. Such is life but at least I got a few hours under dark skies even if it was visual and not deep sky imaging.

Viewing Report 5th January 2022

17:00 – 02:15

went out and put ZWO ASI120MC on the back of the ST80 guide scope. Refitted the Lodestar to the off axis guider. I then setup the FoV indicator on TSX and also got the guider to focus.

Took a bunch of M78 frames LRGB to start with. Then tried a 600s Ha but that showed very little.

Then joined by Bob joined and he reminded me to image JWST.

Then around 12:30am I started imaging M78 again on the other side of the meridian. I must sort out imaging with a frame so that it is easier to get the object inside the FoV and lined up as it took me quite some time this evening. Plate solving was also not working again within SGP so I need to look at that on the next night out.

Detecting pressure waves from the Tonga Eruption (2022/01/15)

On January 15th 2022 at 15:10 AEDT (04:10 GMT) theΒ Hunga Tonga Hunga Ha’apai underwater volcano near Tonga erupted. Hunga Tonga-Hunga Ha’apai is 1.8 kilometres tall and 20 kilometres wide, but most of it is underwater, with the top 100 metres visible above sea level. The pressure wave generated by the explosion blasted through the atmosphere atΒ more than 1000 kilometres per hour.

Dave mentioned to me that the people had registered a pressure increase on their monitoring devices due to the pressure wave and checking the internet the Met Office has issued a nice graph on Twitter.

On the observatory Grafana dashboard I could indeed see two pressure waves at the correct time. We only record the pressure every 60 seconds because for astronomy that’s all we need so we do not have the resolution of others but the height of the two events are in the correct range compared to the graph above.

Double pressure wave

The first pressure wave arrived (19:13-19:24) we was 2hPa increase as we have lost some resolution due to sampling period and the Met Office is ~2.5 hPa. We could change the sampling to be lower (15 or 30 secs) as storage is not an issue and then we would have caught a nice defined peak. The second pressure wave (2022/1/16 01:55-2:14) and we measured ~1hPa drop and again was lower than the Met Office due to our sampling period.

Our auxiliary pressure monitoring install was down during this period as the box appeared to have been restarted/rebooted and the ASCOM Alpaca instance was not running which was unfortunate πŸ™

The Night Sky Observer Guide Series

When I started attending the Practical Astronomy Show held at Kettering I picked up my first copy of “The Night Sky Observers Guide Volume 4 – The Glories Of The Milky Way to -54Β°” written by George Robert Kepple and published by Willmann-Bell inc. These were sold at the Kettering show by the very helpful and knowledgeable staff of The Webb Deep-Sky Society for around Β£20.

Then in December 2019 ‘The Global Human Malware’ happened and the world went nuts, the Astronomy shows were cancelled year on year and I forgot to complete acquiring the rest of the series. Then suddenly in late 2020 it was announced that the publishers Willmann-Bell had closed and their entire portfolio went out of print.
Unfortunately I did not see the announcement until late Jan 2021, however I managed to obtain a copy of “Volume 2 – Spring & Summer” (ISBN 0-943396-60-3 (V2)) from Zoltan at 356 Astronomy but he told me he was out of stock for the rest of the series.
I contacted the Webb Deep-Sky Society to see if they had any available copies in stock. The president of the society Owen Brazell very promptly replied but informed me that they had sold their remaining stock just days before. He was extremely helpful in trying to help me source any remaining stock but eventually to no avail ! I recommend any avid astronomer should consider subscribing to the Webb Deep-Sky Society here …… I just did πŸ™‚

Example of Webb Deep Sky Society Digital Issue

Fast forward to 16th August 2021 and it was announced that the American Astronomical Society would acquire the inventory and related assets of Willmann-Bell. Luckily by January 2022 I noticed that FLO (First Light Optics) in the UK had managed to obtain a few copies and I promptly ordered a copy of “Volume 1 – Autumn & Winter” (ISBN 0-943396-58-1 (V1)) for Β£35.

Well, it arrived this morning and I apologised to my regular postman for having to carry it around by hand all morning.

As with the other volumes the information, maps, diagrams and descriptions are very useful for planning imaging or observing sessions.
The King of the Northern Winter Constellations – Orion
The fantastic Perseus Galaxy Cluster

I now have only Volume 4 “The Southern Skies” left to purchase but as that would only be a reference for objects I can’t see from the UK it would go mostly underused unless I start using my remote telescope account or travel around or below the equator.
I would like to thank Owen Brazell for all his time and for the ongoing activities of the Webb Deep Sky Society and hopefully we will see them at the next Practical Astronomy Show in March 2022 …. fingers crossed !

Viewing Report 4th January 2022

17:53 – 02:34

Clear night! So I’m going to setup and let the dome run all night if it stays clear which is the forecast as I have work tomorrow.

All Sky Camera

I have run the guiding assistant on PHD2 so that I can hopefully better track objects. The drift in frames from the last time out whilst using the ST80 as a guide scope was less than ideal. I have now put al the new settings suggested into the PHD setup and have swung round to do a focus run on a star near to M32.

PHD2 new settings

After successfully running autofocus in SGP at 23,560 on Luminance I have now slewed to M32 to gather more data that is desperately needed to resolve the outer spiral arms of the companion giant galaxy M31.

SGP Focus Run
M32

So it is now just gone 9pm and whilst the guiding is managing to stop trailing of stars, the image is moving between frames, enough to loose the object over the course of 4-8 hours. This is clearly not good enough and it does look like the focal length of the ST80 is simply not long enough.

To get around the problem this evening I have turned guiding off, as the exposures are short (3 minutes) the trailing of stars is not an issue. At midnight I took flats for M32. I then centred on M78 for the rest of the night. Before starting I performed another focus run as the focus point had changed over the night with the temperature drop.

Auto Focus

I choose the same exposure settings and Gain 139 and Offset 21 settings as for M32. -25C was the temperature but this time I rotated the camera by 90 degrees to also fit in NGC 27309.

M78 & NGC 27309 and a satellite trail

So I left the scope running and it completed at around 2:30am with 40 frames taken across 4 filters giving me 30 minutes per channel. This will be enough to get started and if clear tonight I will setup for another run at M78 and hopefully improve the guiding.

Update. On reviewing the files this morning it looks like I forgot to select the filter in SGPro which means all my M32 and M78 images from this evening are in fact luminance only! Which is ok for M32 but for M78 I need some colour. Below is the weather data for last night.

Viewing Report 2nd January 2022

19:26 – 01:30

I started with M76 Ha as I need some frame for this object. I already have many hours in OIII. However after starting to image I realised the guiding, which is currently being tested through Dave Boddington’s ST80 was not pointing through the slit correctly as M76 was near the zenith. This means I have suffered from trailing as the guider was trying to guide on long stars due to diffraction.

M76 – 1 x 600s Ha

I swapped to a different object, this time M32 as I have not imaged this directly before, just as a happenstance of imaging M31. I have chosen 180s exposures using Gain 139 Offset 21 to keep the saturation of the core down. At 300s the core was blown out.

M32 – 1 x 300s Lum

M31 can be seen to the left and lower left of the small galaxy. M31 covers a large part of this image! So how well was my guiding doing?

Guiding with the ST80 guider

The guiding looked fine. 0.52 arcsecs total error which I am happy with. I stayed up until just before midnight and then left the observatory running. In the morning I noticed the dome shut around 1:30pm due to the images after that looking like flats.

I also noticed this morning that the images were drifting so the guiding is not quite right as the image drifts. I will next time out run the guiding assistant and see if that helps.

Update the image scrubbed up fairly well but I lost a lot of frames to drift and trailed stars and then the dome closing. Resulting image around 3 hours 12 minutes exposure of which 48 mins was Luminance but there was cloud affecting many frames.

M32 – 3 hours

Below is a copy of the nights weather data.

Cloud cover

Temperature

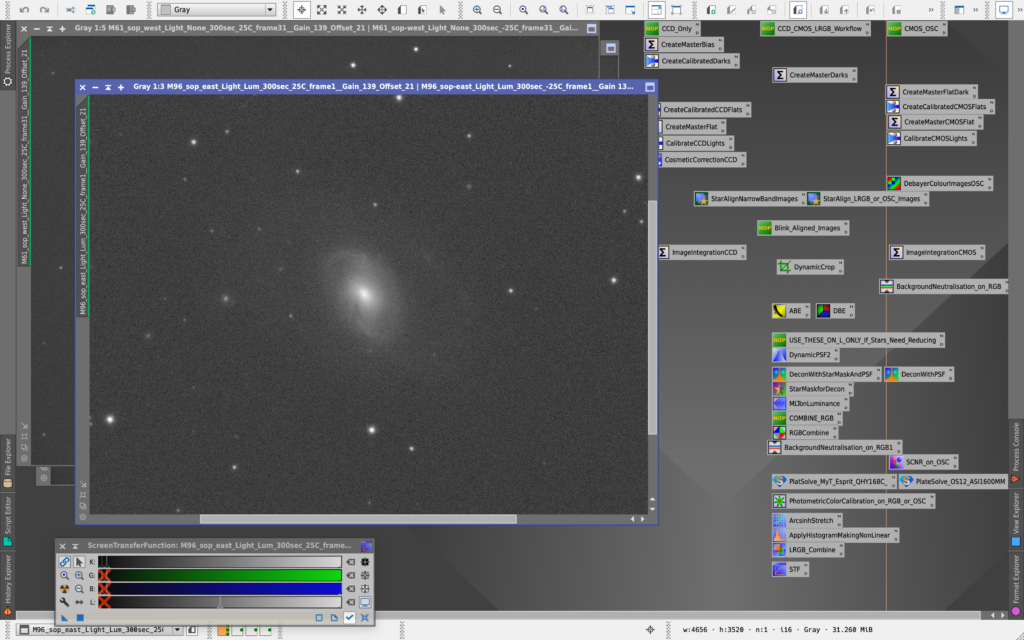
PixInsight – Load Default Project/Process Icons

So whilst Dave was processing our M45 QHY268C data, he mentioned how it is frustrating that he has to reload his process icons for his workflow every single time.

After finishing the communications/process diagram for IMT I decided to have a quick look if it was possible. Watching PixInsight startup I noticed access to a few files – banner and startup.scp. For me these were located in the C:\Program Files\PixInsight\etc\startup directory.

Looking through the documentation it seemed possible to add statements to the file which was possible once I had modified it as Administrator.

Method 1 – Load Process Icons

This will load just the process icons into the current workspace on startup. Add the line below to the bottom of C:\Program Files\PixInsight\etc\startup\startup.scp :

open "C:\Users\gingergeek\Pixinsight\Pixinsight DSW Process Icons V10.1.6.xpsm"

Save the file and restart pixinsight.

Method 2 – Load An Empty Project With Process Icons

Another method (preferred) is to create a new project (Empty-process-icons.pxiproject), load in the process icons. Save the project and then change the properties to make it read-only so you can’t accidentally overwrite it later on.

Add the line below to the bottom of C:\Program Files\PixInsight\etc\startup\startup.scp :

open "C:\Users\gingergeek\Pixinsight\Empty-process-icons.pxiproject"

Save the file and restart pixinsight.

I also modified the banner file (in the same directory as startup.scp) so it would show the IMT3b designation. I generator the ASCII art from one of the many online sites, if I can remember which one I will link it here.

\x1b[1;38;2;255;000;000mβ–ˆβ–ˆβ•—β–ˆβ–ˆβ–ˆβ•— β–ˆβ–ˆβ–ˆβ•—β–ˆβ–ˆβ–ˆβ–ˆβ–ˆβ–ˆβ–ˆβ–ˆβ•—β–ˆβ–ˆβ–ˆβ–ˆβ–ˆβ–ˆβ•— β–ˆβ–ˆβ•—\x1b[39;21m
\x1b[1;38;2;230;000;000mβ–ˆβ–ˆβ•‘β–ˆβ–ˆβ–ˆβ–ˆβ•— β–ˆβ–ˆβ–ˆβ–ˆβ•‘β•šβ•β•β–ˆβ–ˆβ•”β•β•β•β•šβ•β•β•β•β–ˆβ–ˆβ•—β–ˆβ–ˆβ•‘\x1b[39;21m
\x1b[1;38;2;204;000;102mβ–ˆβ–ˆβ•‘β–ˆβ–ˆβ•”β–ˆβ–ˆβ–ˆβ–ˆβ•”β–ˆβ–ˆβ•‘ β–ˆβ–ˆβ•‘ β–ˆβ–ˆβ–ˆβ–ˆβ–ˆβ•”β•β–ˆβ–ˆβ–ˆβ–ˆβ–ˆβ–ˆβ•—\x1b[39;21m
\x1b[1;38;2;179;000;153mβ–ˆβ–ˆβ•‘β–ˆβ–ˆβ•‘β•šβ–ˆβ–ˆβ•”β•β–ˆβ–ˆβ•‘ β–ˆβ–ˆβ•‘ β•šβ•β•β•β–ˆβ–ˆβ•—β–ˆβ–ˆβ•”β•β•β–ˆβ–ˆβ•—\x1b[39;21m
\x1b[1;38;2;153;000;204mβ–ˆβ–ˆβ•‘β–ˆβ–ˆβ•‘ β•šβ•β• β–ˆβ–ˆβ•‘ β–ˆβ–ˆβ•‘ β–ˆβ–ˆβ–ˆβ–ˆβ–ˆβ–ˆβ•”β•β–ˆβ–ˆβ–ˆβ–ˆβ–ˆβ–ˆβ•”β•\x1b[39;21m
\x1b[1;38;2;128;000;255mβ•šβ•β•β•šβ•β• β•šβ•β• β•šβ•β• β•šβ•β•β•β•β•β• β•šβ•β•β•β•β•β•\x1b[39;21m
Our new PixInsight default project with process icons

Thoughts

The downside to both these methods is that if PixInsight is upgraded/reinstalled then you will lose the settings – not a disaster to be honest as they are easy to put back into place.