So whilst Dave was in his garden using the binoculars and failing down holes in the process I was setting up to relearn how to take images ….. it’s been that long and the weather hasn’t helped.
So all was going well except that the Moon was bright and right near the winter nebulas. Even how bright the moon was I decided to use the time and practice using the Monkey Head Nebula as my target.
The tripod was levelled and the iOptron CEM60 polar aligned, the scope was balanced, the Atik460 CCD was cooled (-25℃), OpenPHD calibrated, the plate solver completed and the successfully sync’d and . The first step was to autofocus on a decent bright set of stars before the imaging run.
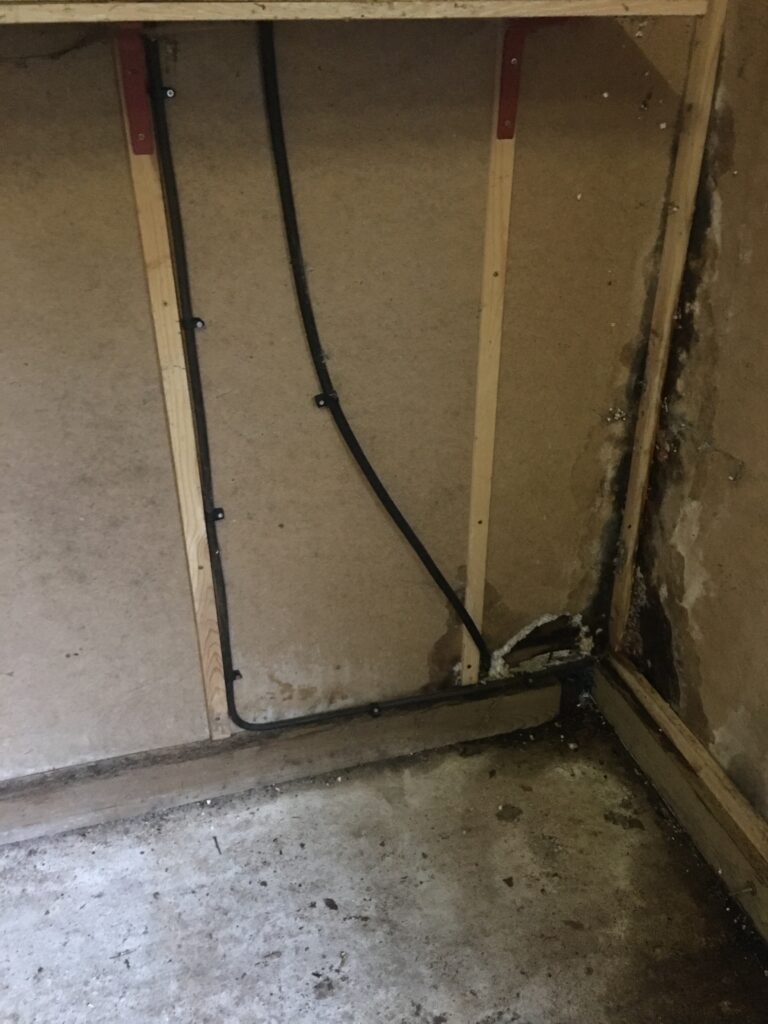
That was when the night was over ! SGPro set about running it’s autofocus but strange things were happening. SGPro was reporting that the LakeSide Astro focuser position was changing but the star HFR profile was not changing and the V curve remained flat. Since the focuser position was “changing” I did not think to go out into the garden with a red torch for an hour.
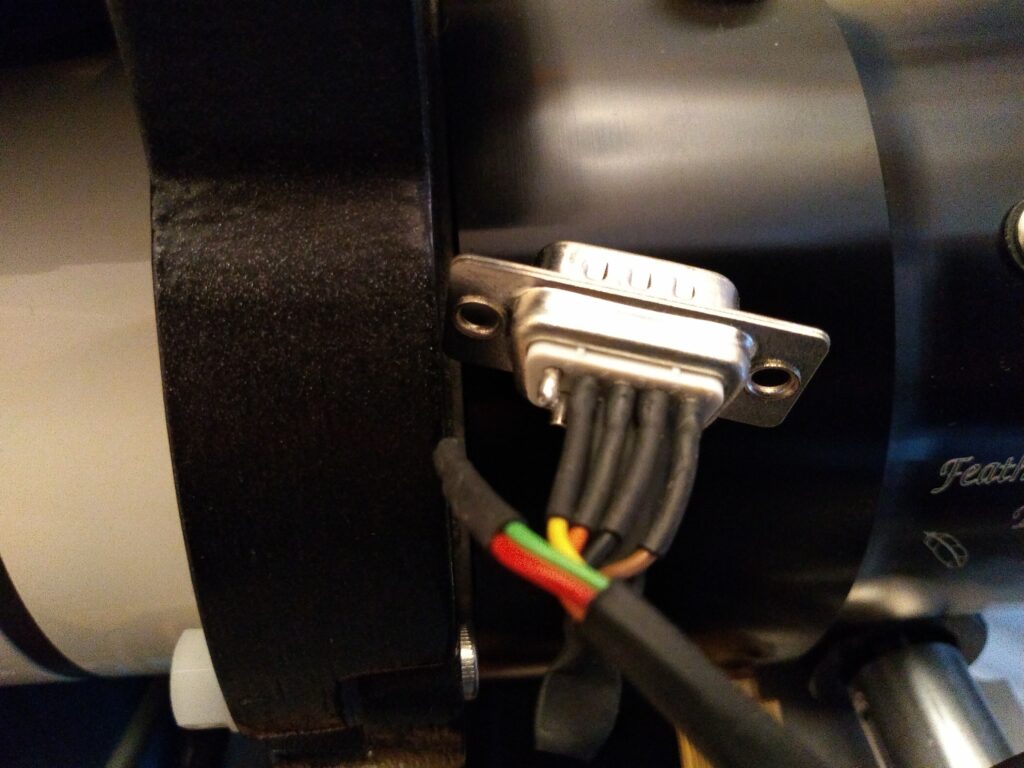
Upon inspection it was fairly obvious why it wasn’t working and inside the issue was proved to be a disconnected wire on the motor port.
Hmm …. I wonder what the issue could be !
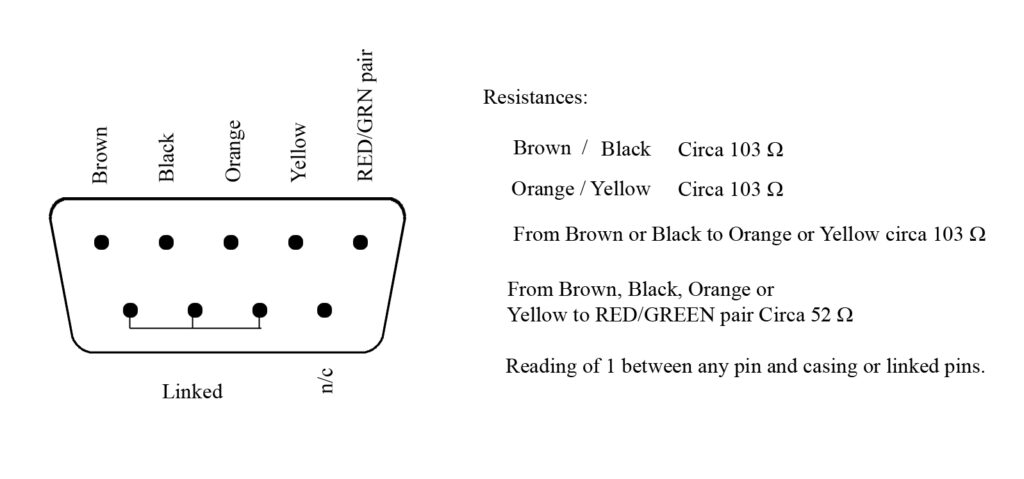
I thought it would be prudent to double check which of the two spare connectors the wire came from and indeed it is the top one.
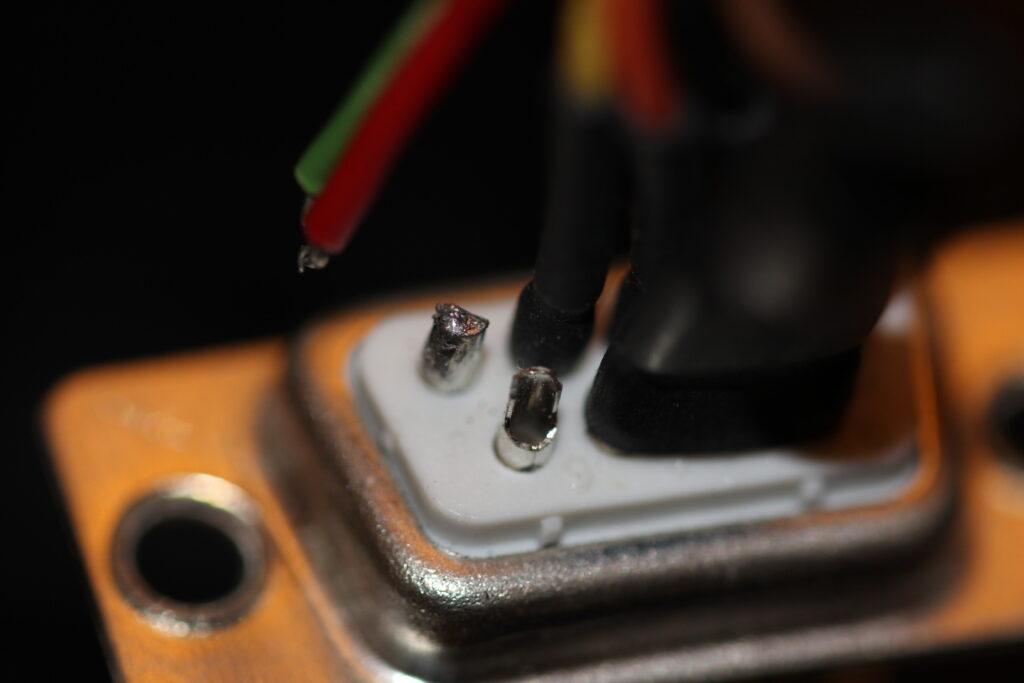
Removing the heat shrink outer and you can see that there is barely any wire left since the majority of it was left in the solder when it broke off. This will require a wire extension and the old solder with the remains of the wire removed first before new solder being reapplied.
View of full cup connector with solder and empty cup connector
So since I’m really bad at soldering and I was worried about having to replace the whole unit (£90) I asked a friend who is fairly handy at this to perform the fix for me.
It is clear! It has been some time, at least for me, when it is clear at a weekend. It is cold. Skippysky.au/europe tells me it is good seeing, the transparency is excellent and the Jet Stream is way South of the UK. The Moon is around 70% and the local temperature is -2 degrees C with a slight frost already. I have come out with my 100mm binoculars to star hope around.
Binos ready and waiting
I had just finished a call with the BASEG society, most whom I had not seen in some time as we are still in lockdown. I came out to a Moonlit garden with a carpet of ice twinkling and crunching as I walked. It is nice to see this new garden at night and get a feel for where I may observe in the future.
I setup the binos in the vegetable patch next to the building works for IMT3b. Not one but twice I stumbled down the trench dug for the cables, so I must be more careful. I then pointed the binos at the Moon and took a look.
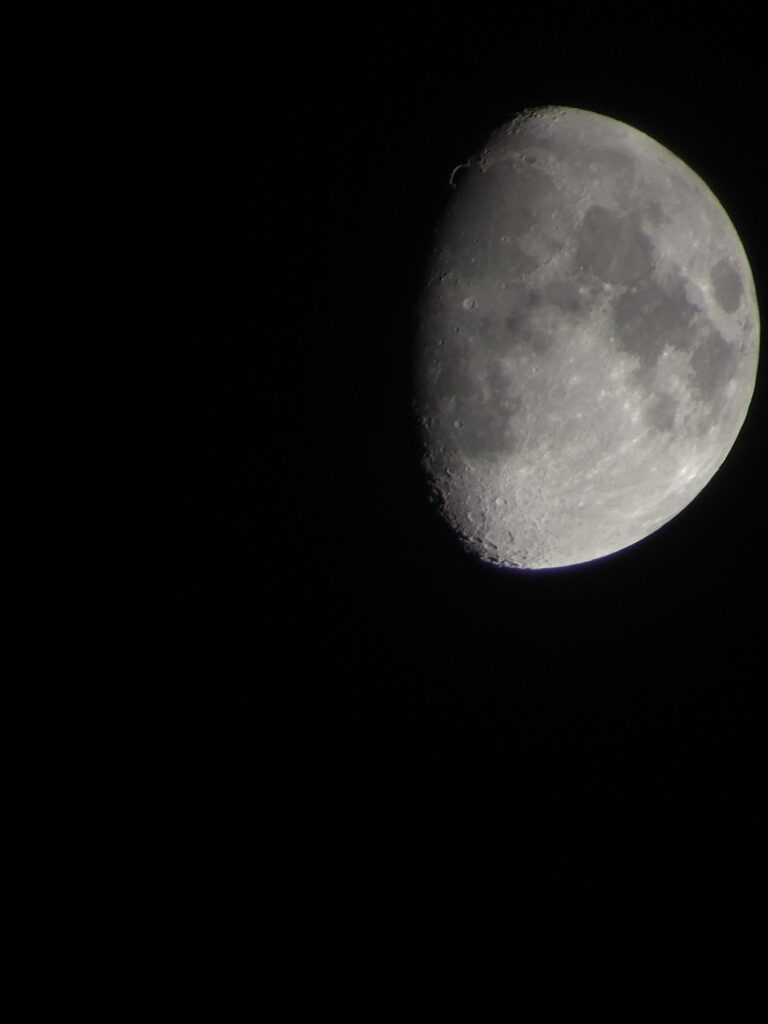
afocal Moon
The view was splendid. There is something wonderful about seeing the Moon through binoculars and seeing just how deep you can go. Clavious was crips and easy to spot as was Tyco. I spent some time here and then Luke came out to view. We looked at the Moon first then I moved to M42 which, whilst washed out by the Moon, was still bright enough to see the distinct wings. The trapezium was also very clear indeed.
After a call to Gingergeek, who incidentally was having problems with a disconnected wire in his focuser, I moved onto M45 Pleiades to identify each of the 11 major stars fro Atlas in the West to 18 Tau in the East. Electra, Merope and Alcyone were all rather bright. I then swooped across to Aldebaran before moving across to Mars, the bright planet a small circle in the binos. I then star hopped to M33 to find the surrounding stars without being able to see the galaxy itself.
Mark Radice then called and we chatted about his C11 and the Sinus Iridum mosaic he was imaging tonight whilst sitting in his warm room. We spoke about things to look at and Mark remotely star hoped me to the double cluster, which surprisingly could be seen naked eye, even on this bright Moon night. He then guided me to Uranus which I found in a pattern with 2 other stars making up an isosceles triangle with Uranus being distinctly blue to the bottom right. I was then fairly cold so bid farewell to Mark and headed off indoors to warm up.
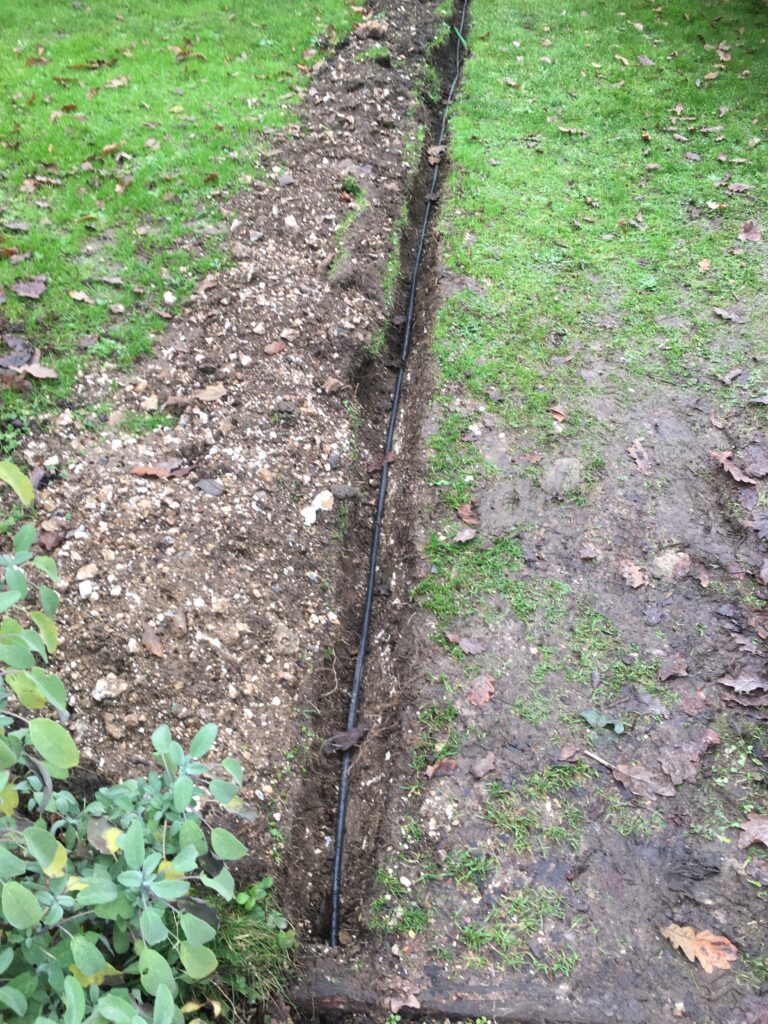
So the cable is installed in the trench visible here before I laid the ethernet.
Power cable
It runs all the way across the garden to the observatory very neatly.
Power cable across the lawn
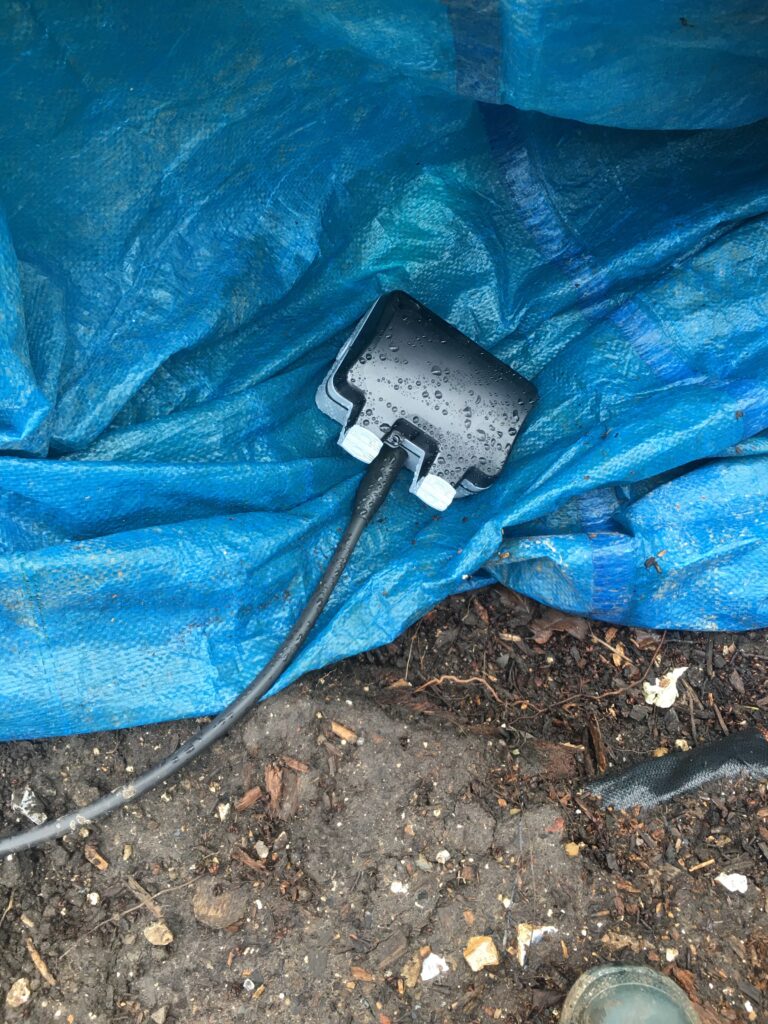
When it reaches the observatory, enough cable is left to feed through there pipe later and the end is terminated in an outside socket. This will be later daisy chained to several internal plug to the observatory and the outside power fixed to a new brick pier that I will build.
Observatory end
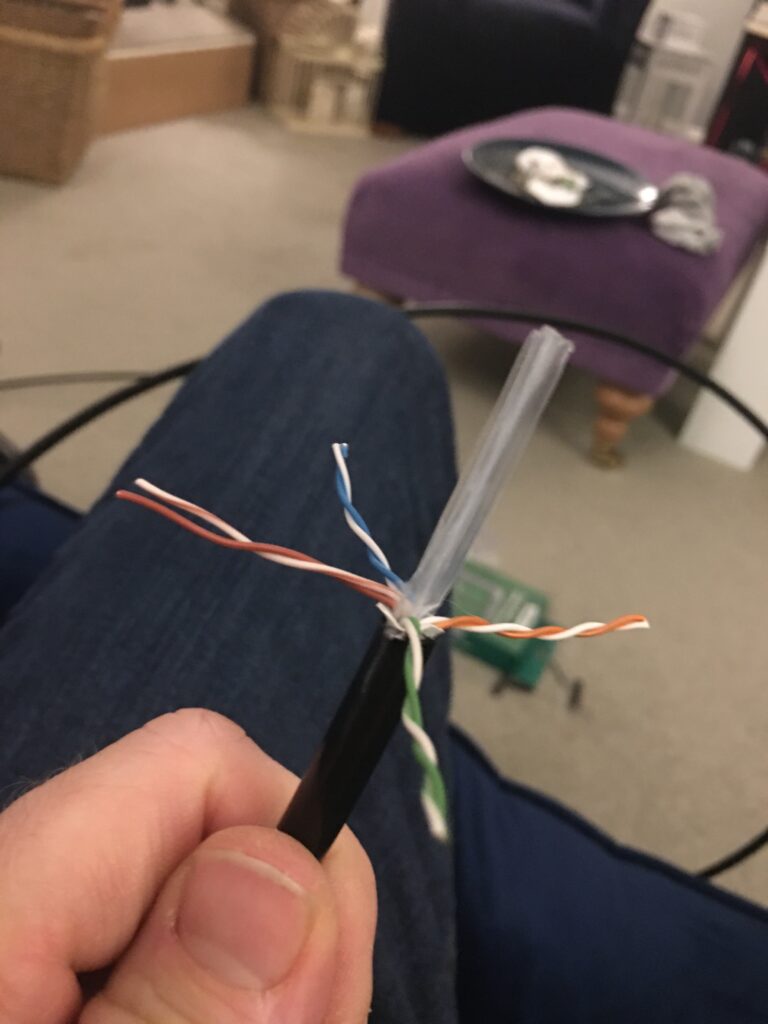
The next job was running the ethernet from the house. I purchased Cat6E as I also wanted to run cable to several places around the house that would require PoE (Power over Ethernet) which allows one to fix an access point without the need for an additional power supply. I started by preparing one end of the cable to be spliced and crimped given I had not done this for a few decades. I purchased the crimping and test equipment online and it seems to have worked well.
Cat6E prep
Then I laid out the wires in the correct colour format. The tricky part is getting all the wires to stay flat after twisting round each other to get them in the right order. Then to make matters worse you cut them short to much the connector on and the cables self align in slots.
Cat6E
The final end looks like this.
Crimped Cat6E
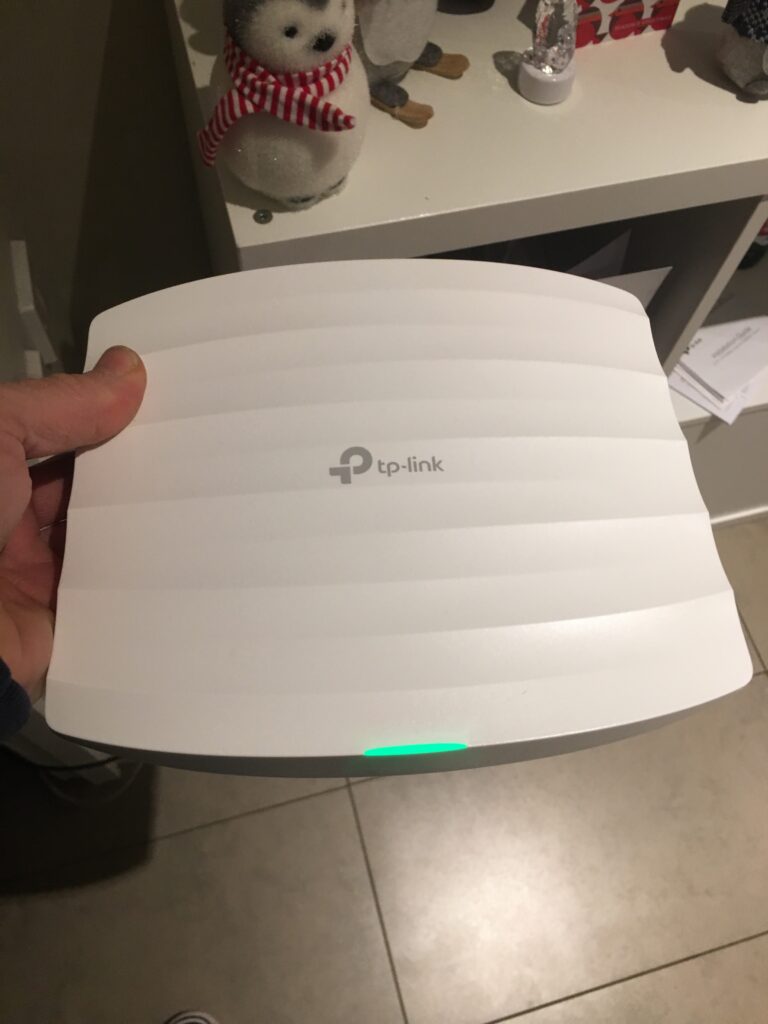
Out of interest I have posted here the access point I purchased that is PoE, I simply love it, although nothing to do with the observatory per say apart from going into the kitchen in this instance at the same time as running the cable to the observatory.
PoE AP
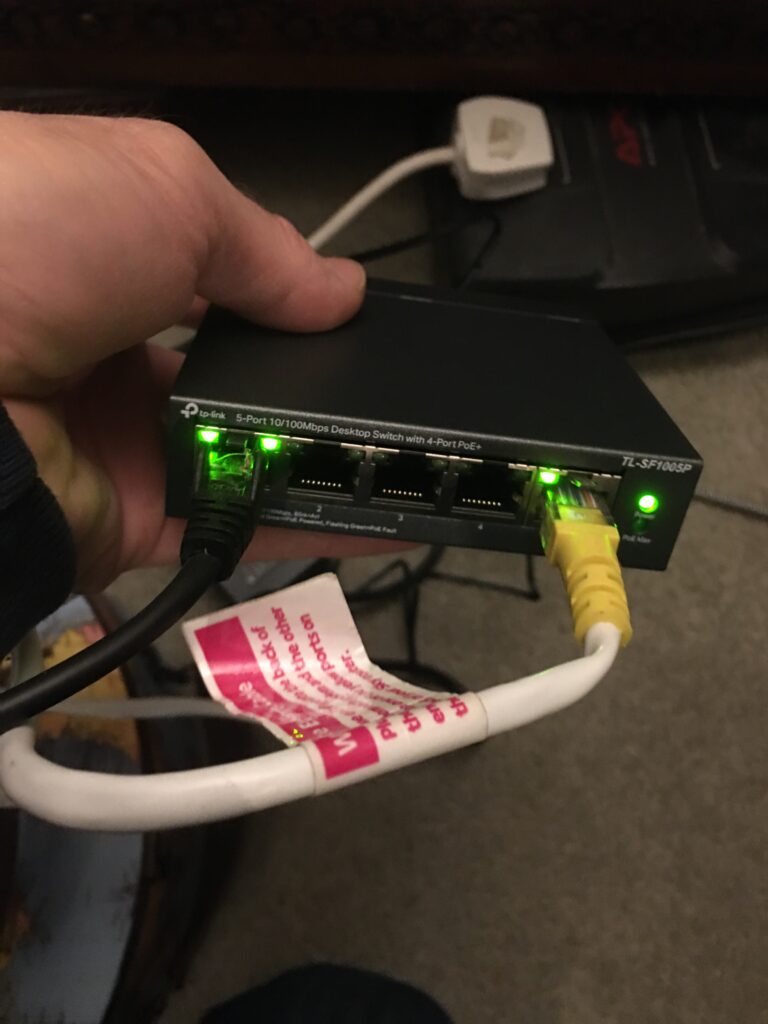
The AP does require a switch or hub or router that supports PoE, unfortunately none of the hubs that come from the major broadband suppliers ship any so I purchased the TP-Link switch that does.
TP-Link PoE switch
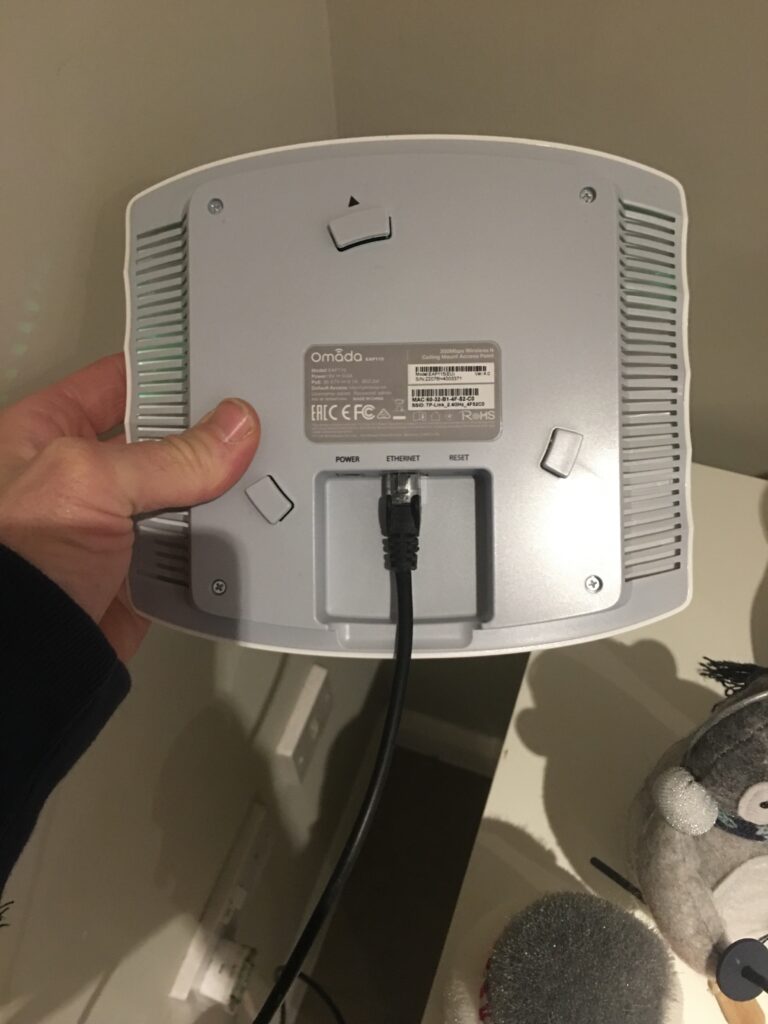
To conclude this part here is the single Cat6E cable going into the AP.
Back of access point
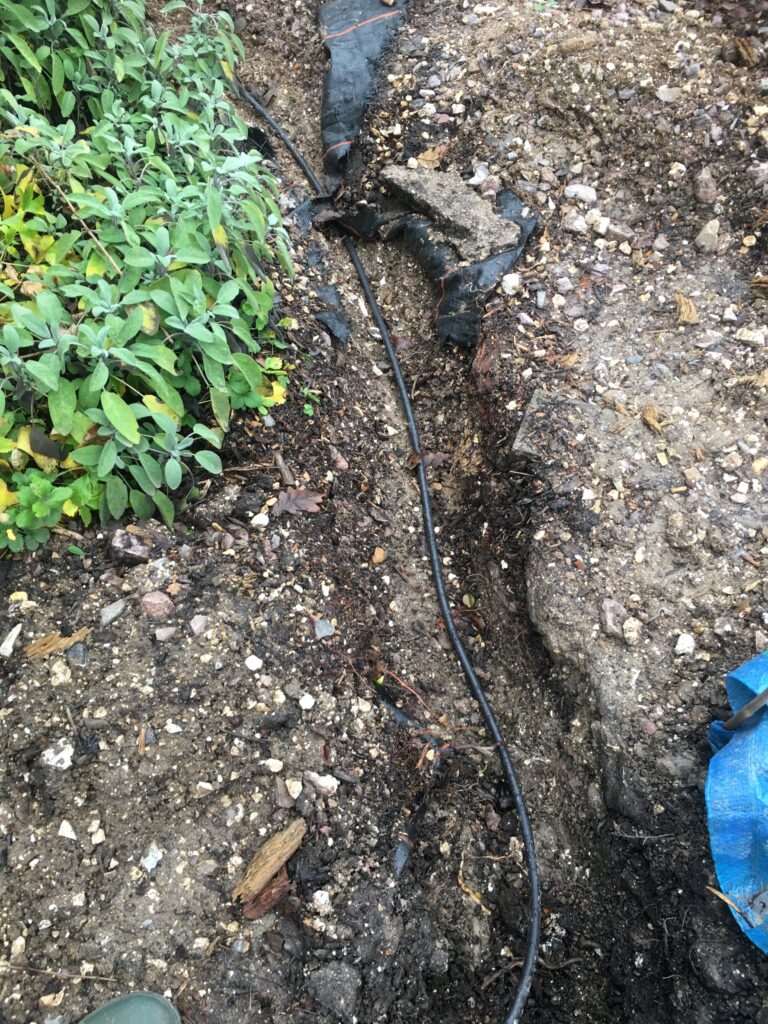
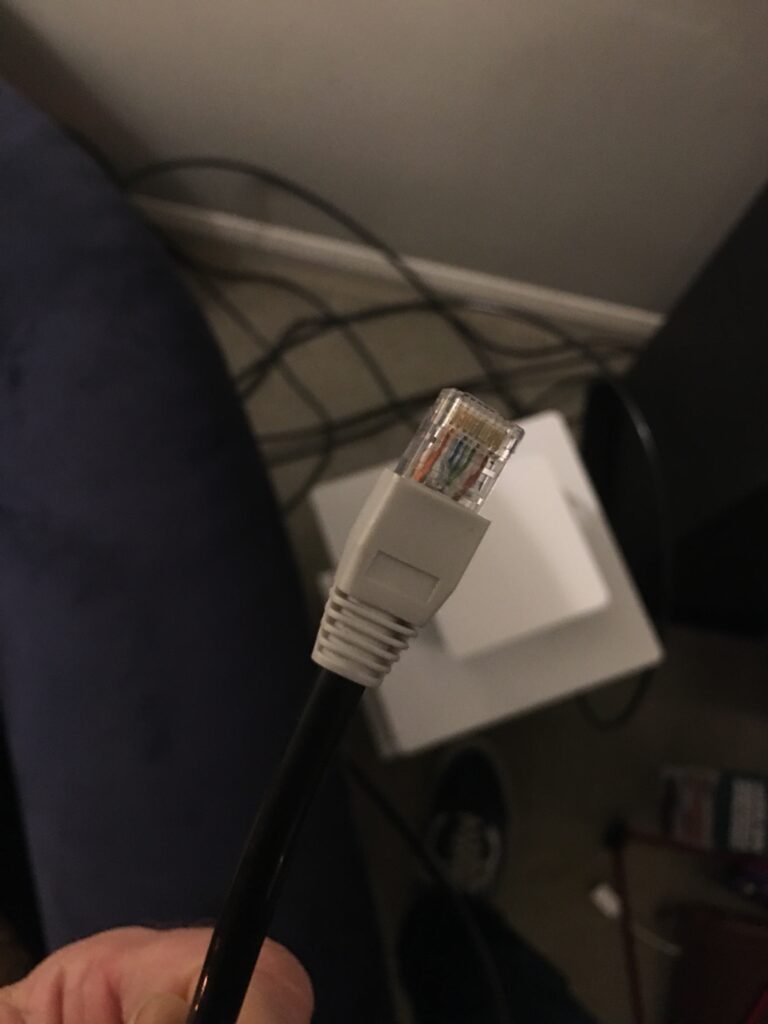
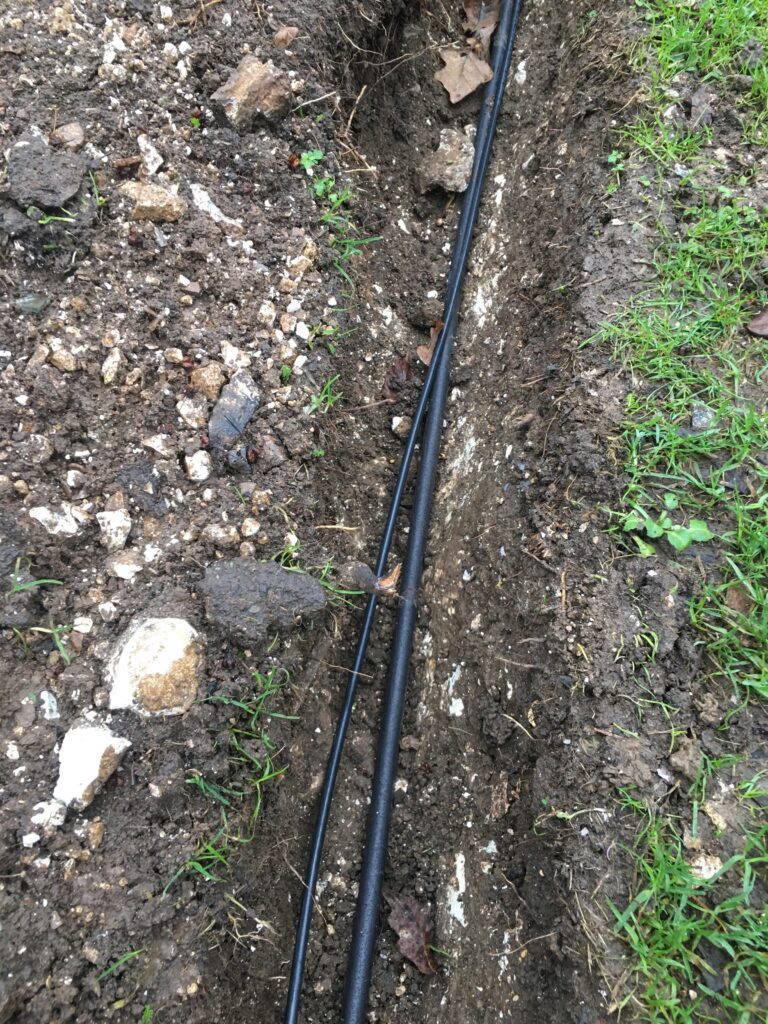
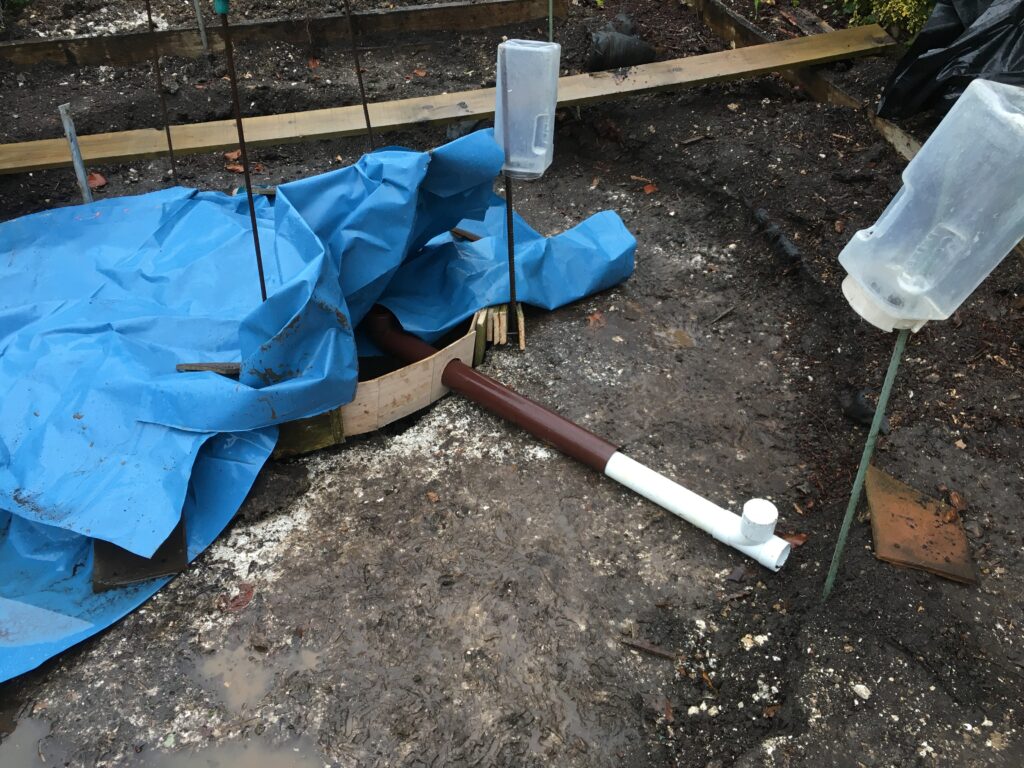
So then I set about running the cable from the observatory site across the garden with an RJ45 connector ready and waiting under the tarpaulin at the vegetable patch.
Ethernet CAT6E cable installed long with power.
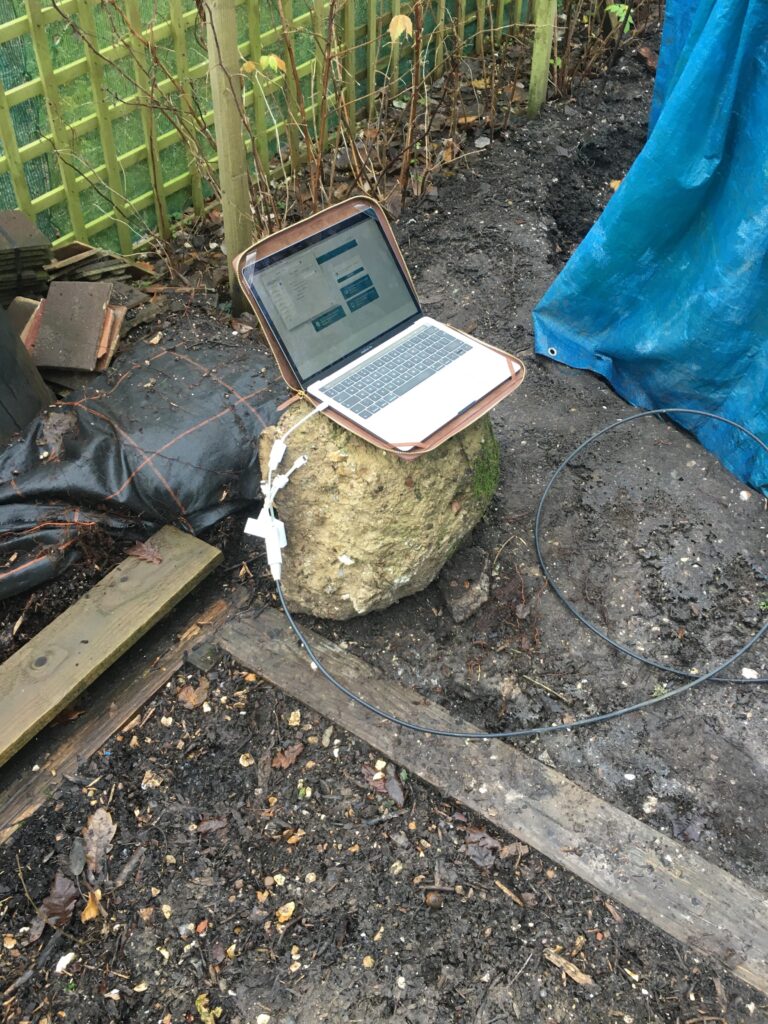
I then terminated the first leg of the cables journey in the woodshed where the power is connected (I plane to spur a connection to the planned Summerhouse from here in the Spring) and setup my laptop in the vegetable patch to test the connection which worked!
Testing the connection
Before I get to the final piece of ethernet running from the woodshed to the workshop, I wanted to run the large length of cable from the workshop to the Snug. I am fortunate that a BT cable had been run back in the 90’s to the workshop when it was used as a business office. Given I had no need for a landline in the workshop I decided to use the BT cable to pull through the ethernet down the length of the underground pipe between the workshop and the house, again I am very lucky it was there!
Old BT cable and duct comes in handy 🙂
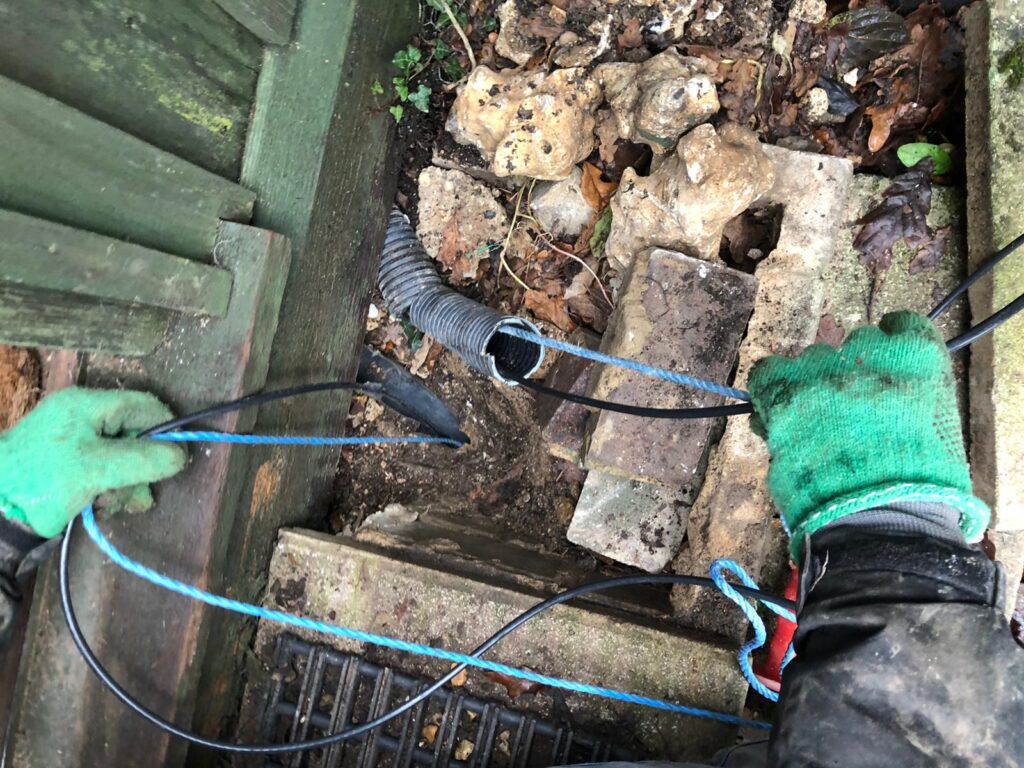
I started to feed the cable through along with a new piece of rope I found in another duct! But I quickly found a break in the pipe located under the steps leading into the workshop.
Duct broken just outside 🙁
After hours of pulling and pulling back the other way, then more pulling, my daughters boyfriend Luke (small mercies for Lockdown he currently lives with us) retrieves the ethernet cable taped to the BT cable some 100ft away.
Ethernet comes through 🙂
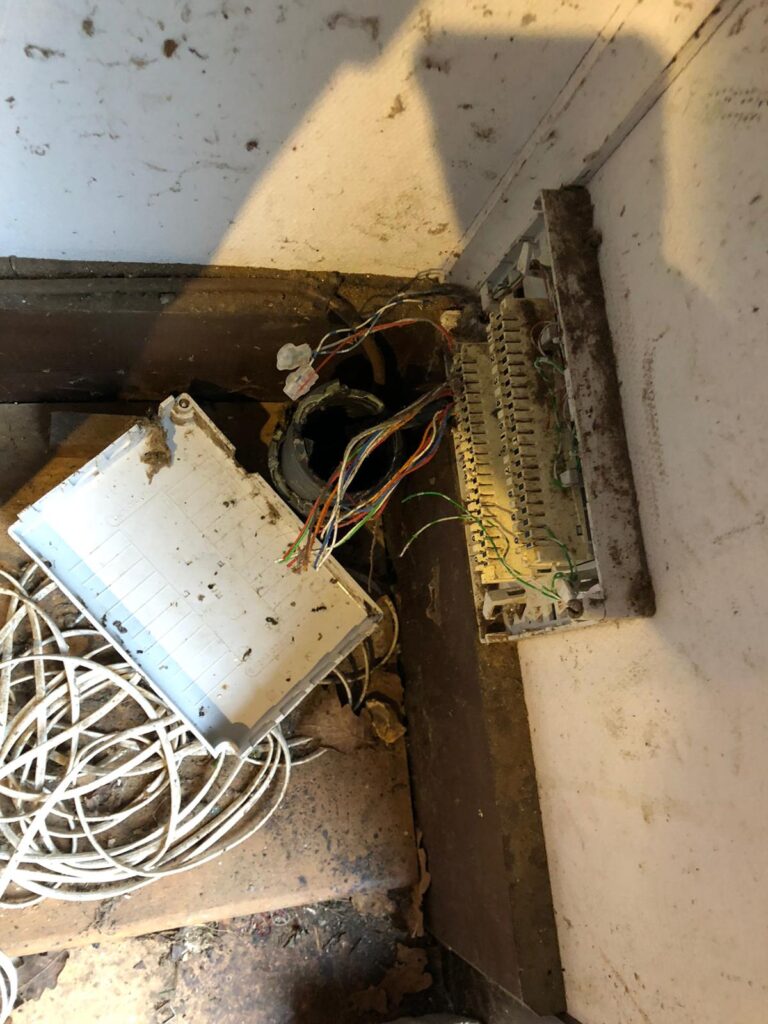
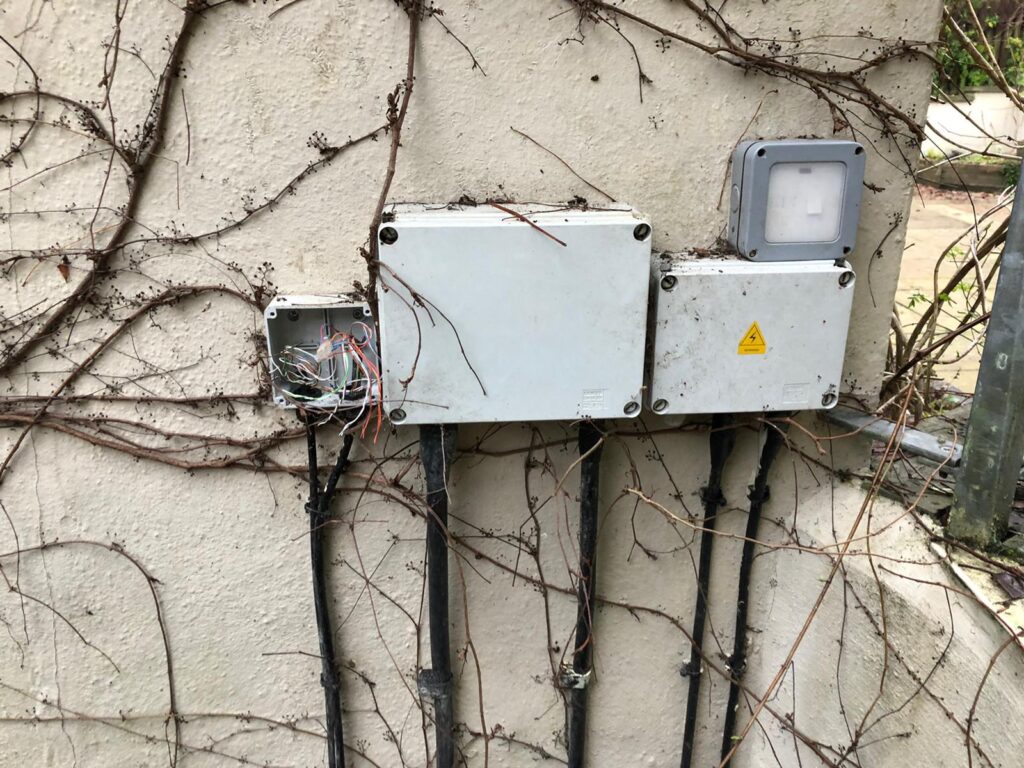
This is the BT connection rats nest at the back of the house who’s cable I repurposed then removed, next to a bunch of electric connection boxes for outside stuff!
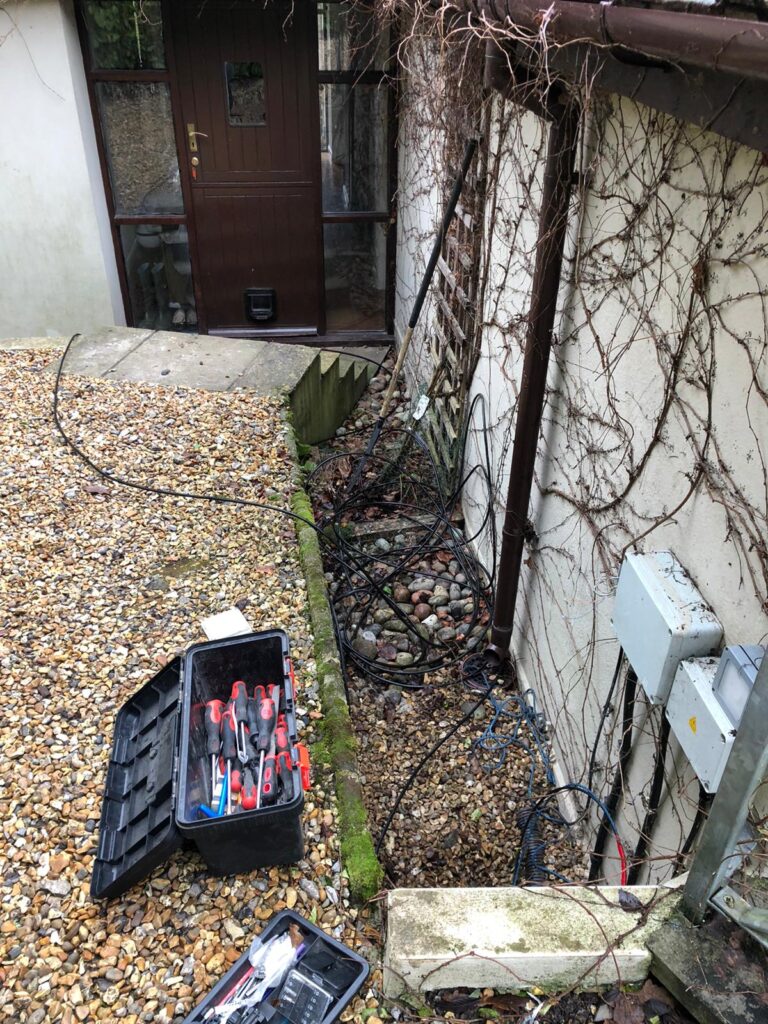
The saga for ethernet does not stop there, but nearly! We pulled through the rest of the cable and tacked it up the wall on the right and then along to the door where we spend hours drilling and hunting for the cable in the loft………..
Cable ready to go into the house
Darkness falls as we finally pull the cable through into the house and into the Snug.
Ethernet cable into the loft and the house.
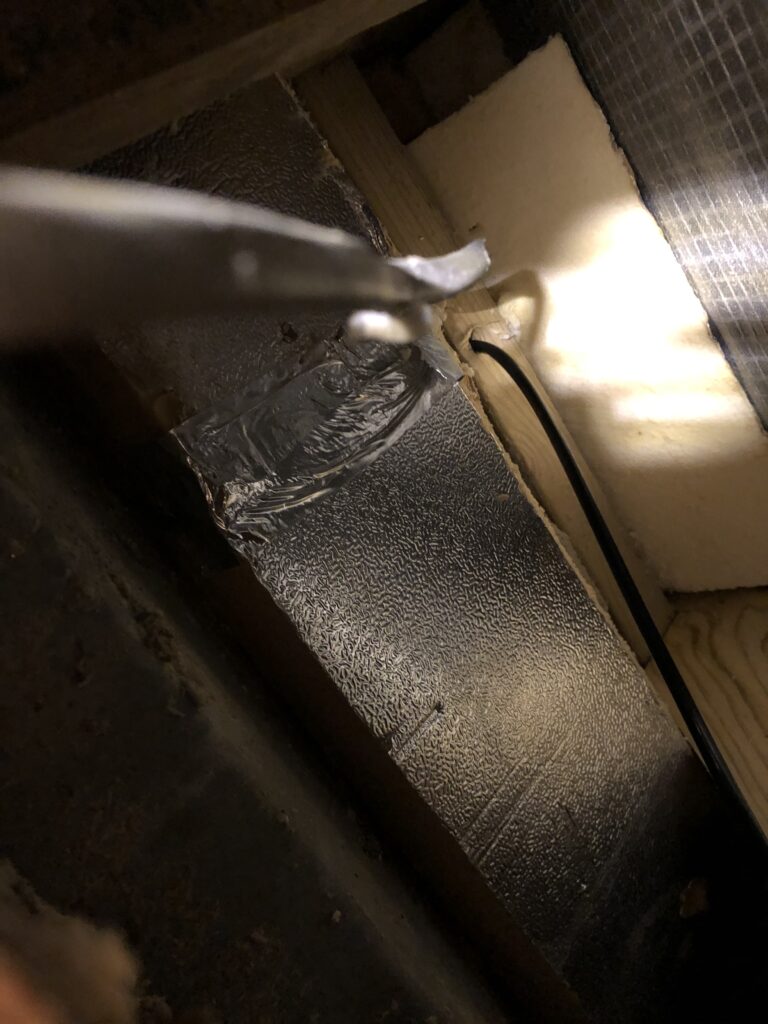
Here is the tight loft space where the cable runs through.
Loft eaves and ethernet cable
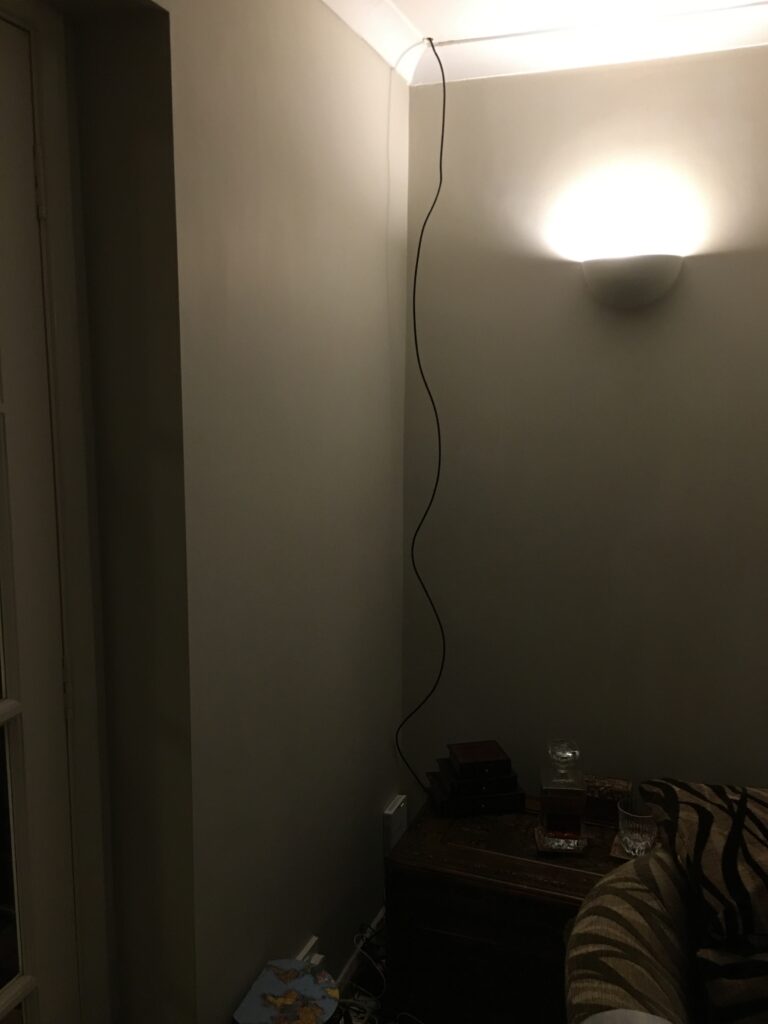
The final leg was dropping the cable into the Snug where the fibre terminates in the house from the loft. It snakes it’s way around the perimeter of the house inside the loft (I have a chalet bungalow) which took about 2 hours!
Main ethernet connection to observatory!
Fortunately I have the most understanding wife in the world who is very supportive to have her husband spend hours in the loft with a cable.
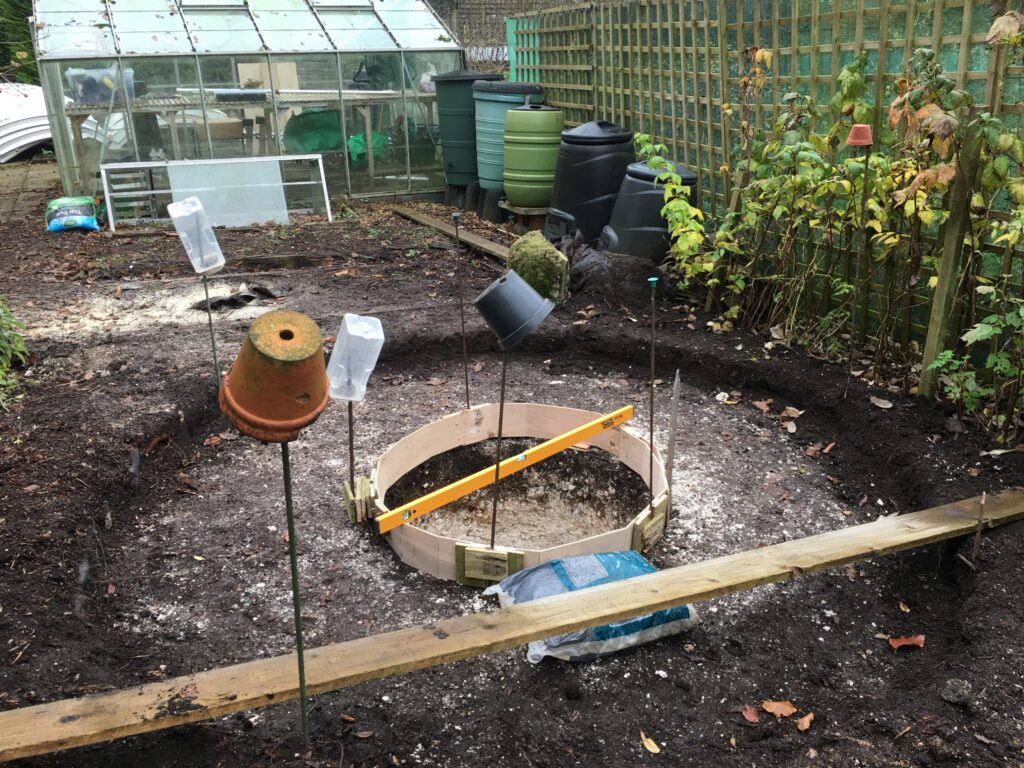
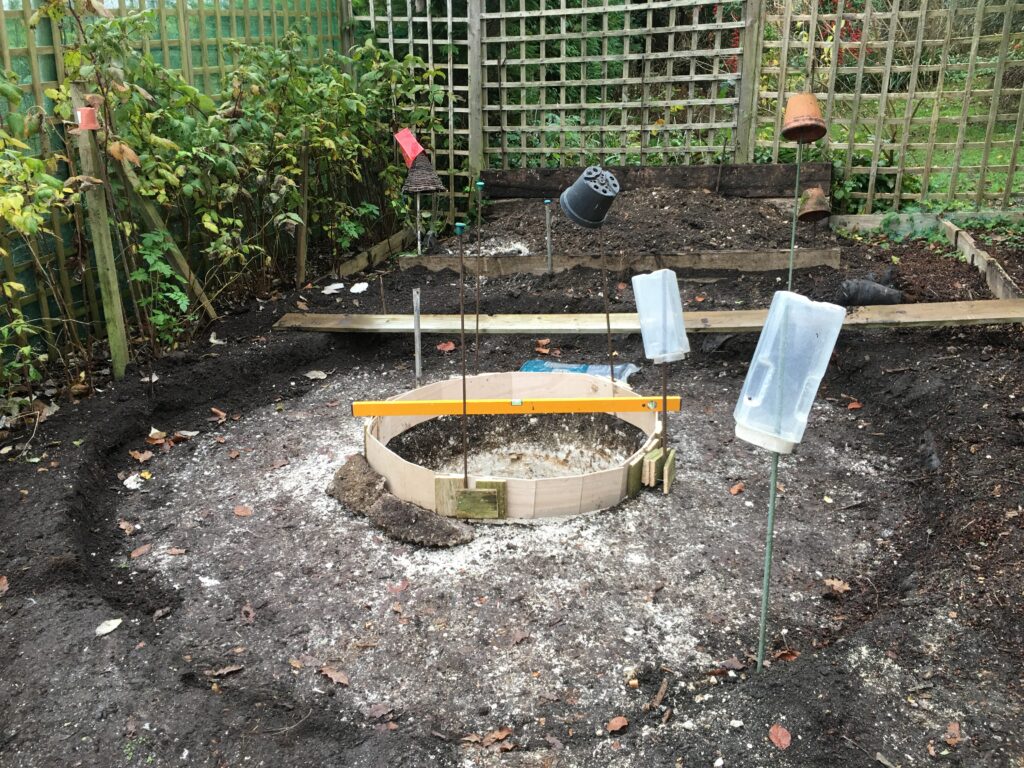
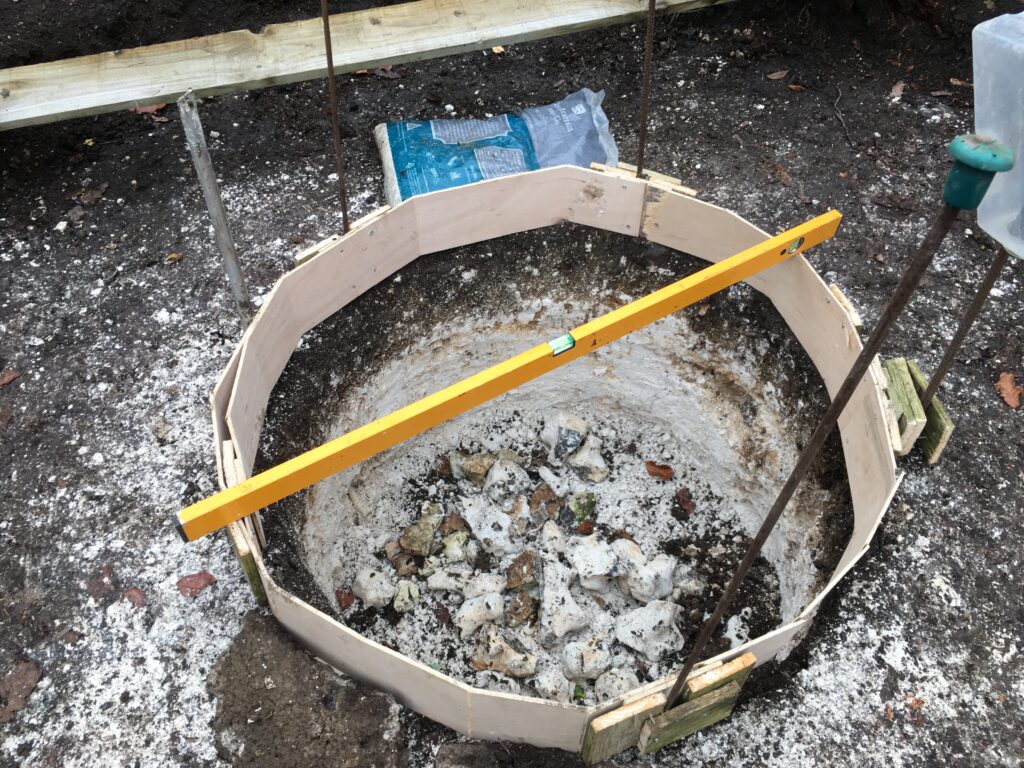
So with the site prepared I had one last check of the levels as the ground slopes away to the right thus meaning I needed to adjust the former for the central block. The dome segments can be seen resting in the background. I also used a large bag of stones to hold the former in place.
Slopping site
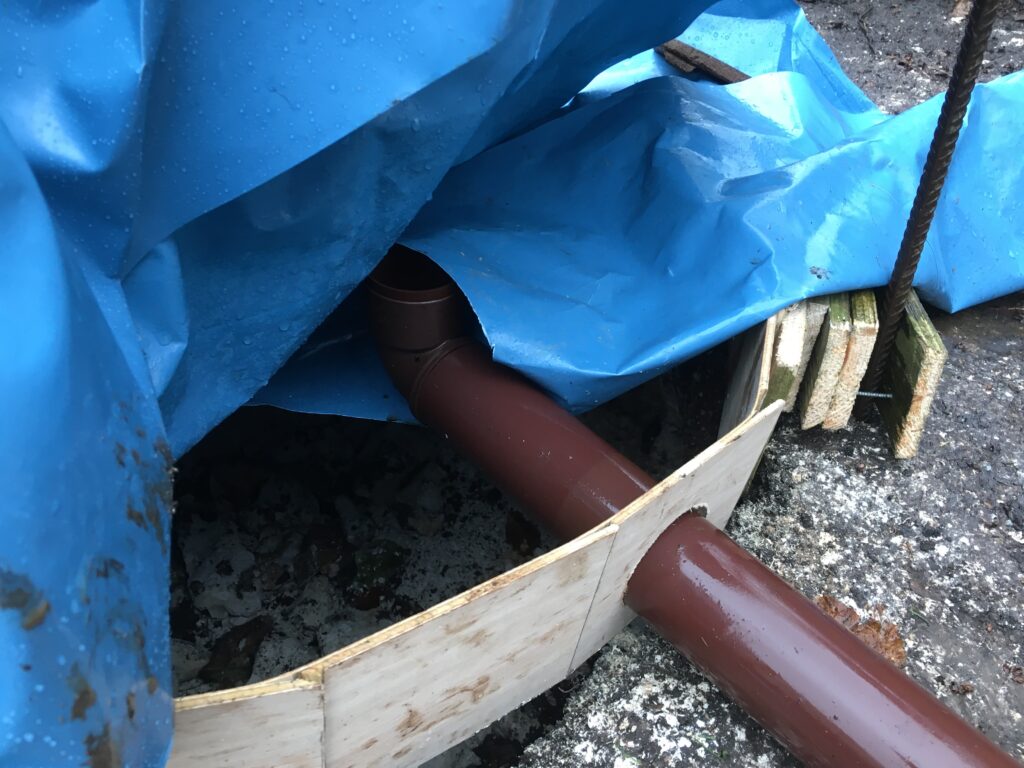
Next I cut a hole in the former for the pipework that will take the electric cable and ethernet from the house. I used some old downpipes and kitchen waste pipe I found lying around in the garden.
Pipework for cables
Here is a closer shot of the pipework that shows a 90 degree angle that all be flush with the finished floor.
Closeup of pipes
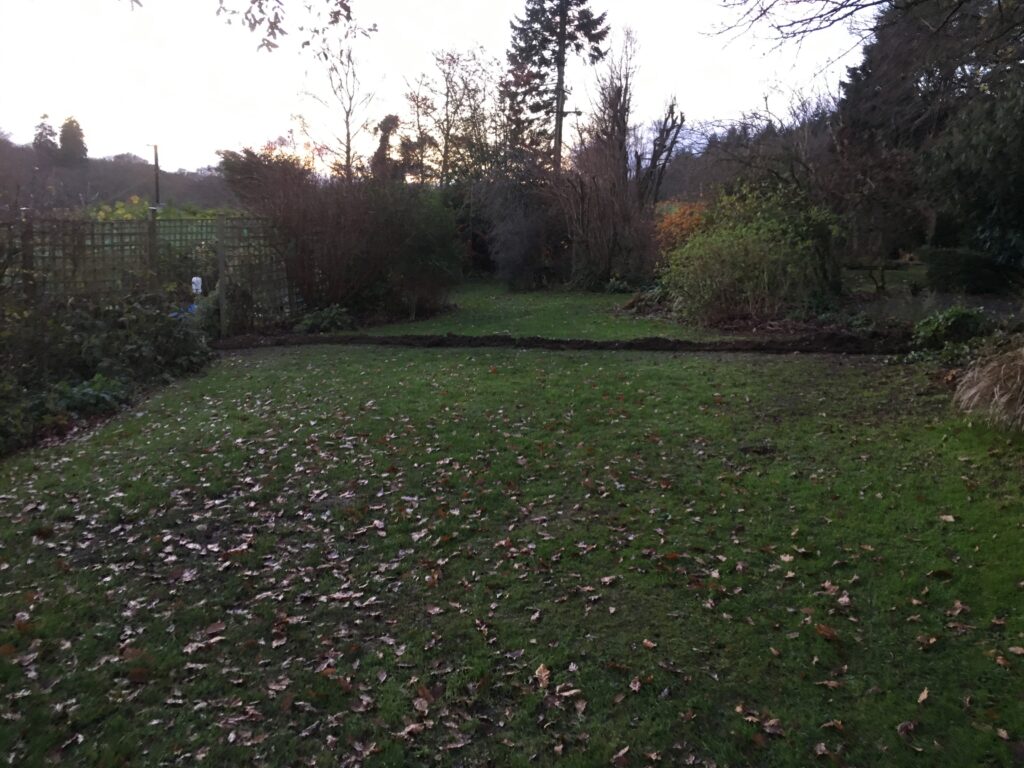
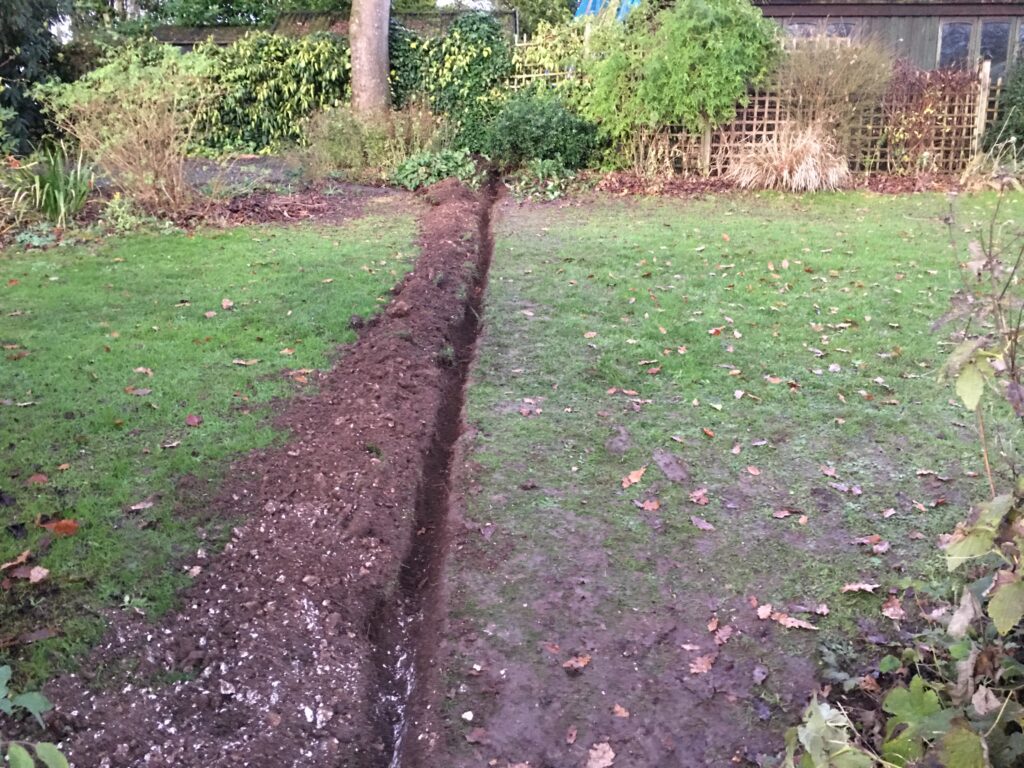
Now I had to prepare a trench for the cable running from the observatory to one of the sheds across the garden. So GingerGeek and I set about digging 6″ down where the cables would lay, eventually to be covered by a slabbed path. The digging took hours, hitting rubble including glass in the ground and offending chunks of flint.
About 70 feet trench across part of the garden
Down to the left as the ground slopes away and towards the observatory location, we dug the trench round the corner. The cable would have to run under large rotes and as we found out a large sleeper buried in the ground across the opening to the vegetable patch.
Entrance to observatory area
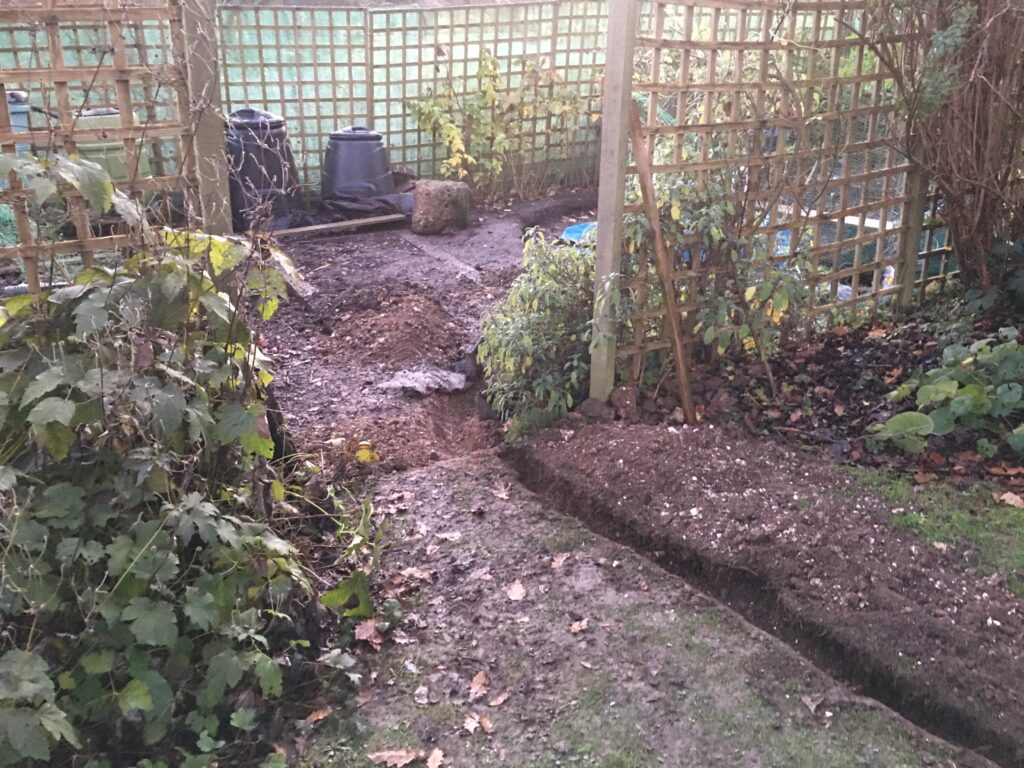
Turning around standing with your back to the vegetable patch where the observatory will be sited, you can see the trench running off towards some outbuildings/sheds and a planted area that I would have to tackle next as GingerGeek had to go do some chores at home.
Planting area to be dug through!
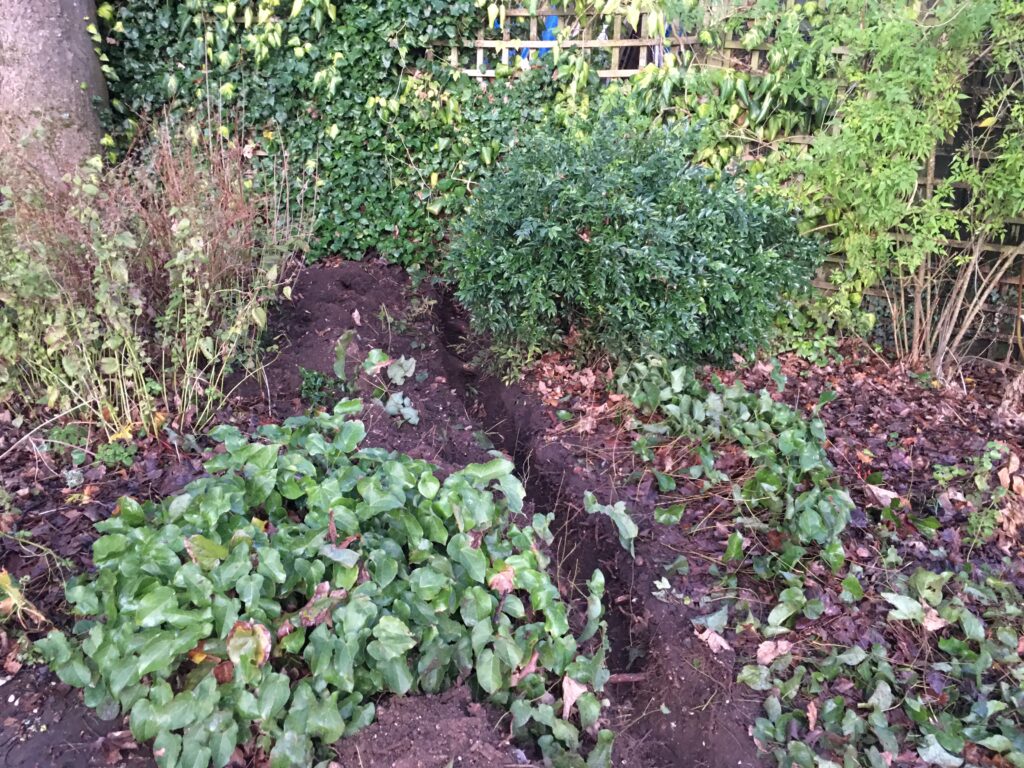
So it took almost as much time digging this section out as it did getting across the expanse of lawn. Routes from the Sycamore (left) and countless plants made this hard work. I then managed to get to the trellis separating the planting from the 3 sheds on this side of the garden, which I would need to go under.
Trench within boarder
Around the other side of the trellis it was very cosy to work in the tight space, old wood still awaiting collection by the previous owner meant digging was difficult, also the land raises up quite a bit this side so I had to dig the trench deeper. The hole I managed to create is shown by the red arrow. Again lots of building rubble had to be removed and I landed up on my hands and knees in the trench digging with a trowel.
Hole to the other side!
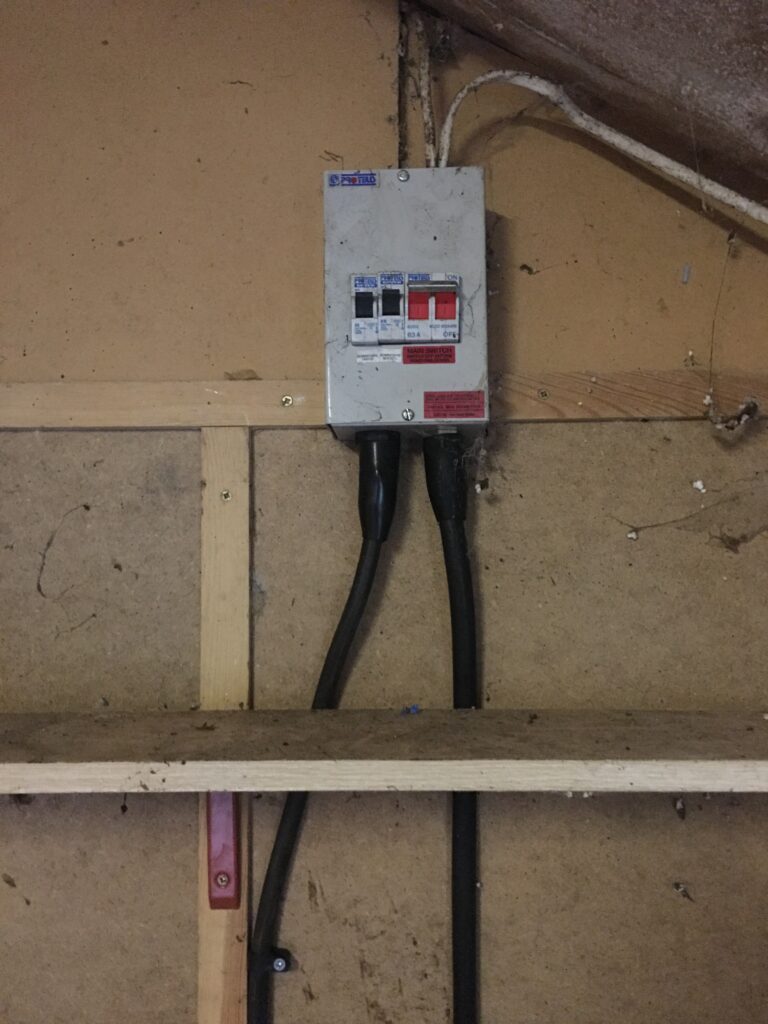
So I had made it to the shed. Now it was dark and I had to wait another month before Steve the electrician would be able to fit me in. When he arrived and the armoured cable was laid and fed under all the roots, he made the connection in the existing fusebox in the shed.
Observatory connection left.
Then it ran down the wall and out through a hole that was serving the existing power feed from the workshop. The woodshed is in a dire state and needs replacing, but will serve as a hub for equipment until such time I get around to it.
Cable out of the very unloved woodshed.
Next I will share where the power and ethernet cable runs and how I installed.
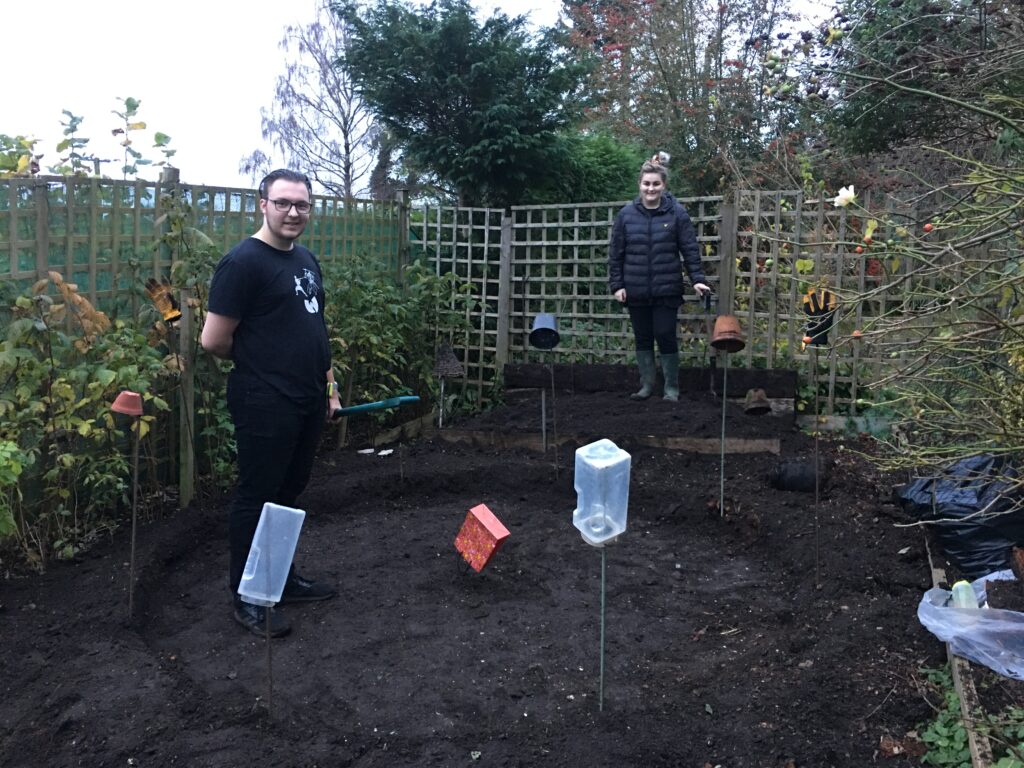
So now the work begins. How to turn a vegetable patch into an observatory. The first thing any good person does when moving into a house is perform a harvest! So we set about harvesting and found some rather large parsnips (which we have been having every Sunday lunchtime since) 🙂
Luke with one of the smaller parsnips
Once done, we removed the edging boards and marked out the dome diameter using the stakes we found in the garden.
The footprint of the 2.7m IMT3b
Once done I left Luke to dig the rest of the dome base out with a little help from my daughter and as you can see digging in a vegetable patch is rather easier to start with than hard ground due to years of using the land.
Dome base dug out….but what about the pier hole?
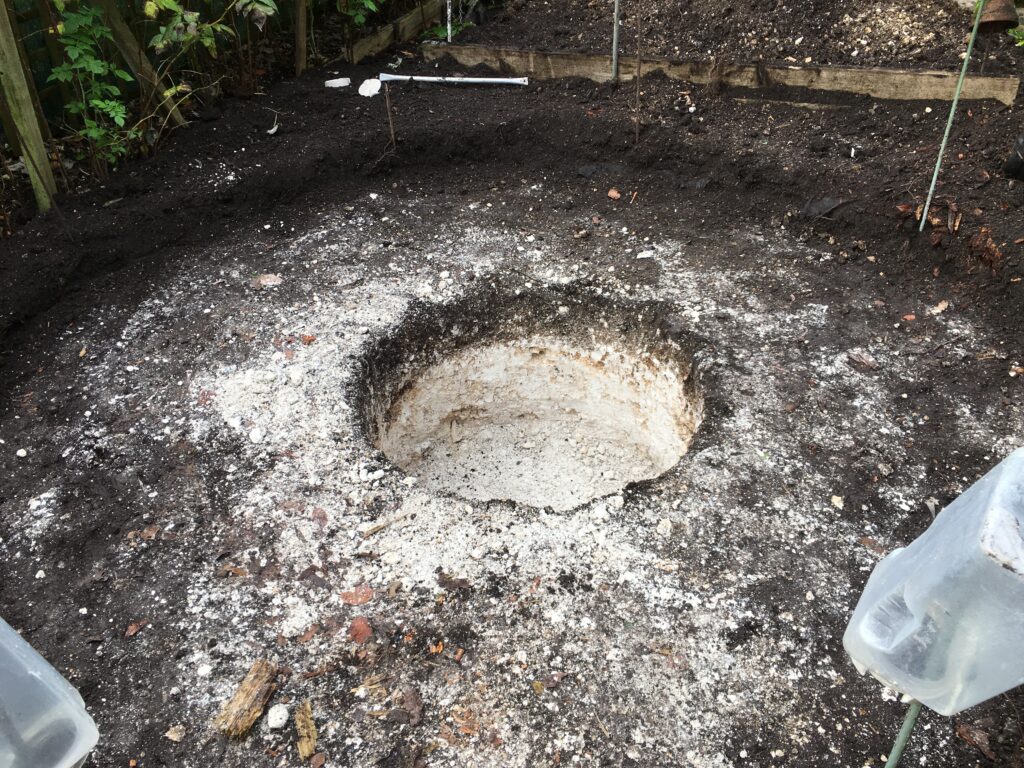
Okay, so that’s the dome base which is a nice 6″ deep. Next, which was a slightly bit more problematic was to dig out the pier base through chalk to a depth of 65cm x 1m wide. Yes I know I am mixing my scales but that is because I can 🙂
Pier base
I then had to wait several weeks for the weather to improve before I could start creating the former for the hole.
Plywood former for the pier base
I must add at this point, that despite building and installing many domes before, I sought out the experience as one should, of another astronomer and friend, Nigel, who sent me a well prepared document of contracting a concrete base, that I have used as extra guidance on this dome build.
View from above with locally sourced (in my ground) flint to be used as sub base
Next up will be more preparation for the foundations and connecting the electric and ethernet from the house some 100m away the way I have to run the cables!
So after the shortest time in a house, I have now moved to a much better astronomy home, surrounded by fields and forests, ancient woodland and with some of the darkest skies in the North Hampshire Downs. I am fortunate in my location, however less fortunate that the build of this observatory, unlike my other observatories is happening in the middle of a pandemic of Covid-19. This as you will see makes it extremely hard when you can’t have astronomer friends over to help with the preparation and installation.
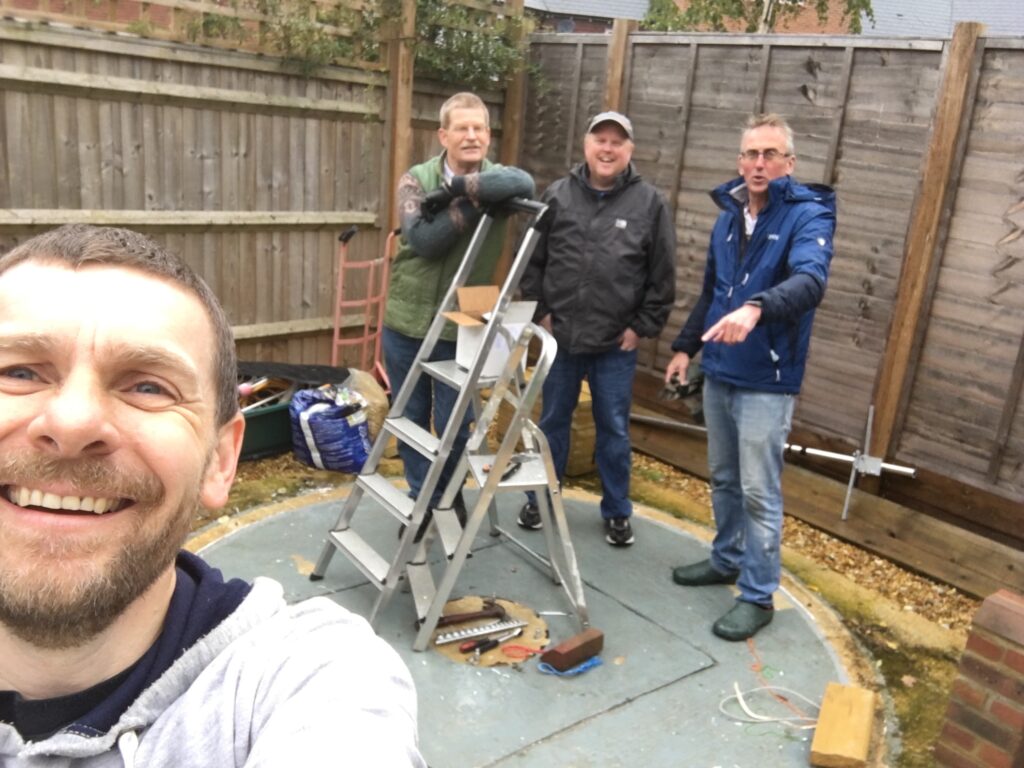
The move started to with the dismantling of IMT3 and in the final days at the previous house we dismantled the dome, at least at the time I could have some friends over to the garden to help with Mil Dave, Alan and Shane lending a much needed hand.
Dome has gone!
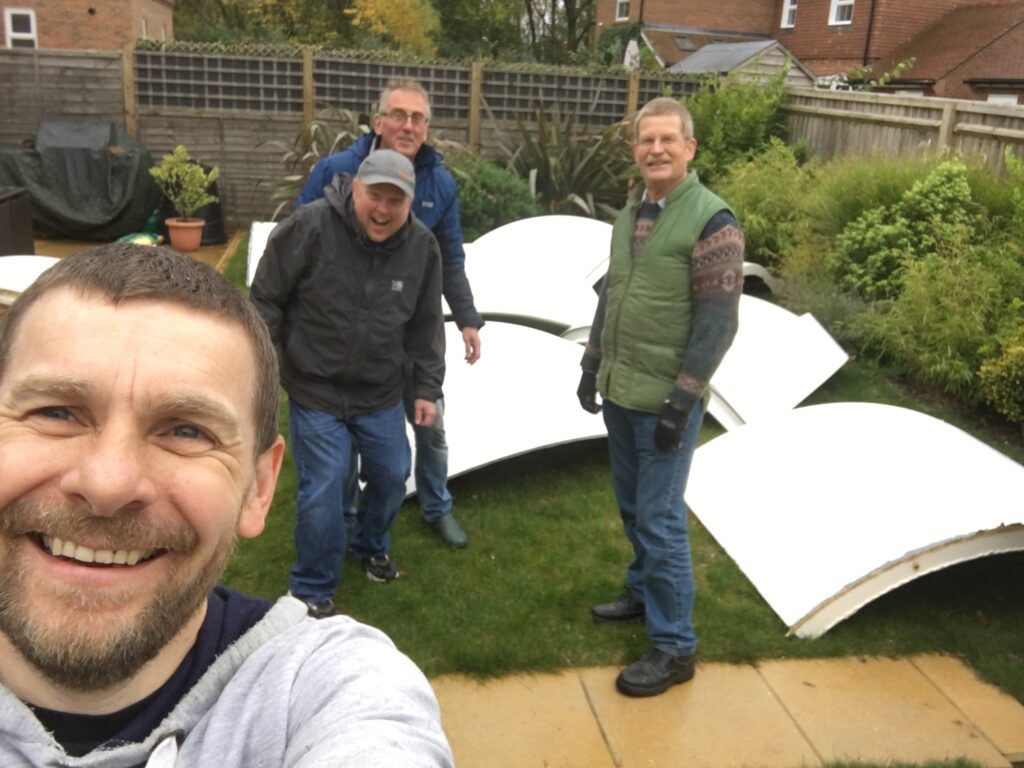
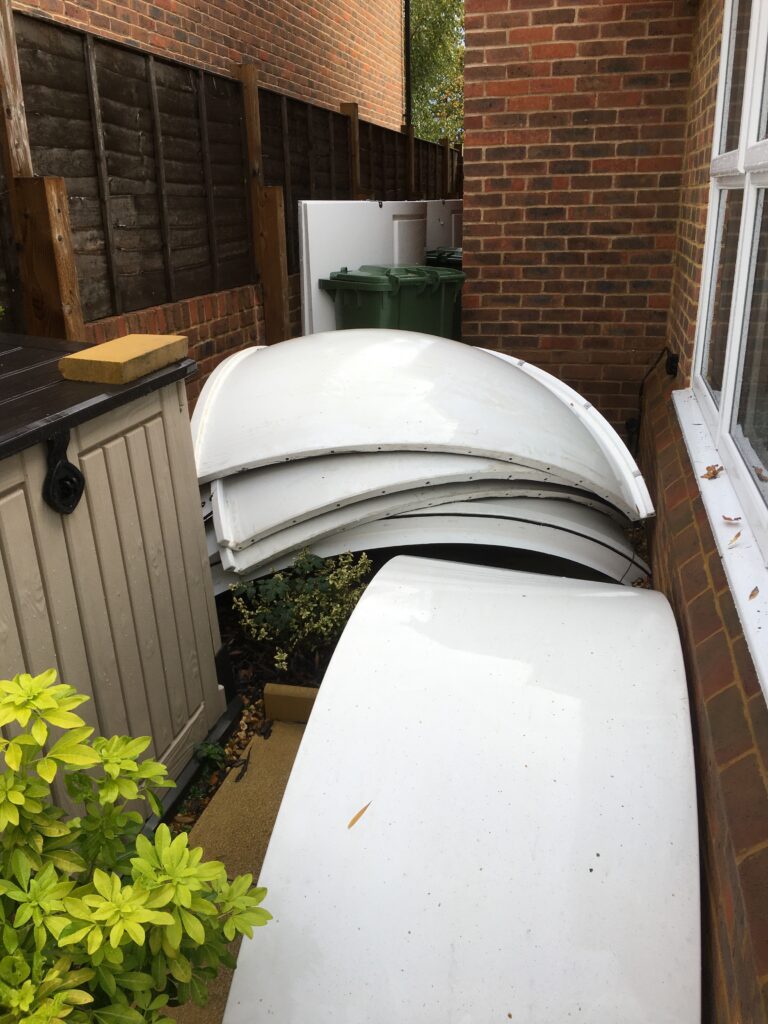
So on a quick dismantling, which was much quicker than constructing the astronomers put the dome segments on the lawn 🙂
Oh there it is 🙂
However as I found that night when a storm front came through, which caused me and my daughters boyfriend to get up after midnight to secure the dome segments in a more wind resistance piece of the premises.
Wind resistent place
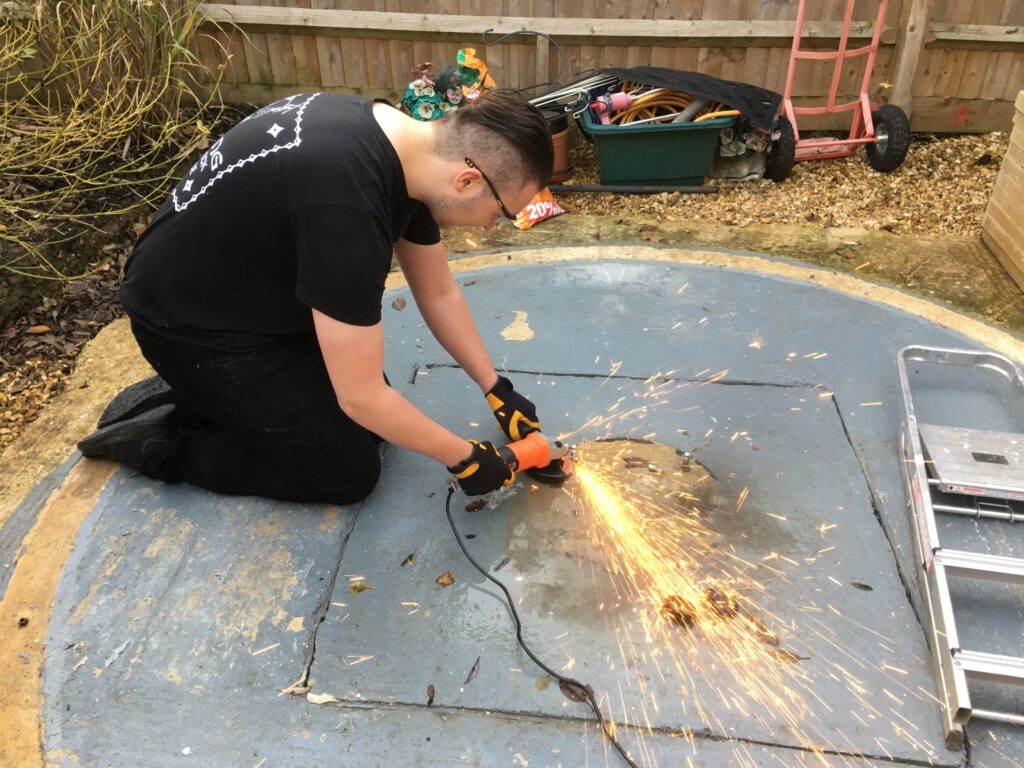
The following day Luke has had his first angle grinding lesson to take out the remains of the bolts and plugs which to be honest I think he really enjoyed.
Luke’s lesson
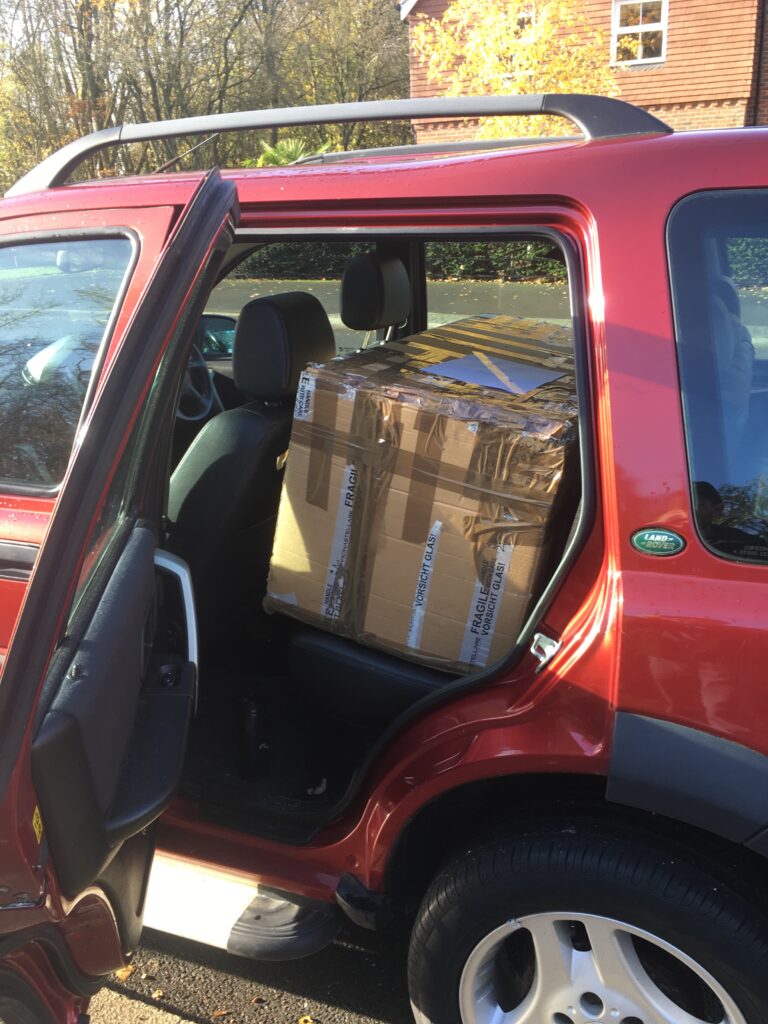
Then the moving day came and I put all the important scientific astronomy equipment in my old Landy to make sure it got there safely.
12 Inch Officina Stellarie
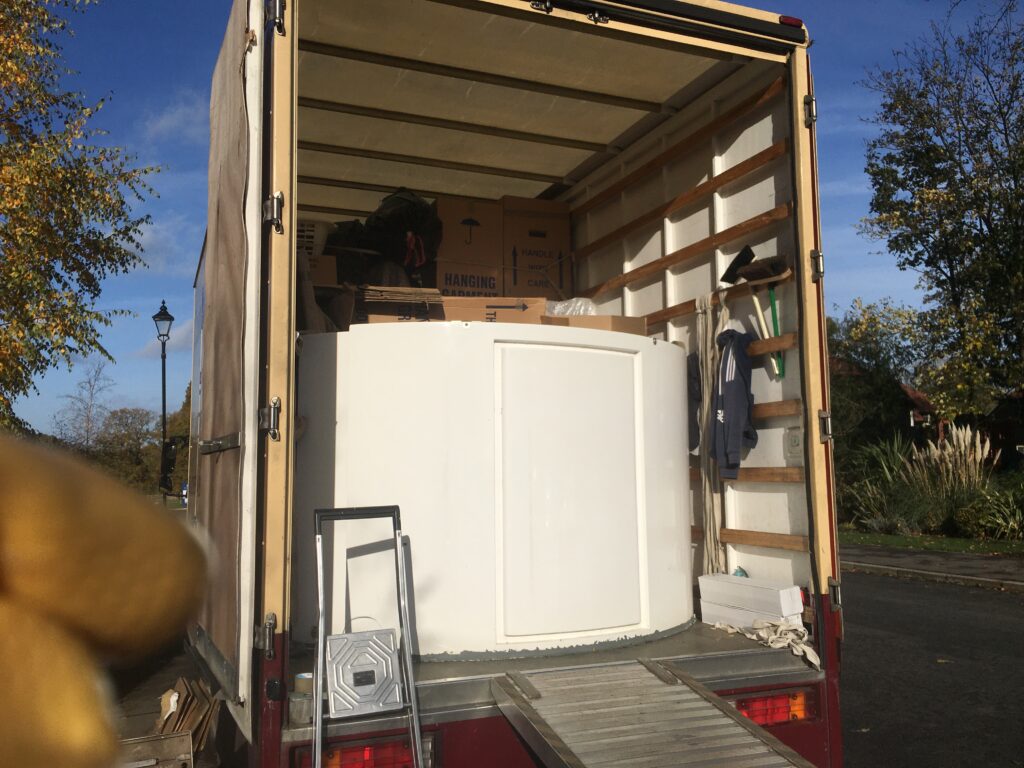
whilst the rest of the observatory went in a further truck kindly supplied for free by our removal company who are the best removal company ever! Thanks Camberley Removals!
IMT3 tucked up and ready for shipping
By mid November, some 4 months after we accepted an offer on the house I landed up with my new more astro friendly observing location surrounded by fields.
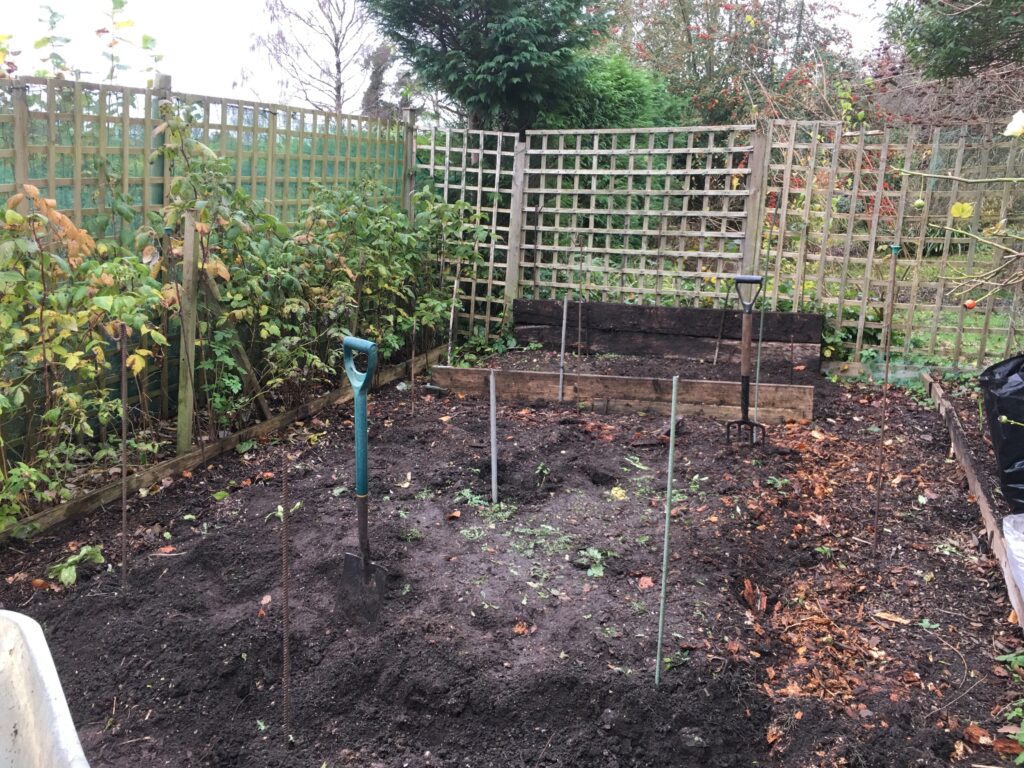
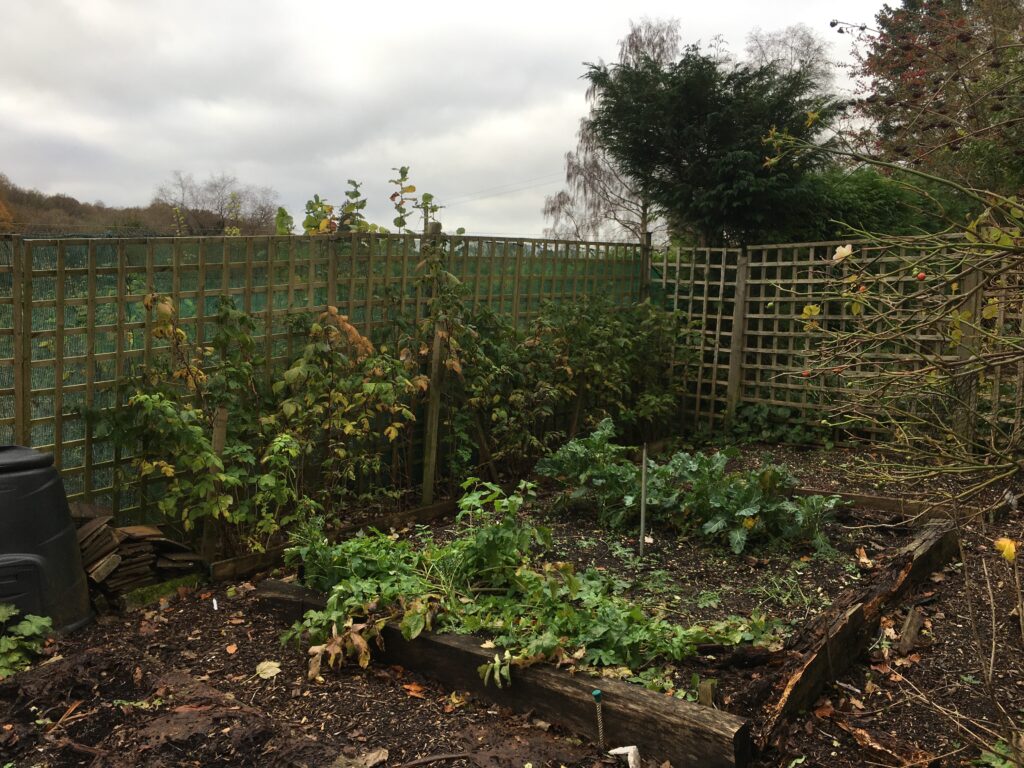
IMT3b Location is a vegetable patch
Next up is removal of the local vegetation and preparing the ground for concreting.
The most funny thing about moving to a new house is assuming you have understood your horizons correctly, well at least I found it funny when I got it wrong. After several attempts to catch the conjunction, traveling out to a nearby field with low horizons, Christmas Eve was no difference. I had set off, this time with the Esprit 120 and QHY168C and on arriving at the location realising that the weather was too cloudy to grab the conjunction.
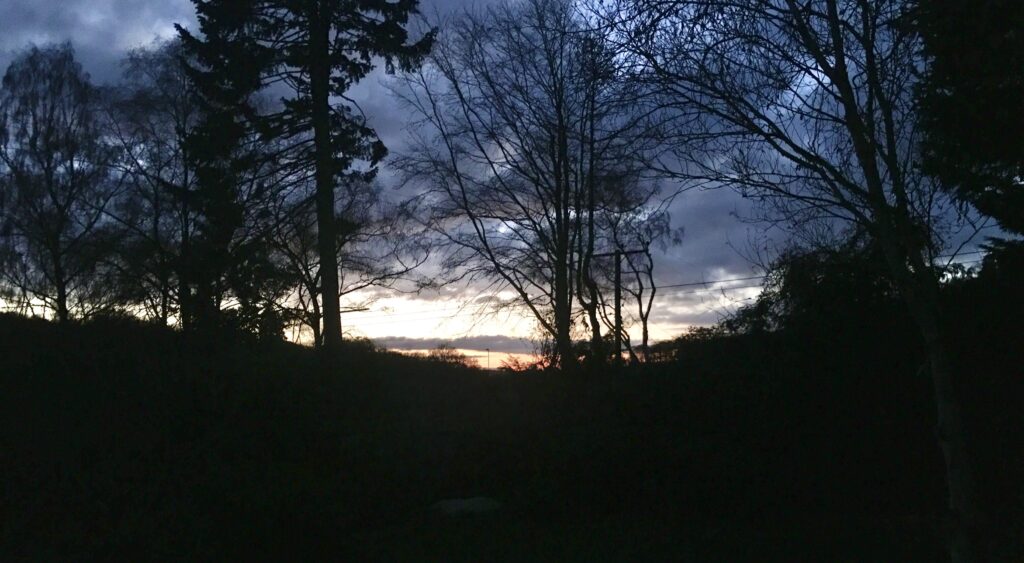
So off I went back home. I decided to wonder up the garden to see if the weather had cleared when I returned, to find that not only was there a gap on the clouds, but also I could see Jupiter !!! This meant only one thing, that my South West horizon was not +15 degrees but actually +4 degrees! Wow that is good and lucky.
View South West , observatory is going to be in front of the foreground trees
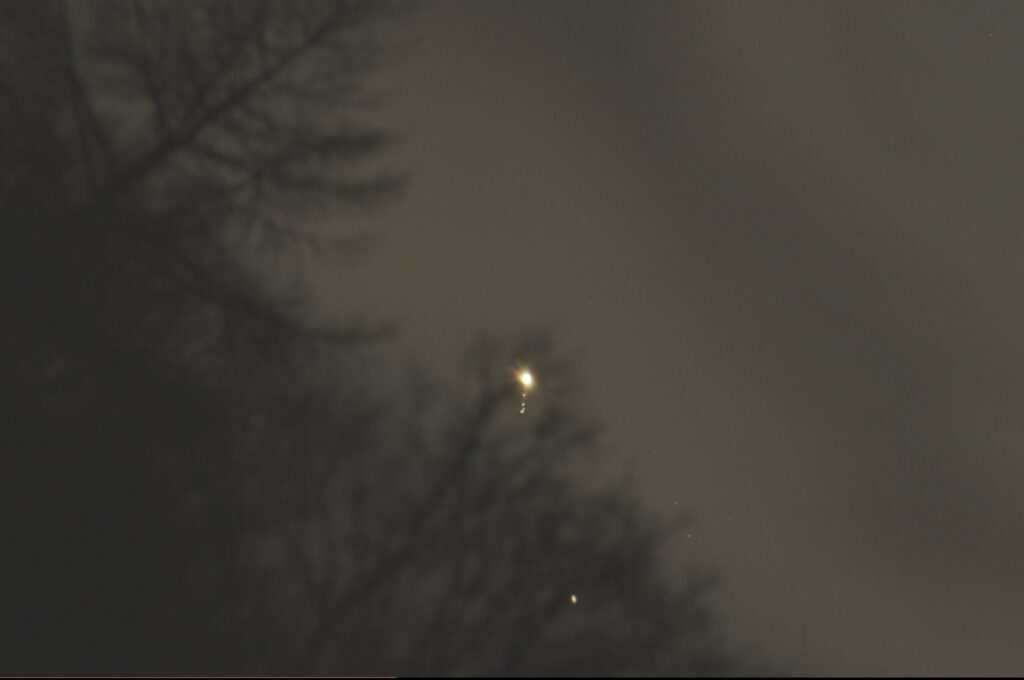
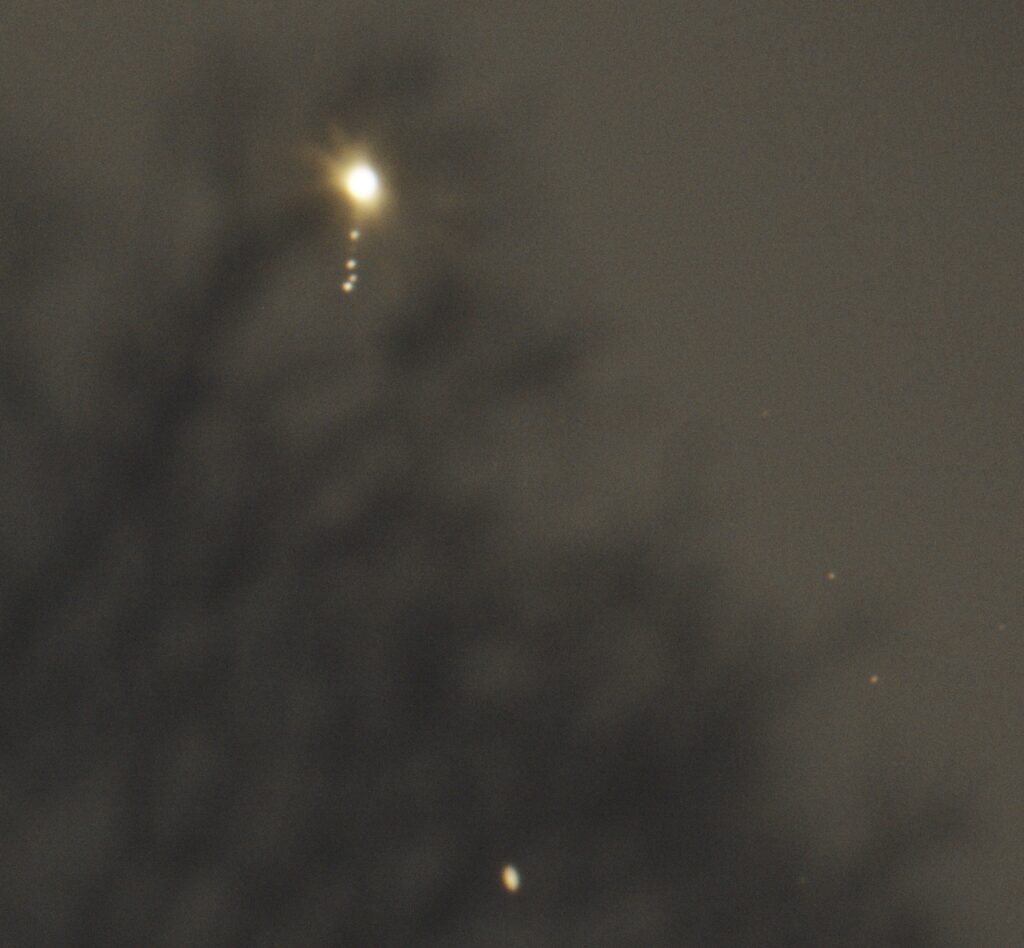
I ran back to the car and started hauling the travel scope to the building site of IMT3b which is currently a vegetable patch, this is around 200 feet away from the car part way down the garden. It took 5 trips to move all the equipment, good for my Apple watch exercise rings, not so good for the setting of the conjunction of Jupiter and Saturn. By the time I setup and slewed the telescope round the pair were setting behind the ancient forest in the distance but I managed to snap a single image! Perfect.
Jupiter and Galilean Moons with Saturn below – 120 Esprit and QHY168CCropped