04:00 – 06:53
Comet C/2021 A1 Leonard. The last day to get this lovely little comet. Dave Boddington had captured a wonderful image yesterday through his 6″ and 4″ refractors. I was was never going to be able to do that with my 5″ refractor due to my broken foot and not being able to move it from the Warm room to the verge on the other side of the lane at the front of my property.
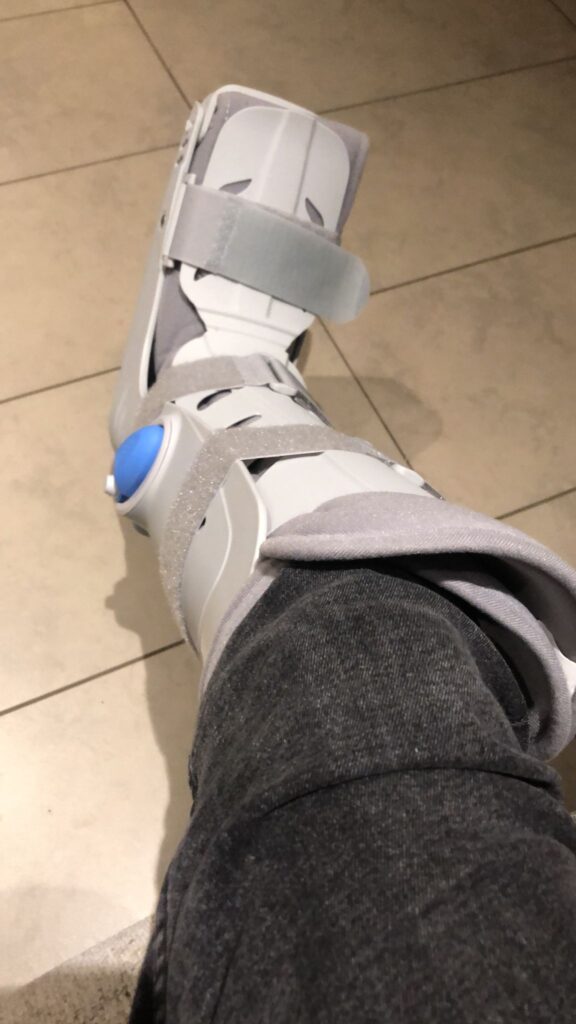
So instead I settled for the good old Canon 6D on a tripod. I had slowly gone up and retrieved the kit the day before in the light and now at 4am set off out the front, crutches in hand, camera on tripod strapped round my neck, in the dark at 1℃.
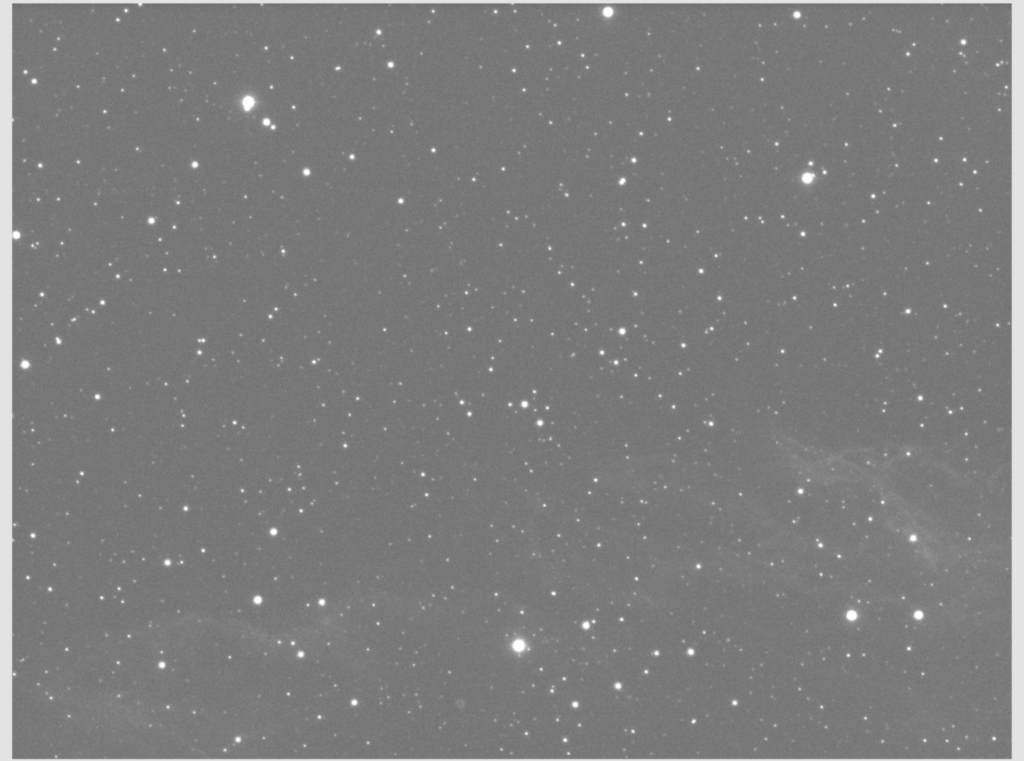
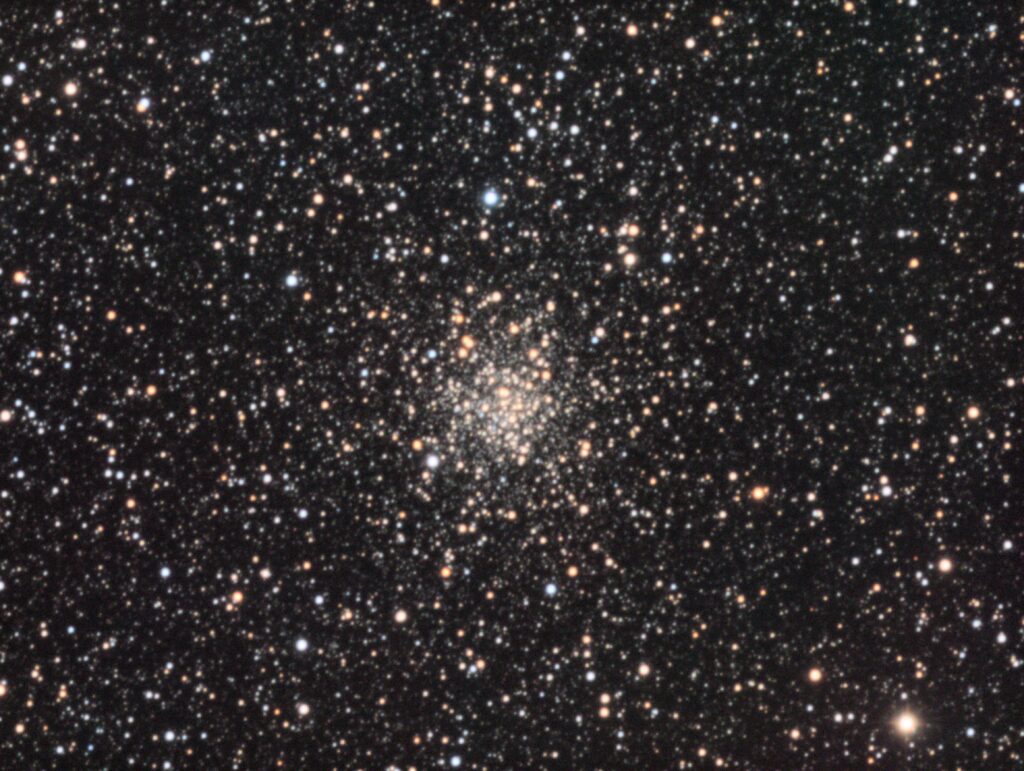
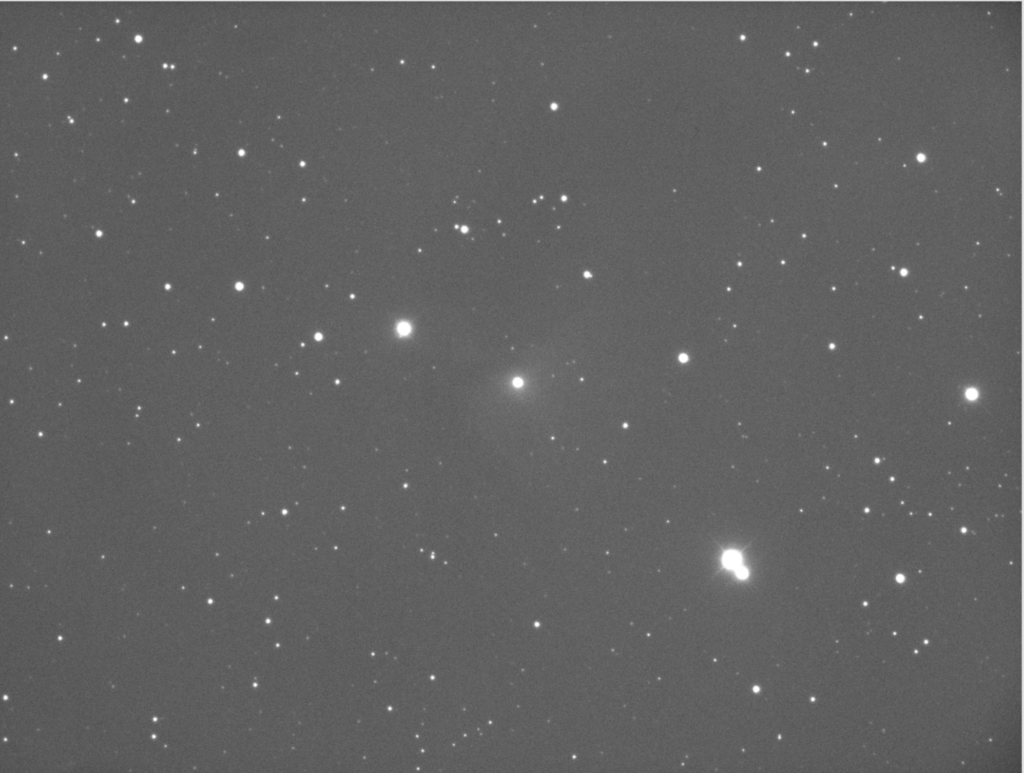
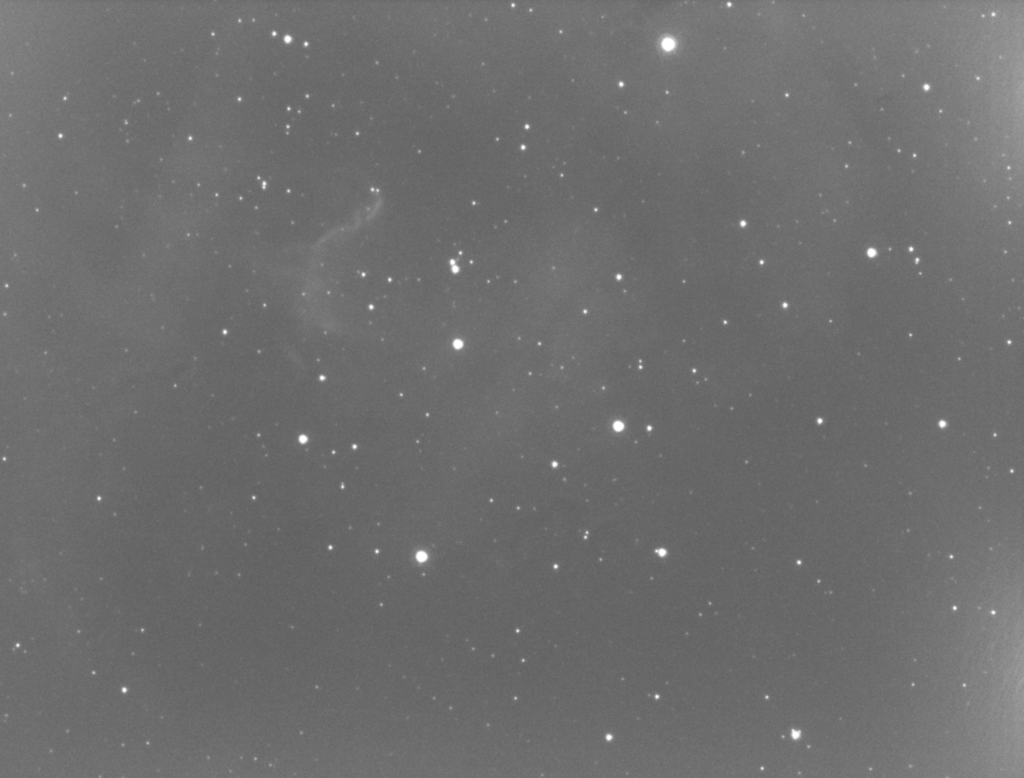
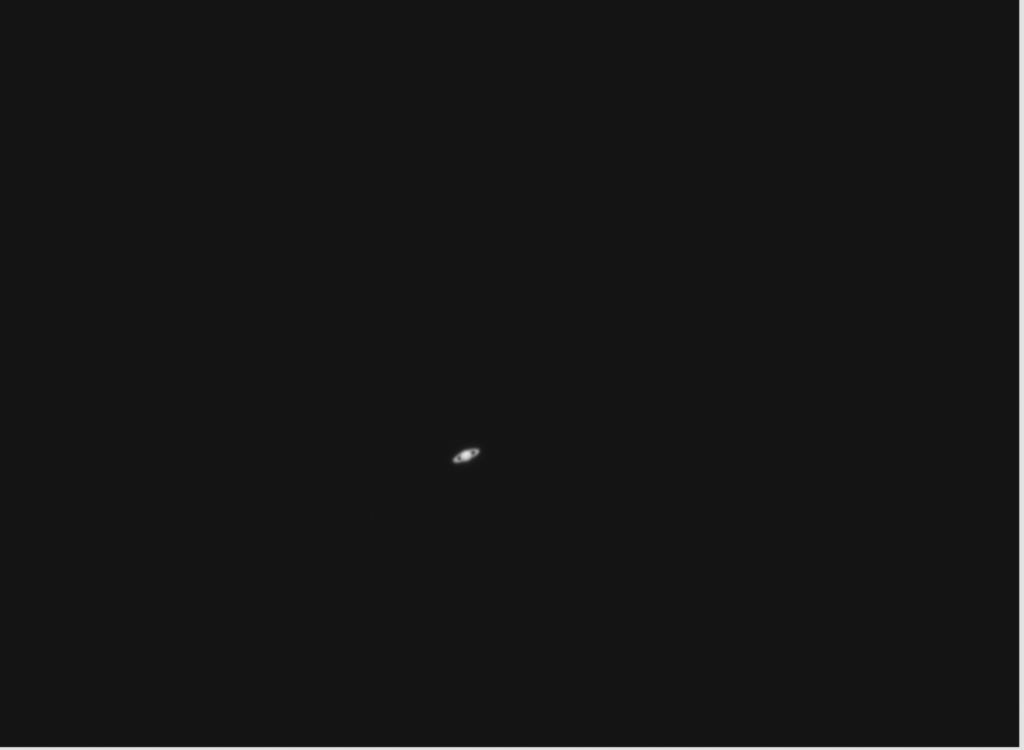
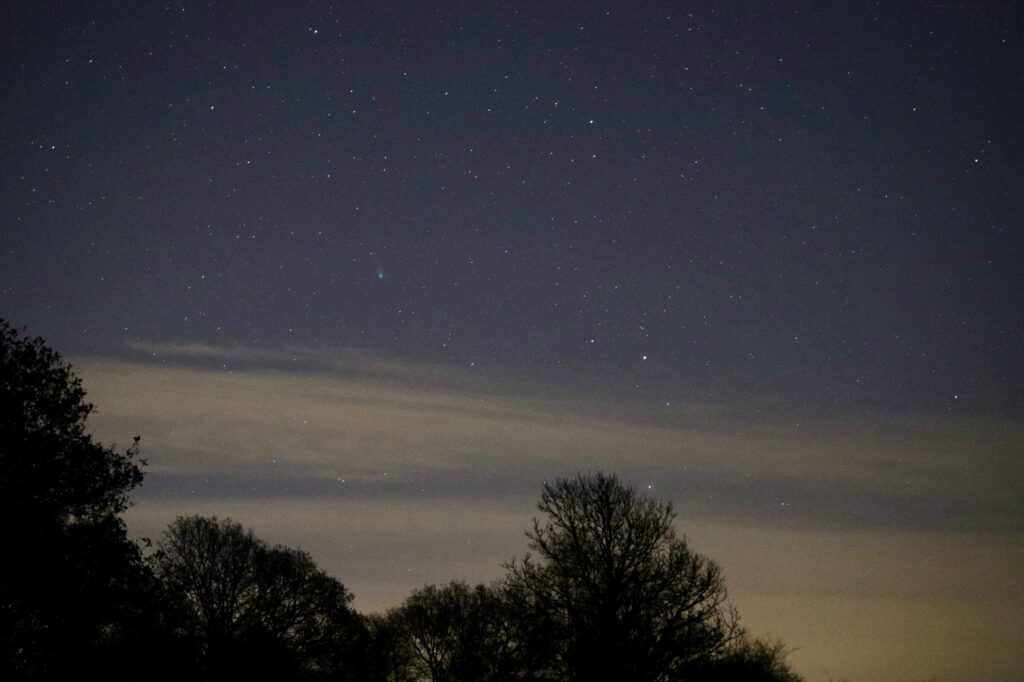
After getting comfortable standing on the verge, I extended the tripod legs balancing on 1 foot and set the camera on Arcturus to focus at 100mm. I had chosen the 100-300mm lens for maximum flexibility. After achieving focus by hand and by using the zoom function on the camera screen, I placed the camera roughly in the direction of where the comet should appear just below Corona Borealis in the faint constellation of Serpens. This is the shot I got.
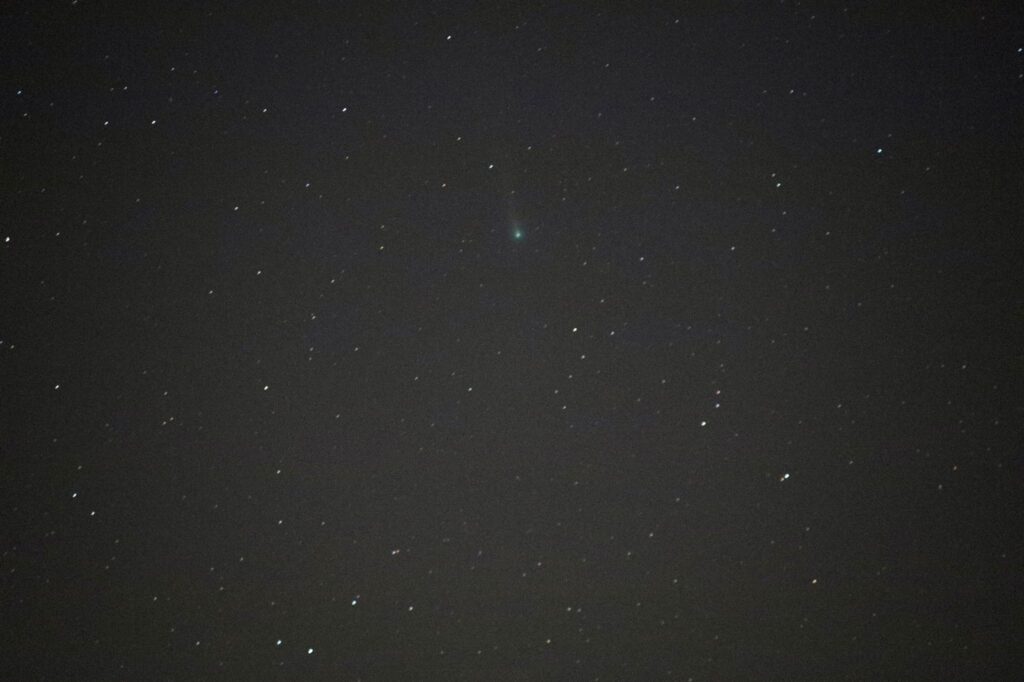
I then changed focal length going to 300mm on the zoom lens, switched back to Arcturus to focus and then, after a few attempts, actually some 20 minutes, I managed to get the comet back on the chip. Result!
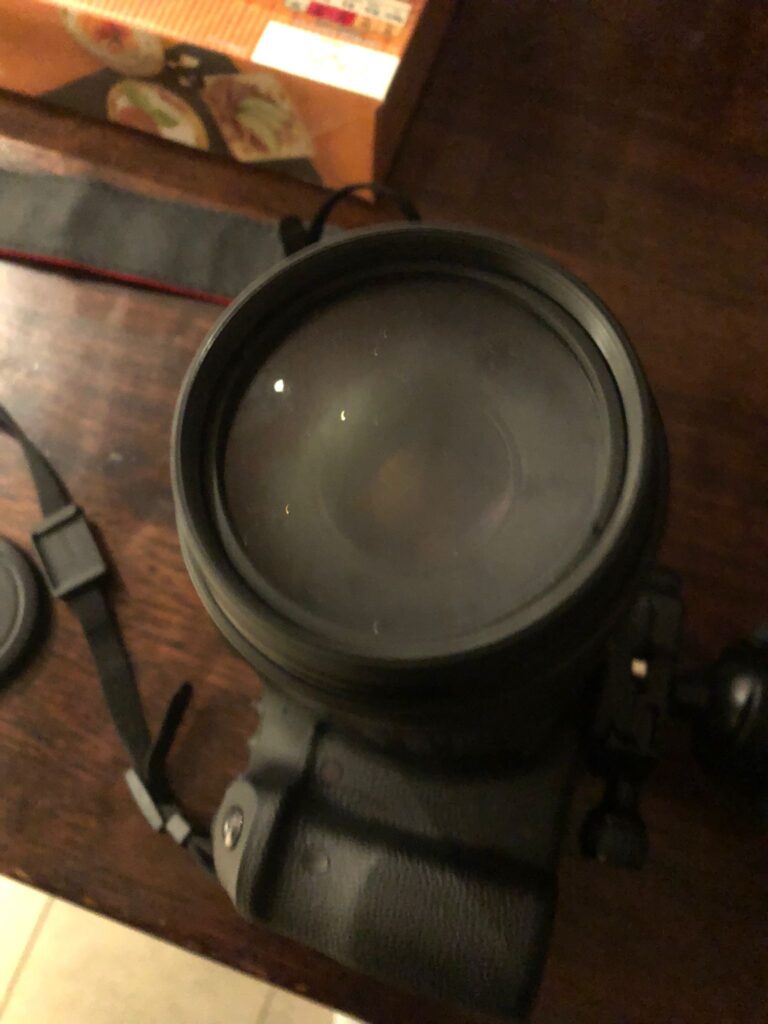
I packed up the tripod, hung it round my neck and headed slowly and gingerly across the lane and back up the drive to the house. When I had removed my one shoe, cleaned my boot and my crutches I looked at the camera lens and was not surprised to see a lens full of dew 🙄
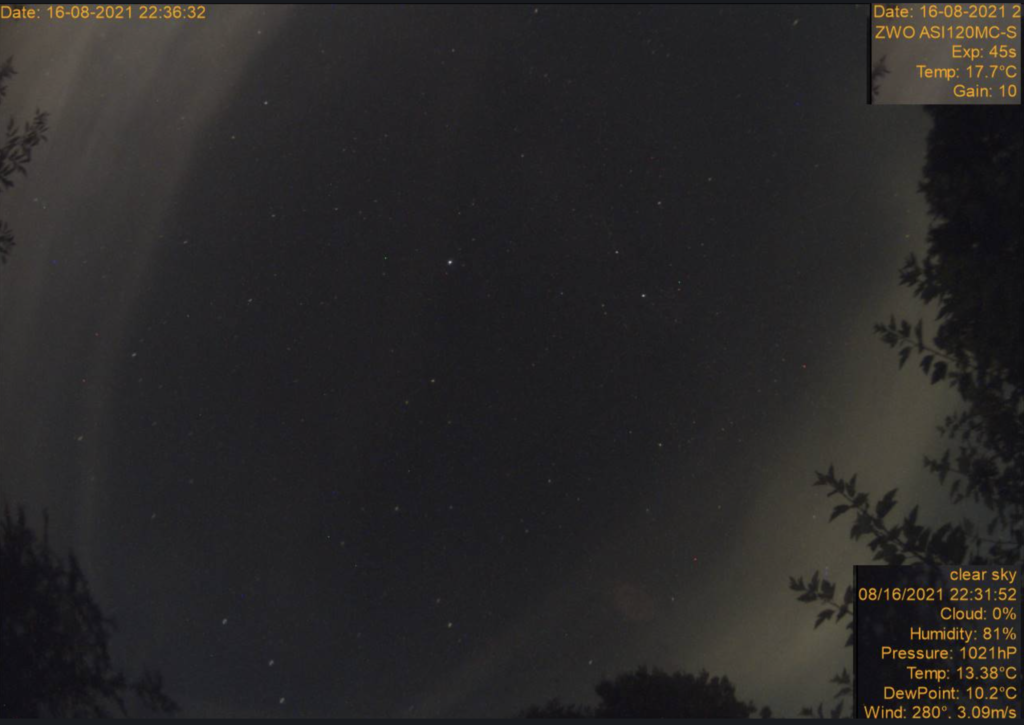
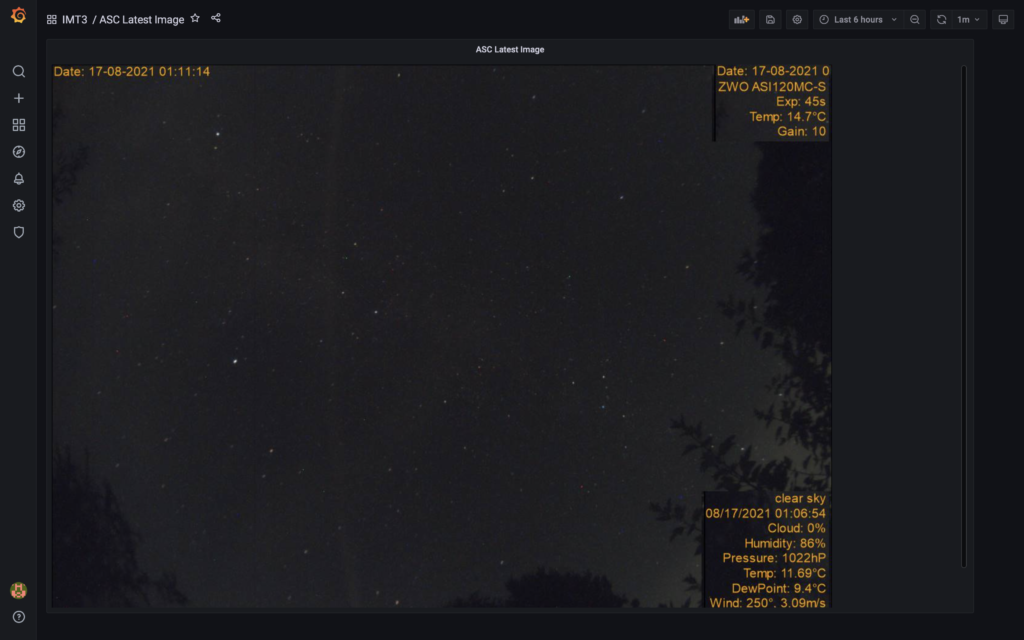
I then set about opening the dome of the observatory as the comet would have now cleared the tree line. However it would not open 😳 On closer inspection, meaning I went back out in the cold and up the garden, I found the shutter would not operate. Some time spent investigating led me to believe the battery in the shutter box was dead 🥺 so I removed and took back to the house for further investigation later today. That meant no comet photo through the 12″, however I was pleased with my results given the challenge.