21:22 – 03:50
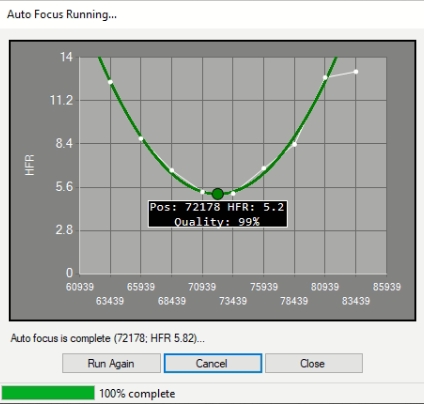
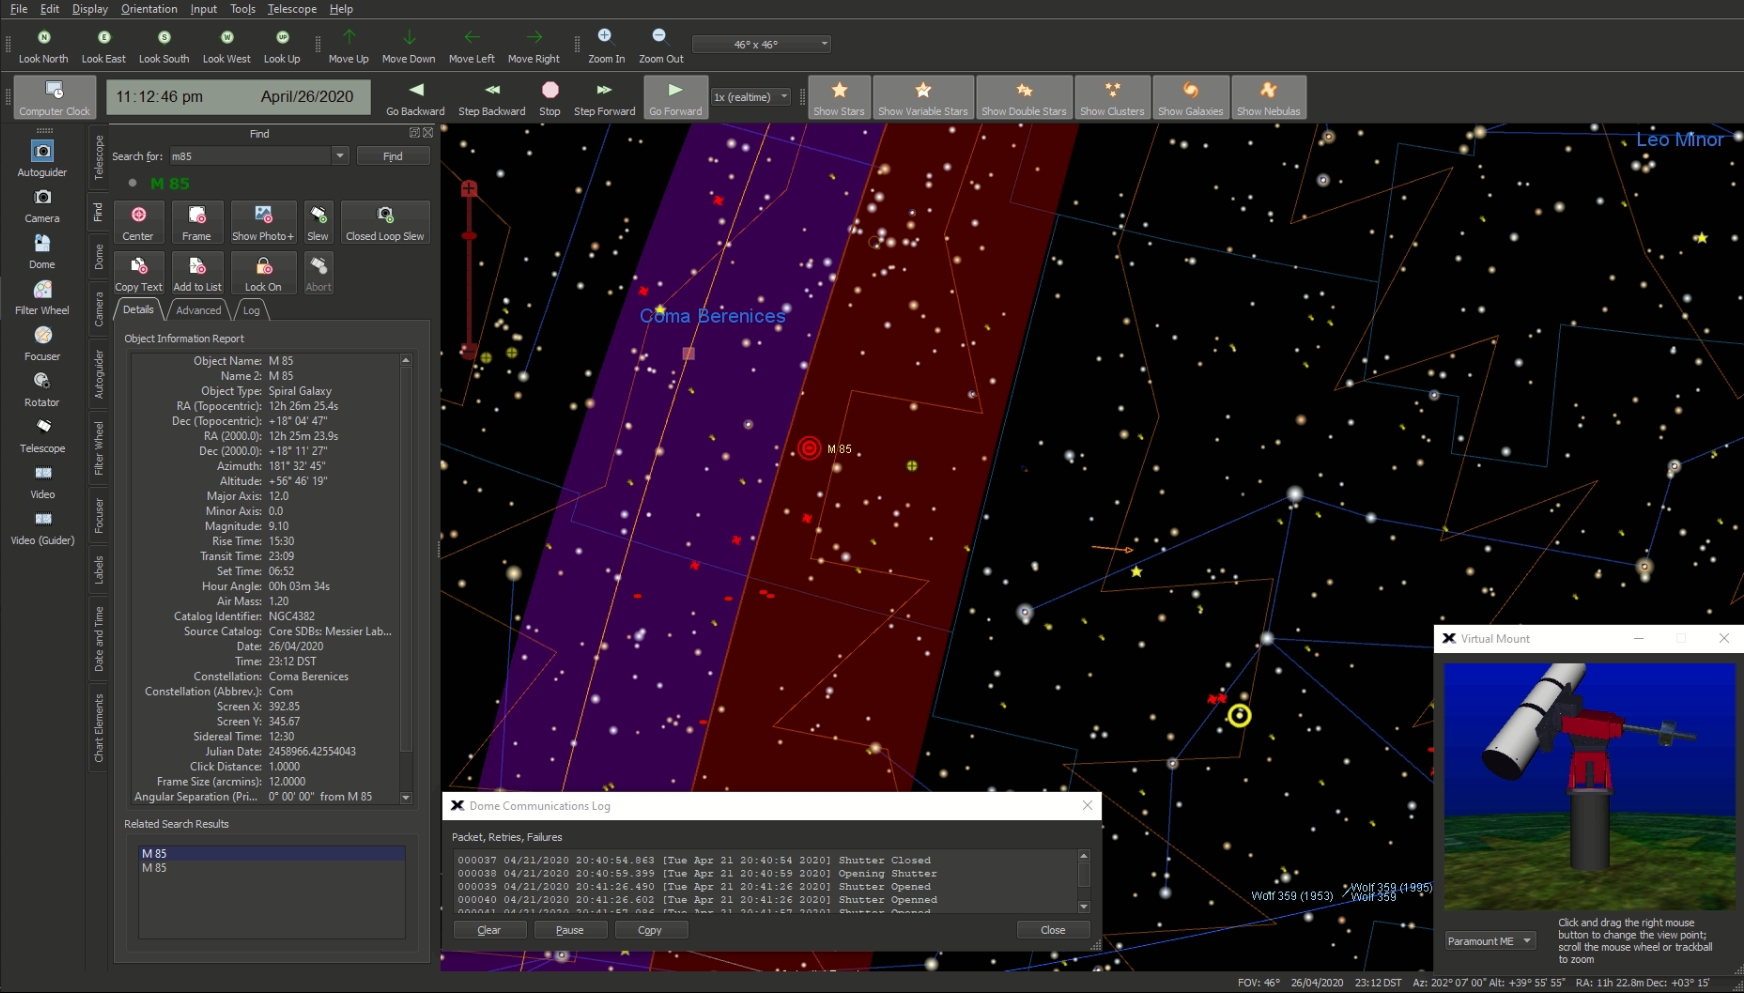
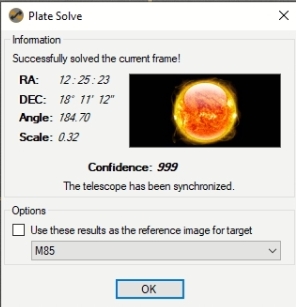
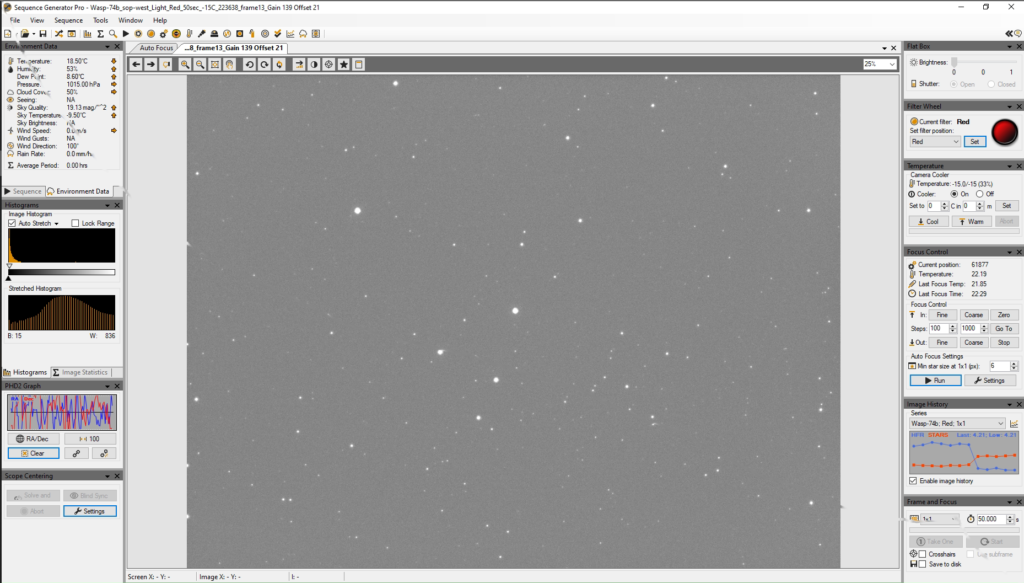
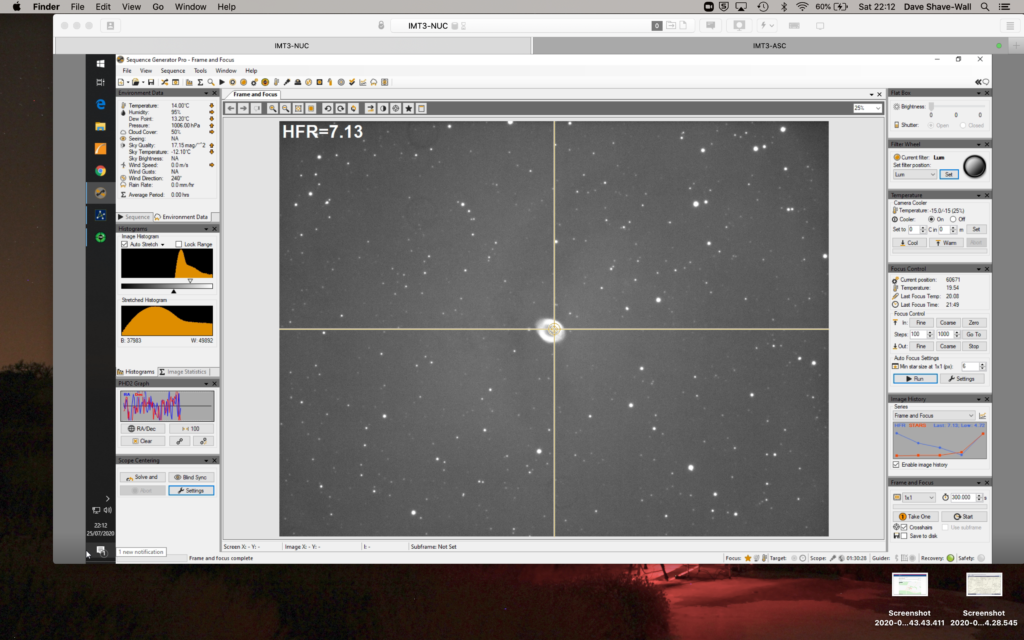
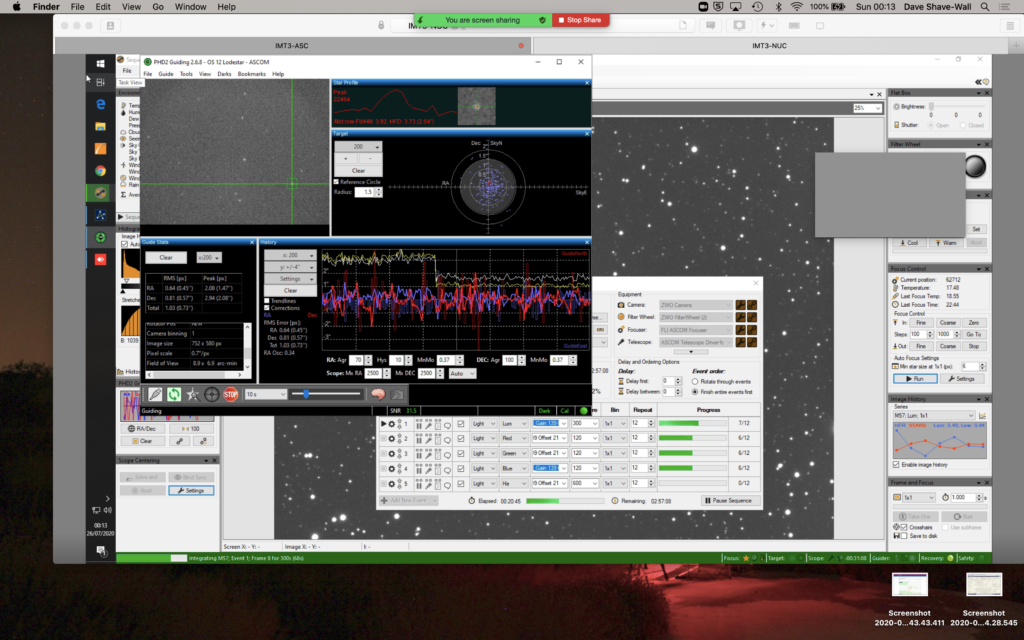
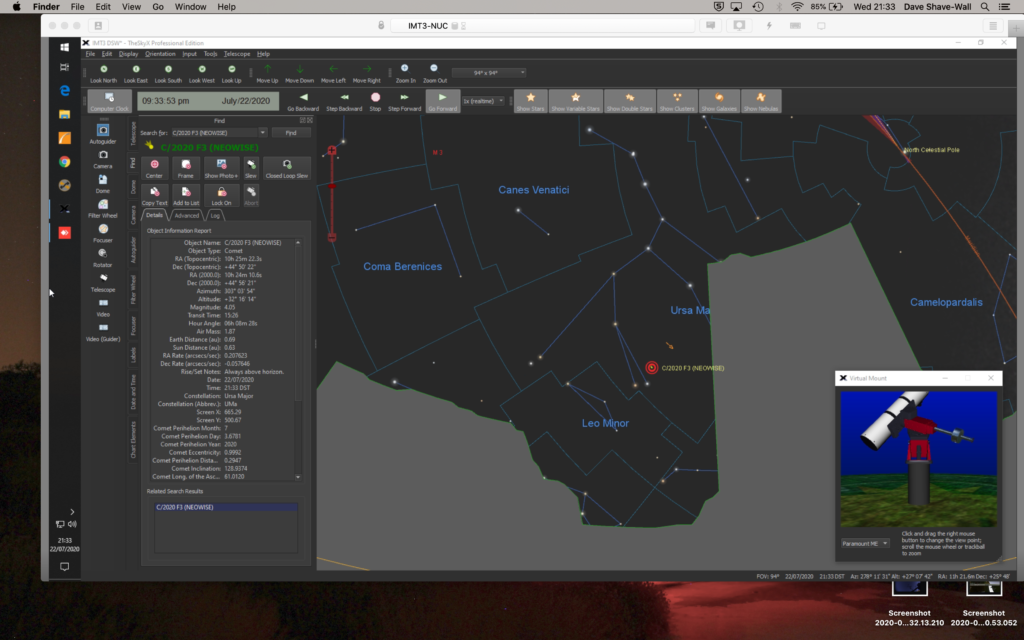
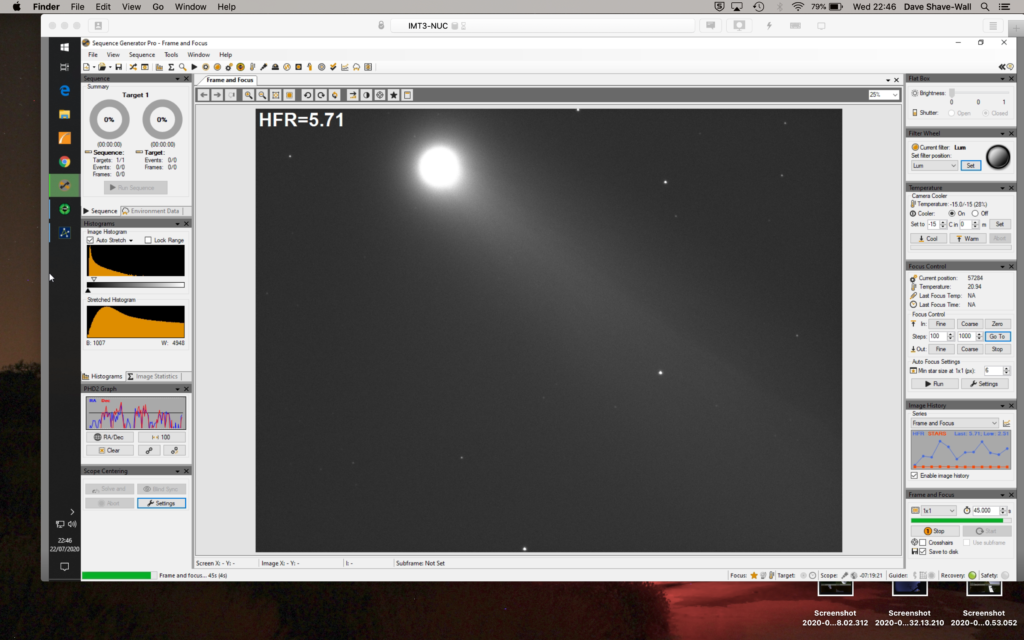
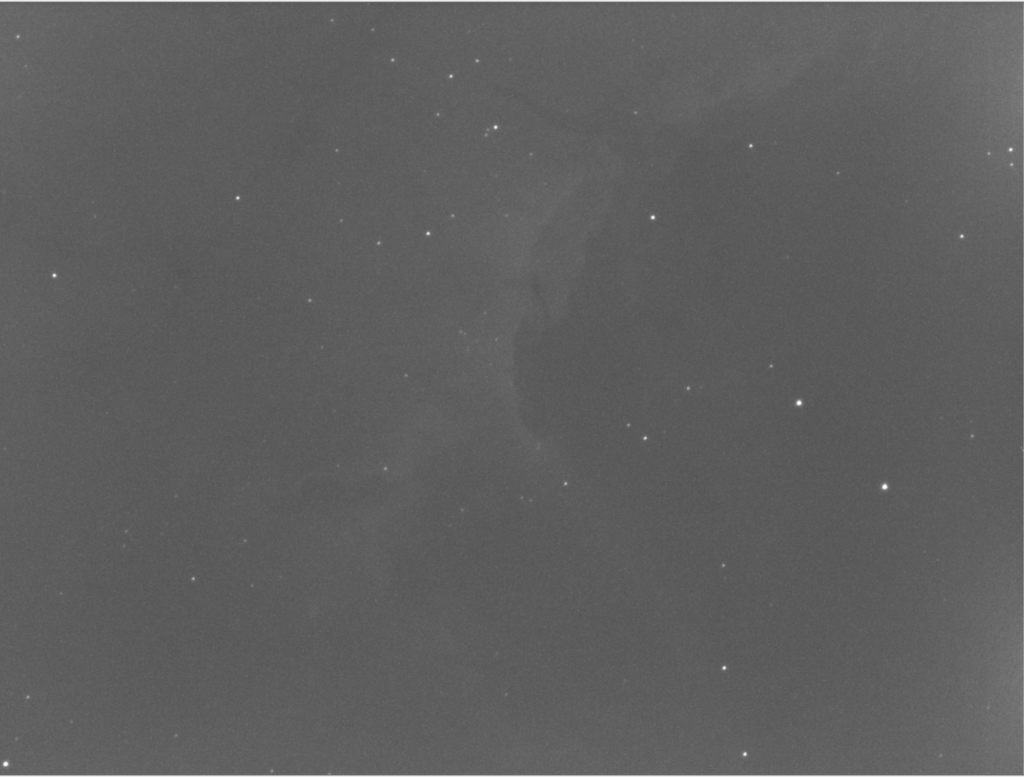
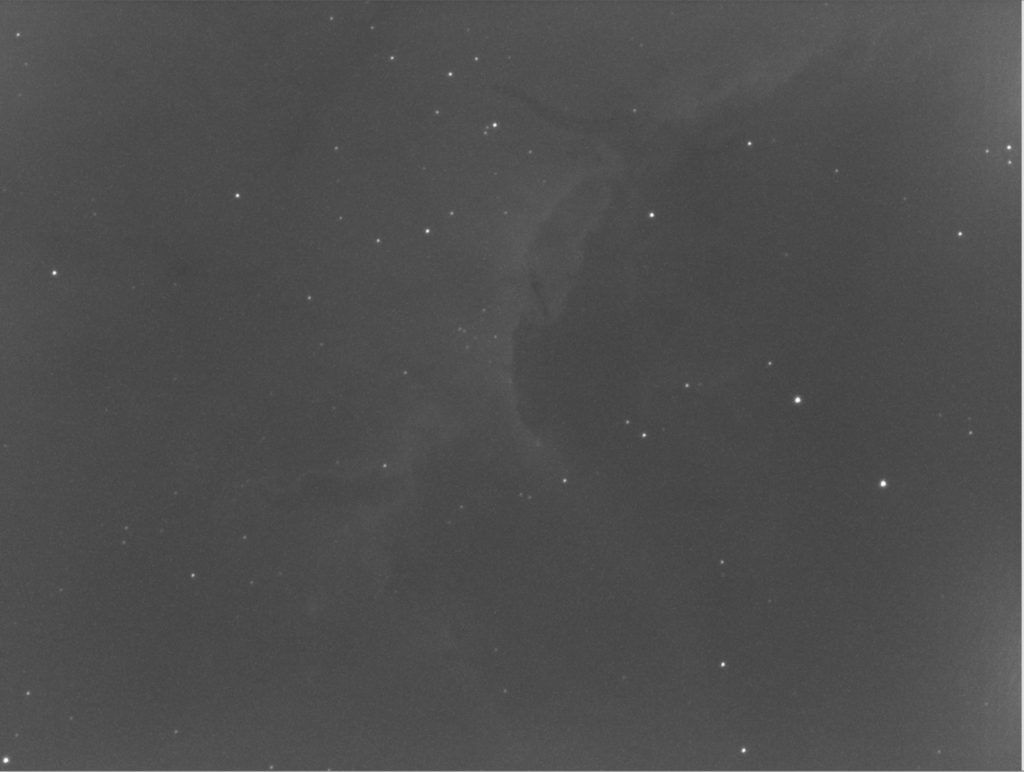
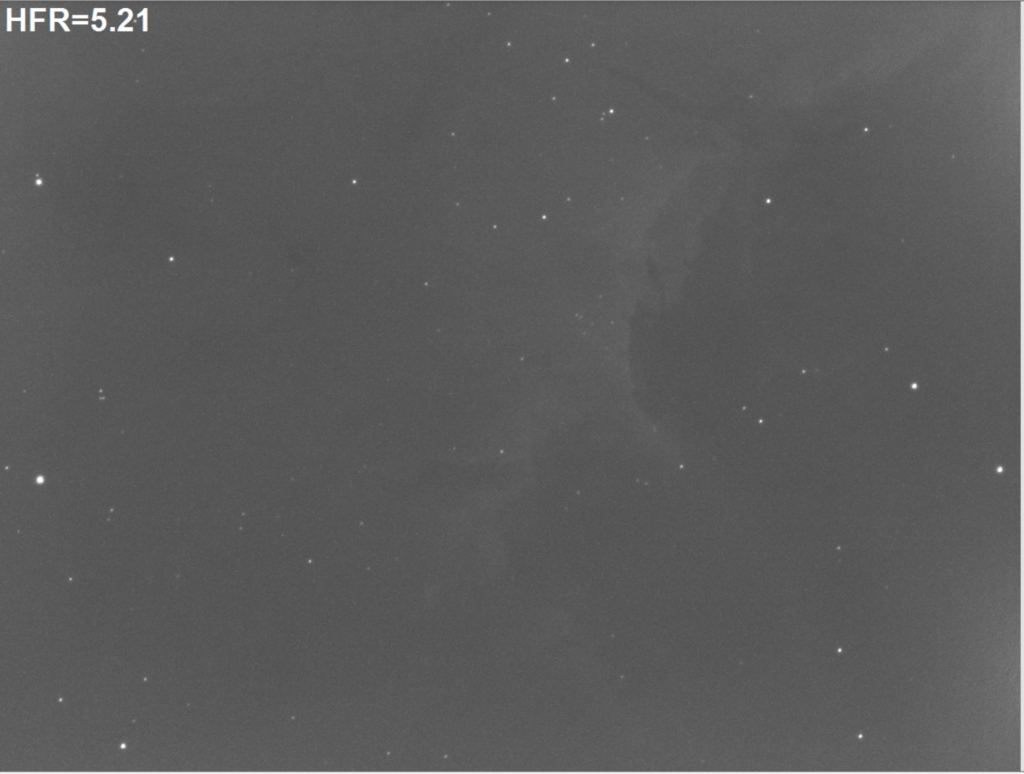
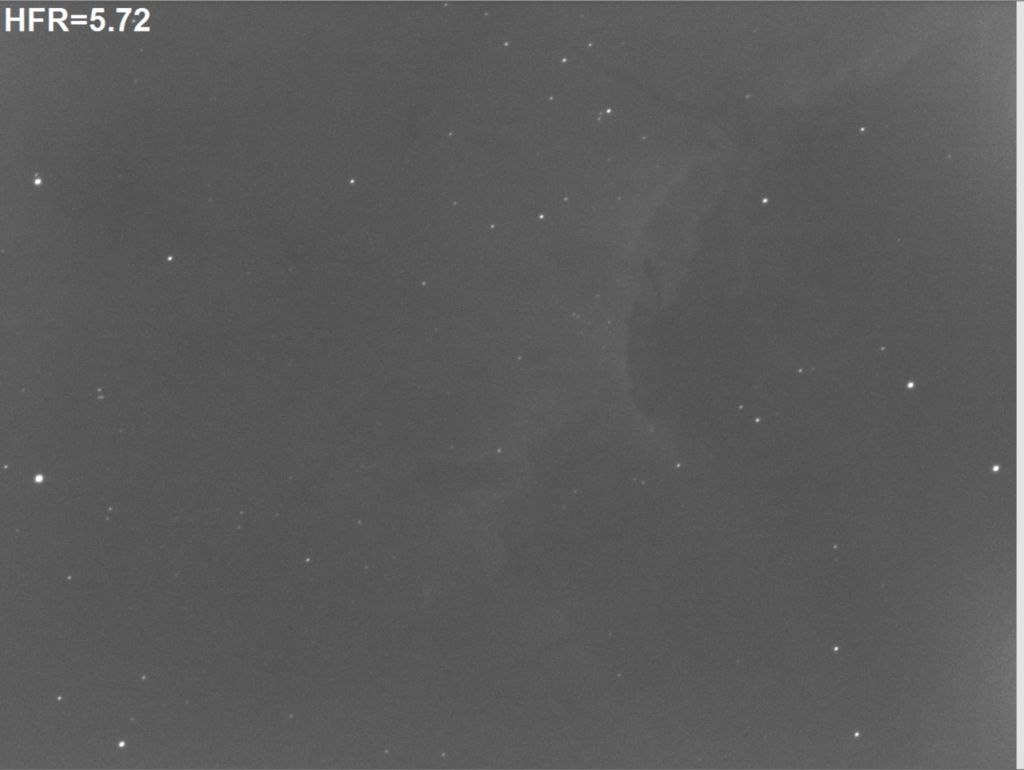
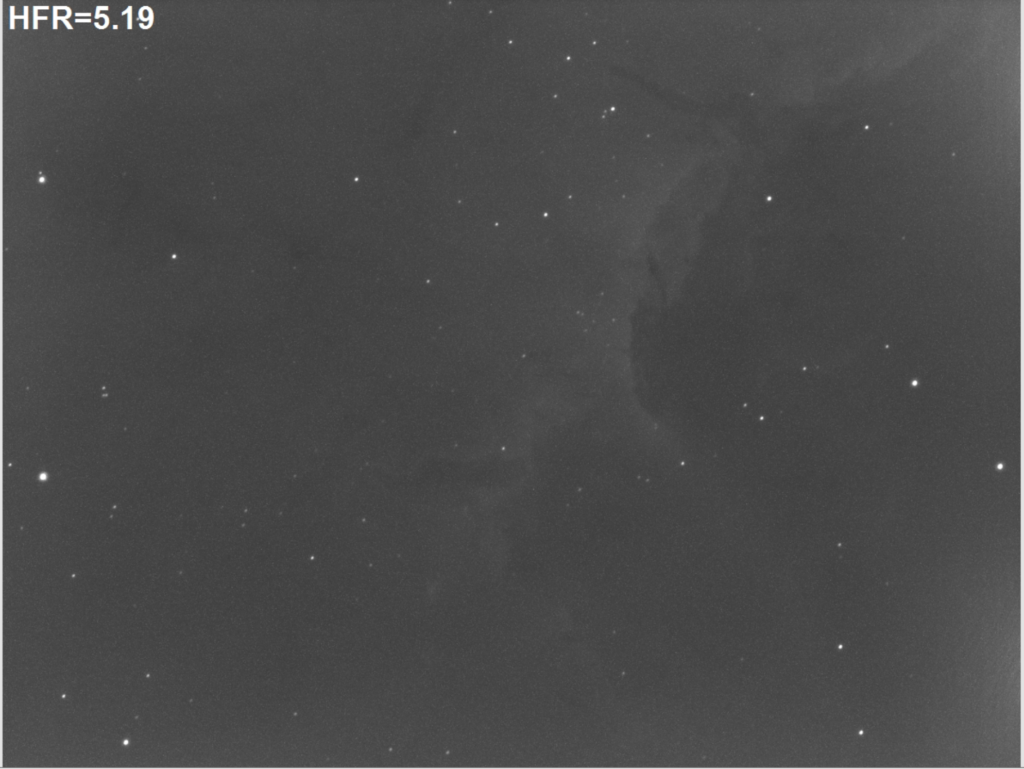
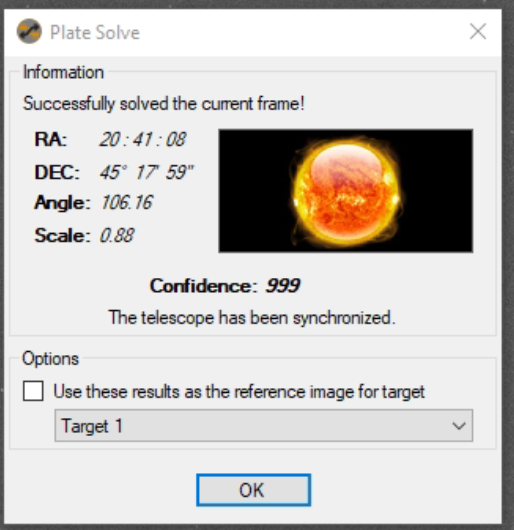
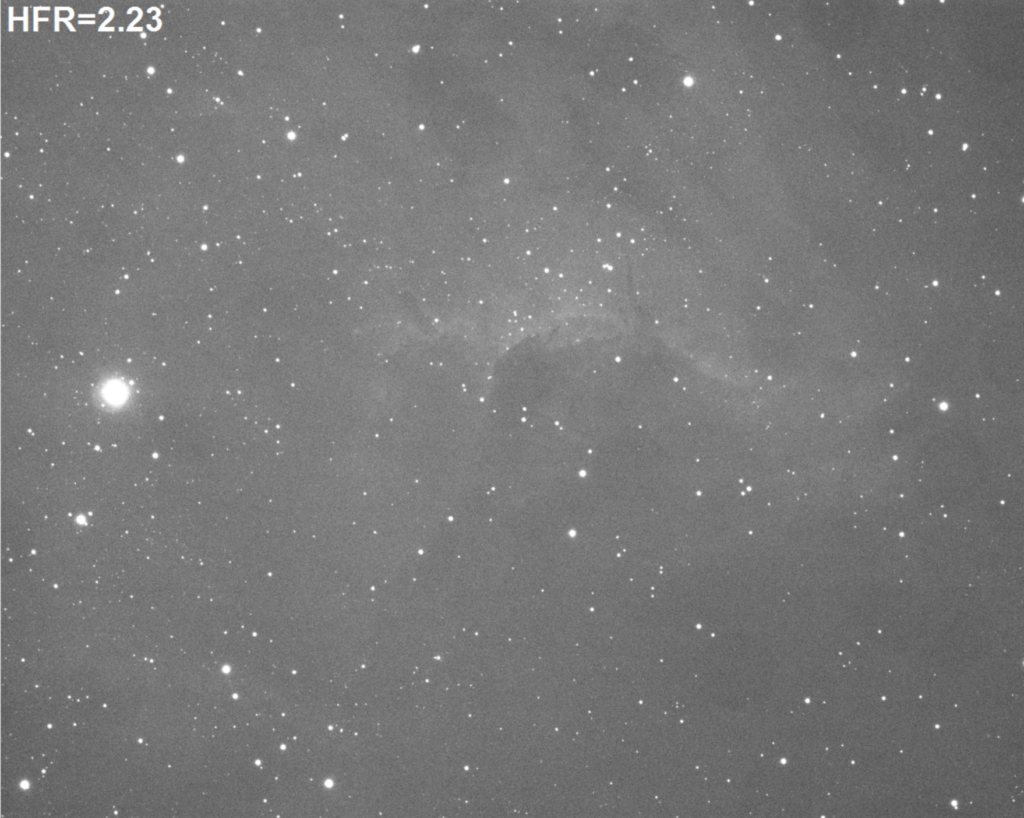
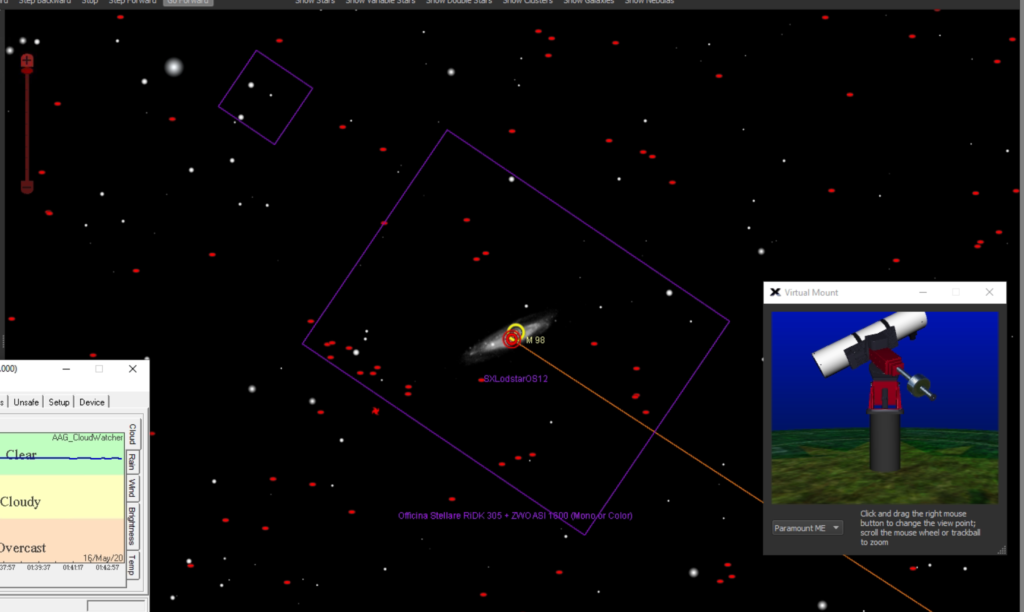
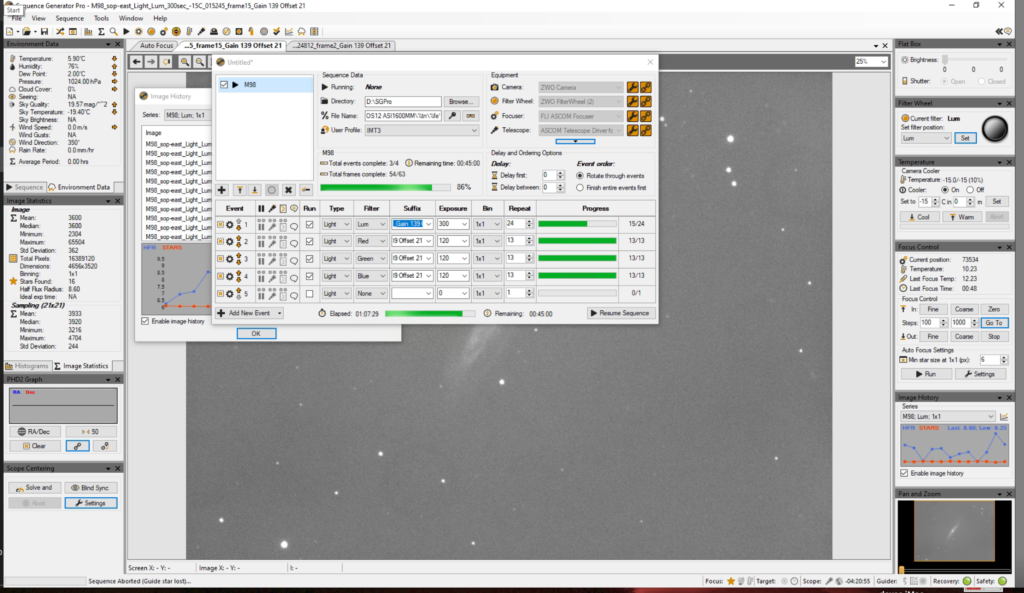
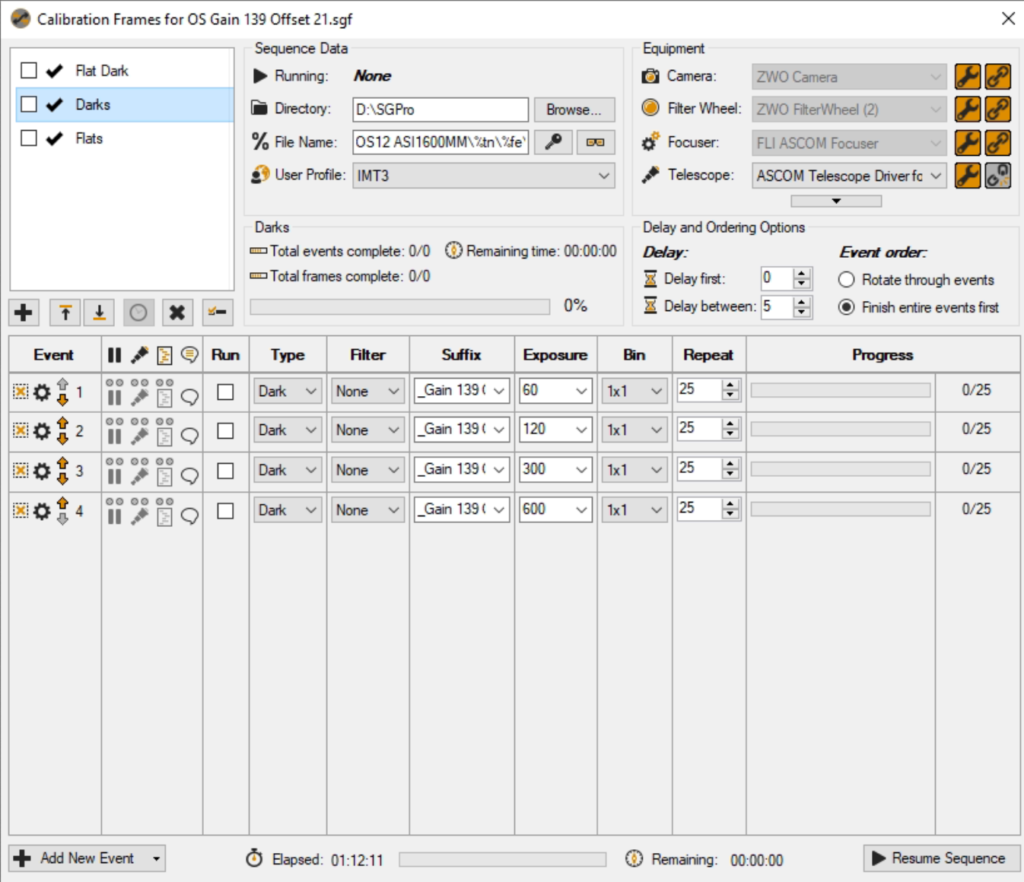
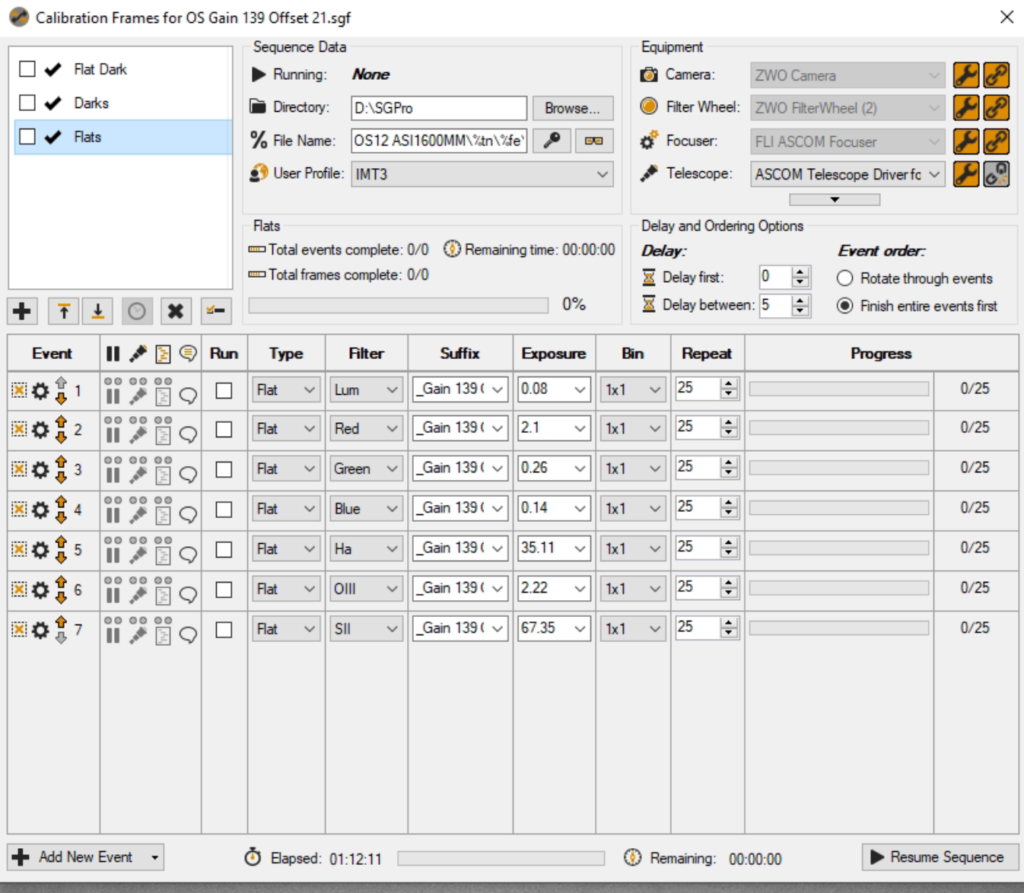
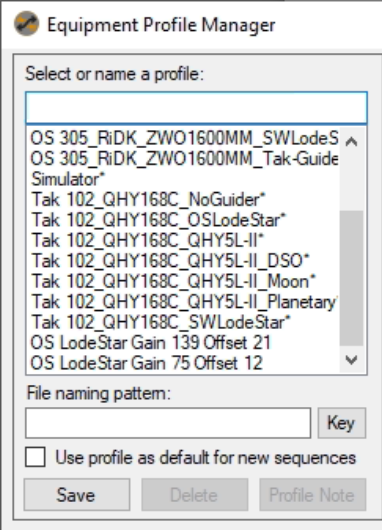
Another clear night whilst I am on holiday and after a long day of building the new warm room for my astronomy hobby. I finally got the camera imaging some more 600s Ha frames of the Sharpless 132 emission nebula in Cepheus (11 subs). The challenge was SGPro misbehaving and not plate solving. I used Gingergeek to look at it but he could not work out the problem either. So I used TSX to slew and solve instead before heading back into SGPro to start capturing data. I ran a set of Ha Flats before I moved to the next object at Rotator Angle 256.020, focus position 18500.
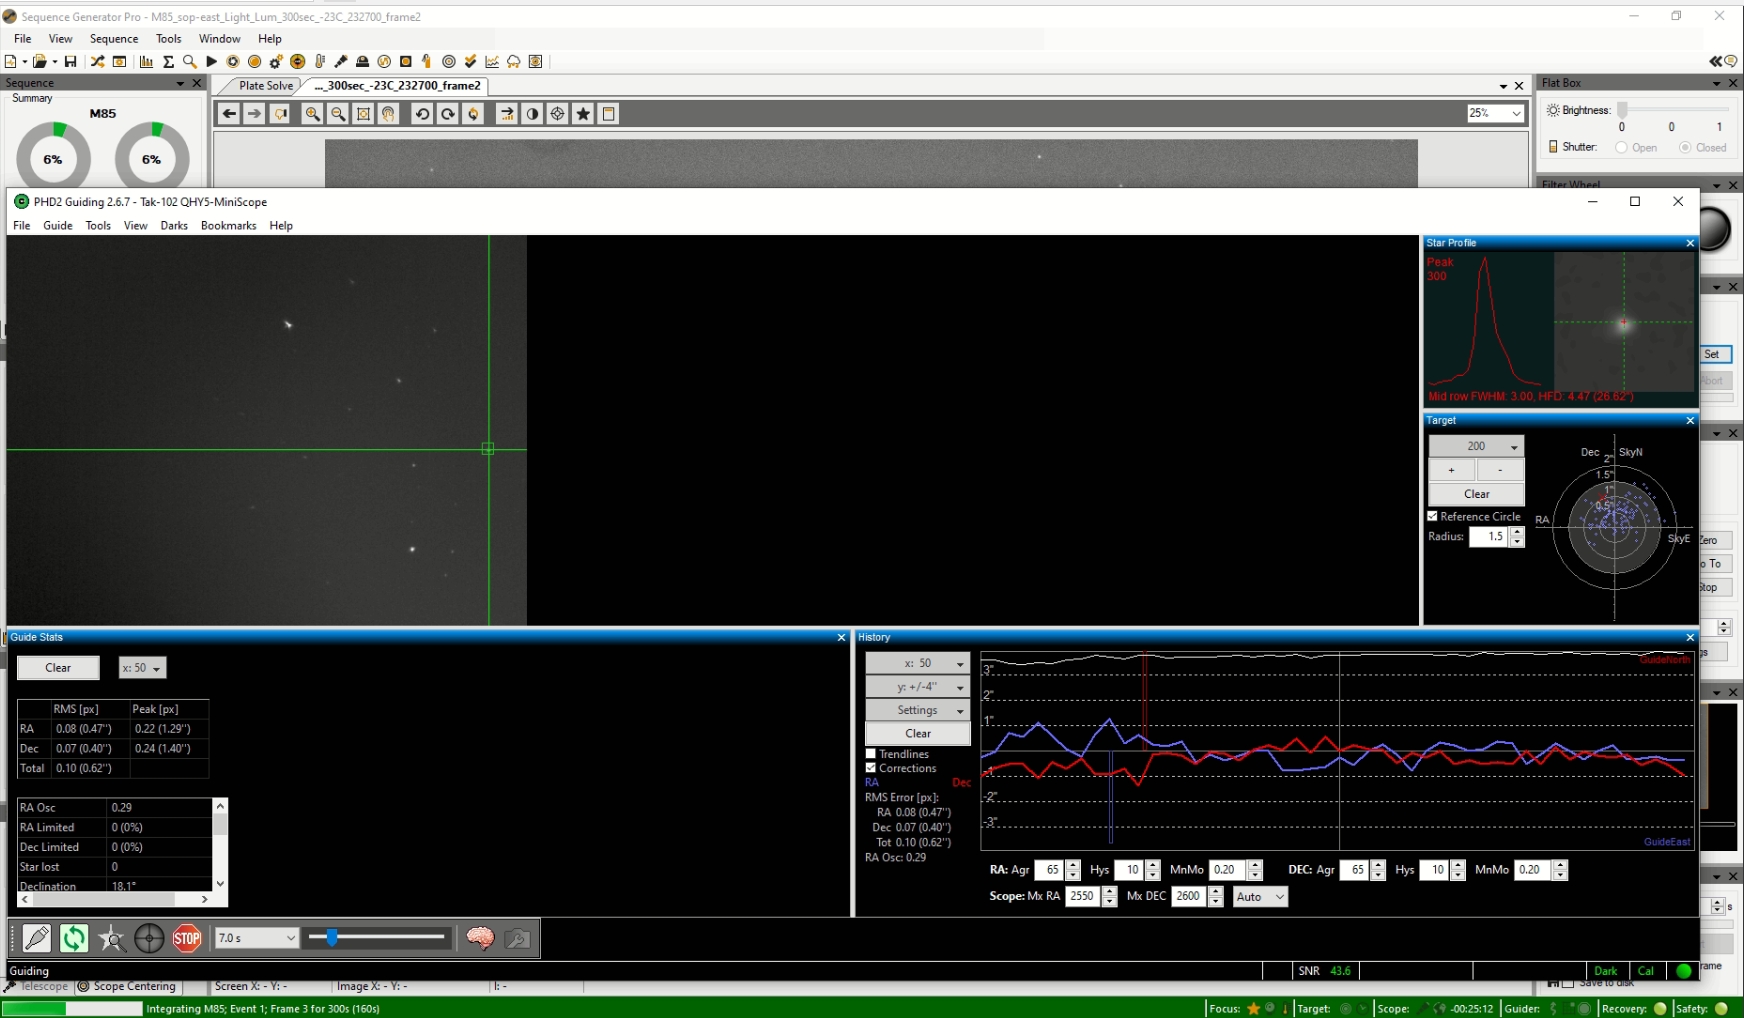
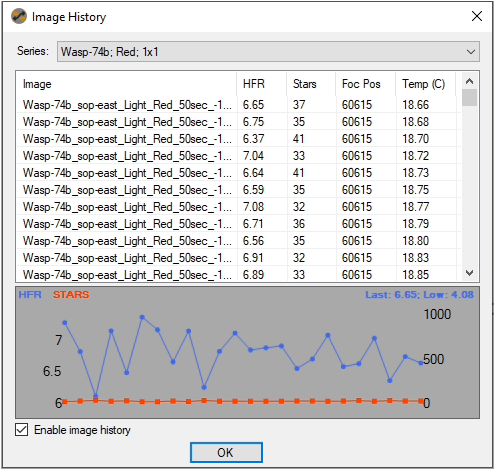
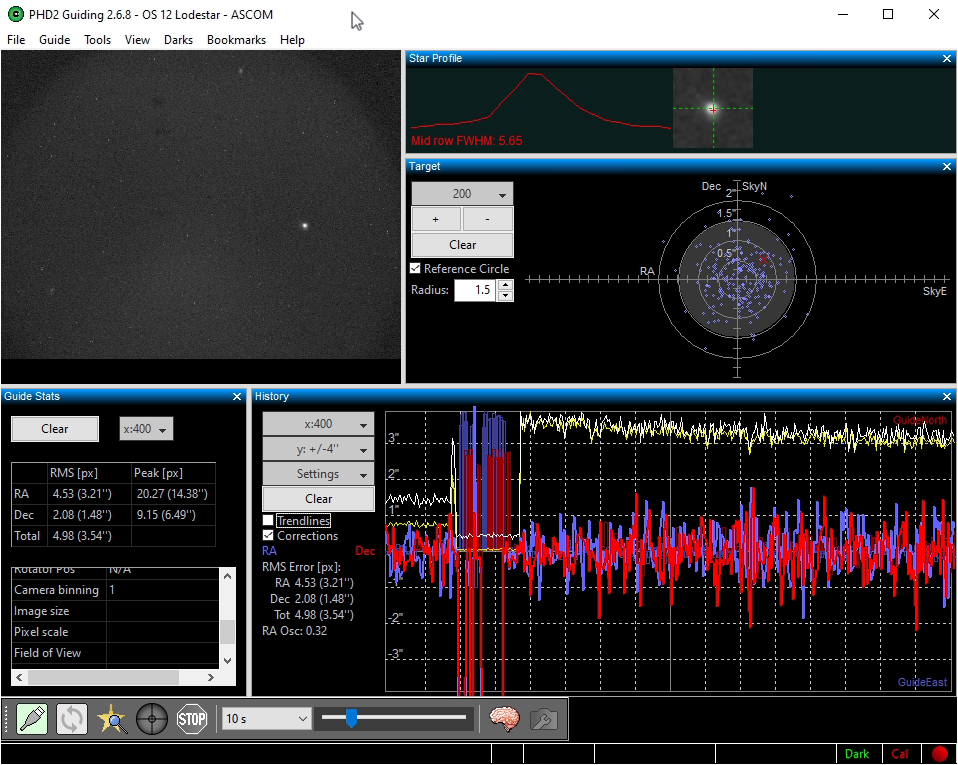
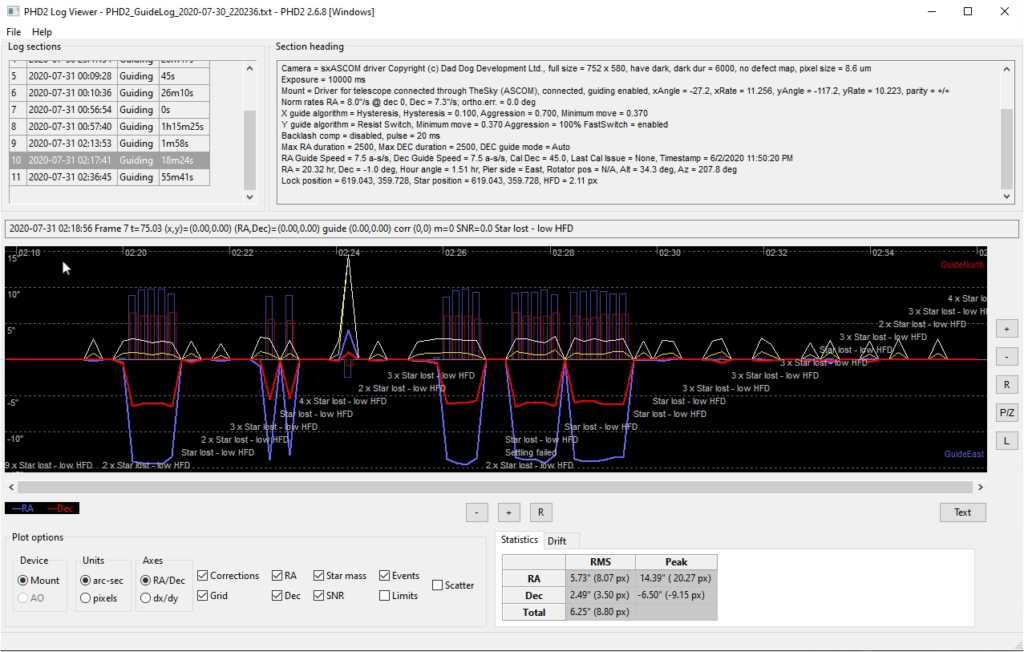
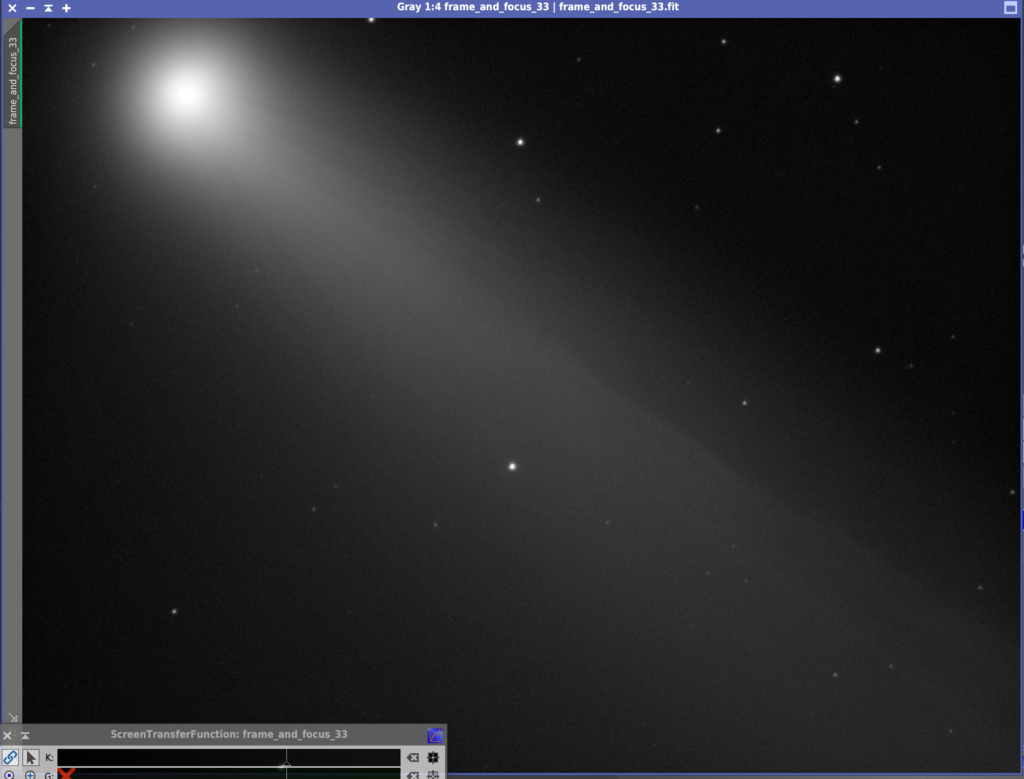
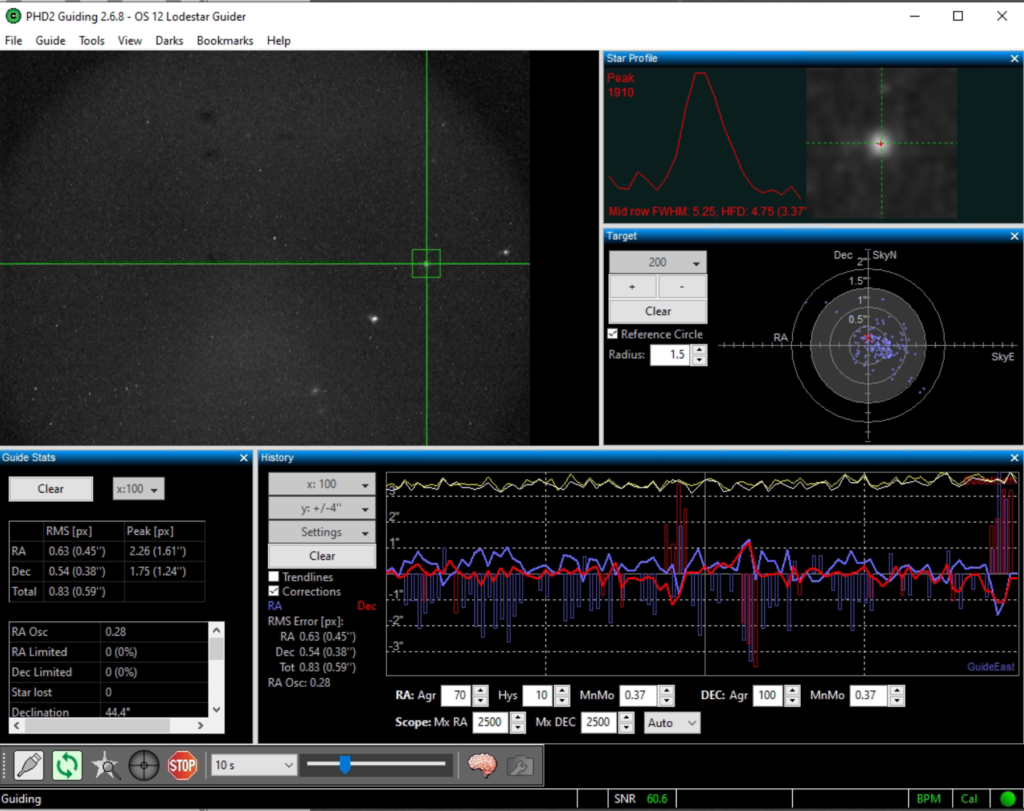
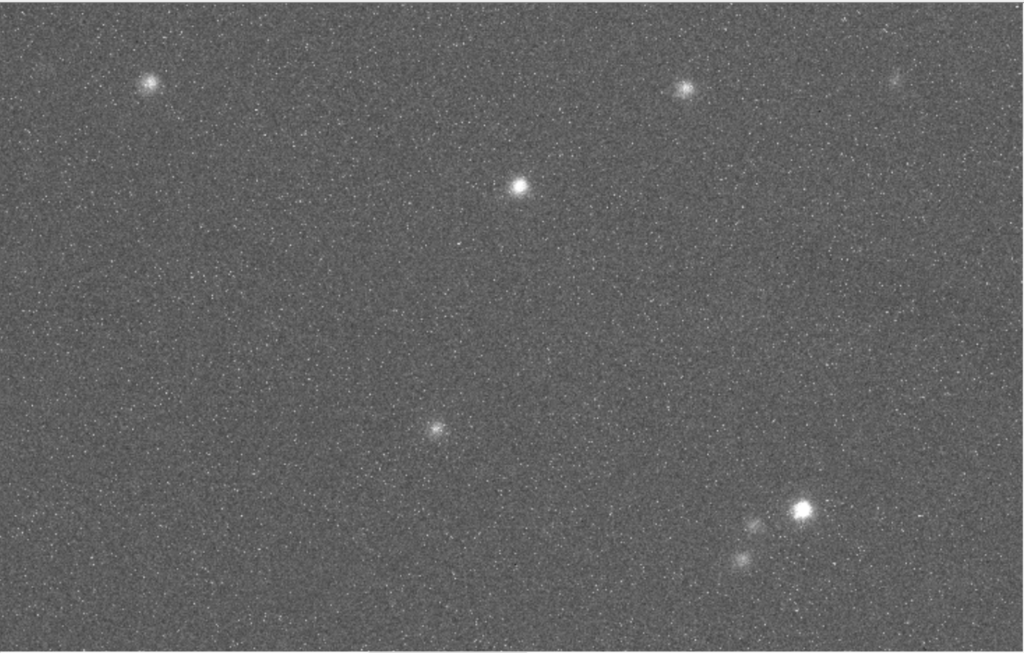
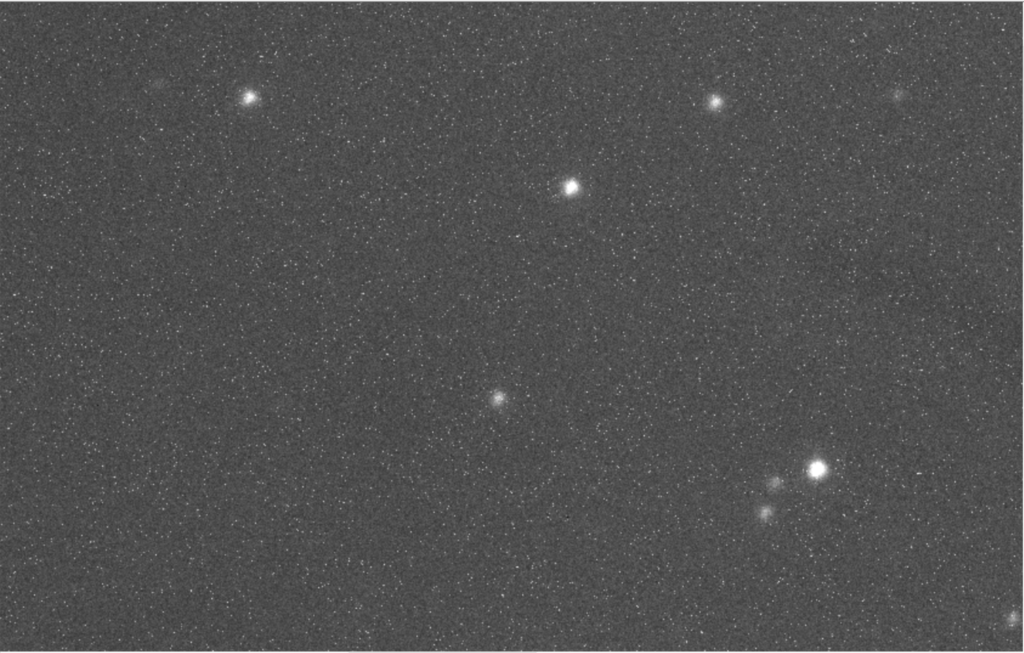
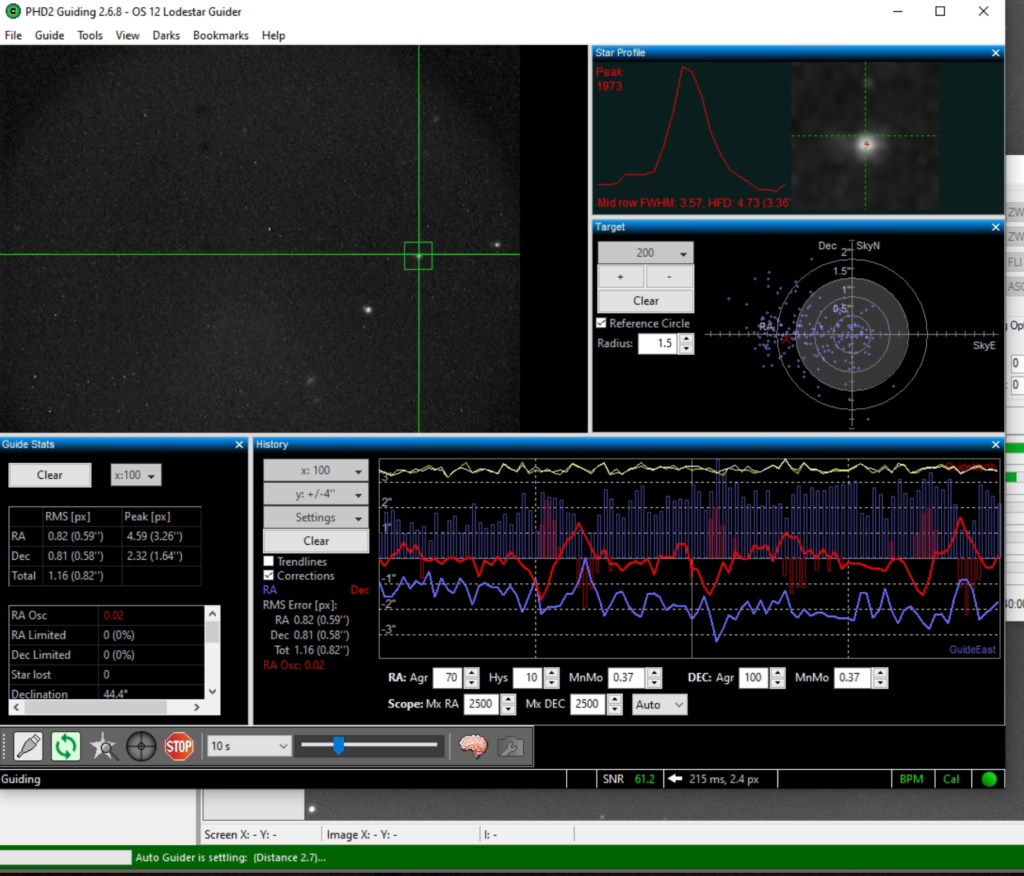
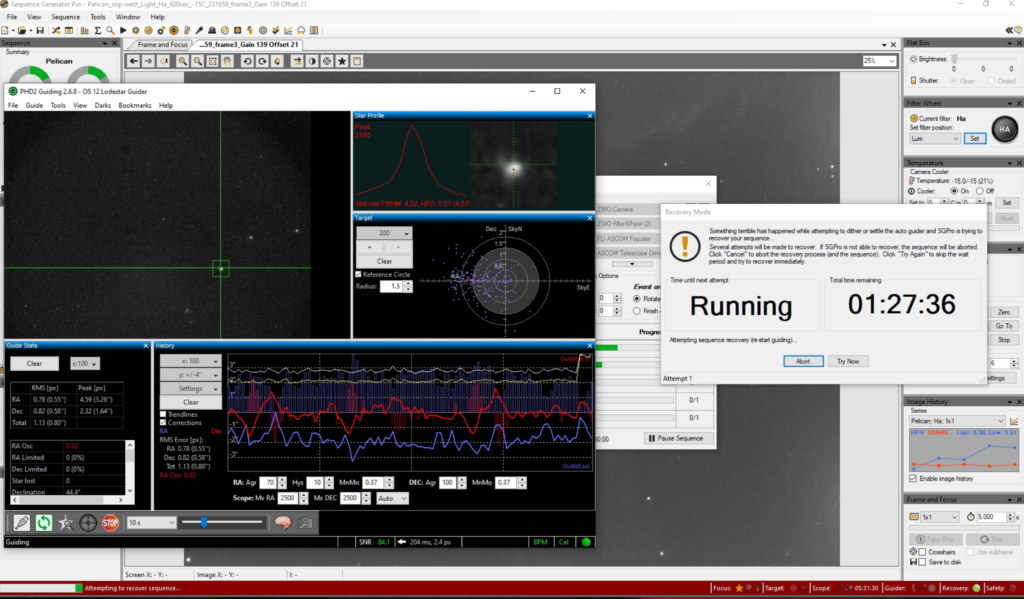
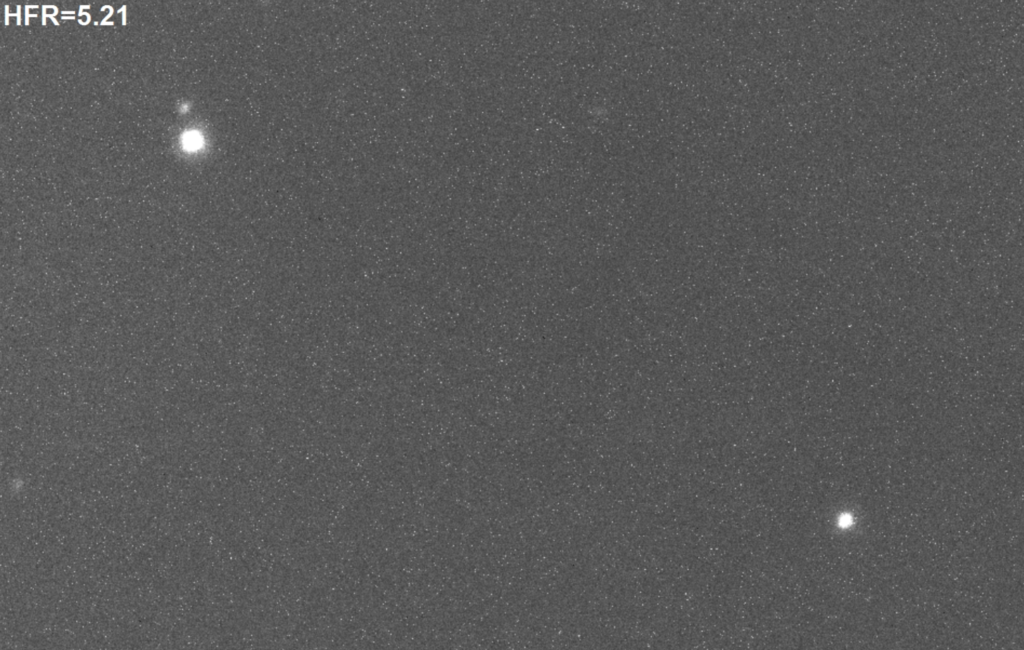
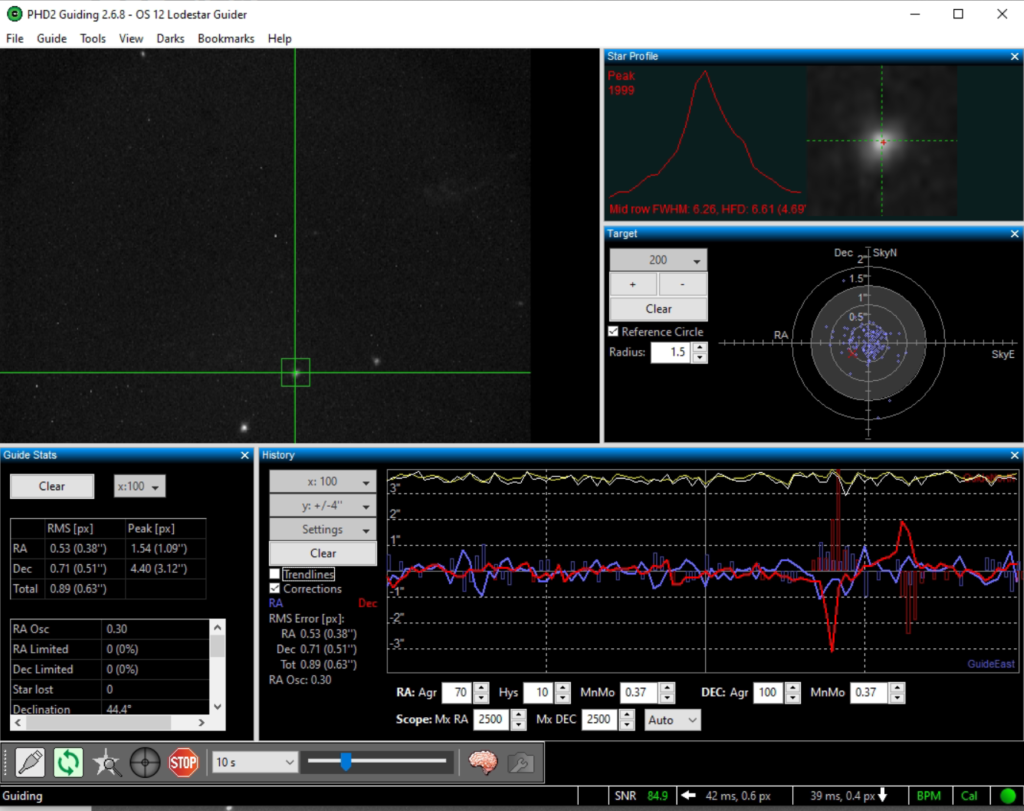
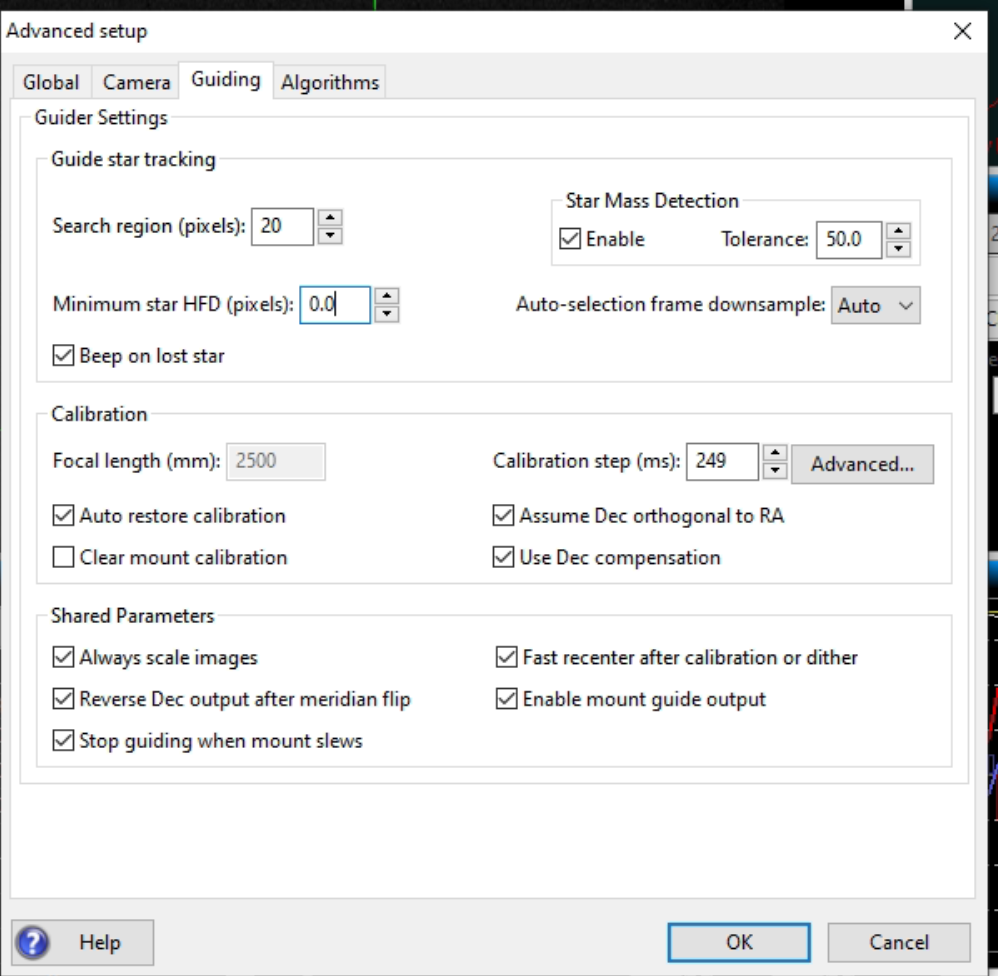
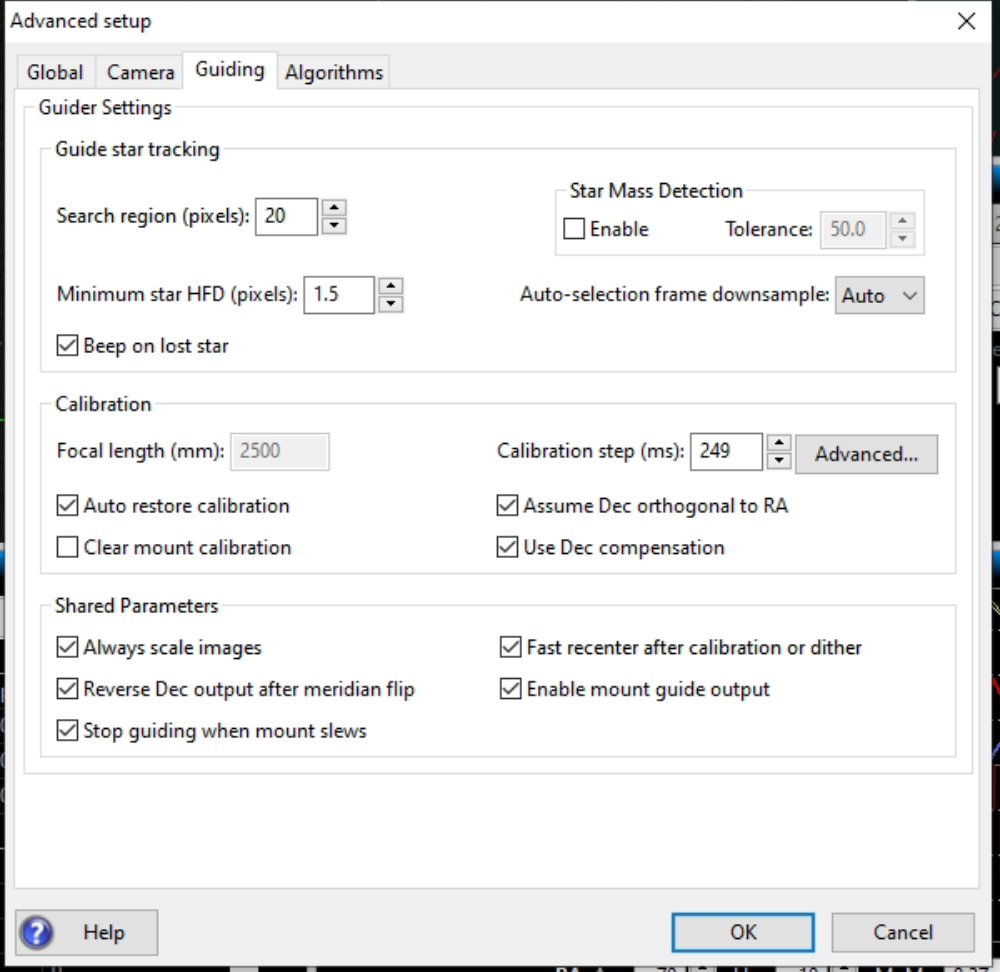
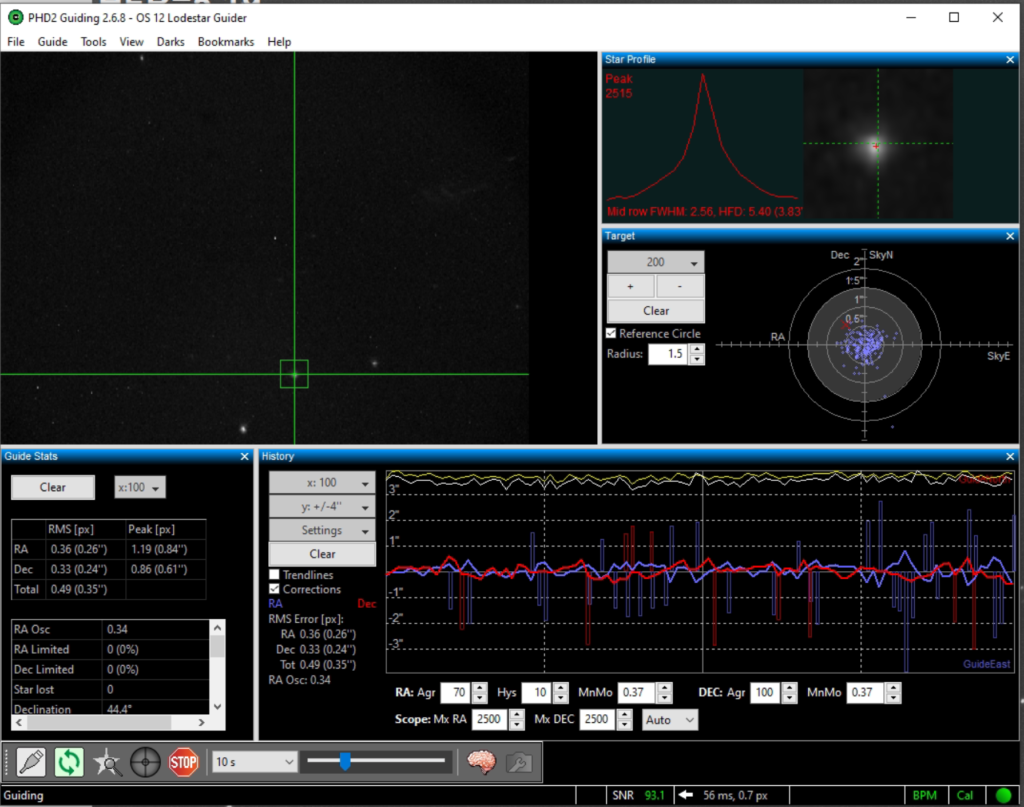
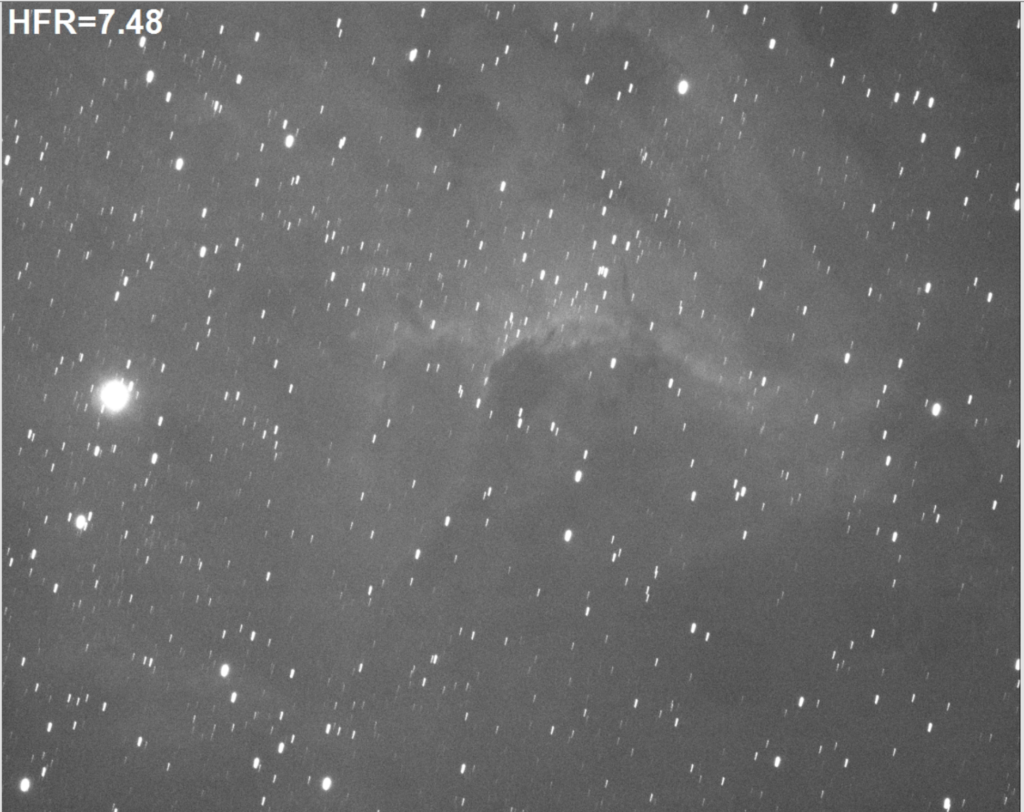
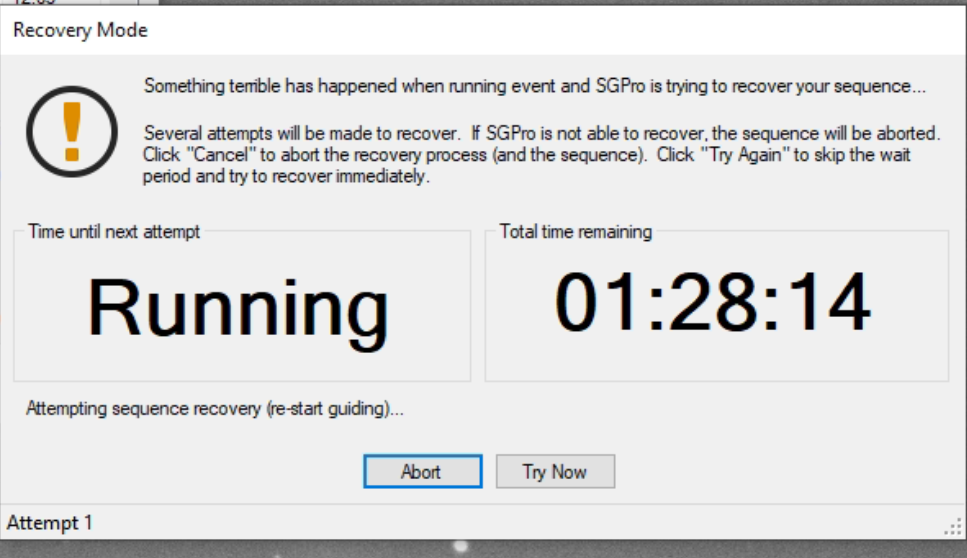
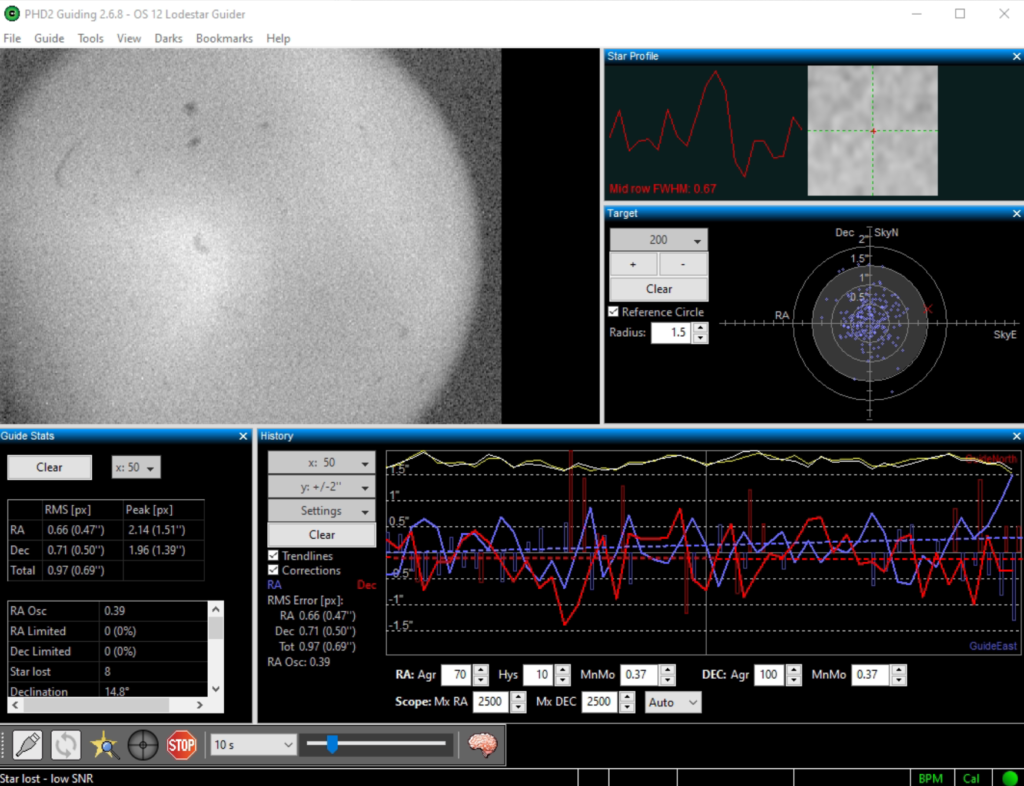
I then moved to SH2 183 another emission nebula in Cepheus. I let this running for the rest of the night whilst I went to bed at 00:47 during which time it took 19 images until more cloud lost the guide star which I need to fix so it restarts automatically.
I also worked out that plate solving was an SGPro bug as restarting SGPro allowed the plate solving to start working again, so useful for next time.
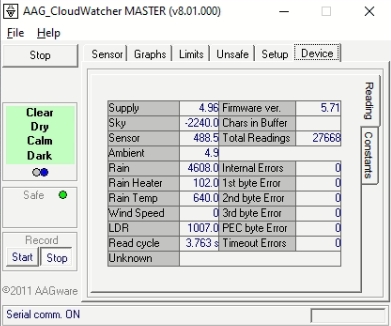
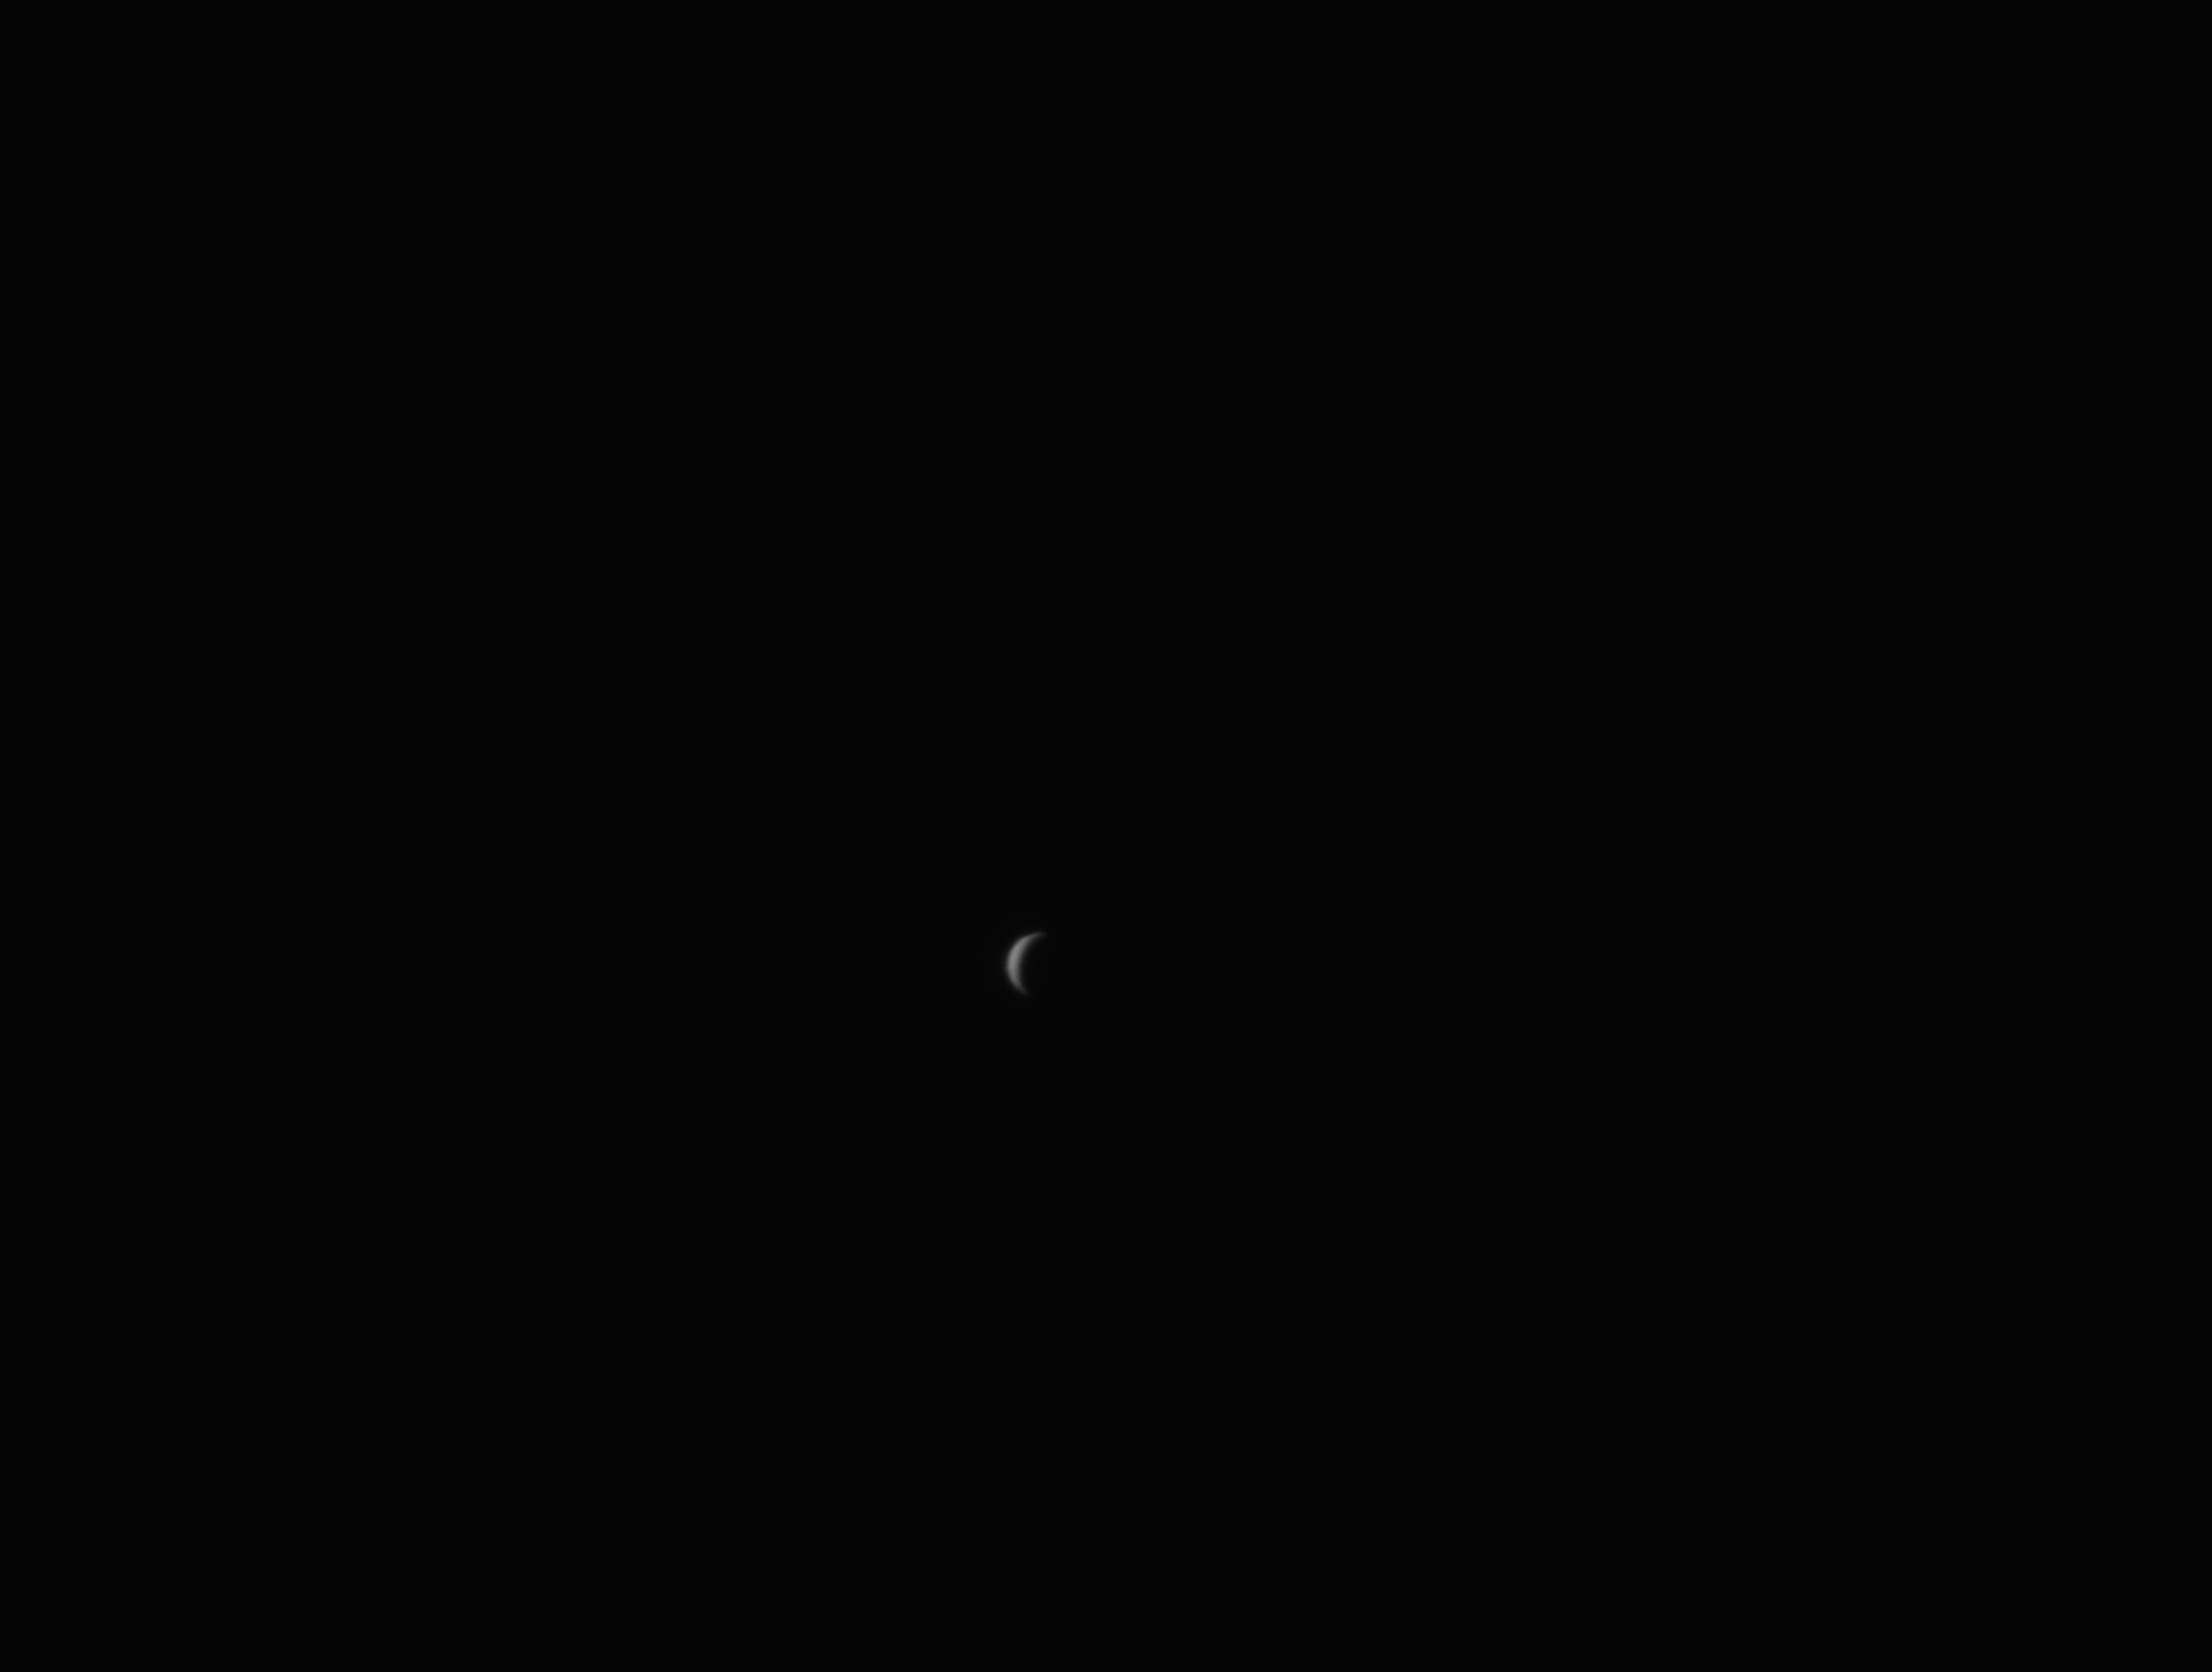
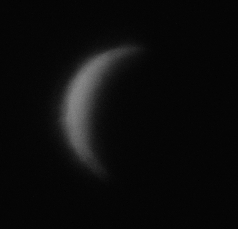
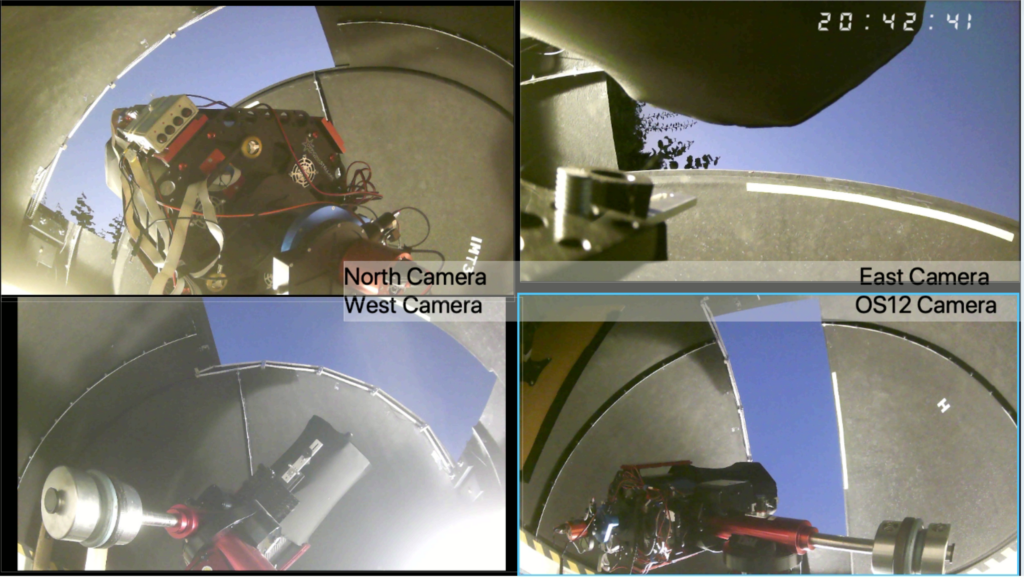
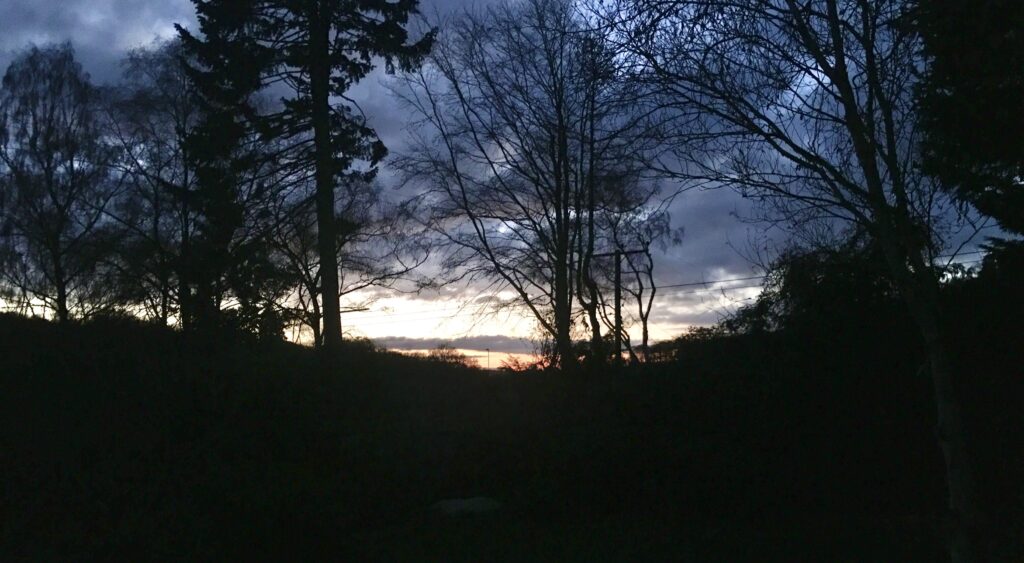
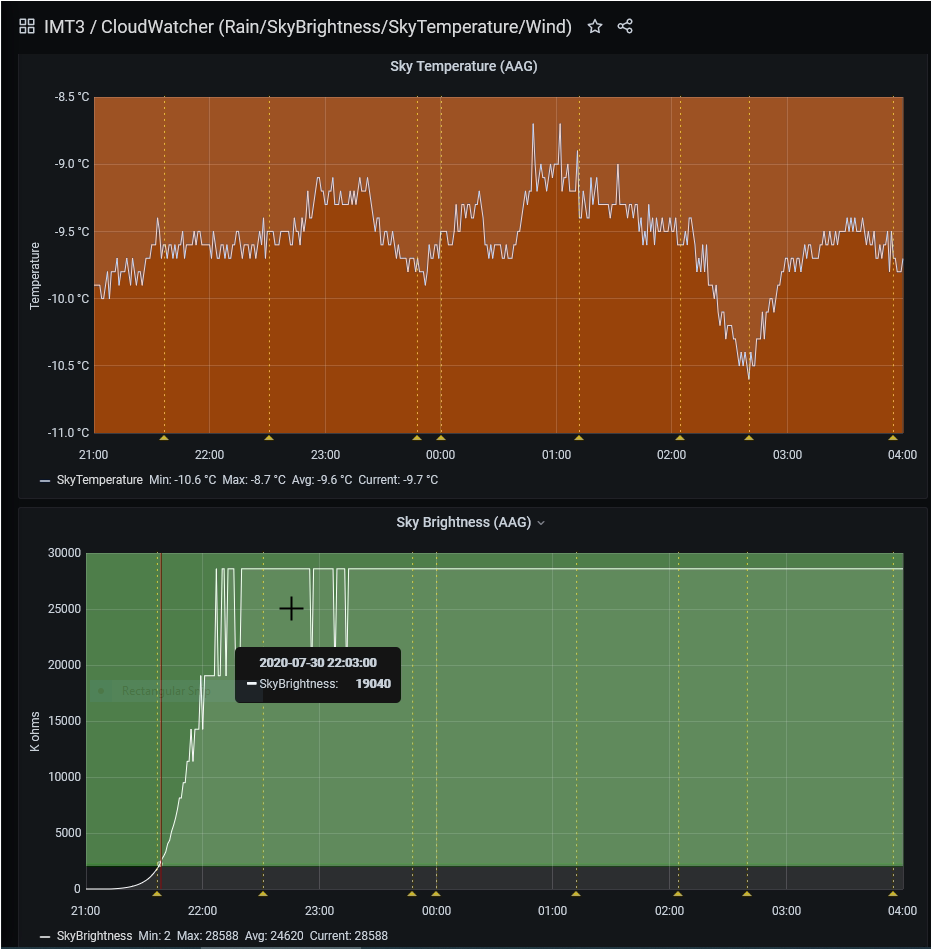
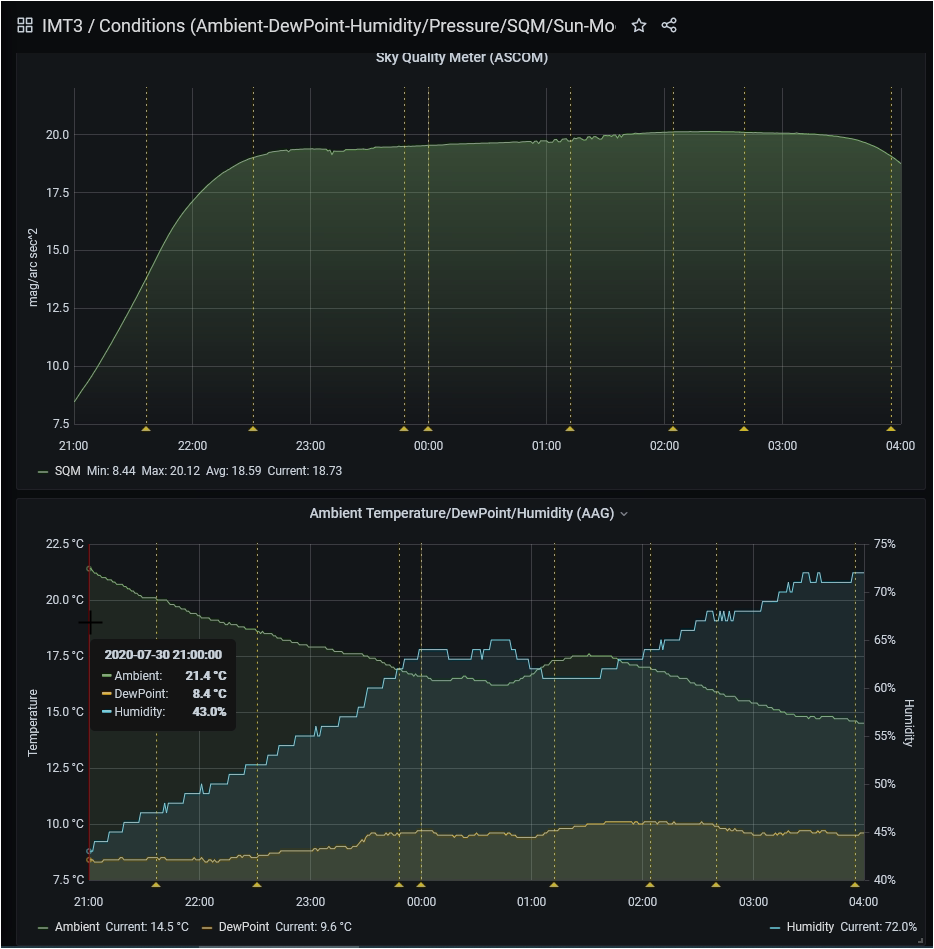
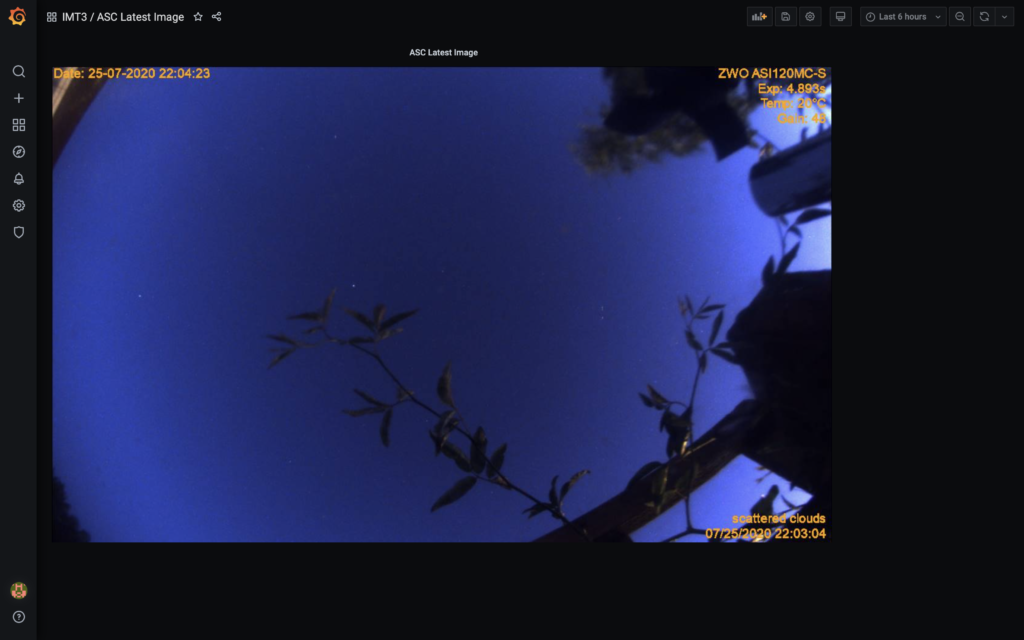
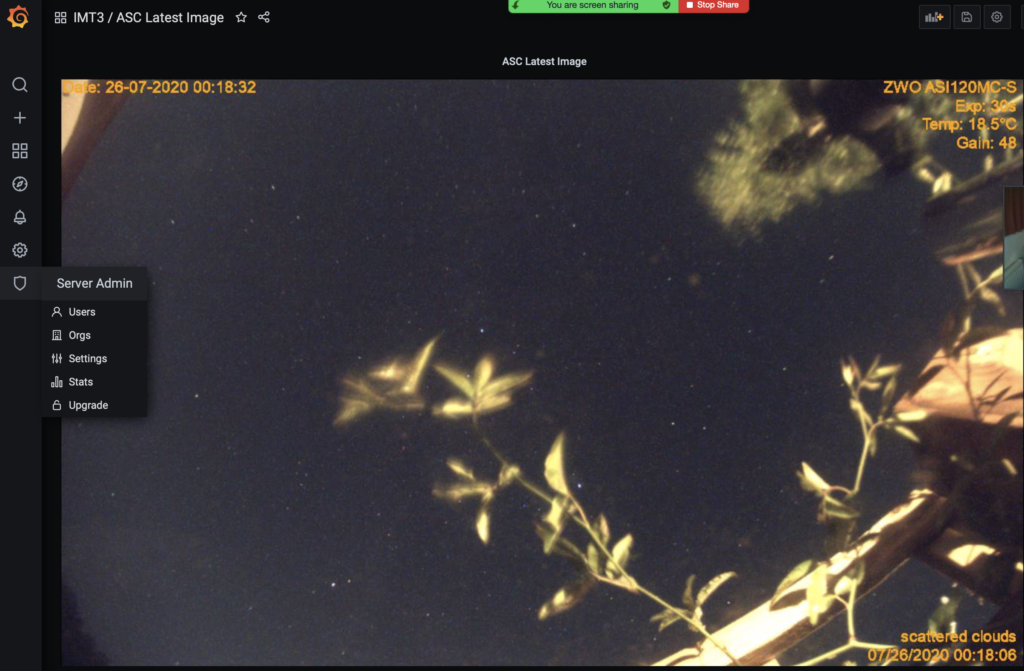
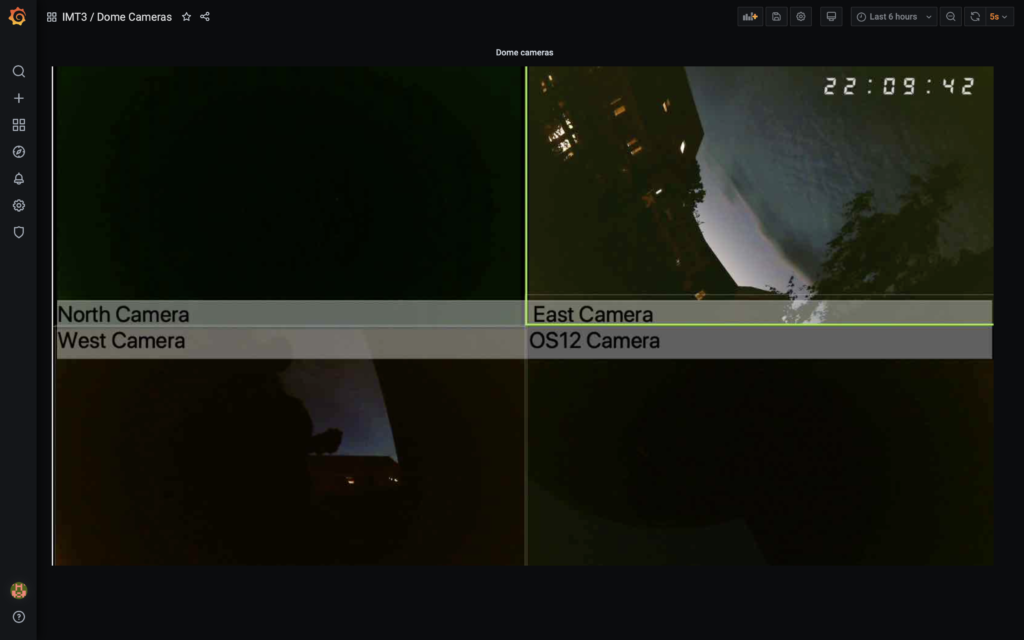
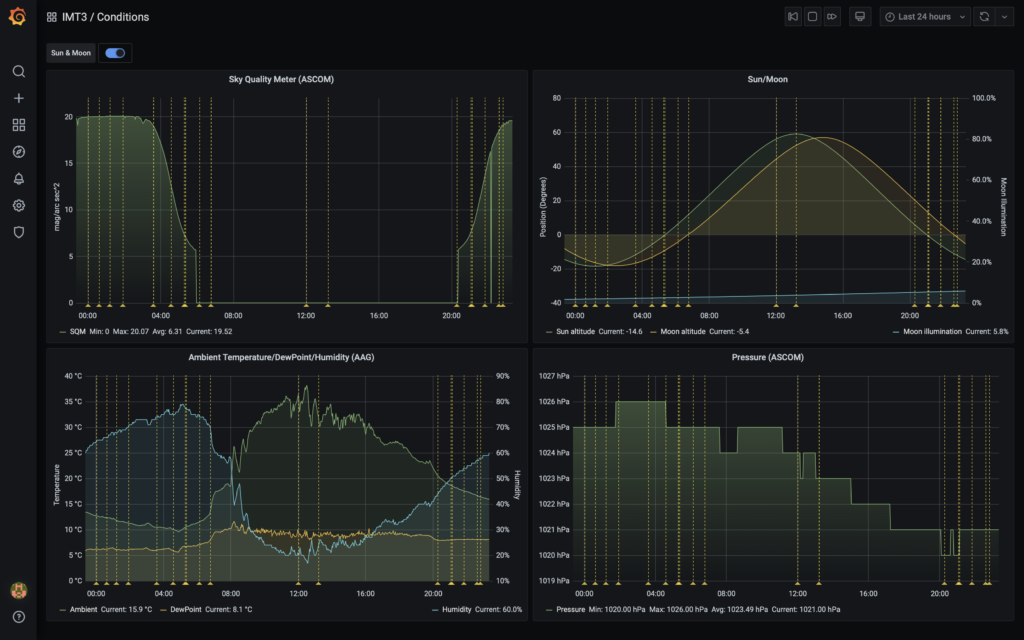
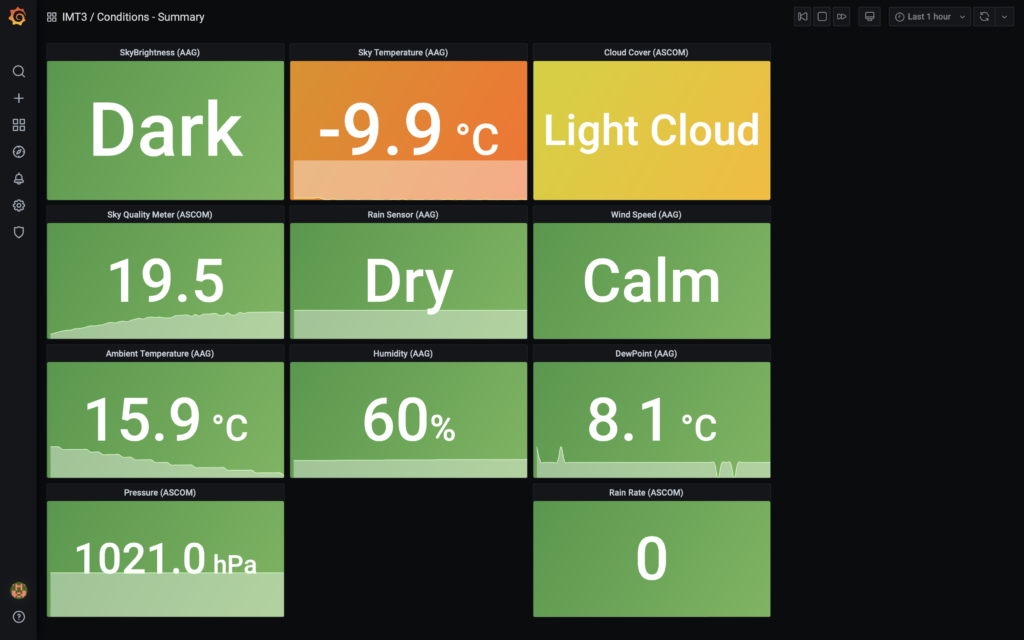
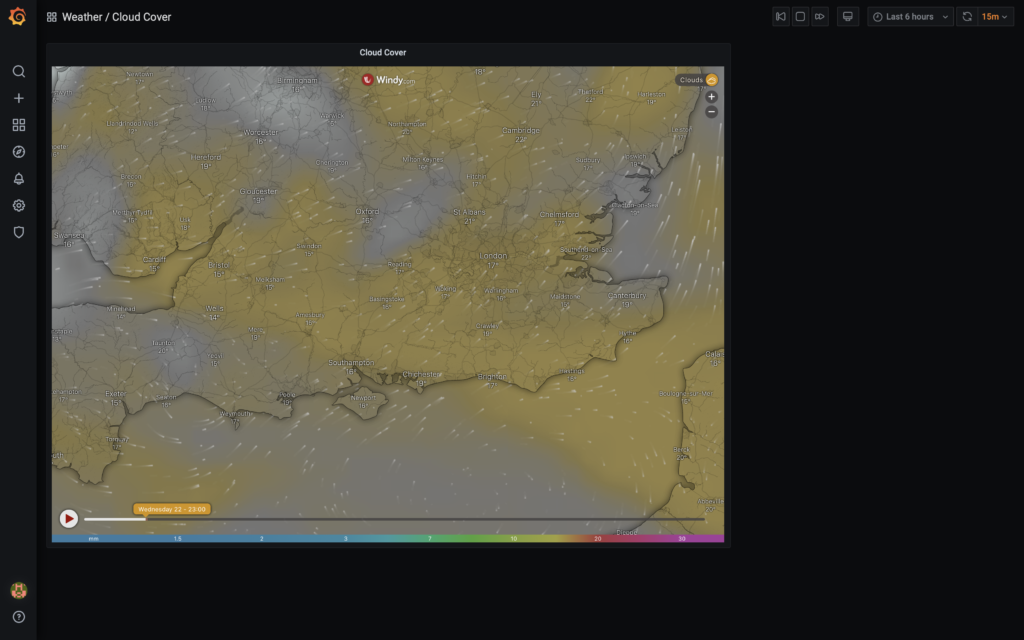
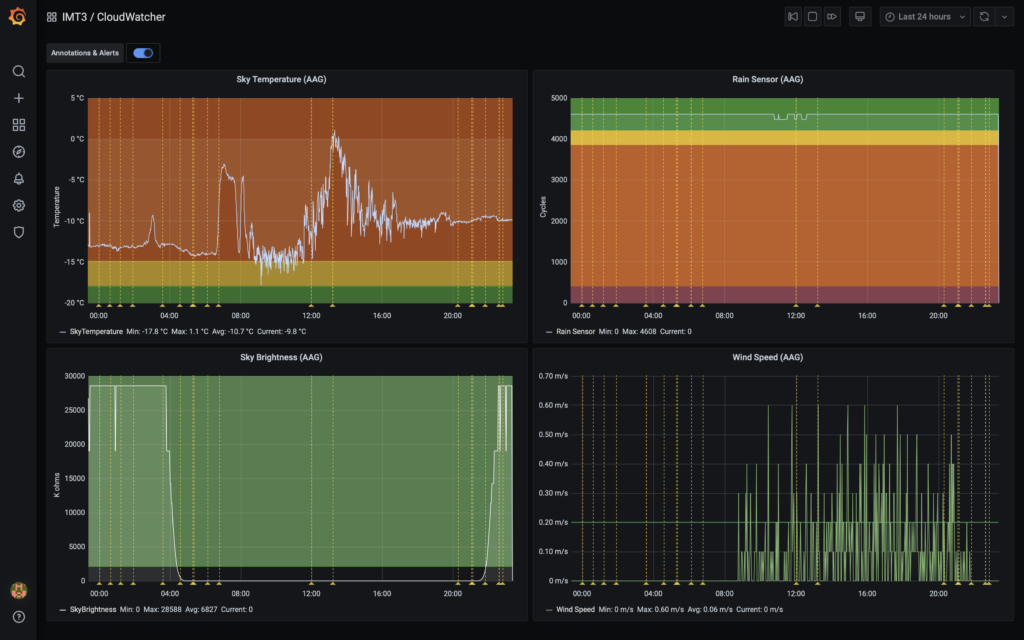
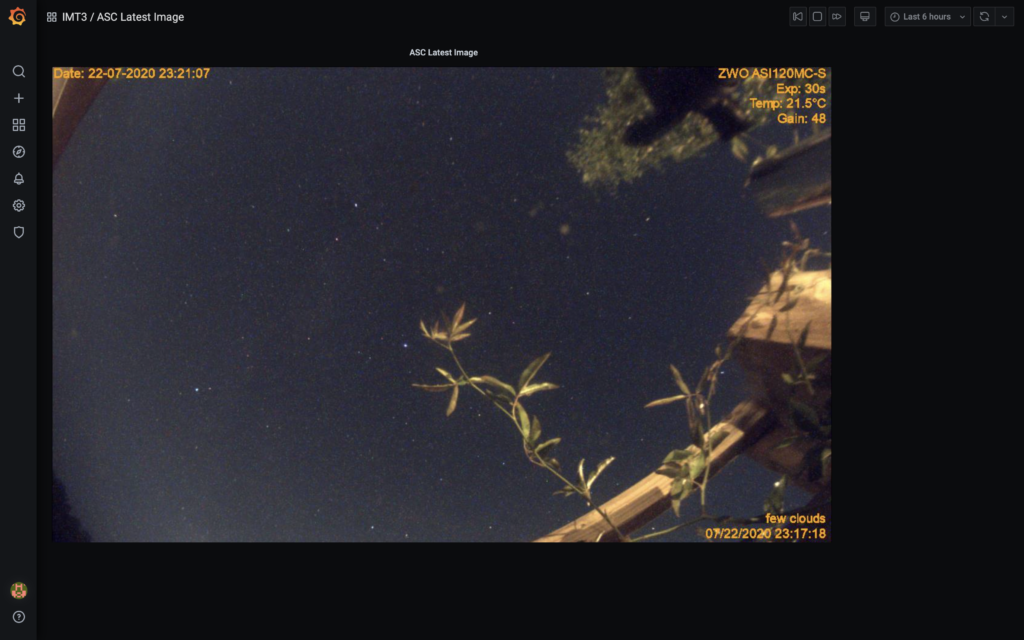
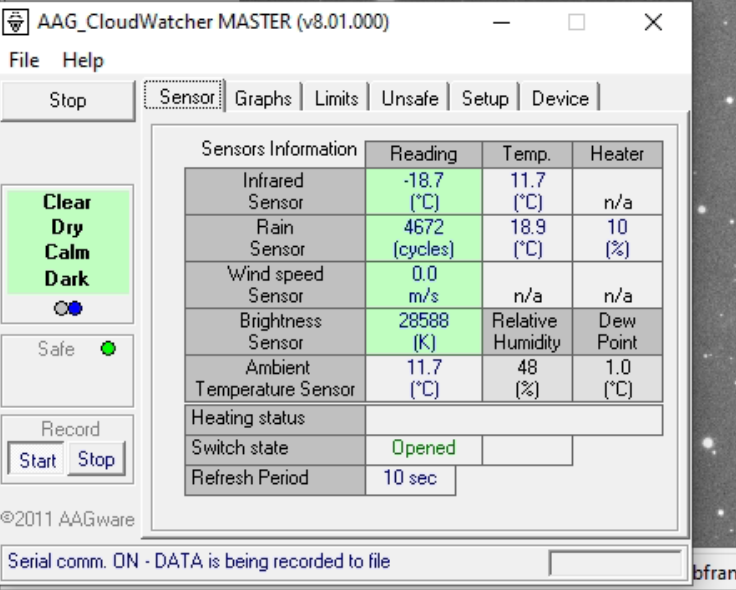
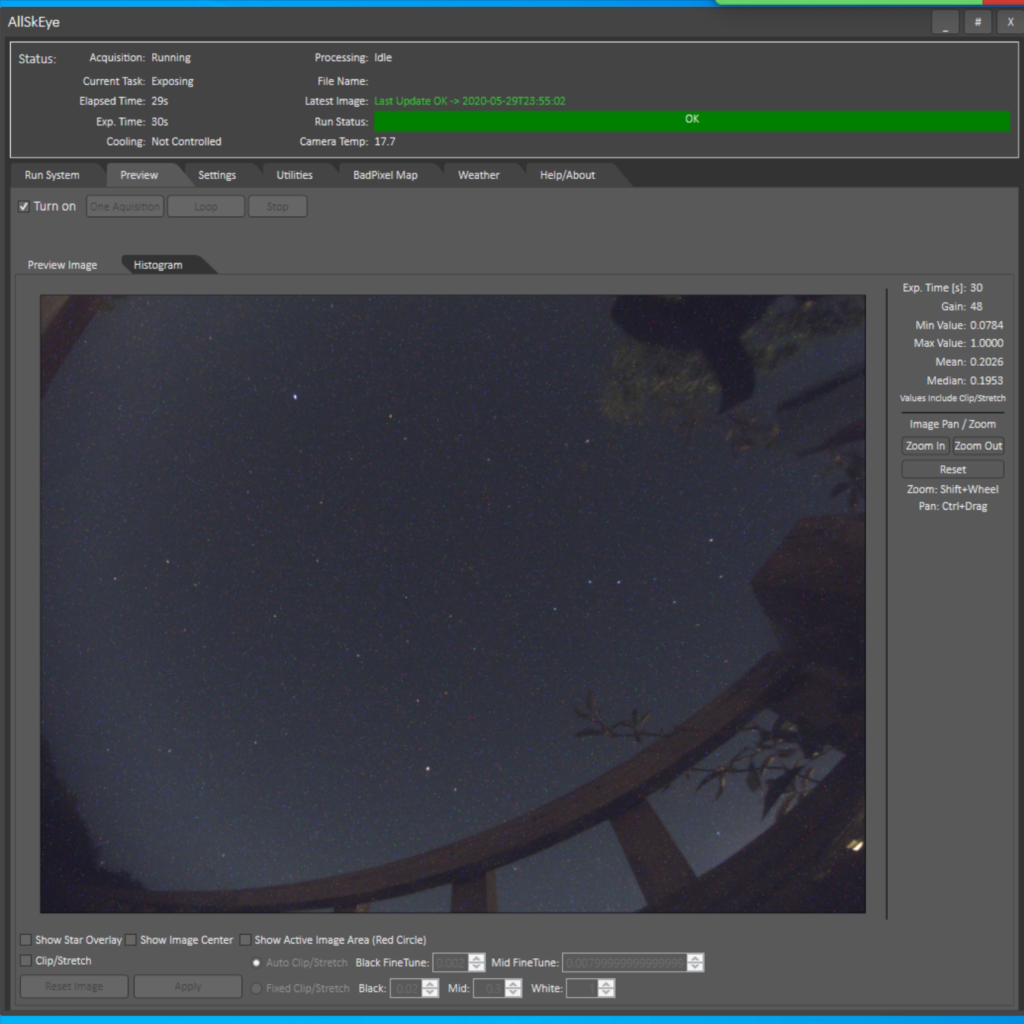
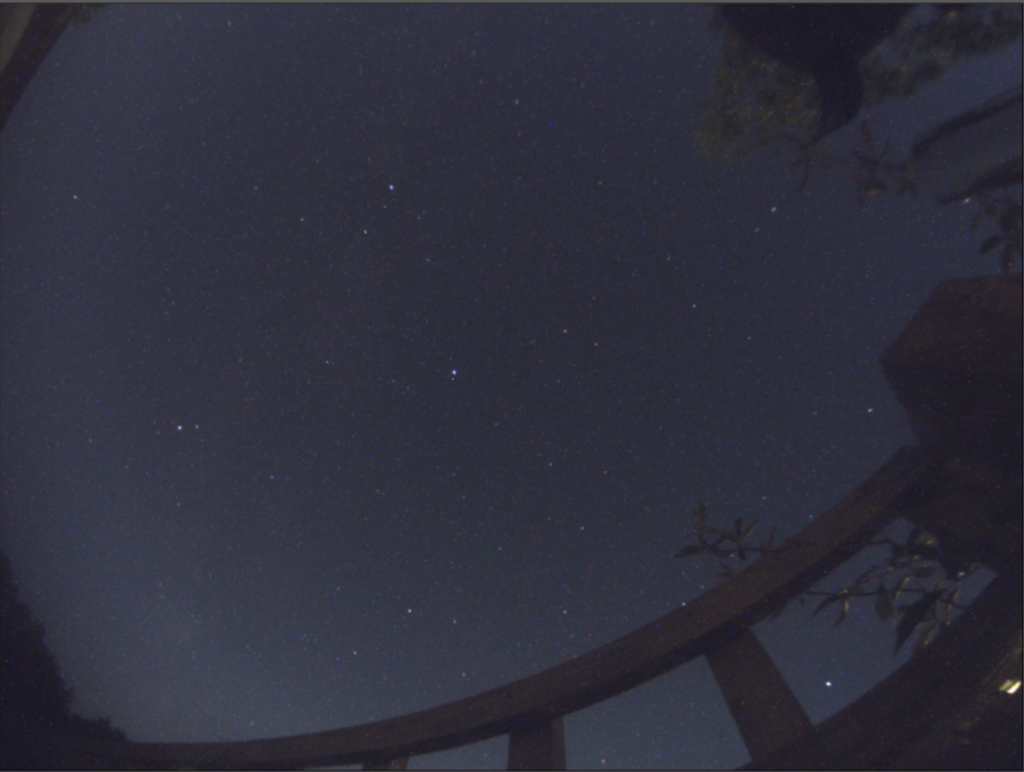
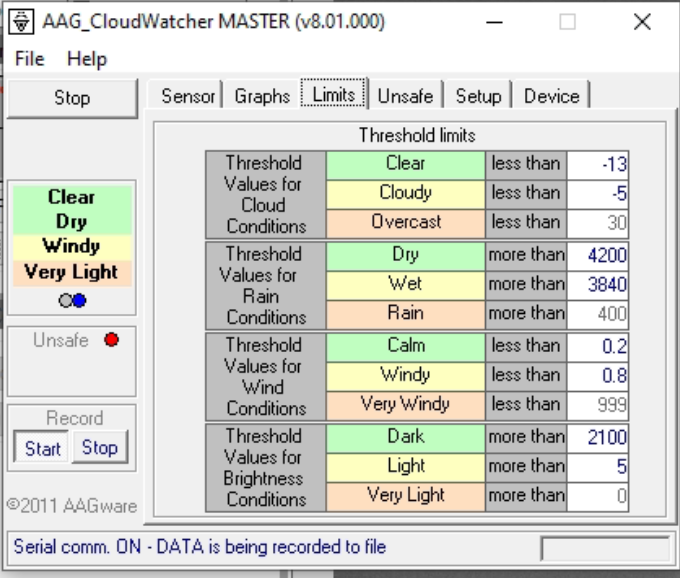
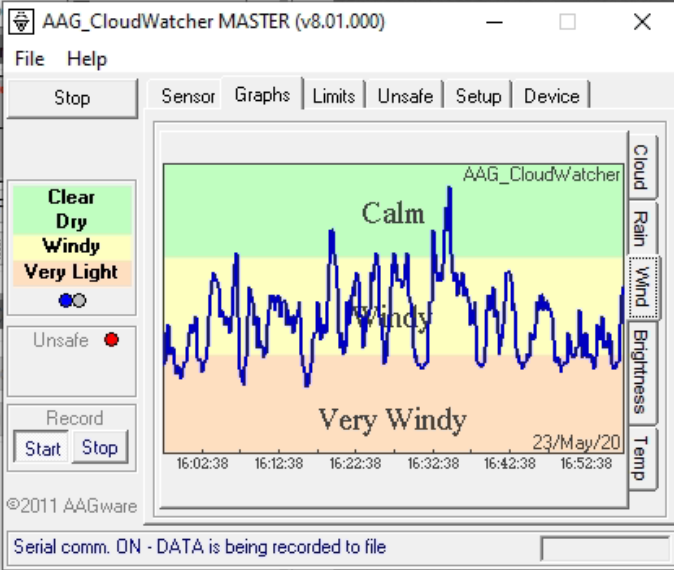
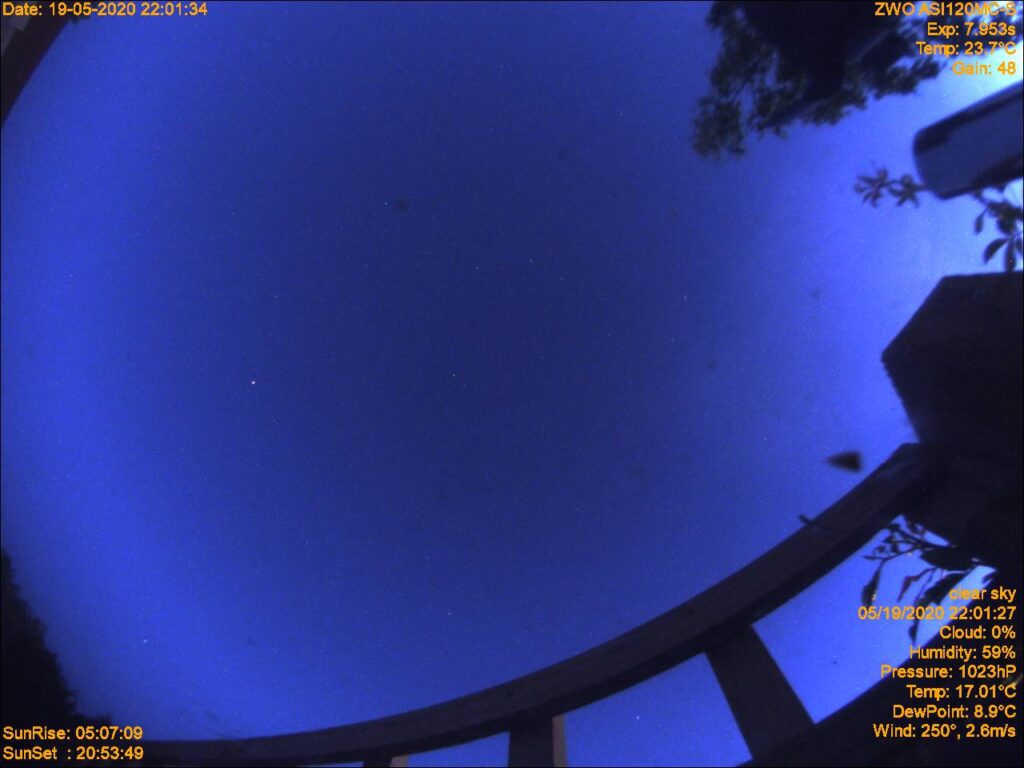
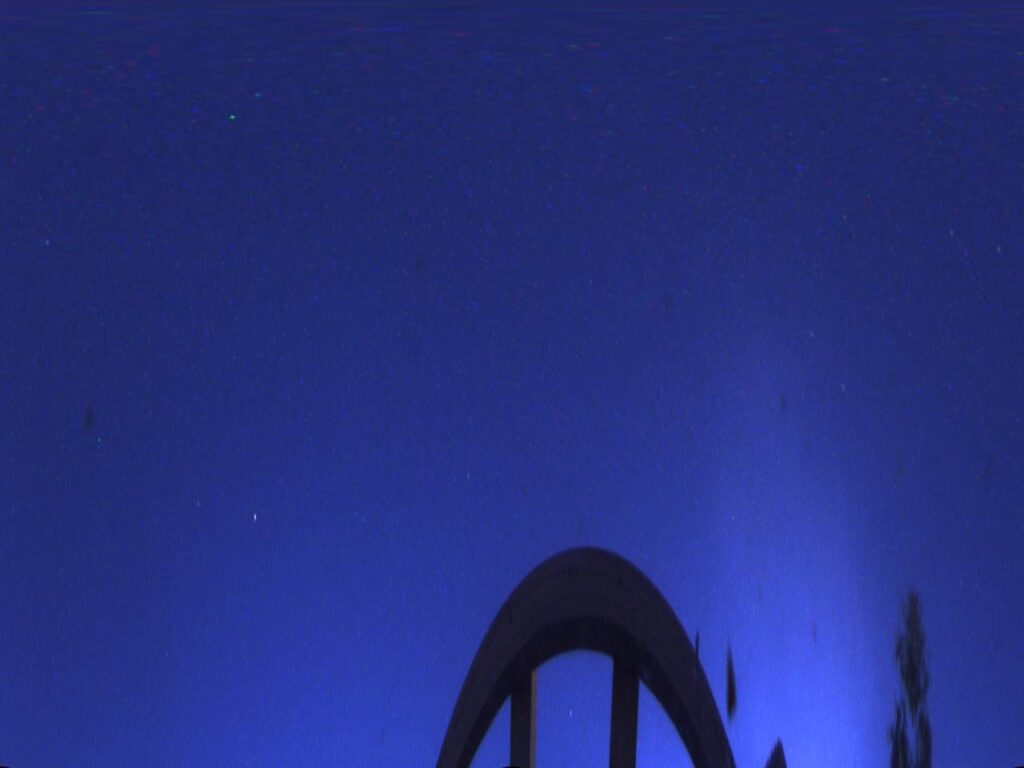
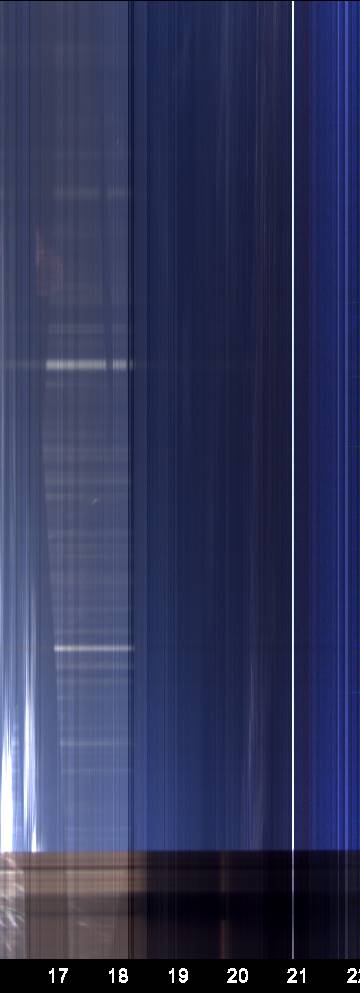
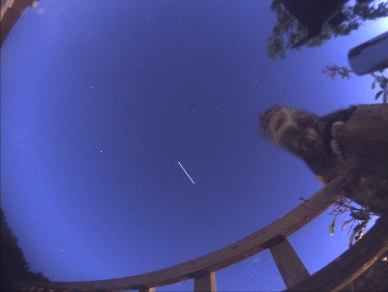
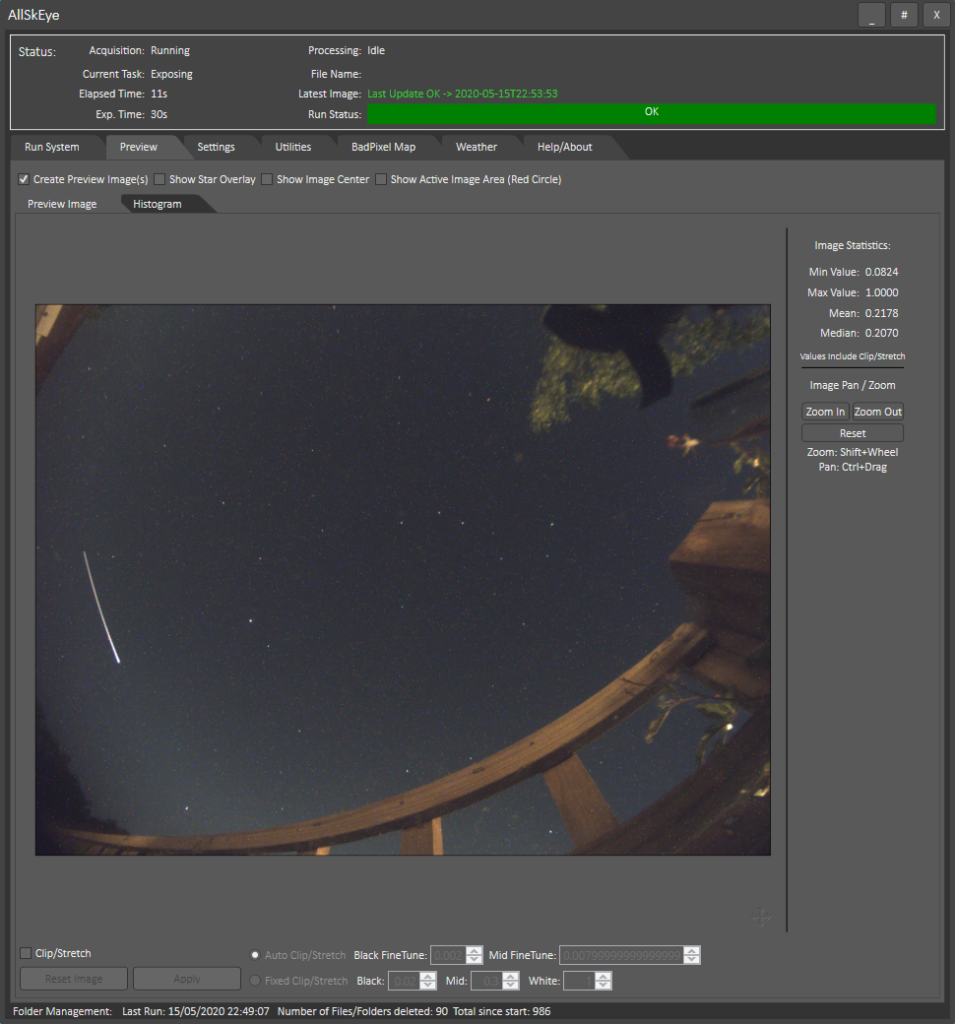
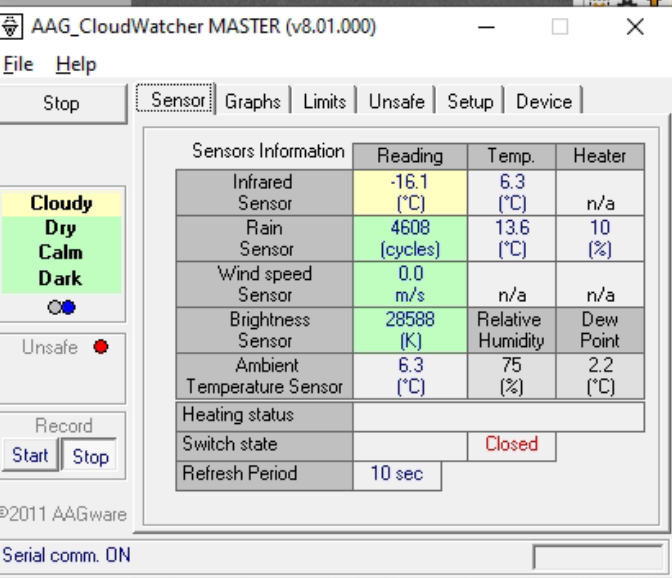
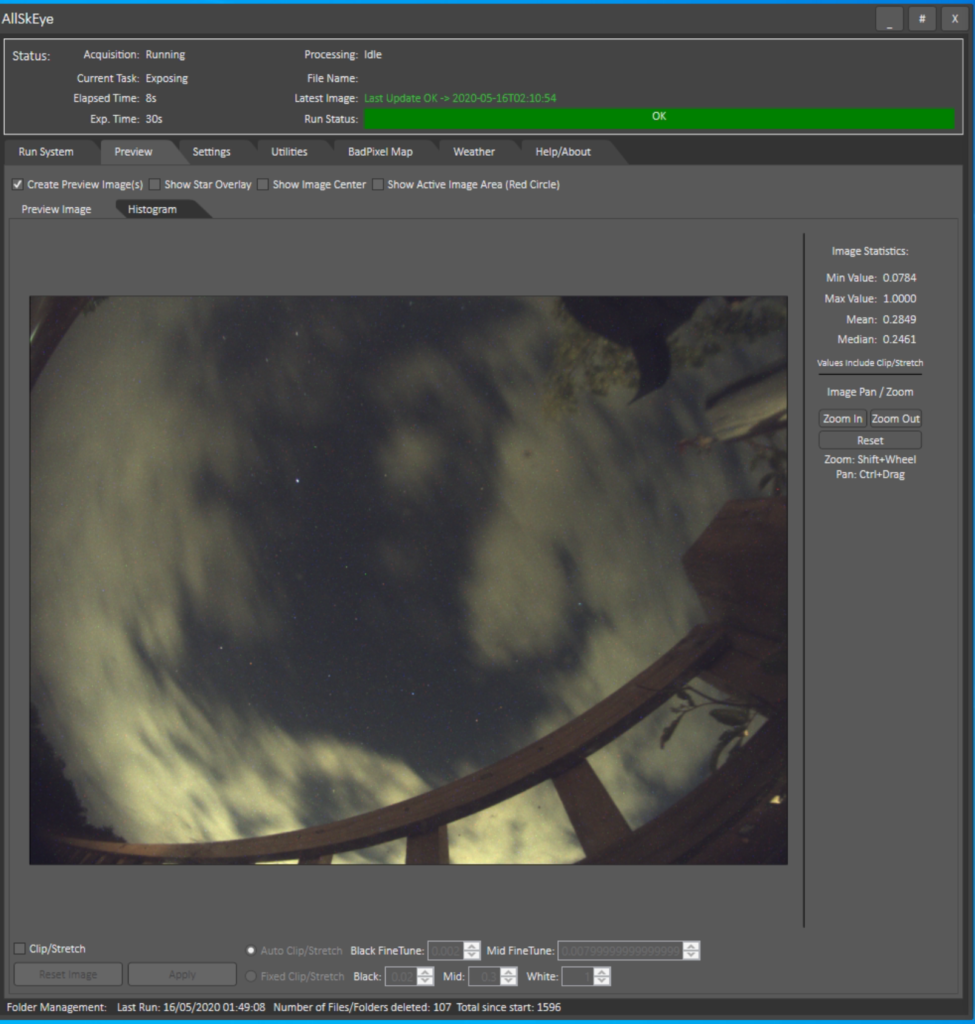
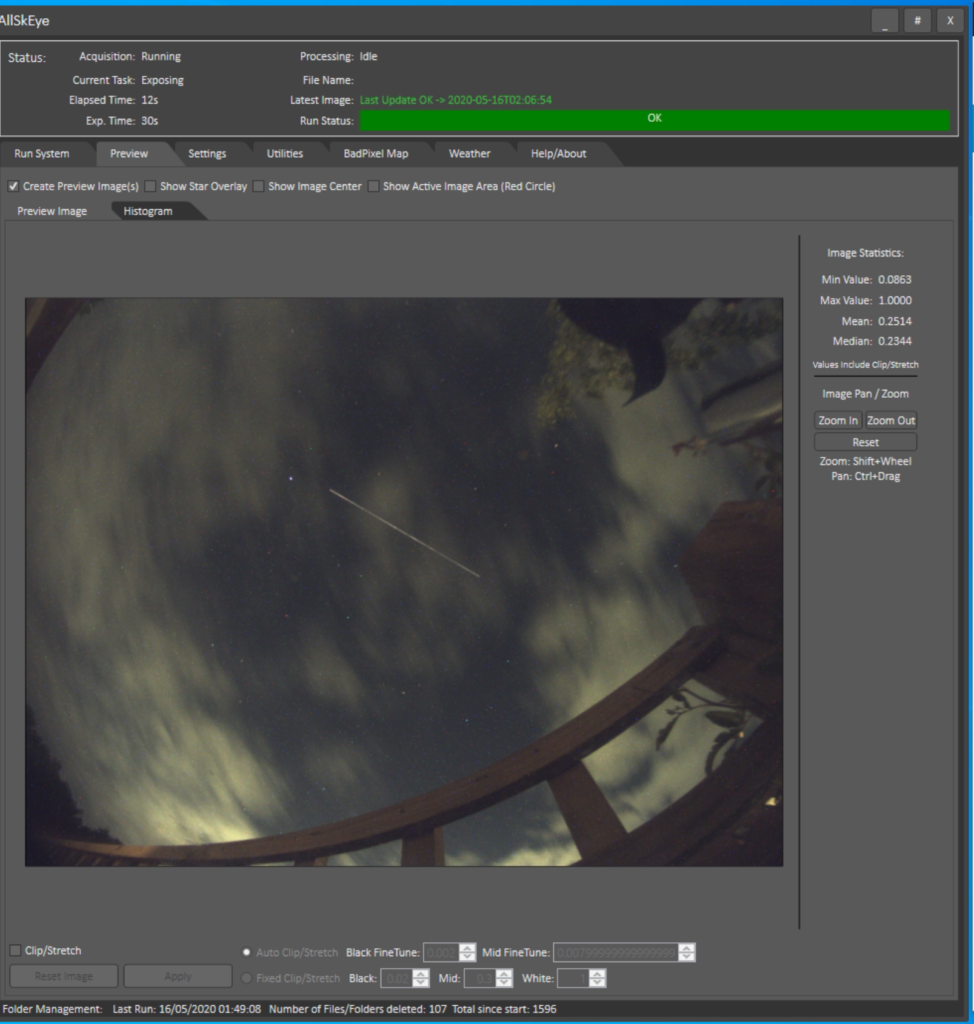
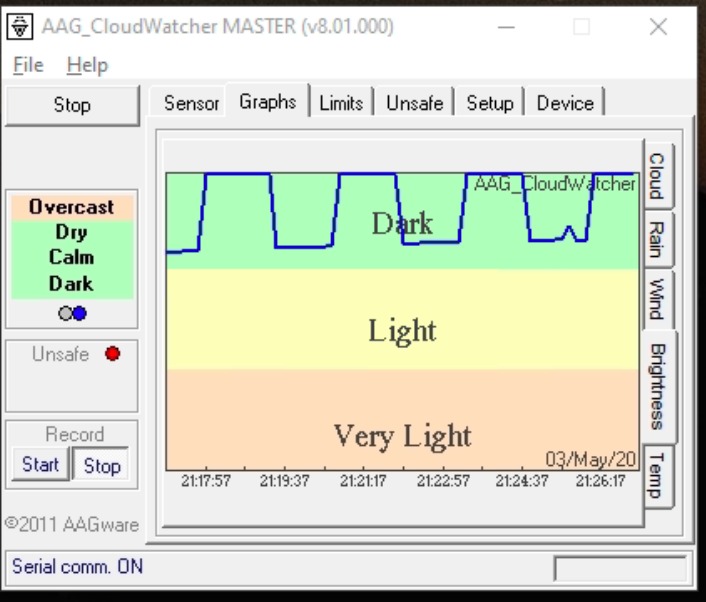
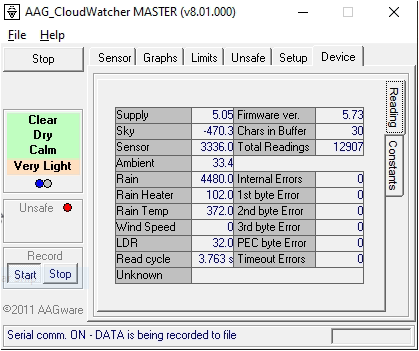
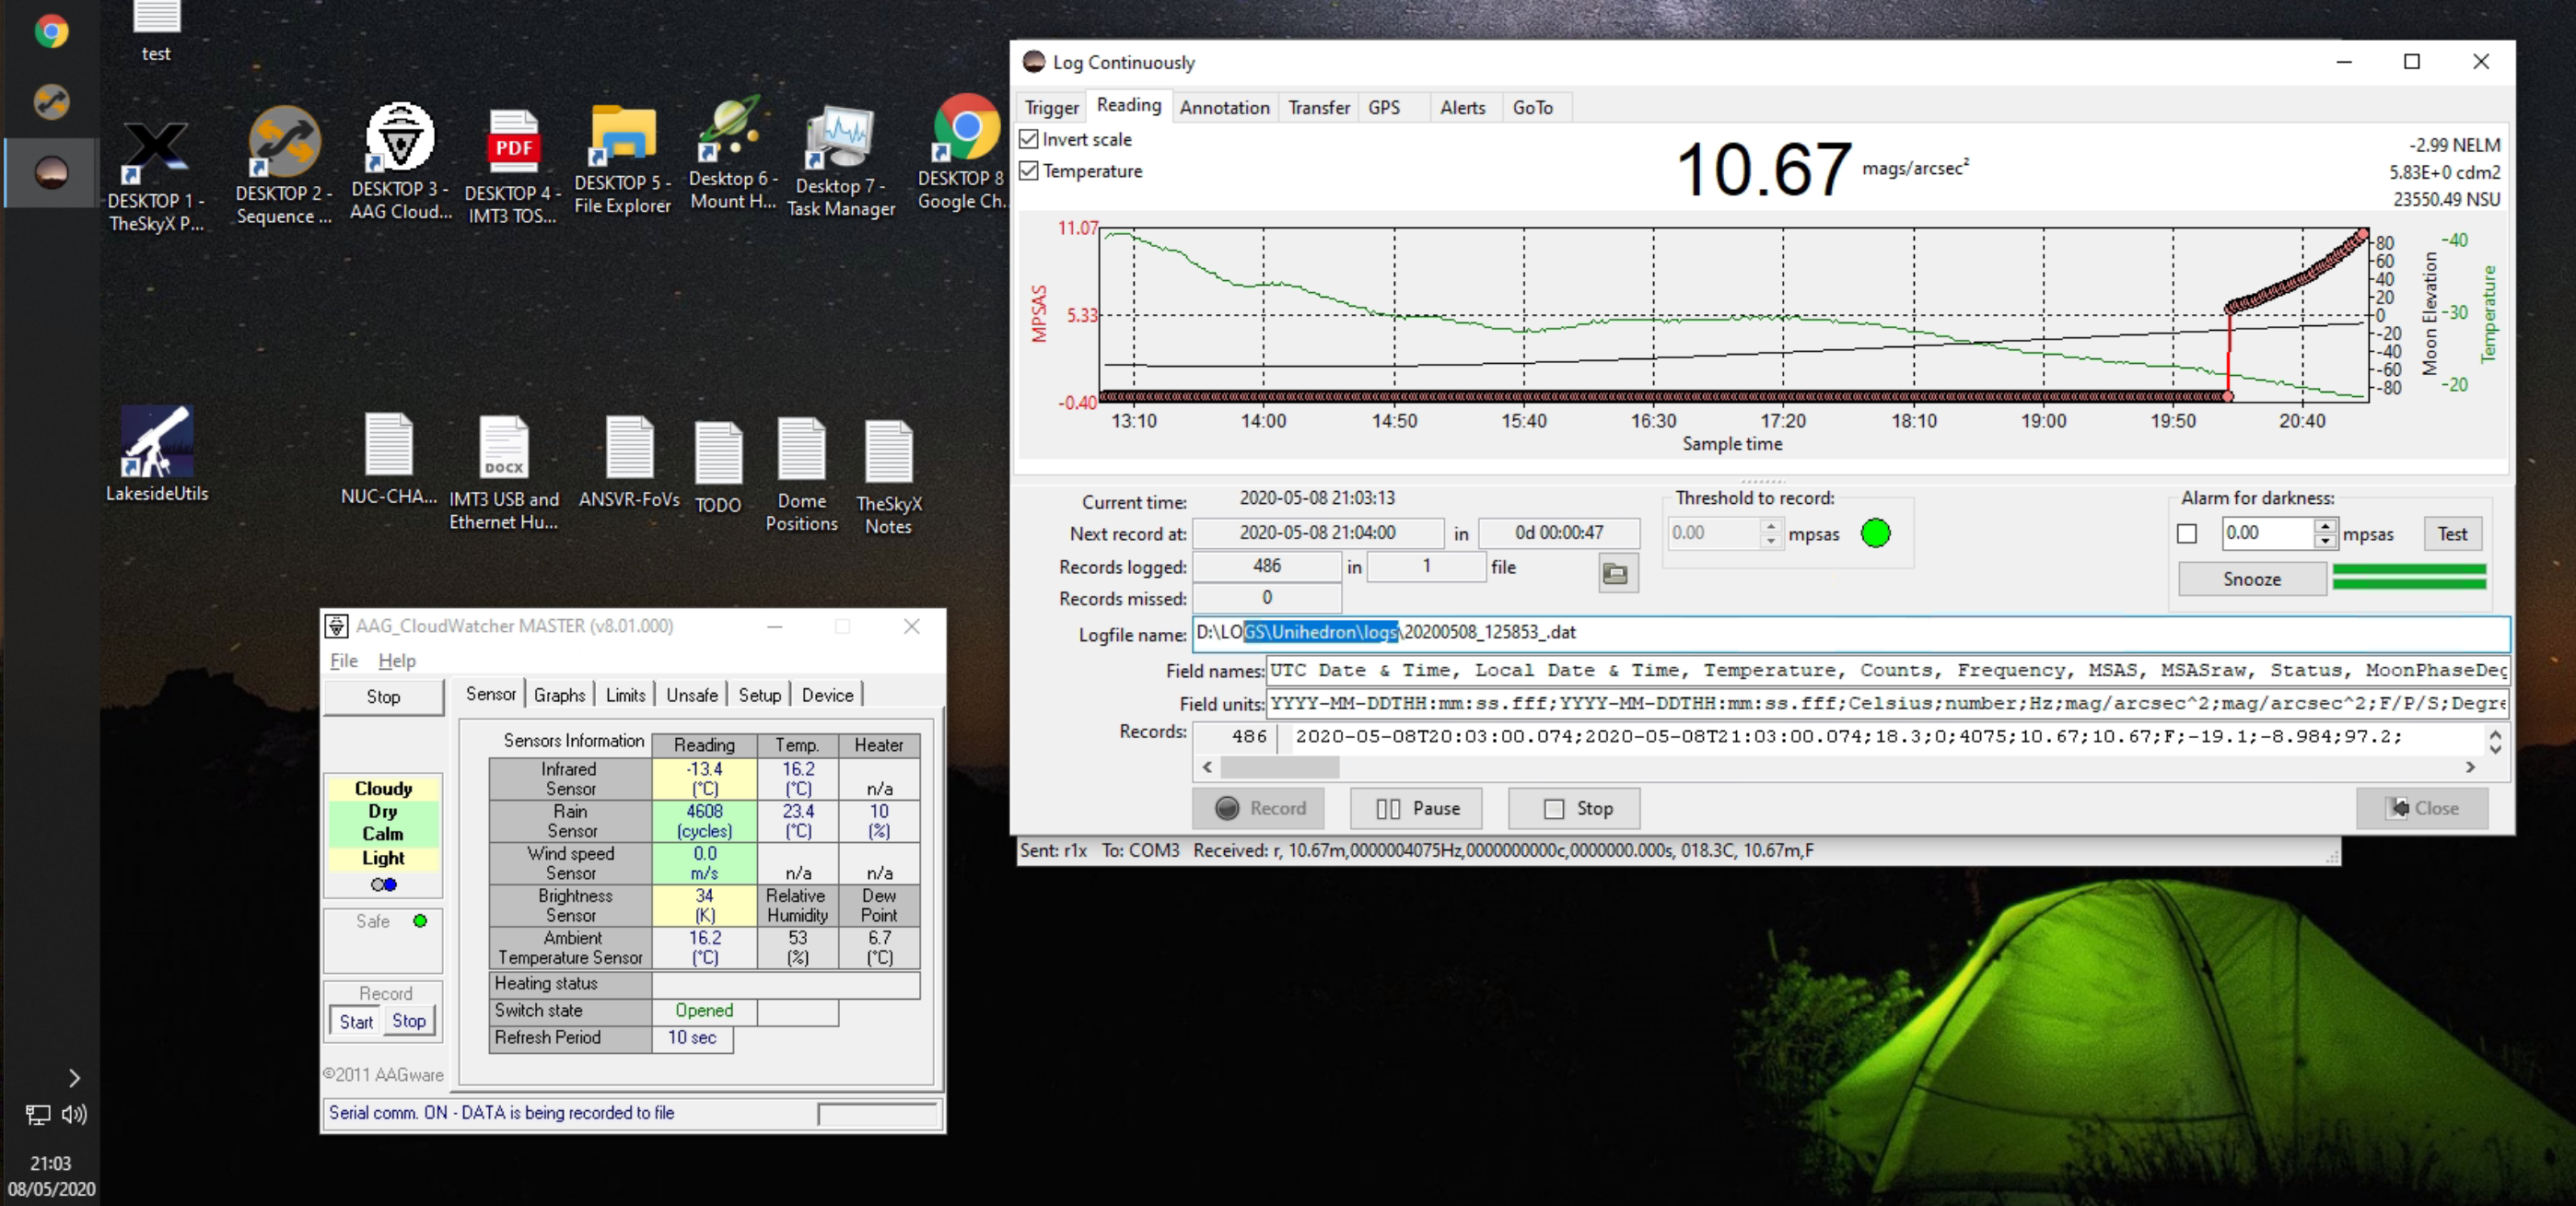
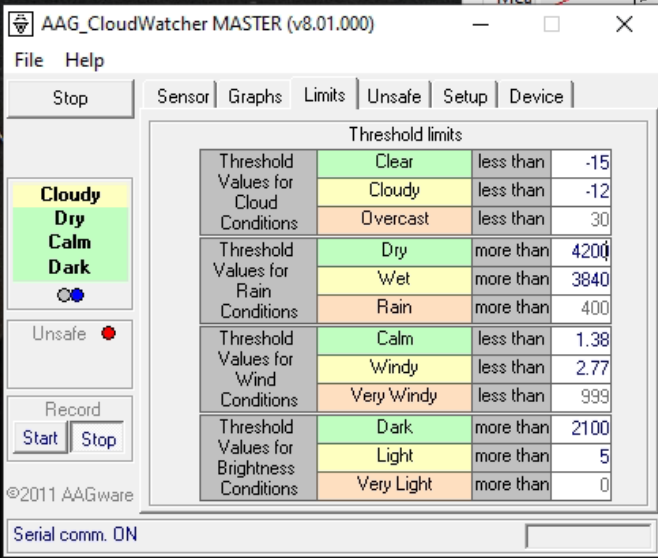
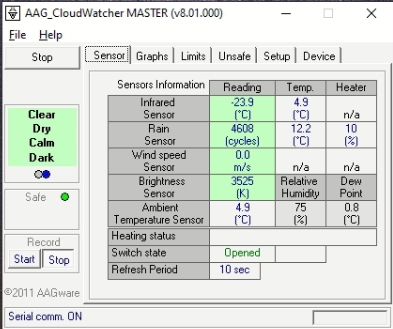
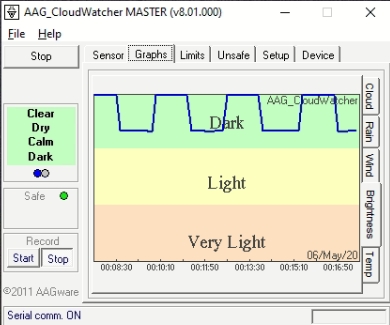
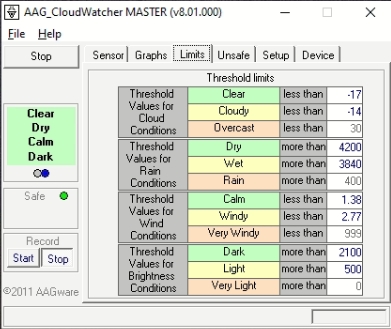
Observing conditions check. This morning I reviewed the environmental data and the conditions were fairly poor so I will redo the data. The Moon was just past full. The ASC video shows wispy cloud all night. The sky temperature was bumping around -13-14 degrees all night where -18 degrees is considered clear.


 .
.