22:10 – 03:00
22:10 Bob – Took over operating IMT3 from Dave
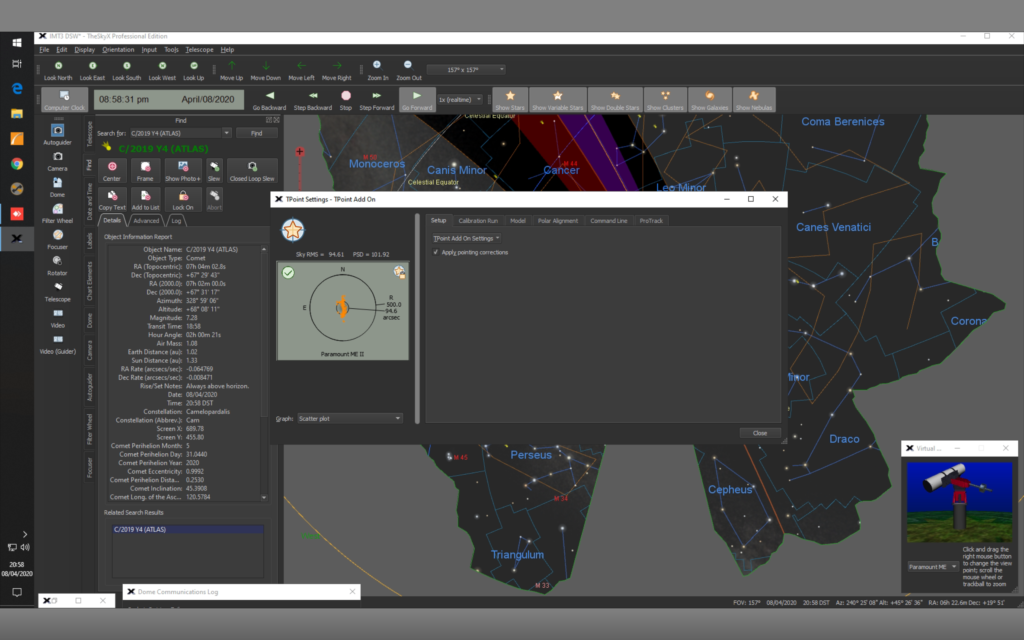
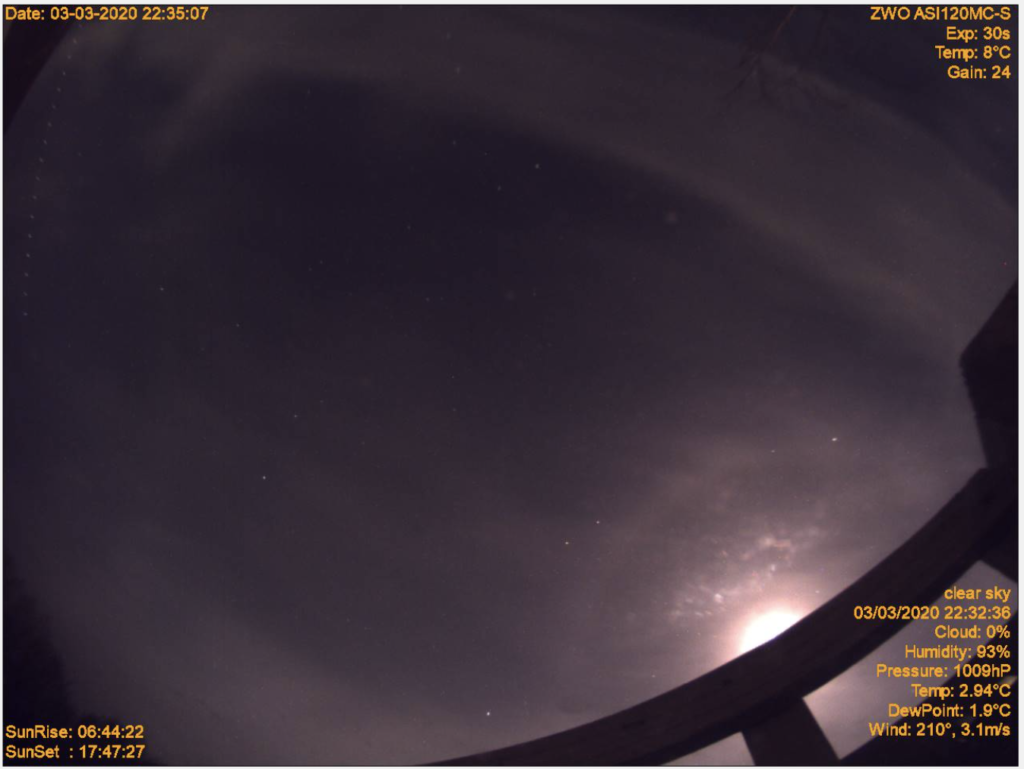
The plan was to capture data of NGC 4565 with the OS RiDK 305mm after the testing I’d done the previous night attempting to determine how long we could go with unguided exposures. As NGC4565 was due to transit at 23:36 I thought I’d wait until I could slew to it without performing a meridian flip so went chasing Comet C/2019 Y4 ATLAS to see what remains of it. However, judging by the horizon it was about to disappear from view but I grabbed a few frames anyway. Unlike previous attempts where it was clearly visible in a 60 seconds exposure I was now exposing for 180 seconds to make out the fuzzy remains.
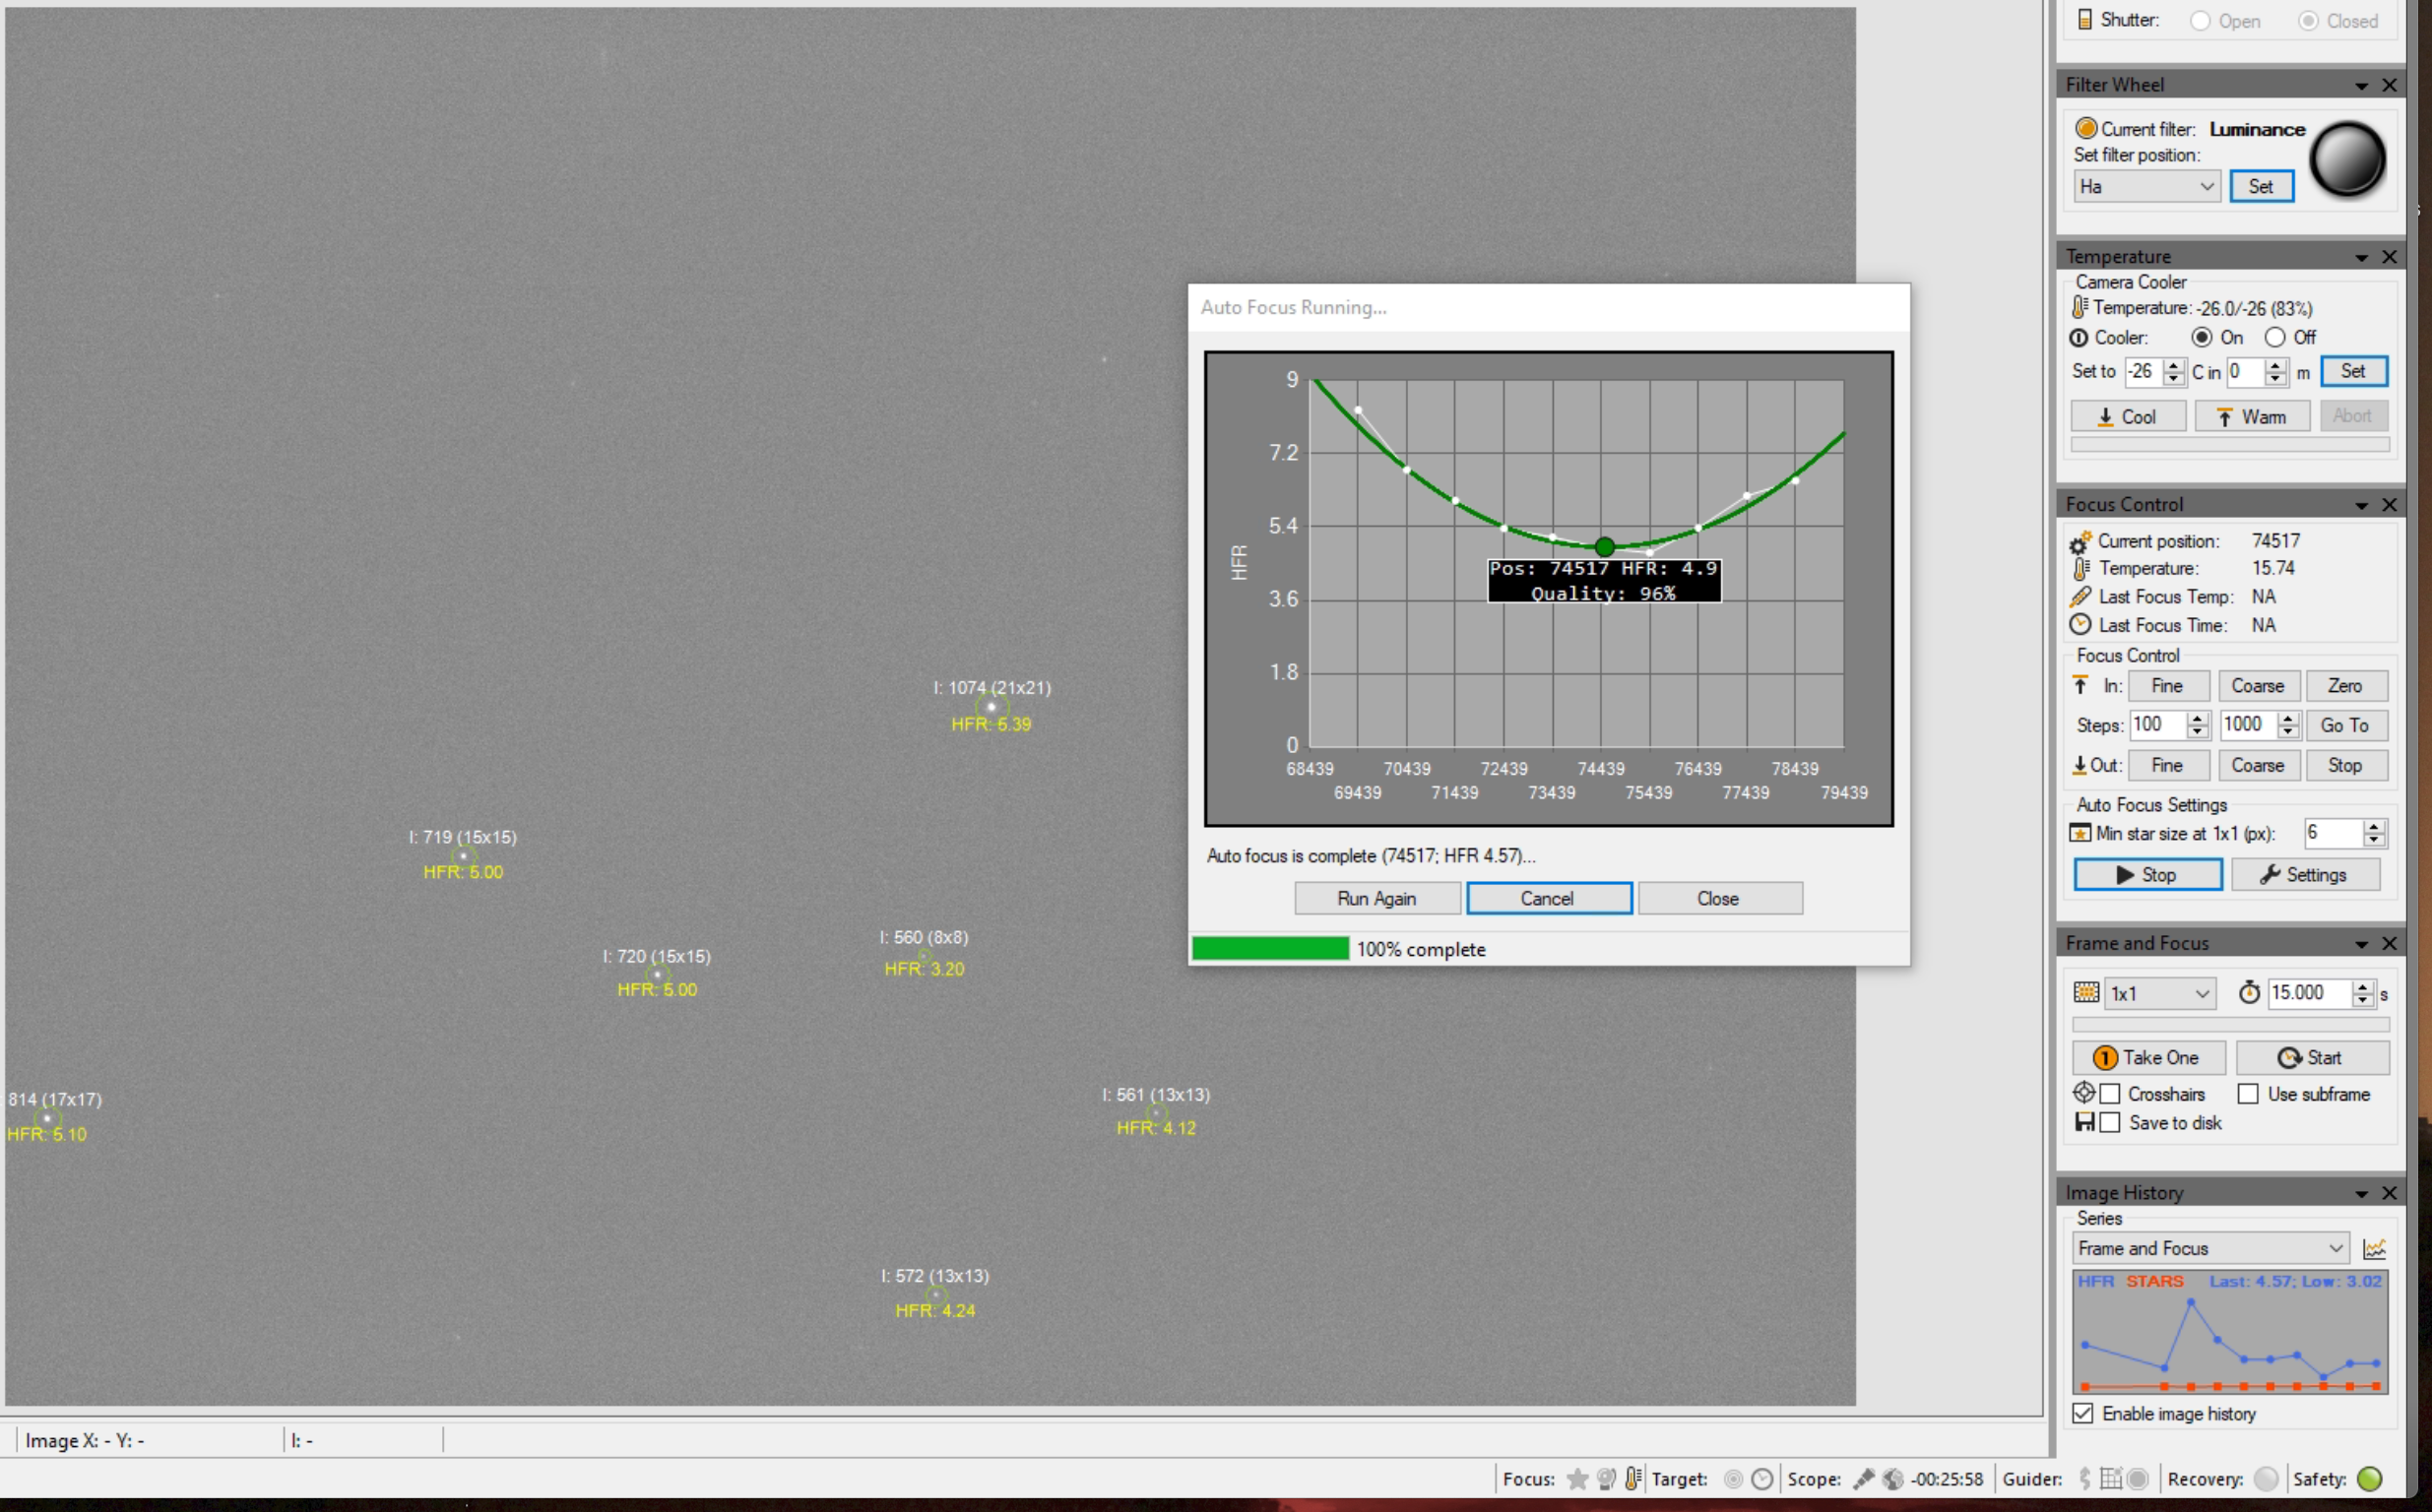
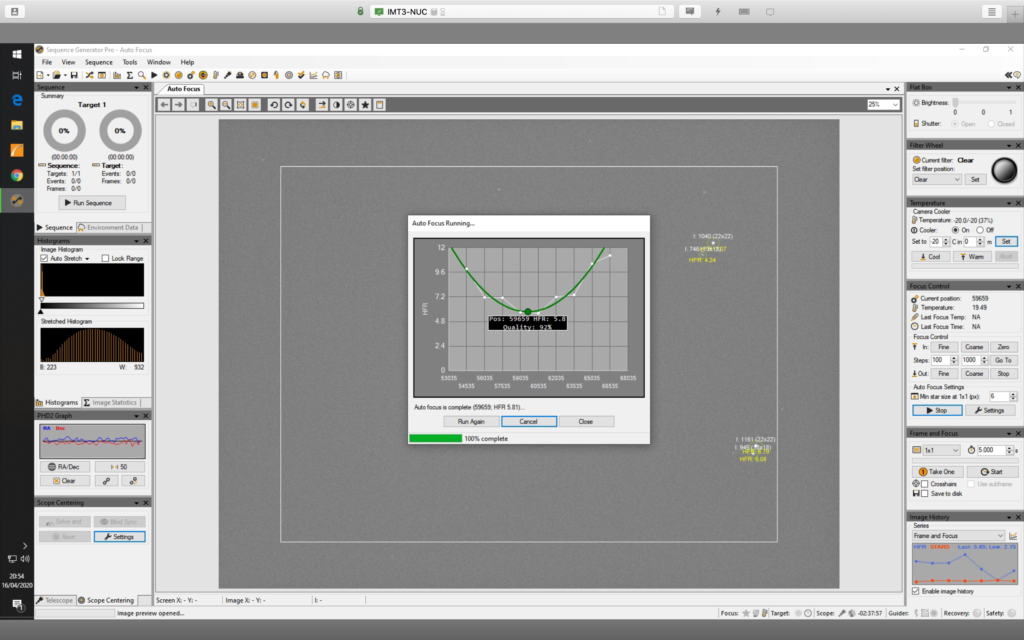
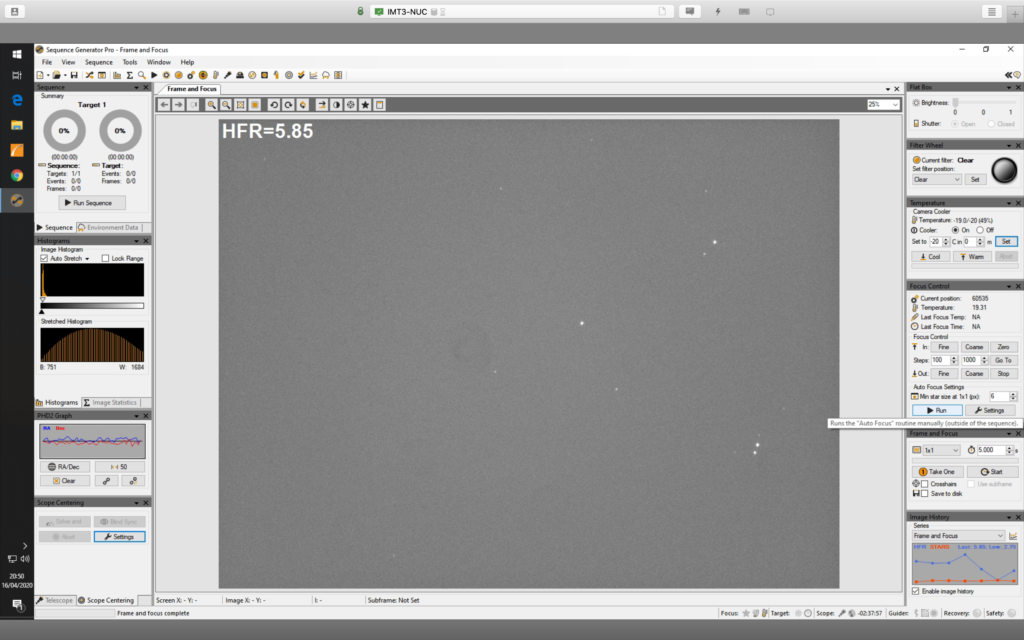
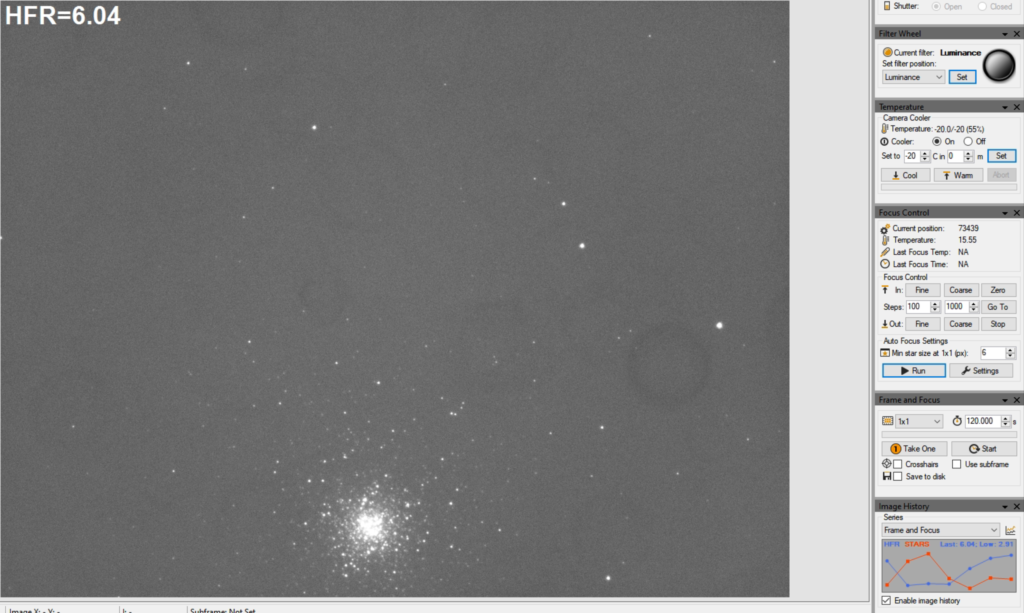
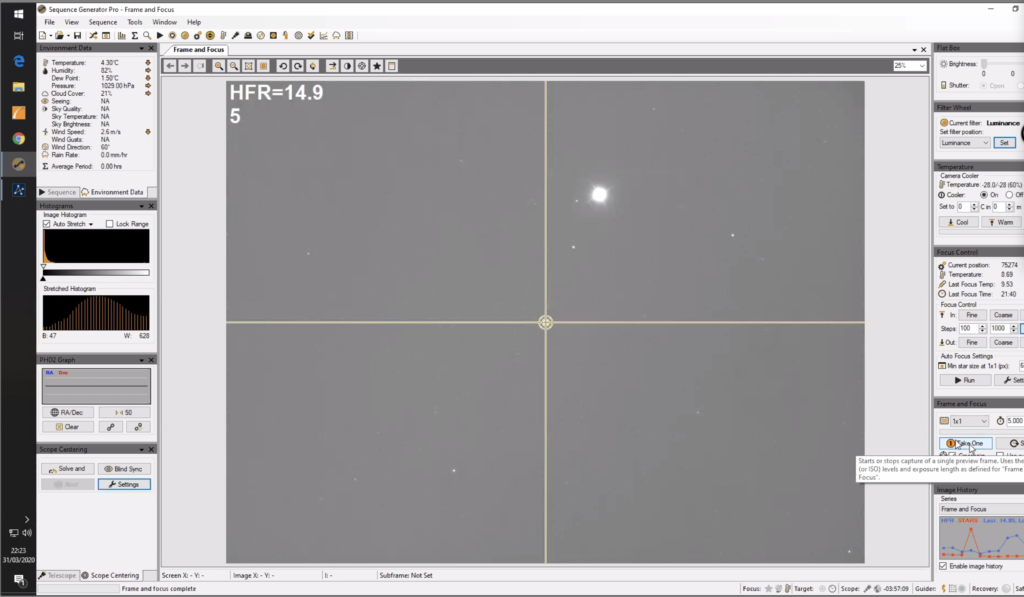
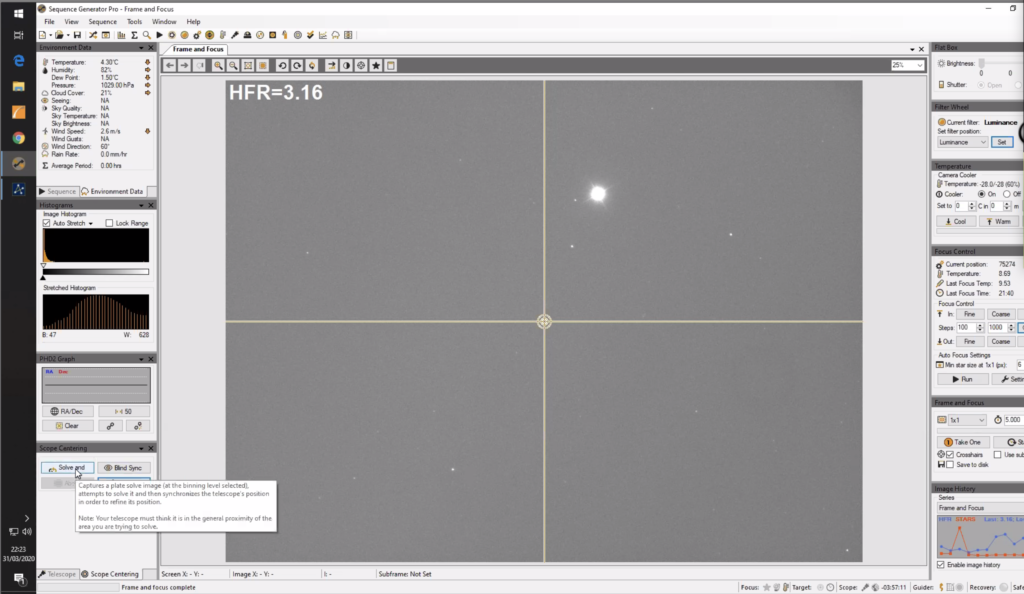
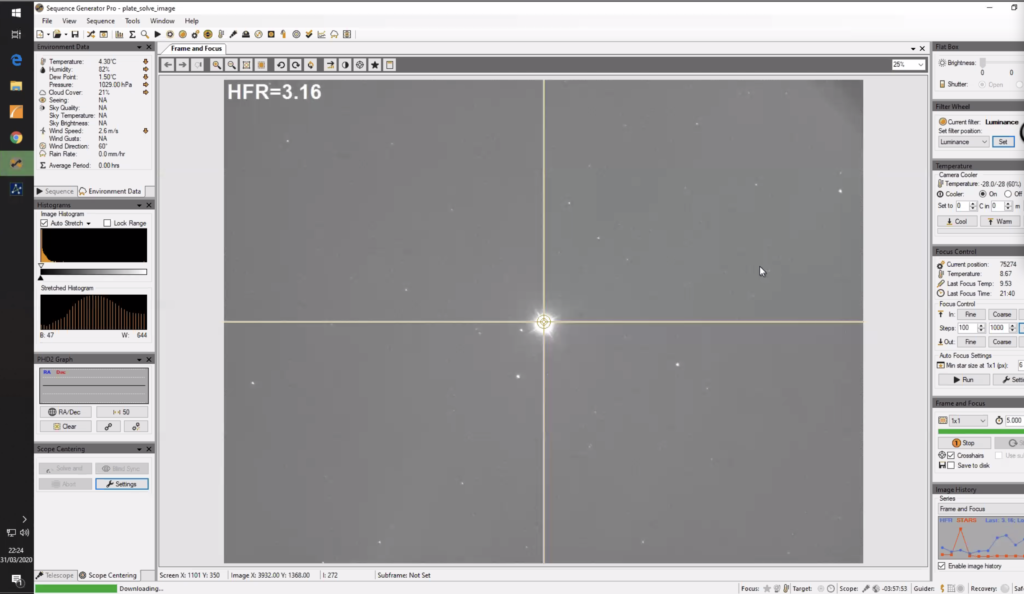
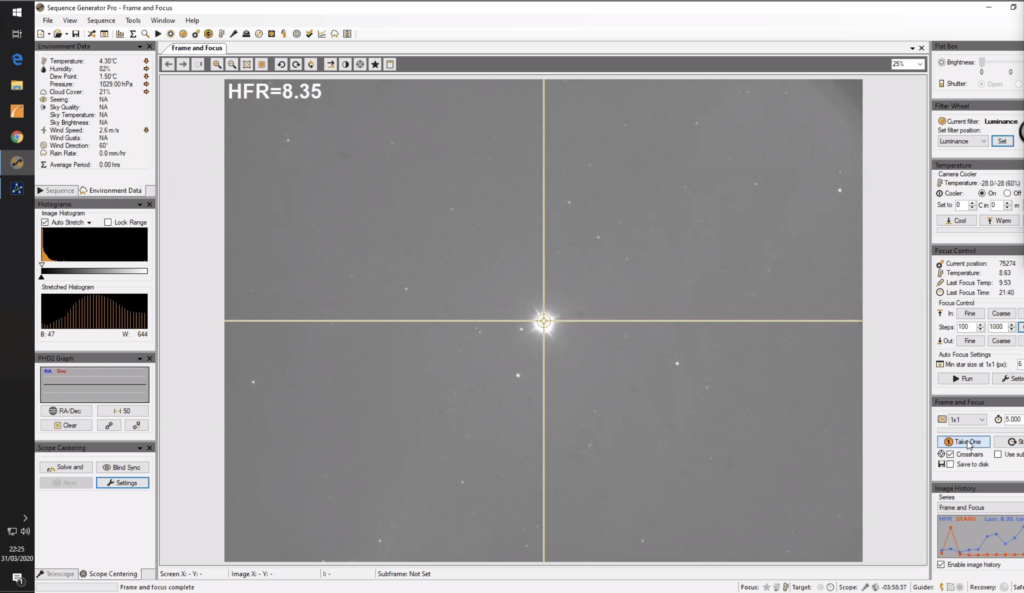
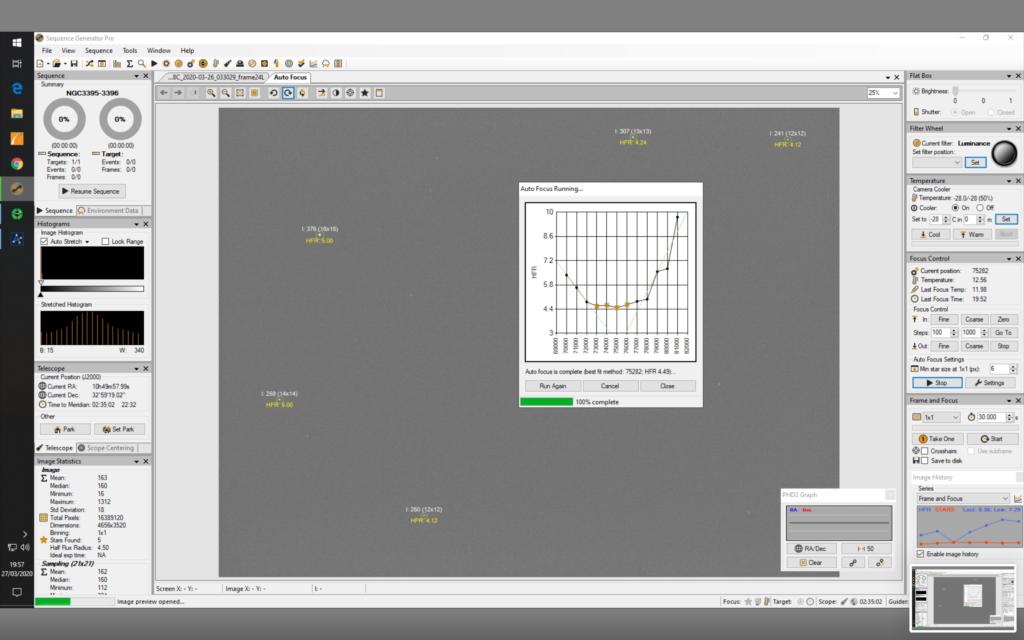
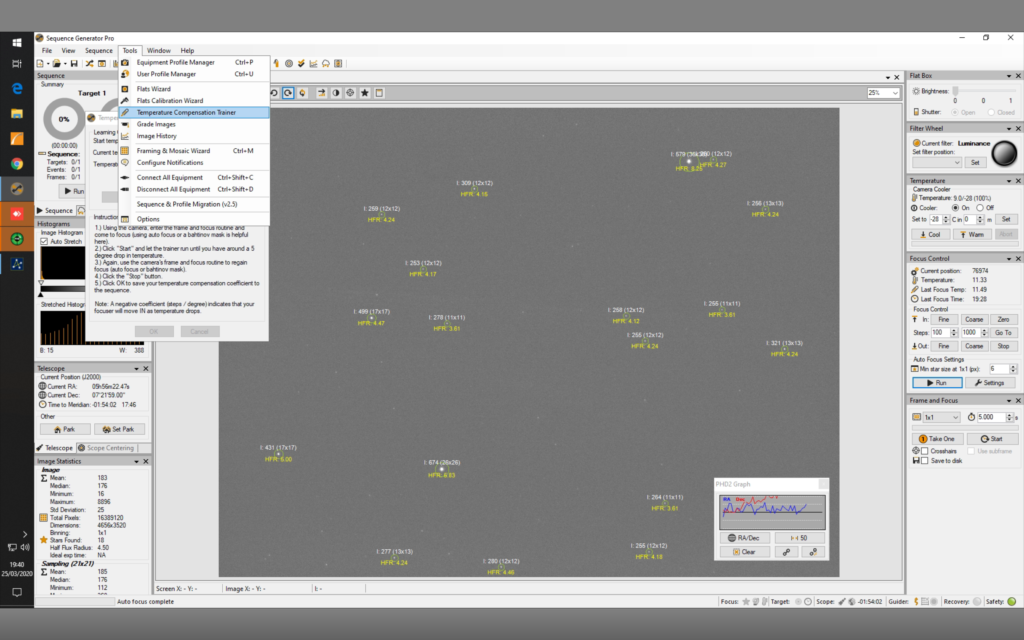
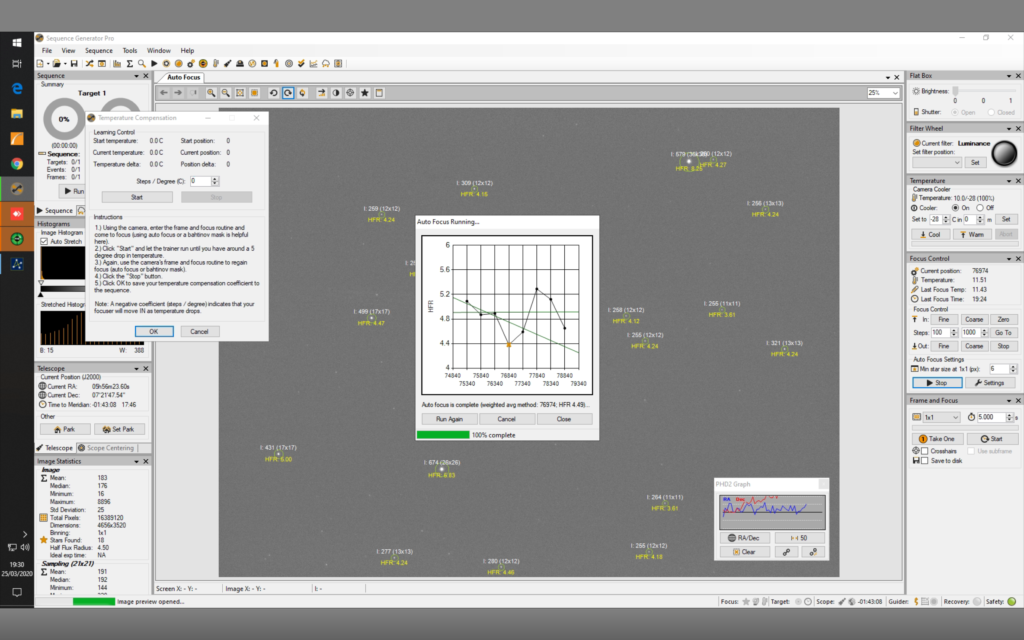
23:15 Slewing to NGC 4565 would still require a meridian flip so I went to NGC 2903 which I’d looked at recently. set a sequence going to get 30mins of data with 5 minute subs. Auto focus succeeded at the start of the run.
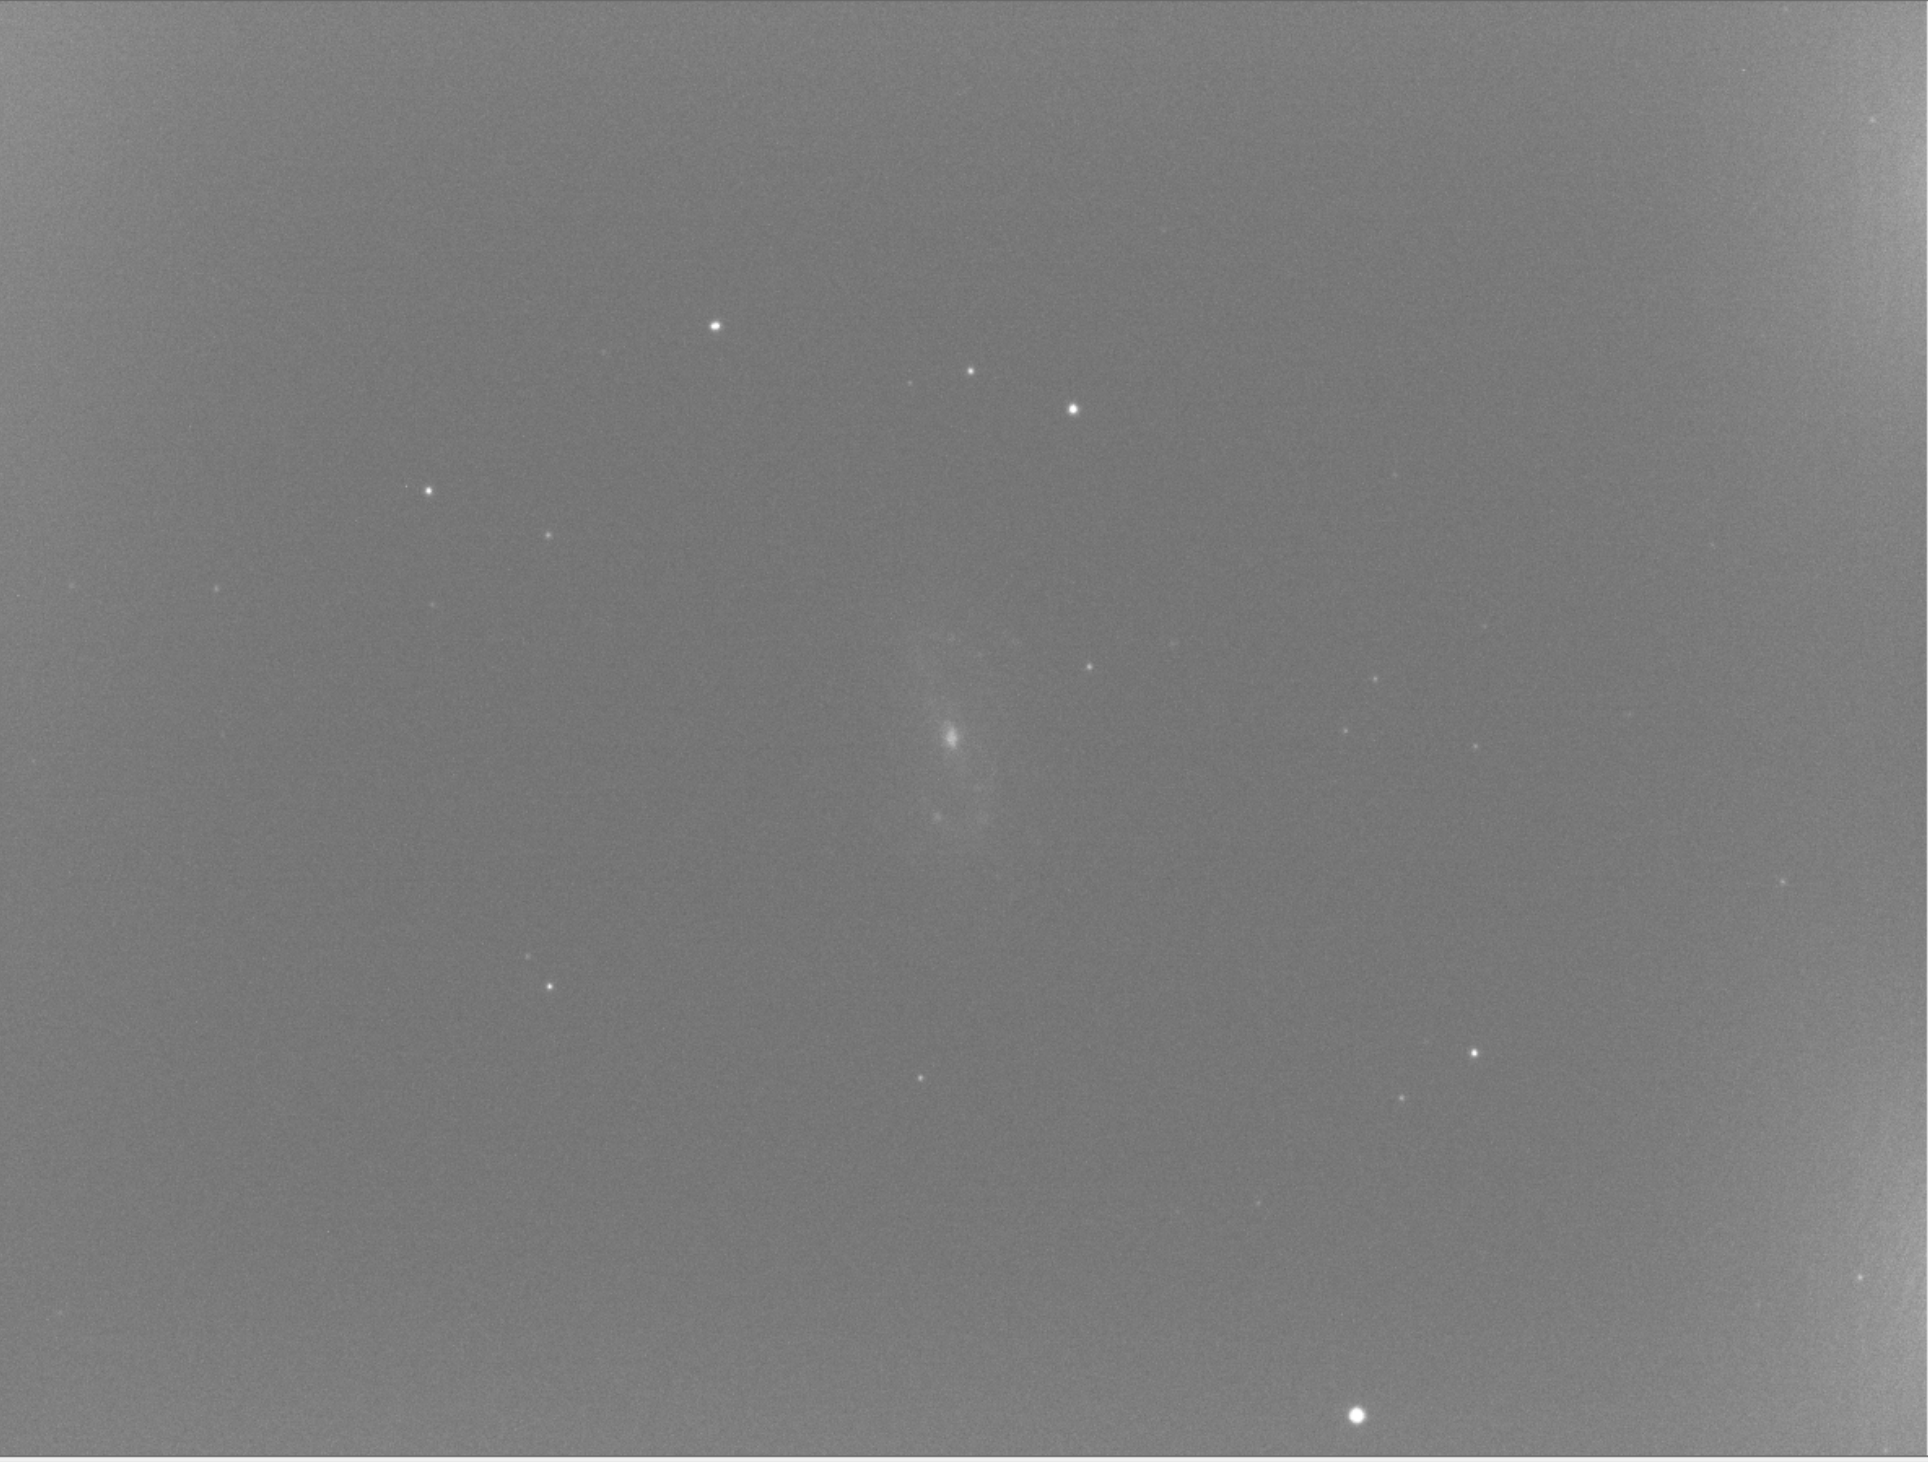
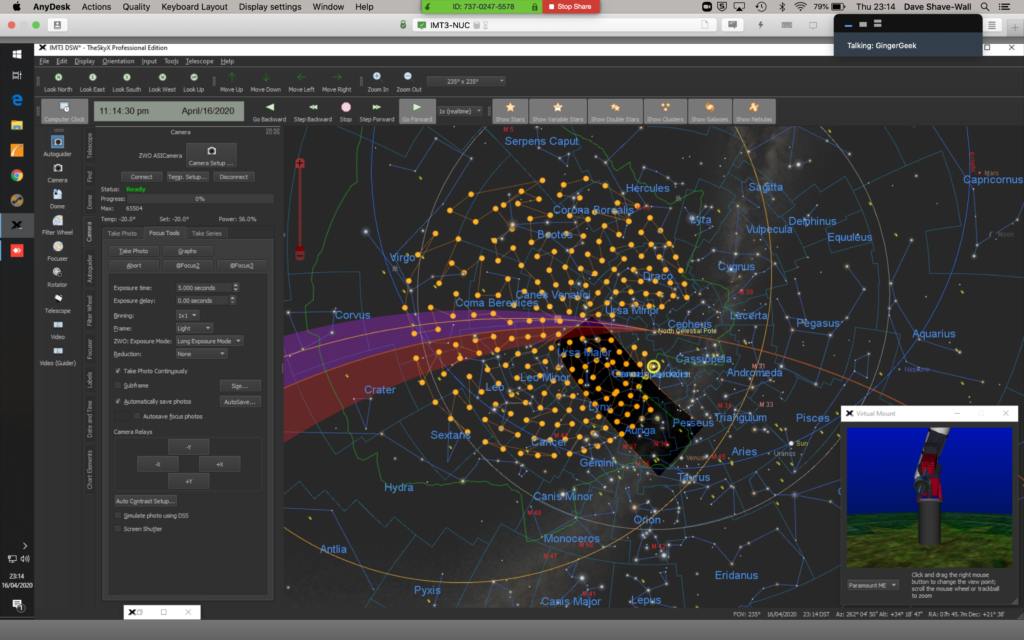
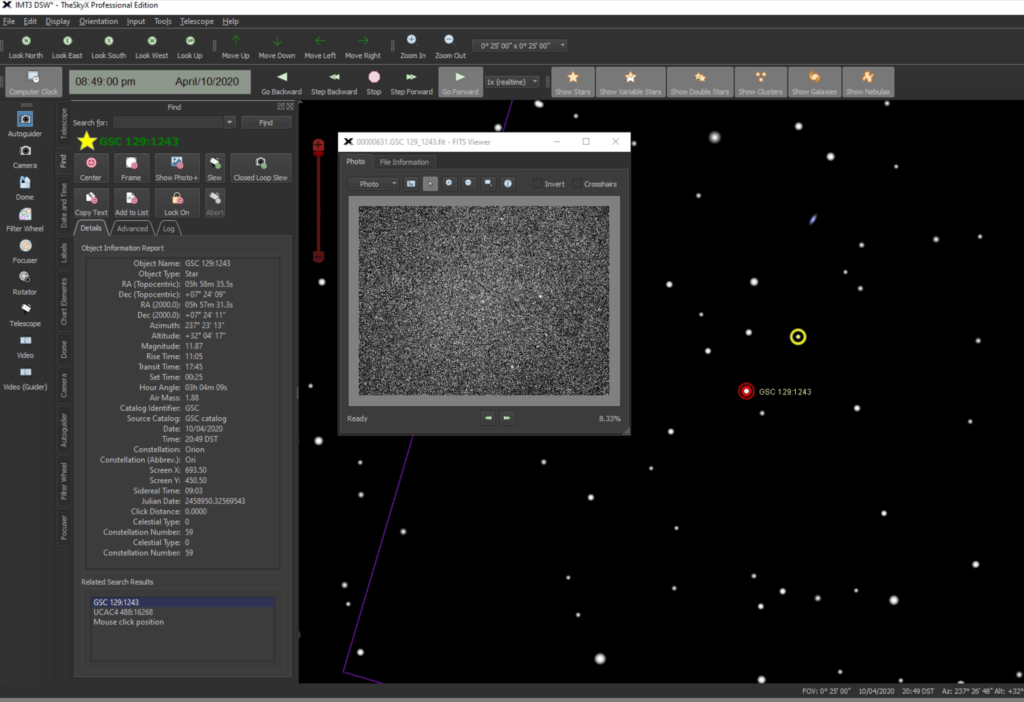
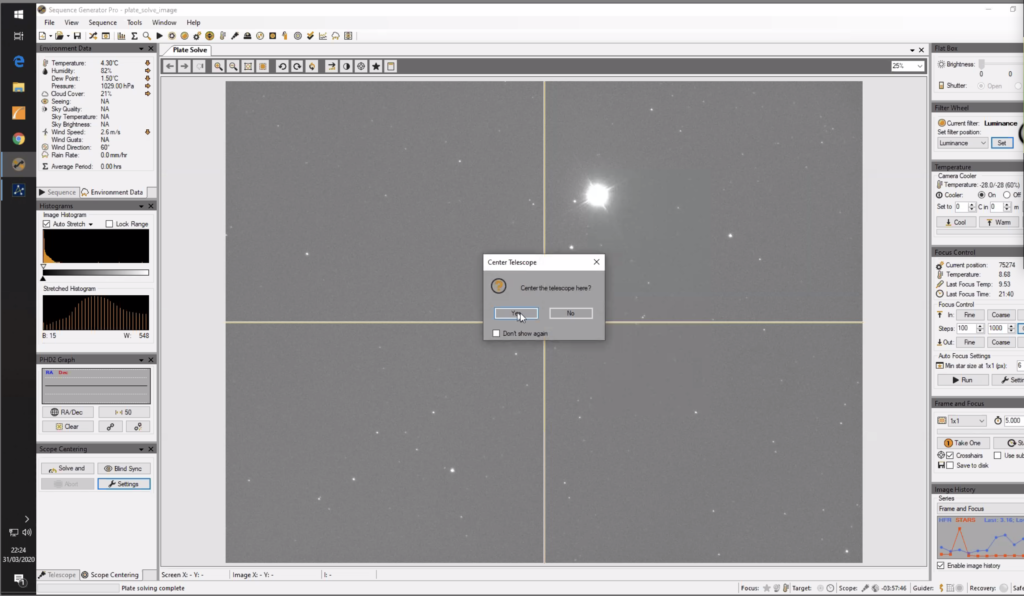
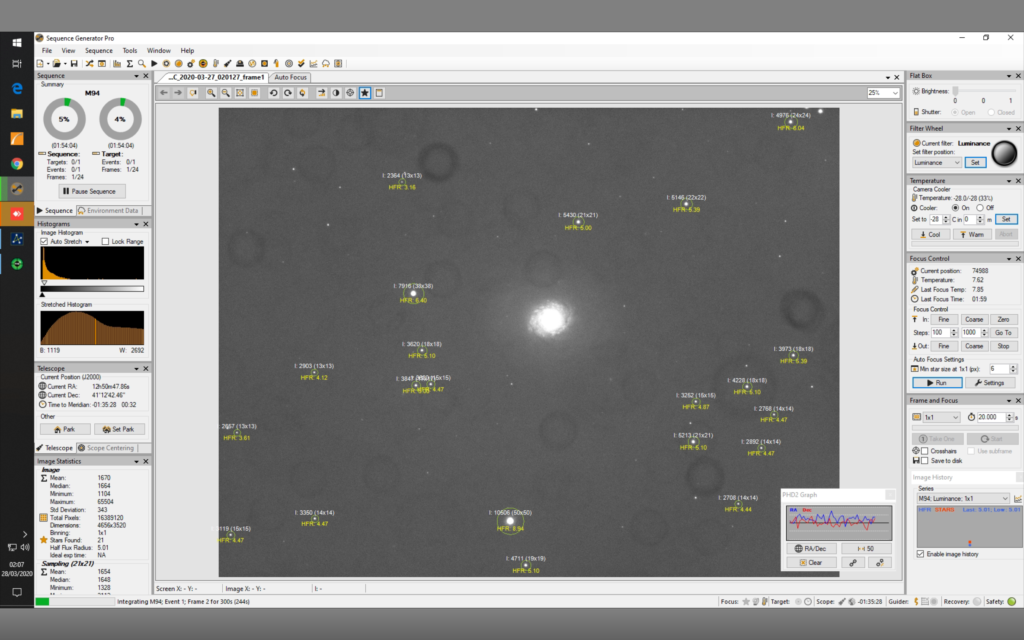
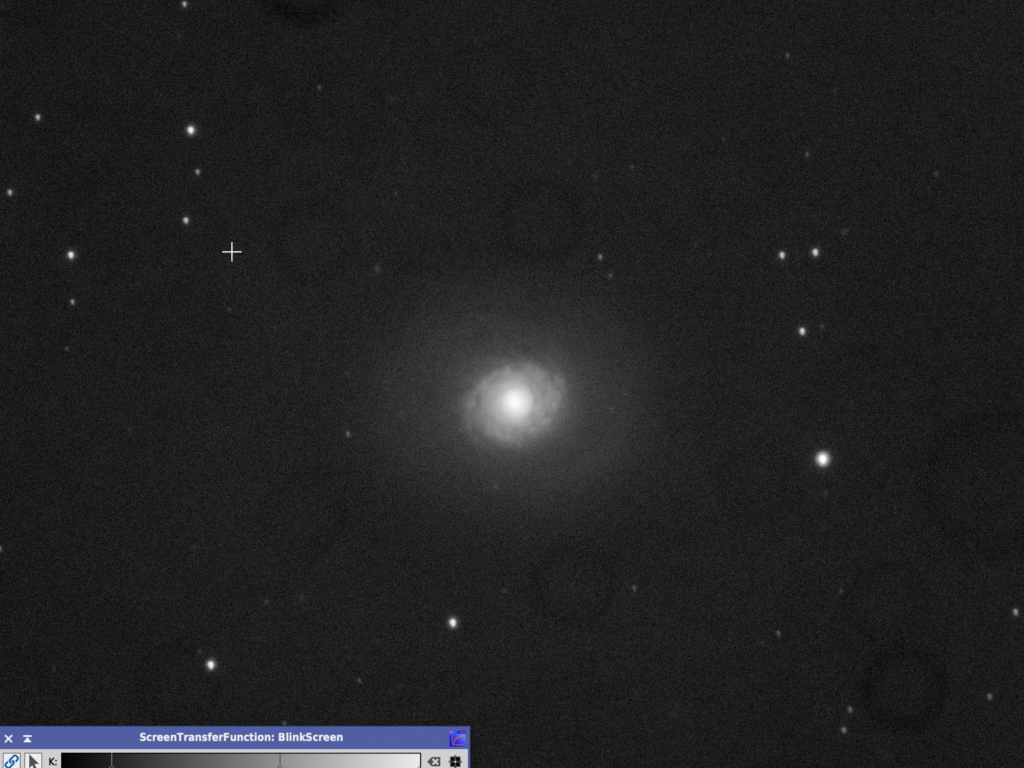
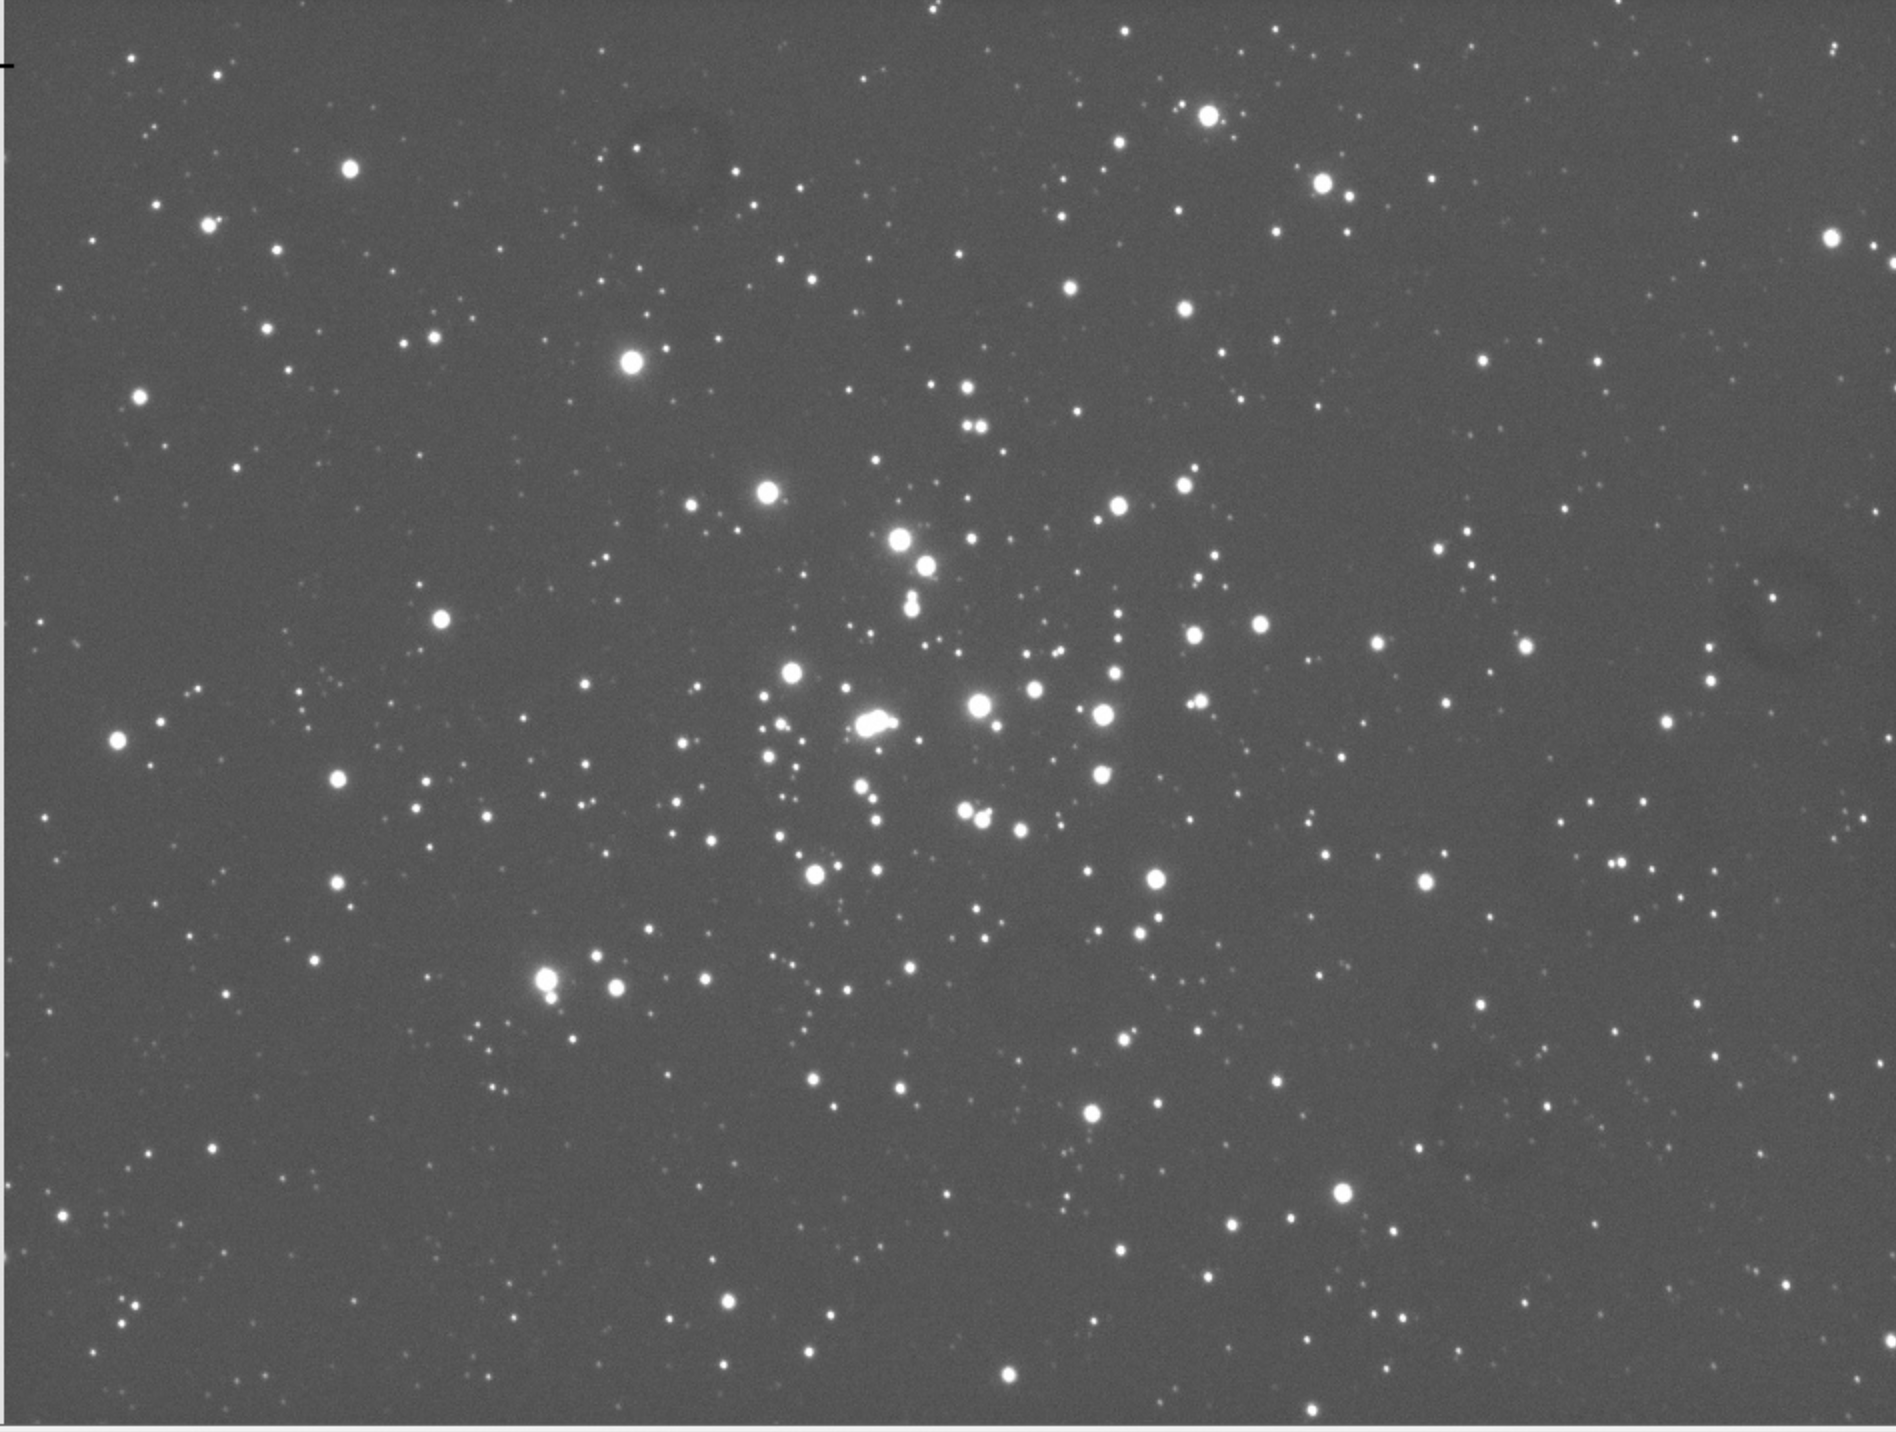
00:05 Slewed to NGC 4565.
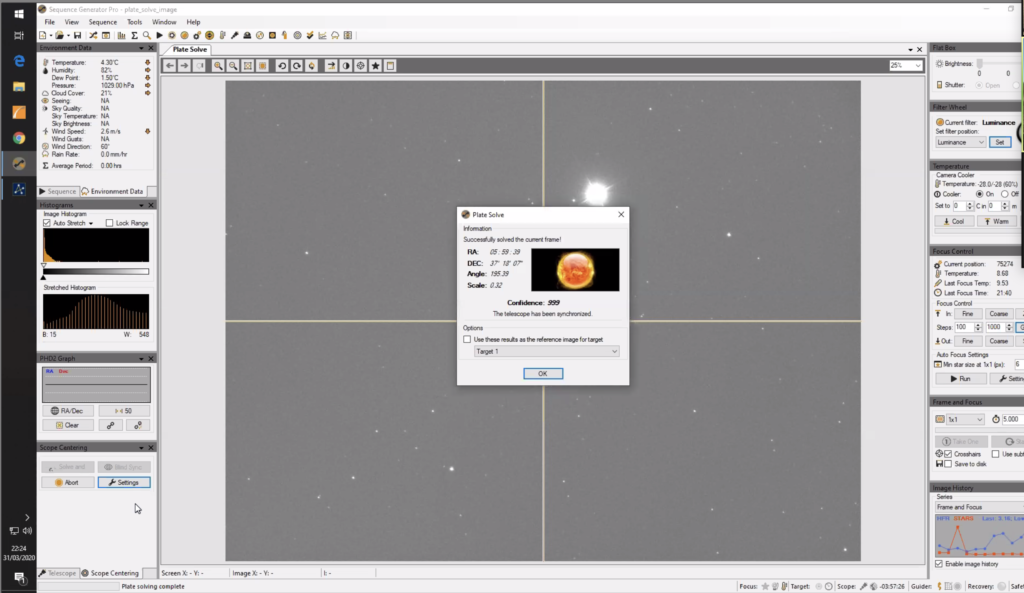
Solve and Sync then slewed the framing to try and include NGC 4562 in the FoV.
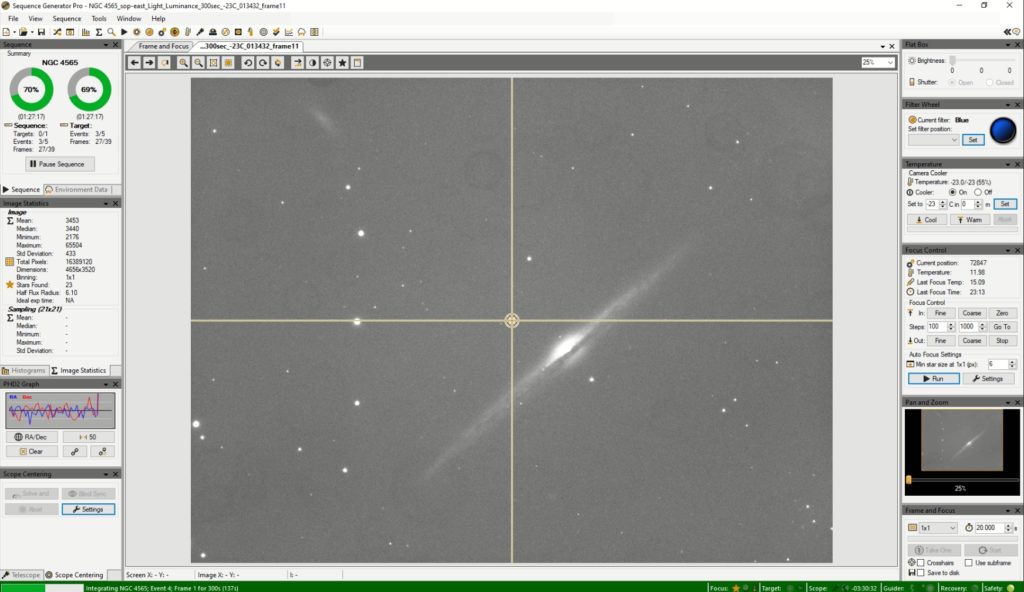
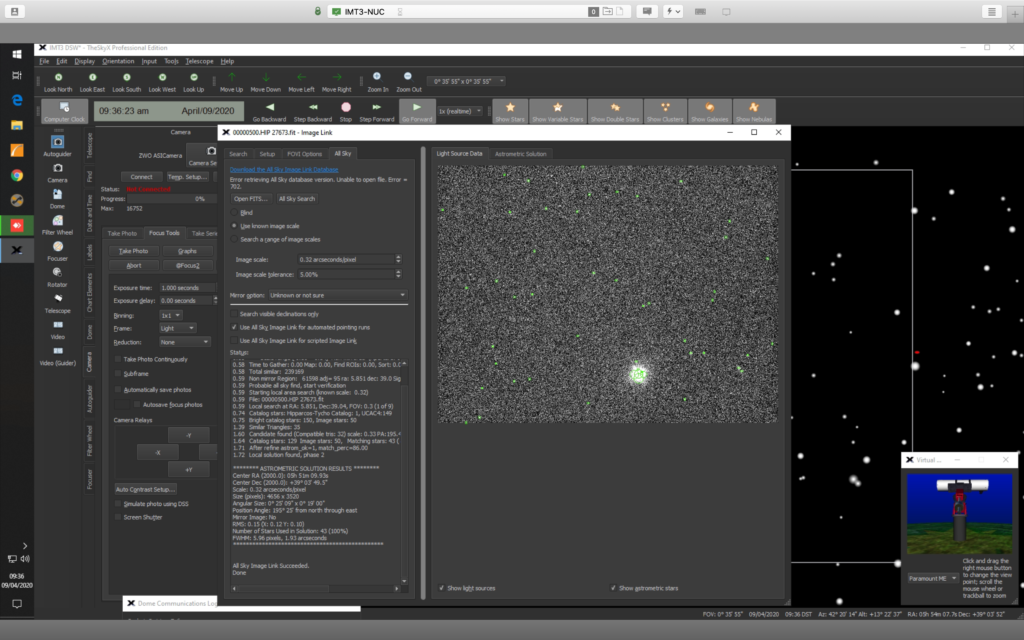
Plate Solved result for the centre of this frame:
12h36m06.94s Angle 185
25° 57′ 42.16″ Scale 0.325
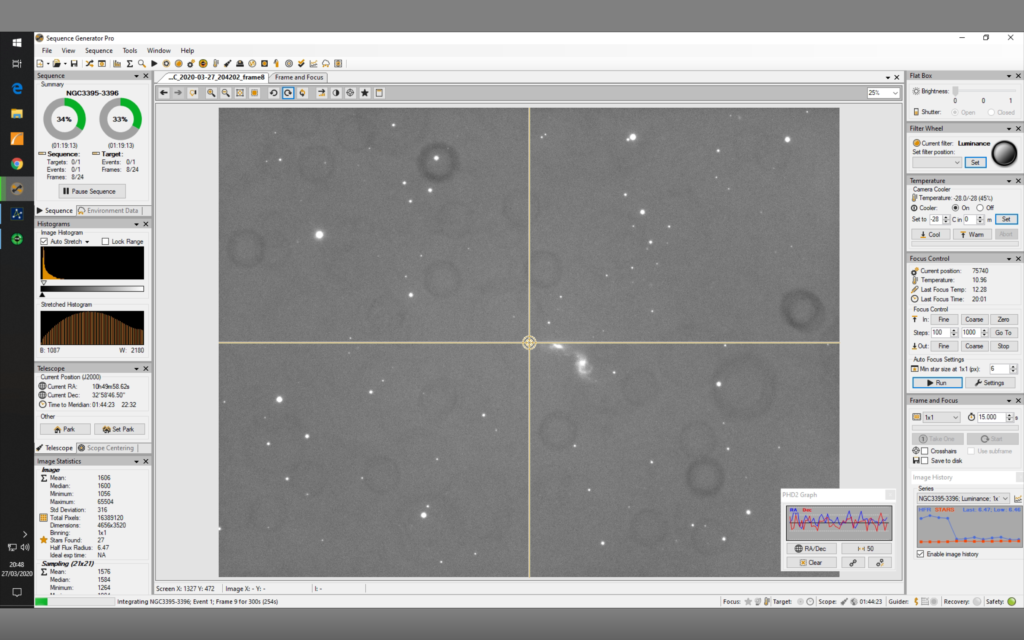
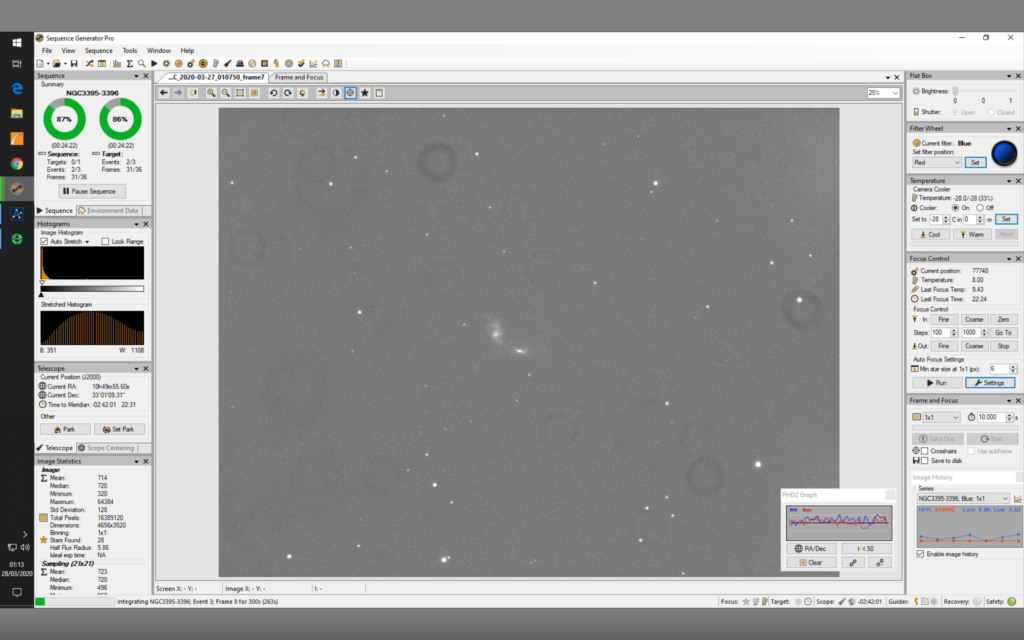
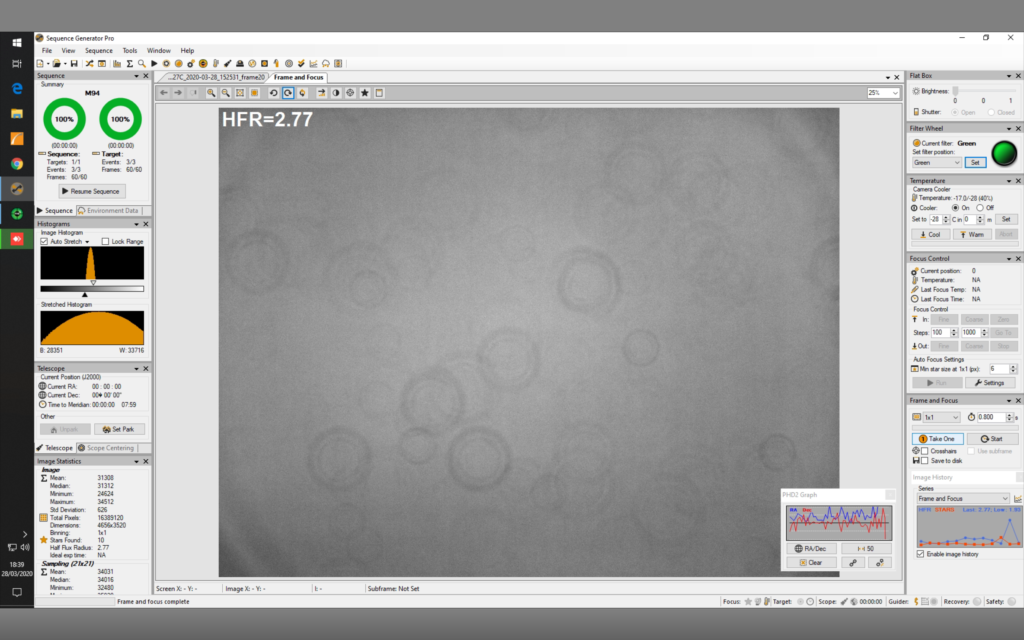
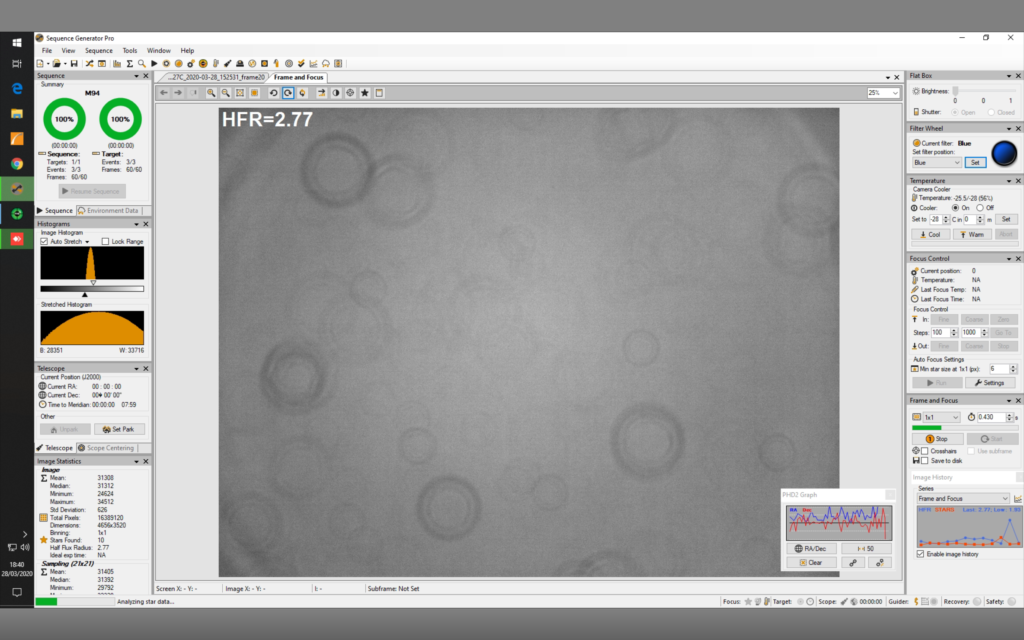
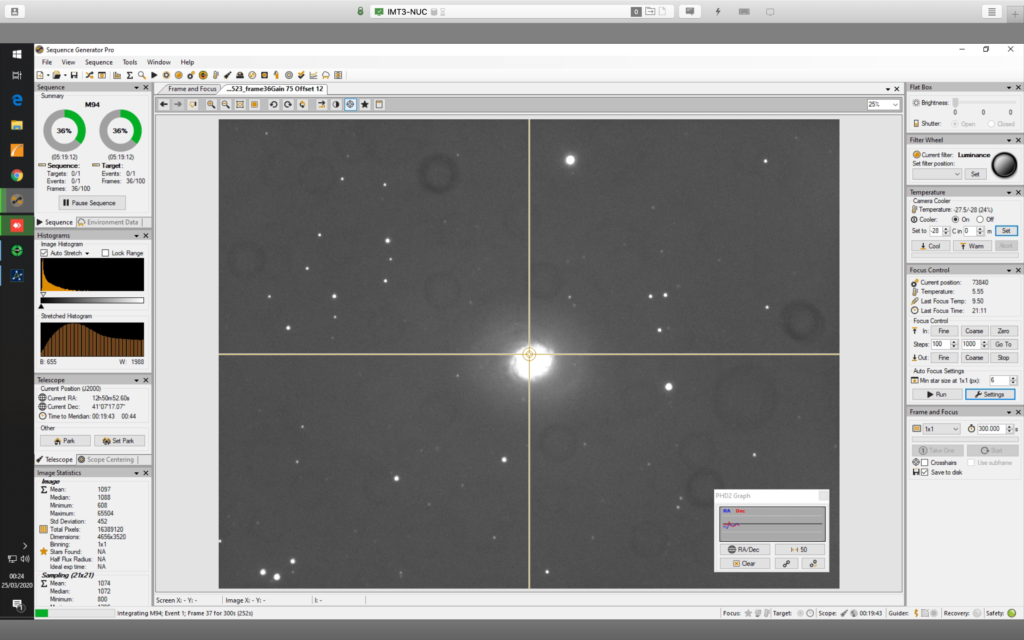
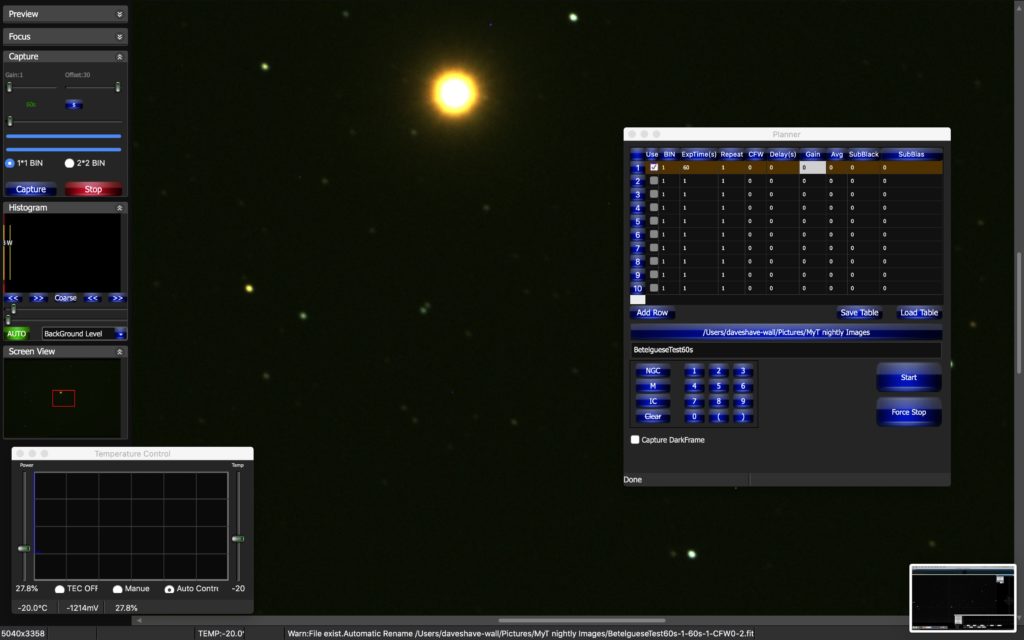
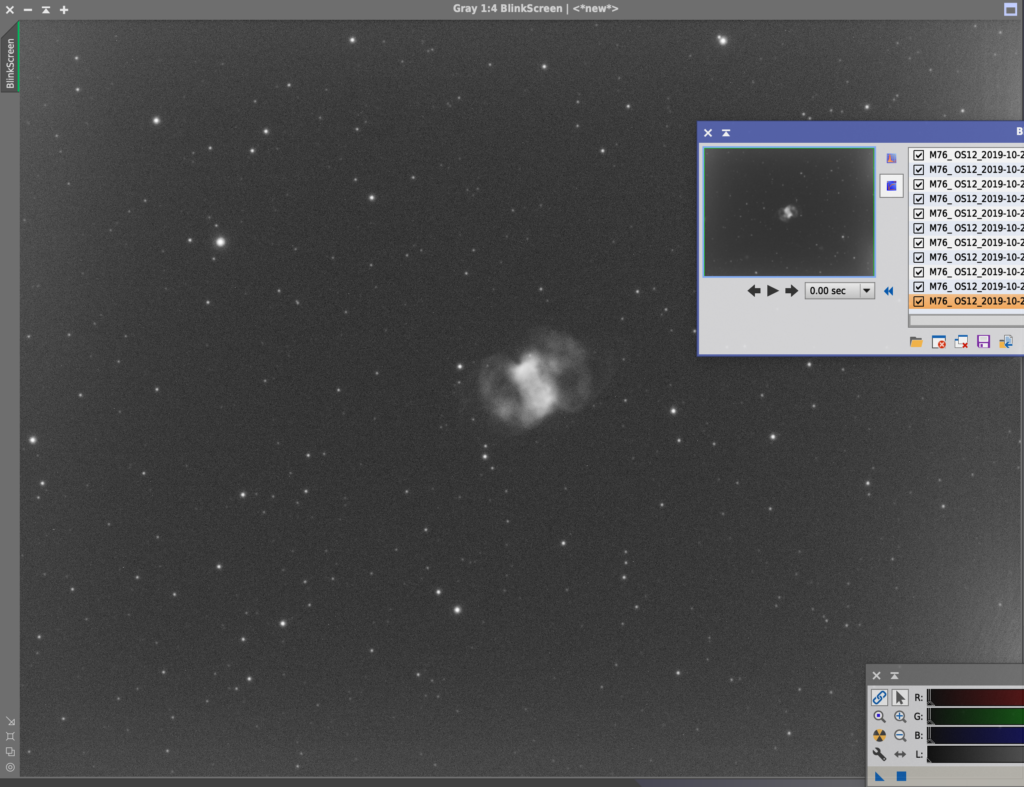
Started sequence to gather 12x 300 seconds Lum, 6x 300 seconds R, G, B and 6x 600 seconds Ha subs.
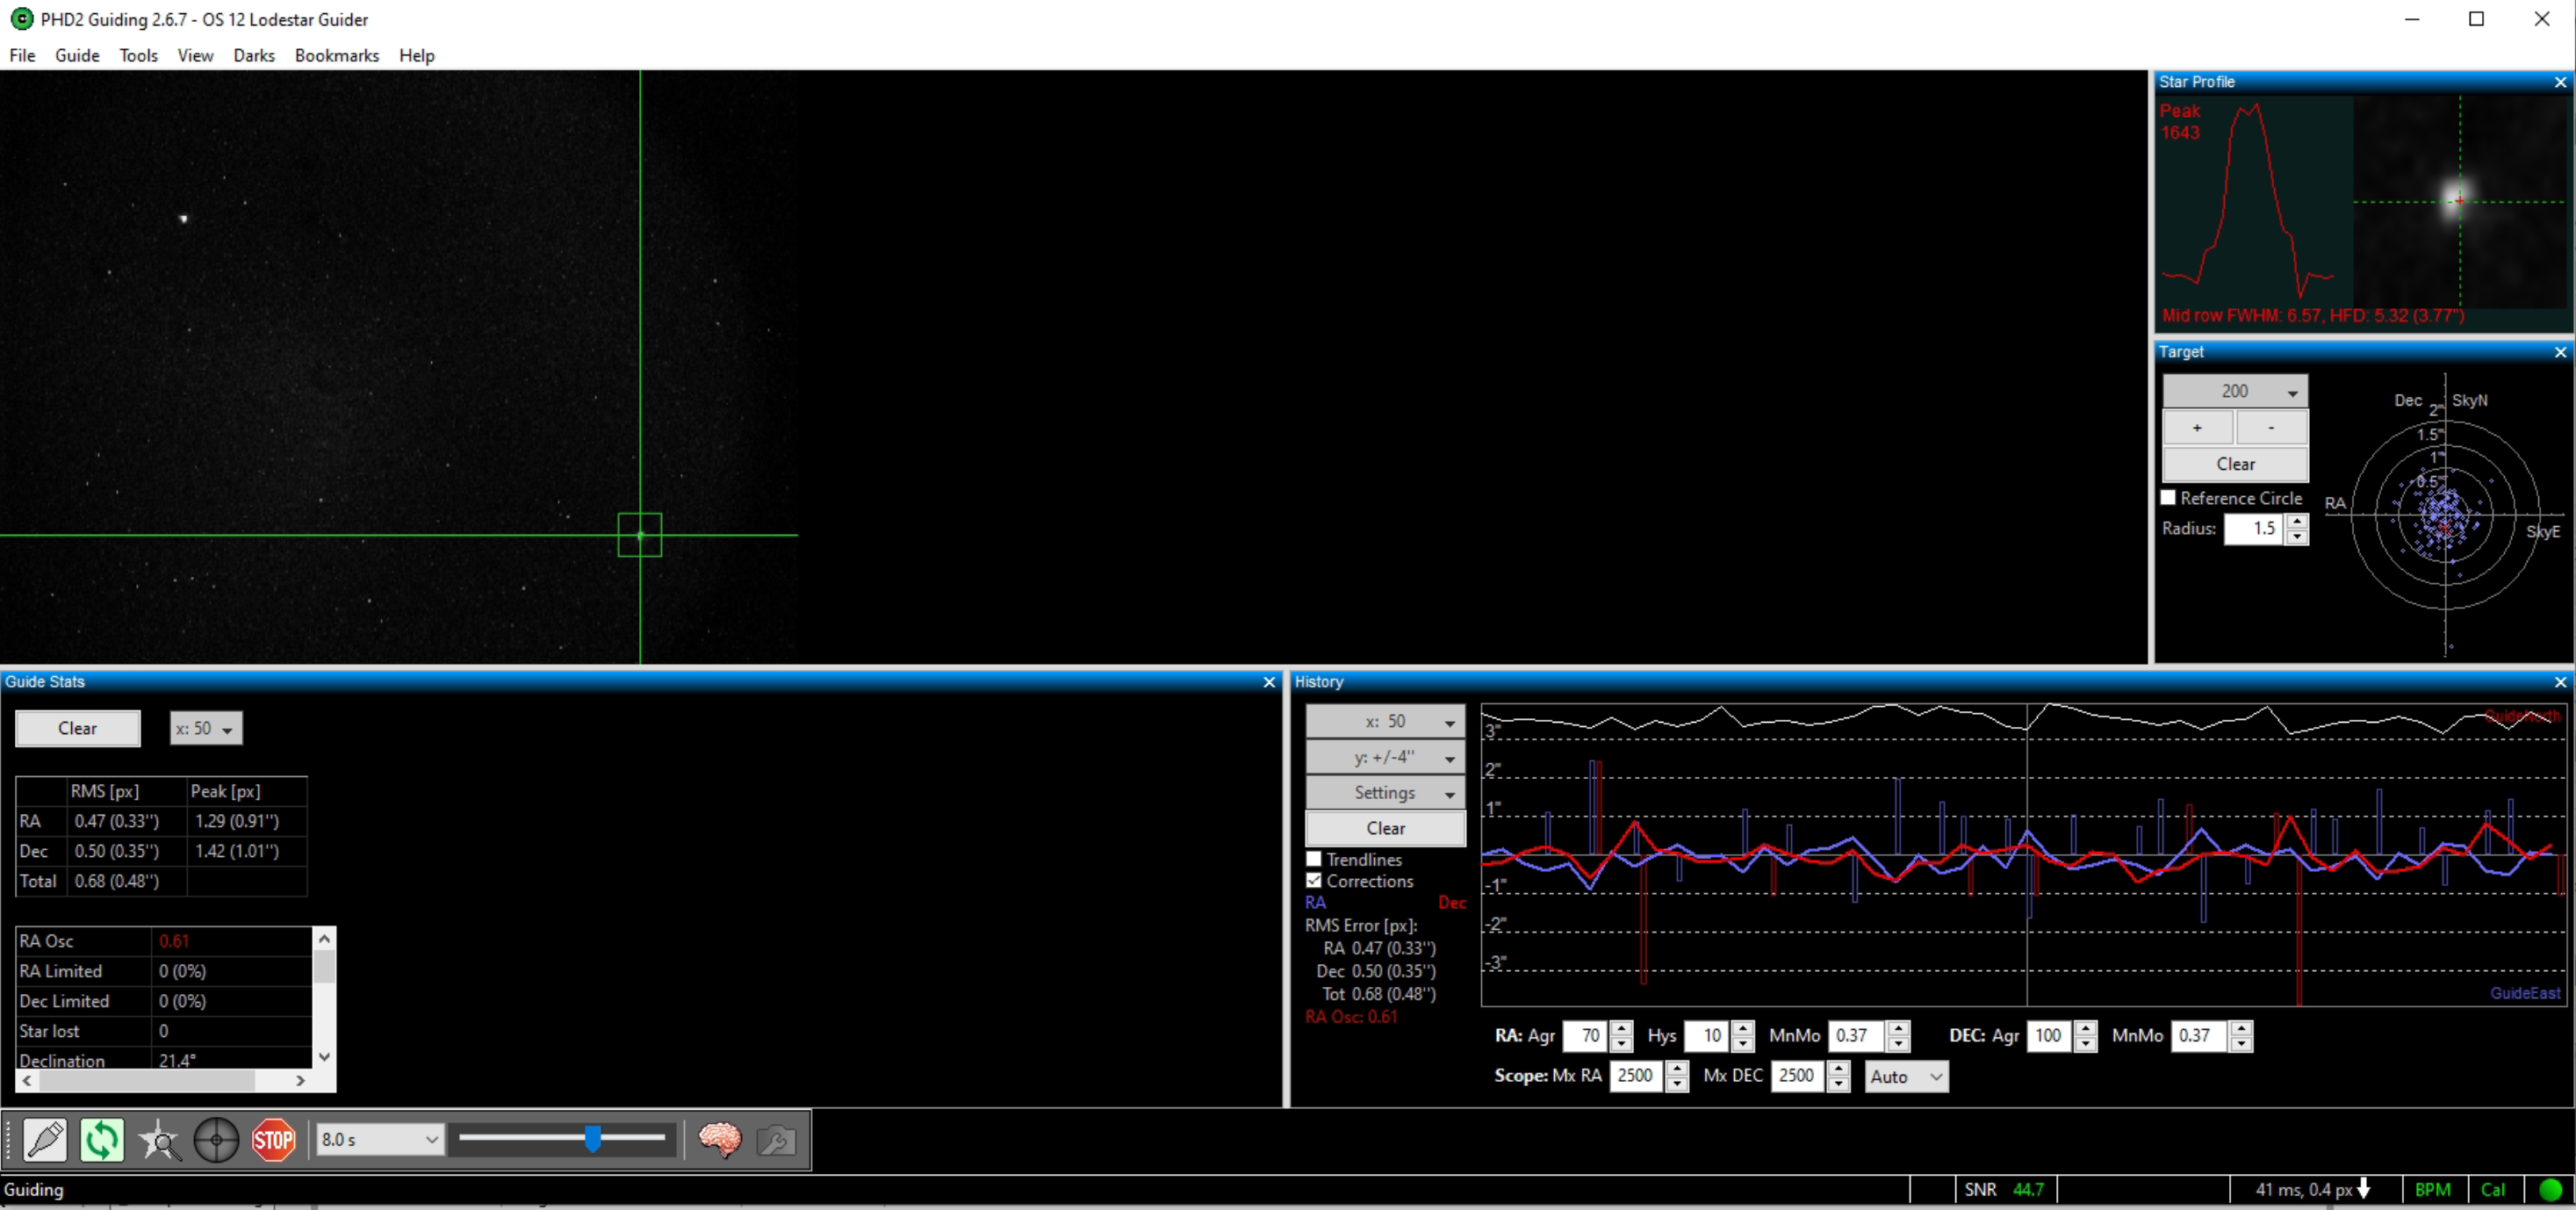
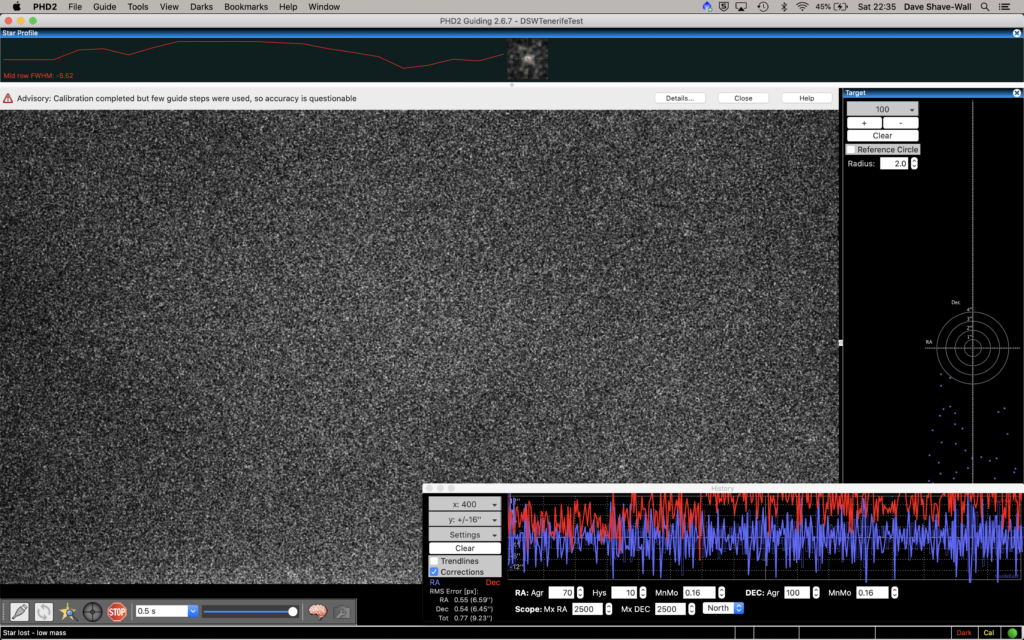
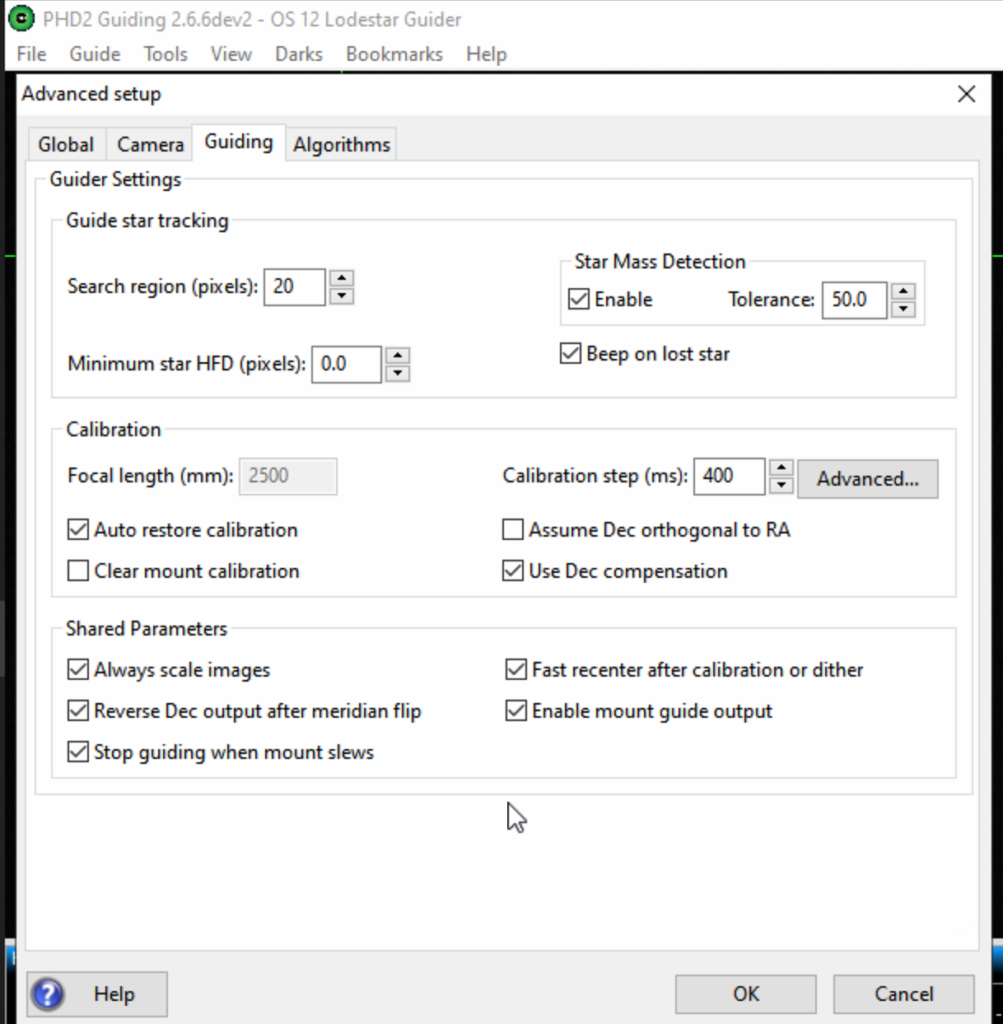
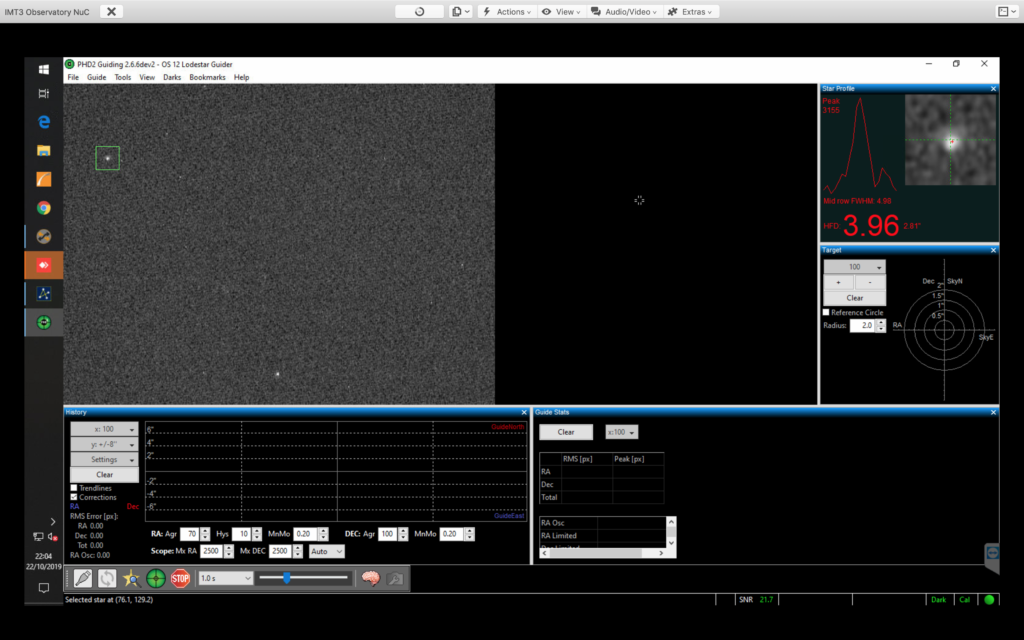
SGPro failed to start the Guider and aborted.
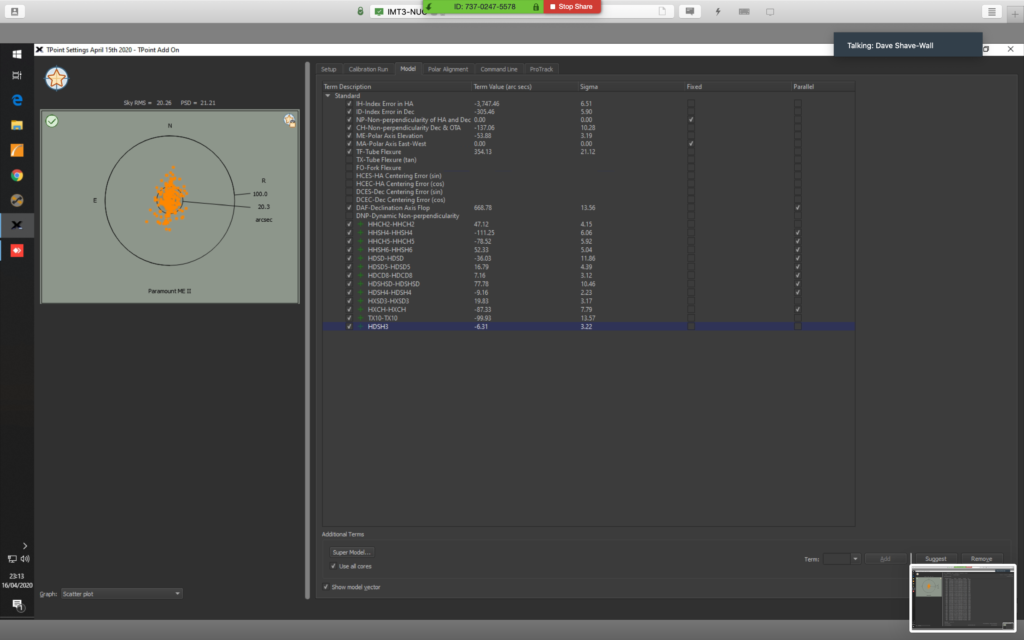
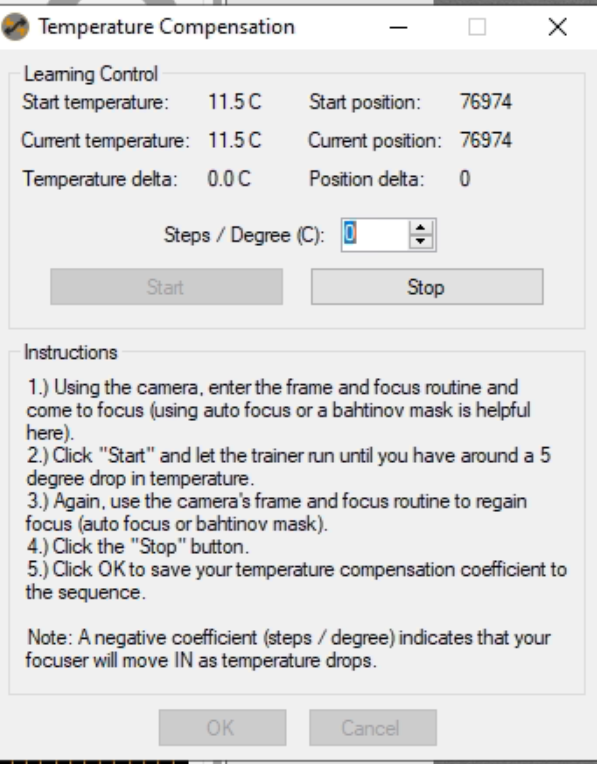
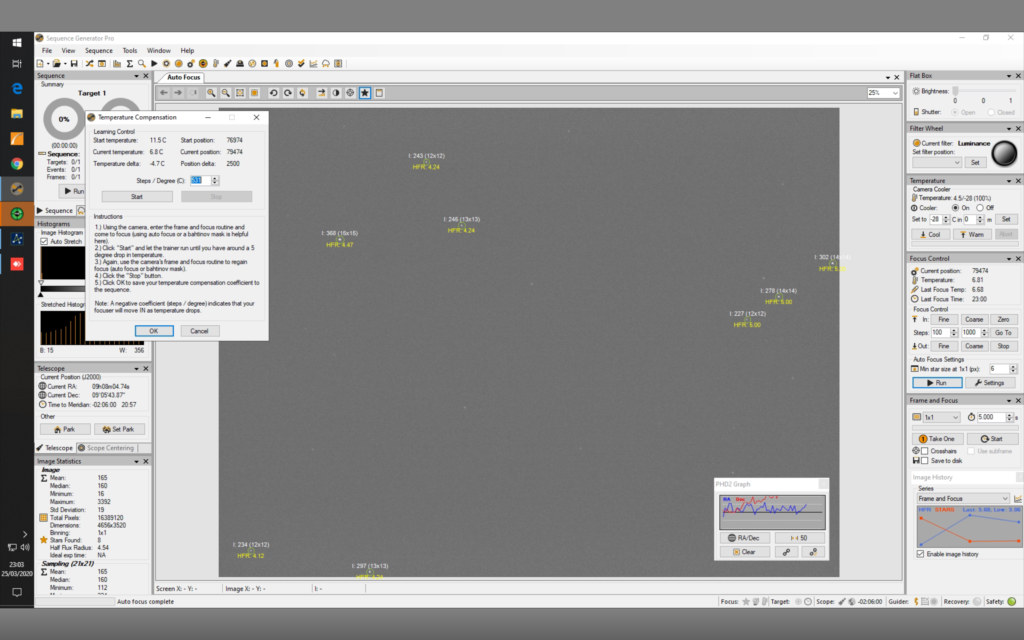
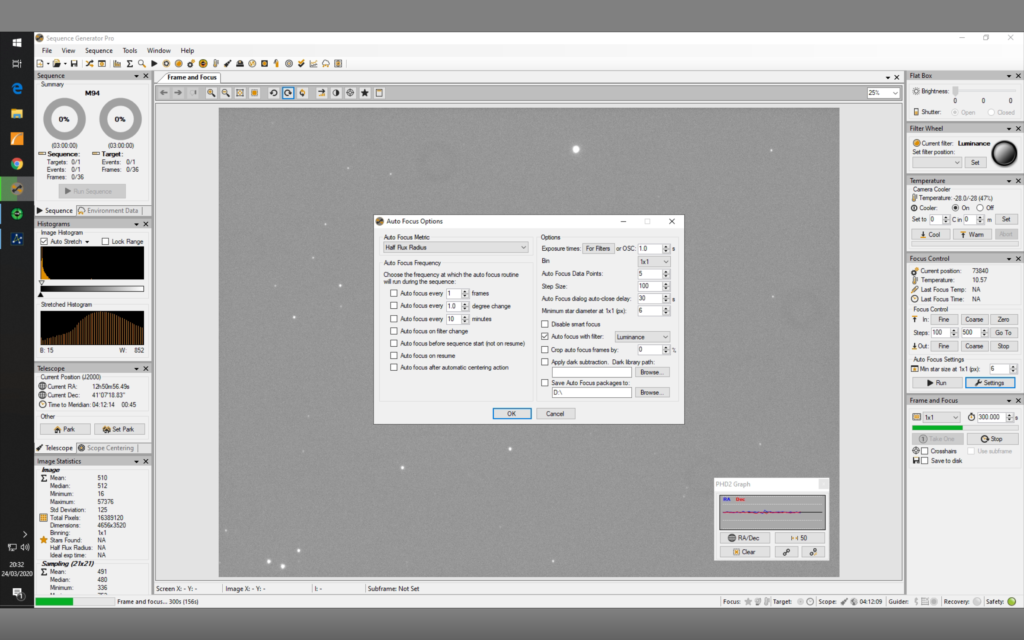
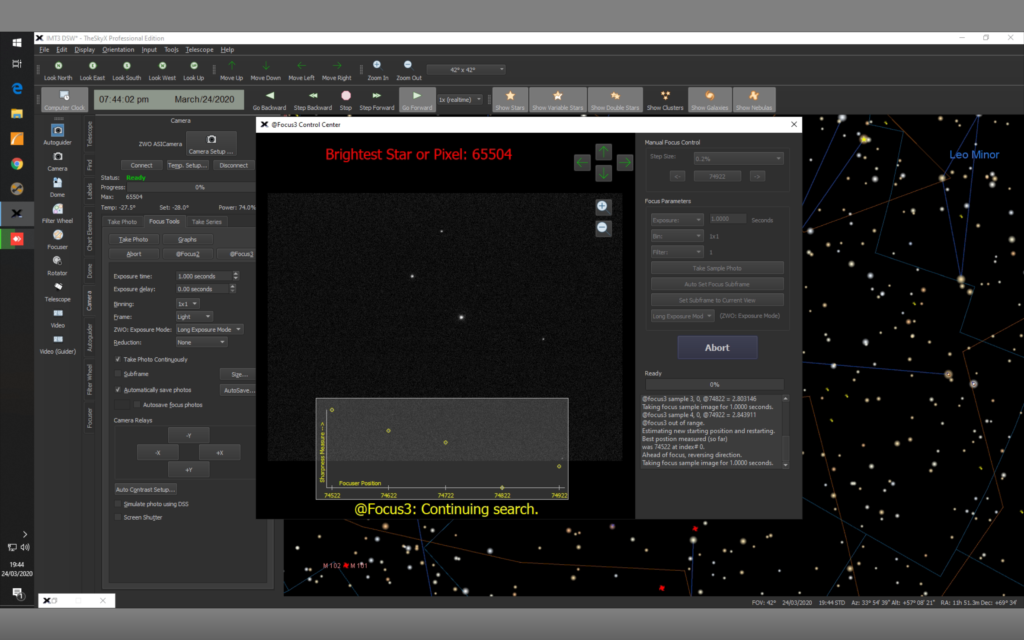
PHD2 started manually and 5 frames of Luminance gathered before the guide star was lost and the sequence aborted. Profile does not have ‘Recovery’ set. Need to discuss this with DSW and GingerGeek. While looking at the option found in Tools > Options > Sequence I also noticed that ‘Pause Guiding during autofocus’ is not set.
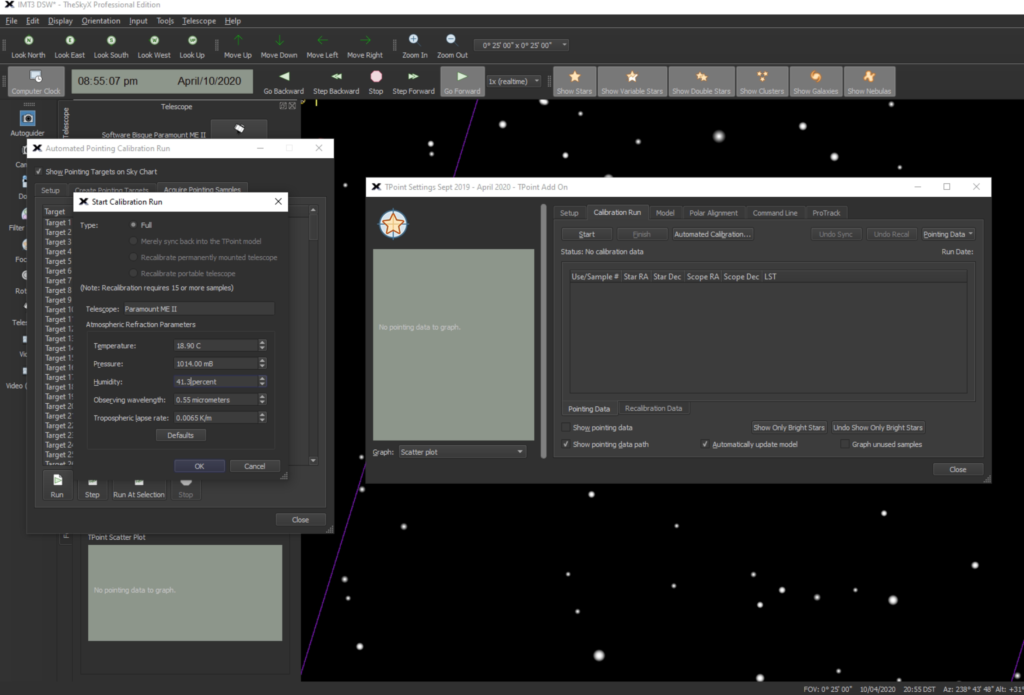
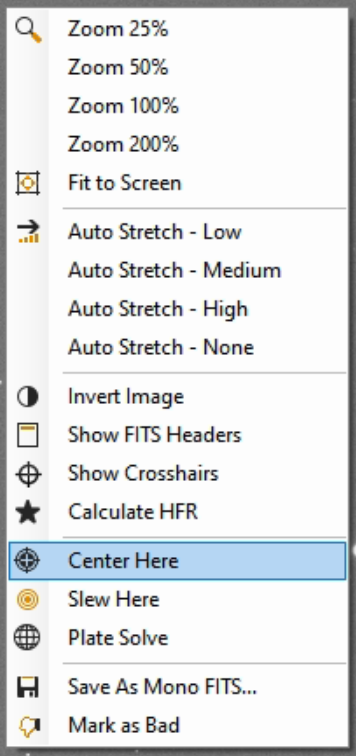
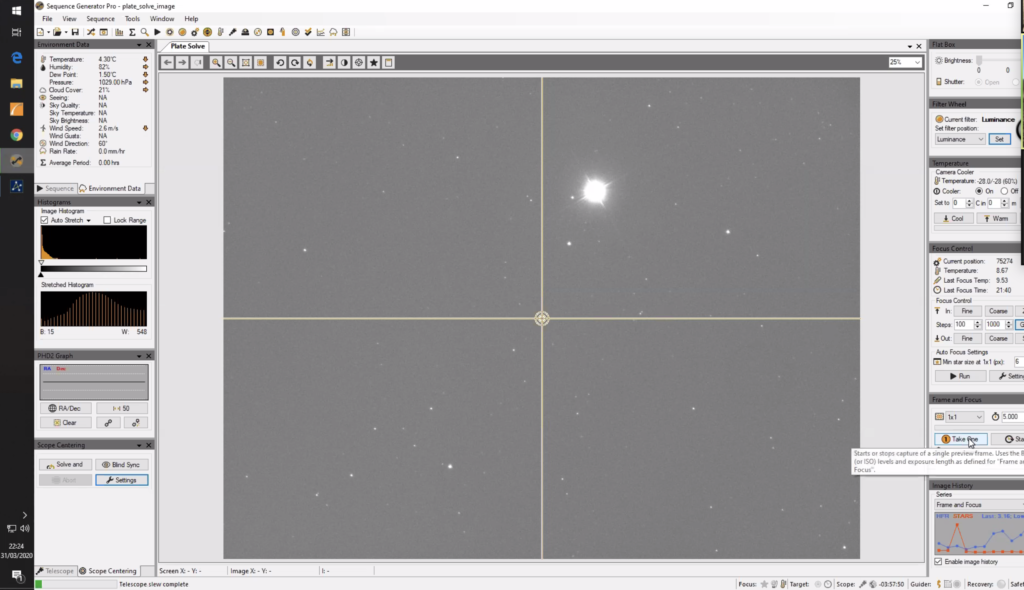
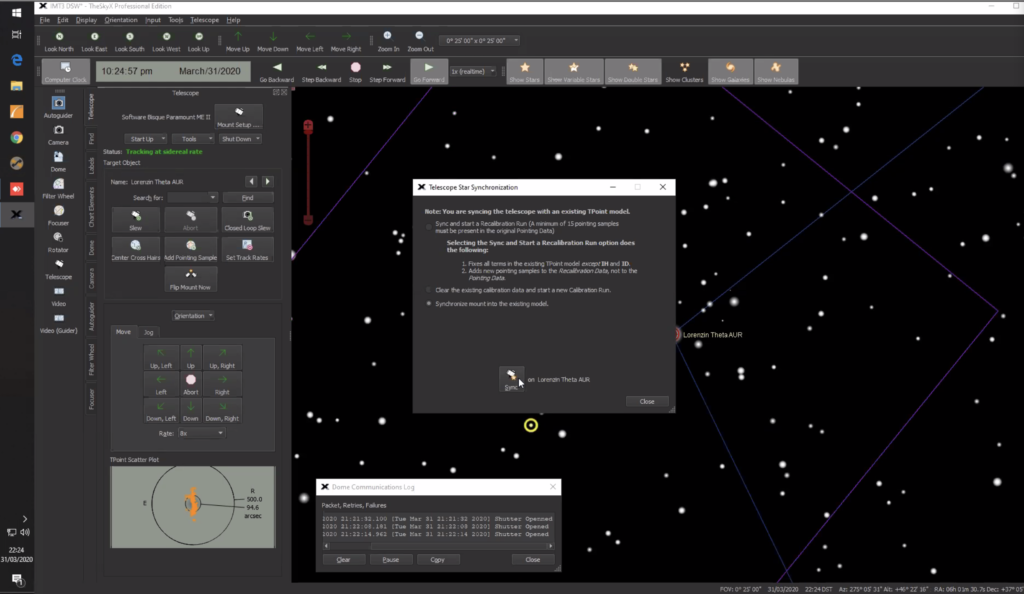
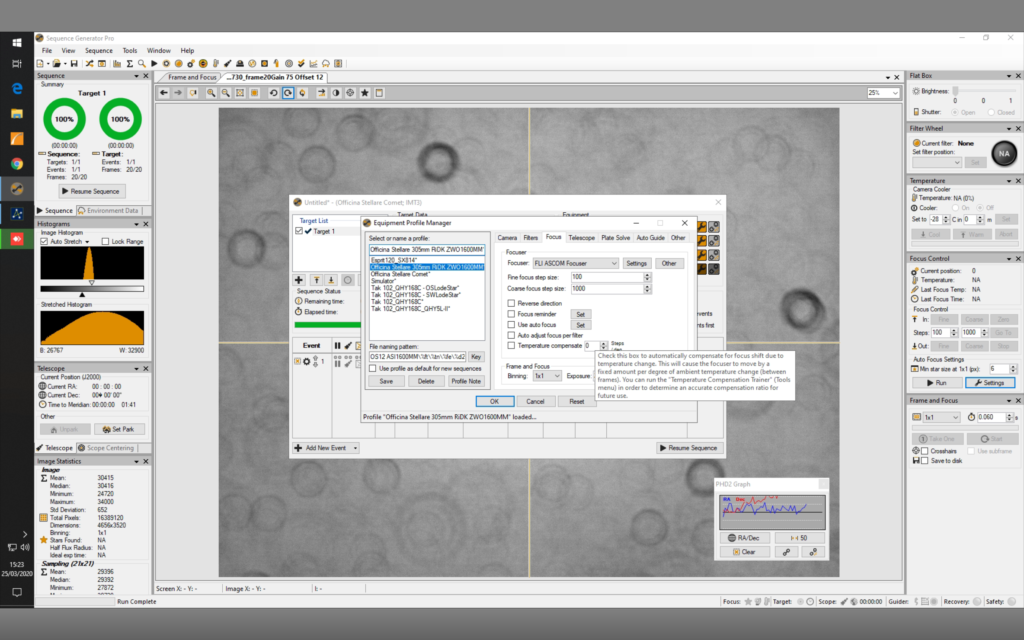
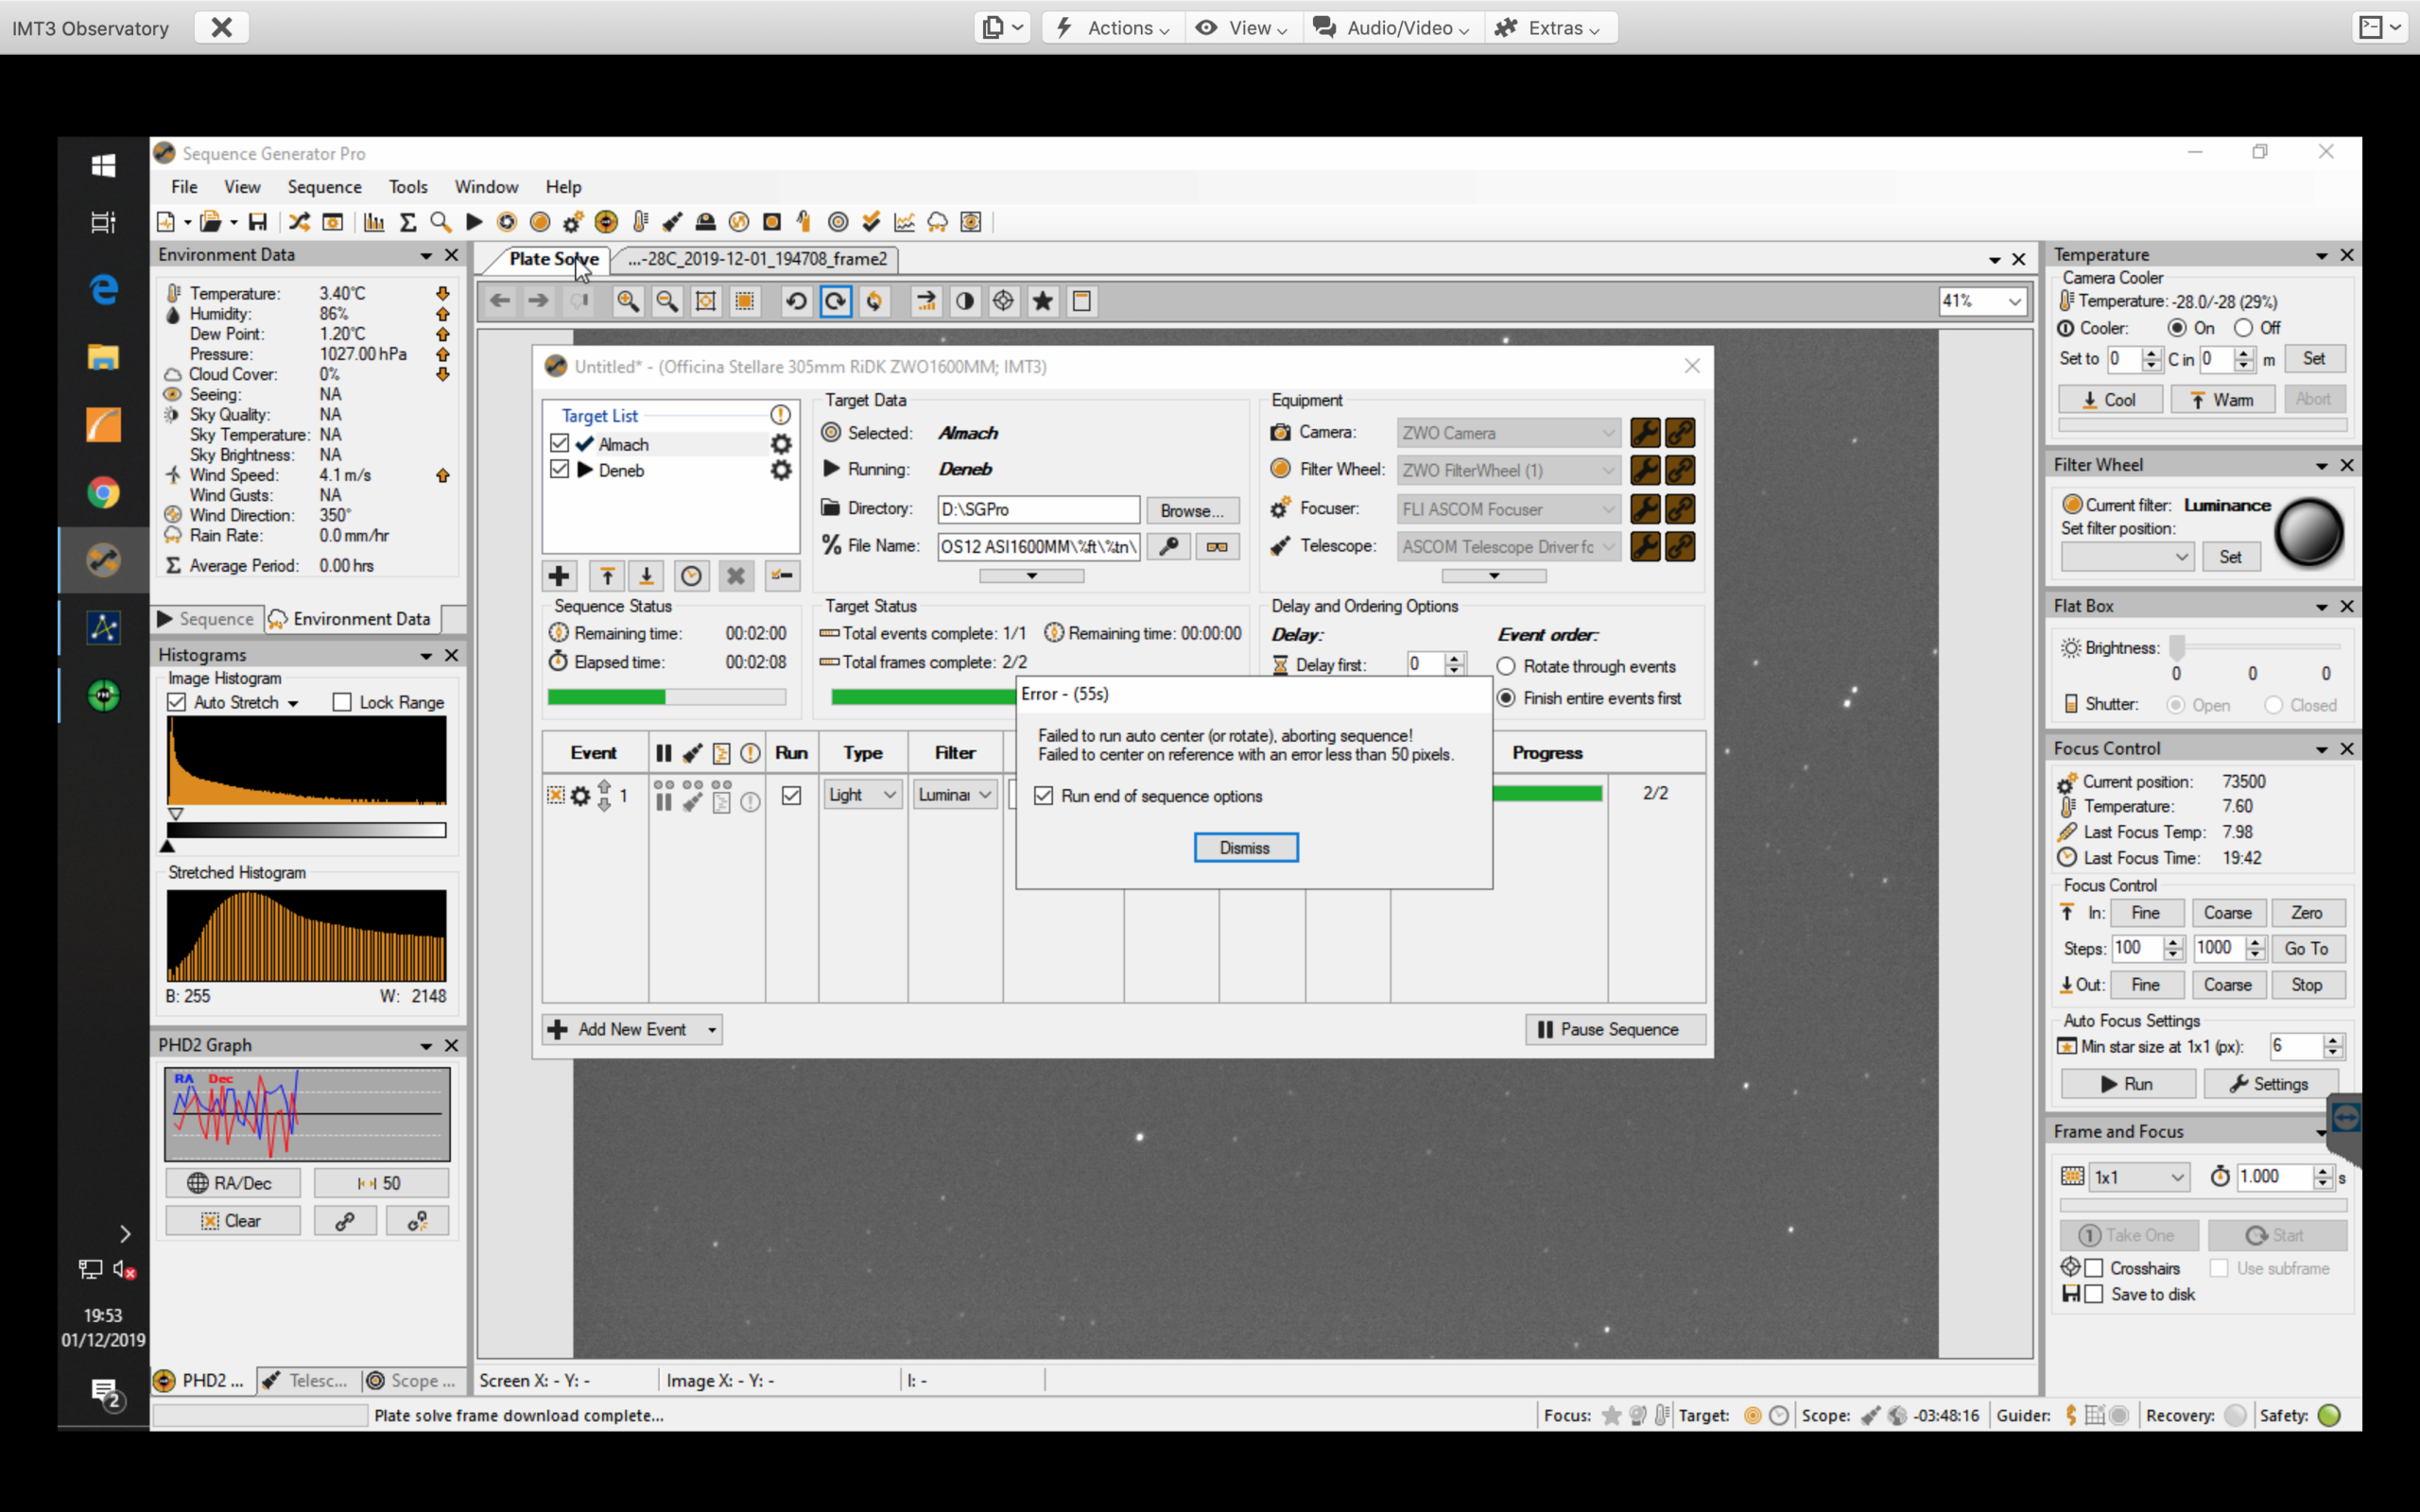
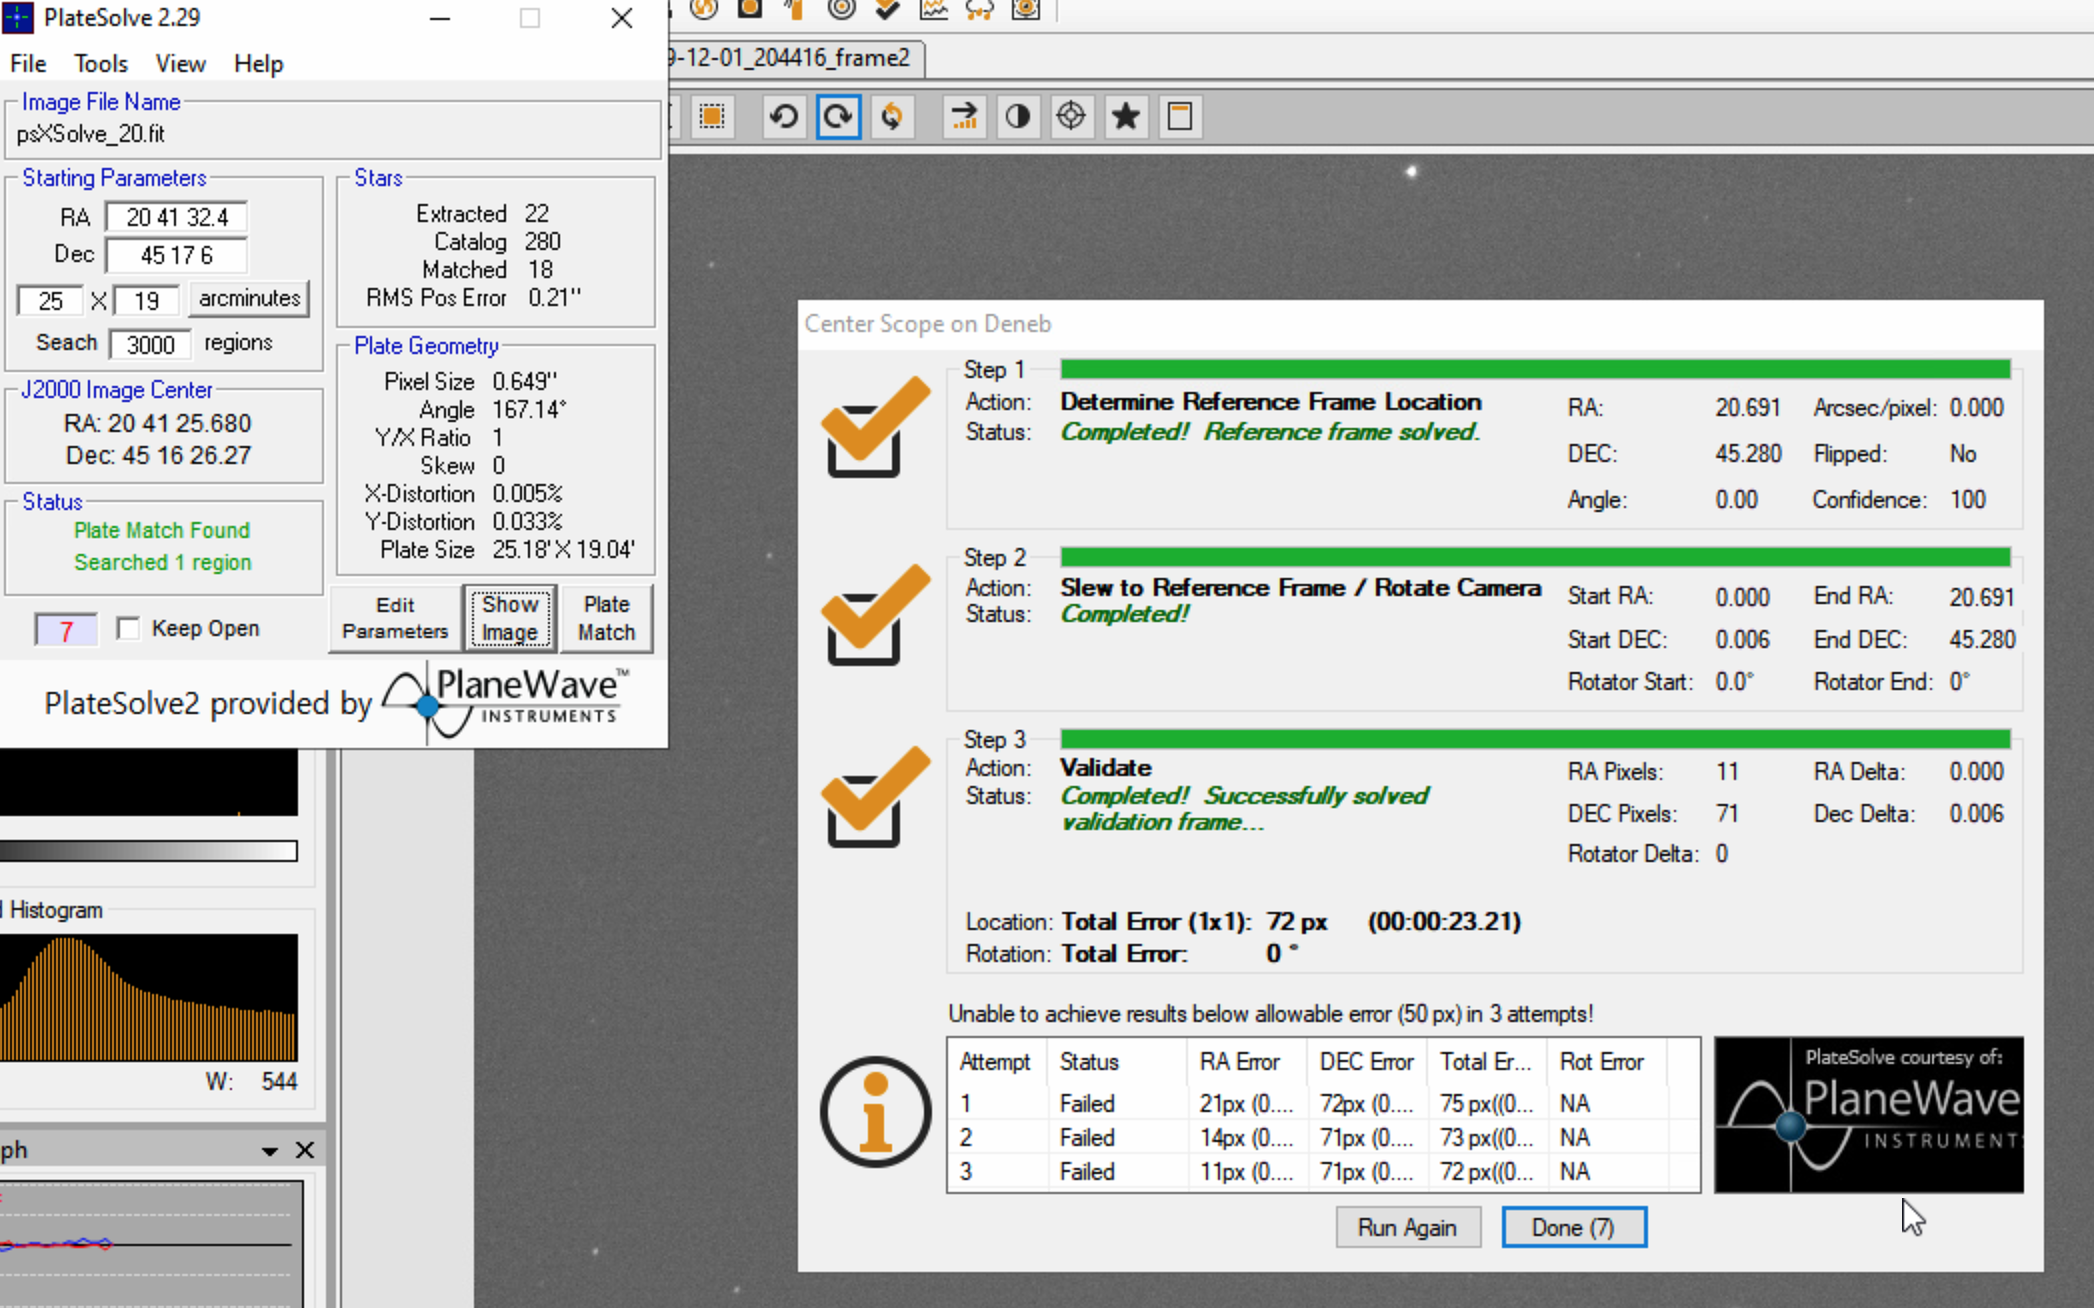
Mil Dave showed me a procedure he believes is documented in the manual to centre the telescope on a previous image, but this failed to move the mount as expected. I later realized it may have been because we did a ‘Solve and Sync’ followed by a ‘Centre Here’ ( which hasn’t worked for me before). I need to see if I had done a ‘Solve and Sync’ followed by a ‘Slew Here’ whether that would have had the desired effect. Using ‘Slew here’ I was able to reasonably match the coordinates of the original frames (after unsuccessfully trying to ‘Slew to coordinates’ in the Sky).
Update 23Apr20:
Having discussed the above with Dave, I believe we identified where I was going wrong but also discovered some points along the way.
We noticed that the RA and Dec I had recorded from the SGPro Plate solve of the image did not match the numbers recorded in the FITS header of the image and using the SkyX to Slew to the coordinates recorded was off because I hadn’t selected Epoch J2000.0 (used by SGPro) but had used the default Sky ‘Apparent (i.e. current)’ setting for the Equinox.
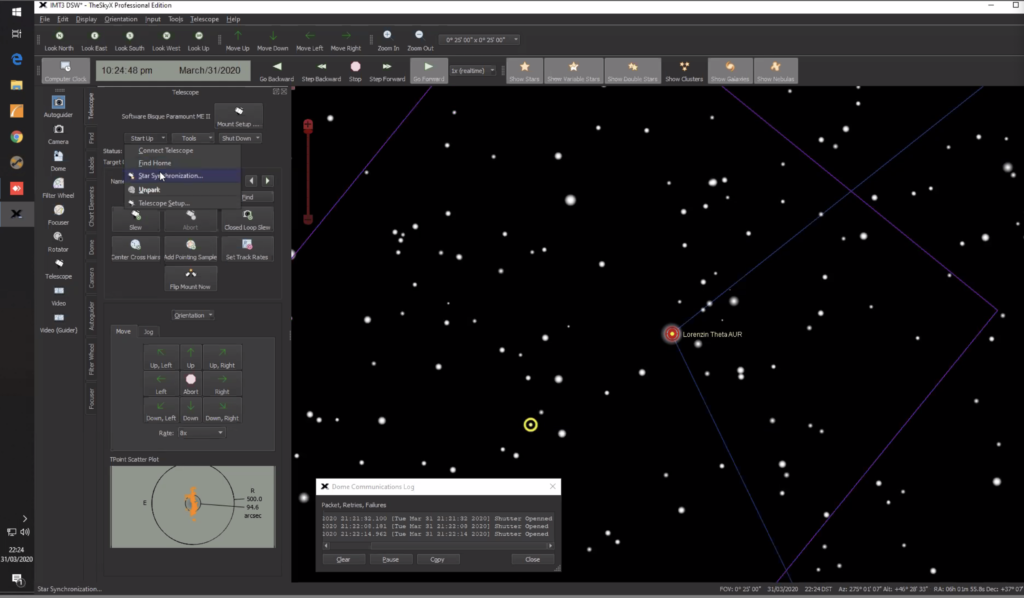
Additionally, after performing a ‘solve and Sync’ in SGPro, I should have gone to The SkyX and syncronized the Telescope.
Turned off the guided and finally resume a sequence
03:00 Of to bed for me, leaving the sequence to run for a further 1hr30.